Let’s make a squishy Apple MacBook Neo out of paper, and even the matching MacBook box, just like when you open a brand new Apple device!
We turn a paper laptop into a soft, squeezable squishy that looks glossy and real but feels fluffy inside. Cubi loves this project because the MacBook ends up looking almost like a real one, and it’s so satisfying to squeeze.
To get the glossy look we use A4 or US Letter self-adhesive holographic film. In the video we try two kinds: a slightly holographic film with a soft opal shine, and a clear film with tiny shimmering stars. Both make the MacBook look surprisingly real.
You can use the same method for squishy tablets, phones and other cute gadgets. A paper MacBook in its own box is also a sweet birthday gift.
BEFORE WE START
What you need.
Materials
- Printable template
- White cardstock
- Clear tape
- A4 or US Letter self-adhesive holographic film
- Cotton pads
- Glue stick
Tools
- Scissors
- Craft knife and ruler
- Cutting mat
- A printer
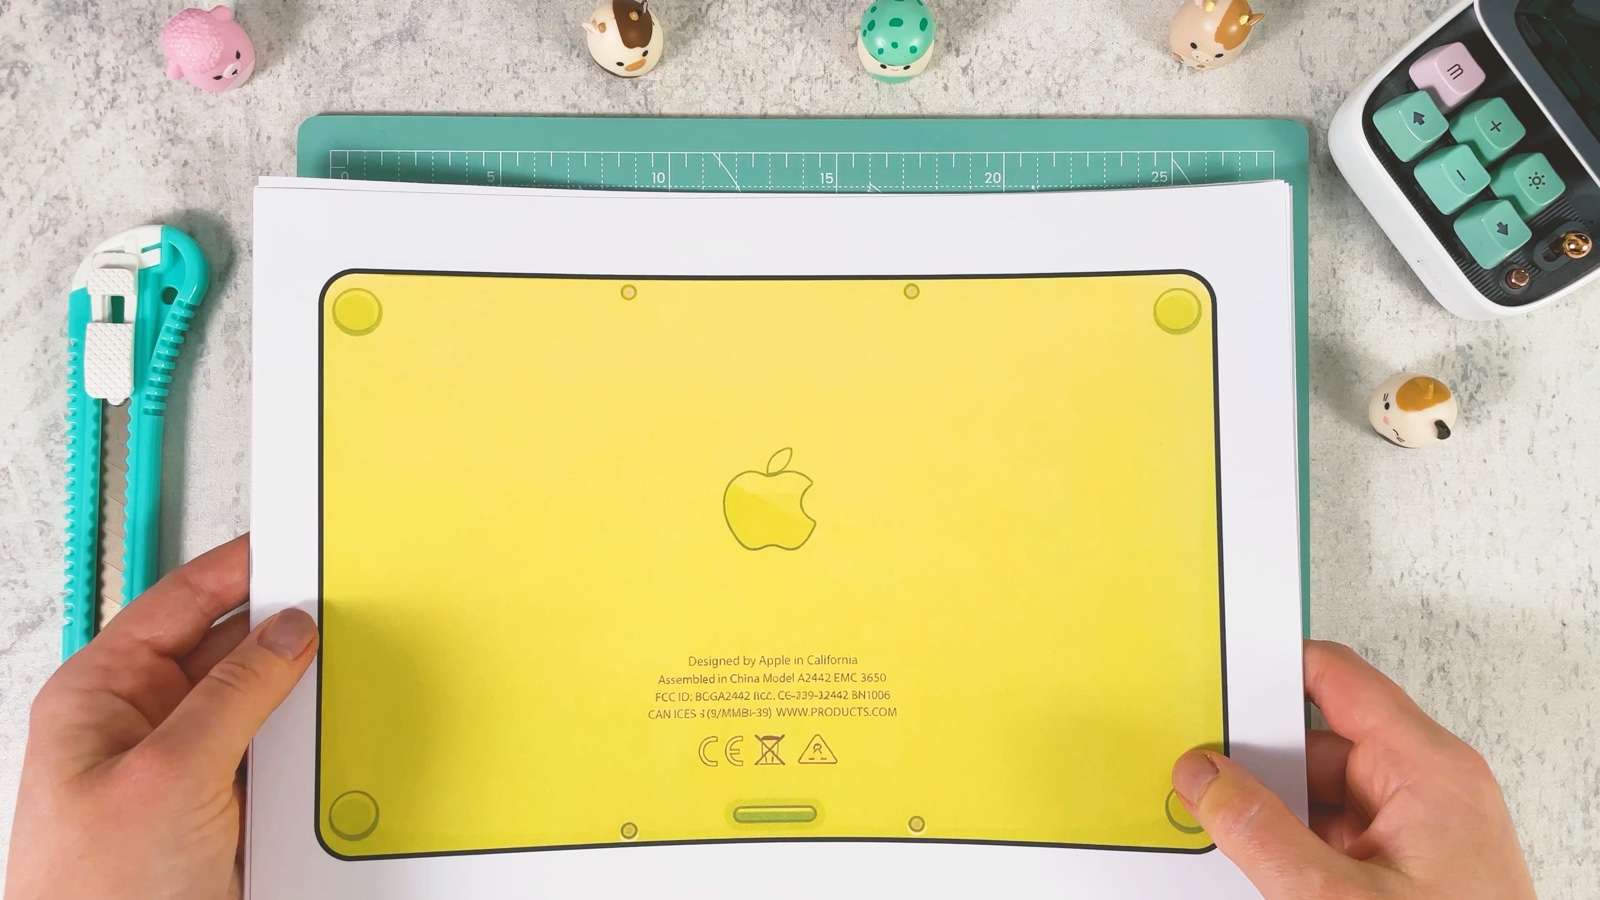
Pages 1 to 4 are the laptop, page 6 is the yellow side strips, pages 5, 7 and 8 are the box.
Get the free template ↓PART 1 OF 4
The bottom with the keyboard
- 1
Print the templates
Print all 8 pages of the MacBook Neo template.
- 2
Cut out all the pieces
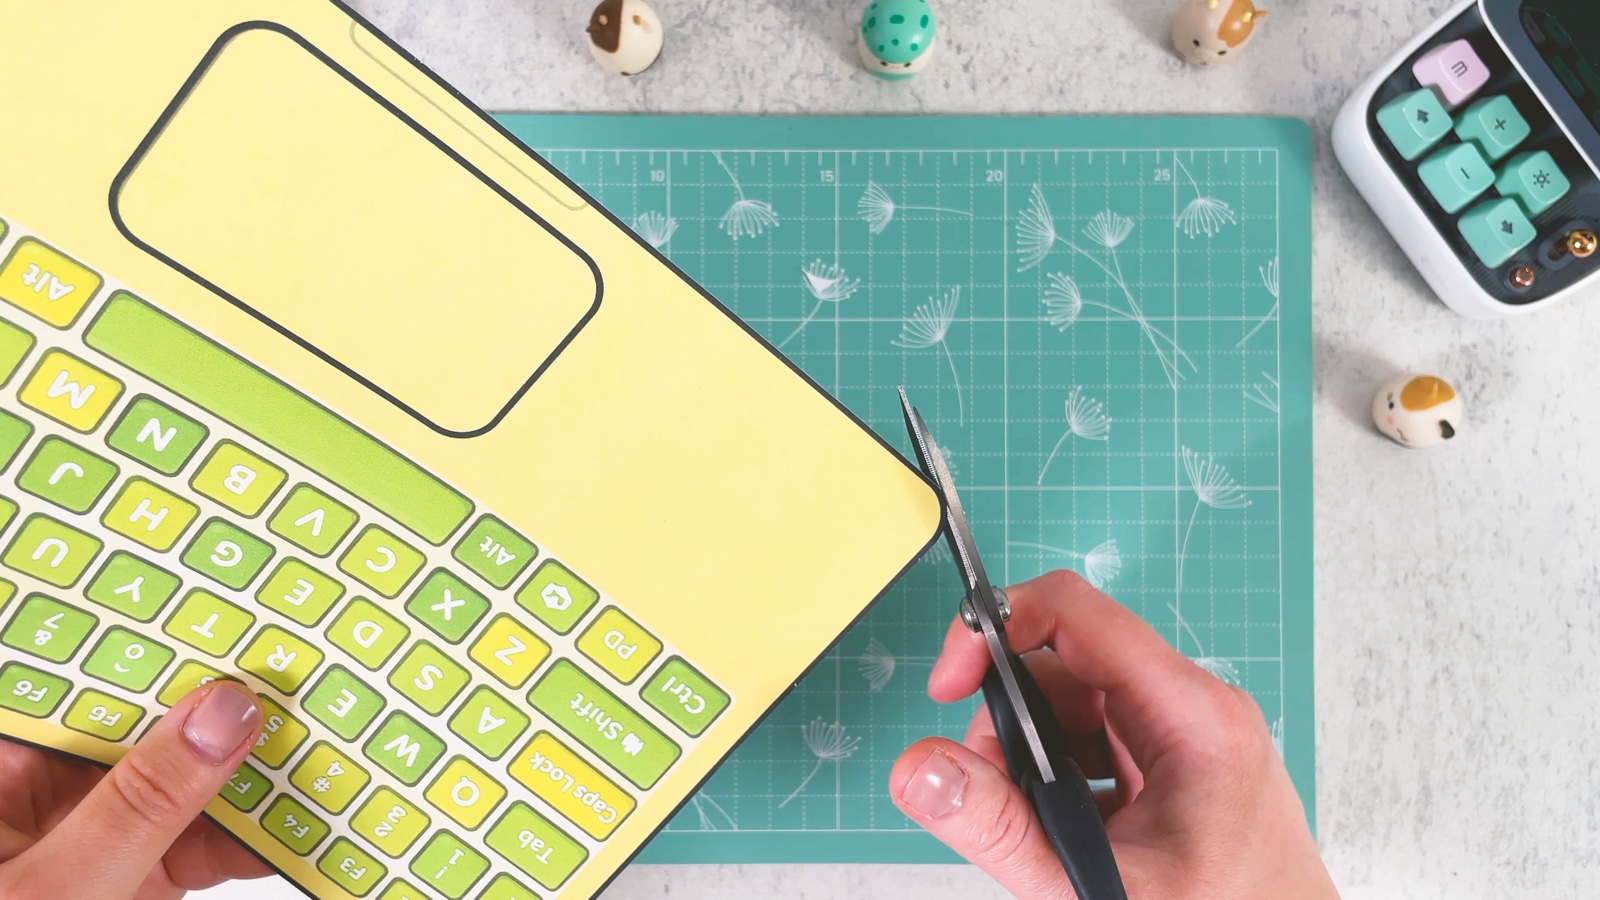
Carefully cut out all the laptop pieces: the bottom, the keyboard, the lid and the screen. Use a craft knife and a ruler for the long straight edges.
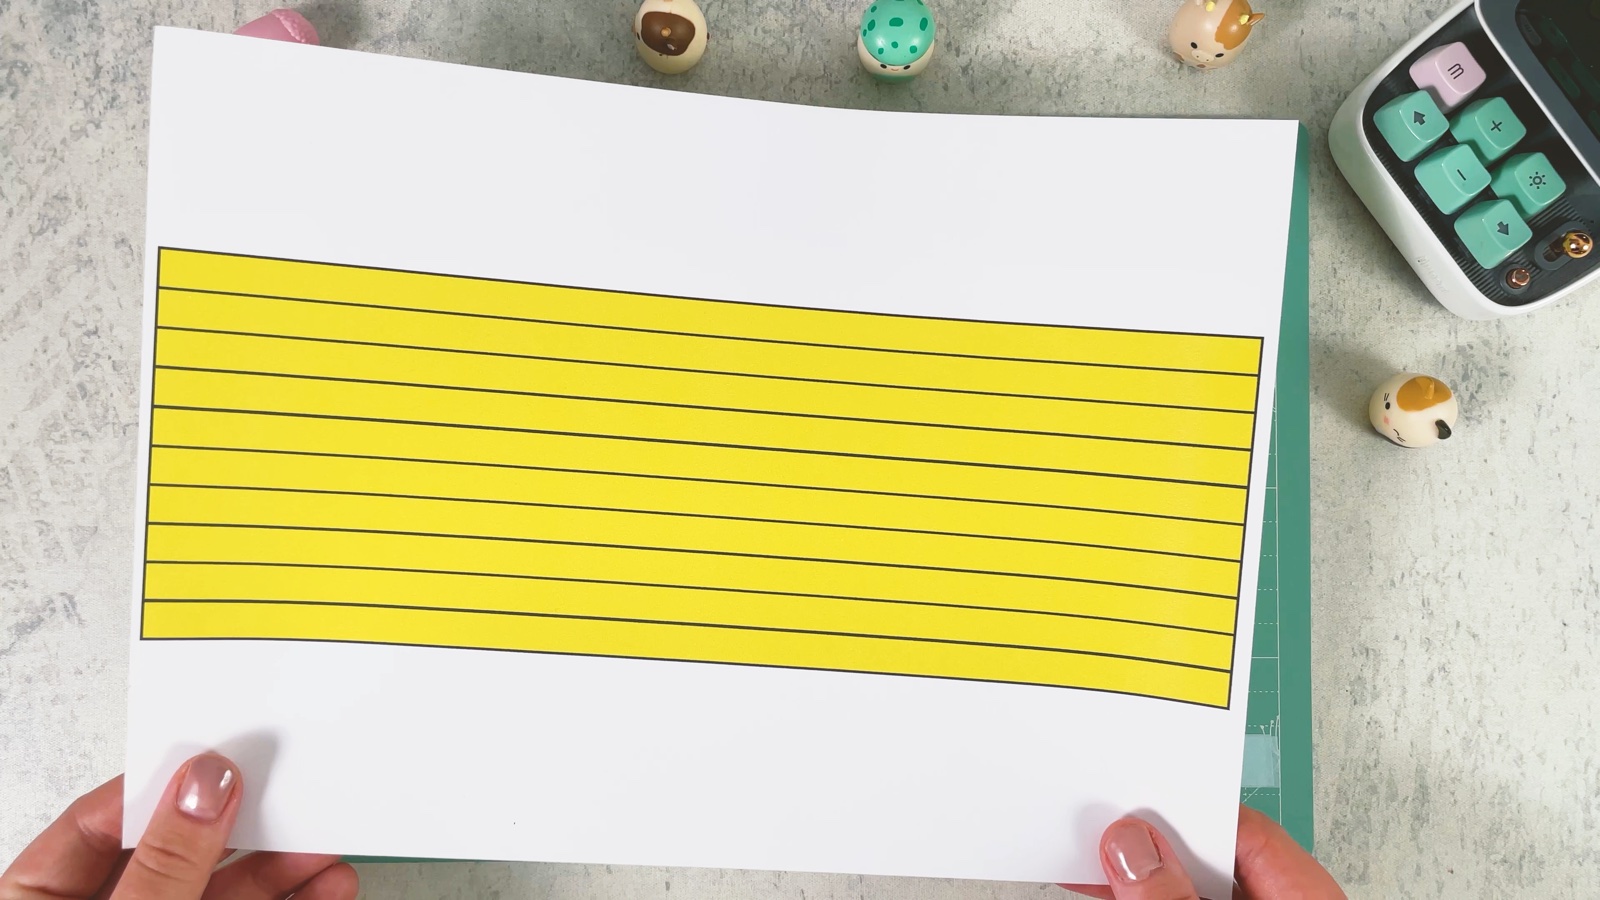
Cut the yellow side strips apart along the lines.
- 3
Cover the bottom with clear film
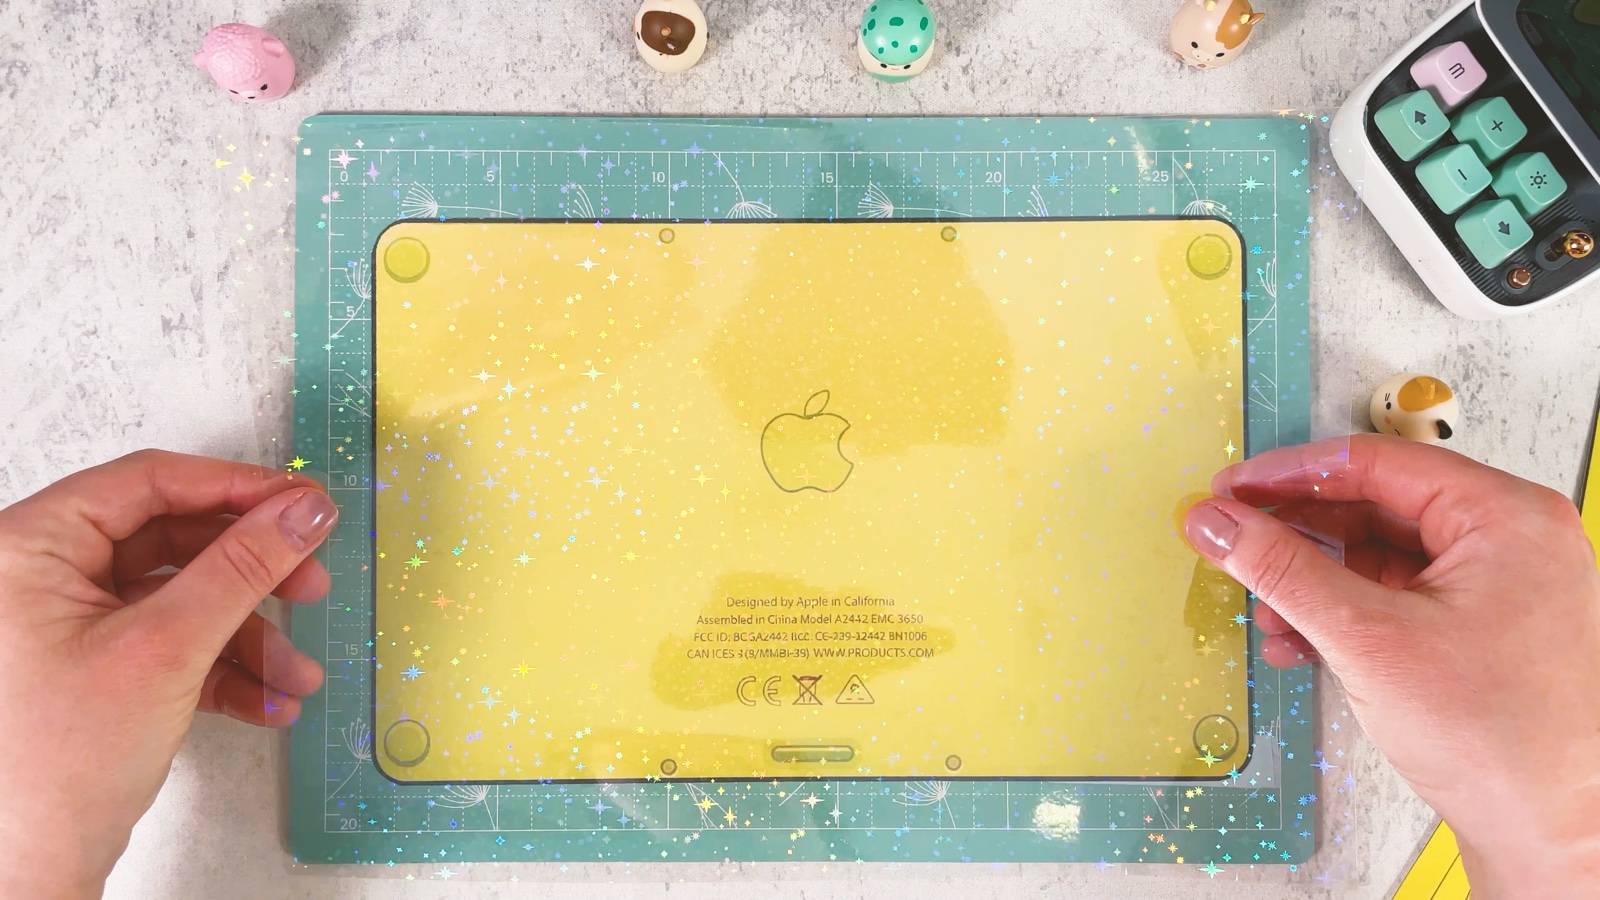
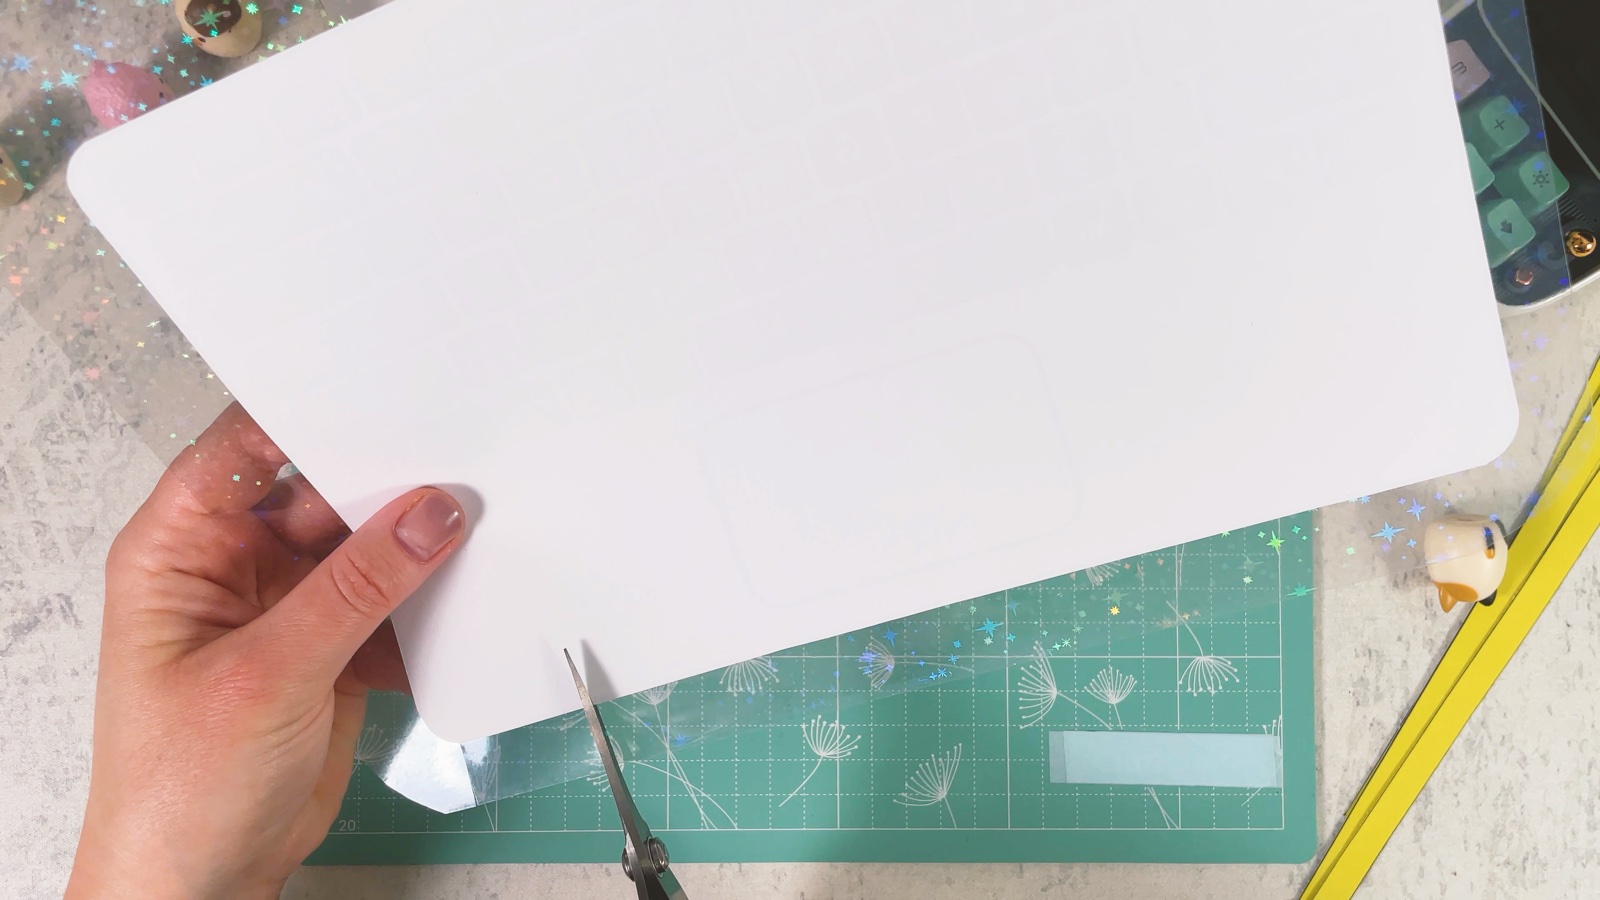
Peel the backing off a sheet of self-adhesive holographic film and press it onto the printed bottom piece. Smooth it from the middle out so no bubbles stay inside.
- 4
Trim the film
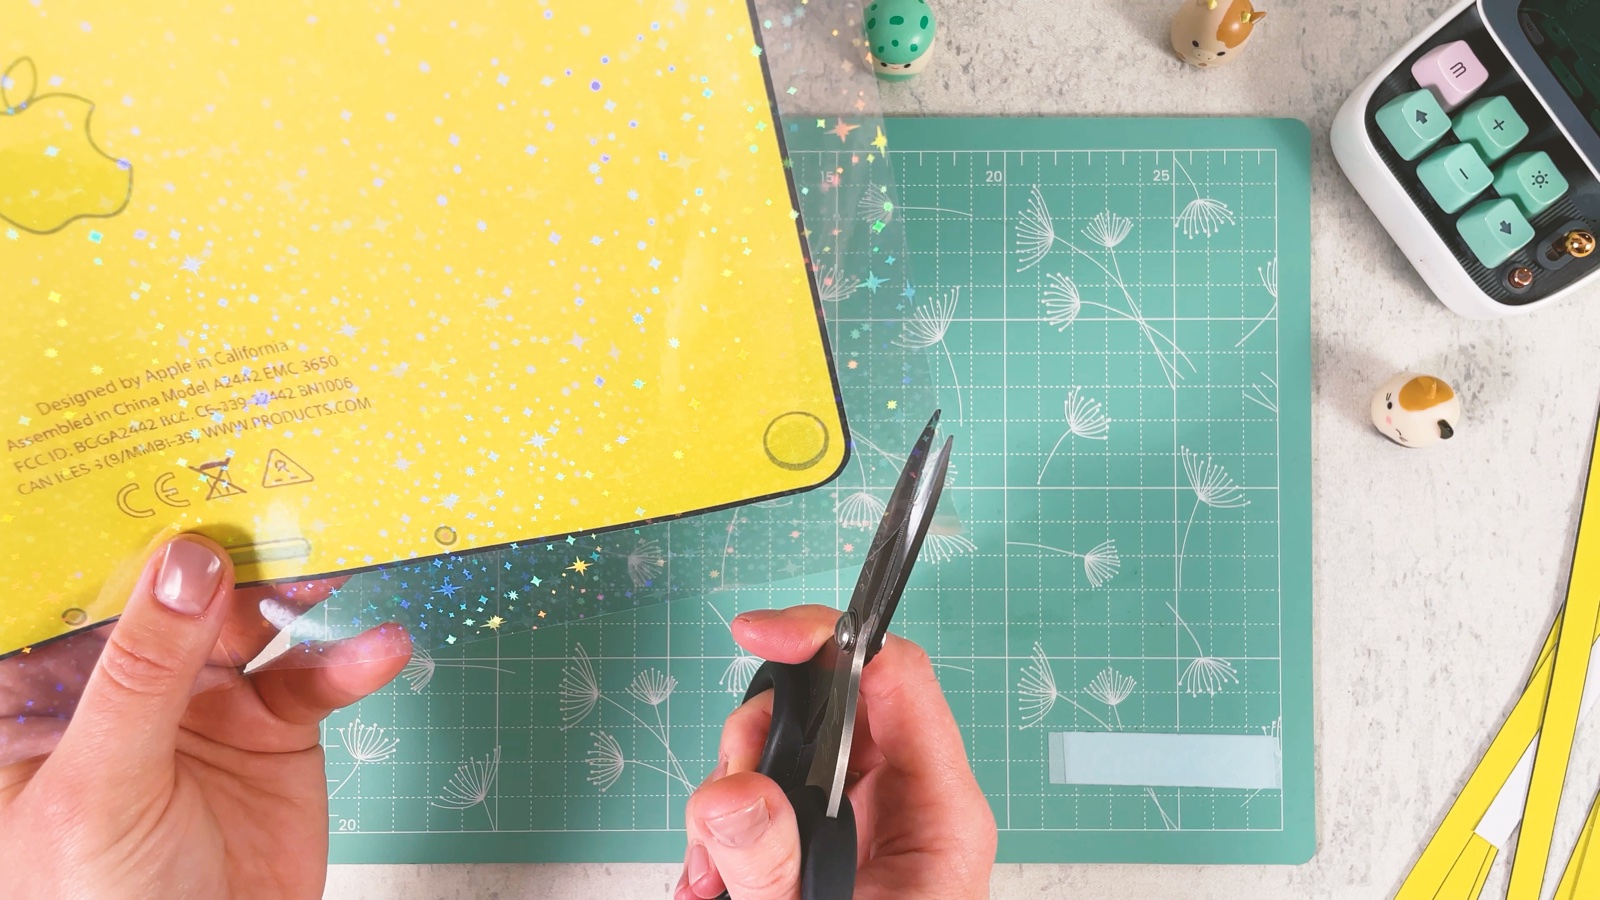
Cut the film along the edge of the piece, following the rounded corners.
- 5
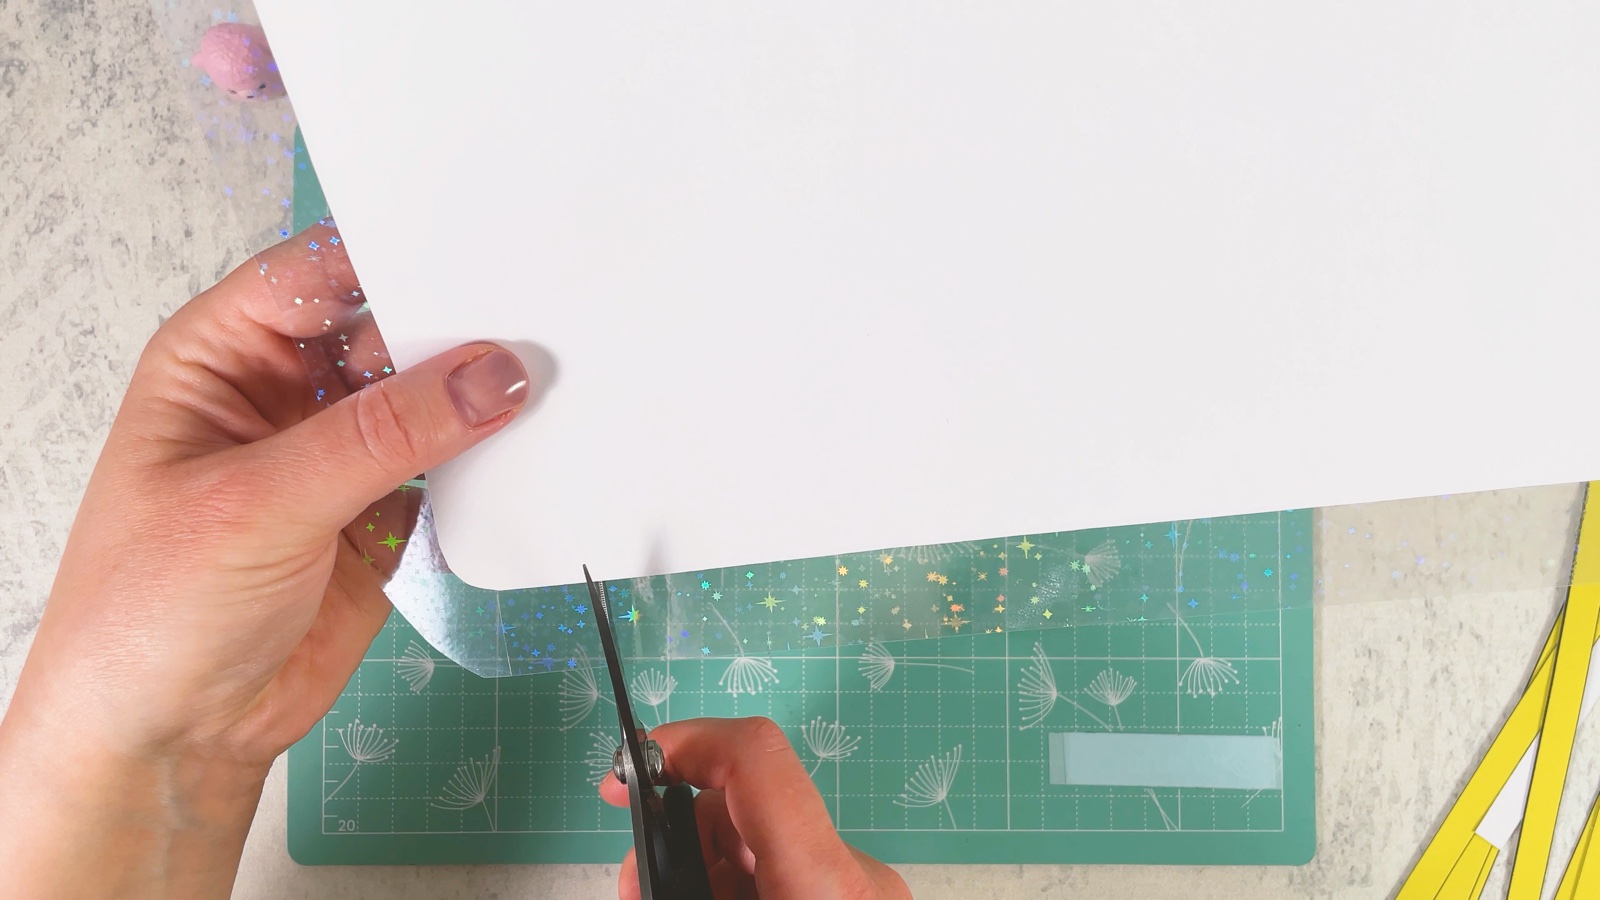
Cut a white base
Lay the bottom piece on white cardstock and cut around it. Now you have a white base the same size and shape.
- 6
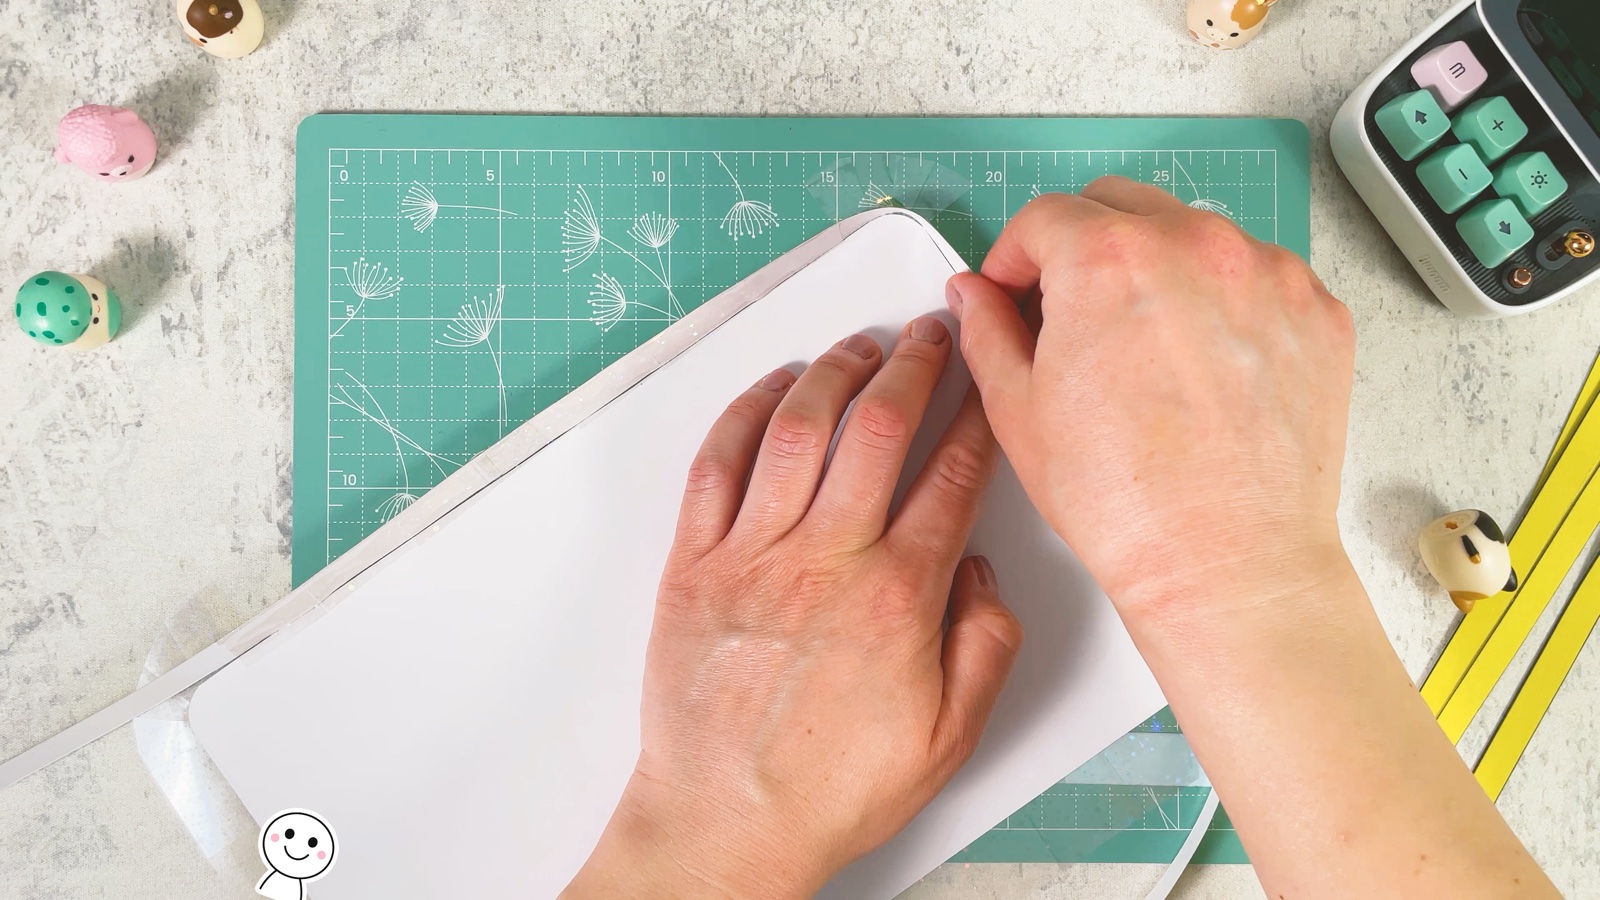
Build the walls
Tape the yellow side strips around the edge of the white base with clear tape, so they stand up like low walls. Go all the way around, also at the corners.
- 7
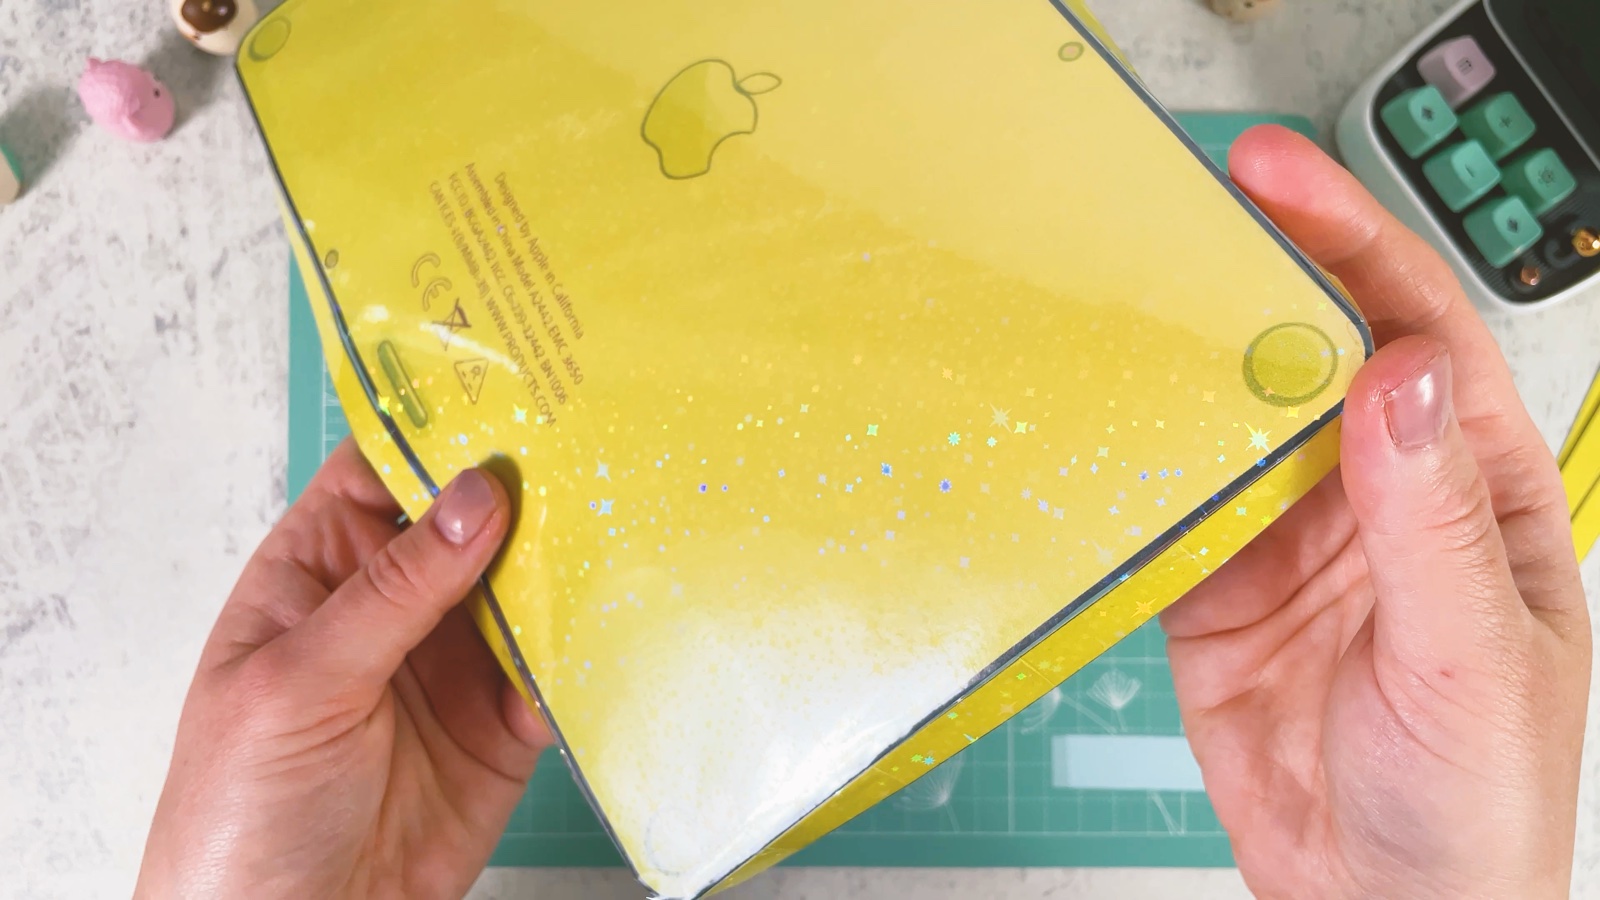
Stick on the bottom piece
Turn the base over and stick the glossy bottom piece on it. Now the laptop has its real bottom with the Apple logo.
- 8
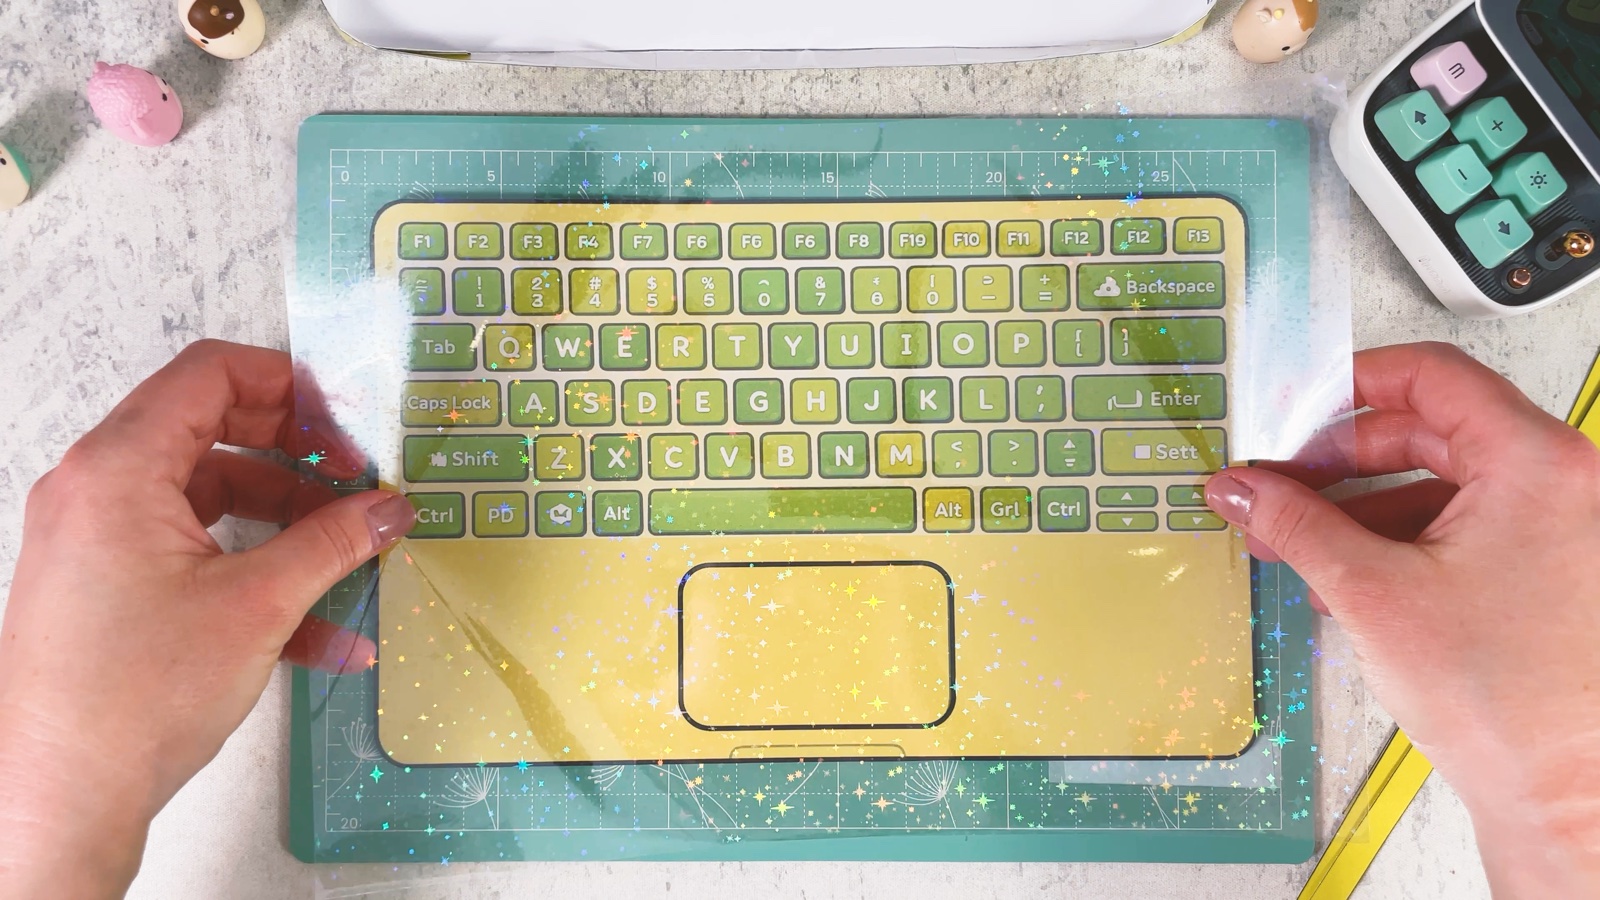
Cover the keyboard with film
Press clear film over the keyboard piece, then trim it along the edge like before.
- 9
Cut a white back for the keyboard
Use the keyboard as a guide and cut one more piece of white cardstock the same size. This goes under the keyboard so it stays flat.
- 10
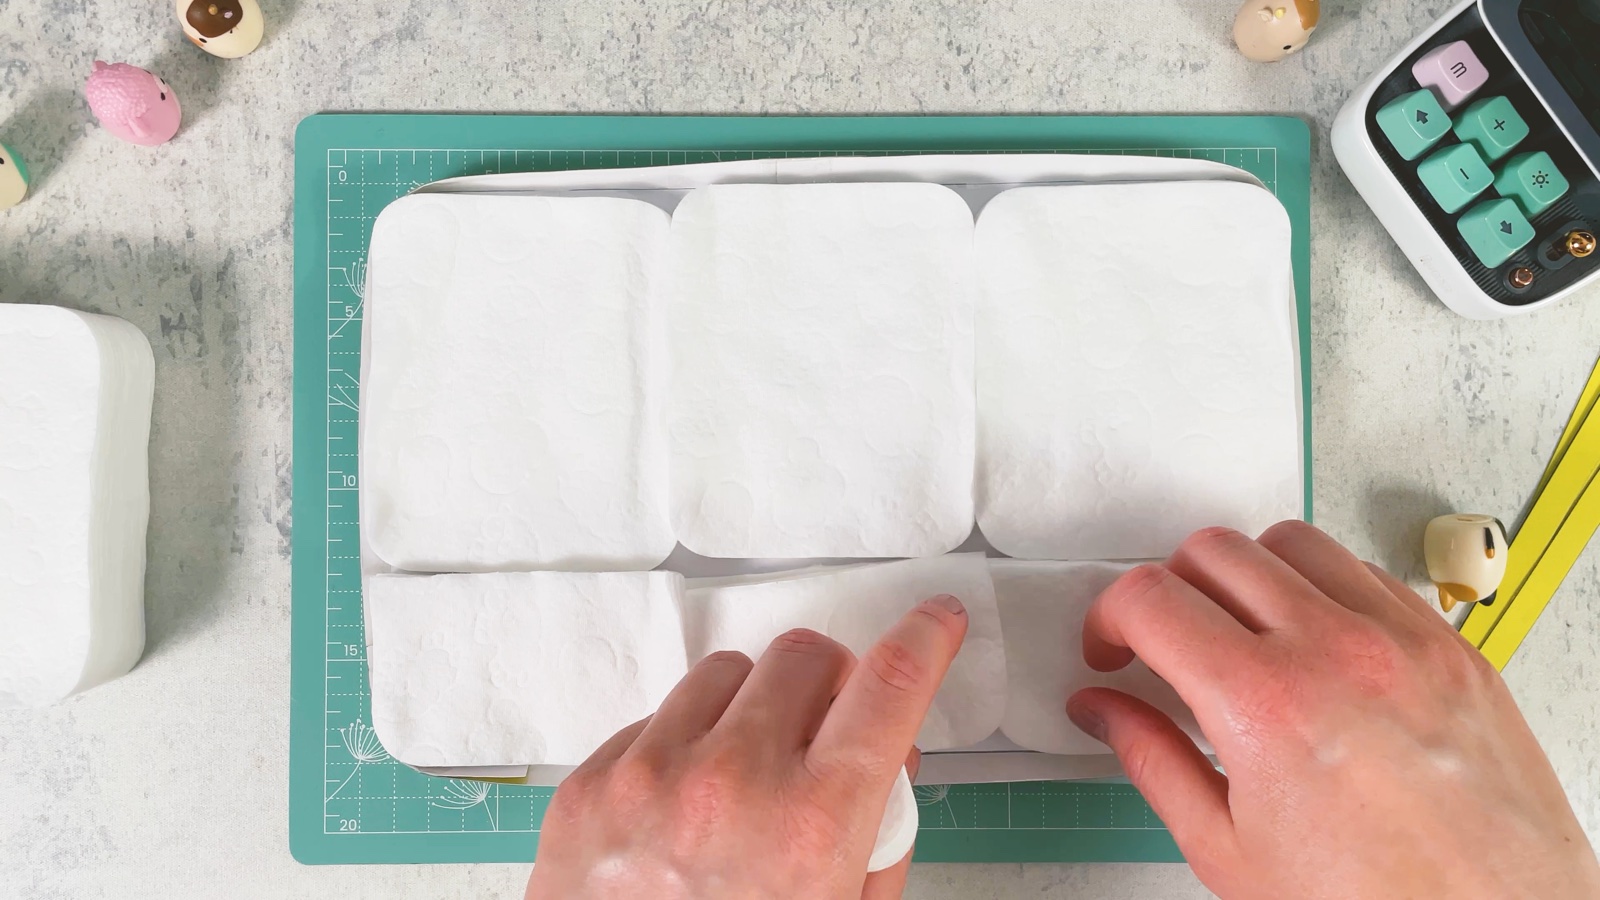
Fill it with cotton
Fill the tray generously with cotton pads. Cut some to fit the gaps. The more you add, the softer and squishier it gets.
- 11
Close it with the keyboard
Lay the keyboard on top of the cotton and tape its edges to the walls with clear tape, all the way around.
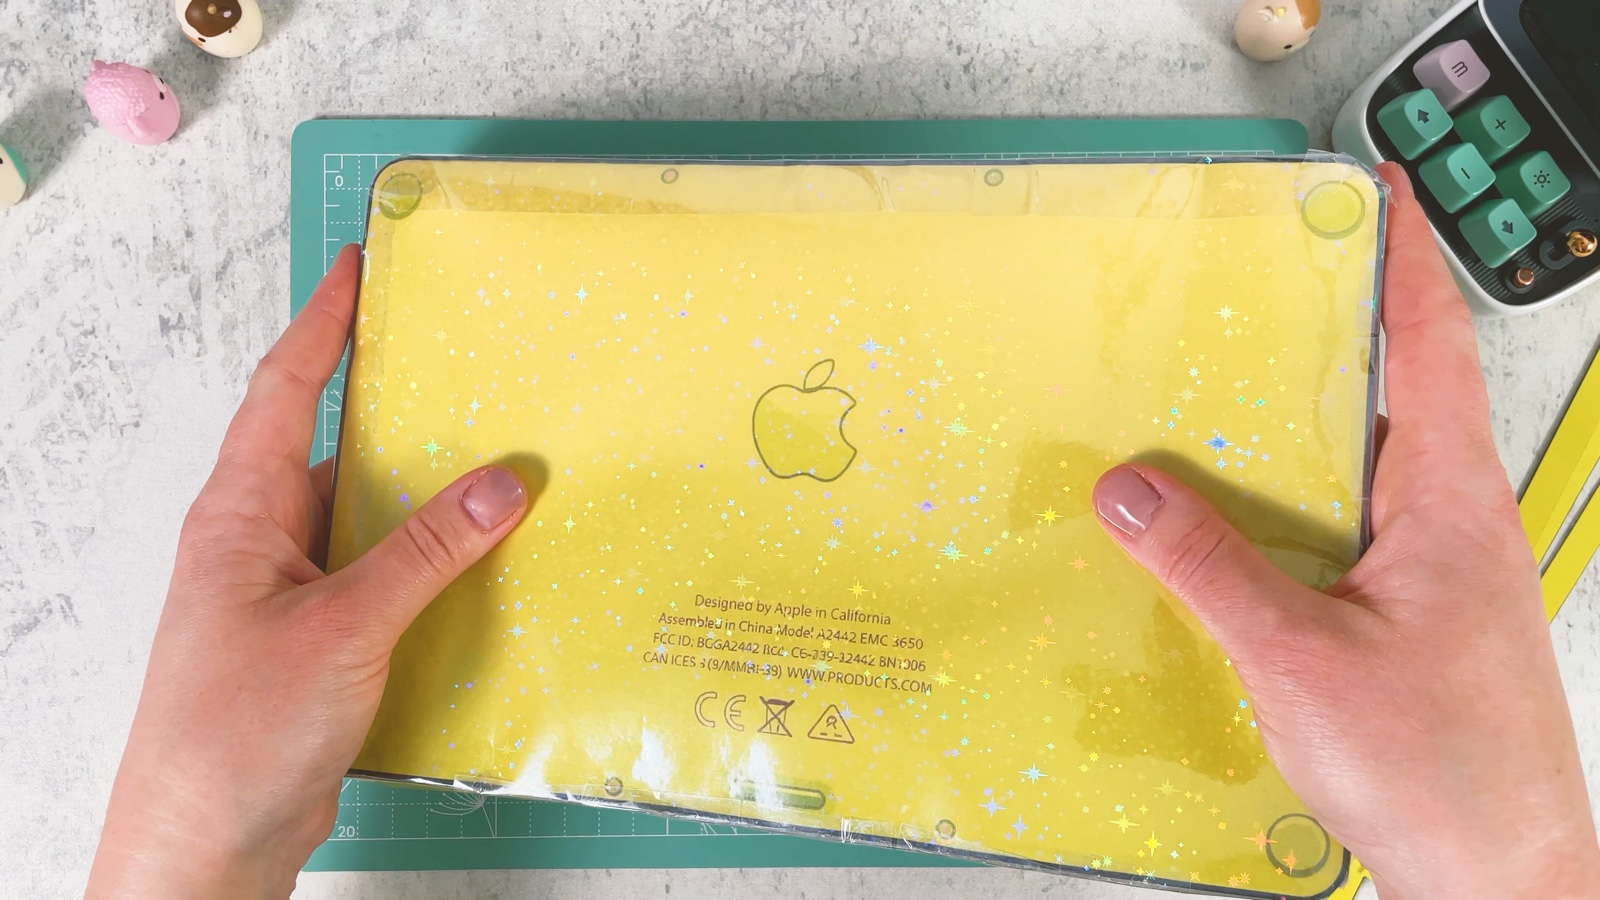
The bottom of the MacBook is ready.
PART 2 OF 4
The top with the screen
- 12
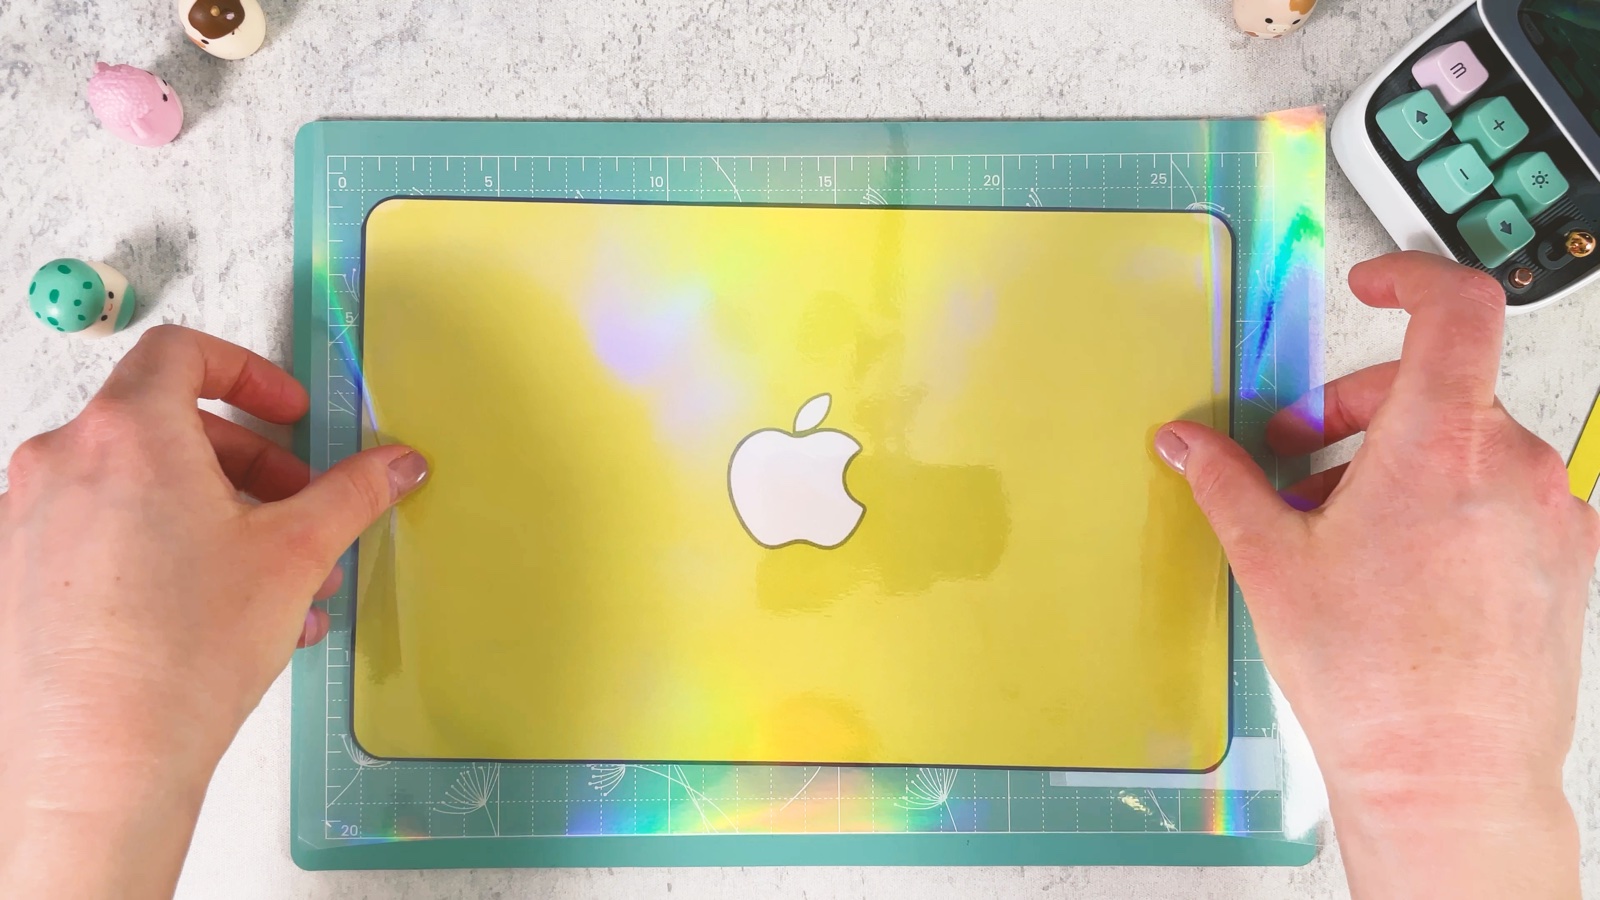
Cover the lid with holographic film
Take the lid with the white Apple logo and the screen piece.
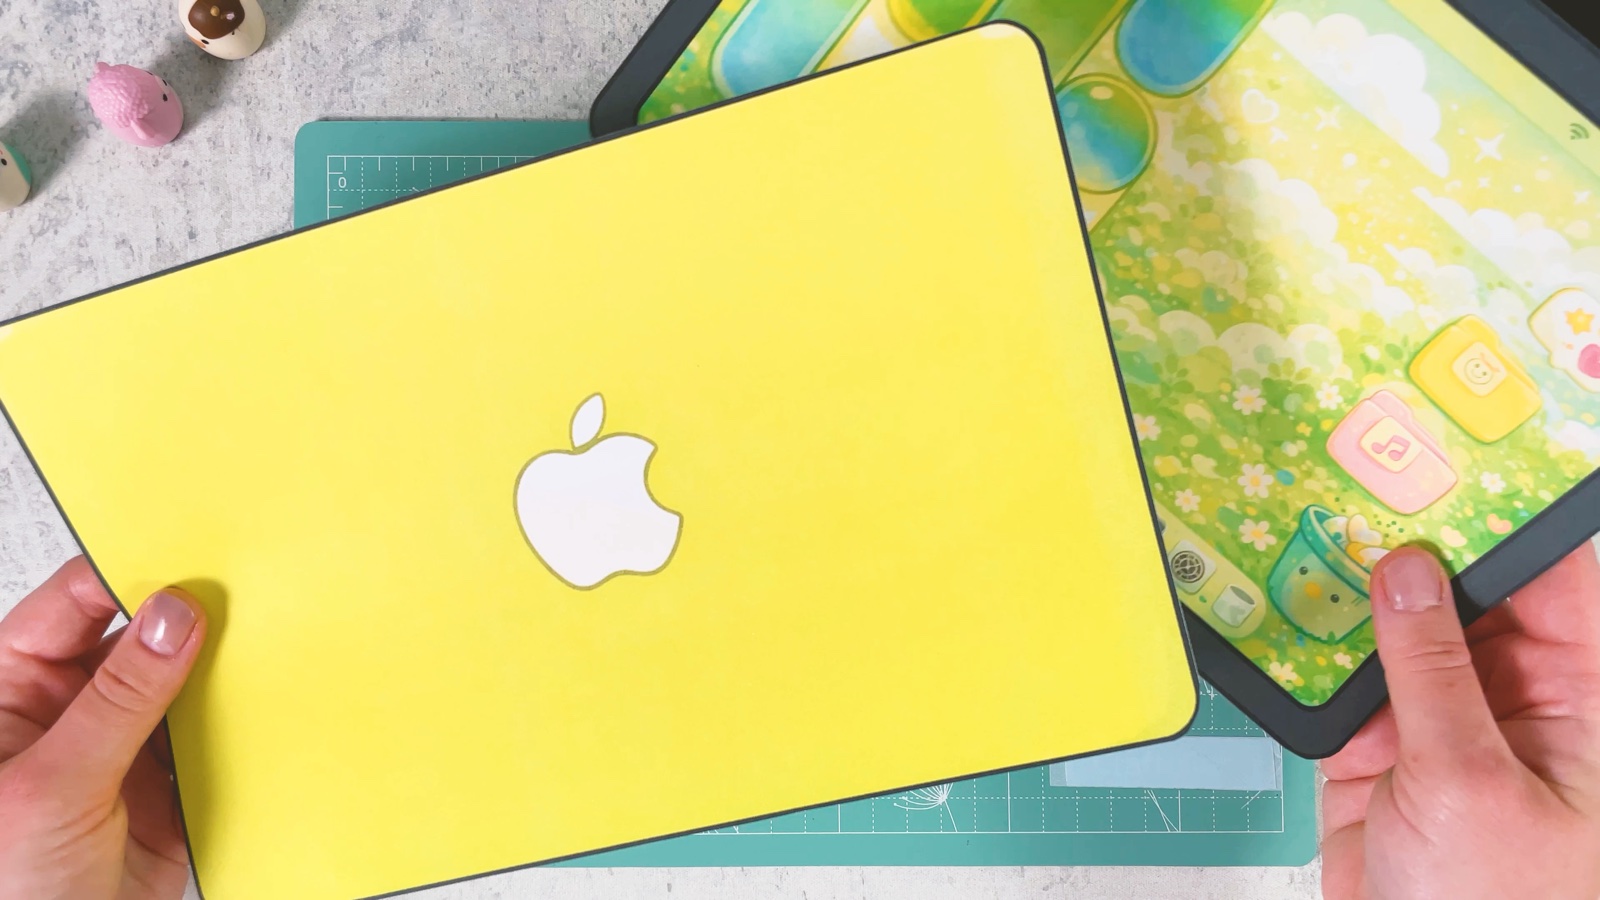
Press the holographic film over the lid and trim it along the edge.
- 13
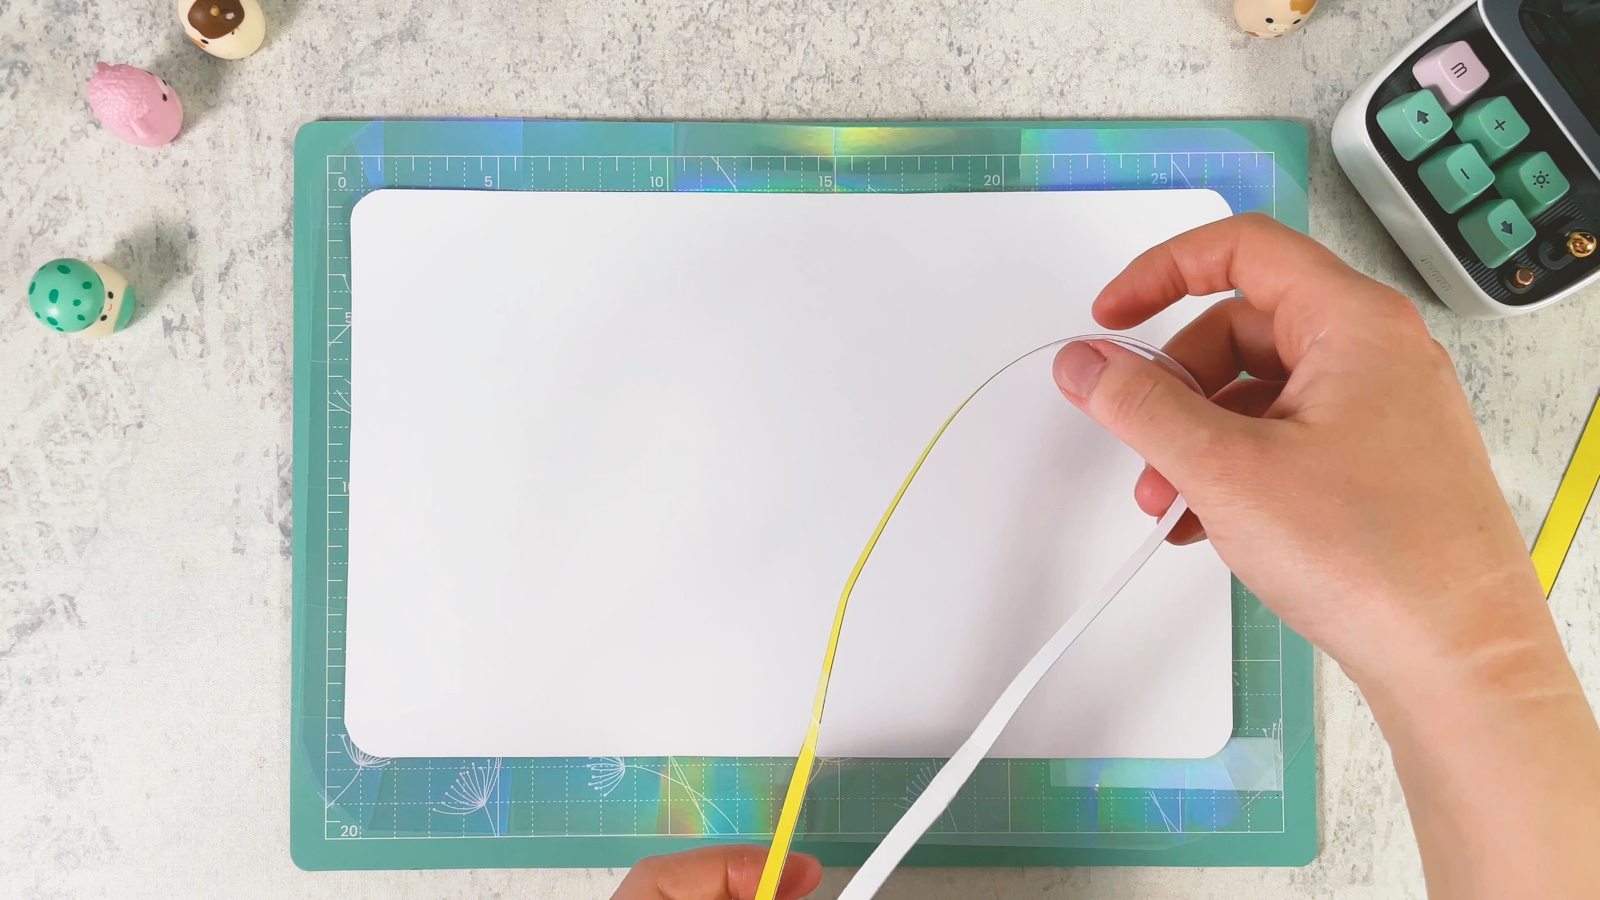
Build the top base
Cut a white cardstock base the size of the lid and tape yellow side strips around it, just like for the bottom. Then stick the glossy lid on the back.
- 14
Close it with the screen
Cover the screen with clear film and trim it.
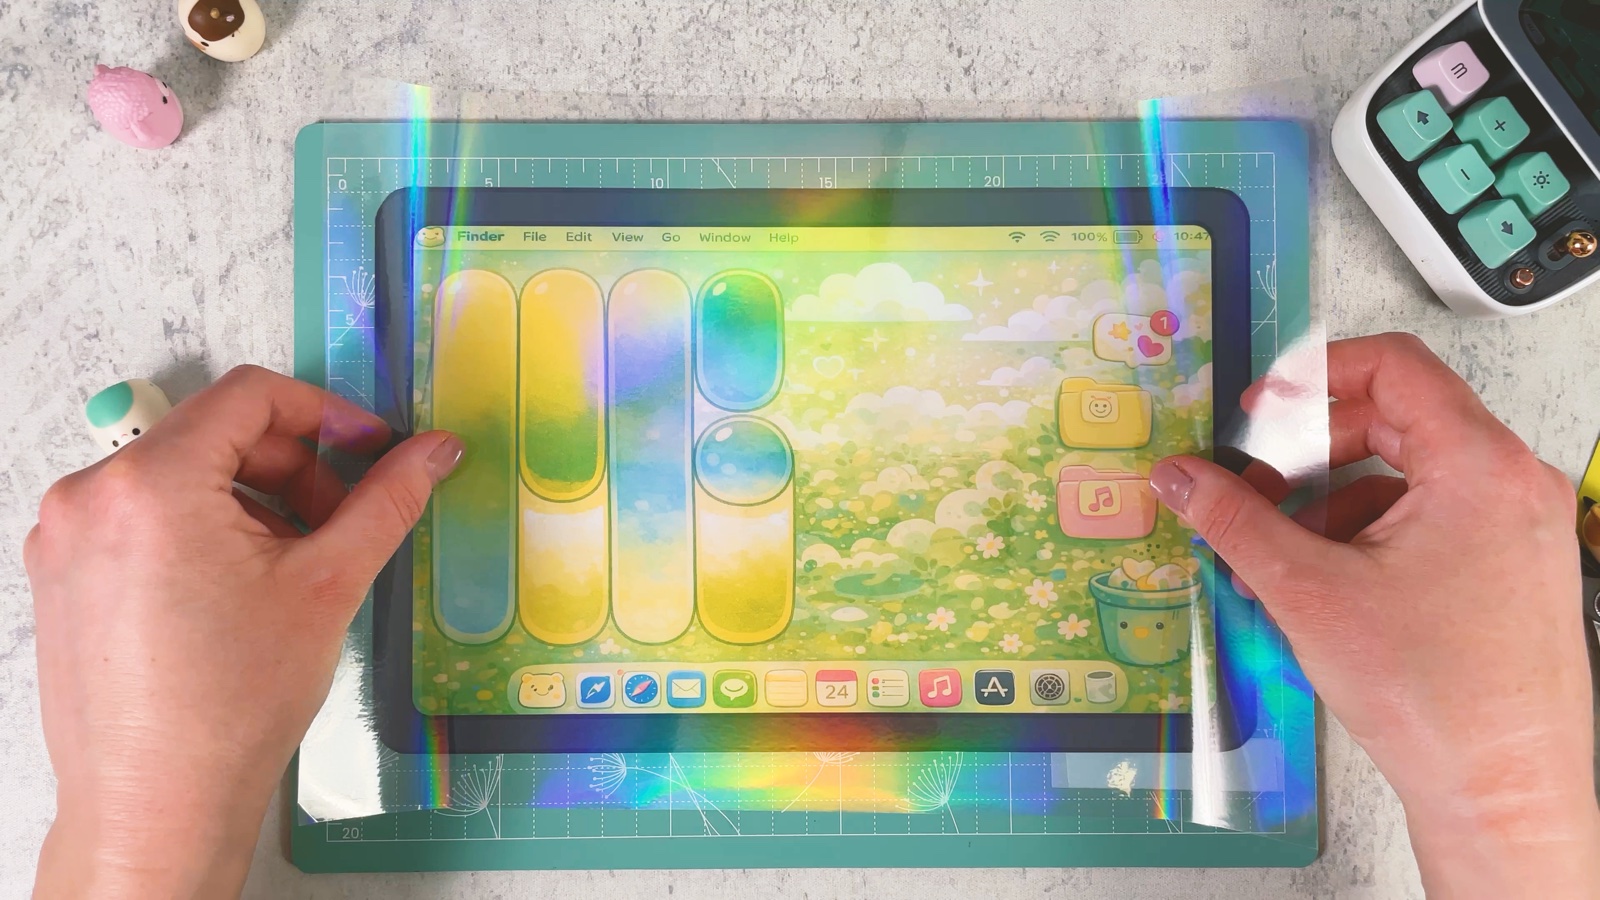
Fill the top with cotton pads, then lay the screen on and tape its edges to the walls.
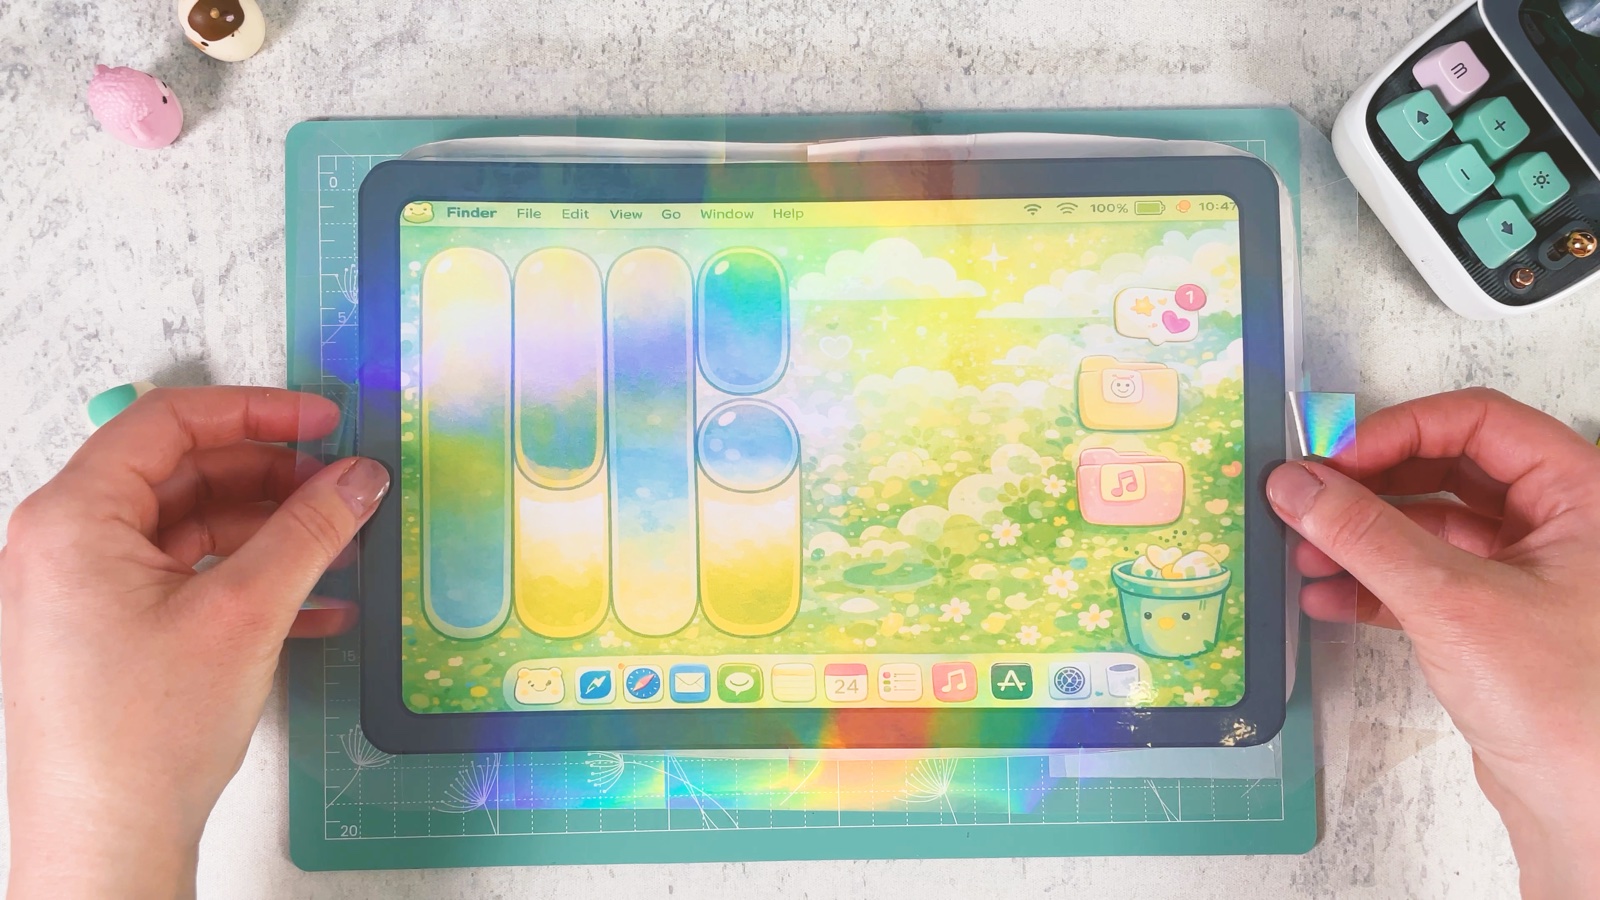
Turn it over. The shiny lid is on the back.
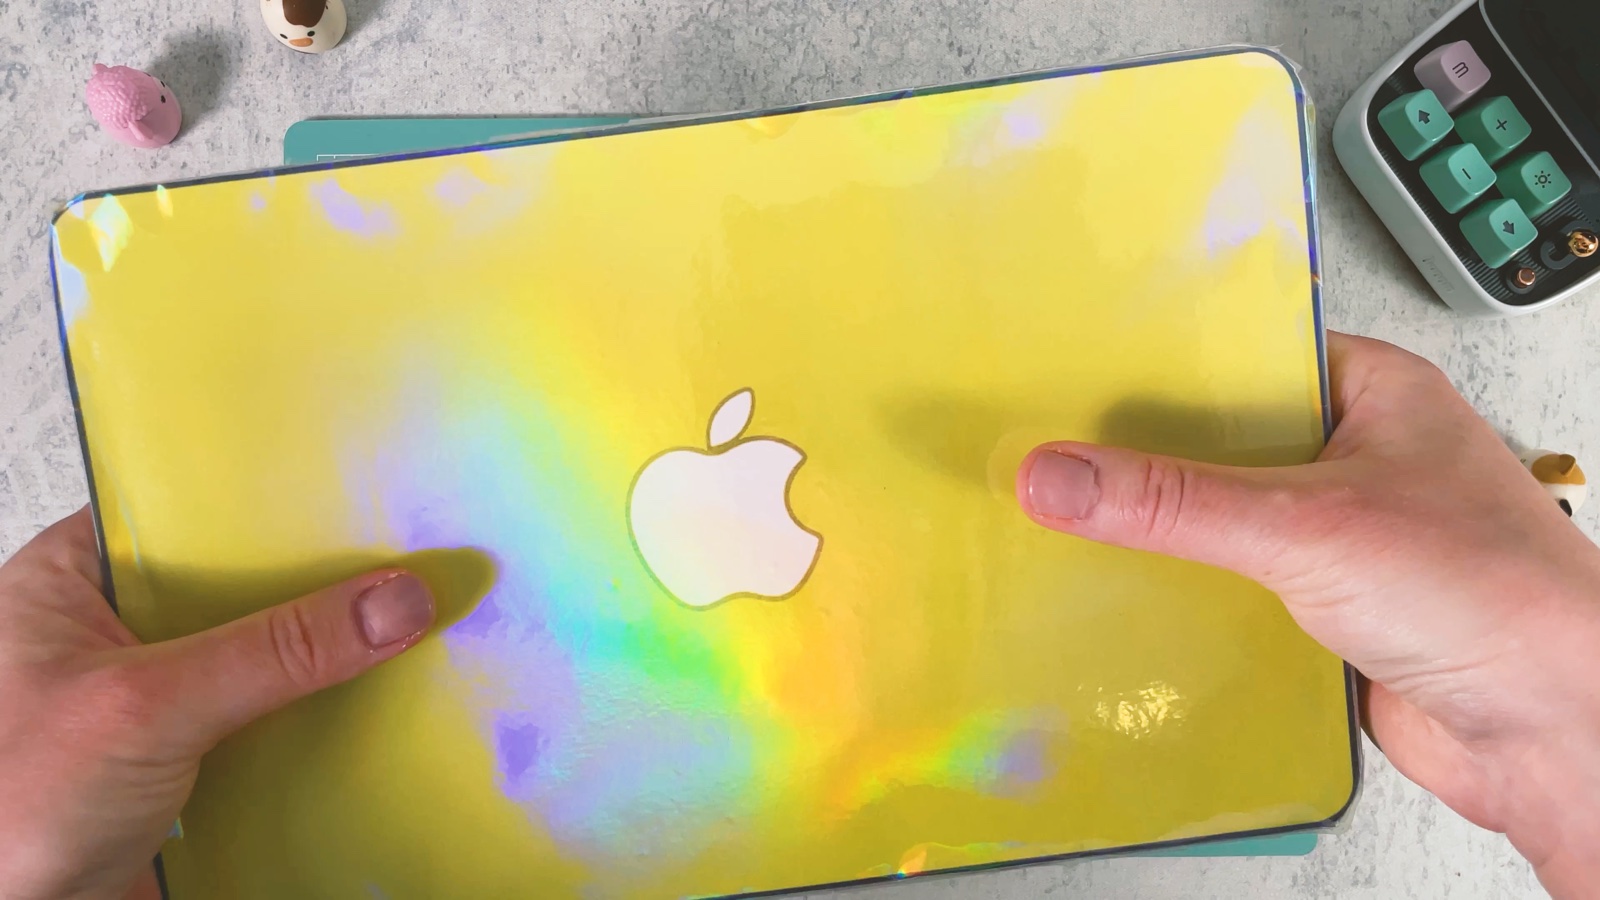
The top of the MacBook is ready.
PART 3 OF 4
The hinge
- 15
Join the two parts
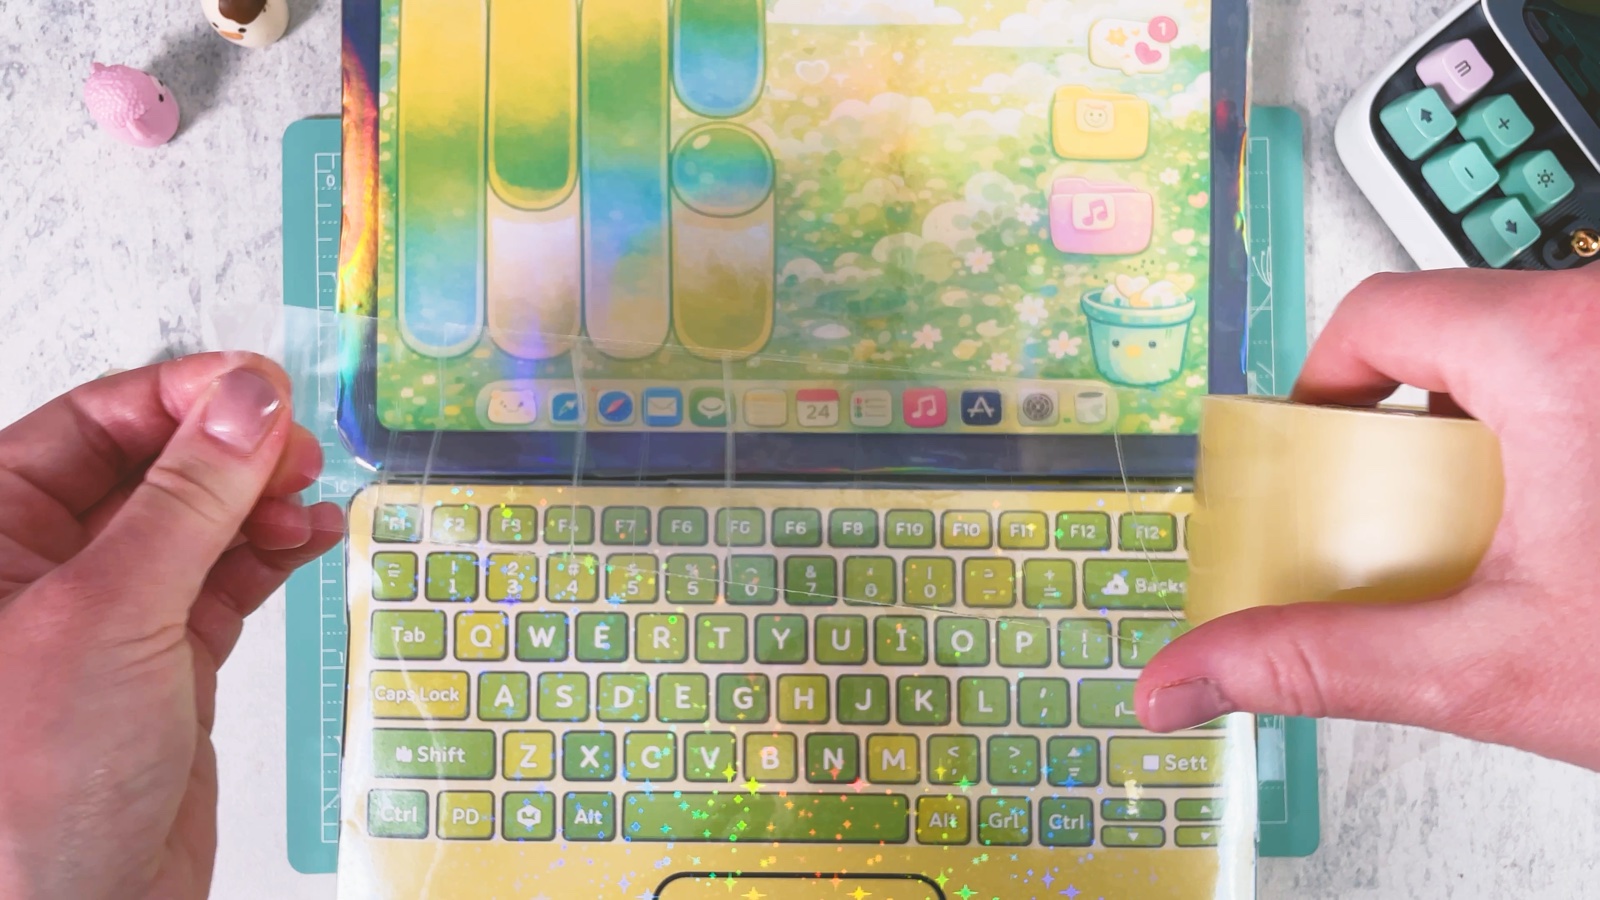
Put the screen part above the keyboard part. Join them with clear tape along the edge where they meet. This tape is the hinge, so the laptop opens and closes.
PART 4 OF 4
The MacBook box
- 16
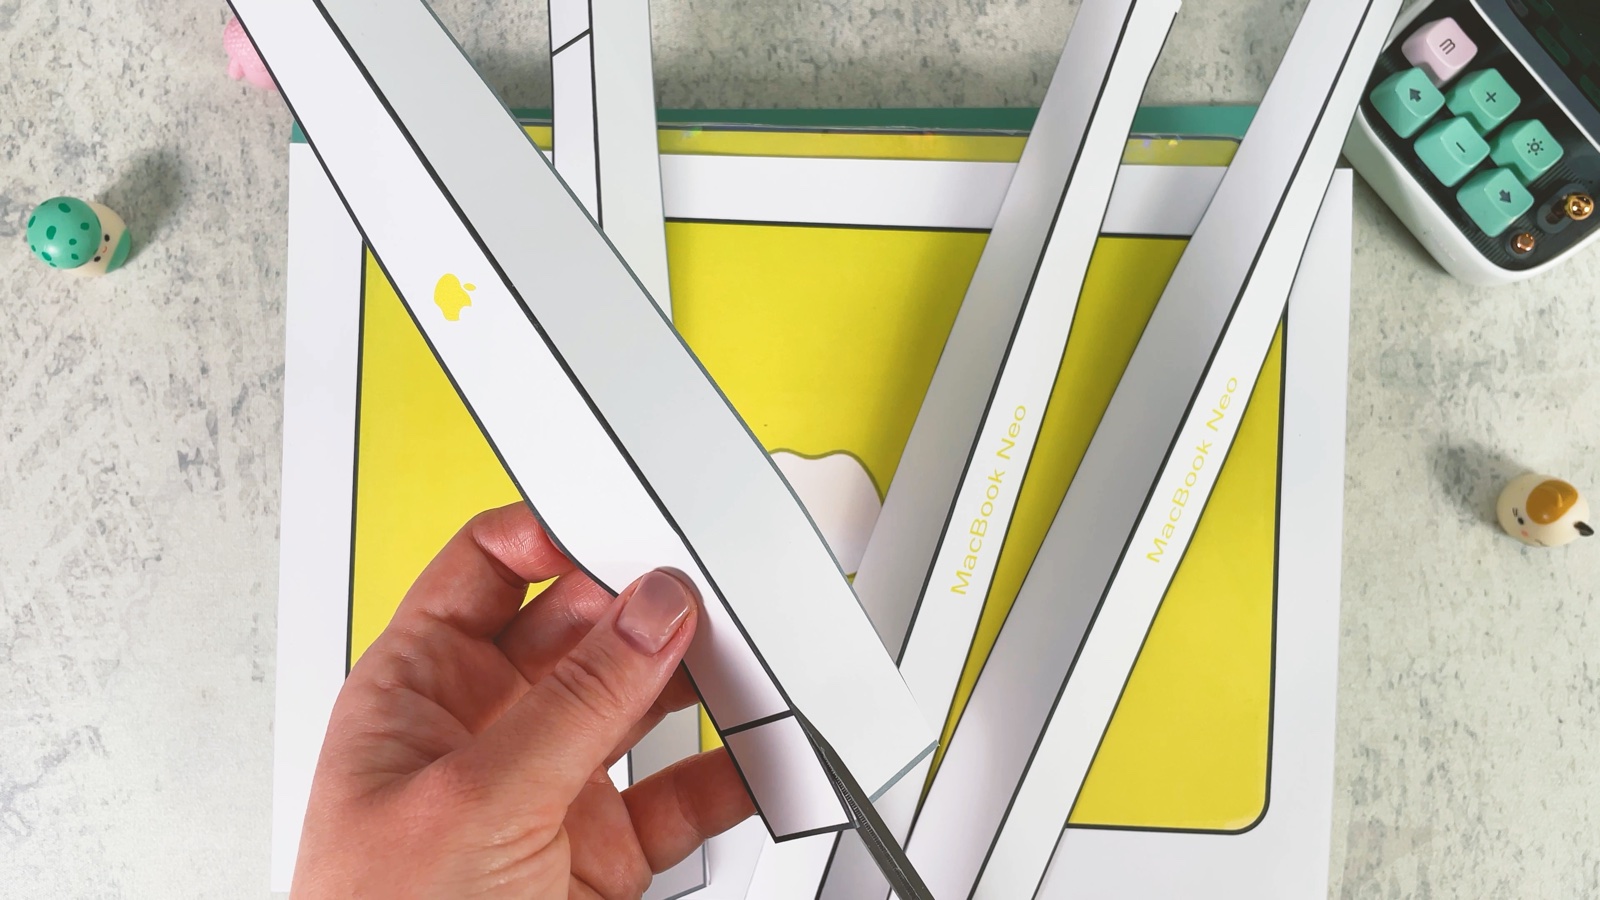
Cut out the box strips
Cut out the white box strips from pages 7 and 8.
- 17
Fold the strips
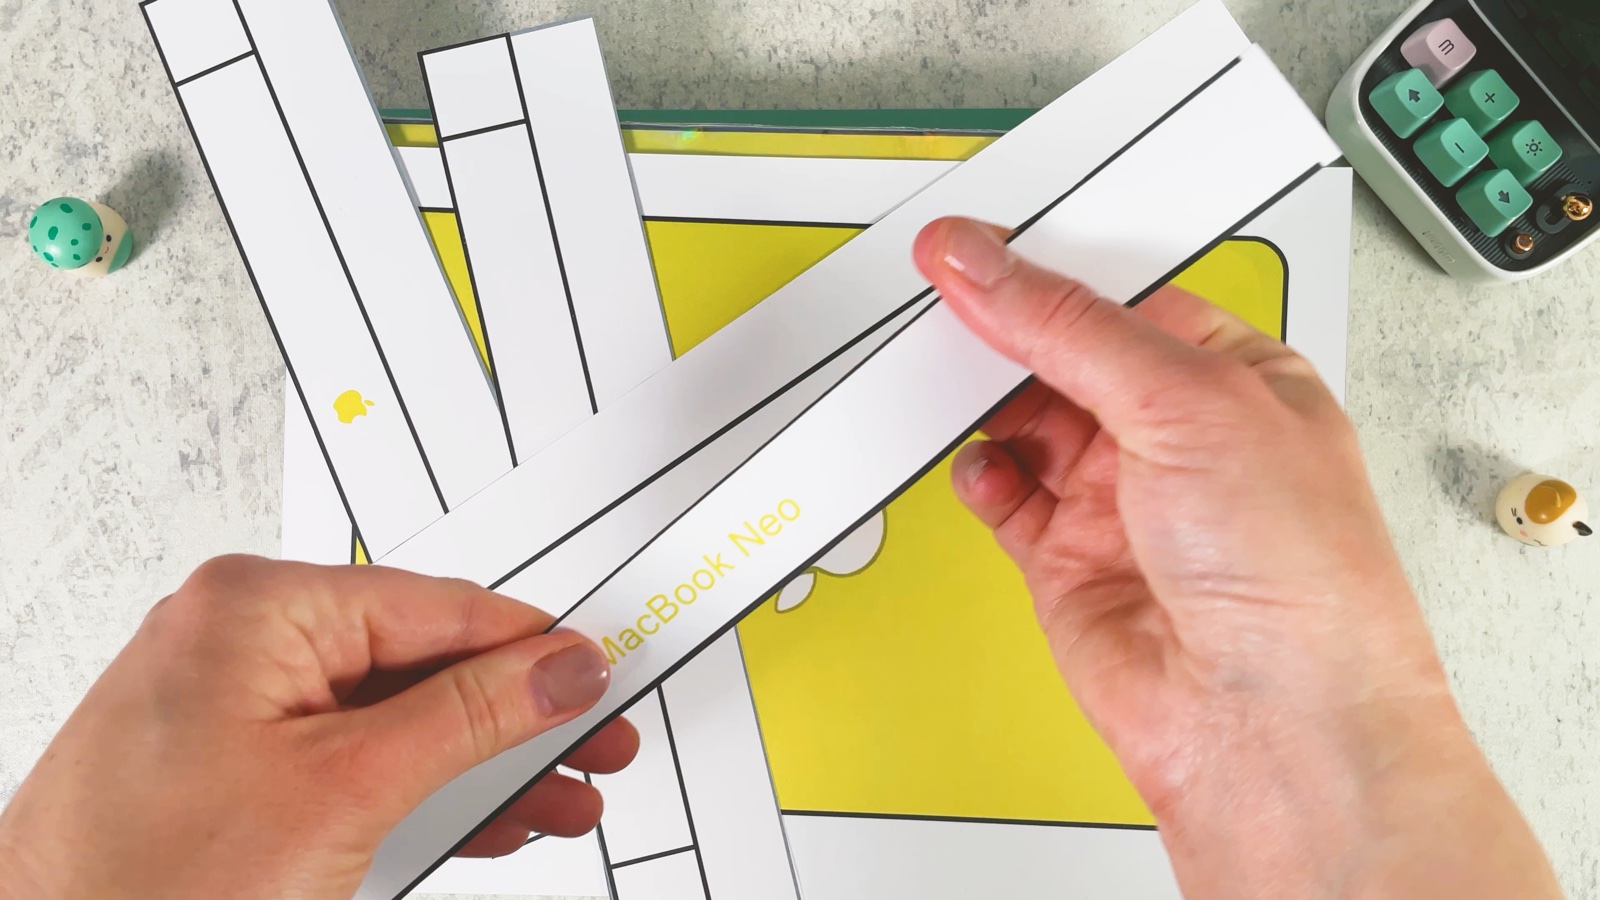
Fold each strip along its lines.
- 18
Build the bottom of the box
Take a sheet of white cardstock a little bigger than the laptop. Glue the folded plain strips along its edges.
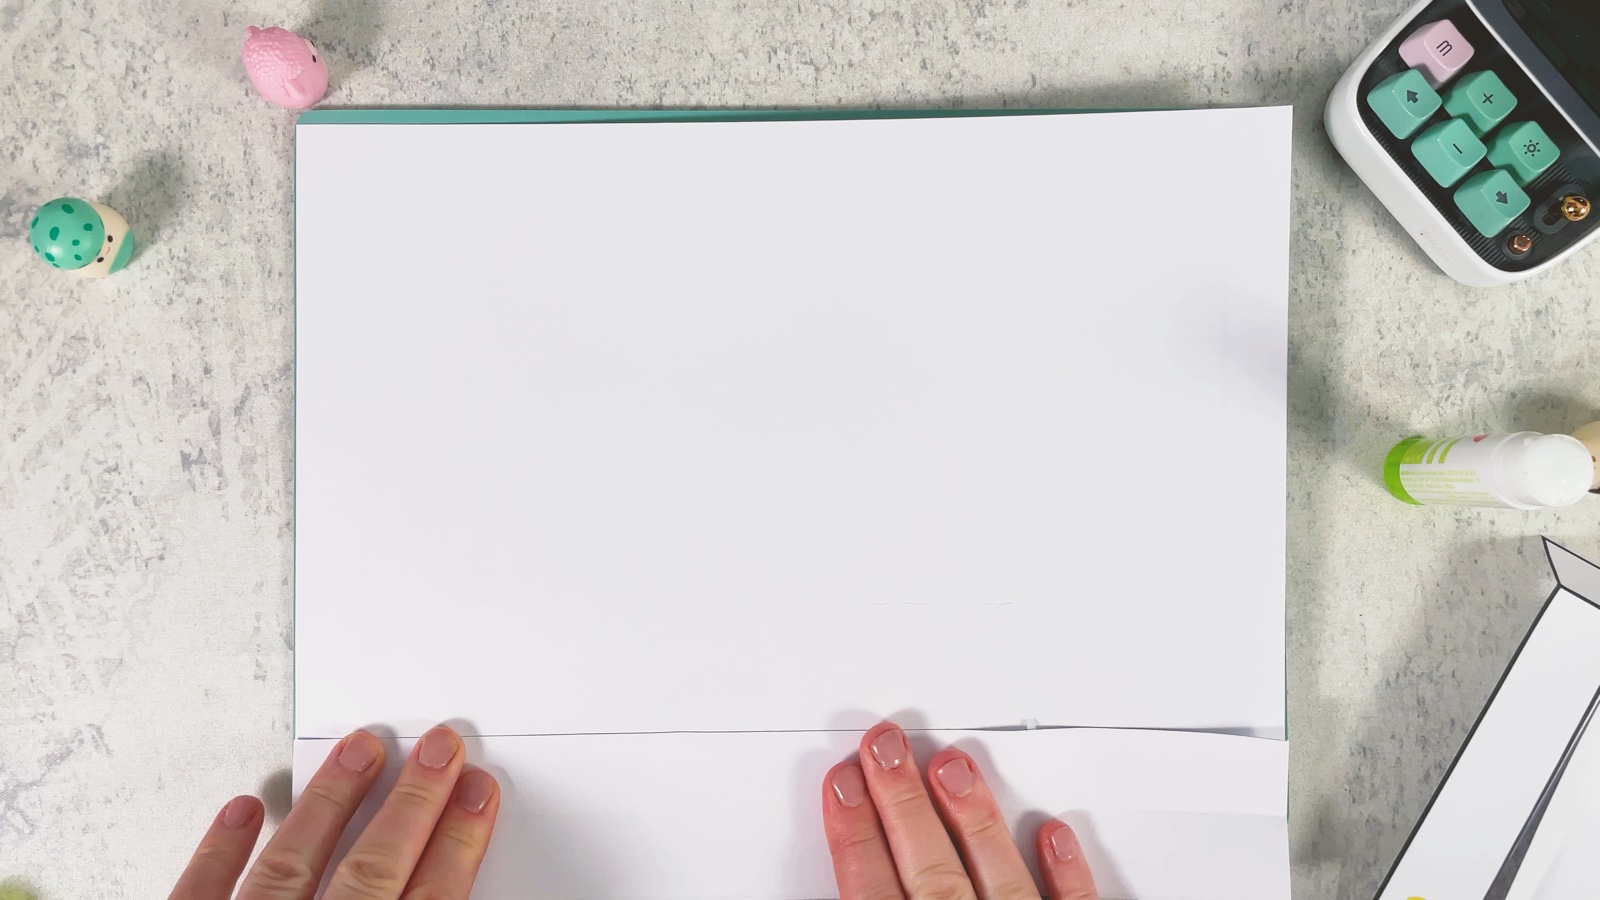
Go around all four sides and press the corners together. Now you have a tray.
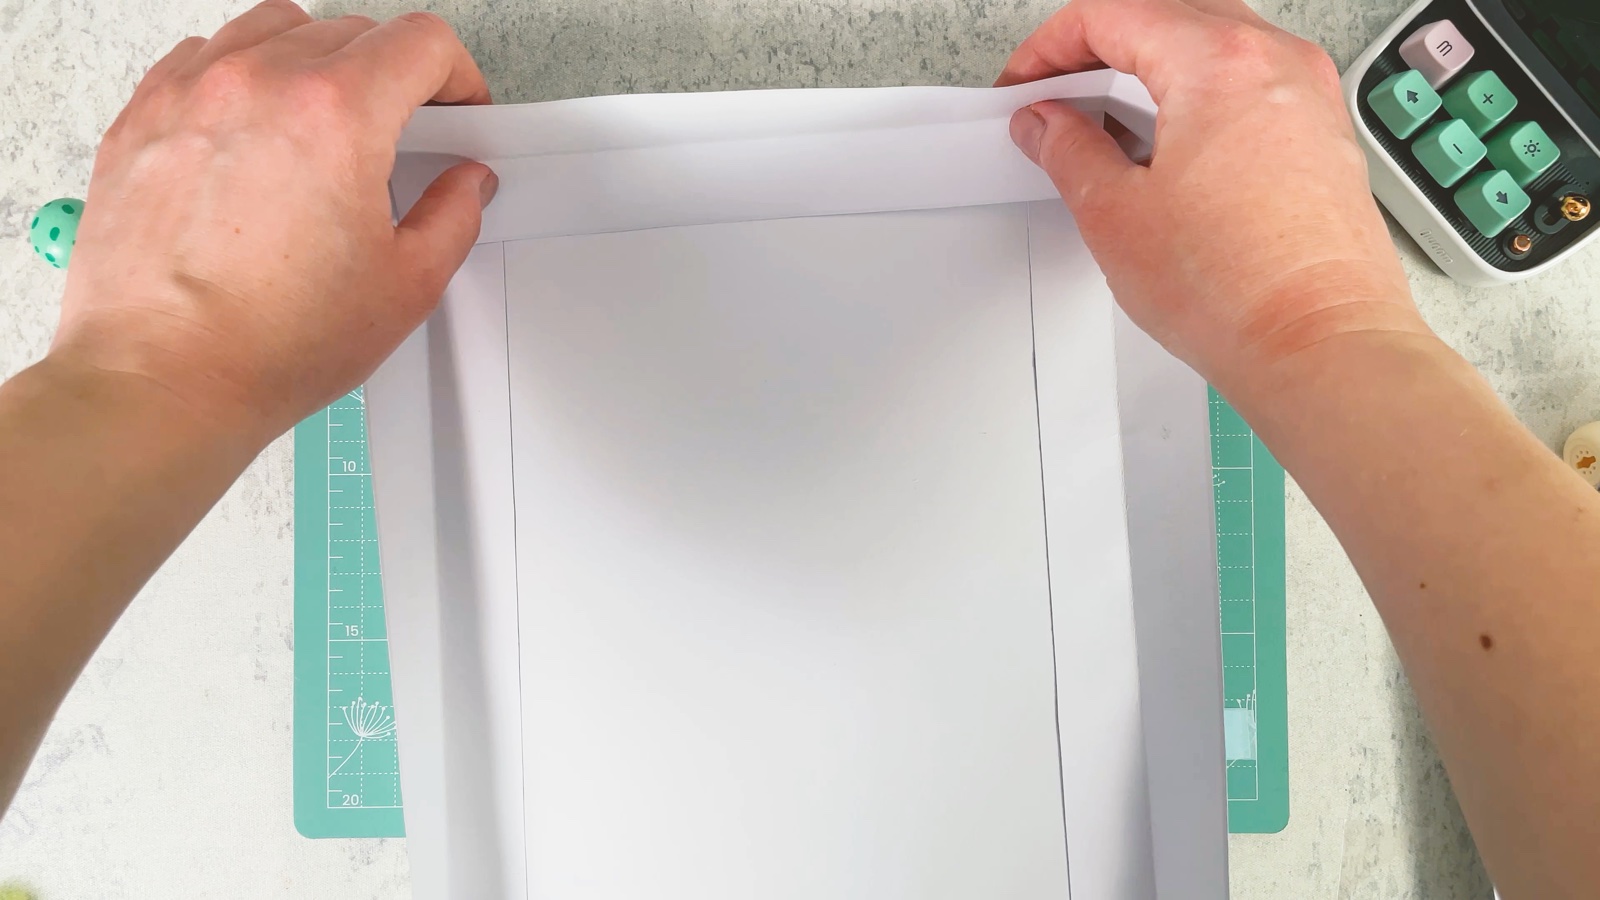
- 19
Make the lid
Glue the strips with the Apple logo and the MacBook Neo name around the lid page in the same way.
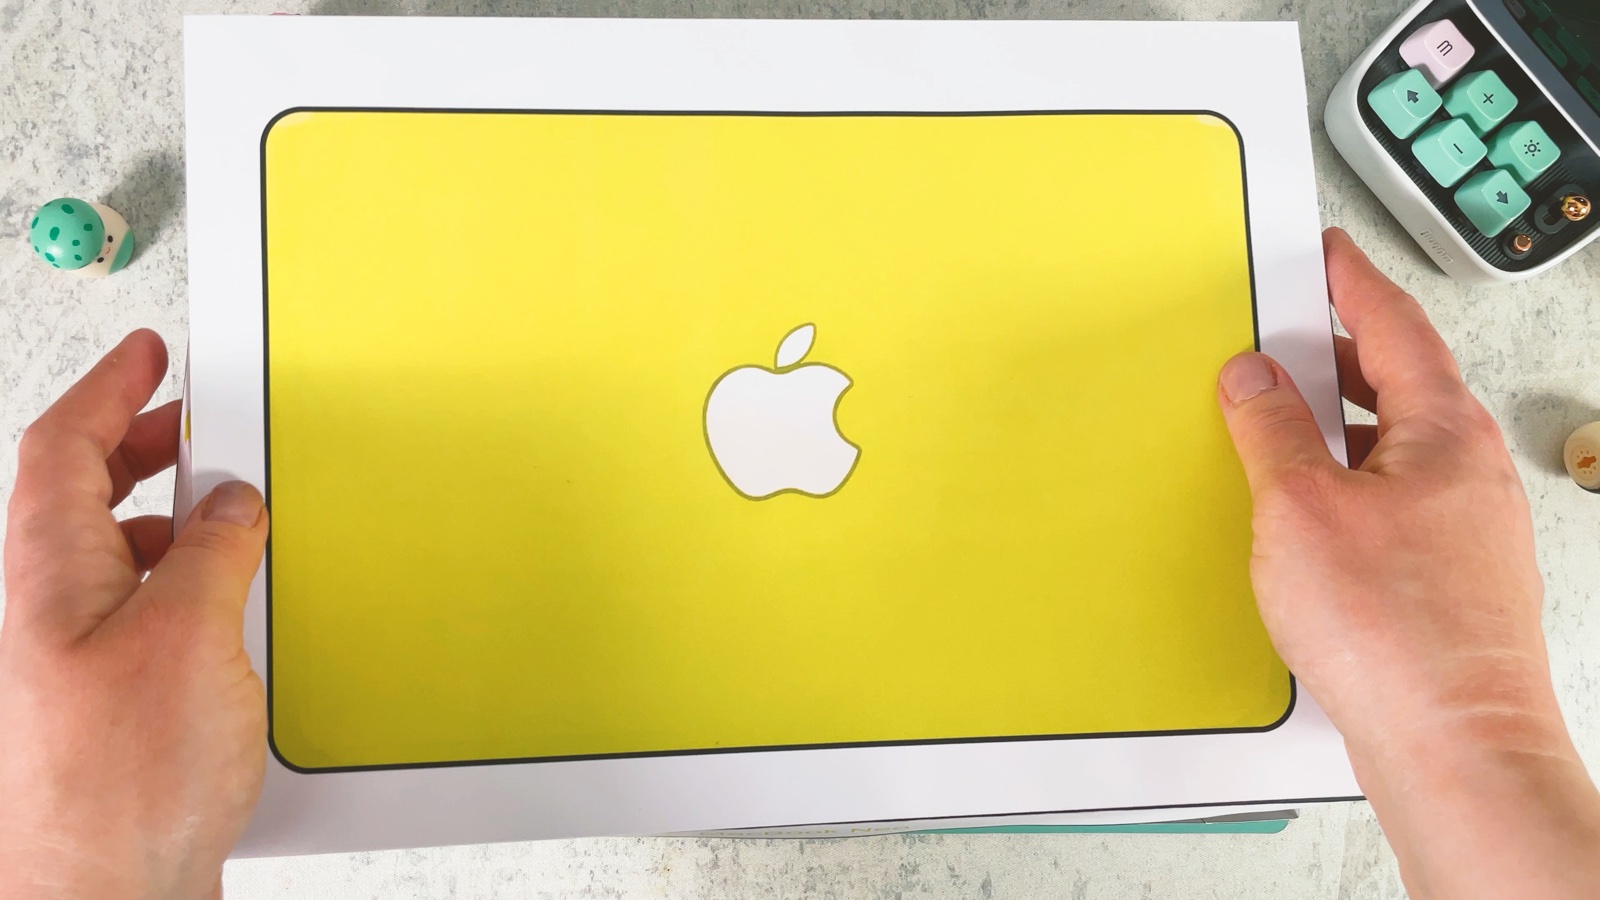
- 20
Pack your MacBook
Lay the squishy MacBook in the bottom of the box.
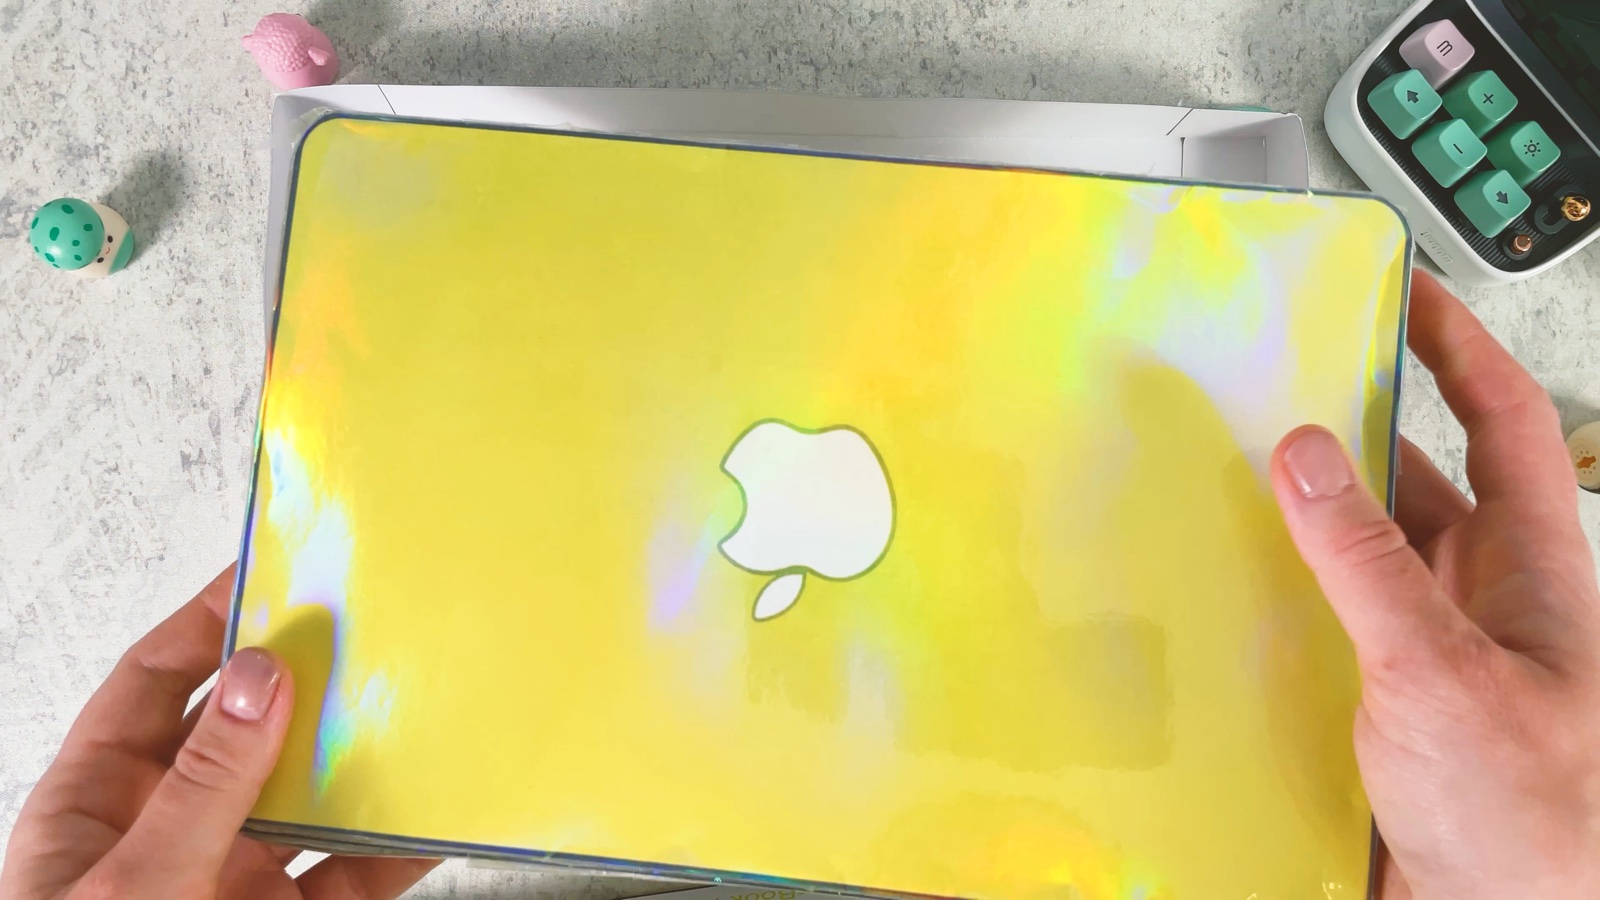
- 21
Close the box
Put the lid on, just like a brand new Apple device.
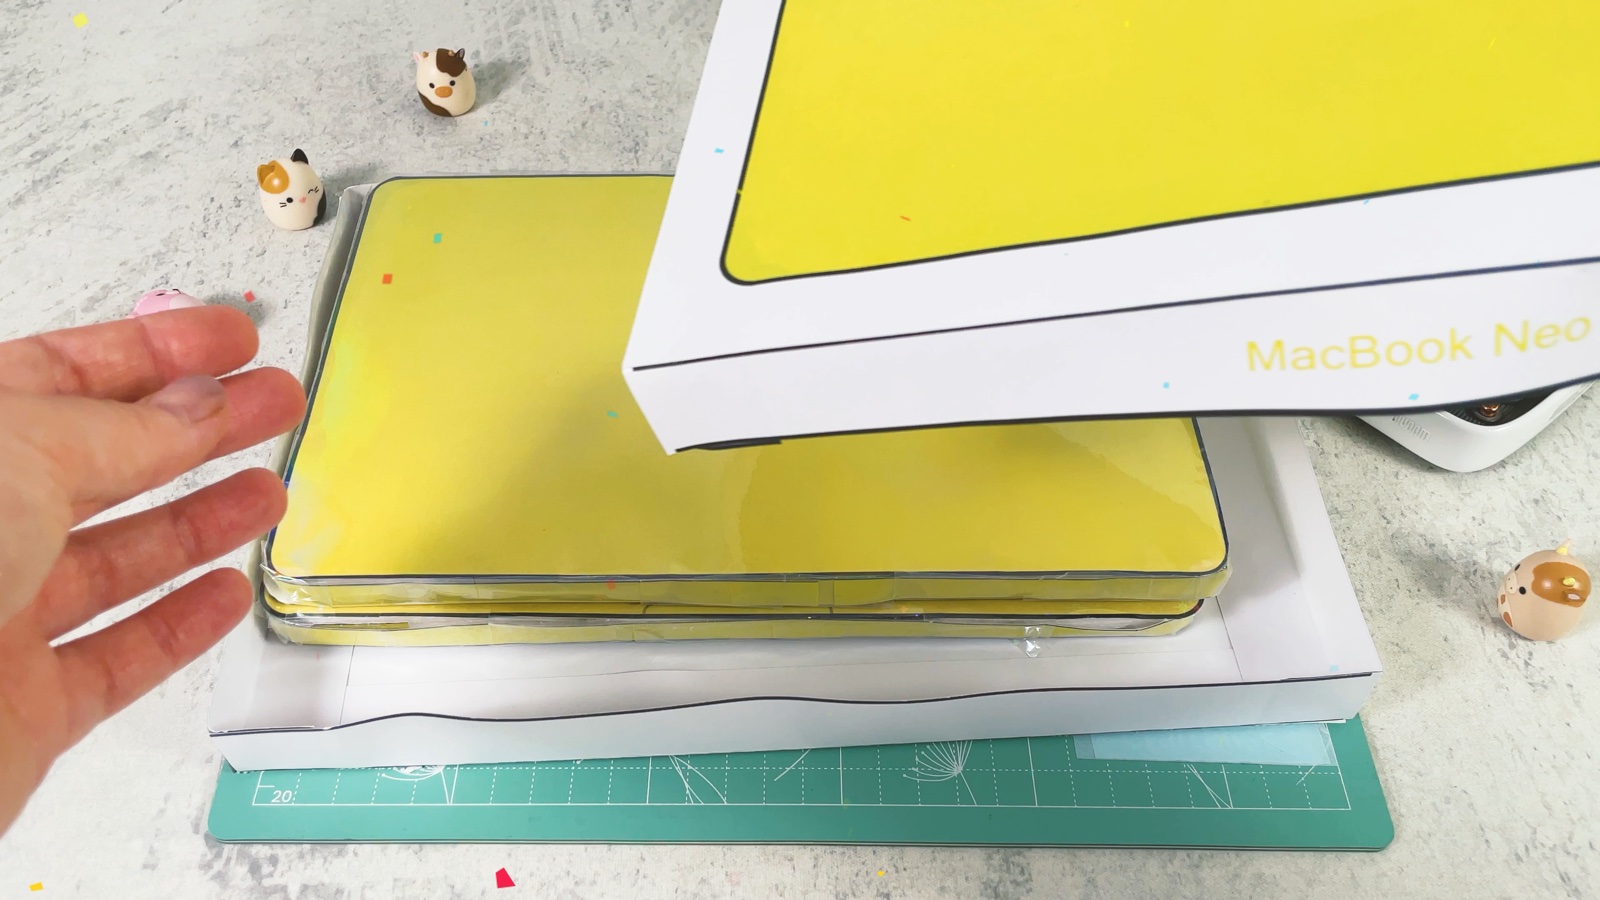
Now open it again and squeeze!
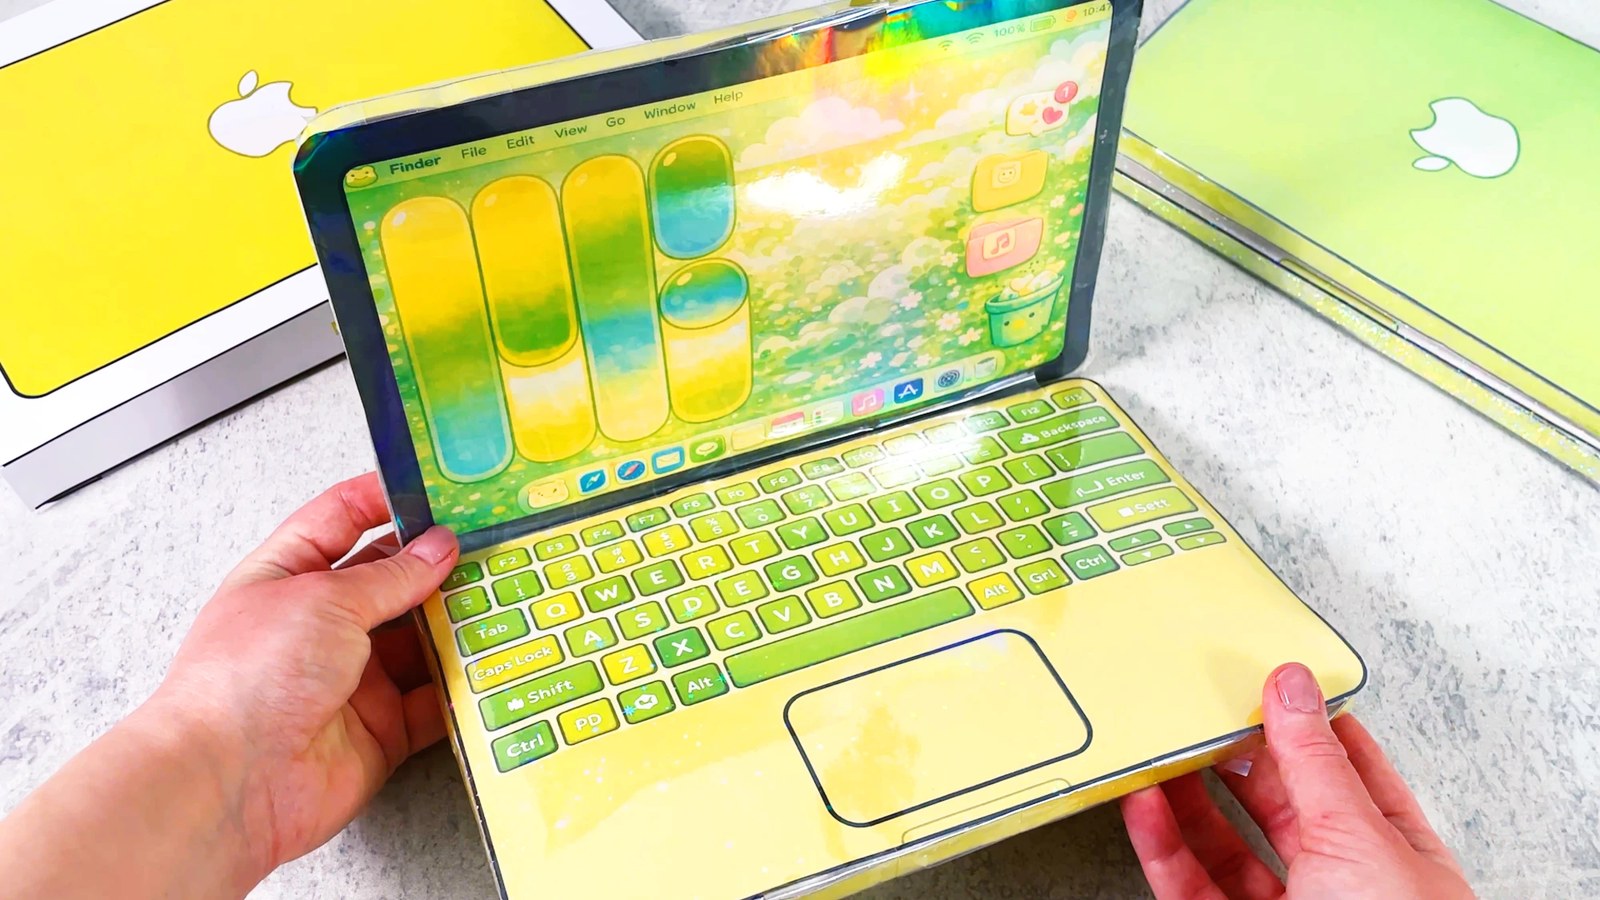
Your Squishy MacBook Neo is ready to squeeze.
THREE LITTLE TIPS
Make it easier.
- Smooth the film from the middle out. Bubbles are hard to fix once the film is down.
- More cotton = more squish. Fill it generously, so it feels fluffy when you press it.
- Try two films. The holographic film gives a soft rainbow shine, the star film gives tiny sparkles.

A CUBI MINI MOMENT
What will be on your screen?
Cubi’s MacBook has a flower meadow on the screen, and Mini is already typing a secret message on it. What will you write on yours?
“Cubi, let’s make a tiny squishy phone next!”
Loved making it?
Catch the next make first, or save this one for a rainy day.