Let’s make an adorable DIY paper keyboard with a super fun twist! This kawaii keyboard isn’t just cute: the keys actually bounce when you press them.
Using simple paper techniques, we create tiny accordion-style springs that make each key pop up and down, giving a satisfying “typing” effect. It’s like a real keyboard, but made entirely from paper!
You can fully customize your setup: choose your favourite keys, colours and characters to build your own dream keyboard. The set includes letters, numbers, arrows, space, Enter, Shift and lots of cute characters inspired by Hello Kitty and friends. A lovely gift for a Sanrio fan, and a cozy, relaxing make for a rainy afternoon.
BEFORE WE START
What you need.
Materials
- Printable template
- White paper
- Double-sided tape
- Glue stick
Tools
- Scissors
- Paper trimmer
- A printer
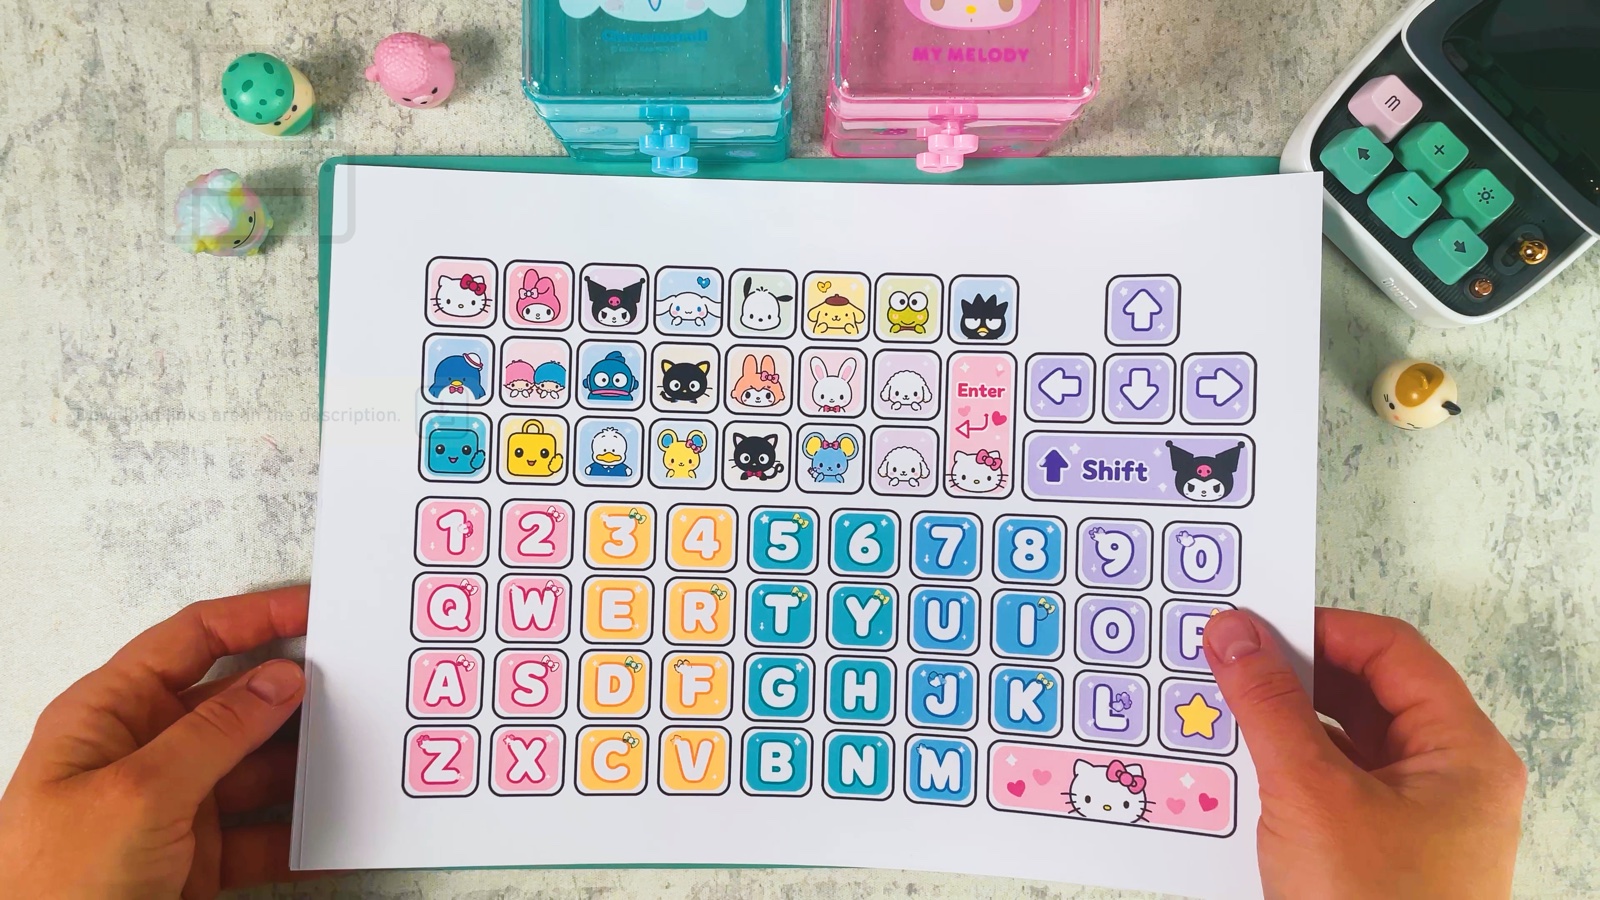
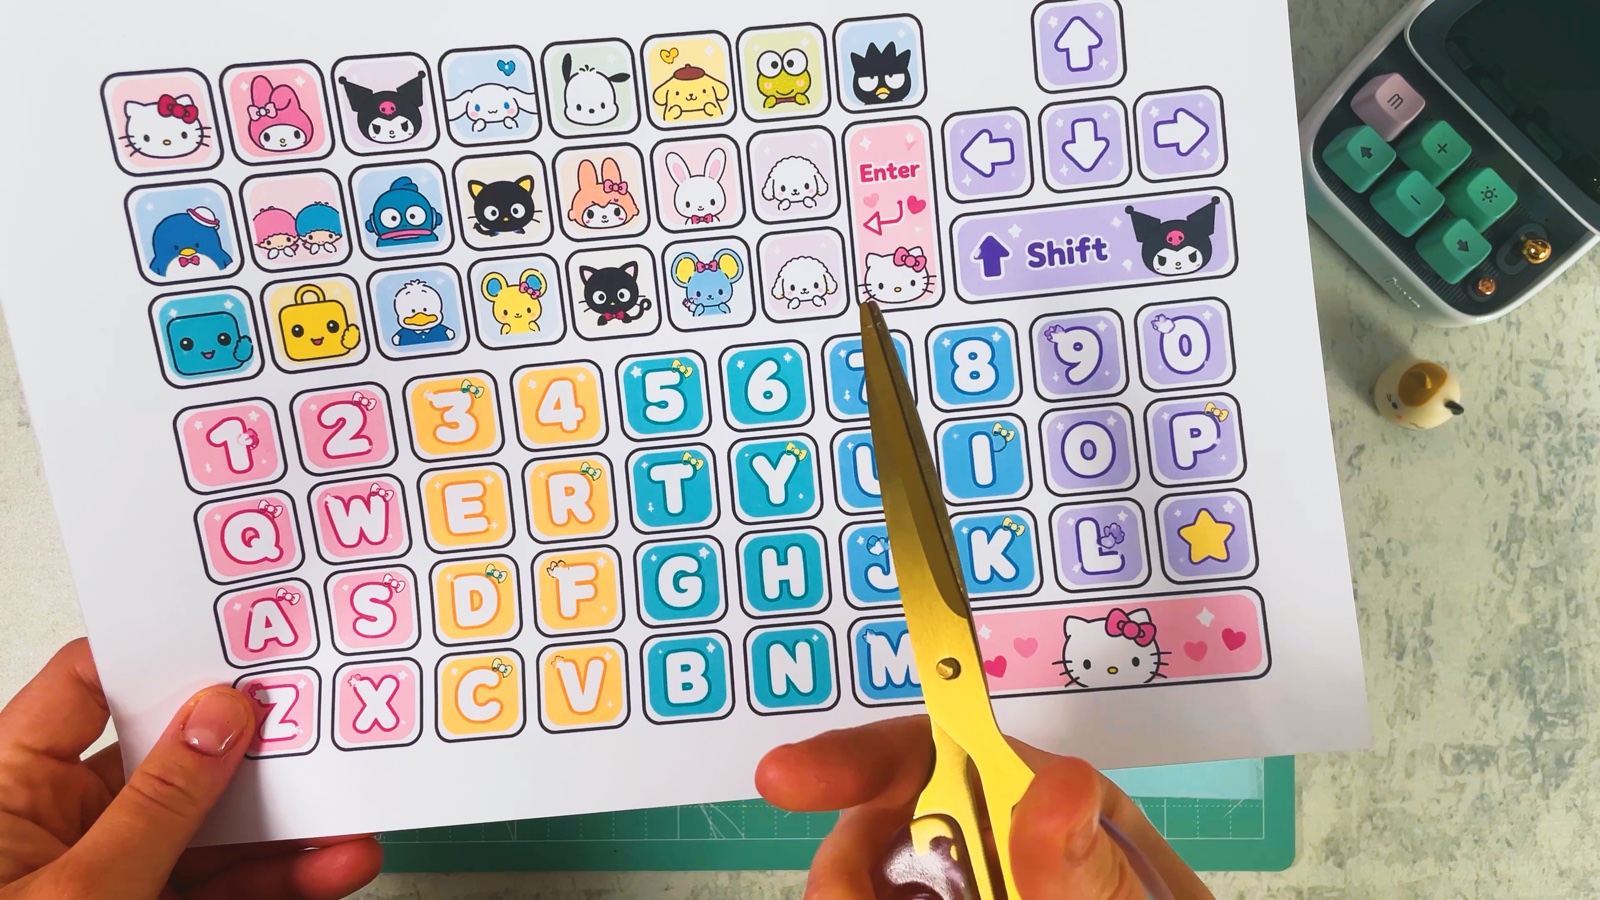
Page 1 has the keys, page 2 the top frame, page 3 the base and page 4 the striped strips for the sides. There are more keys than spaces, so you can choose your favourites.
Get the free template ↓PART 1 OF 4
The keys and the base
- 1
Print the template
Print all four pages of the template.
- 2
Cut out the keys
Cut out the keys you want to use. Cut along the black outline of each key.
- 3
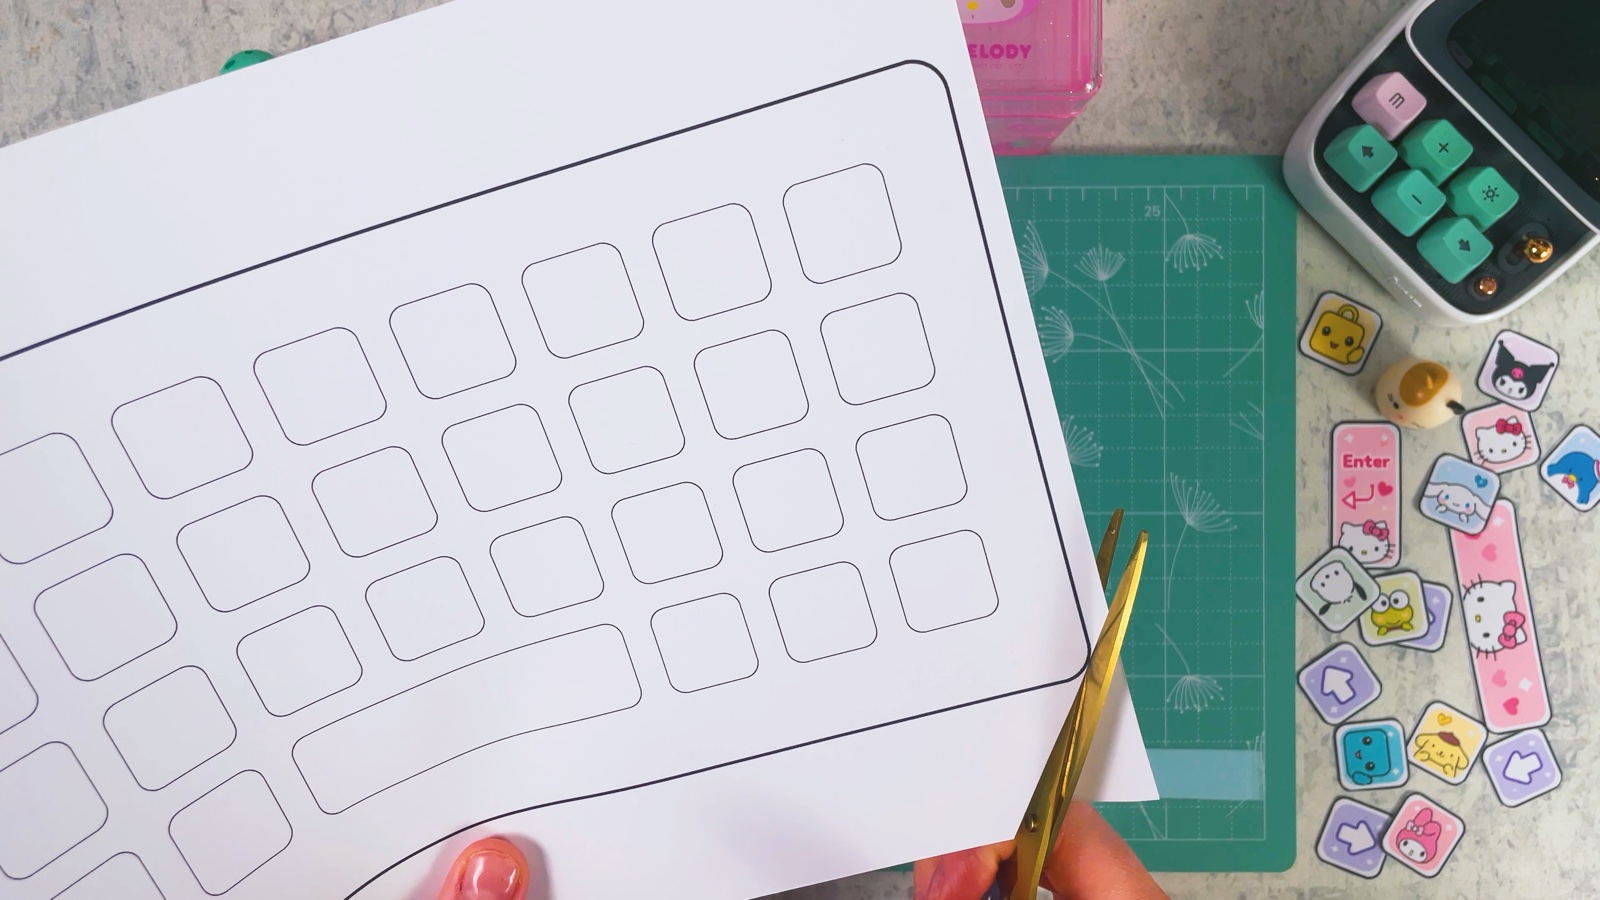
Cut out the base
Cut out the keyboard base from page 3. Cut along the outer line with the round corners.
PART 2 OF 4
The bouncy springs
- 4
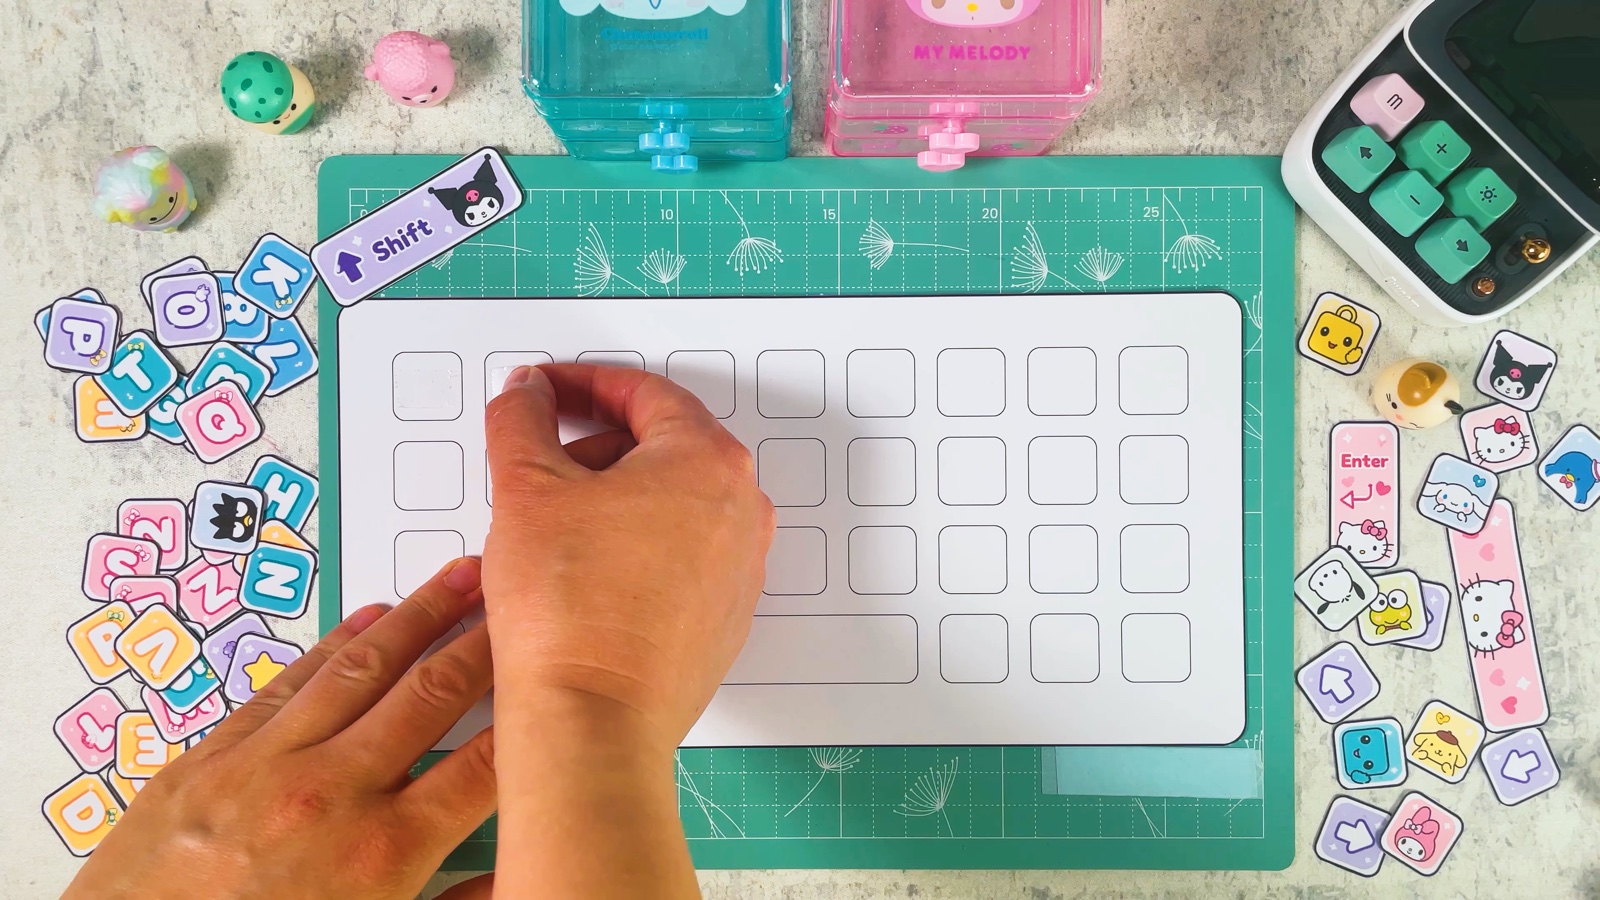
Add tape to every square
Stick a small piece of double-sided tape inside every square on the base. The springs will stand on these.
- 5
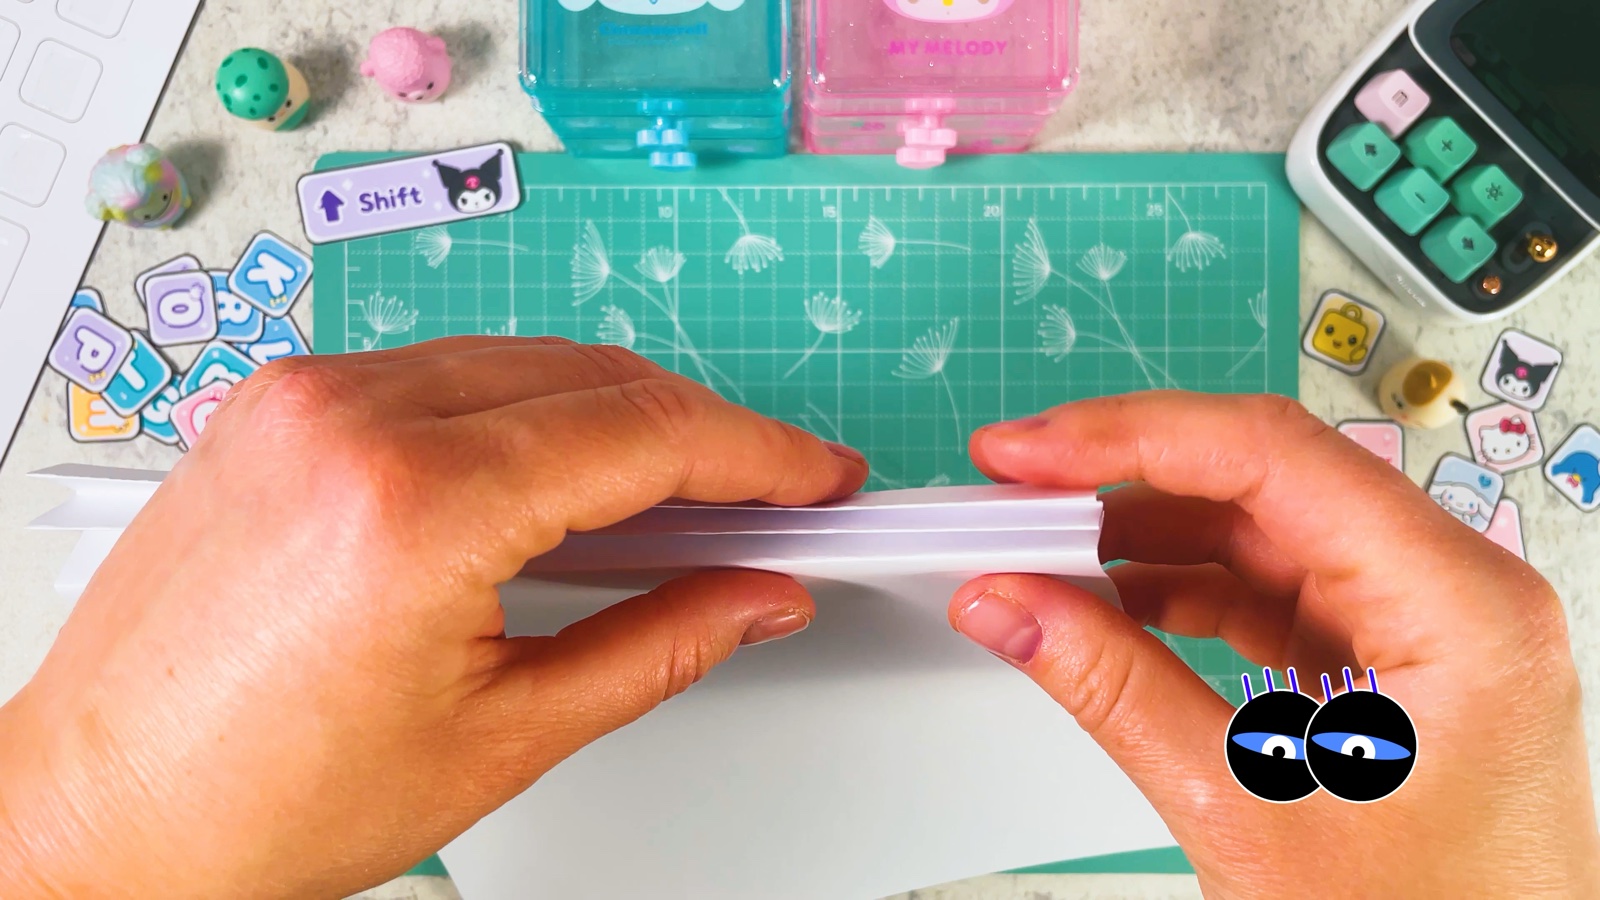
Fold an accordion
Take a sheet of white paper. Fold it back and forth into narrow, even pleats, like a paper fan.
- 6
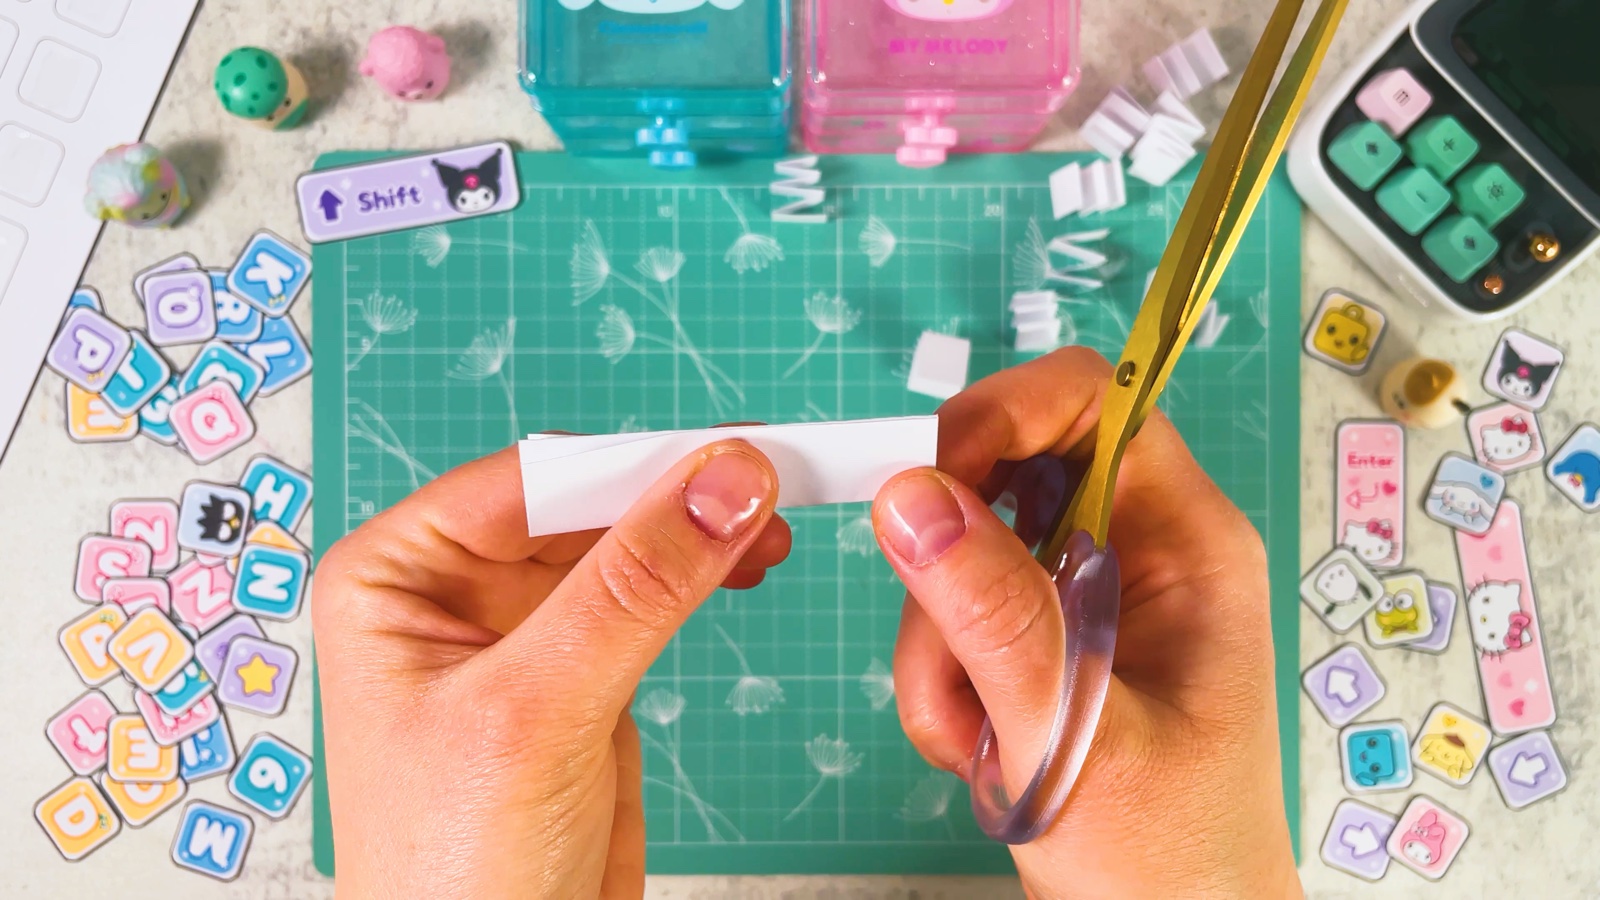
Cut it into springs
Hold the folded strip closed and cut it into short pieces. Each piece is one tiny spring.
- 7
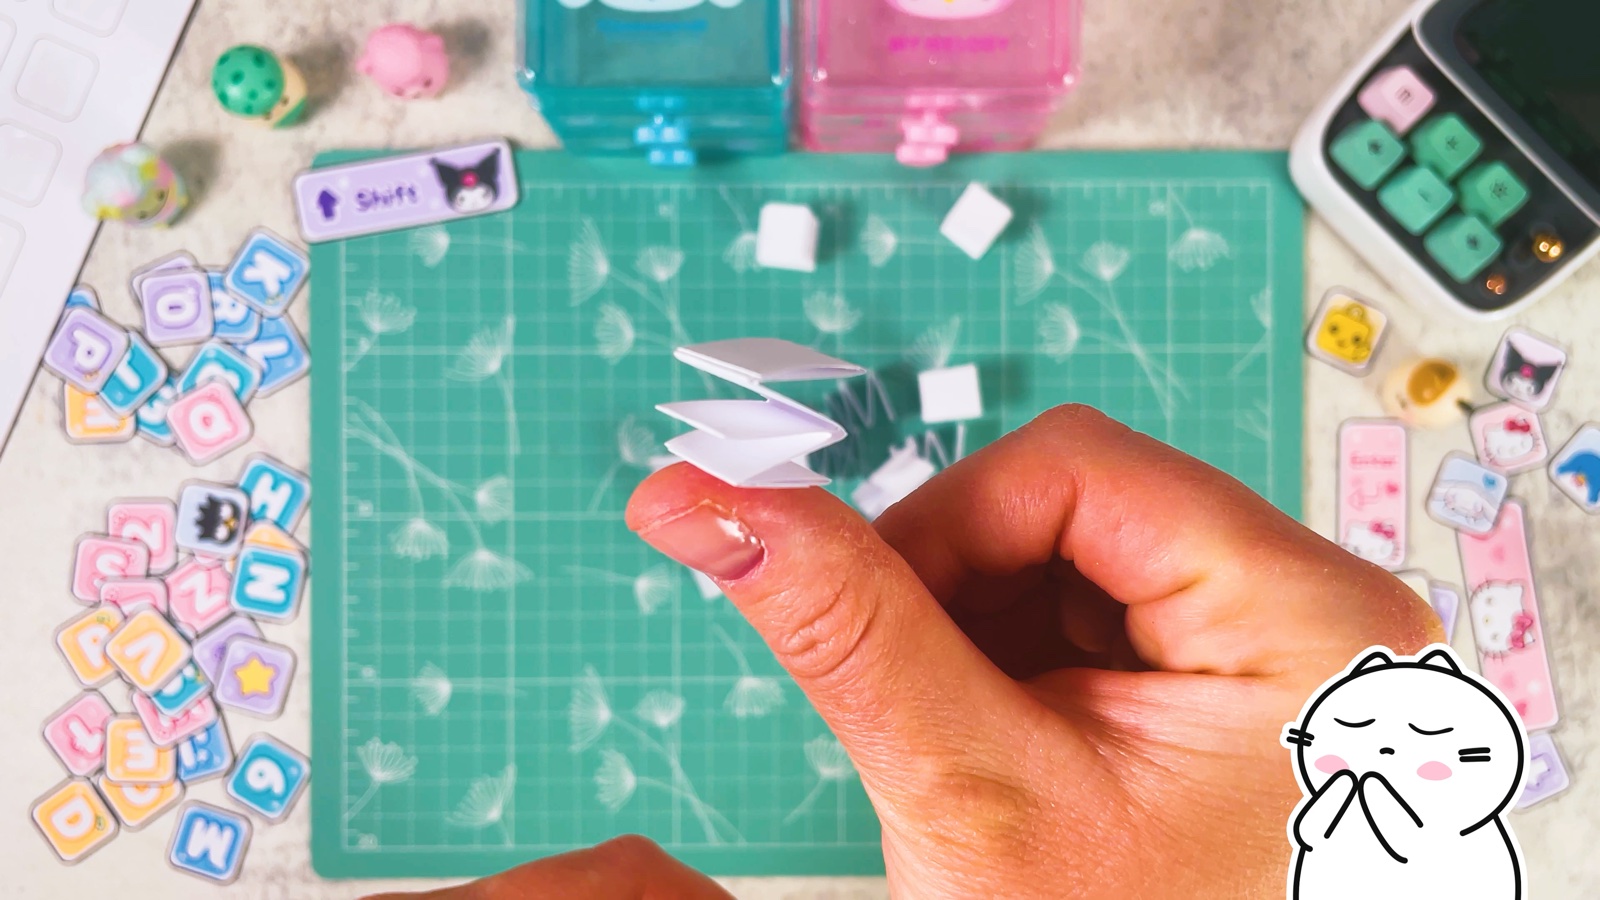
Shape the springs
Cut paper can come apart into layers, and then the spring leans to one side. Put a little glue between the loose layers and press the spring into a neat, straight stack. Make one spring for every square on the base.
- 8
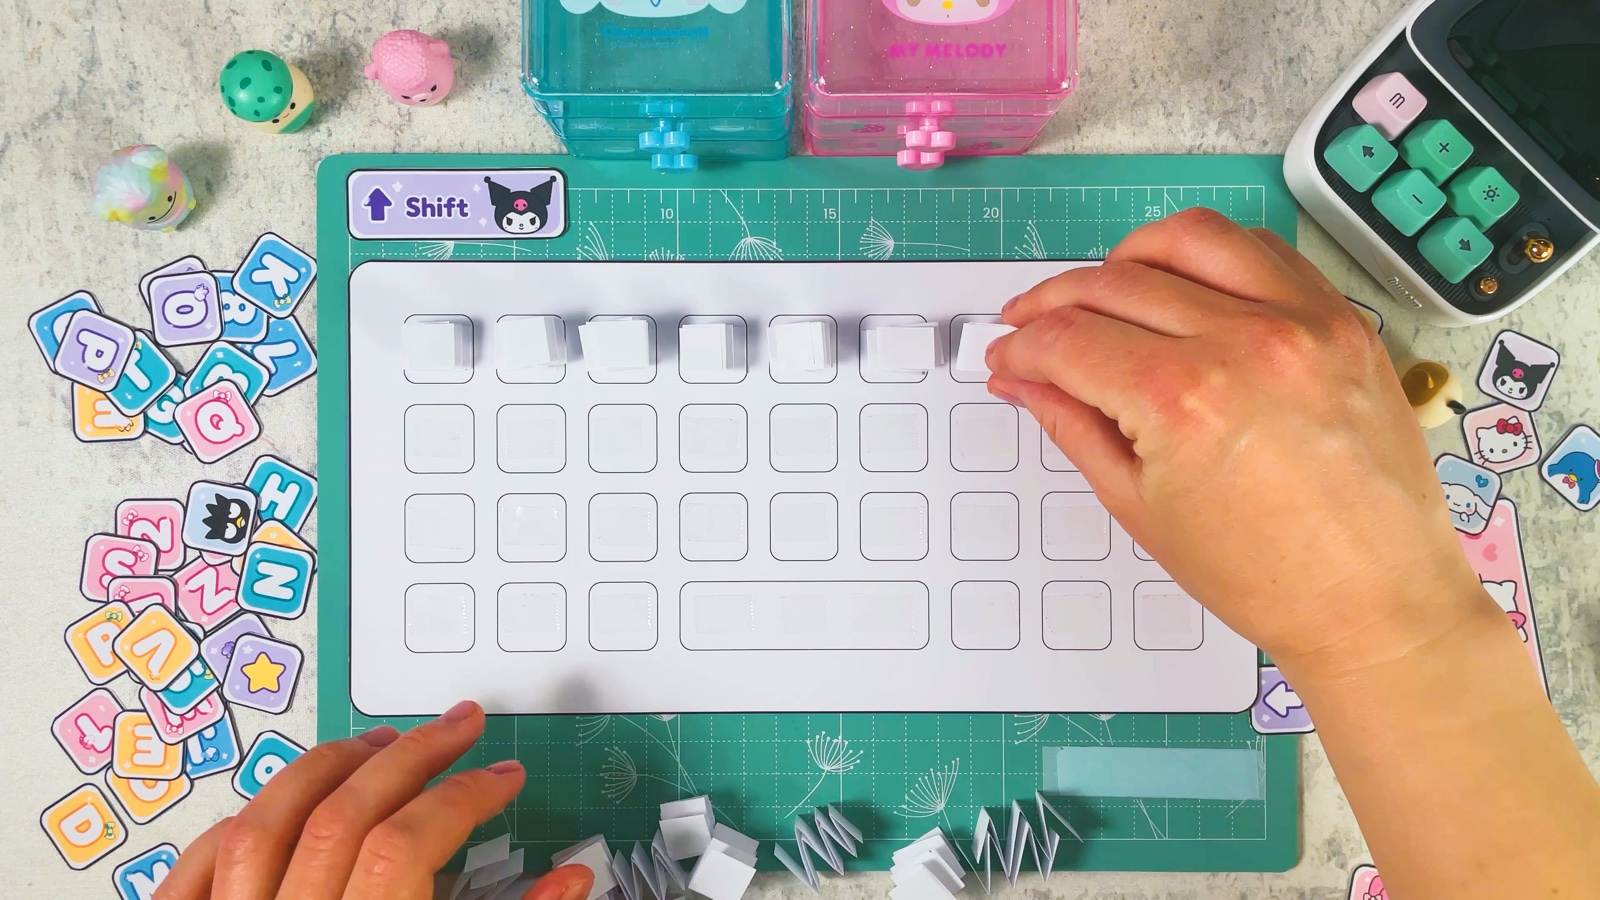
Stick a spring on every square
Press one spring onto each square with tape. Start with the top row and work down.
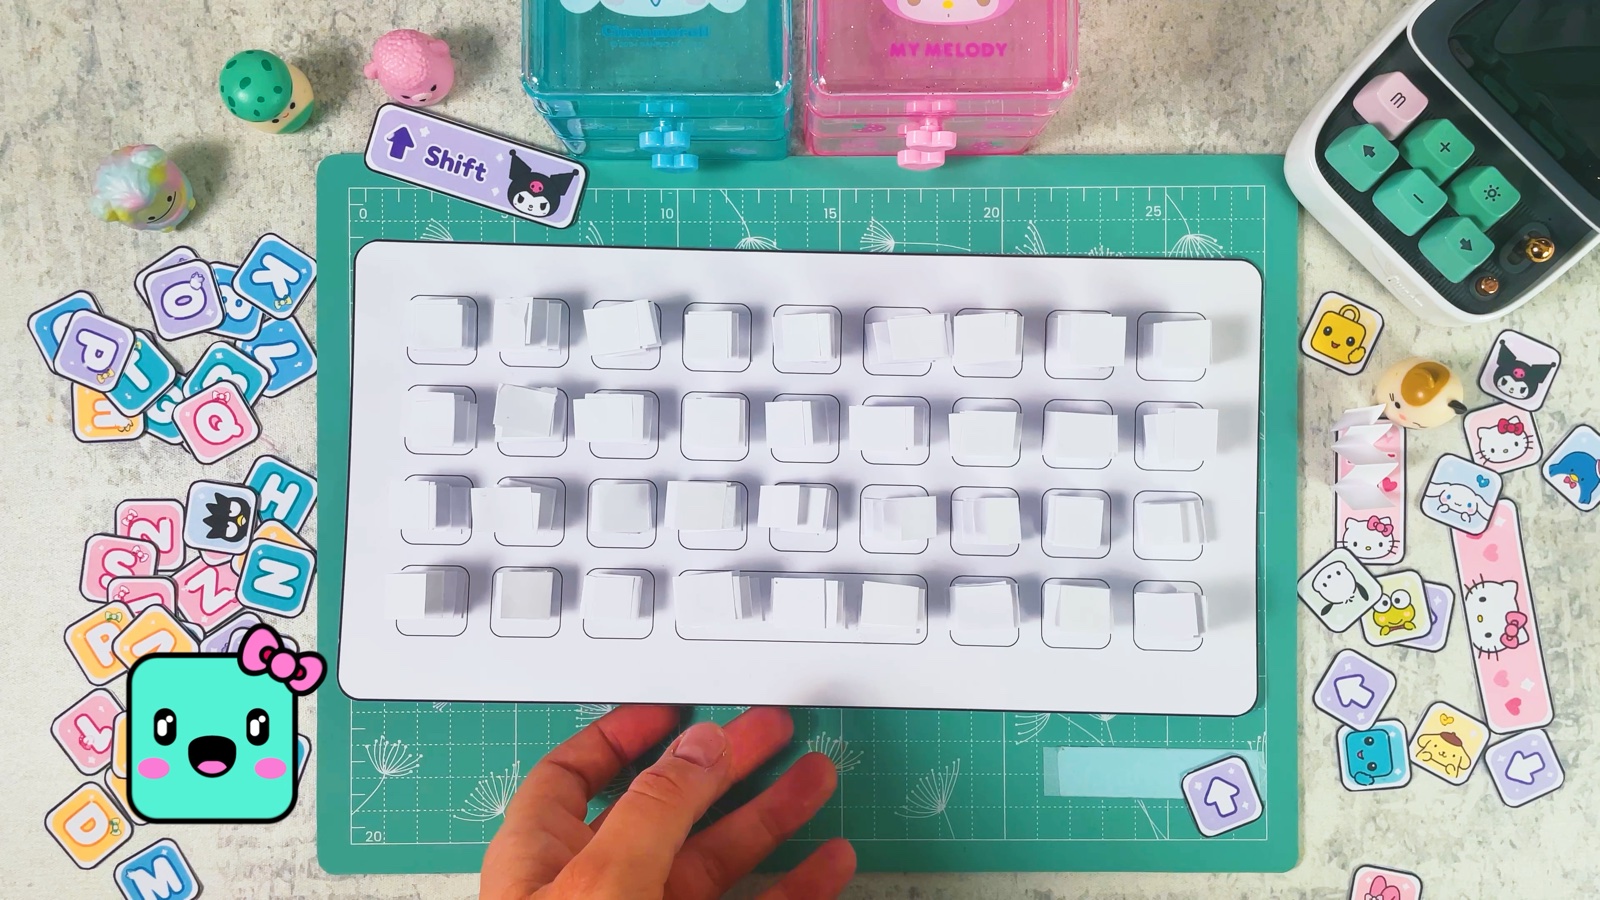
When you finish, every square has its own spring standing up.
PART 3 OF 4
The keys
- 9
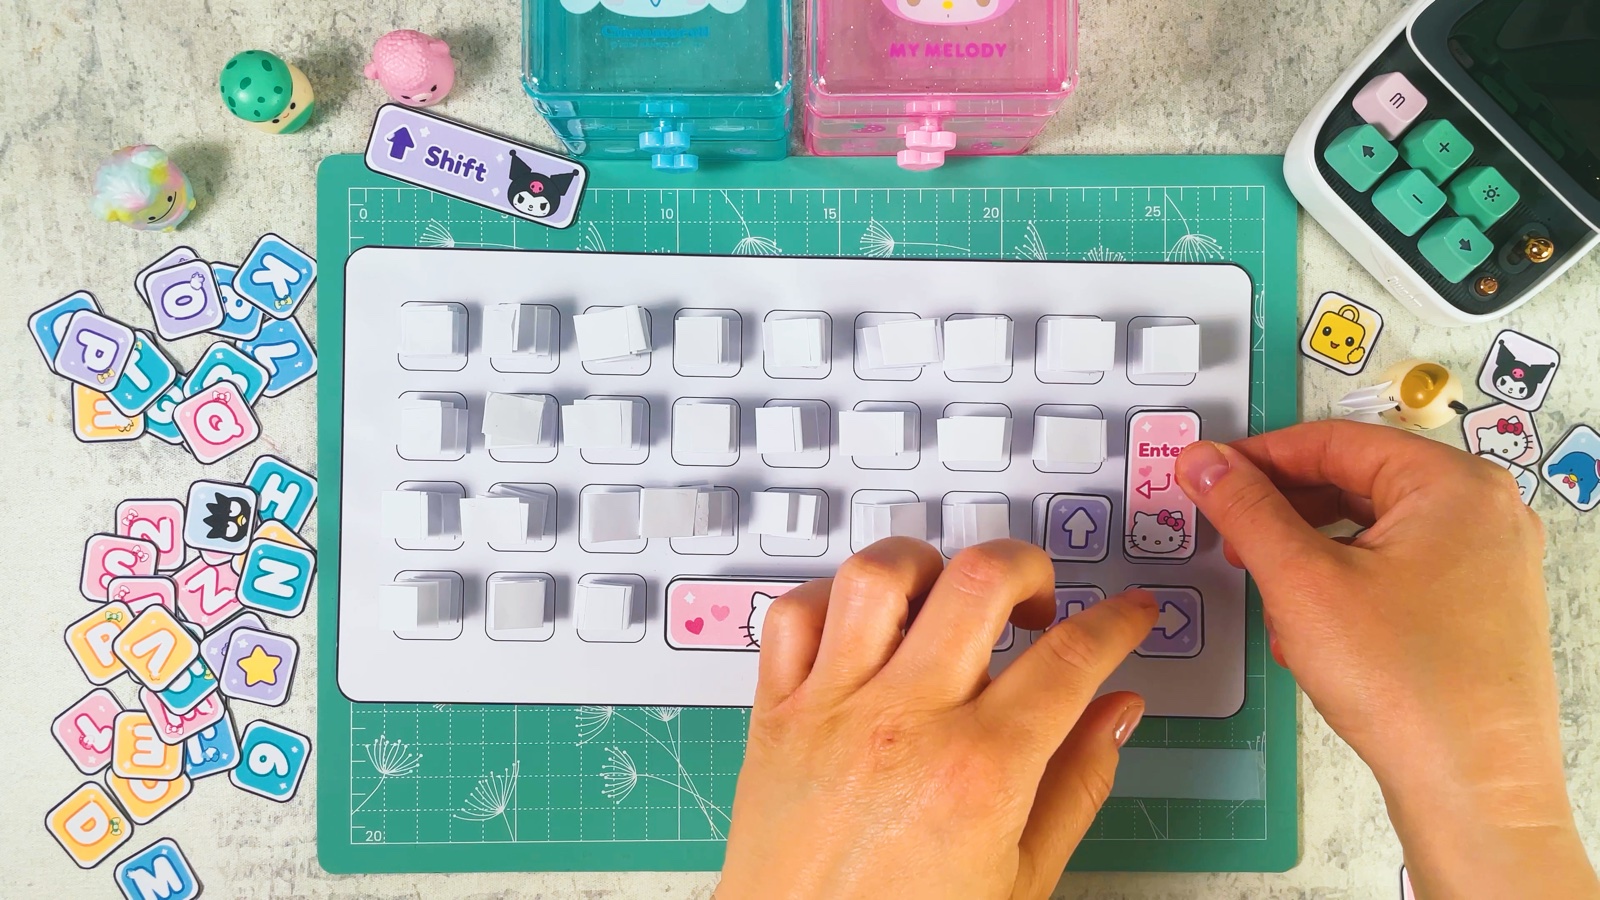
Start with the big keys
Put a little glue on top of a spring and press a key onto it. We start with the big ones: Enter, the Hello Kitty space bar and the arrows.
- 10
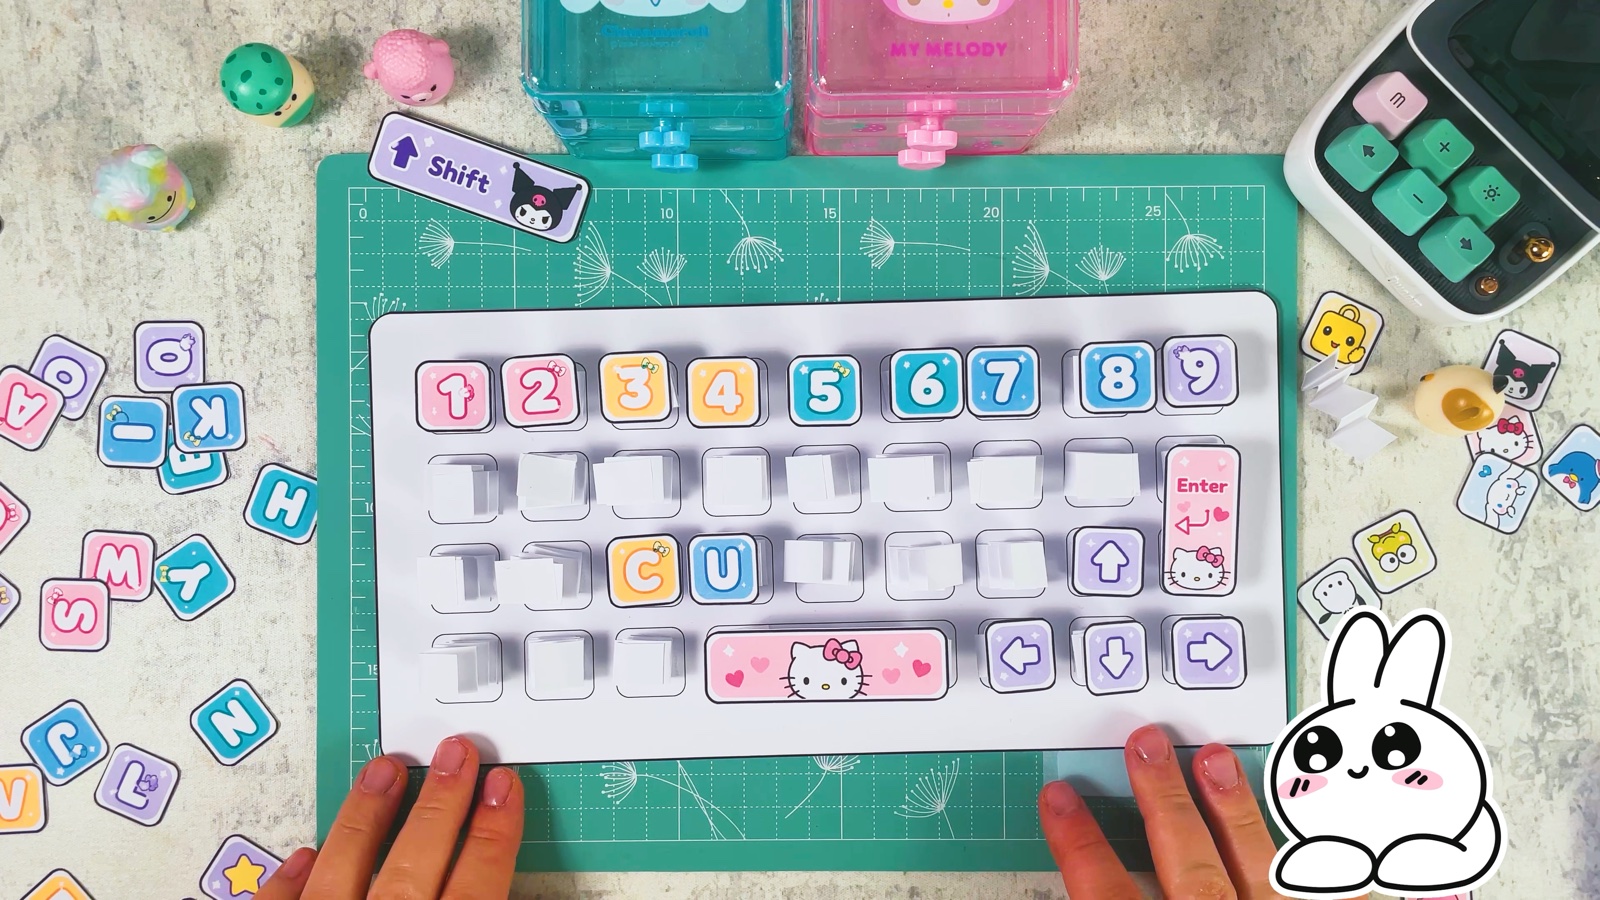
Fill in the rest
Add the numbers along the top, then letters and characters. You can spell a word: we wrote CUBI and DIY.
- 11
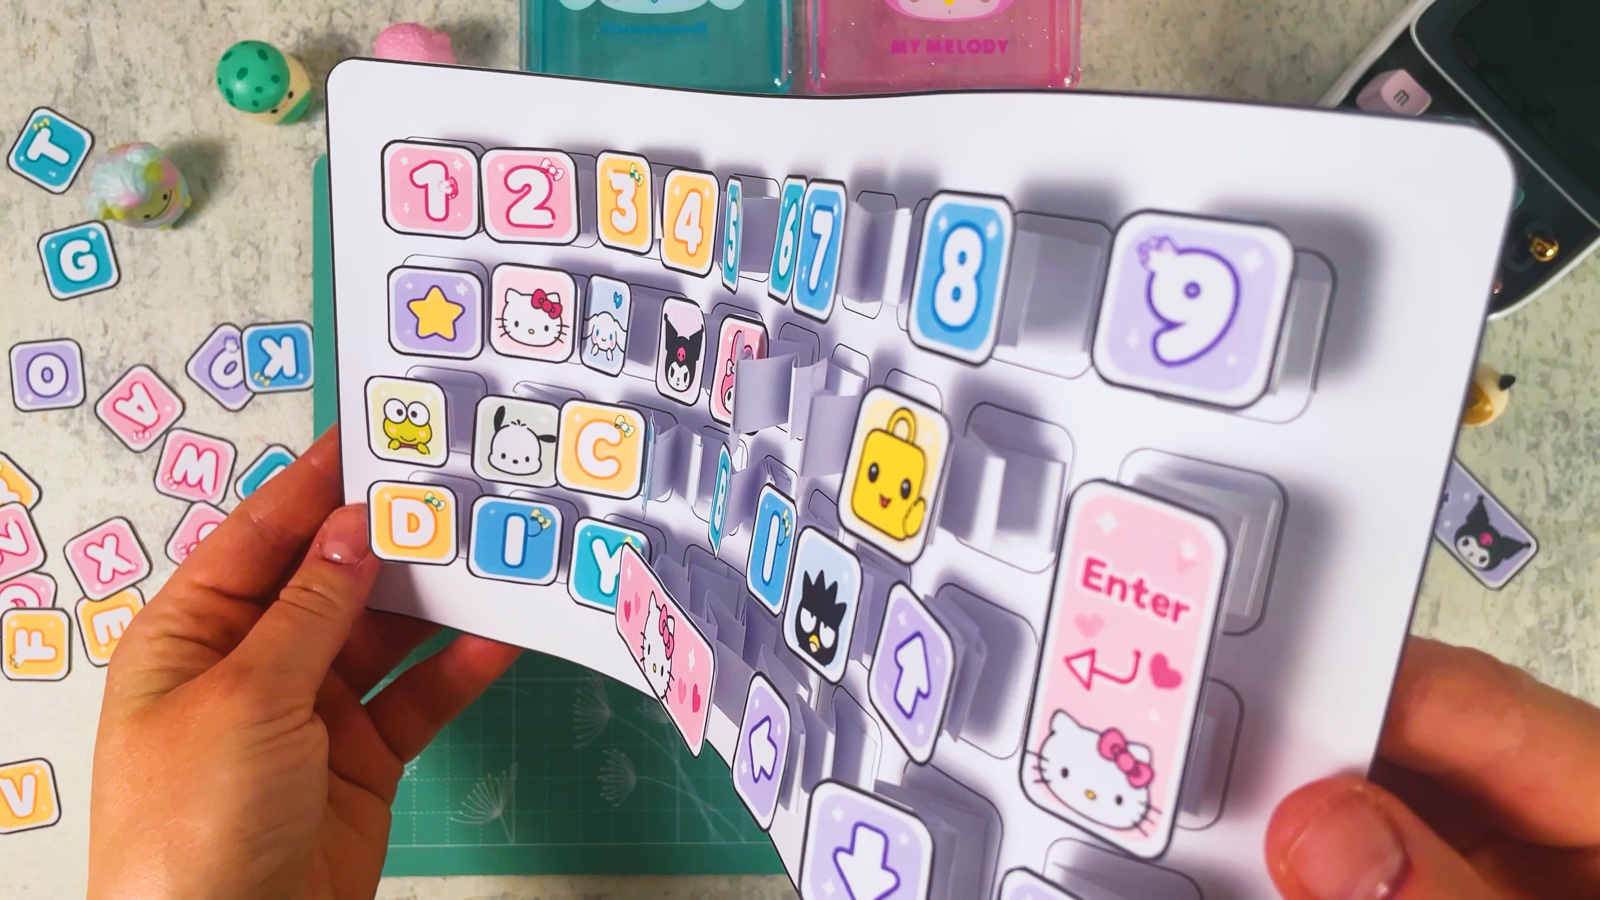
Feel the bounce
Every key sits on its own spring, so each one moves on its own. Press a few keys and watch them pop back up.
PART 4 OF 4
The case
- 12
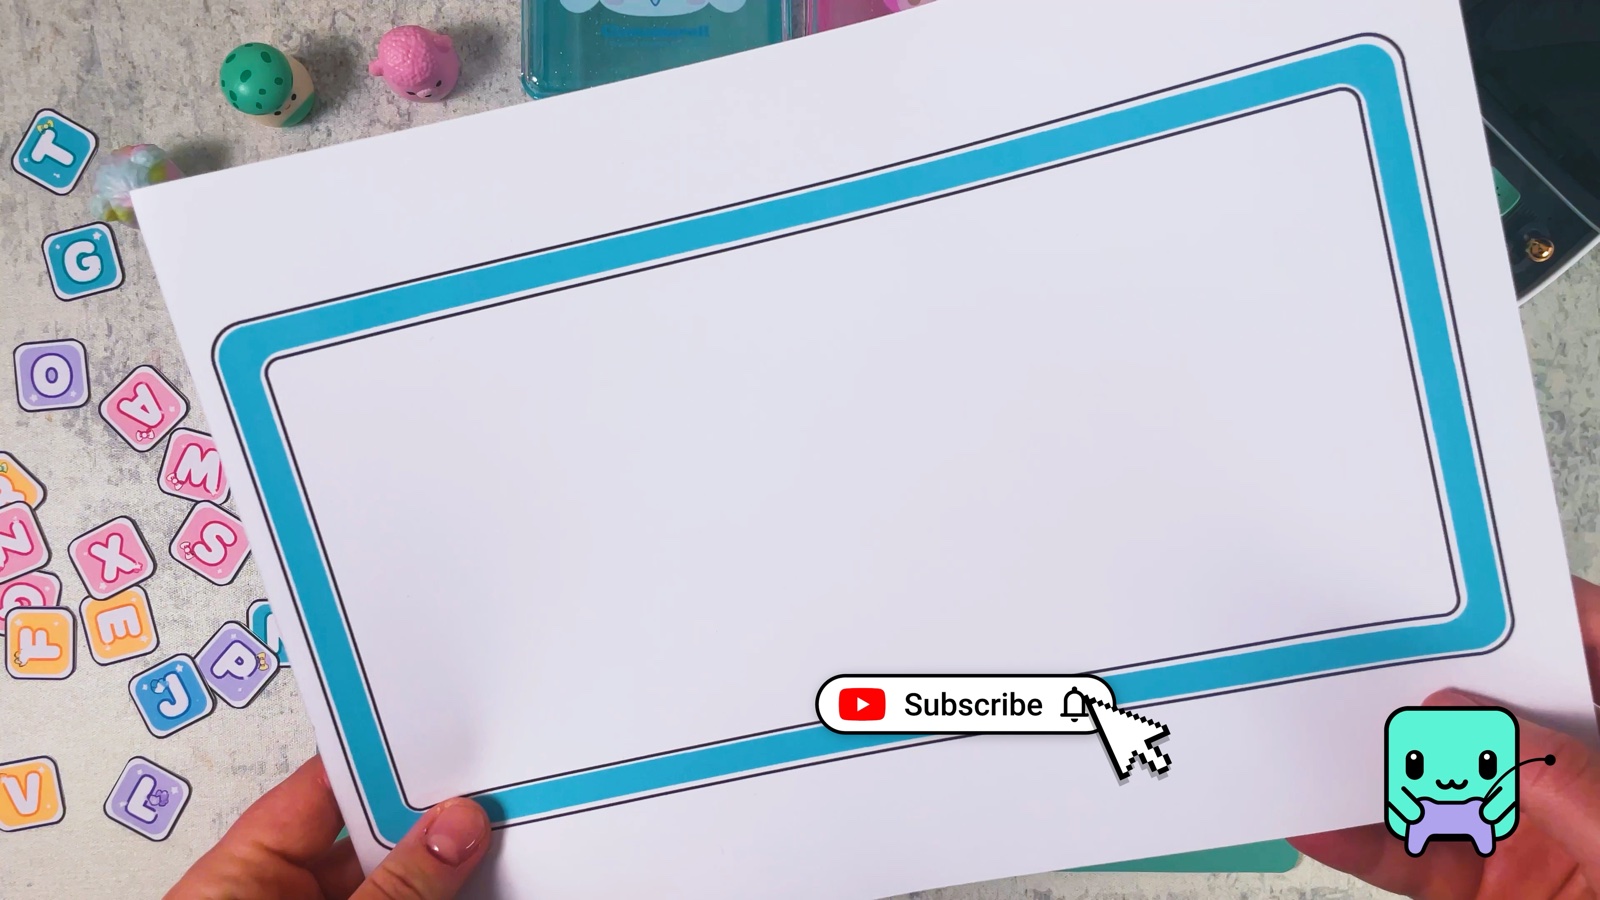
Cut out the top frame
Cut out the mint frame from page 2. Then cut out the white window in the middle, so the keys can show through.
- 13
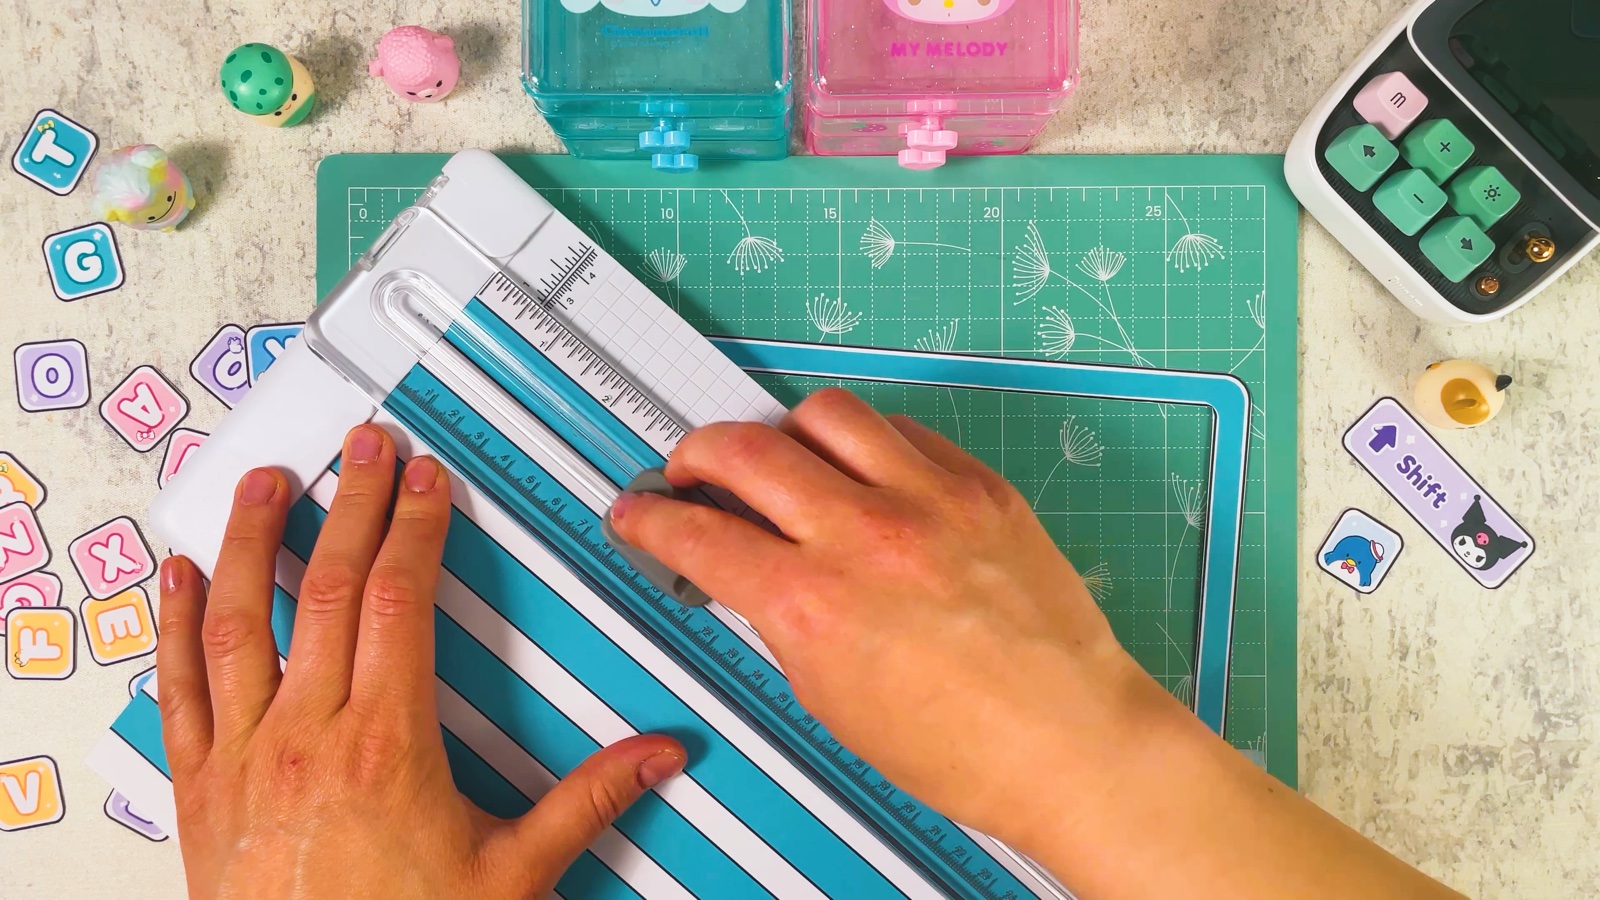
Cut the strips
Cut the striped strips from page 4. A paper trimmer makes long, straight cuts easier, but scissors work too.
- 14
Build the walls
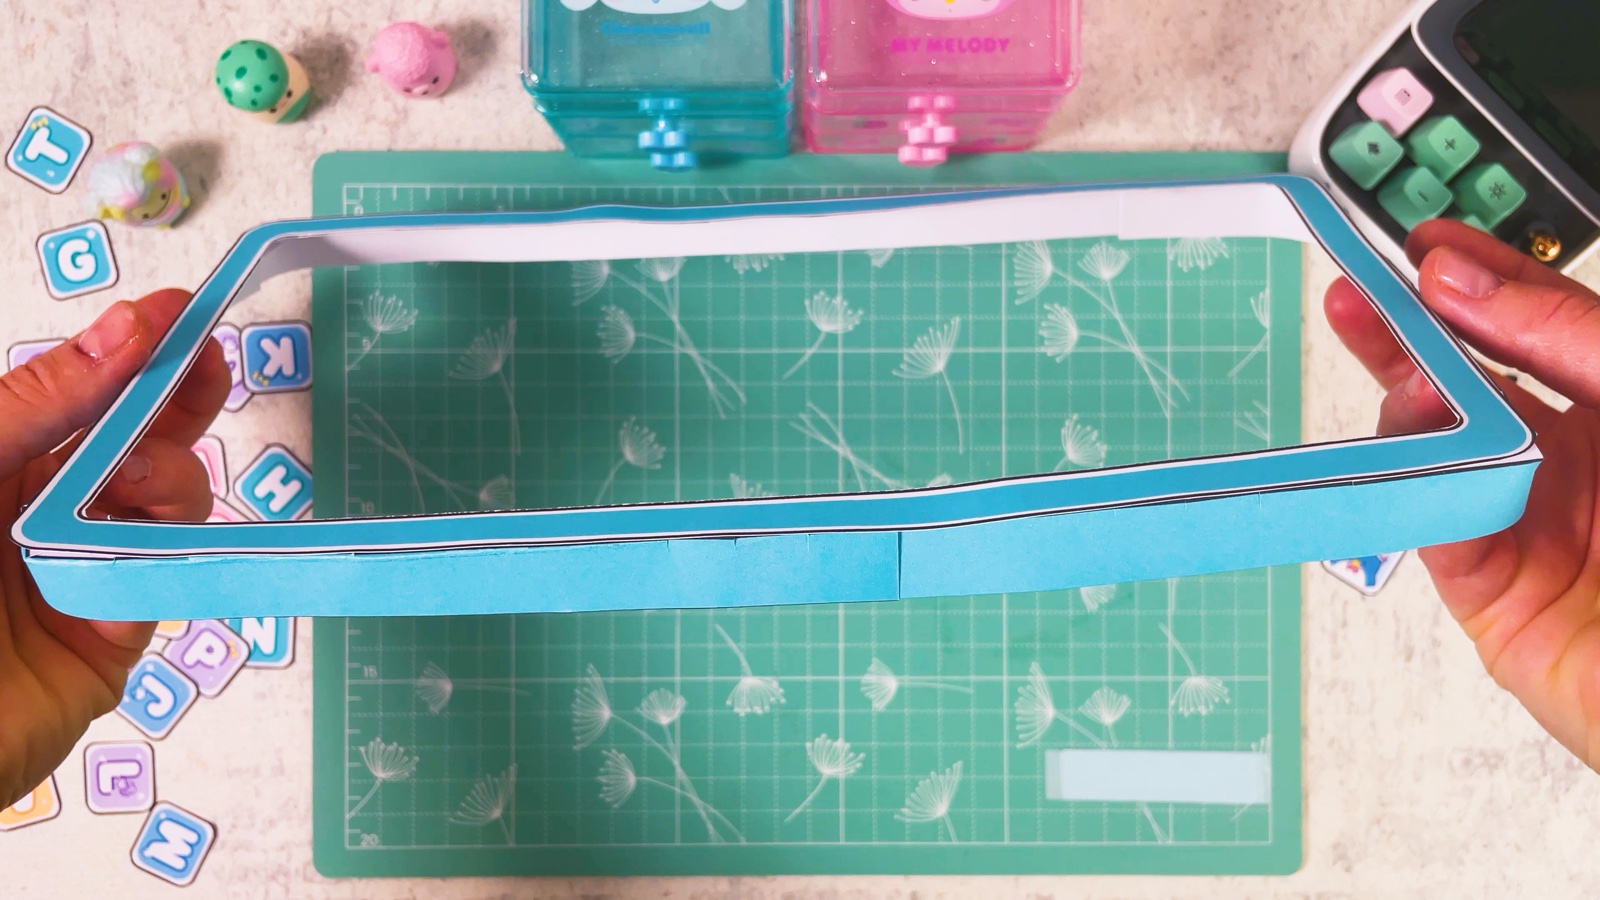
Glue the strips along the edge of the frame so they stand up like walls. Fold them neatly at each corner.
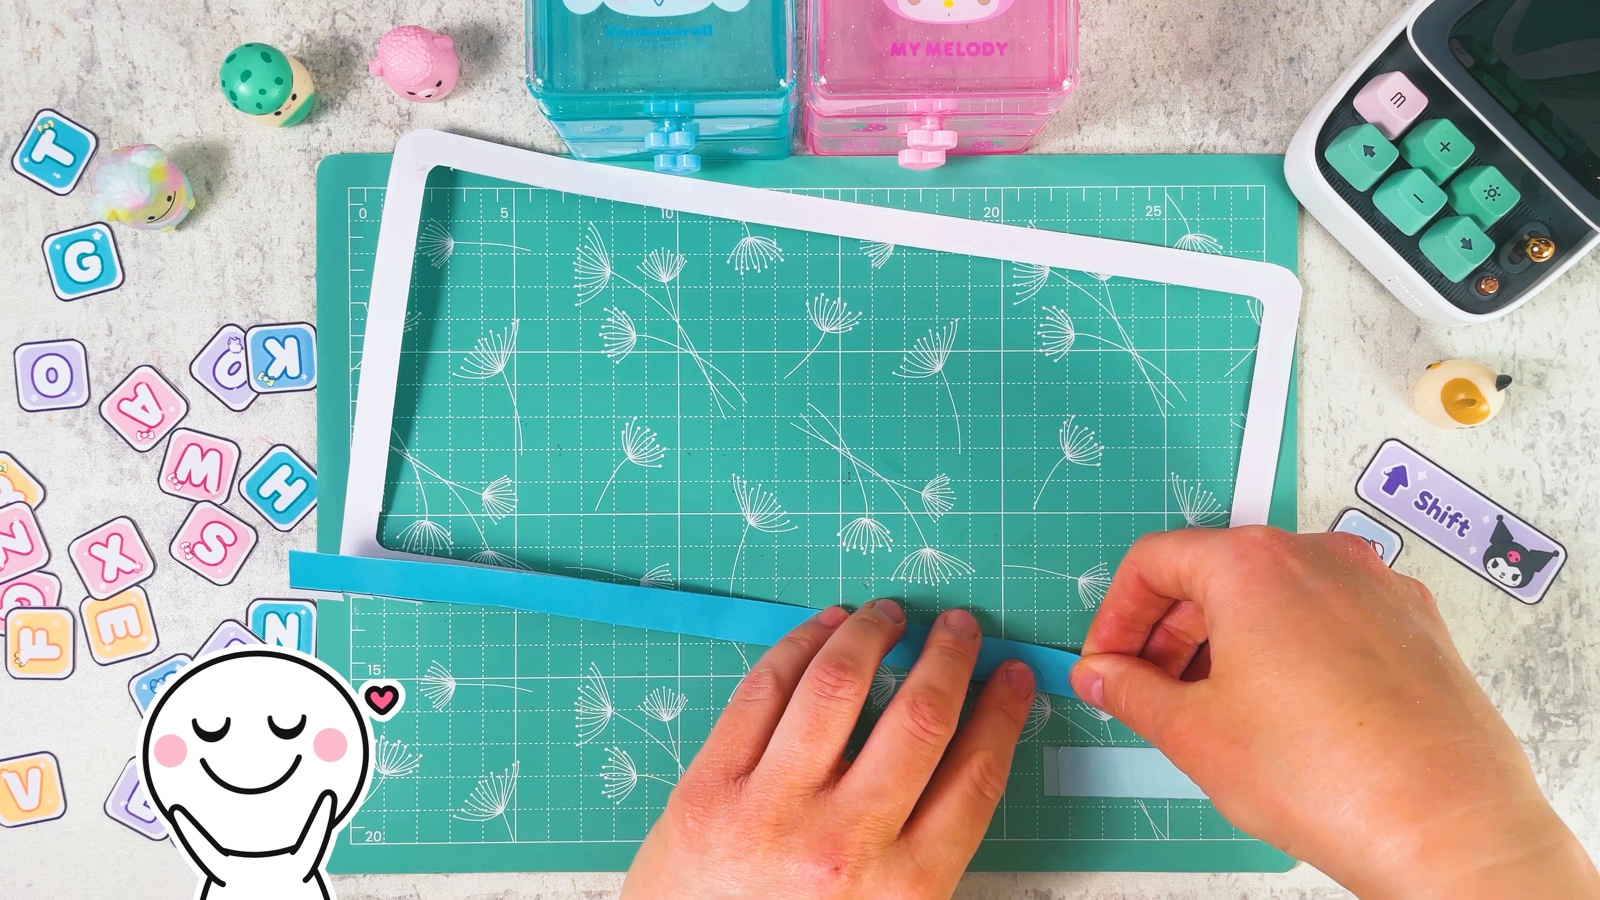
Go all the way around. Now the frame looks like a shallow box lid.
- 15
Fit the walls around the base
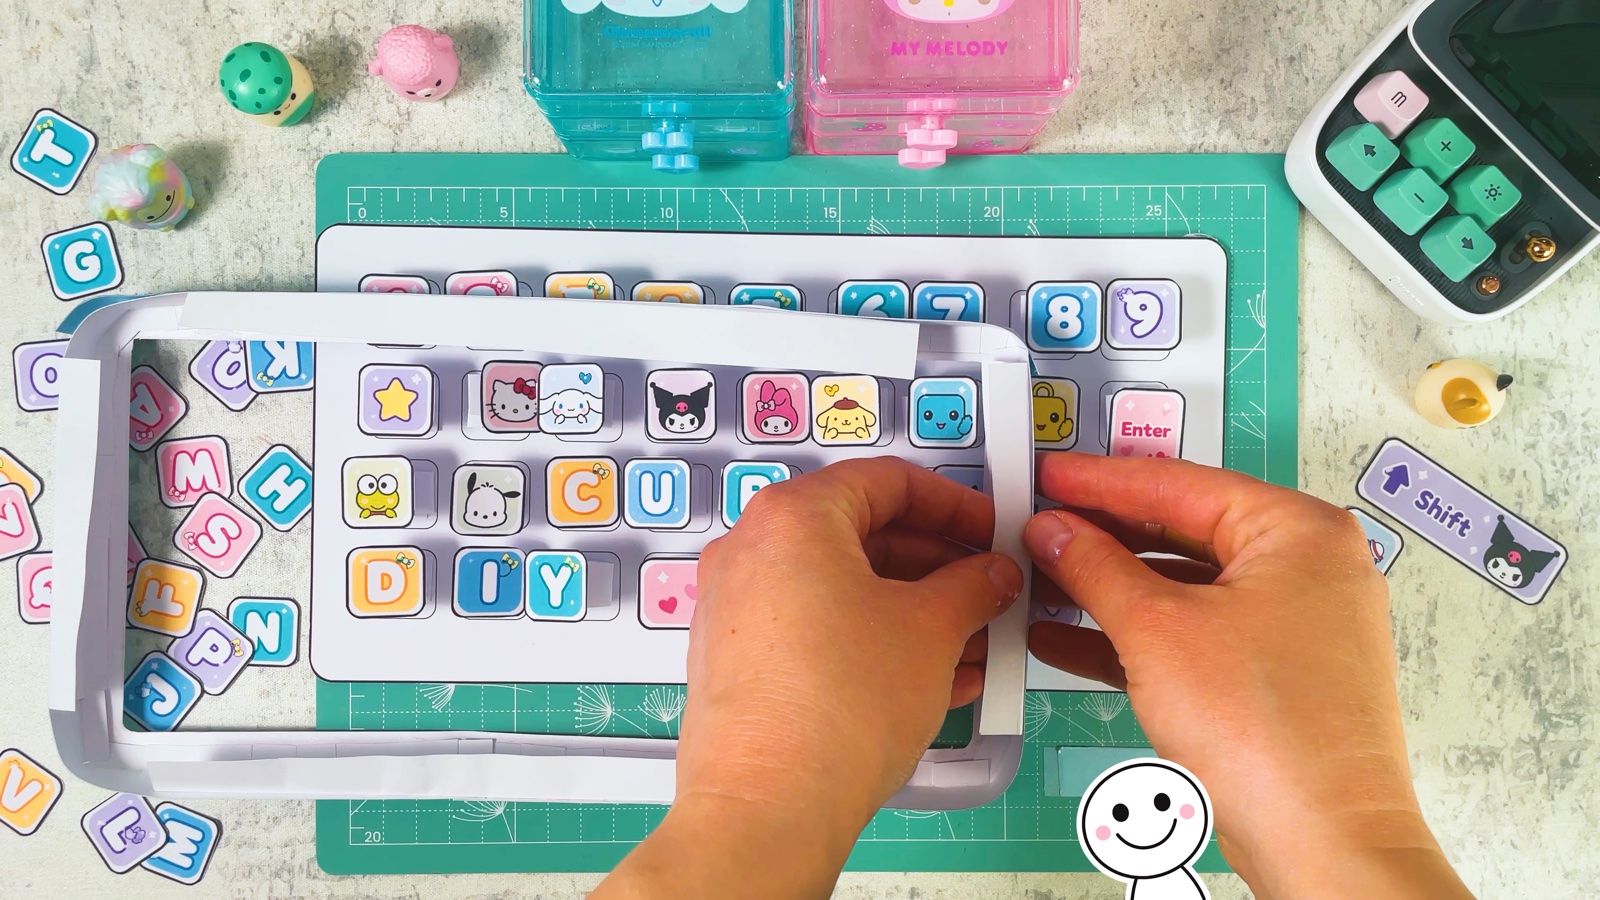
Make a second ring of strips that fits snugly around the keyboard base, and slide the base inside.
- 16
Close the case
Put tape or glue along the edge of the base. Then press the top frame down over the keys.
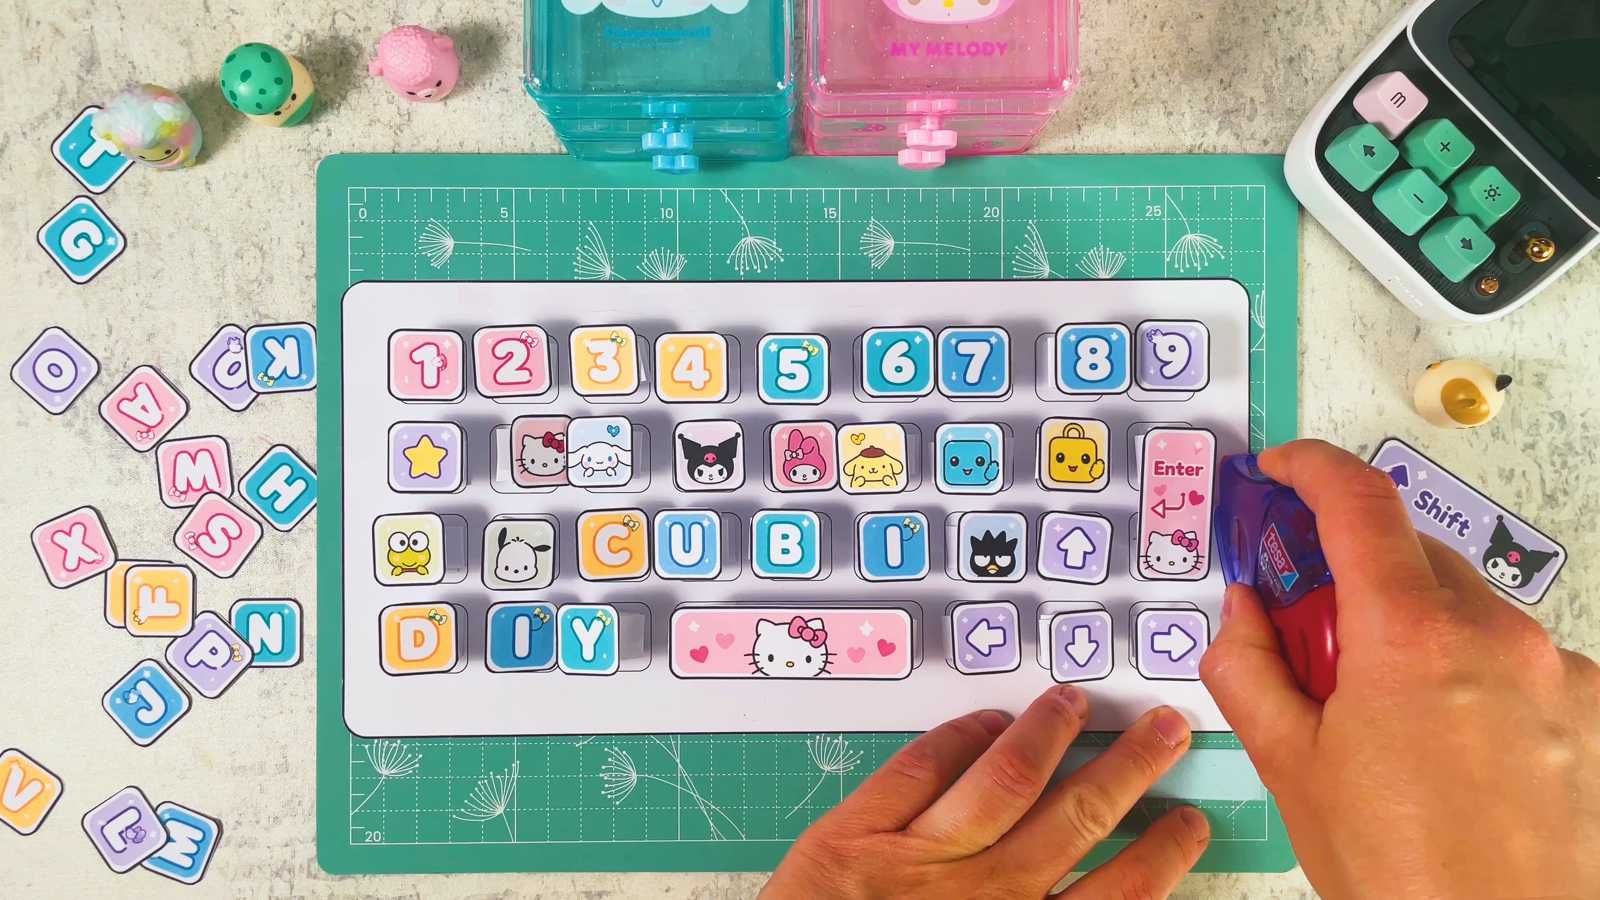
Press the keys and listen to them click.
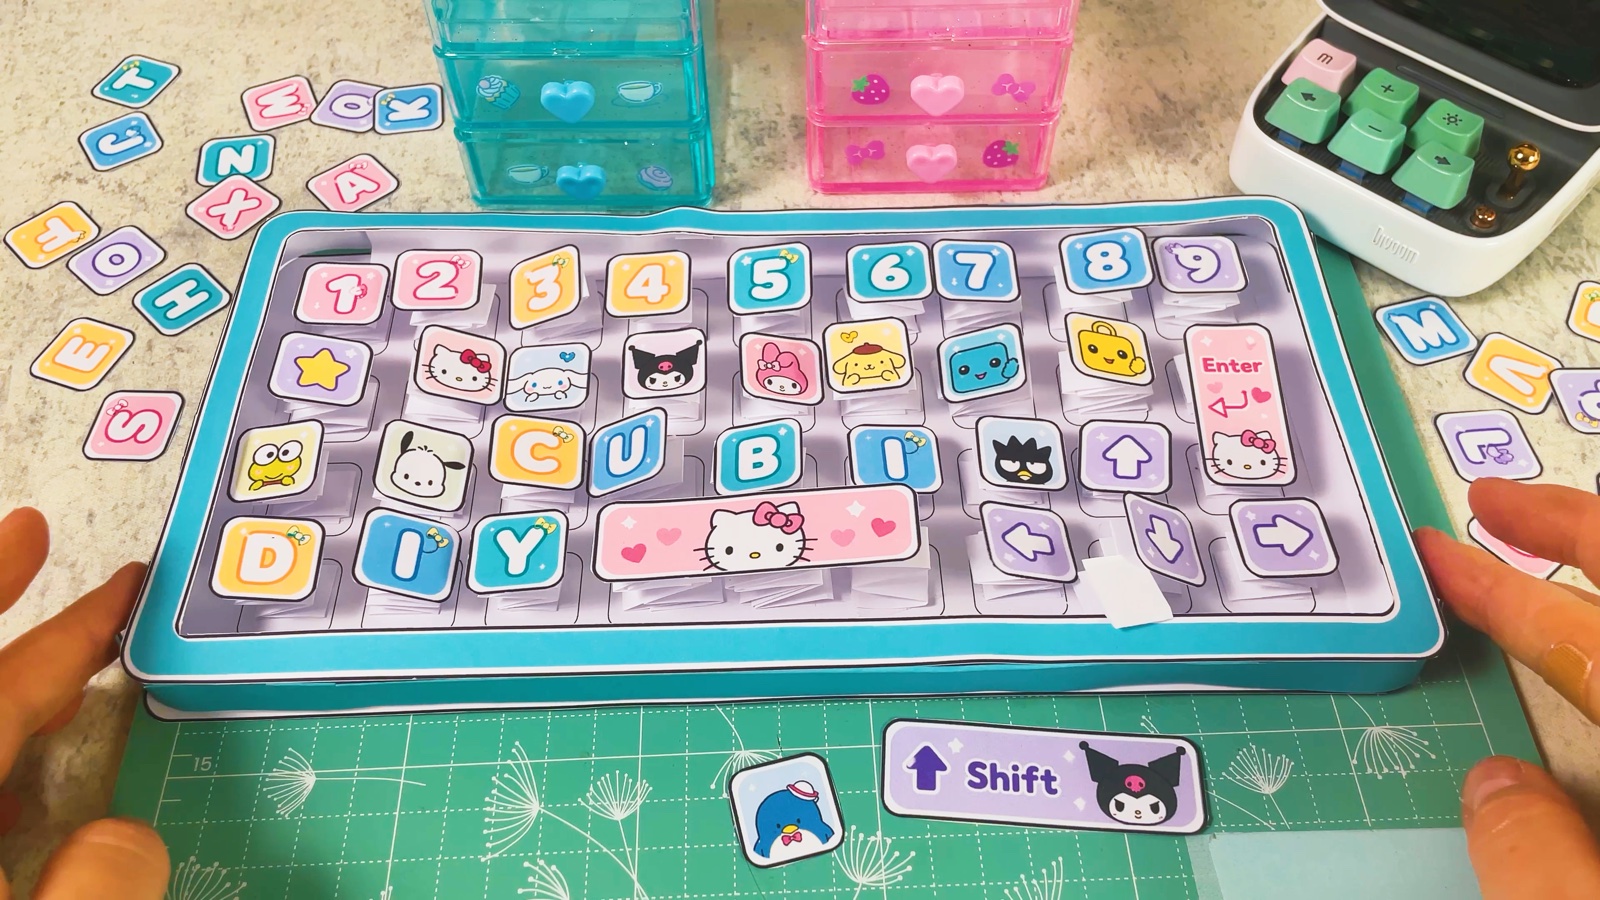
Your bouncy paper keyboard is ready.
THREE LITTLE TIPS
Make it easier.
- Fold narrow, even pleats. Even springs make keys that sit at the same height.
- Plan your layout first. Lay the keys on the base before gluing, so you can try different words and characters.
- Make a few extra springs. Some springs come out squashed. Spares save time.

A CUBI MINI MOMENT
What will you type first?
Cubi typed a secret word for Mini on the top row. What will your keyboard say?
M-I-N-I, with a little yellow star at the end.
Loved making it?
Catch the next make first, or save this one for a rainy day.