Let’s make a paper strawberry that is also a tiny gift box. It is a sweet summer craft for strawberry season.
Inside you can hide small surprises: sweets, a bracelet, a little party favour, a note or another mini treasure. The strawberry closes with a string, so you can tie a bow on top or leave the strings long and hang it up as a summer decoration. It works as a handmade gift, a party favour, a table decoration or a paper ornament.
BEFORE WE START
What you need.
Materials
- Red paper square
- Small green paper square
- String
- Glue
Tools
- Scissors
- Black marker
- Hole punch (optional)
STEP BY STEP
Let’s make it.
- 1
Fold the diagonals
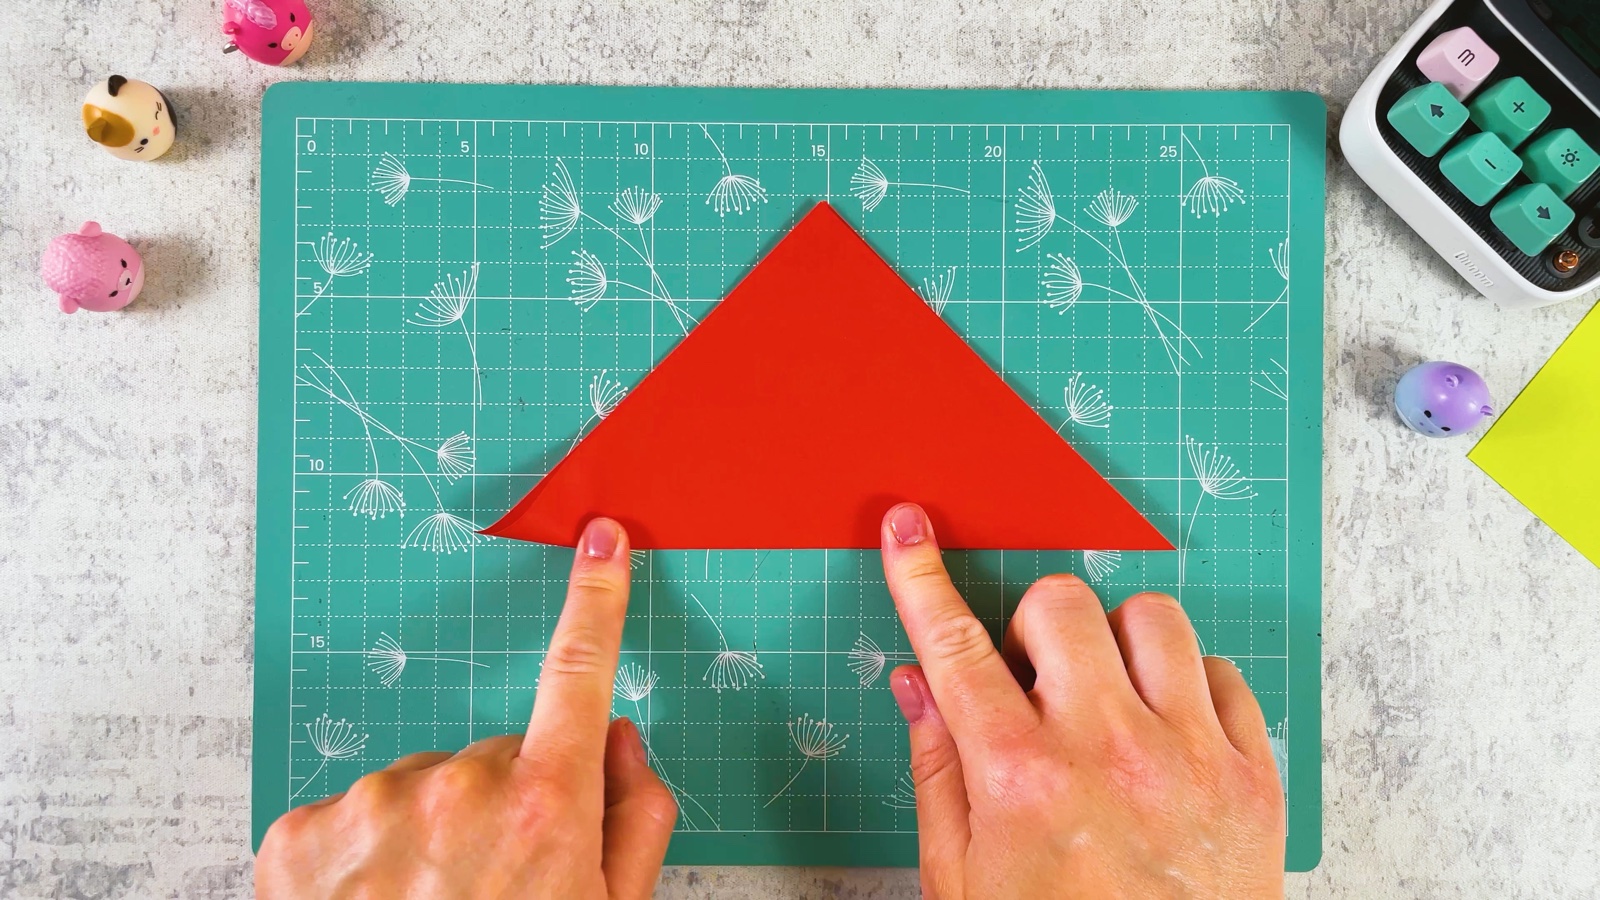
Take the red square. Fold it in half from corner to corner to make a triangle, then open it. Fold the other two corners together and open it again.
- 2
Fold it in half both ways
Turn the paper over. Fold it in half edge to edge to make a rectangle, then open it. Fold it in half the other way and open it again.
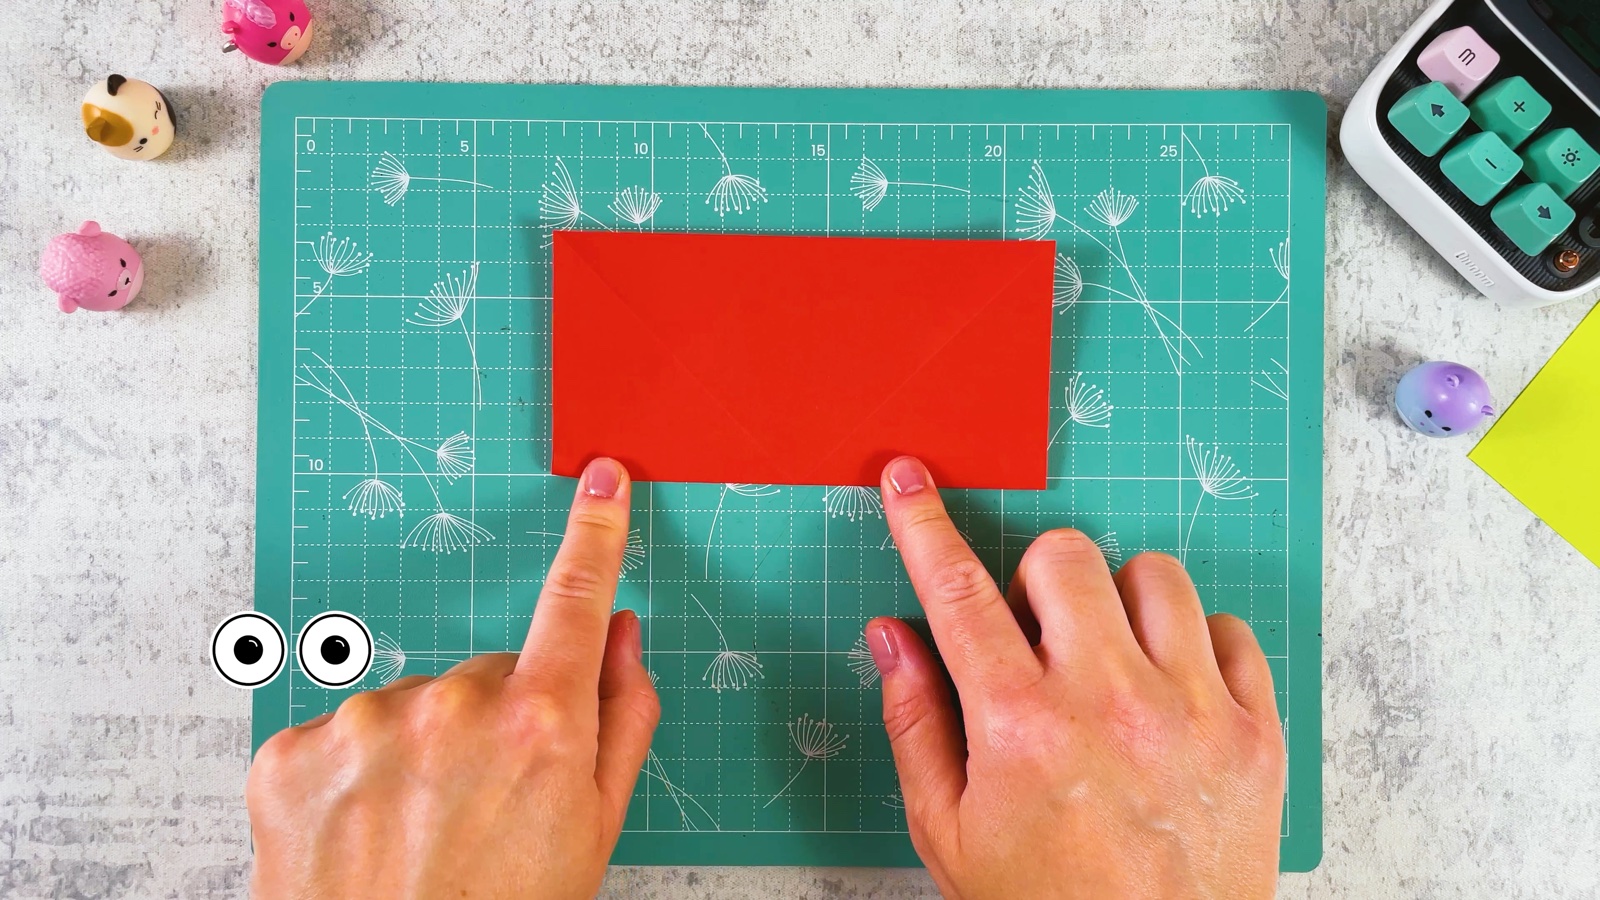
- 3
Collapse it into a triangle
Use the creases to push the sides in. The square folds down into a flat triangle with layers inside.
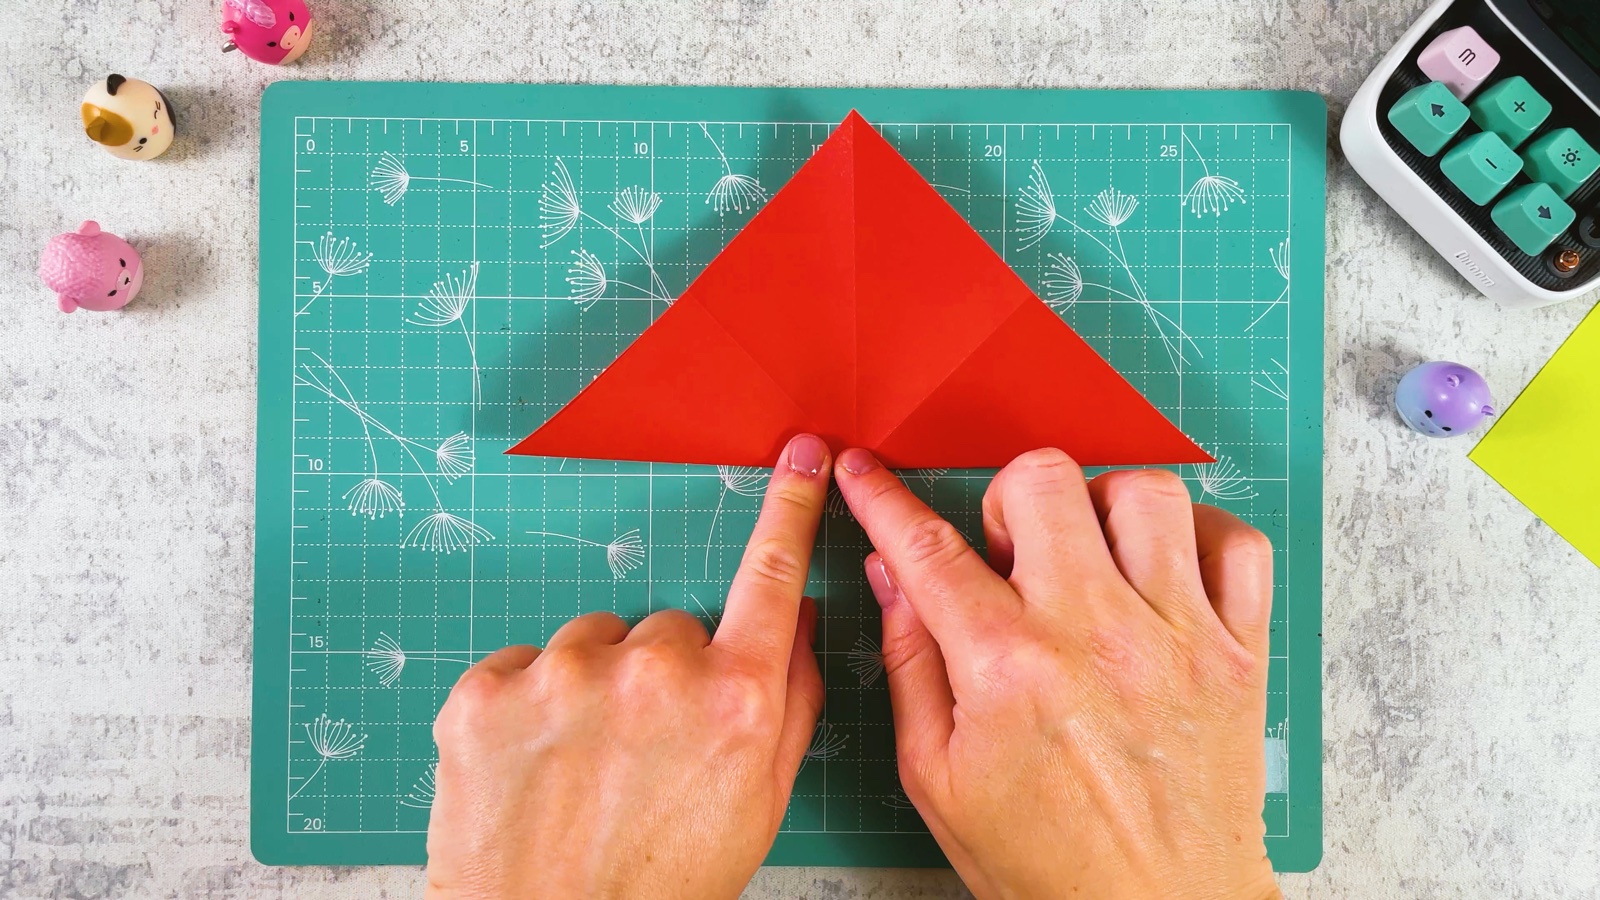
- 4
Fold the triangle in half
Fold the triangle in half again, so it becomes a narrow wedge. Press the folds flat.
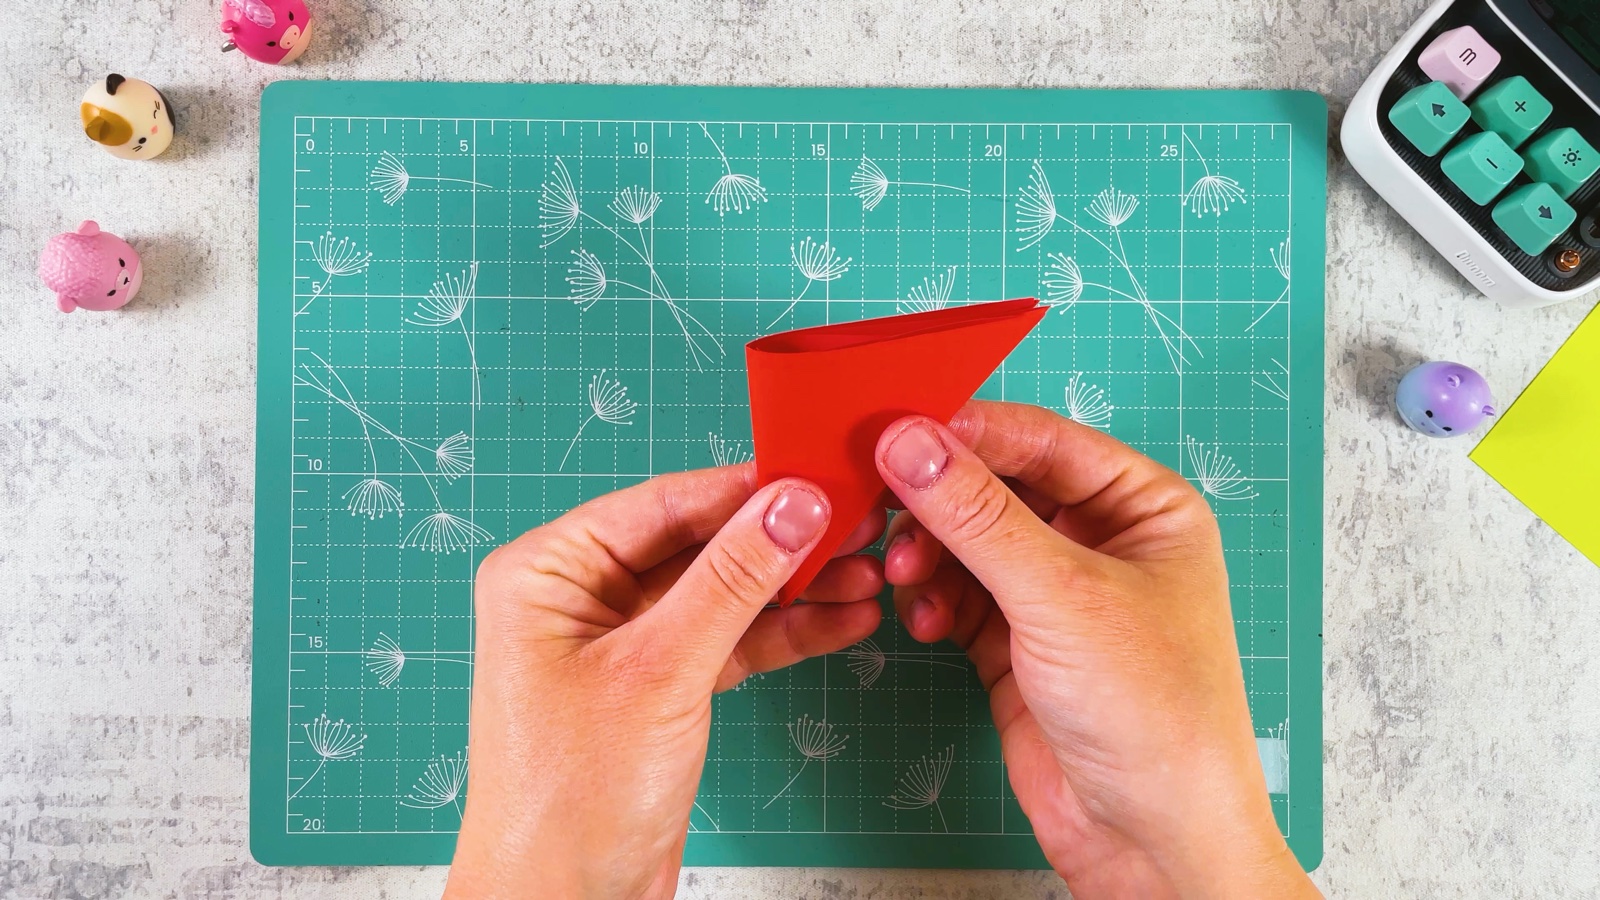
- 5
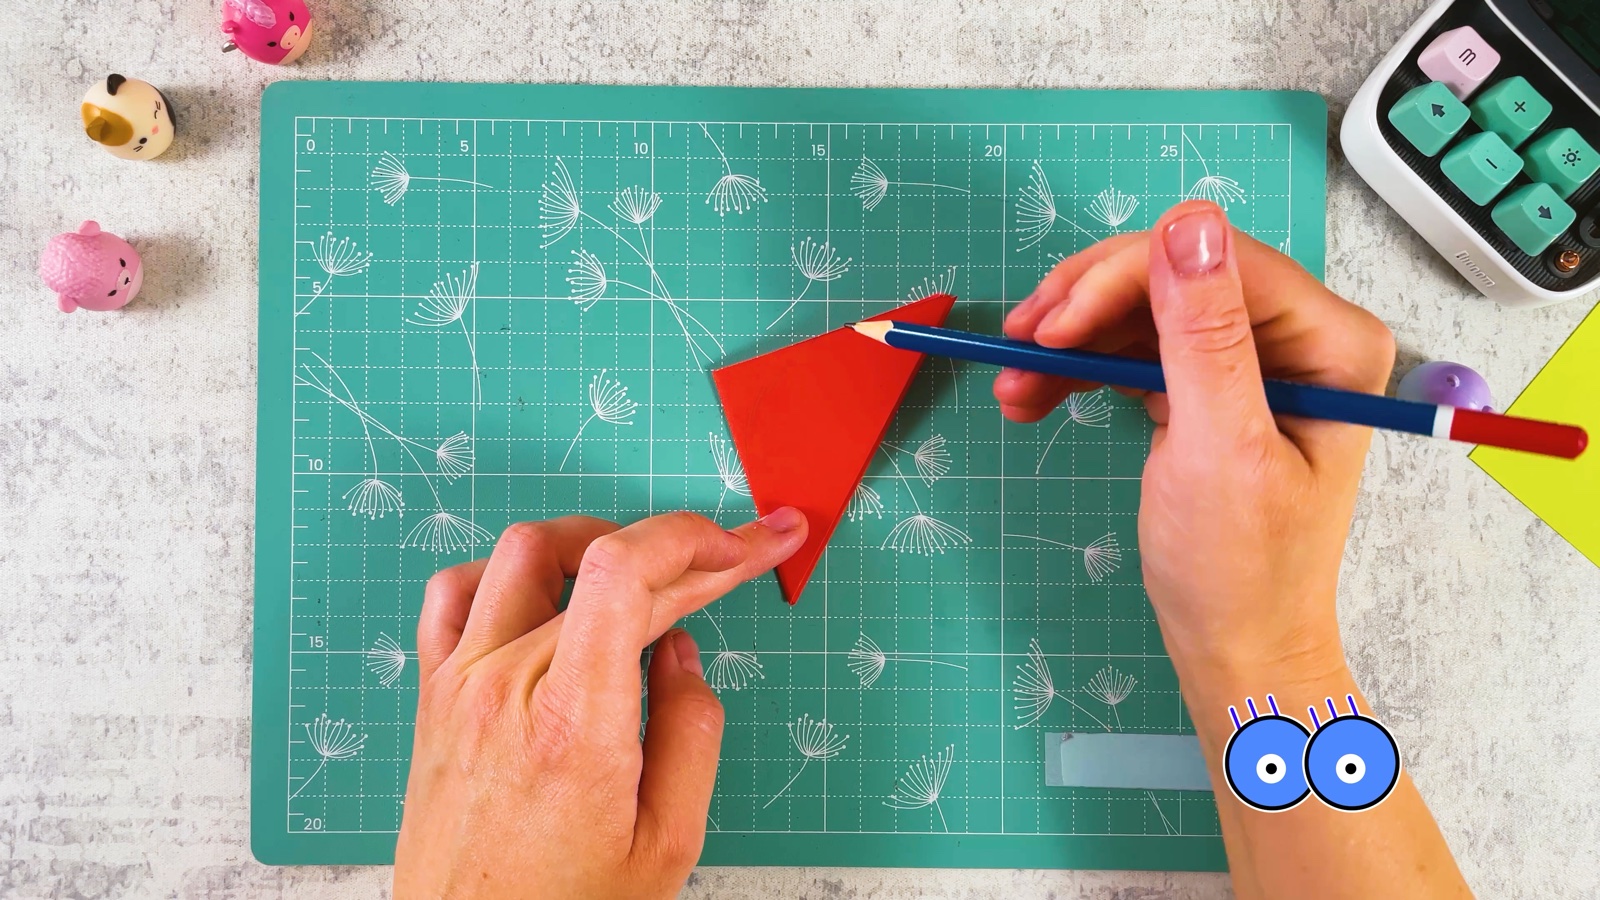
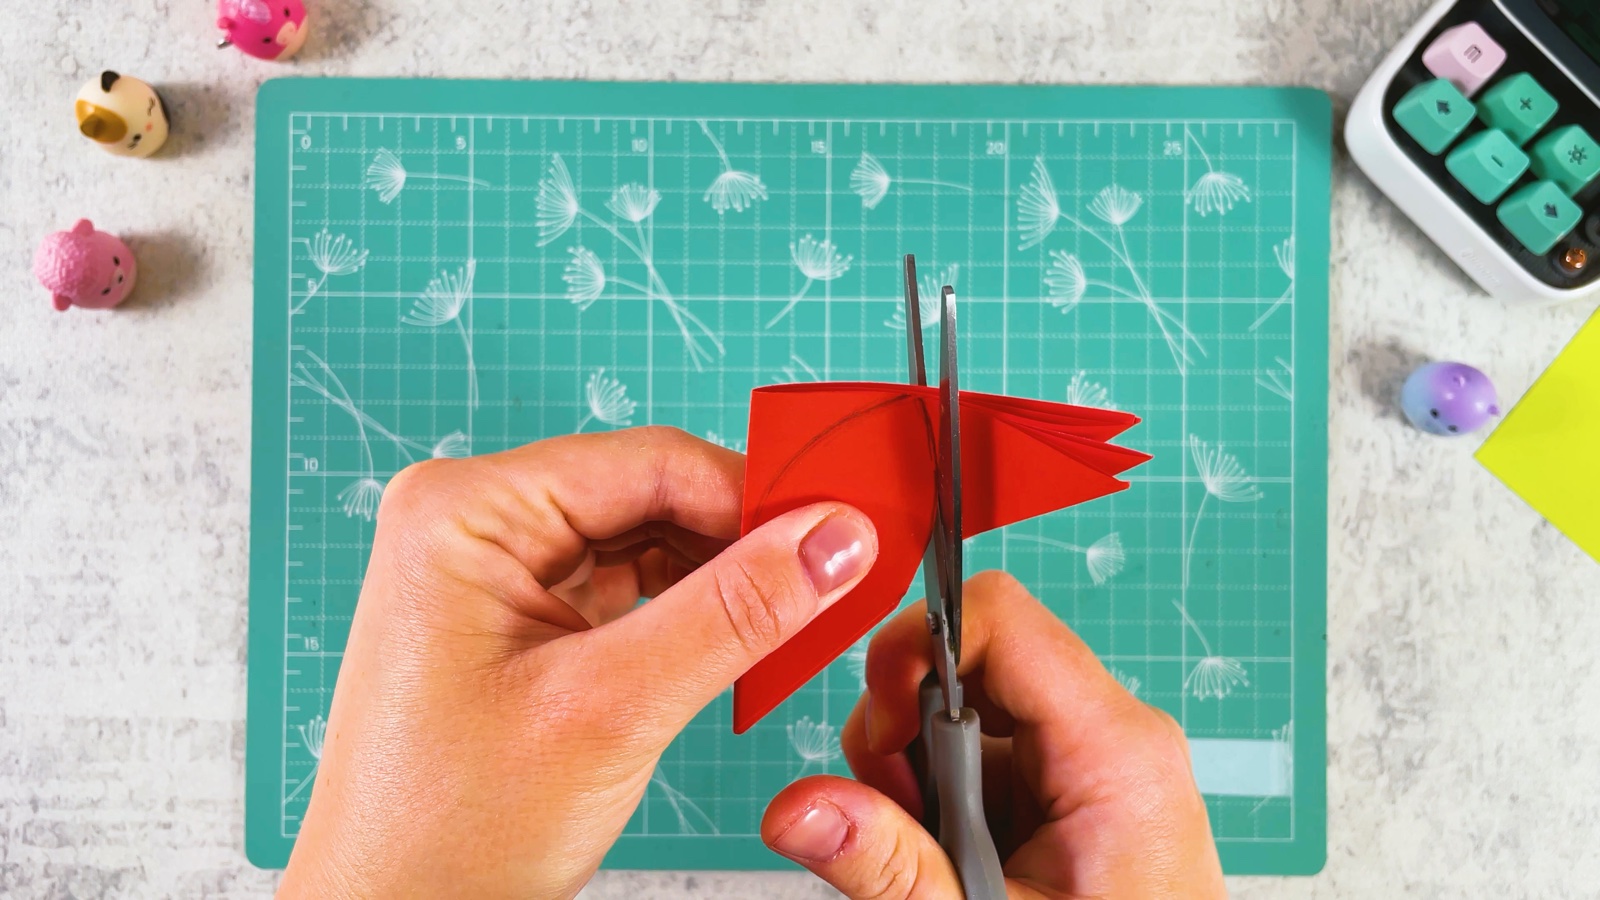
Draw a petal
Draw a rounded petal shape on the wedge, with a point at the top.
- 6
Cut along the line
Cut along the line through all the layers. Hold the layers together so they don’t slip.
- 7
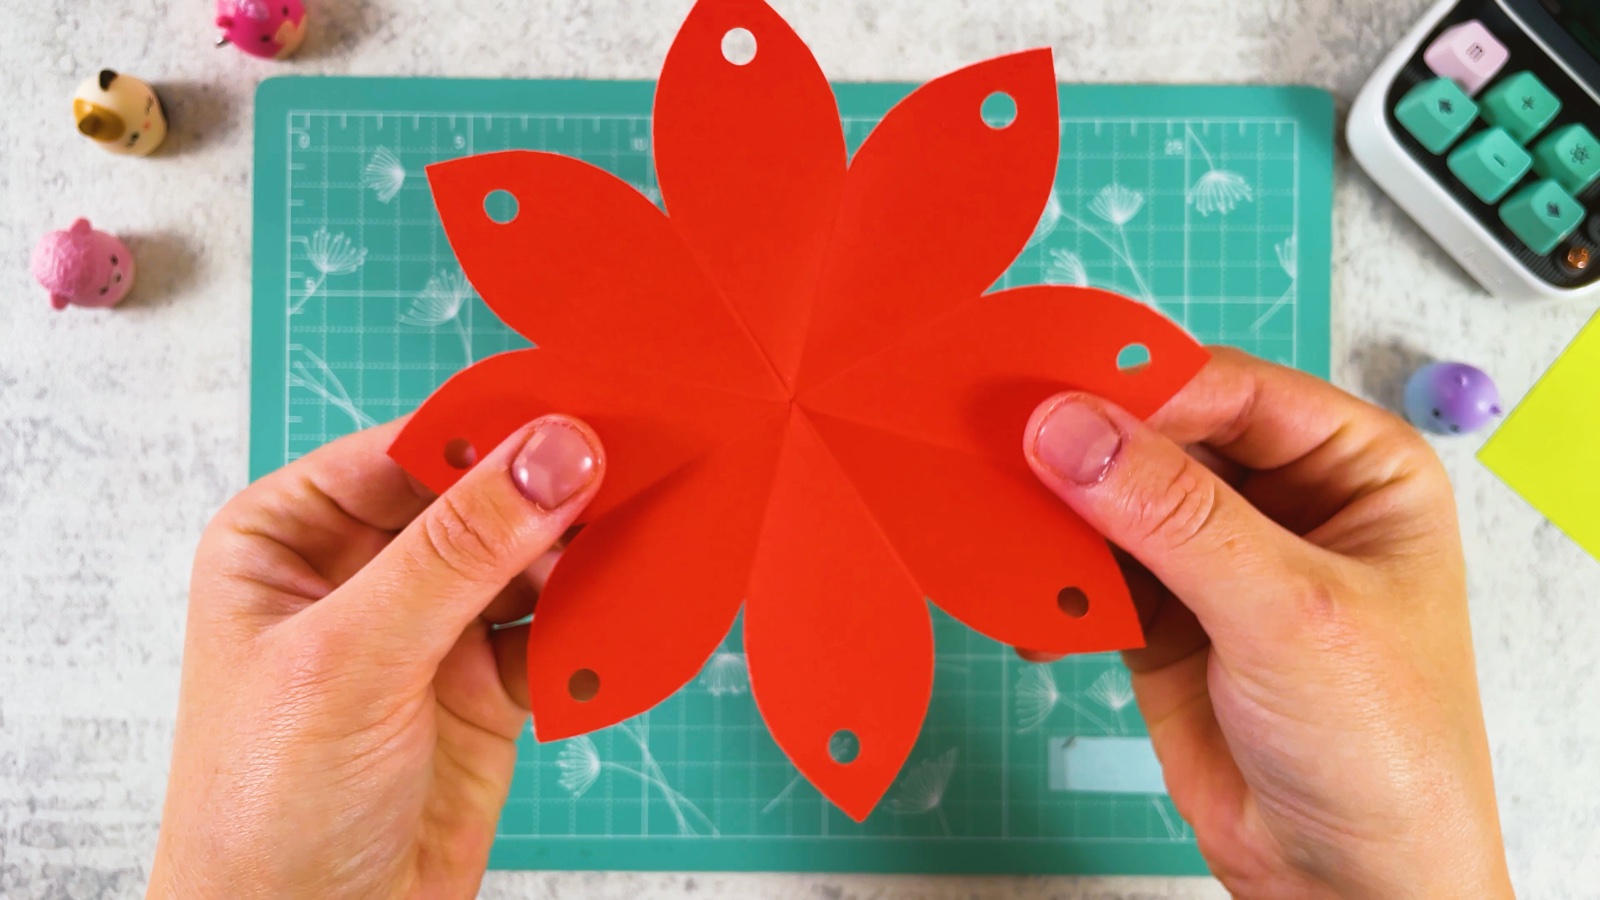
Open the flower
Gently unfold the paper. Now you have a red flower with eight pointed petals.

- 8
Punch the holes
Punch one hole near the tip of every petal. No hole punch? Make small holes carefully with the tip of the scissors.
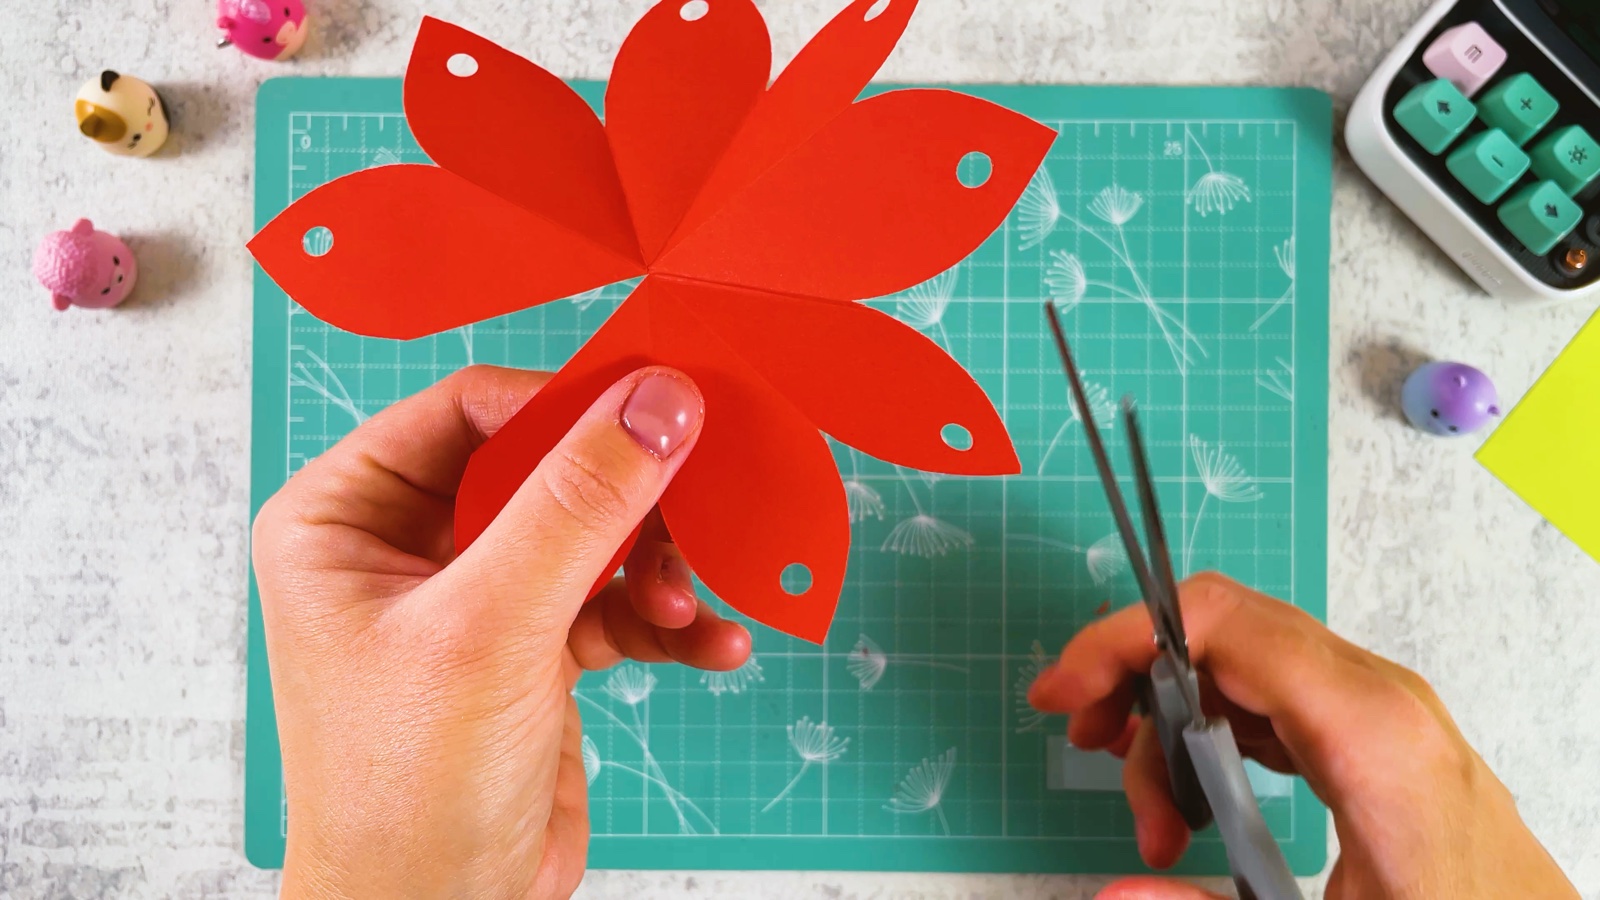
- 9
Cut to the centre
Cut along one fold line between two petals, from the edge to the centre.
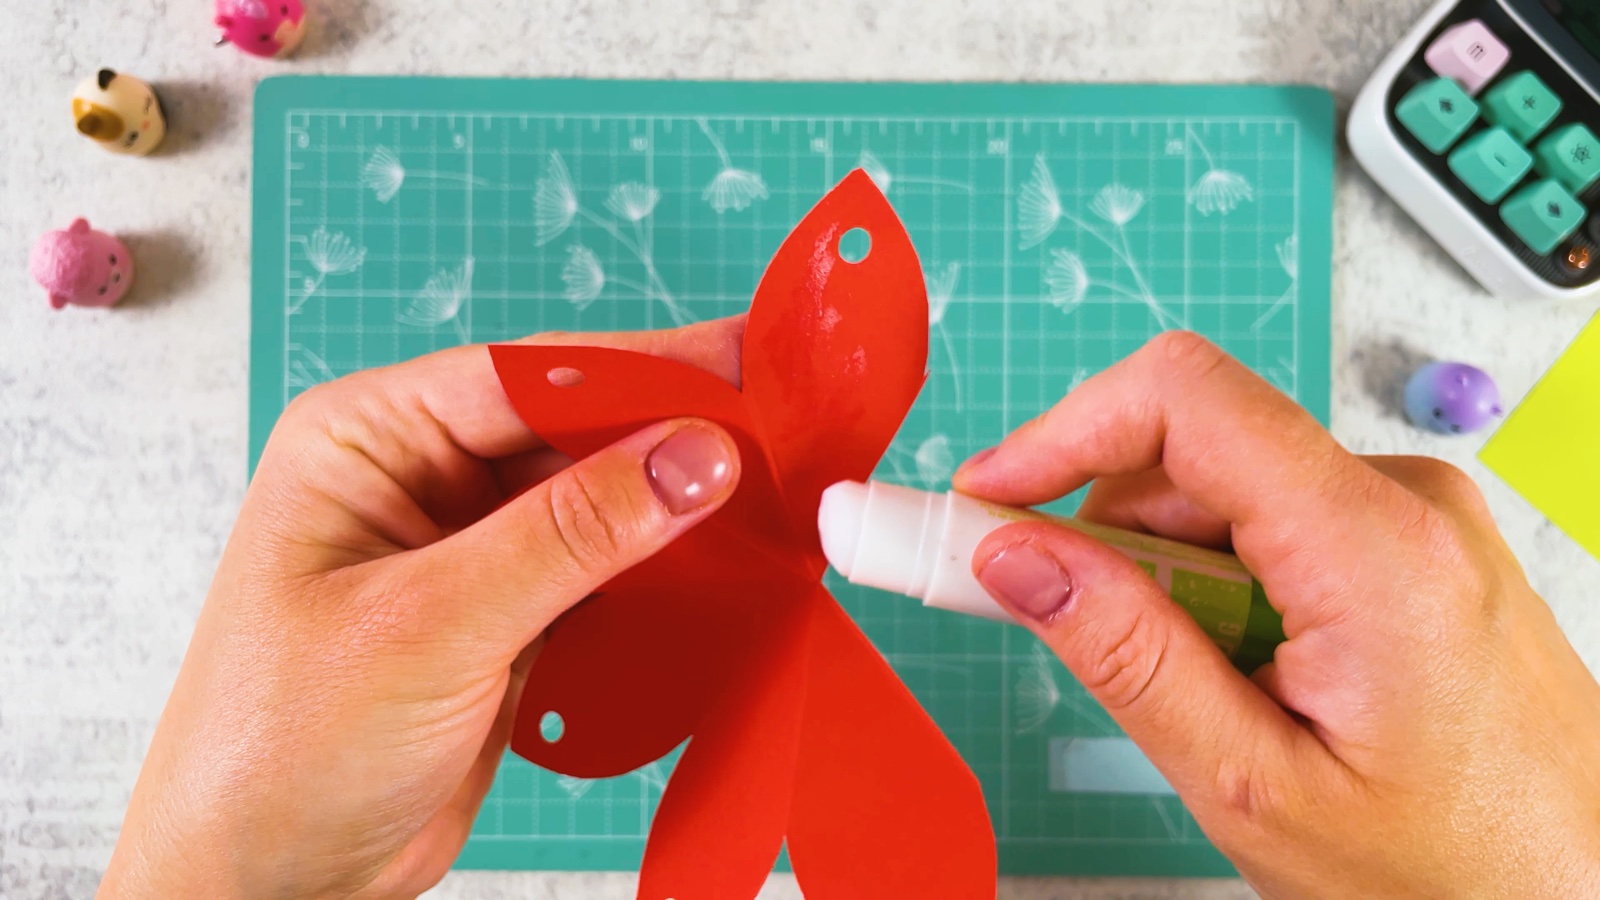
- 10
Glue it into a cup
Put glue on a petal next to the cut and slide its neighbour over it. The flat flower turns into a little cup.
- 11
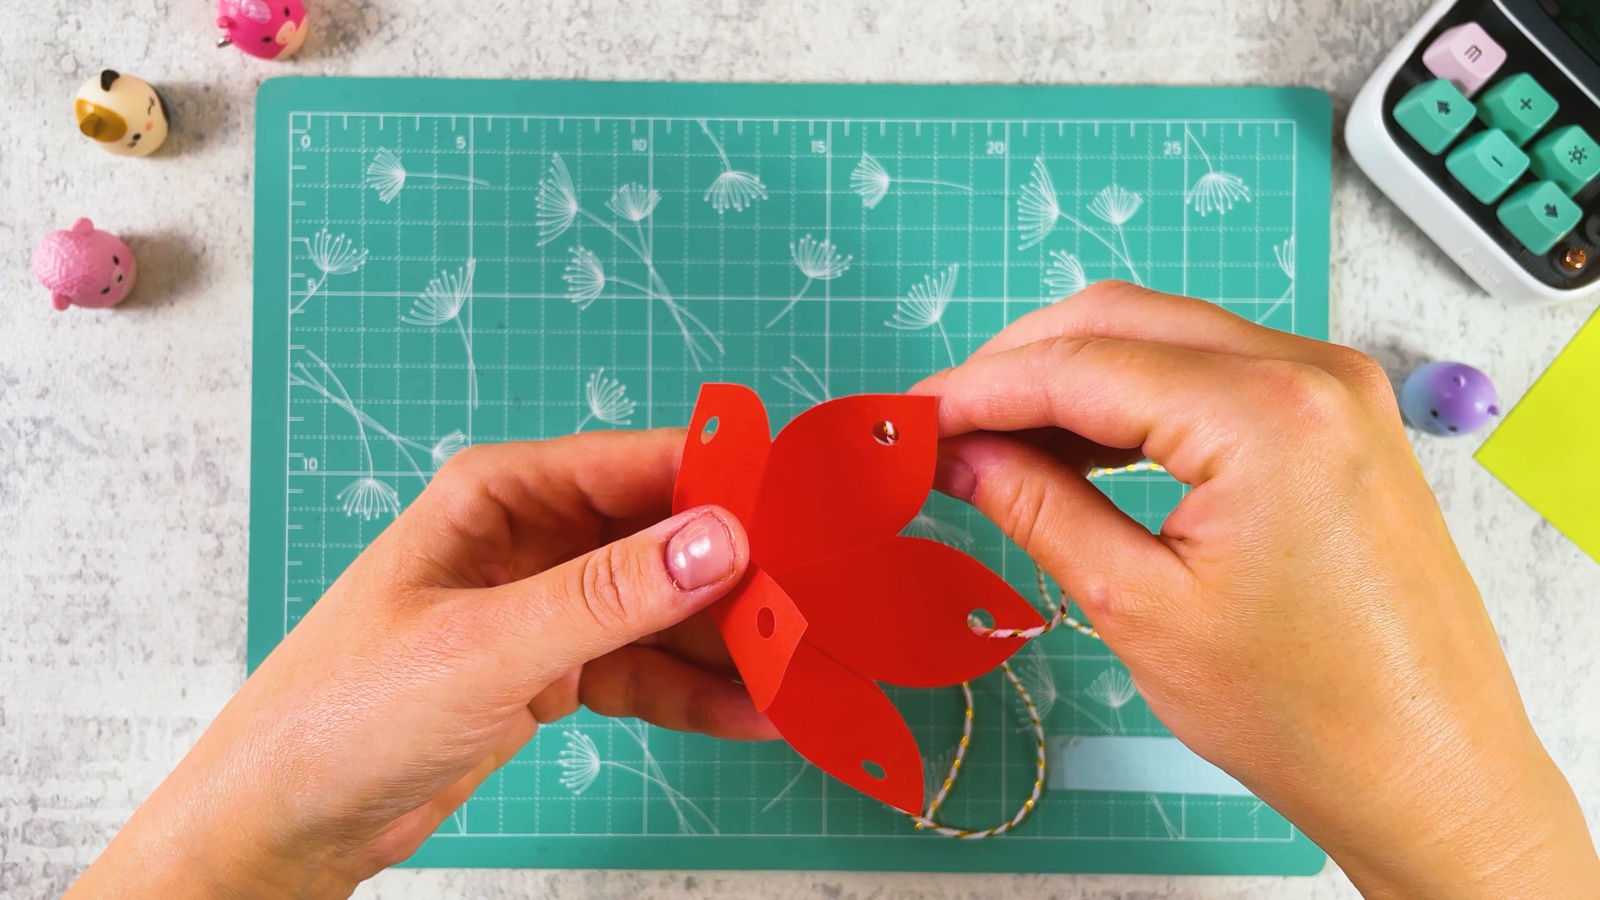
Thread the string
Thread the string through the holes, going in and out, all the way around. Leave both ends long.
- 12
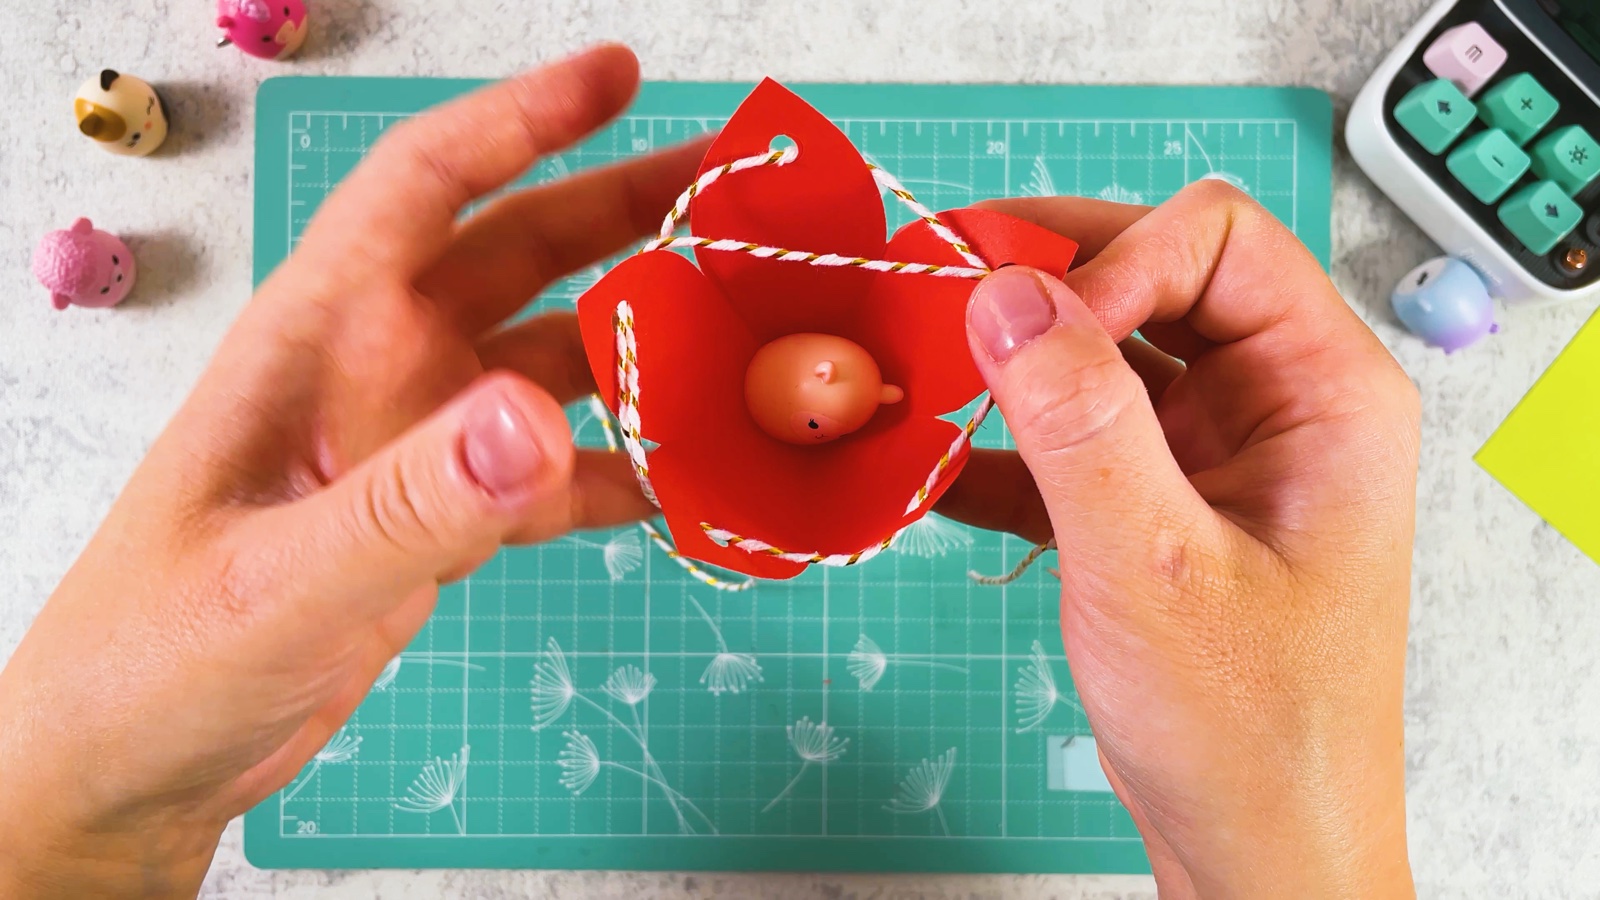
Hide a surprise inside
Put a tiny surprise inside the cup: a sweet, a bracelet, a note or a little toy.
- 13
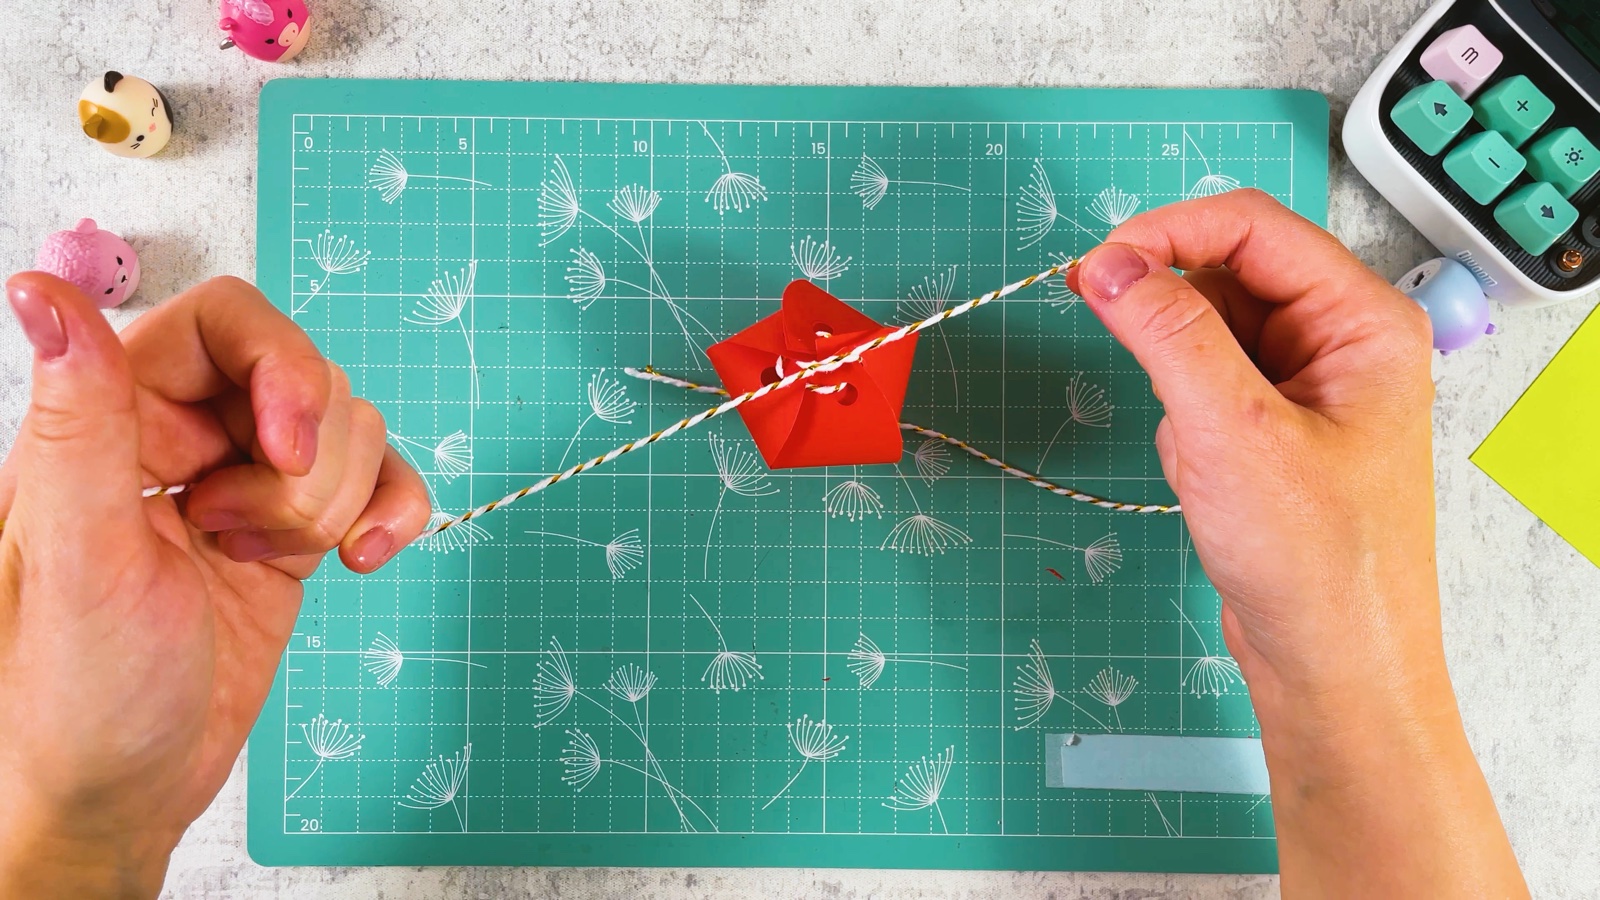
Pull it closed
Pull both ends of the string. The petals close up and the cup becomes a strawberry.
- 14
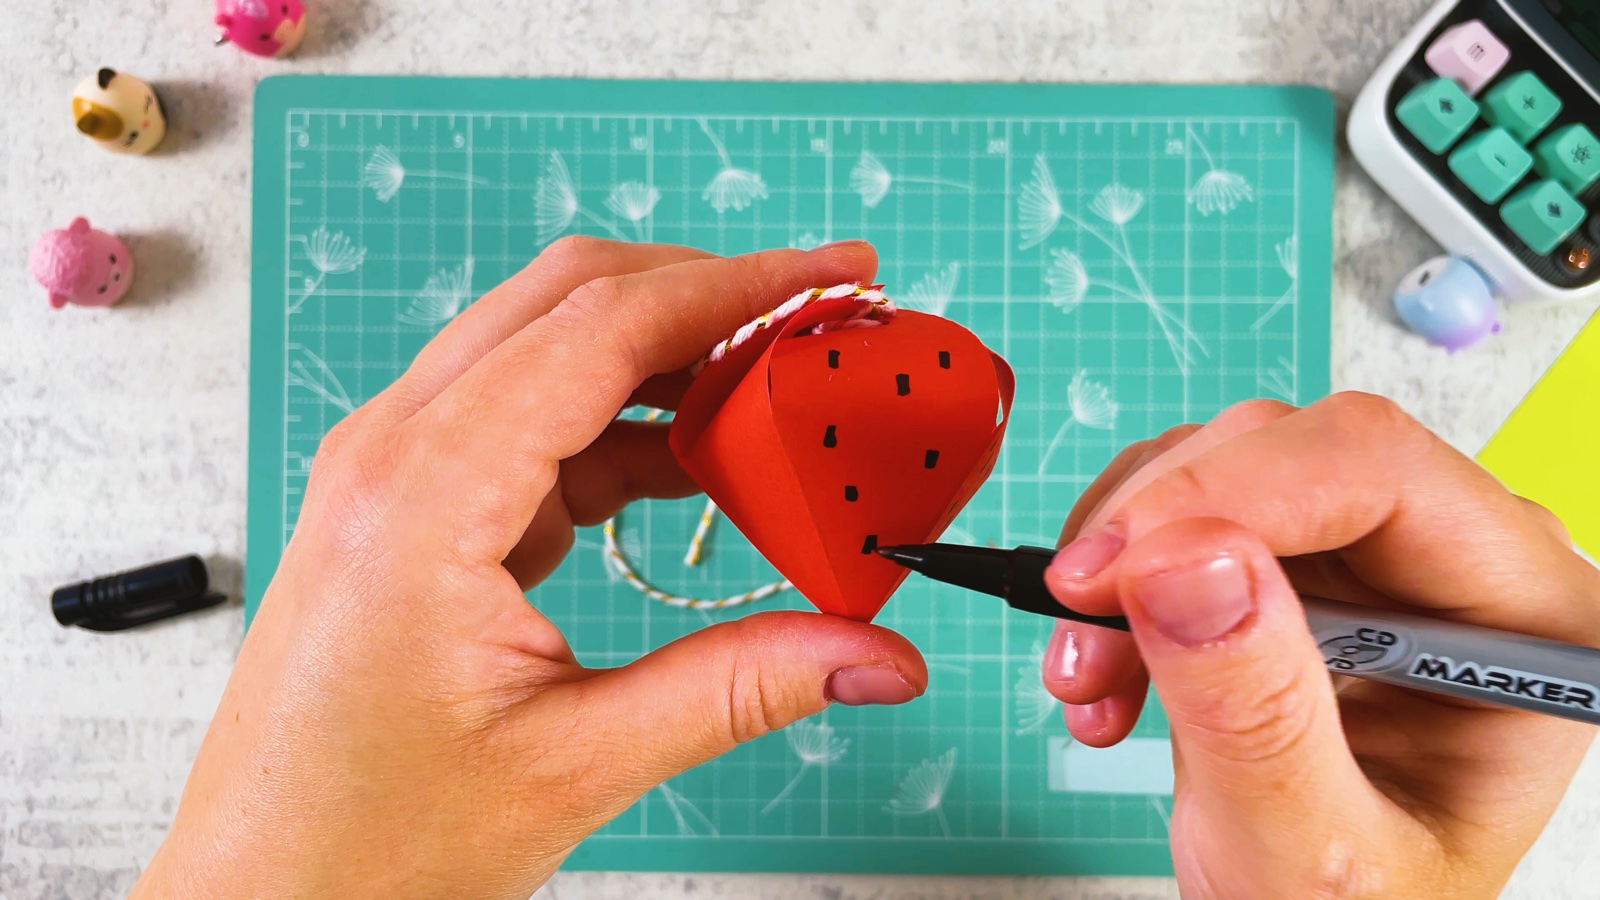
Draw the seeds
Draw small black seeds all over the strawberry with the marker.
- 15
Fold the leaves
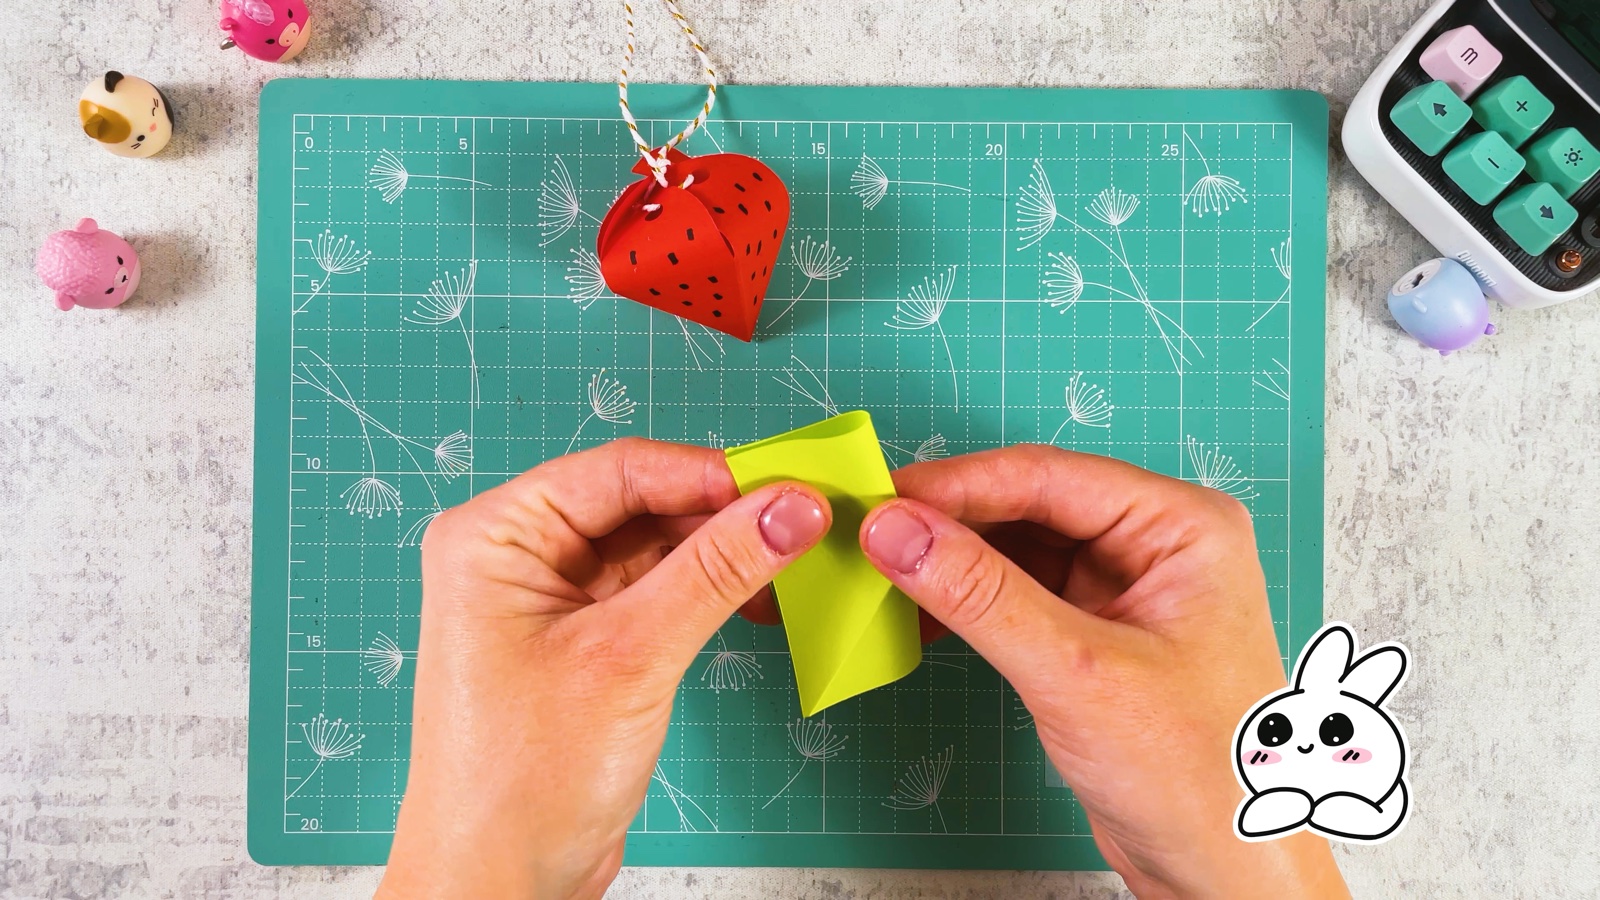
Take the small green square and fold it the same way as the red one, steps 1 to 4.
- 16
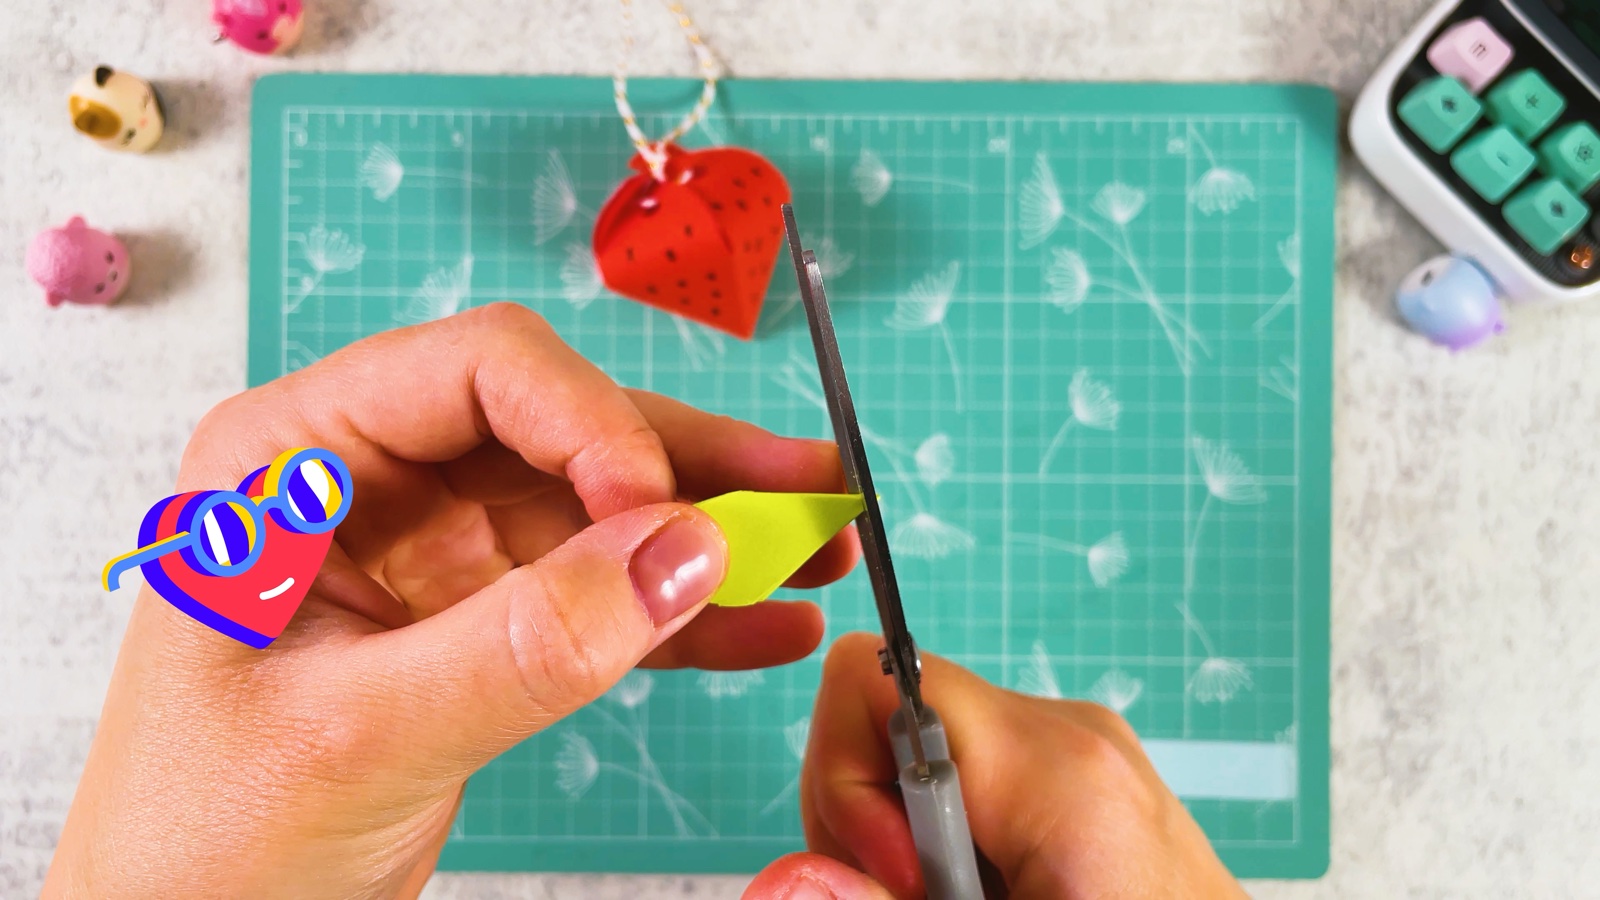
Cut the leaves
Cut a pointy leaf shape. Snip off the very tip at the centre too, so there is a small hole in the middle.
- 17
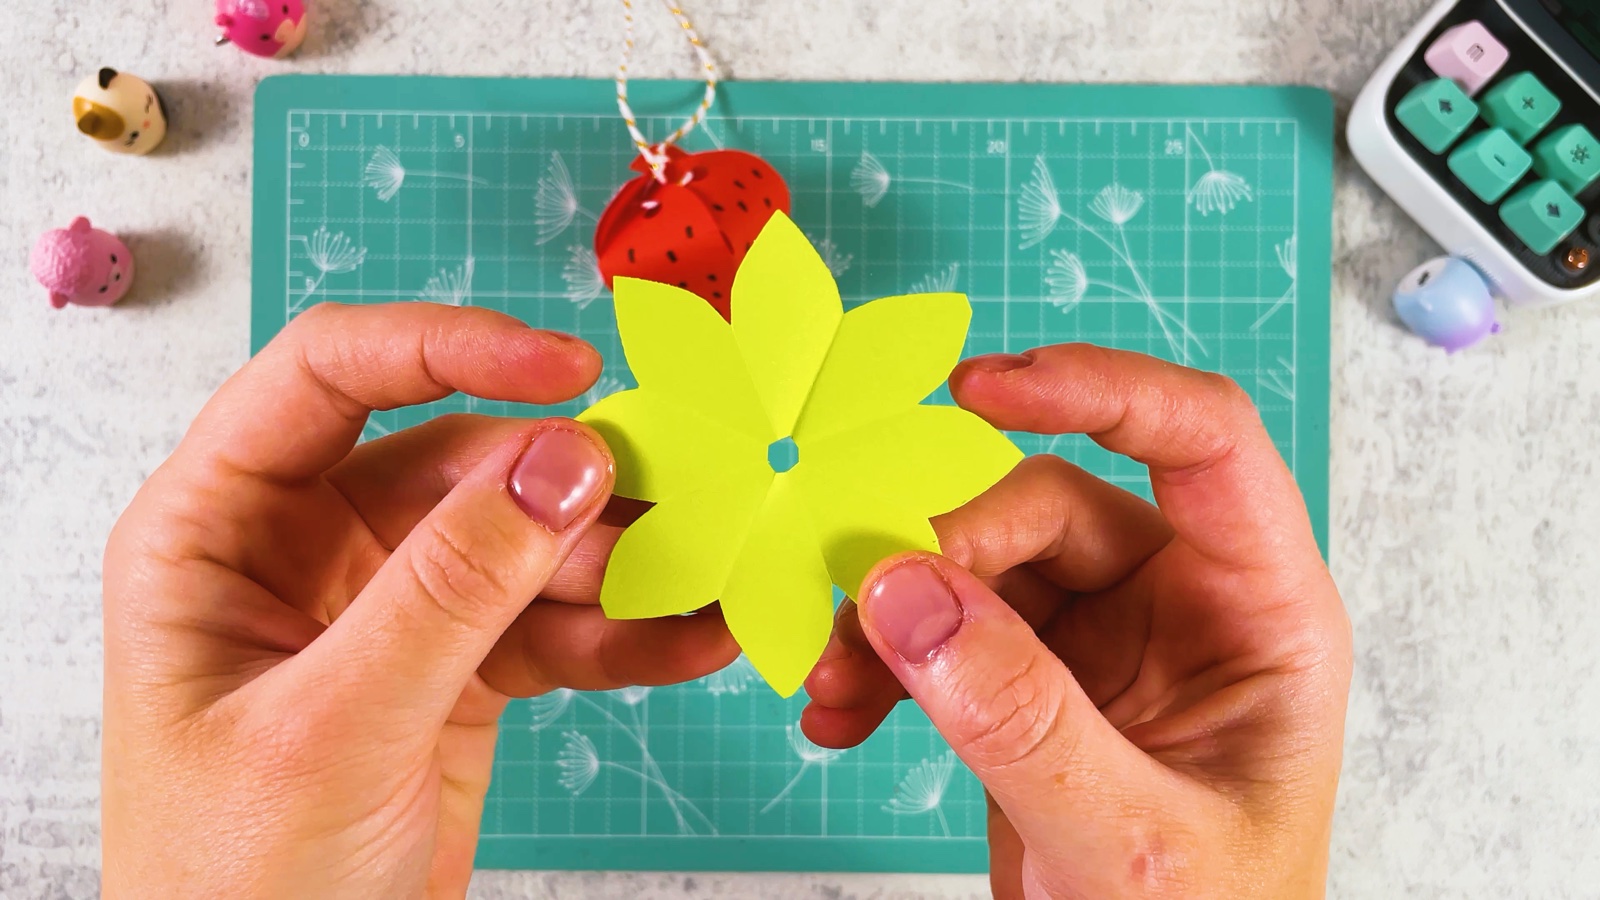
Open the leaves
Unfold the green paper. Now you have a star of leaves with a hole in the middle.
- 18
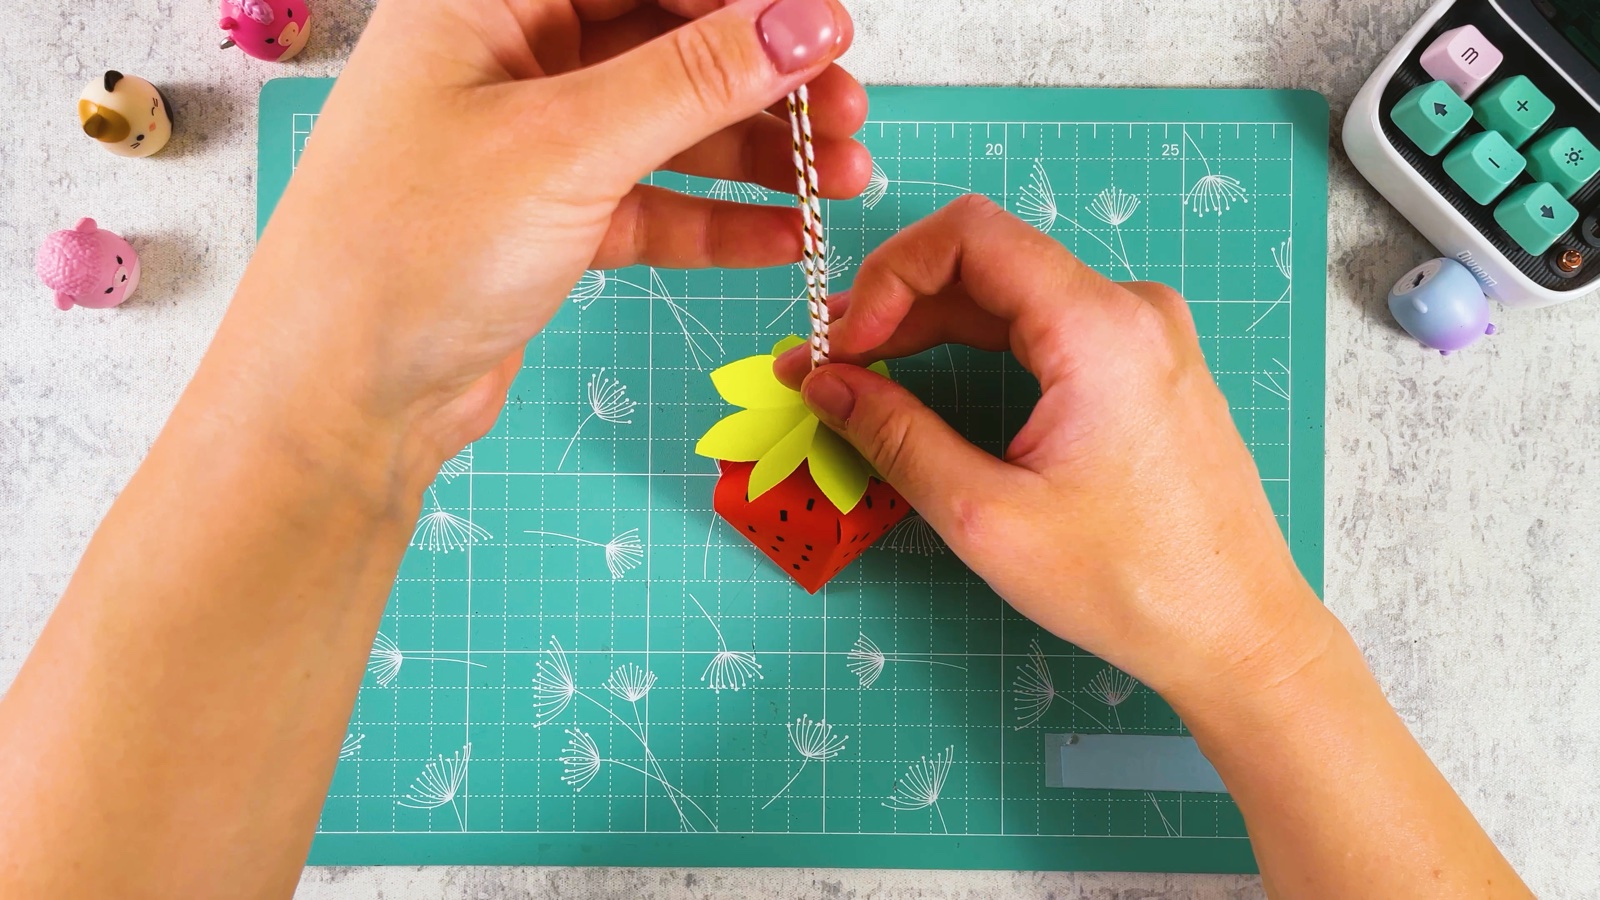
Add the leaves
Push both ends of the string through the hole in the leaves. Slide the leaves down onto the top of the strawberry.
- 19
Tie a bow
Tie the string into a bow on top. Or leave the ends long and hang the strawberry up.
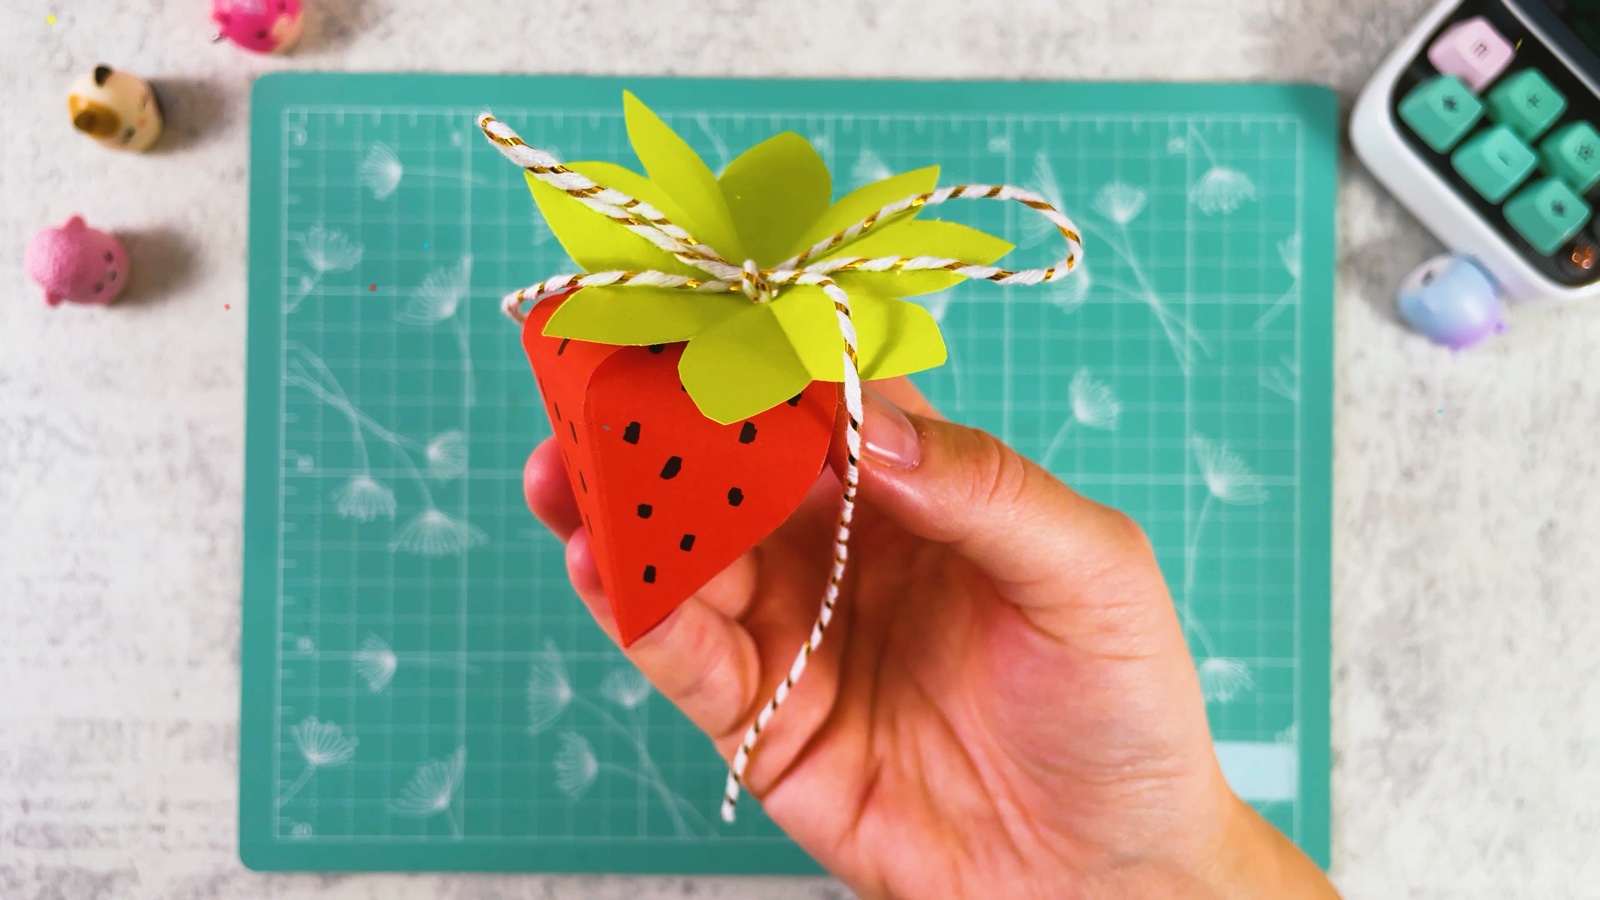
Your strawberry gift box is ready.
TWO LITTLE TIPS
Make it easier.
- Thin paper folds best. Many layers are cut at once, so thick paper is hard to cut.
- Make a few in a row. A row of strawberries makes a sweet party garland or a set of party favours.

A CUBI MINI MOMENT
Who is your strawberry for?
Cubi’s strawberry has a little surprise for Mini inside. What will you put in yours?
A tiny friendship bracelet, in Mini’s favourite yellow.
Loved making it?
Catch the next make first, or save this one for a rainy day.