Let’s make DIY Pokémon mini piñatas from simple paper cups, colourful crepe paper, ribbons and your favourite Pokémon! These cute candy piñatas are very easy to make. They are great for a Pokémon birthday, as party favours for guests, for kids’ parties or as a fun DIY project.
Step by step, we turn a plain paper cup into a colourful pull-string mini piñata. Fill it with sweets, small treats or little surprises, decorate it with crepe paper fringe and add a Pokémon face on top. You can make Pikachu, Charmander, Mew, Bulbasaur or any other Pokémon you like!
They don’t have to be Pokémon at all. The same method works for Hello Kitty and other Sanrio characters like My Melody, Kuromi and Cinnamoroll, for unicorns, cats and other animals, a rainbow party, game characters or any birthday theme you love. Because they are small and made from paper cups, they are much quicker and easier to make than a big traditional piñata.
BEFORE WE START
What you need.
Materials
- Paper cups
- Coloured tissue paper or crepe paper
- Coloured ribbons
- Printed Pokémon heads, faces or pictures
- Lots of sweets and small treats
Tools
- Scissors
- Clear sticky tape
- Double-sided tape
- Glue or a glue stick
- A pencil
STEP BY STEP
Let’s make it.
- 1
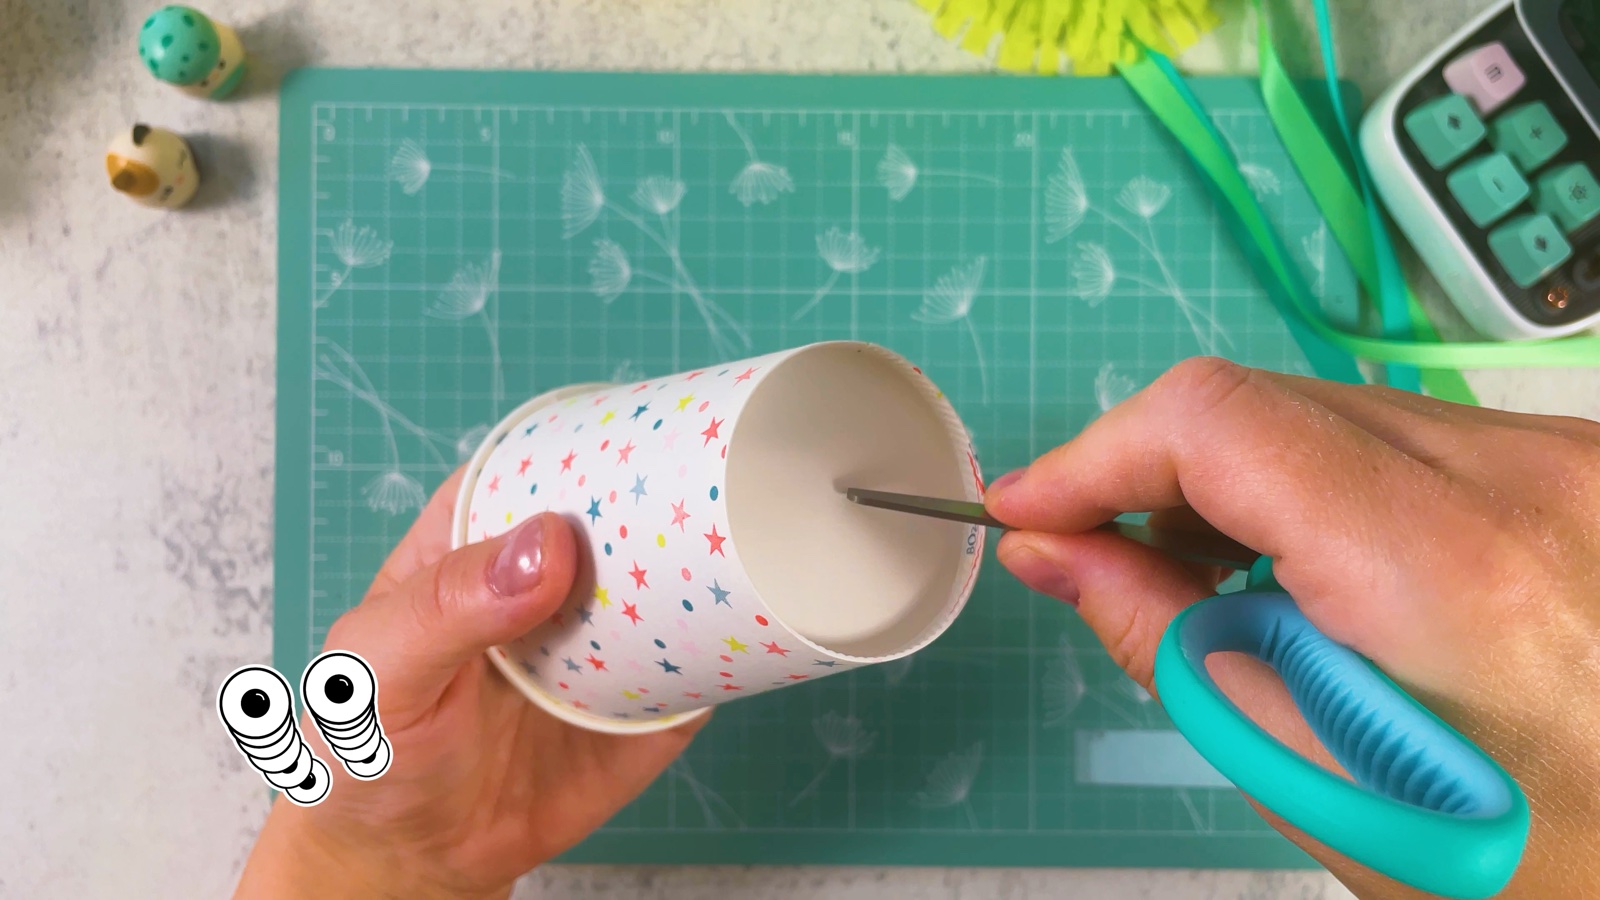
Poke a hole in the cup
Use the tip of the scissors to poke a small hole in the middle of the bottom of the cup. The bottom of the cup will be the top of the piñata.
- 2
Make a ribbon loop
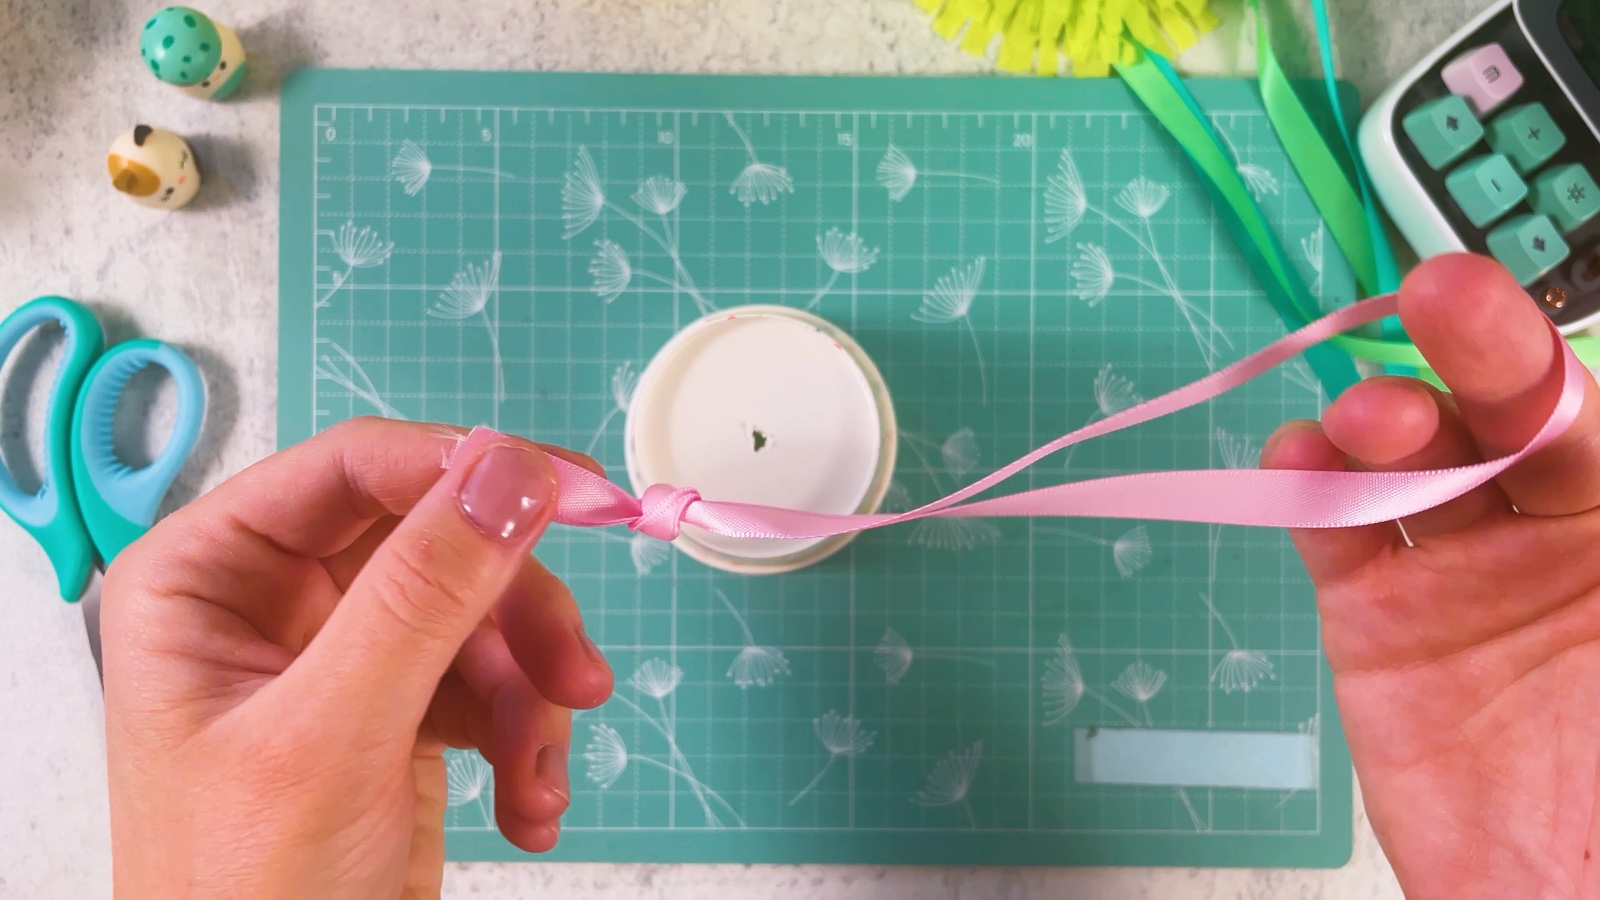
Take a piece of ribbon, fold it in half and tie a knot at the ends. This loop is for hanging the piñata.
- 3
Pull the loop through
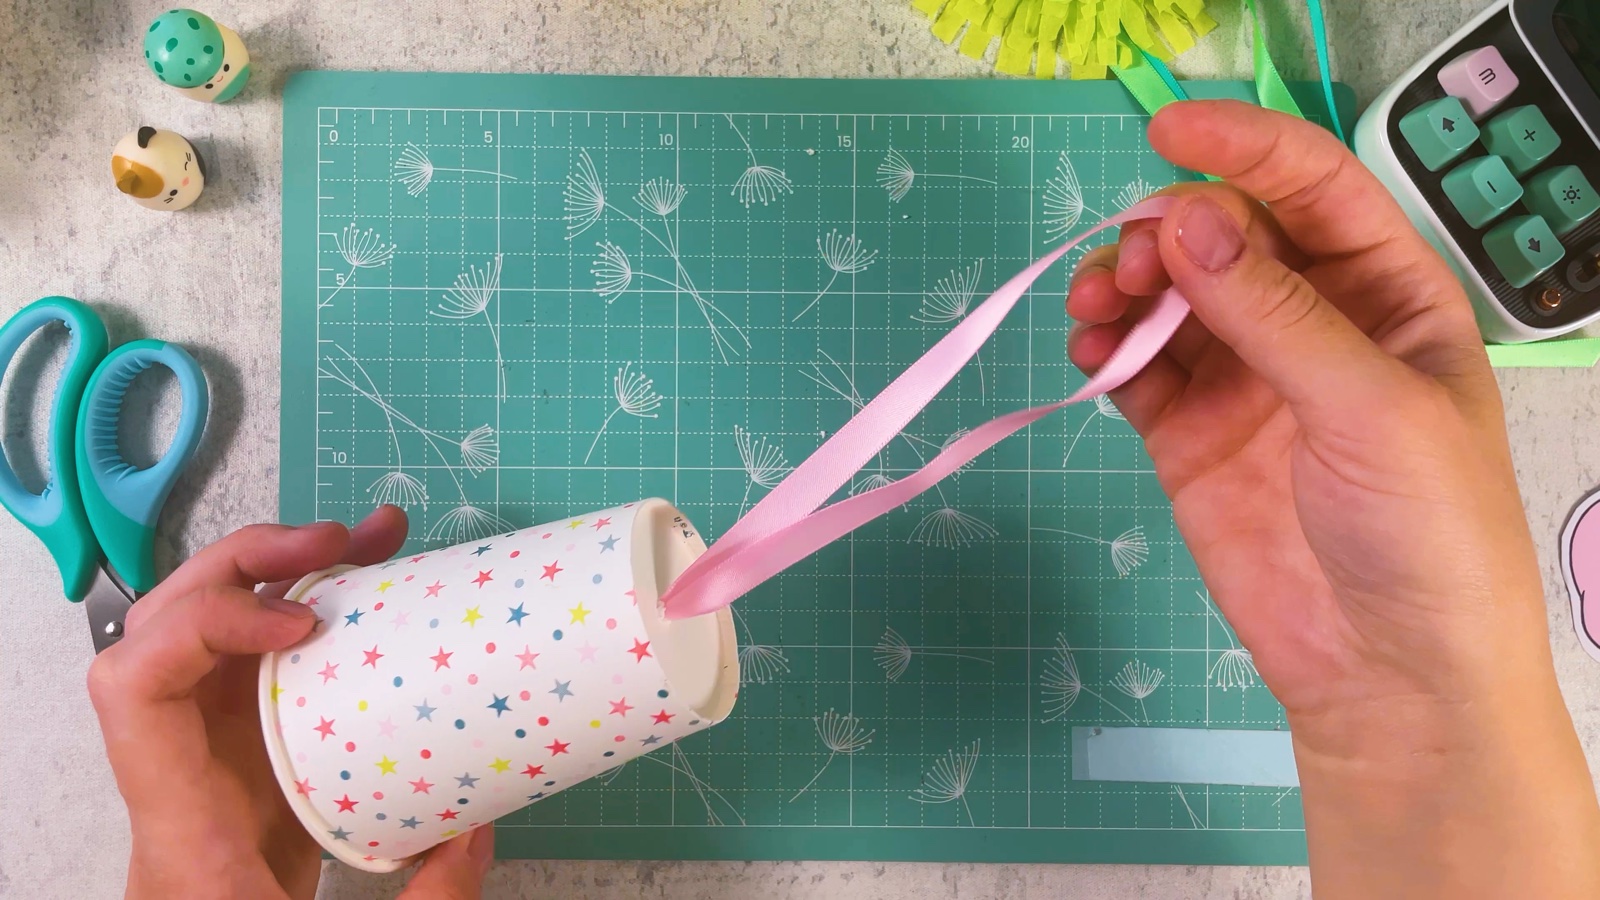
Push the loop through the hole from the inside of the cup. A pencil helps to push it through. The knot stays inside, and the loop comes out on top.
- 4
Trace a circle
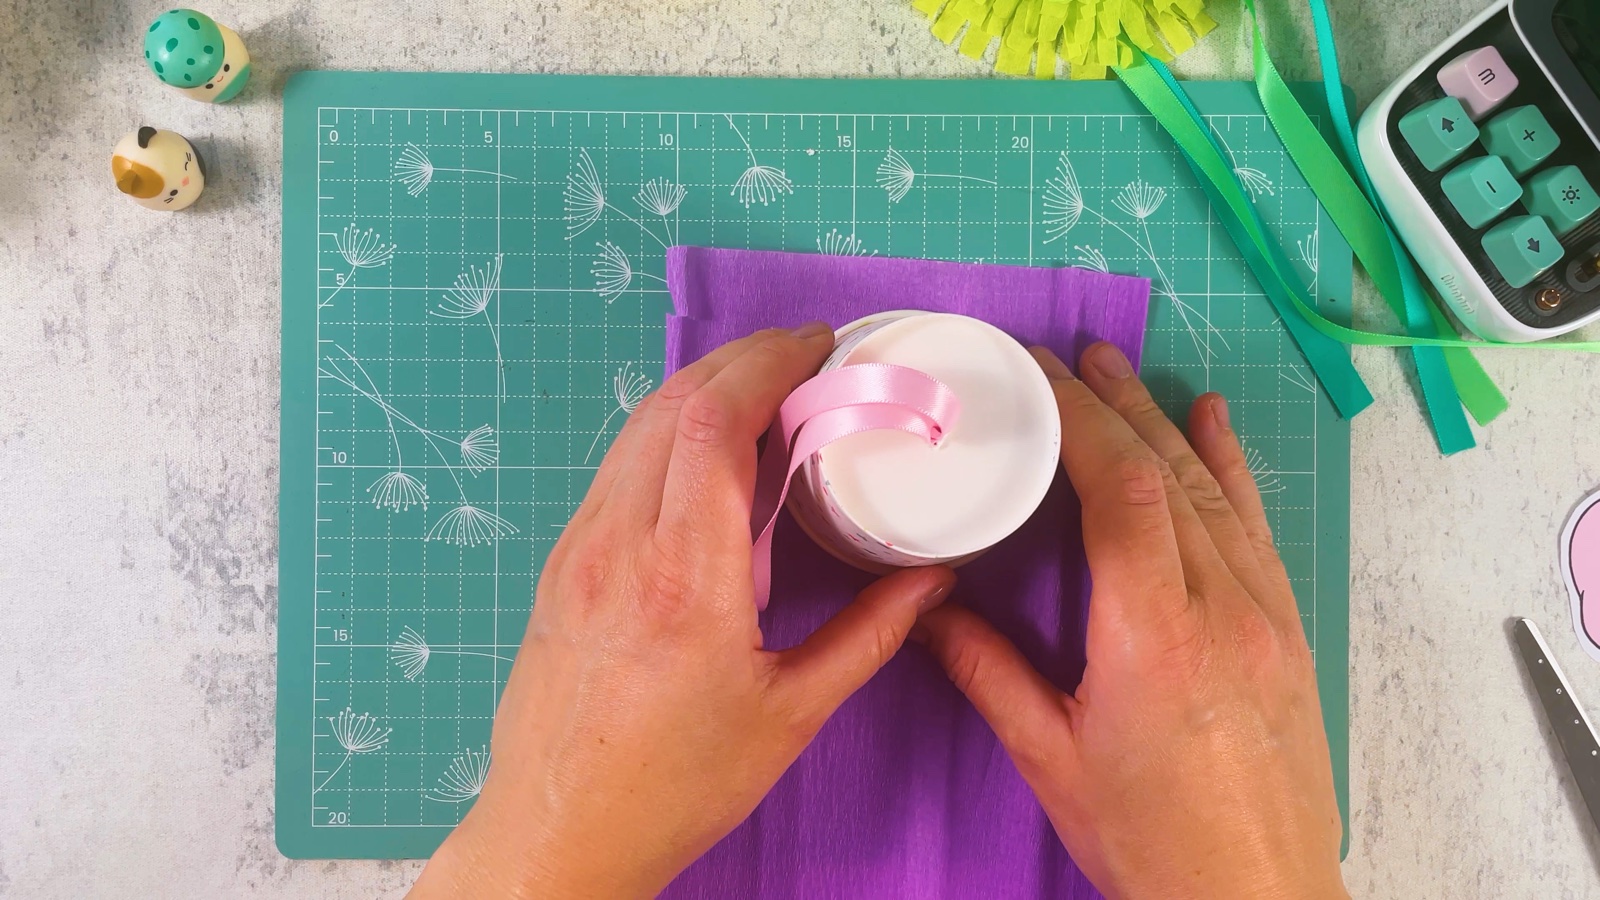
Put the cup upside down on a piece of crepe paper and draw around the rim with a pencil. Draw the circle a little bigger than the rim, so there is extra paper to fold down the sides of the cup.
- 5
Cut out the circle
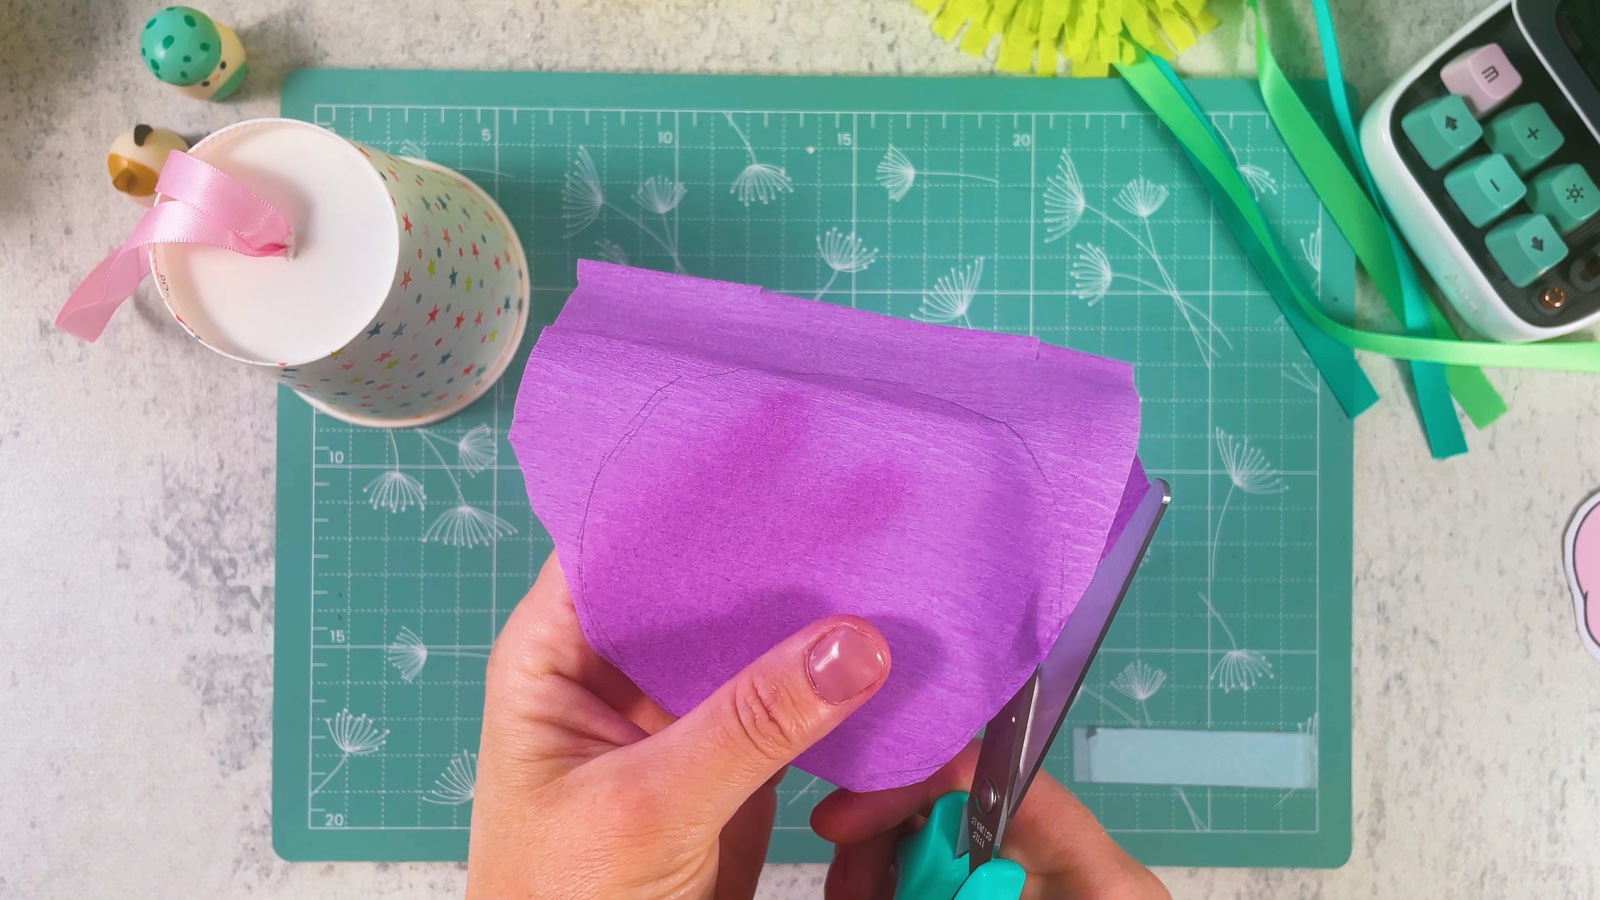
Cut out the circle along the line. This circle will close the cup.
- 6
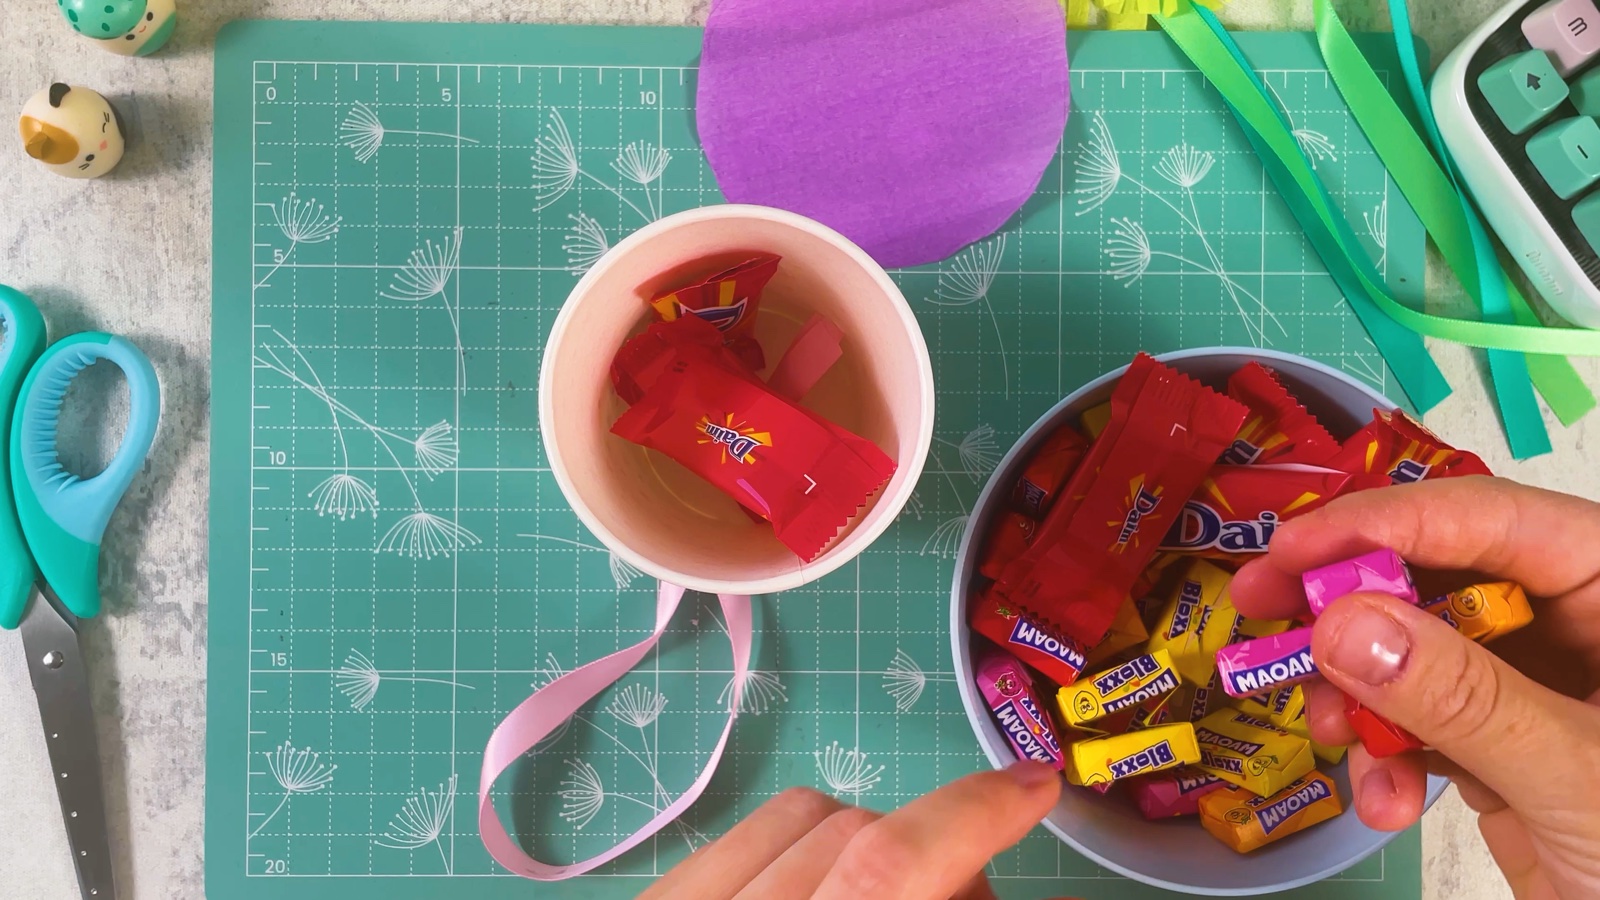
Fill it with sweets
Fill the cup with sweets, small treats or little surprises. You can add some crepe paper confetti on top too.
- 7
Close the cup
Put glue all around the rim of the cup.
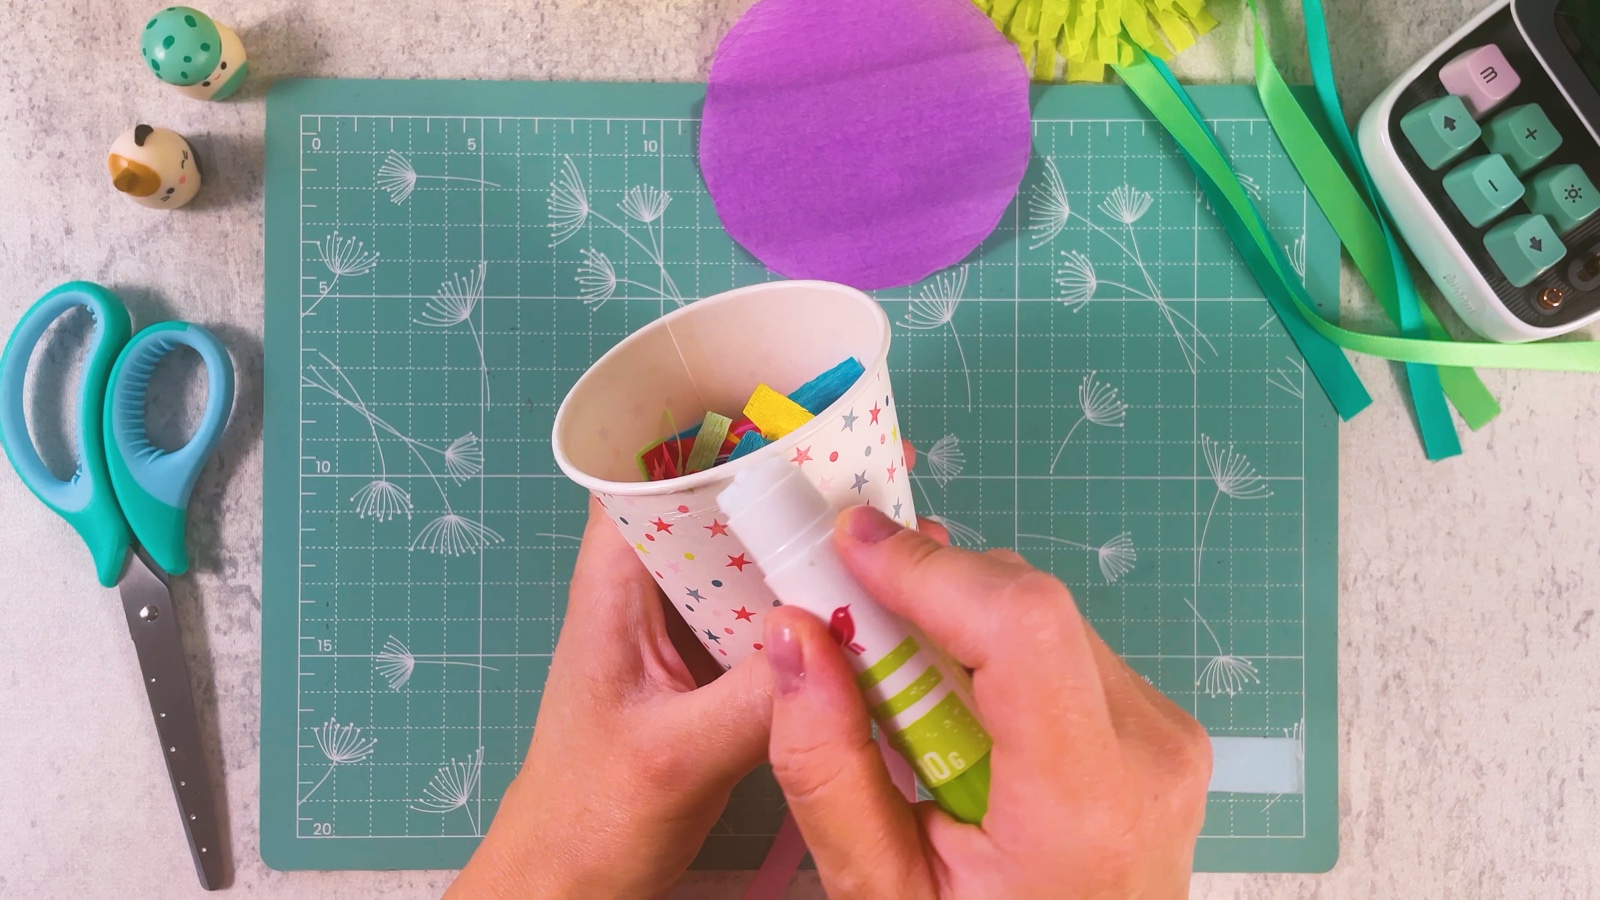
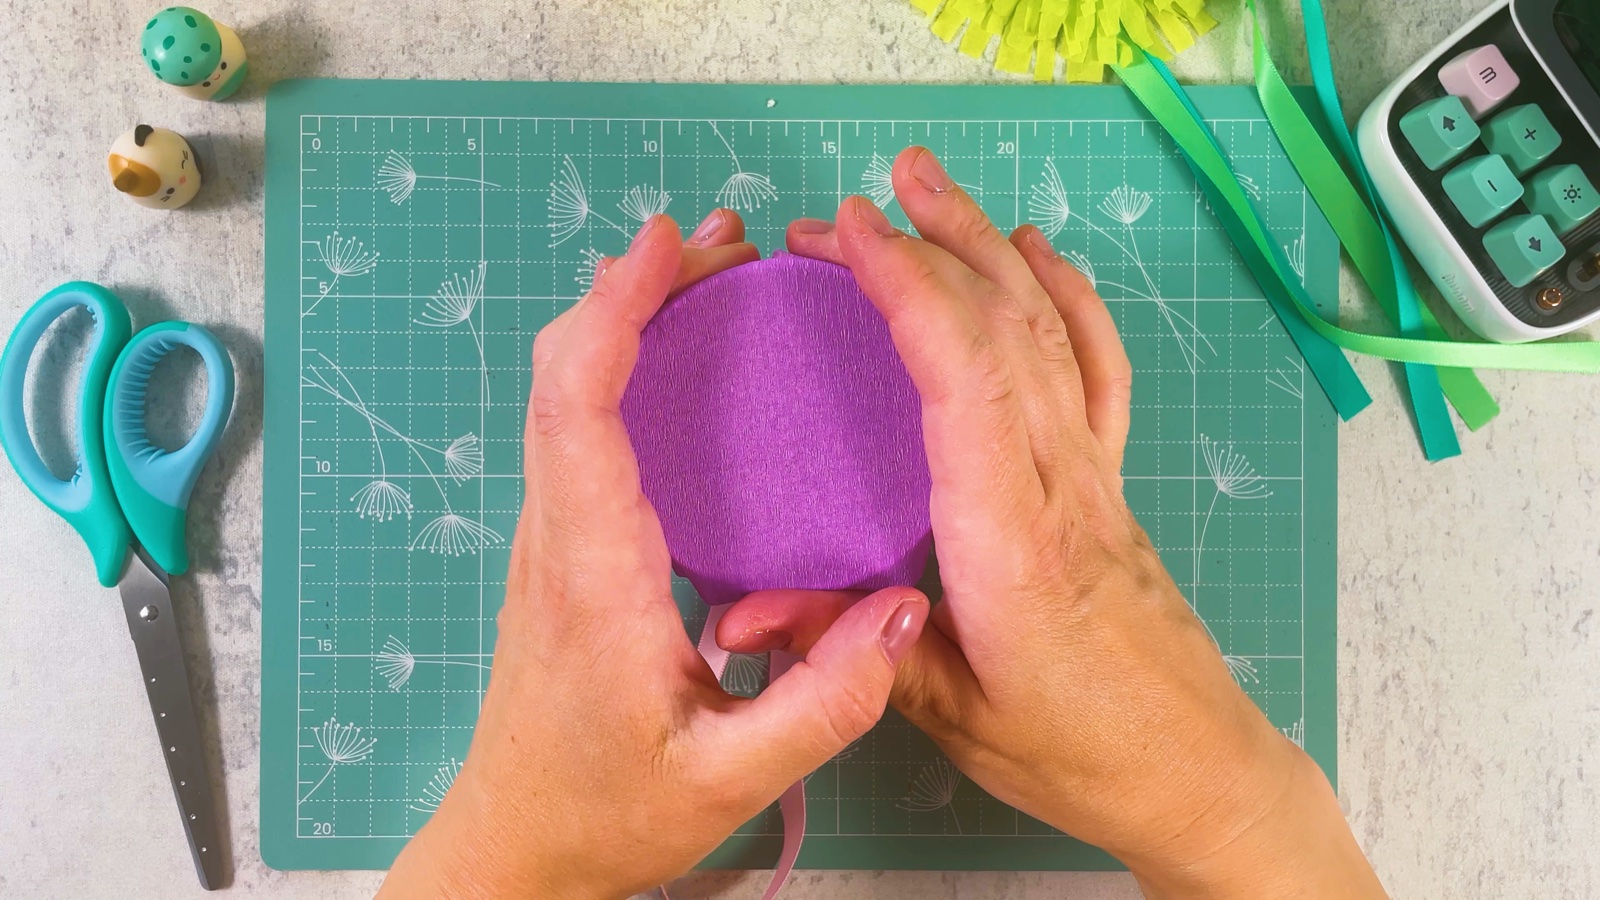
Press the crepe paper circle onto the rim. Fold the extra paper down the sides of the cup.
- 8
Cut the fringe
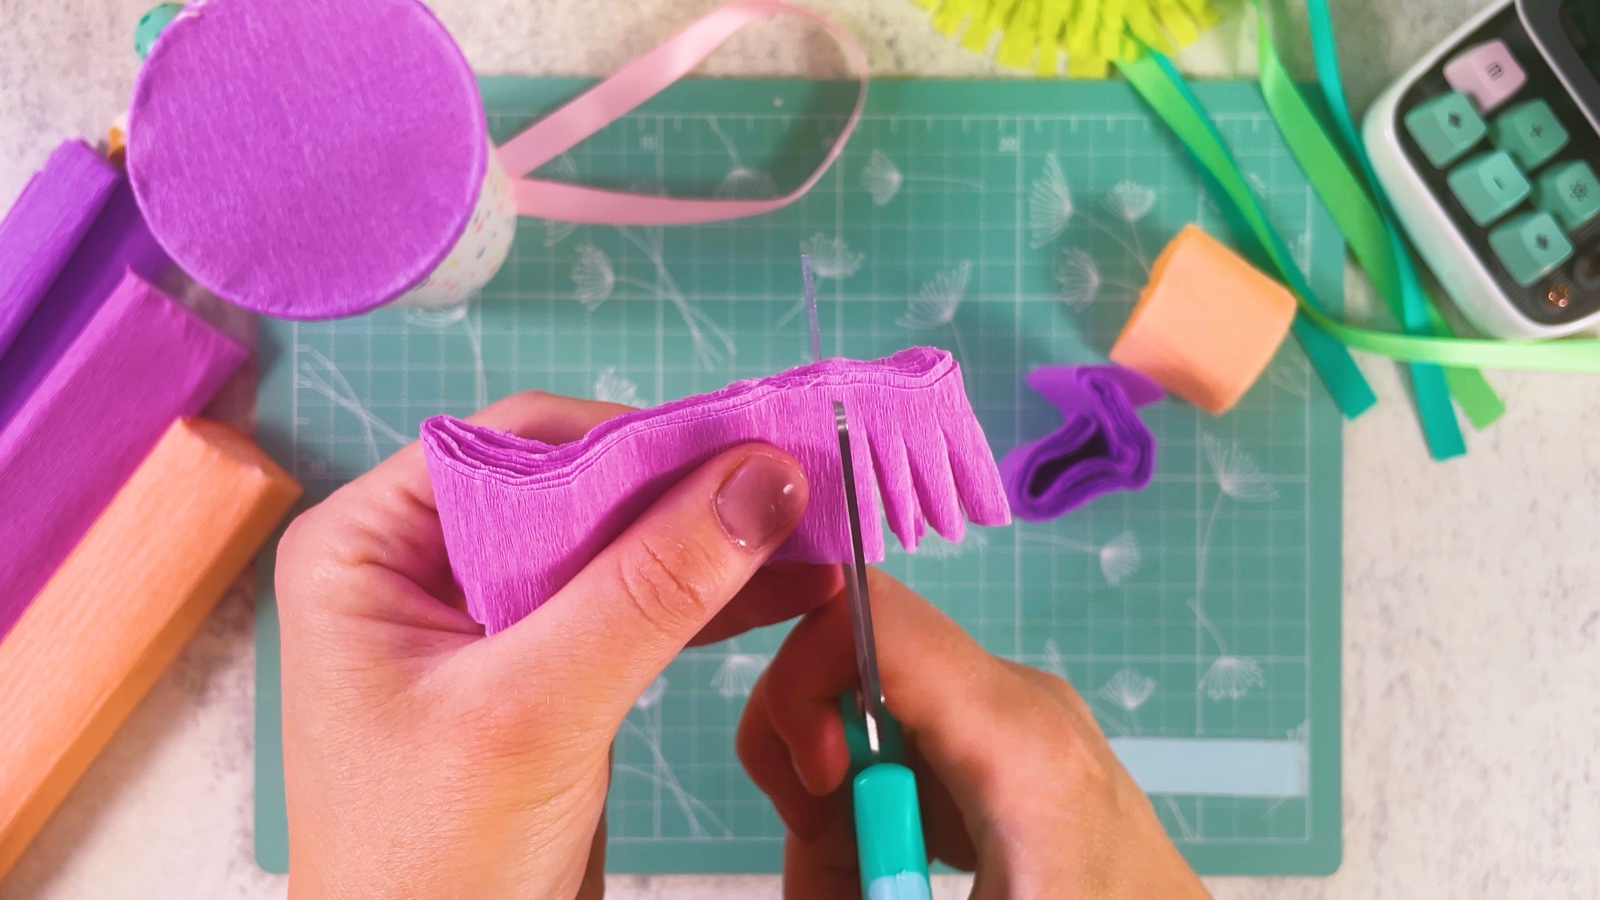
Cut strips of crepe paper in two or three colours. Fold each strip a few times and make many thin cuts along one long side. Stop before the other edge so the strip stays in one piece.
- 9
Glue on the fringe
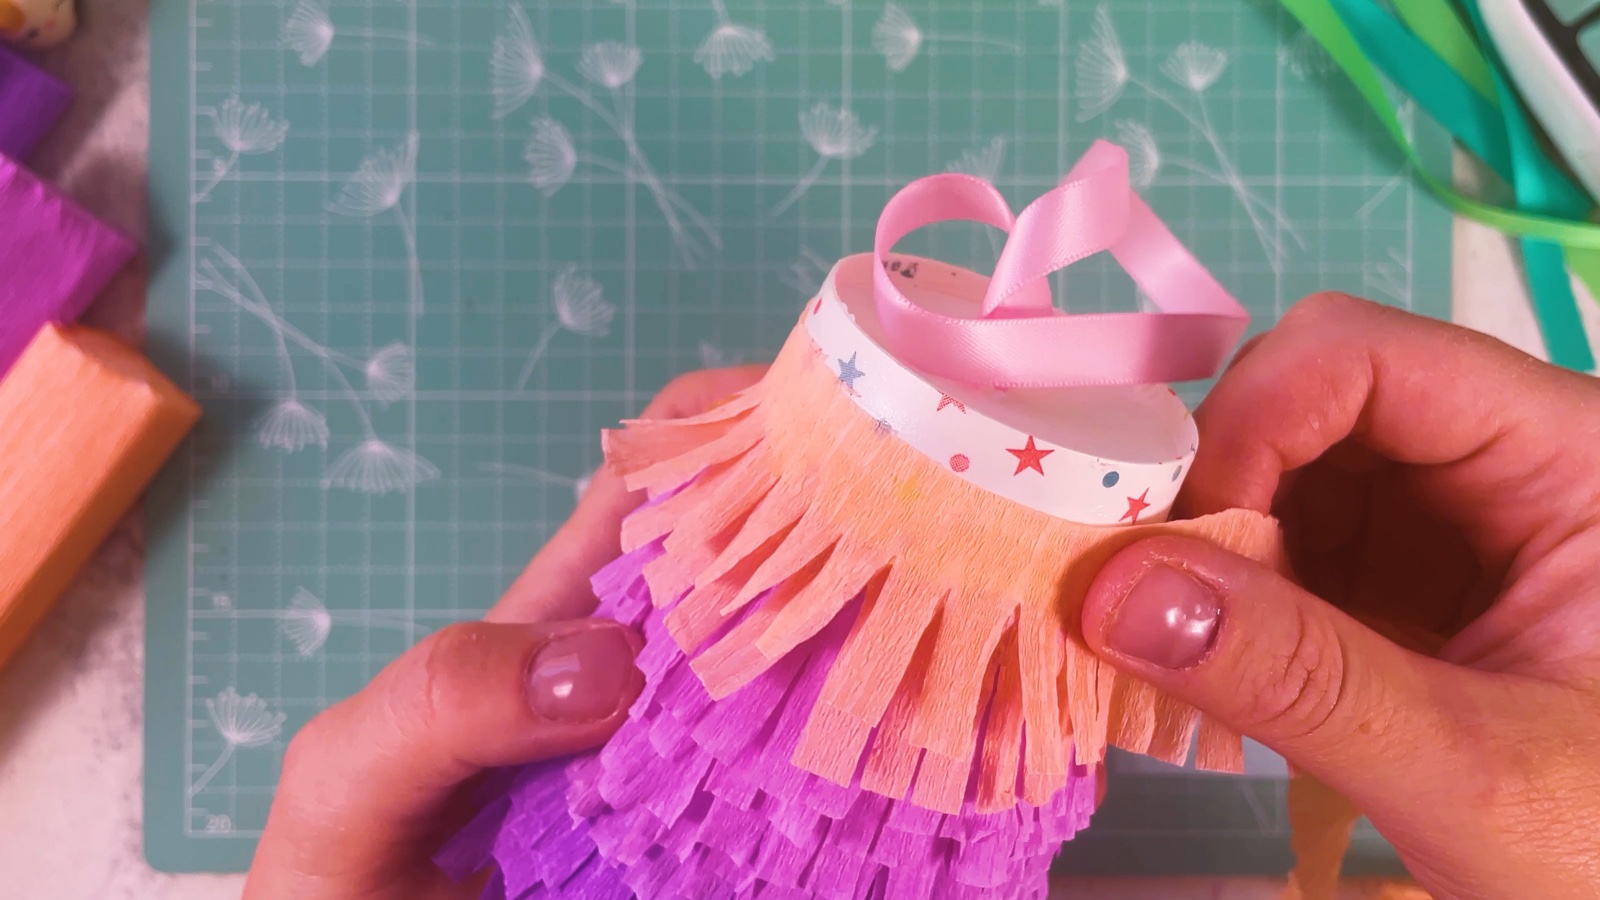
Start at the wide end of the cup, next to the paper circle. Put glue on the cup and wrap the first fringe strip all around it.
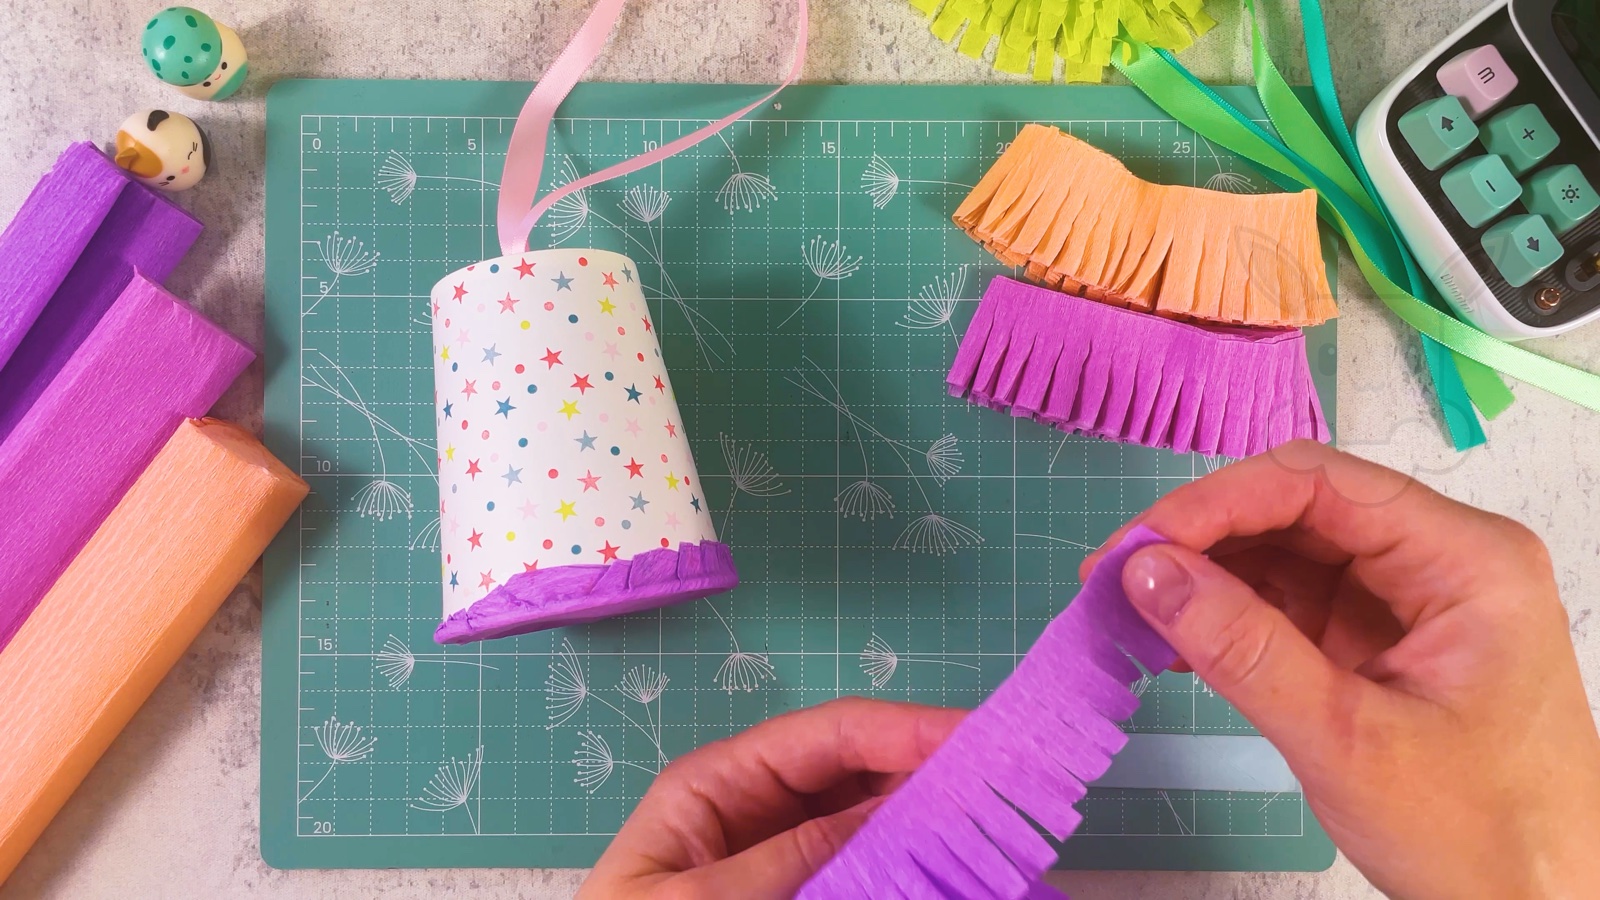
Glue the next strip a little higher, so it covers the top of the layer below. Keep going layer by layer up to the top of the cup.
- 10
Add the pull ribbons
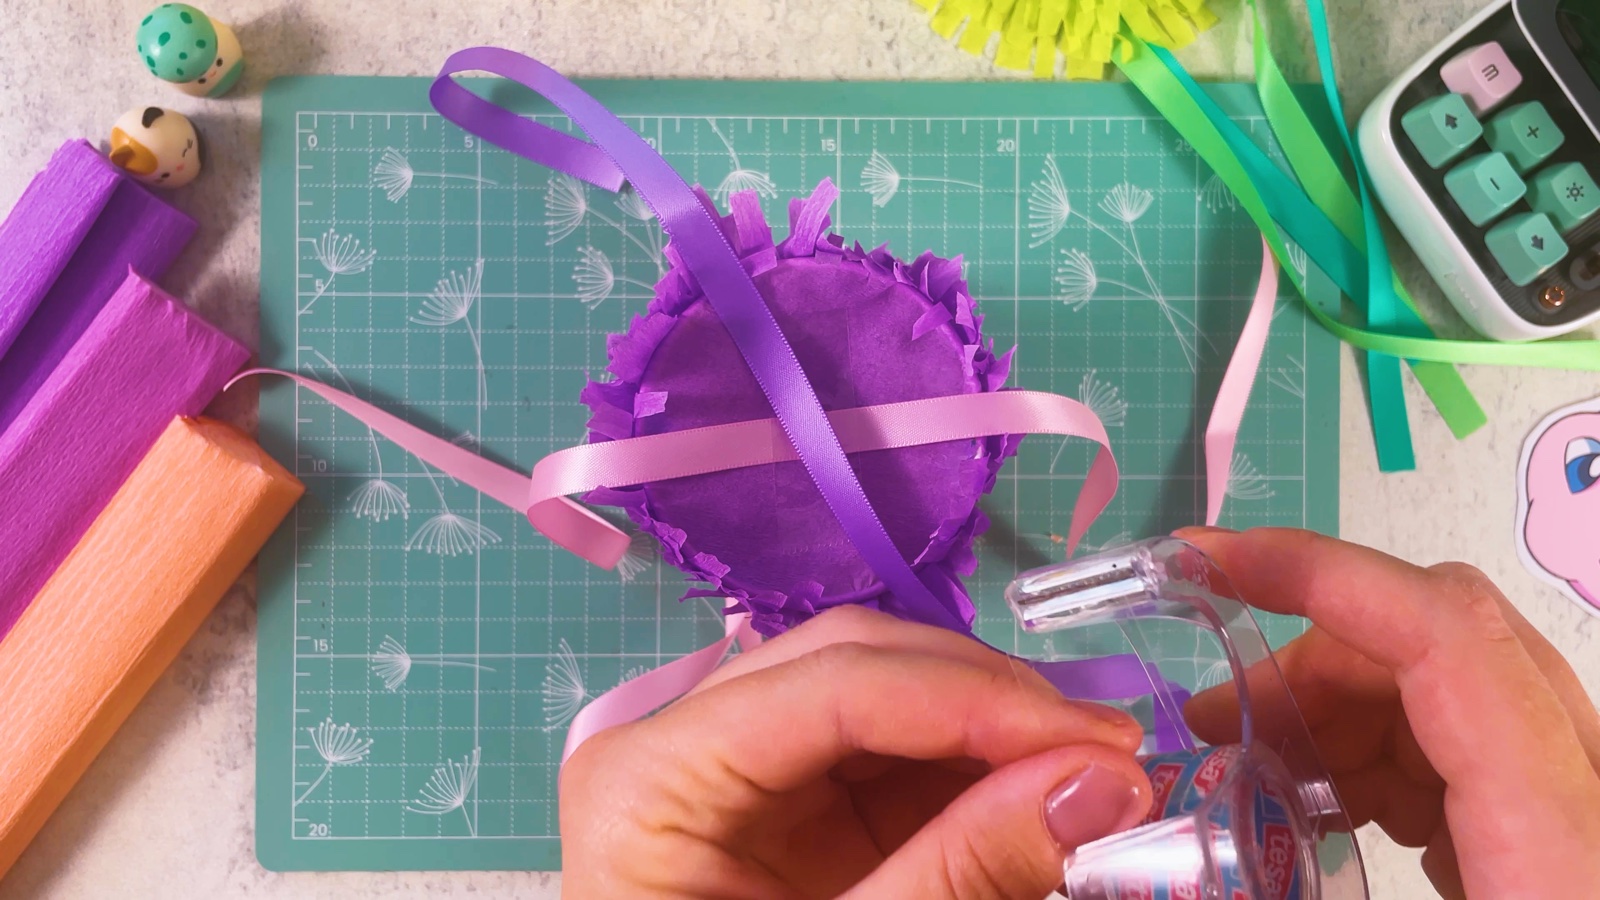
Turn the piñata over. Lay a few ribbons across the paper circle and tape them down with clear sticky tape. Let the ends hang down. When someone pulls the ribbons, the circle tears open and the sweets fall out.
- 11
Stick on the Pokémon face
Cut out a printed Pokémon face. Put double-sided tape on the back.
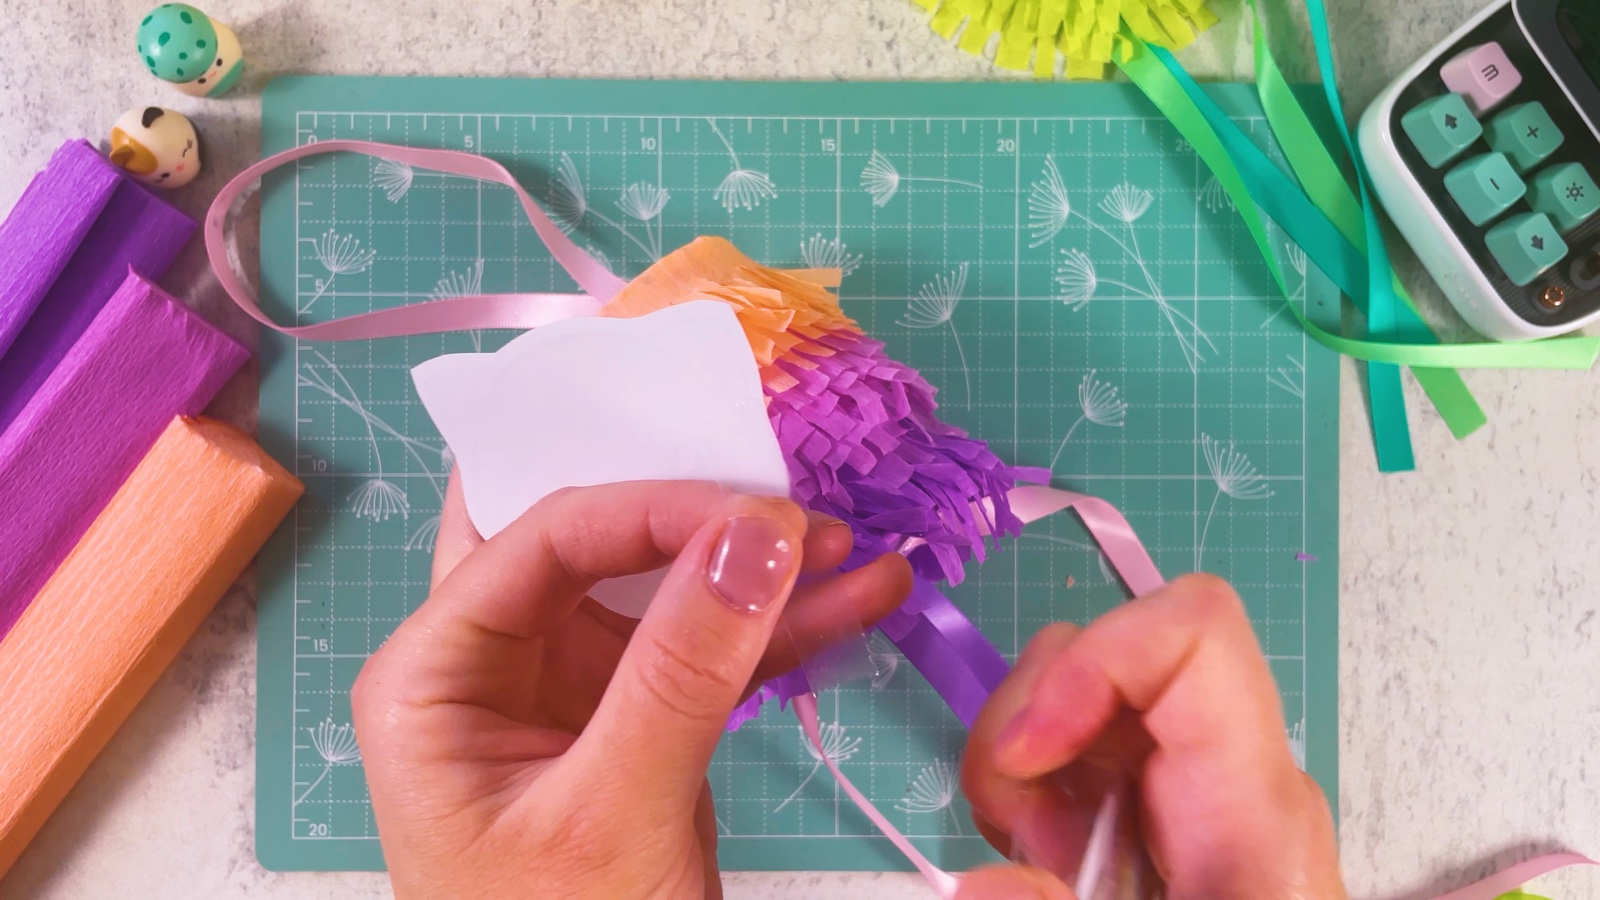
Press the face onto the top of the piñata, just under the ribbon loop.
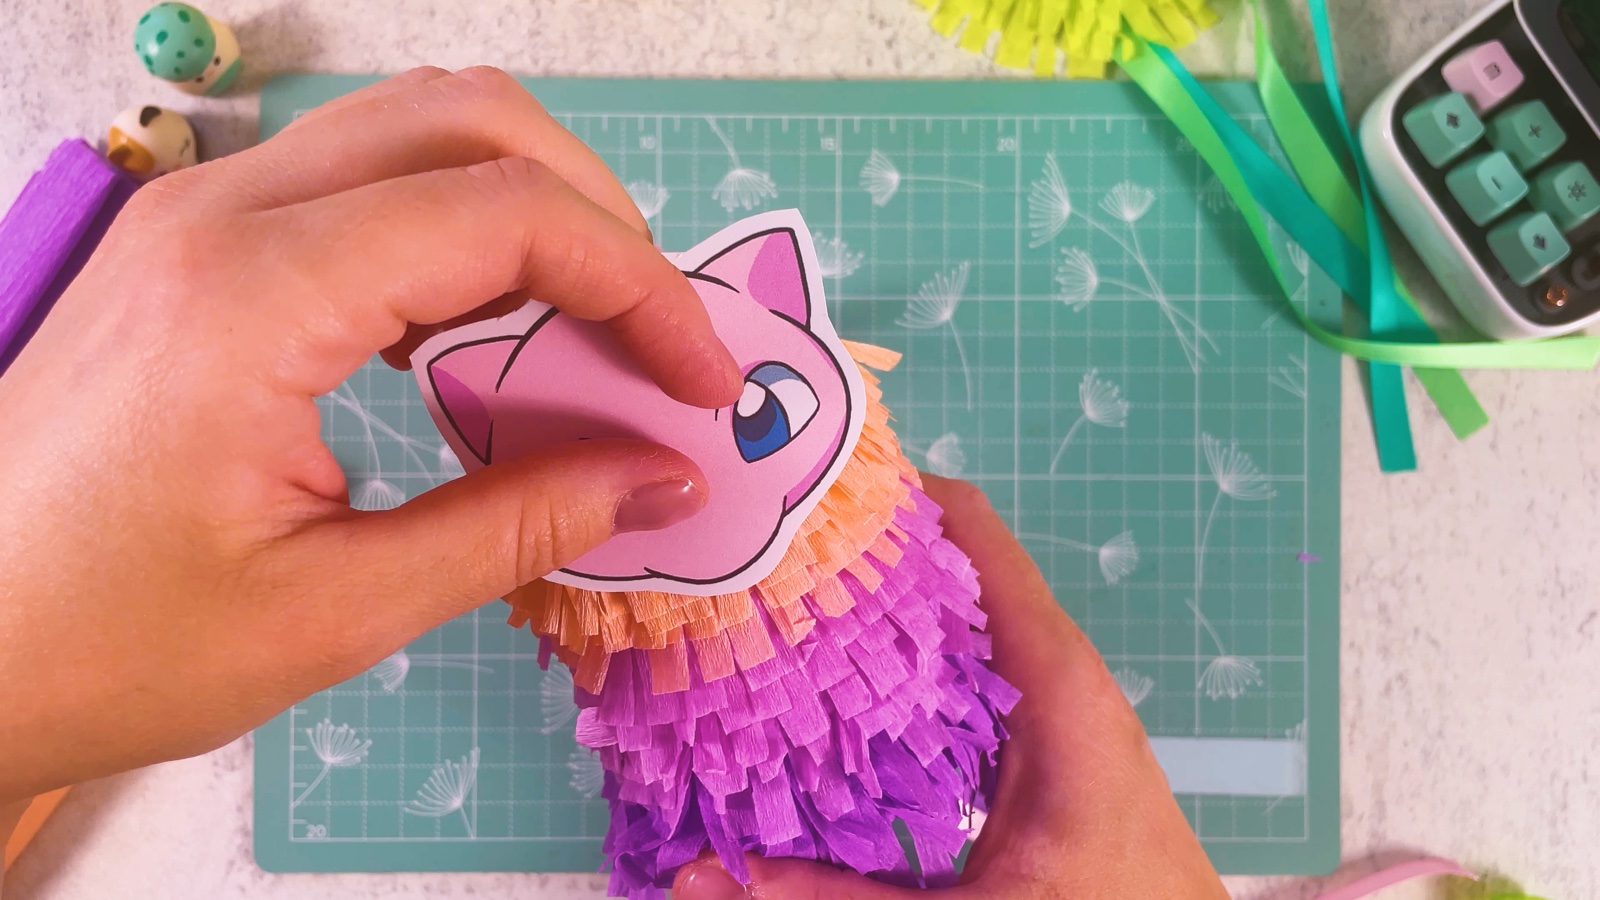
- 12
Make the whole team
Make more piñatas in different colours: yellow for Pikachu, orange for Charmander, green for Bulbasaur, blue for Squirtle.
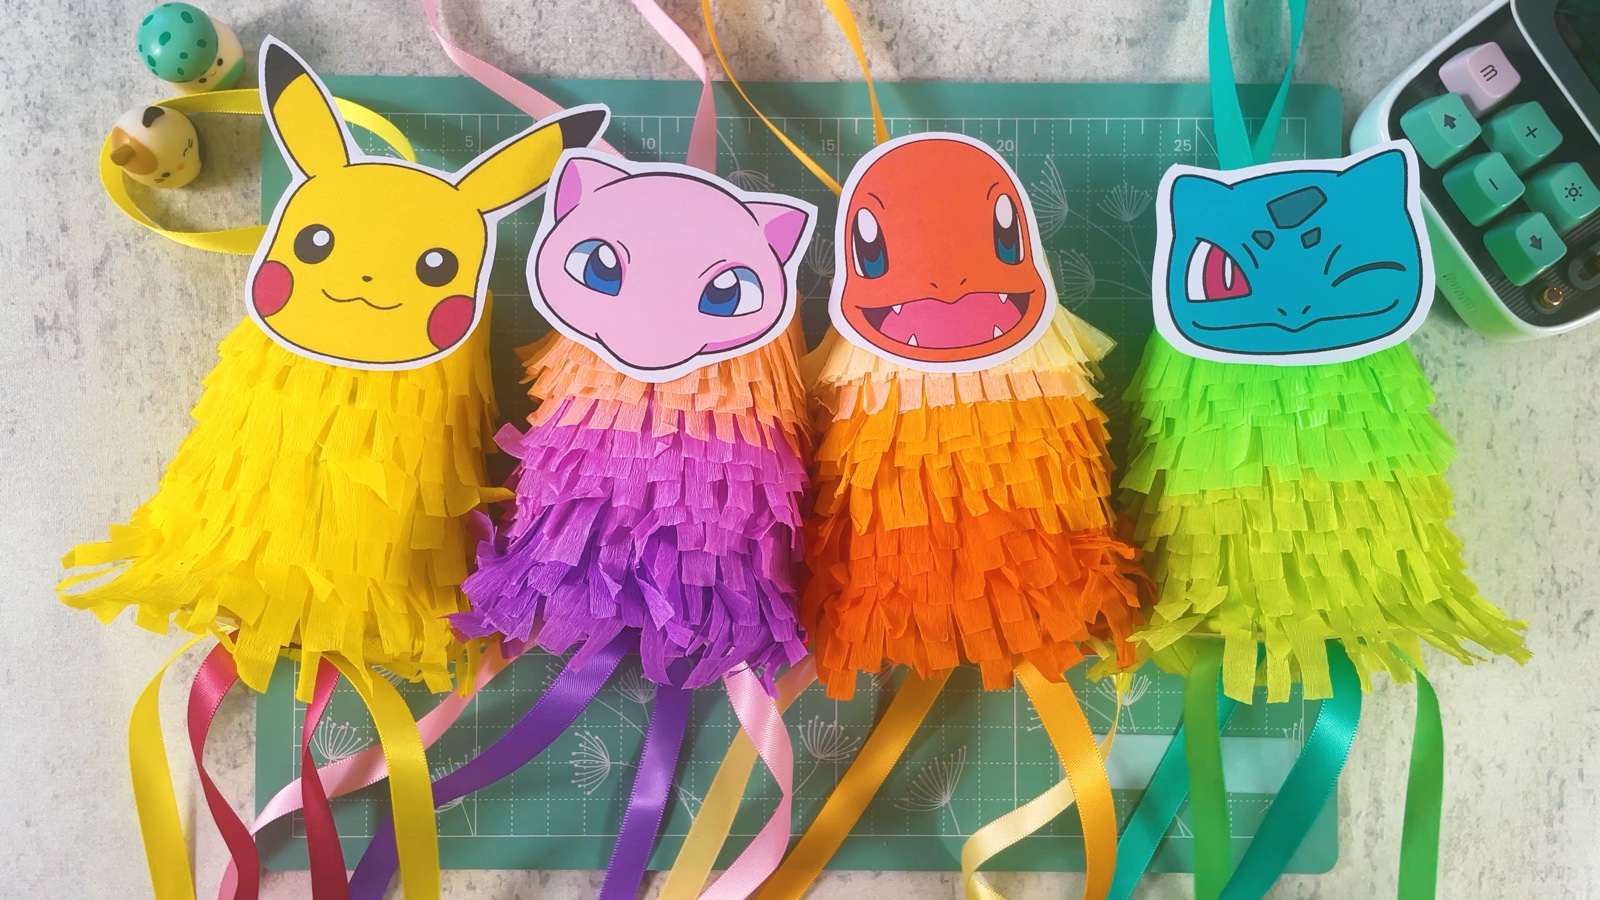
Your Pokémon mini piñatas are ready.
THREE LITTLE TIPS
Make it easier.
- Fold before you cut. Folding the crepe paper strip a few times lets you cut many fringes at once.
- Light treats work best. Small wrapped sweets are light enough for the paper circle to hold them.
- Hang them up. The ribbon loop on top lets you hang the piñatas on a branch, a curtain rod or the party table.

A CUBI MINI MOMENT
Which Pokémon will you pick?
Cubi and Mini are choosing faces for their piñatas. Mini knew right away. Cubi is still thinking. Which Pokémon will be on yours?
Mini picks Pikachu, yellow like Mini. Cubi picks Bulbasaur, the same mint green as Cubi.
Loved making it?
Catch the next make first, or save this one for a rainy day.