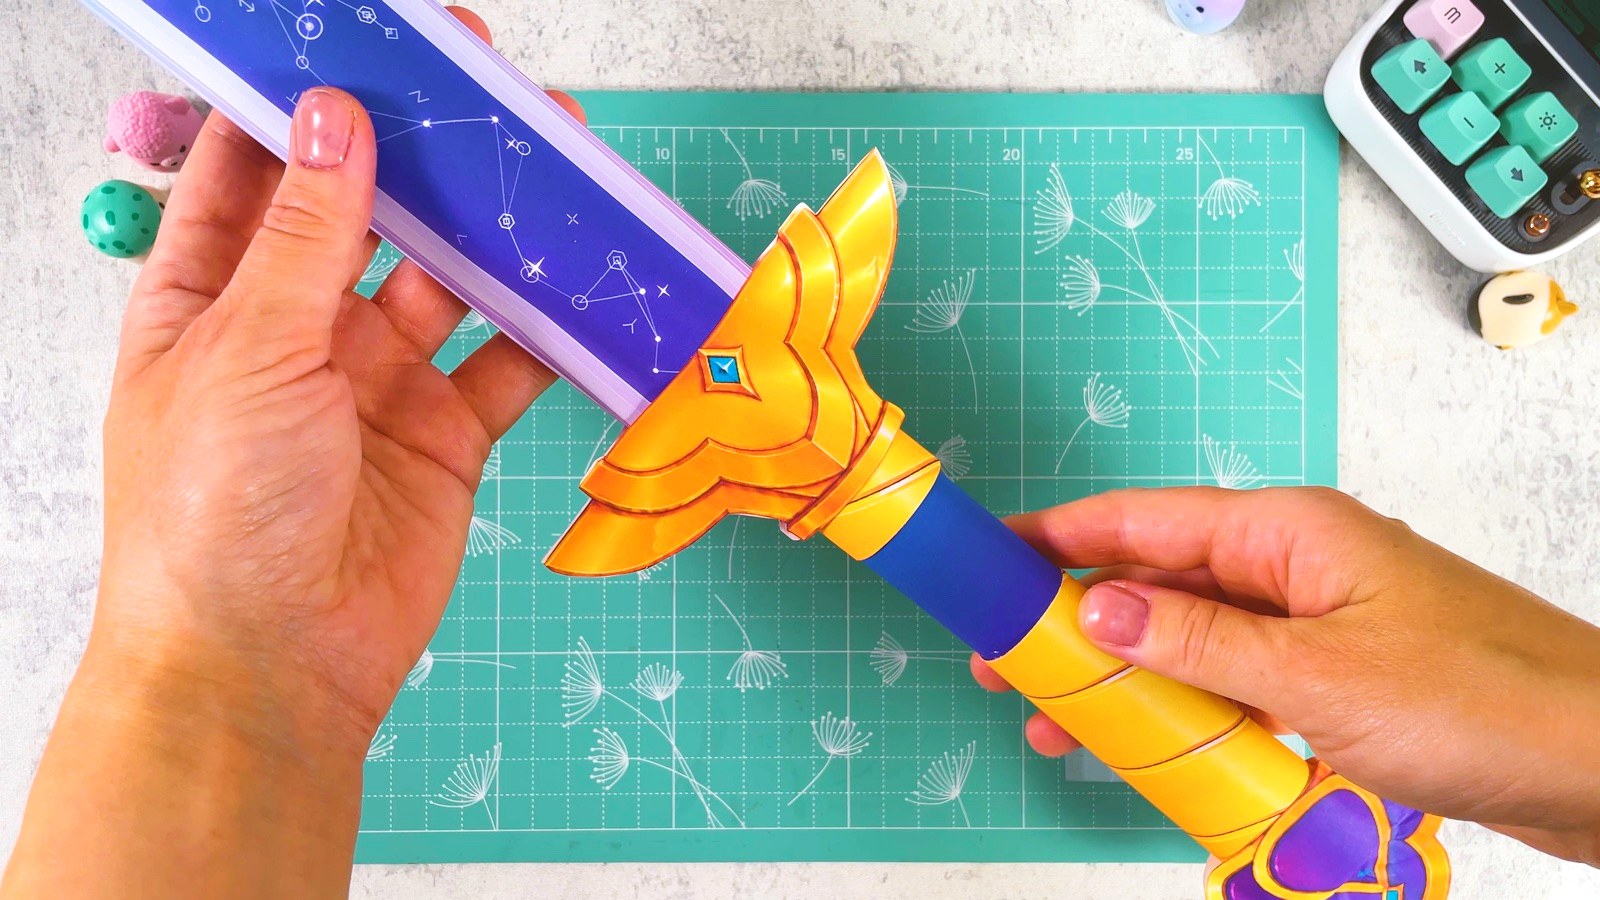
Let’s make Mira’s Gokdo from KPop Demon Hunters! This is Mira’s curved moon sword, and we make it using only paper. It is one of the easiest HUNTR/X weapons to make, even though it is the biggest one.
With the free printable template we print, cut, roll and glue the paper pieces together to build a long Gokdo. It is great for a Halloween costume, cosplay, a carnival outfit, a birthday party or a themed event. Pair it with Mira’s paper mask and the costume is almost ready.
And now the HUNTR/X weapon collection is complete: you can also make Rumi’s sword and Zoey’s Spirit Blades.
BEFORE WE START
What you need.
Materials
- Printable template
- Paper
- Glue stick
Tools
- Scissors
- A printer
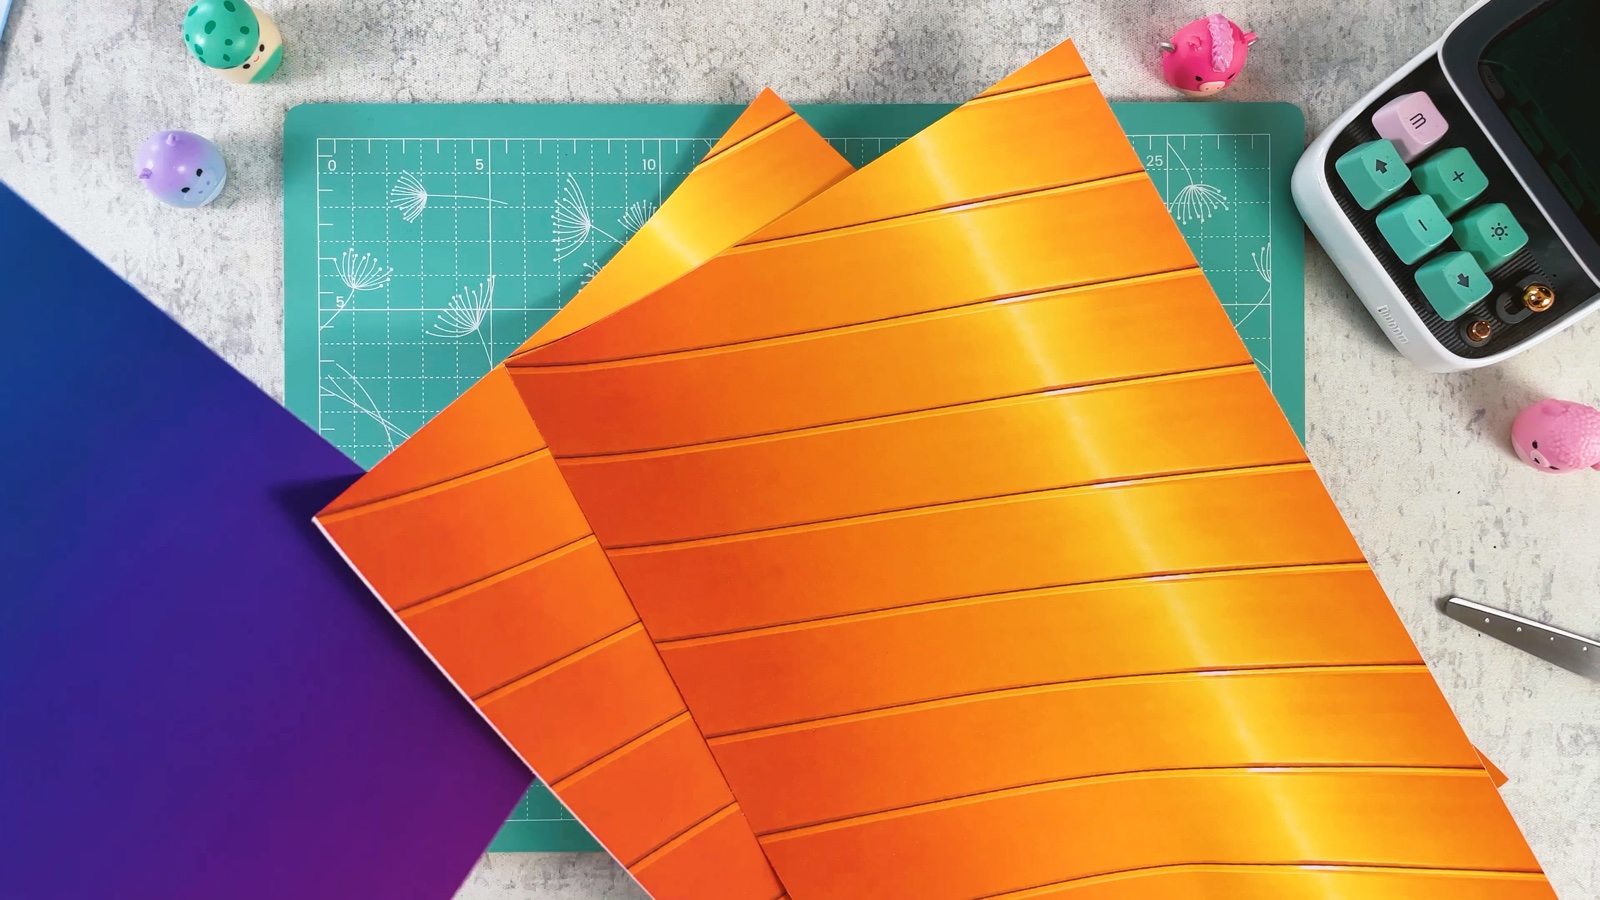
Two pages for the blade, one for the end and the gold strips, and three full sheets that we roll into the pole.
Get the free template ↓PART 1 OF 3
The blade
- 1
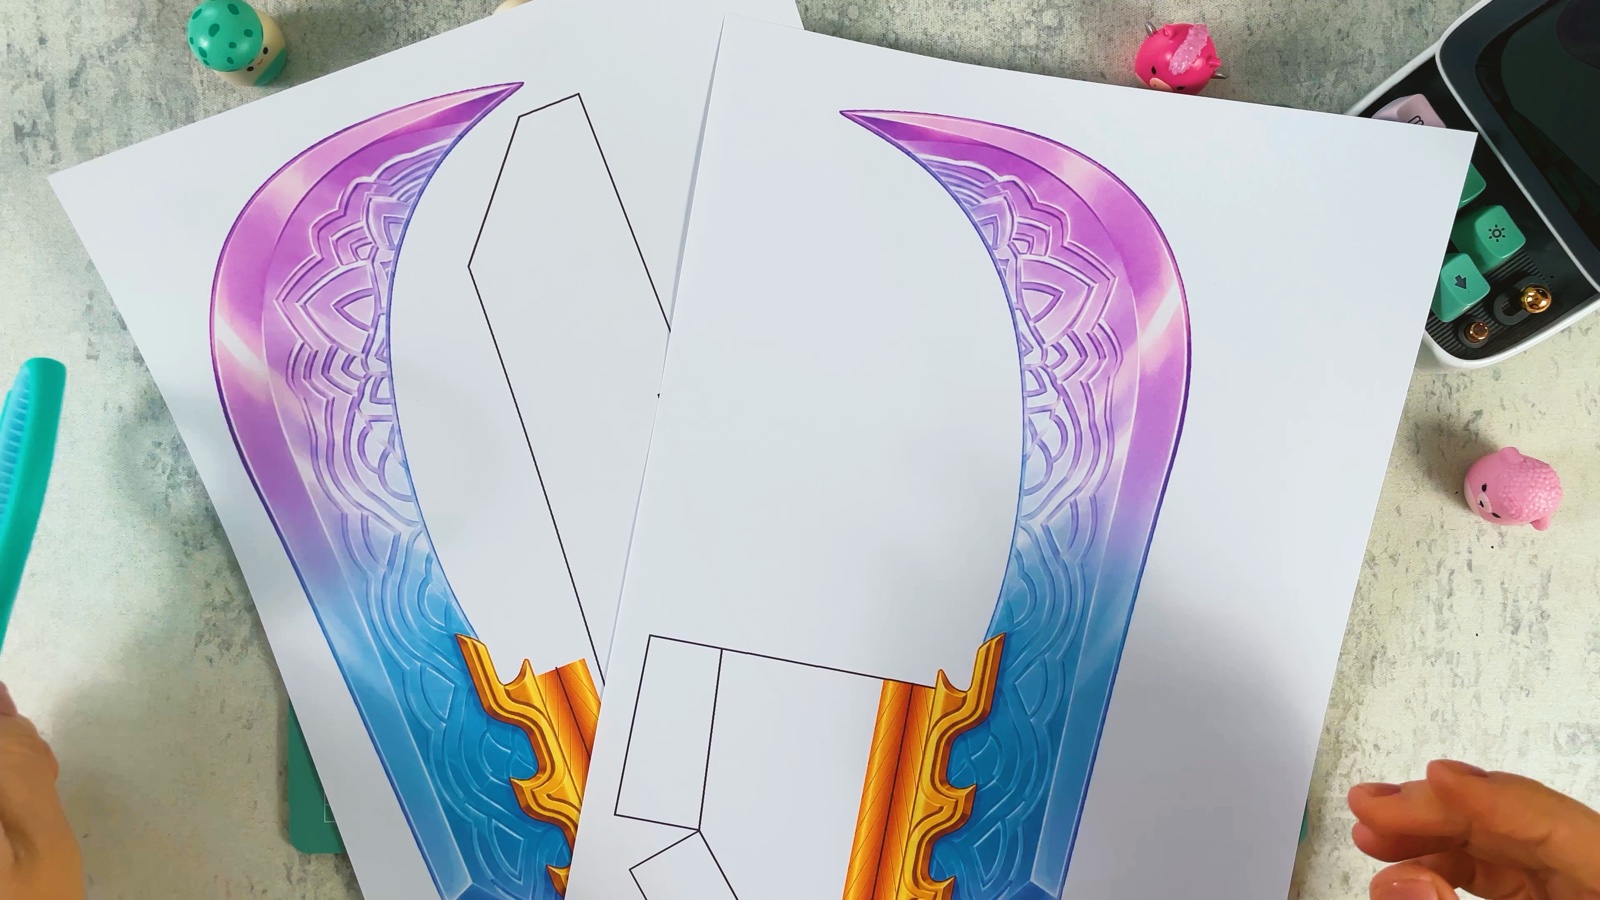
Cut out the blade
Print the template. Cut out the front of the blade from page 1, together with the white flaps next to the gold part. Then cut out the back of the blade and the plain white blade shape from page 2.
- 2
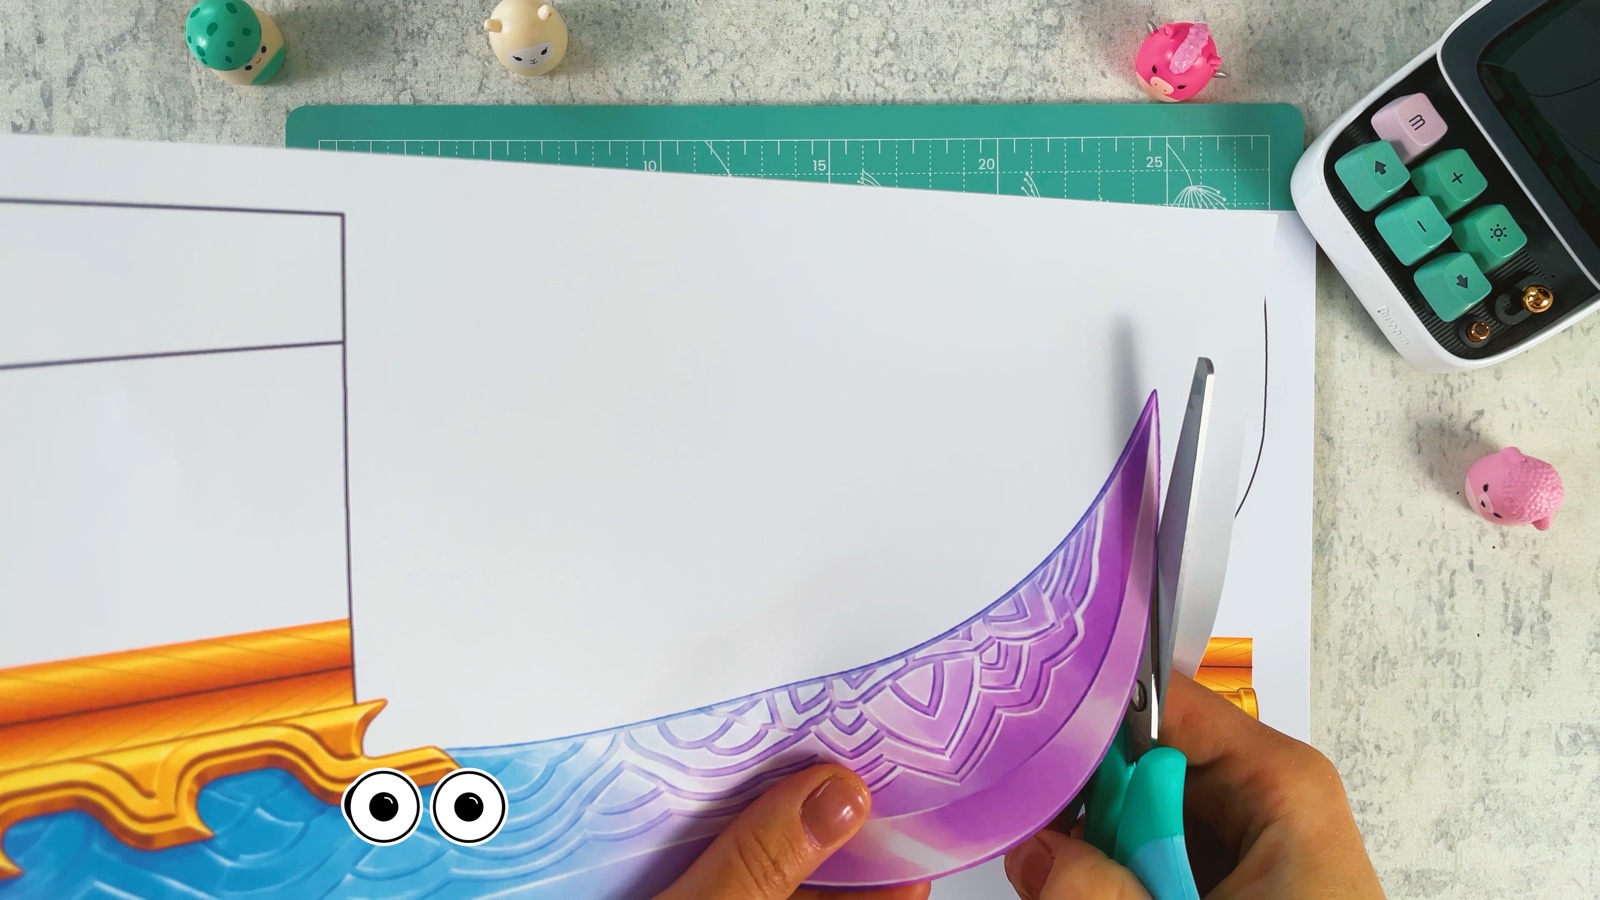
Cut close to the line
Cut along the outline so no extra white edge shows around the blade.
- 3
Curl the gold part
Find the gold part at the bottom of the front blade, the one with the white flaps next to it.
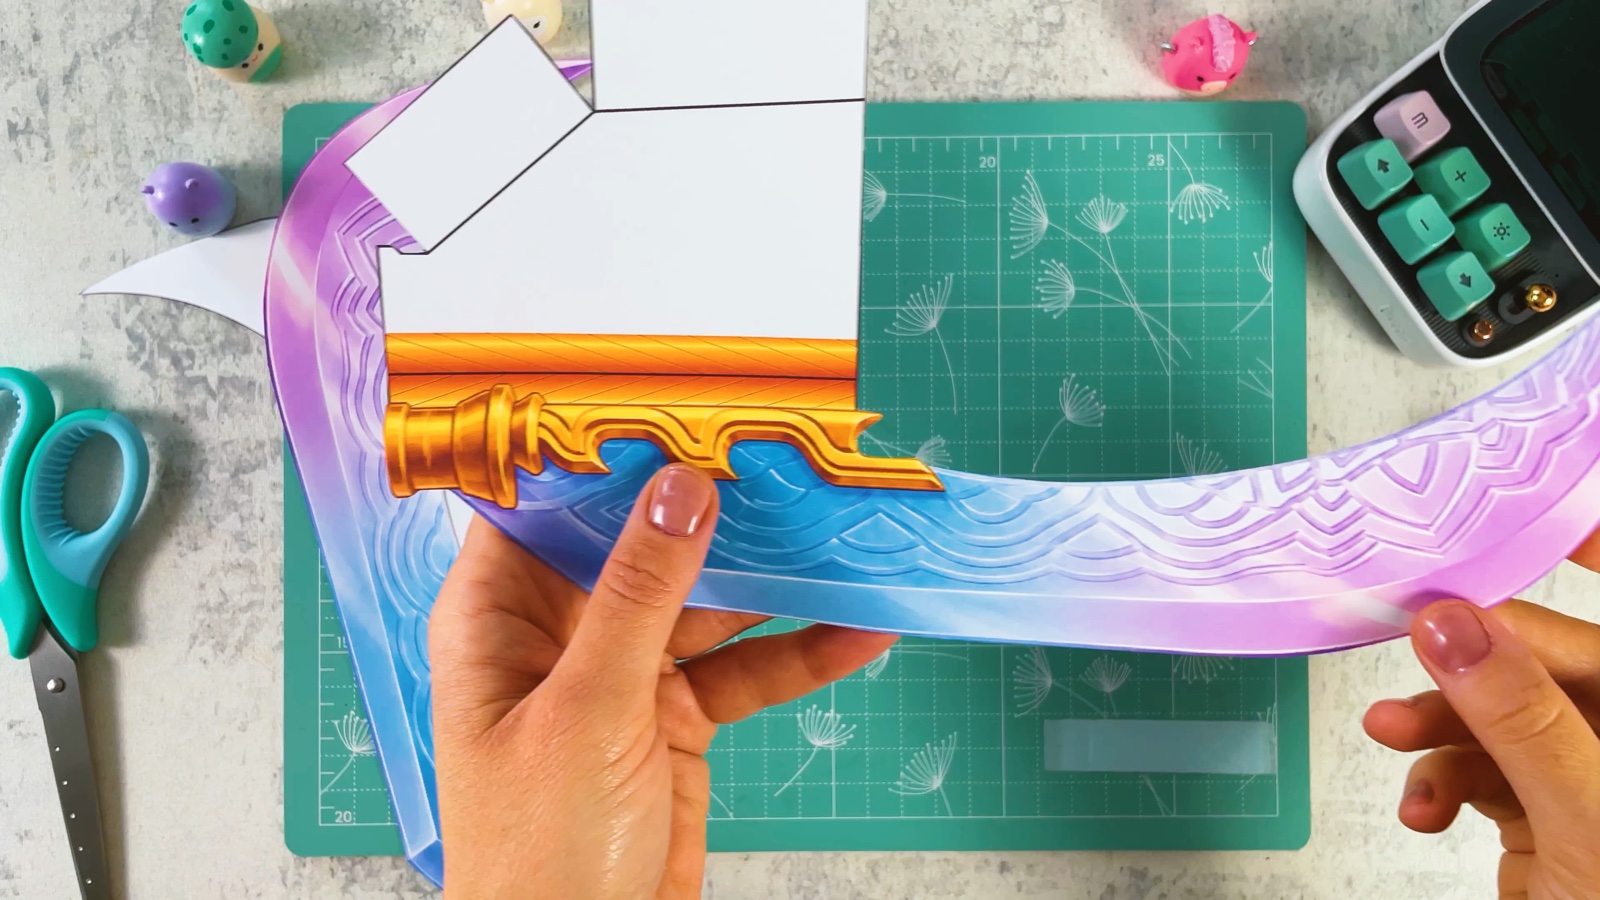
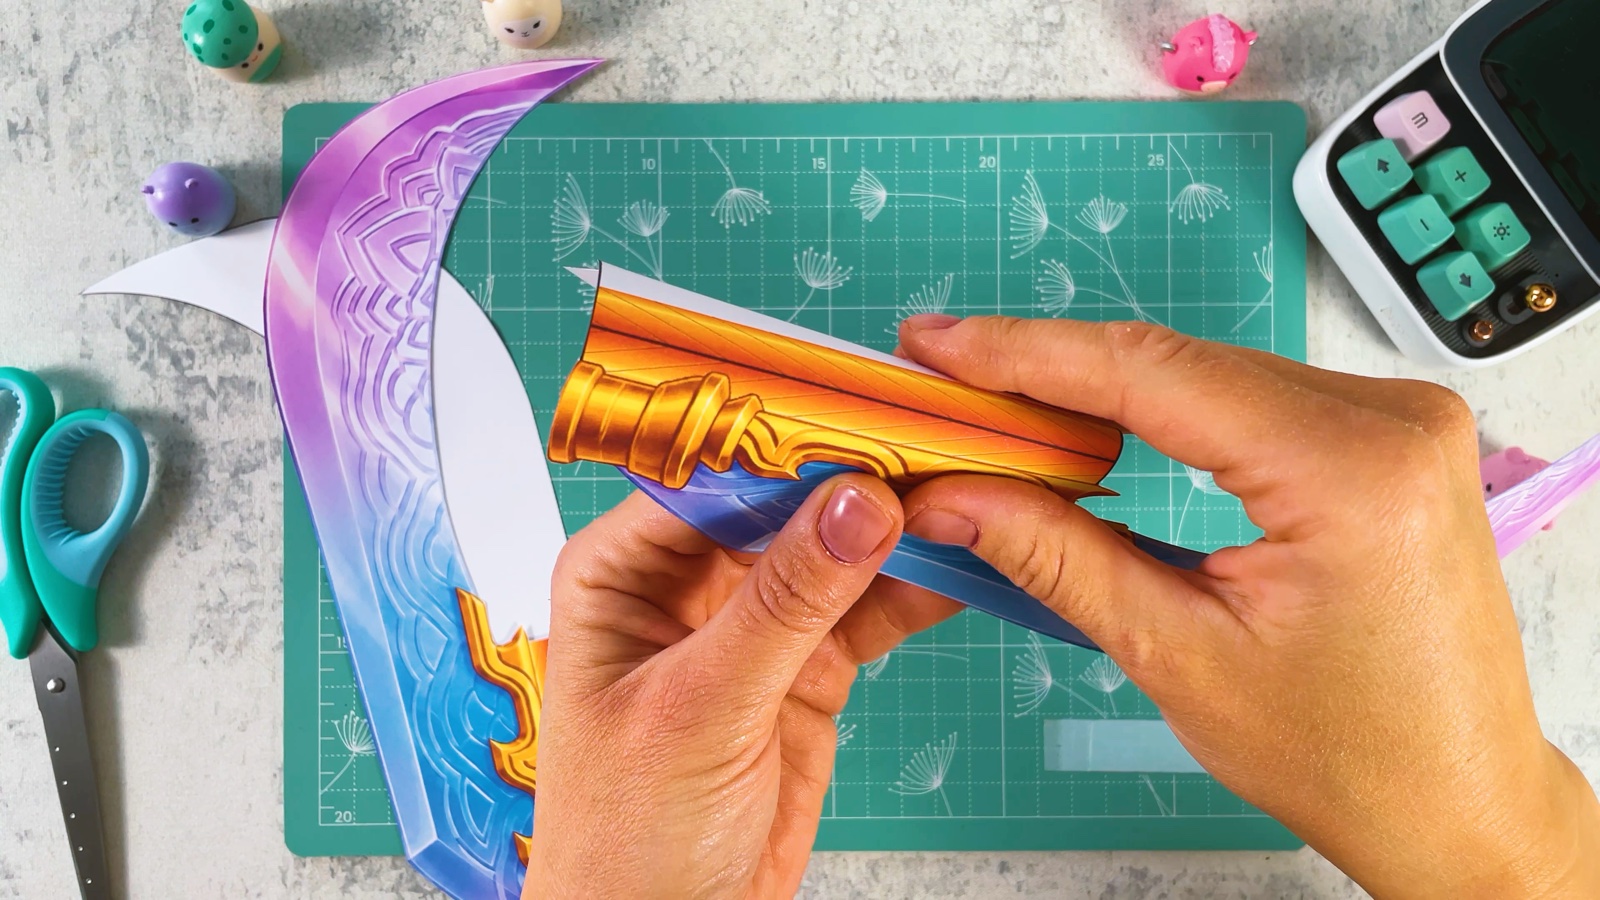
Roll the gold part between your fingers so it curls into a round shape.
- 4
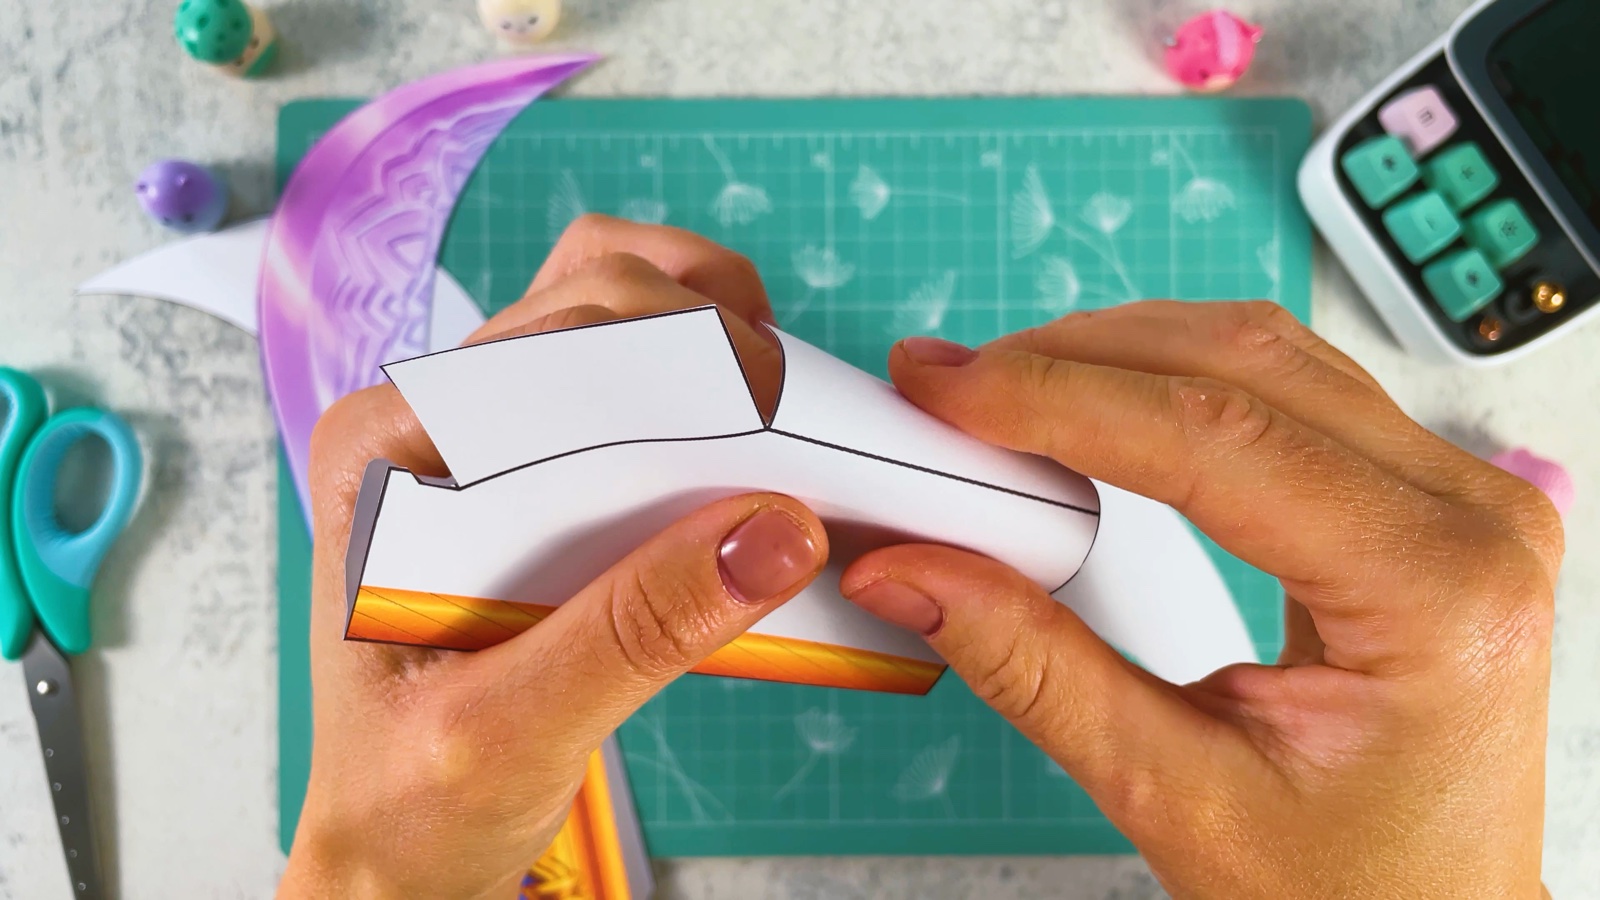
Fold the white flaps
Fold the white flaps along the lines.
- 5
Glue on the white layer
Put glue on the plain white blade shape.
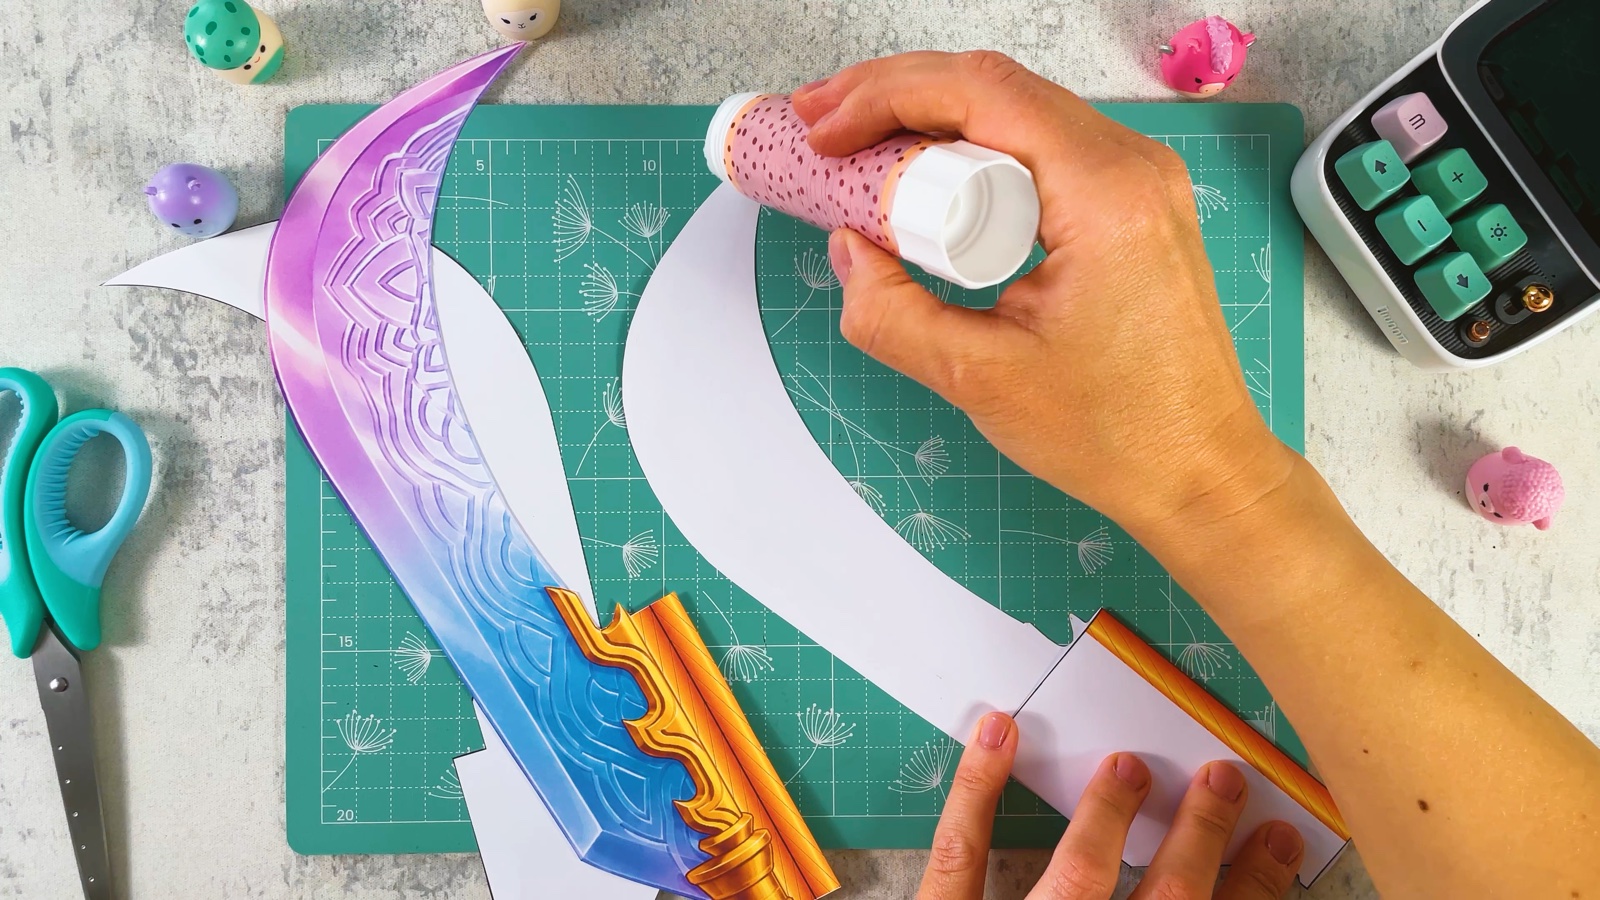
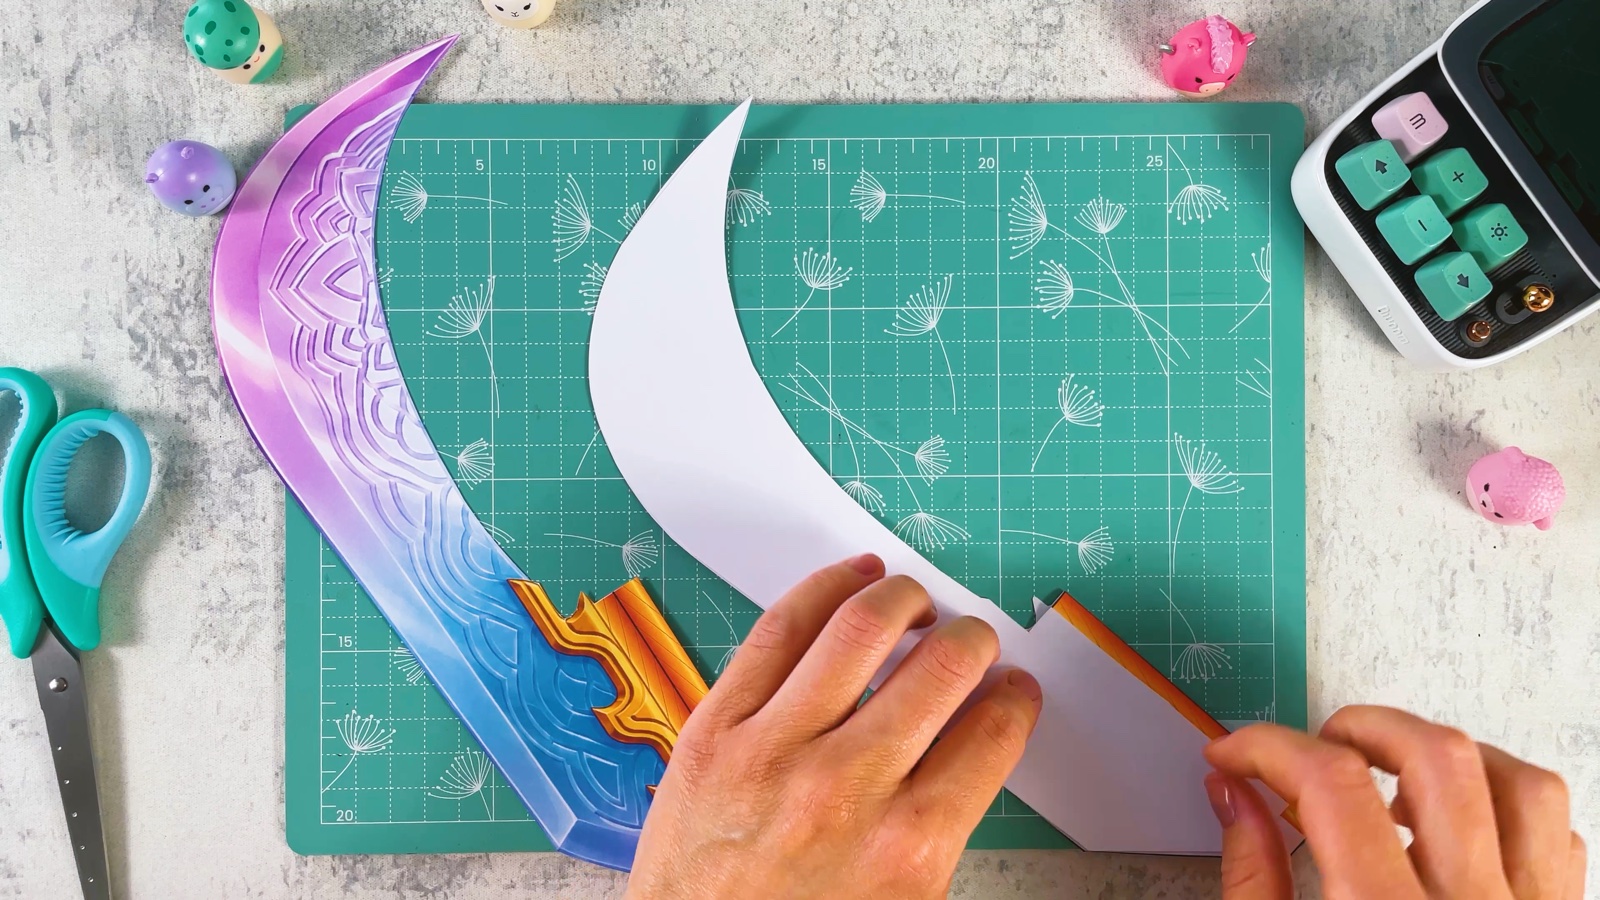
Press it onto the back of the front blade. This middle layer makes the blade stronger.
- 6
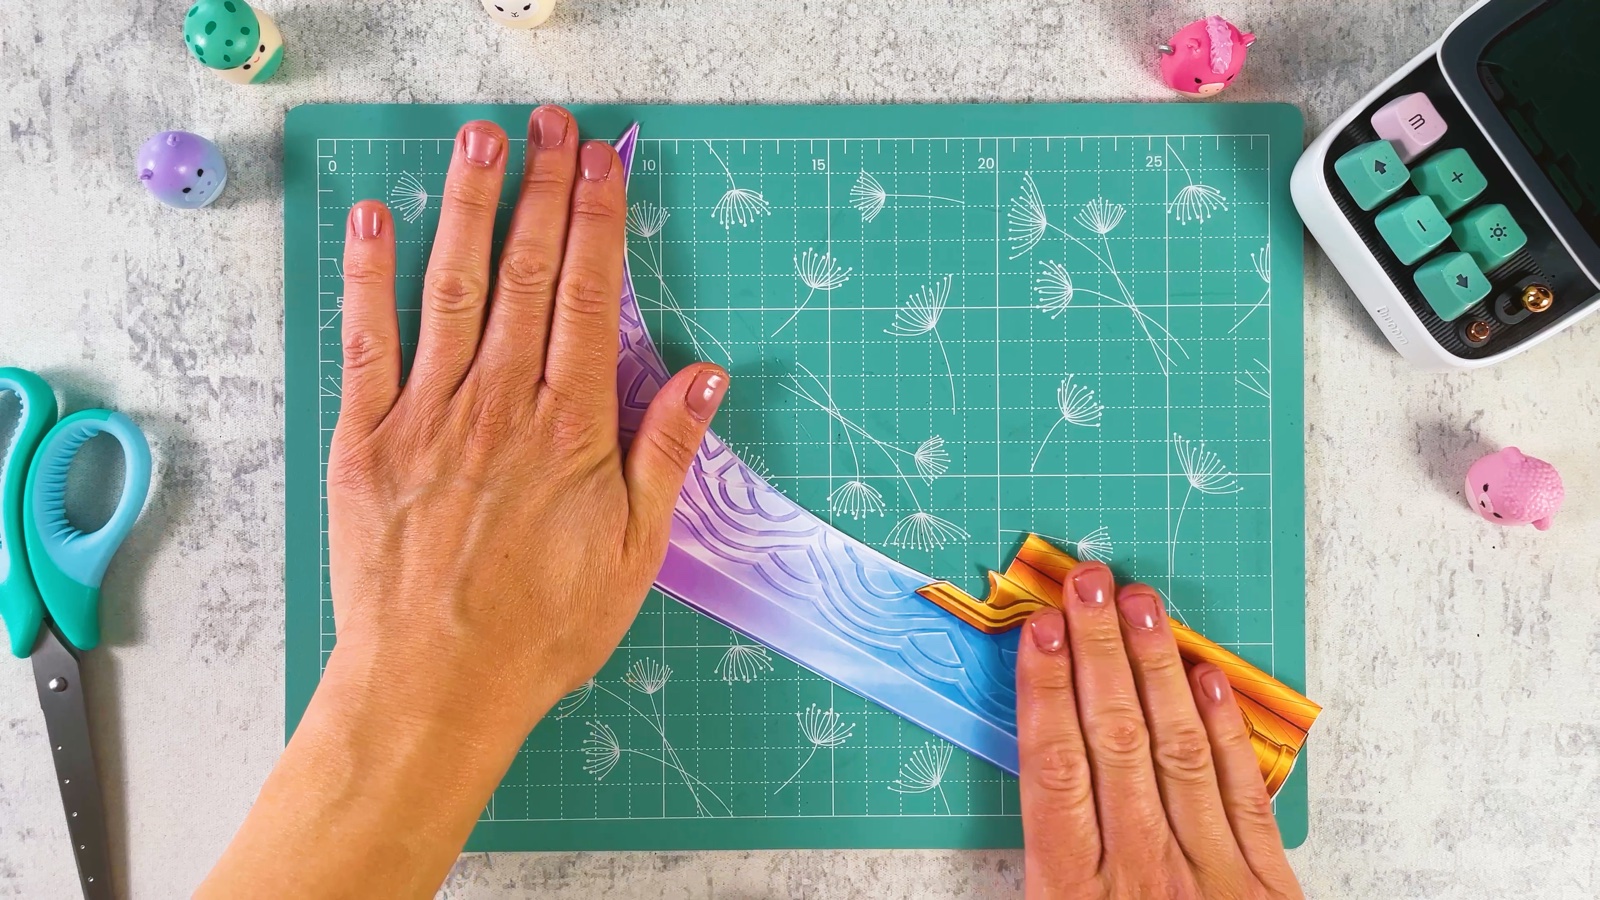
Add the back of the blade
Glue the second printed blade on top of the white layer. Line up the edges and smooth it flat with your hands. Now the blade is printed on both sides.
- 7
Close the gold socket
Wrap the curled gold part around the bottom of the blade.
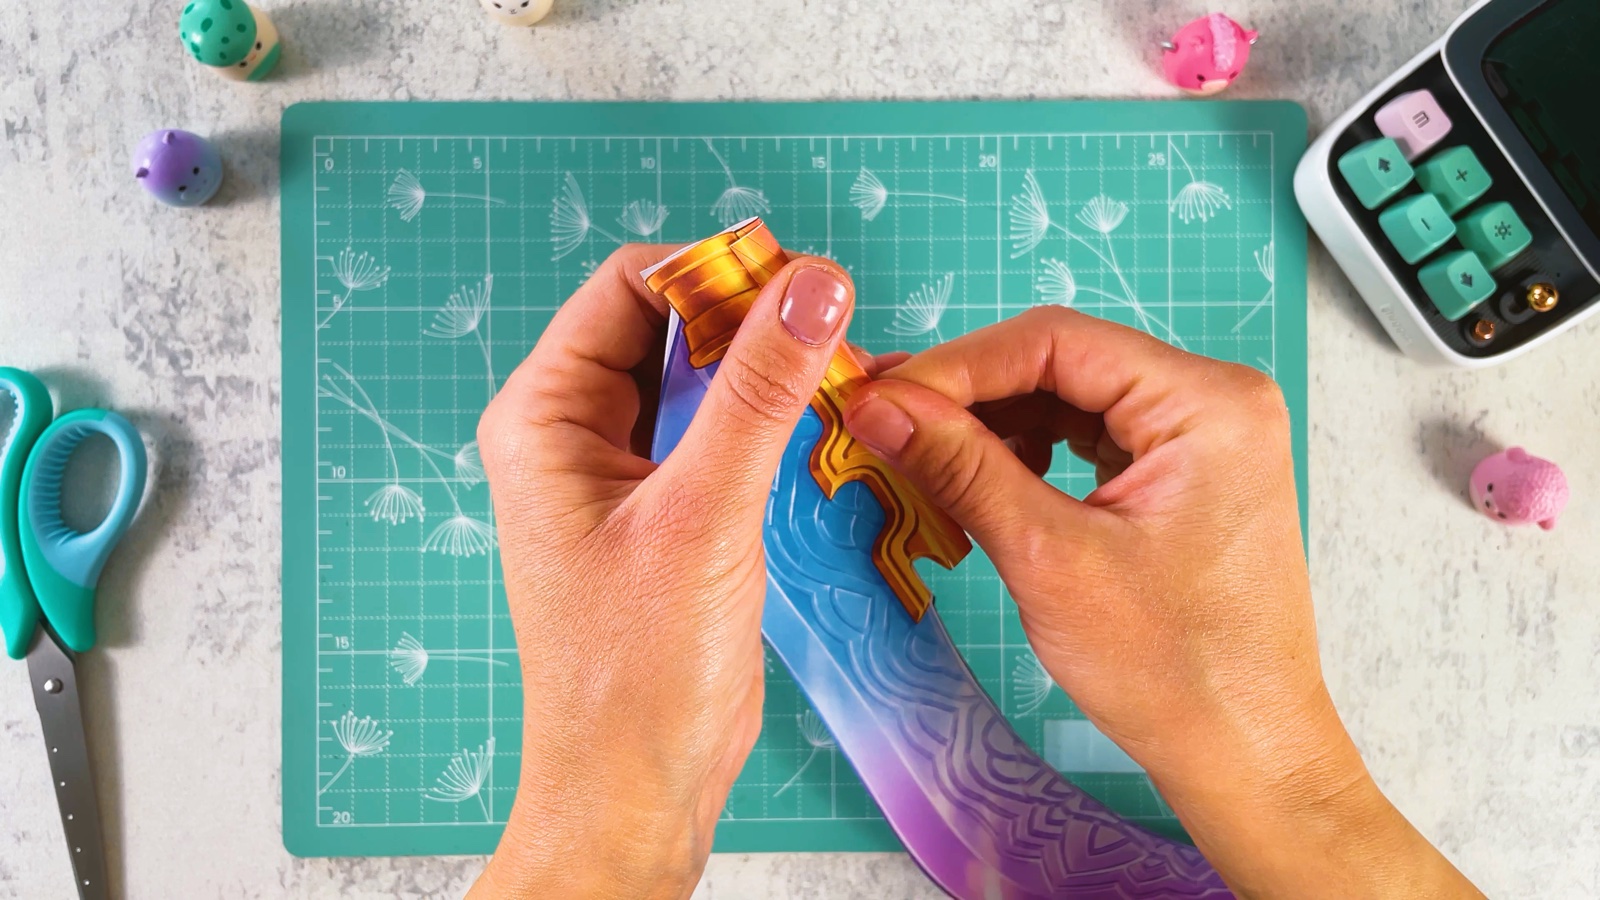
Glue the white flaps inside to hold it closed. This round gold socket is where the pole will go.
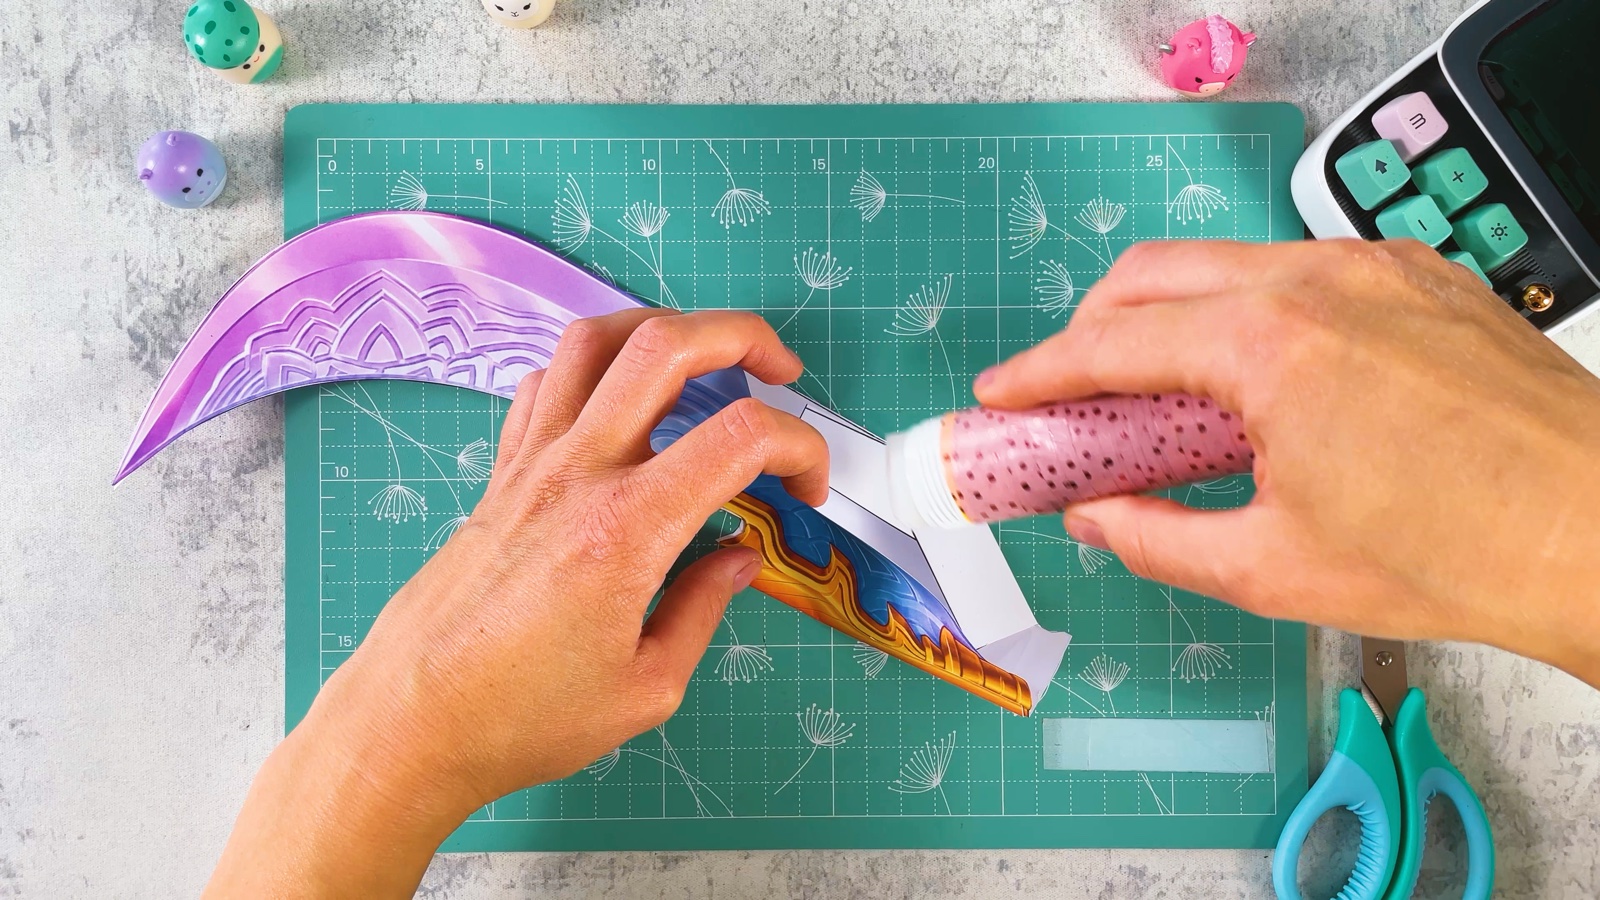
The blade is ready.
PART 2 OF 3
The pole
- 8
Roll a gold tube
Take one gold sheet. Start at a long side and roll it tightly into a thin tube, with the gold on the outside.
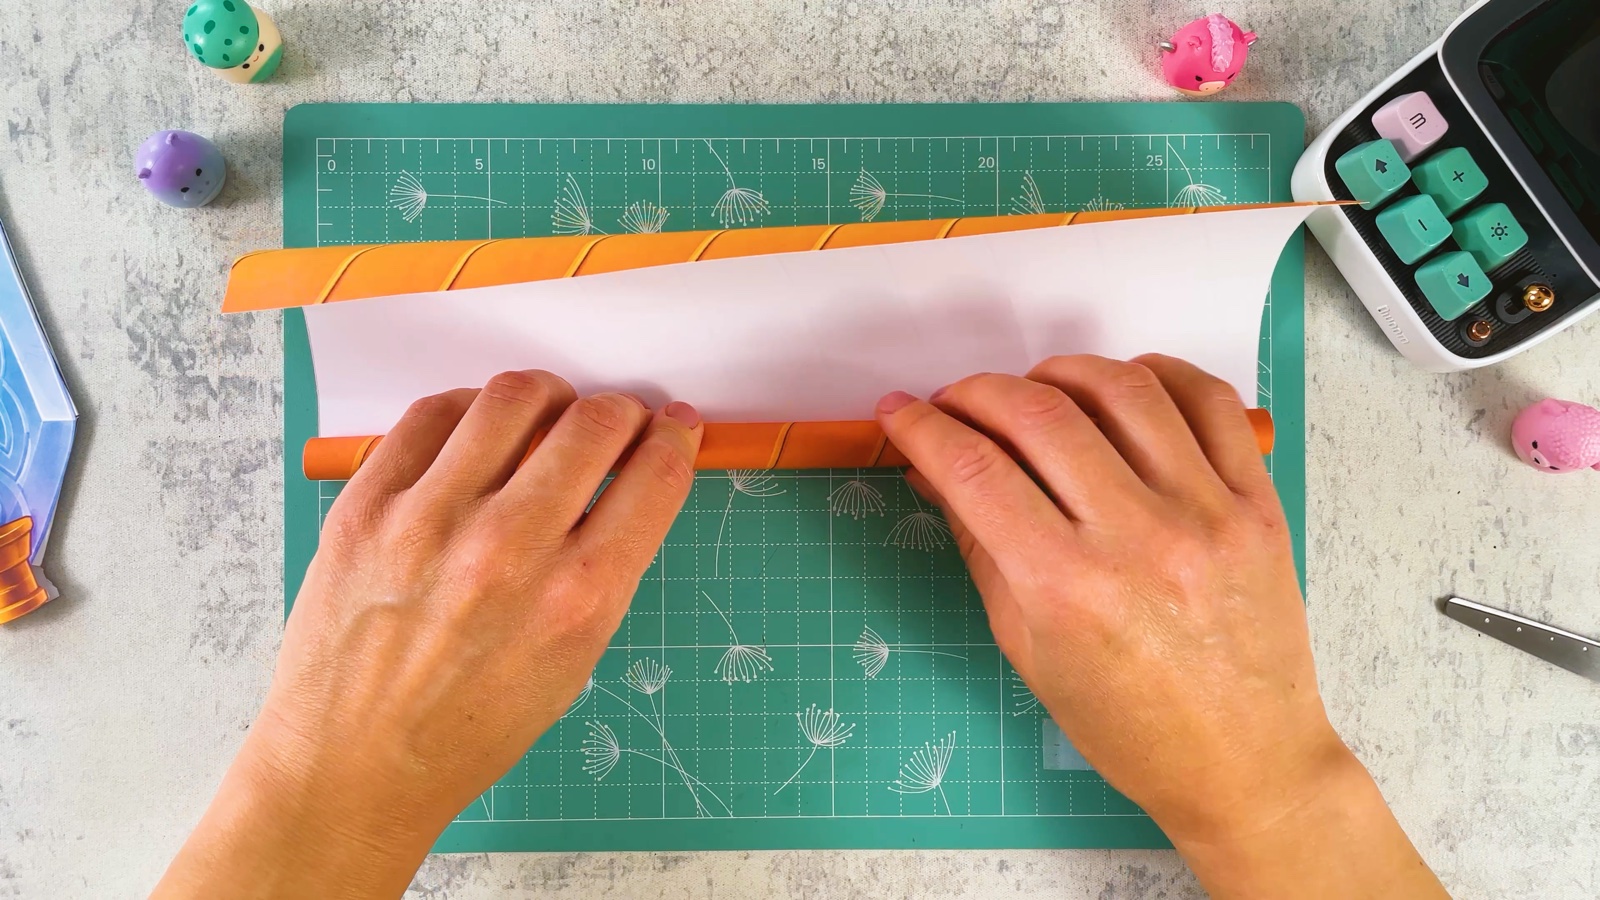
Put glue along the last edge and press it down so the tube stays closed.
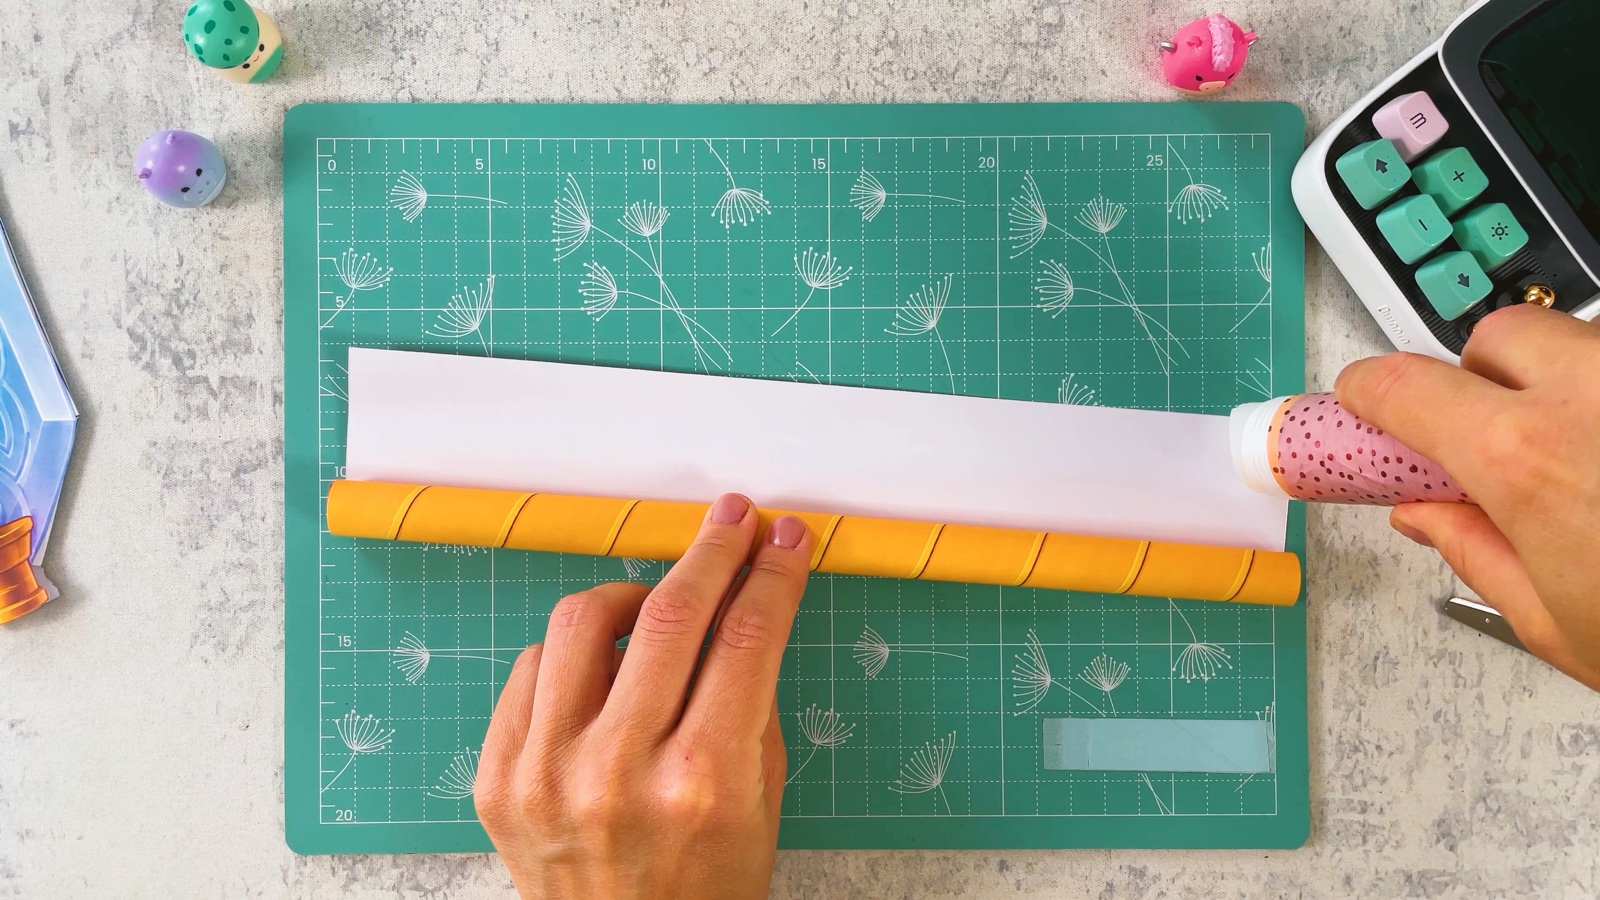
- 9
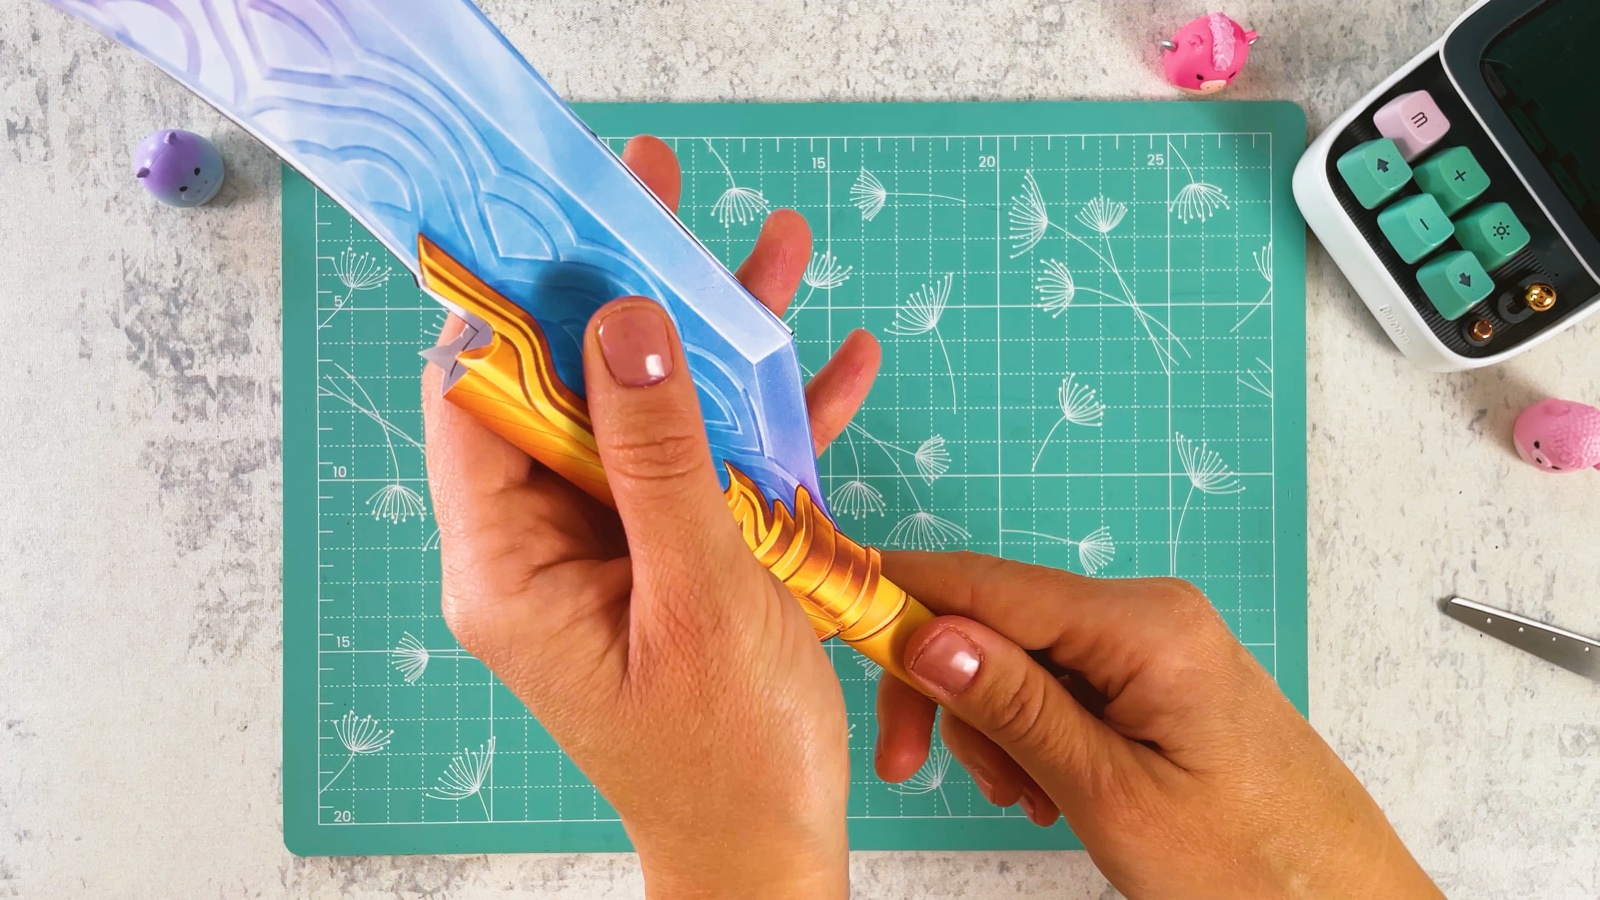
Put the blade on the tube
Put a little glue on one end of the gold tube and push it into the gold socket of the blade.
- 10
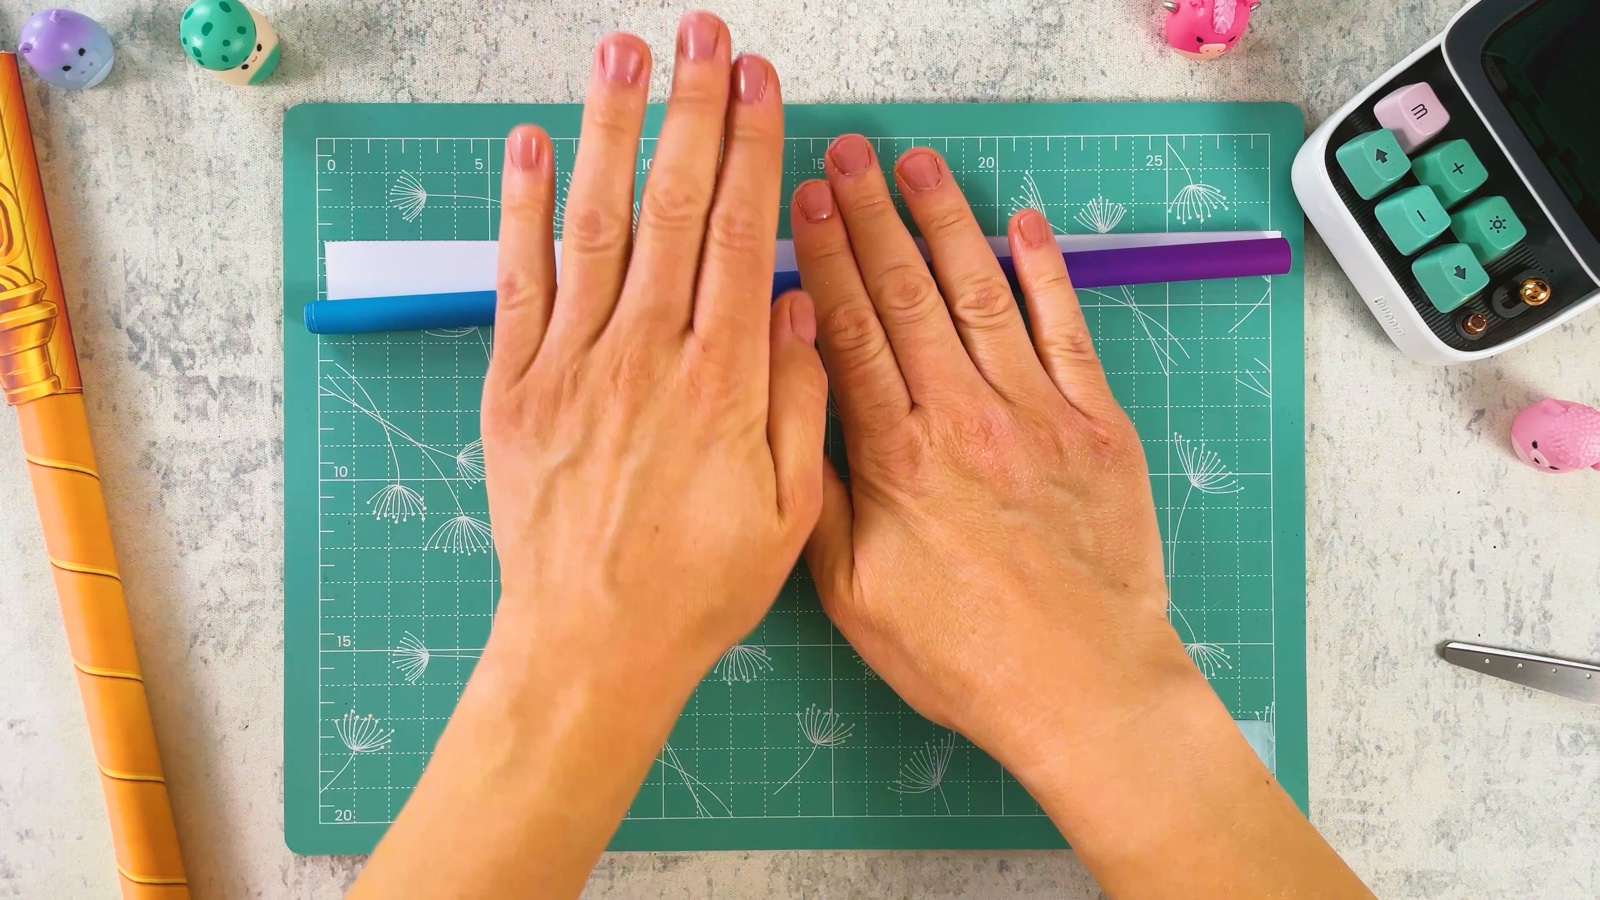
Roll the grip
Roll the purple and blue sheet into a tube in the same way and glue the edge.
- 11
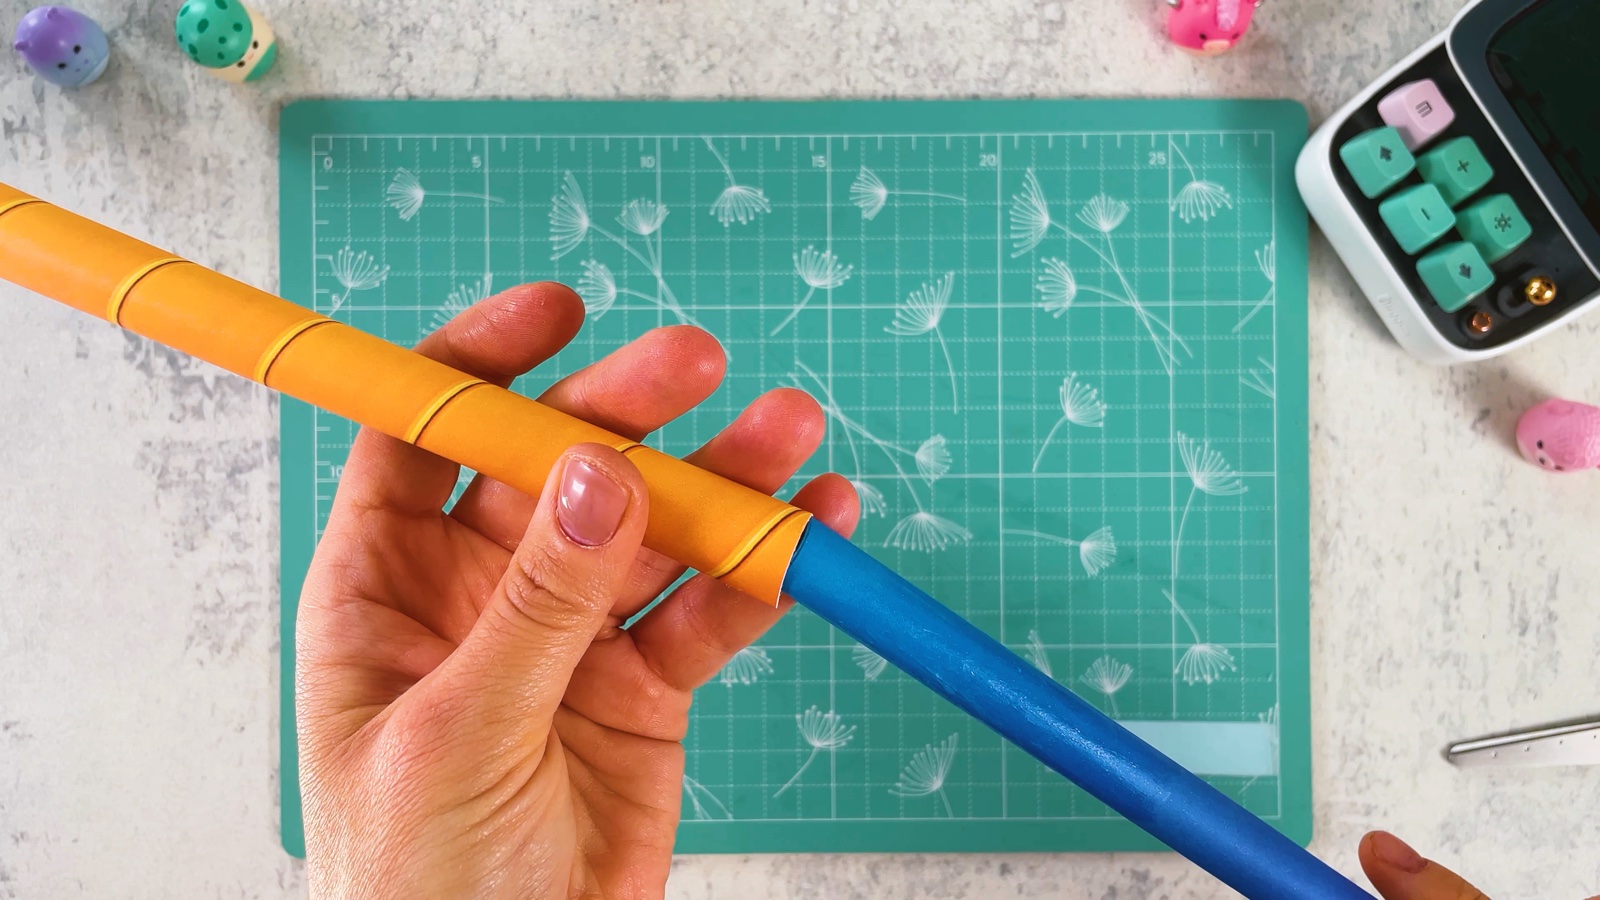
Join the grip
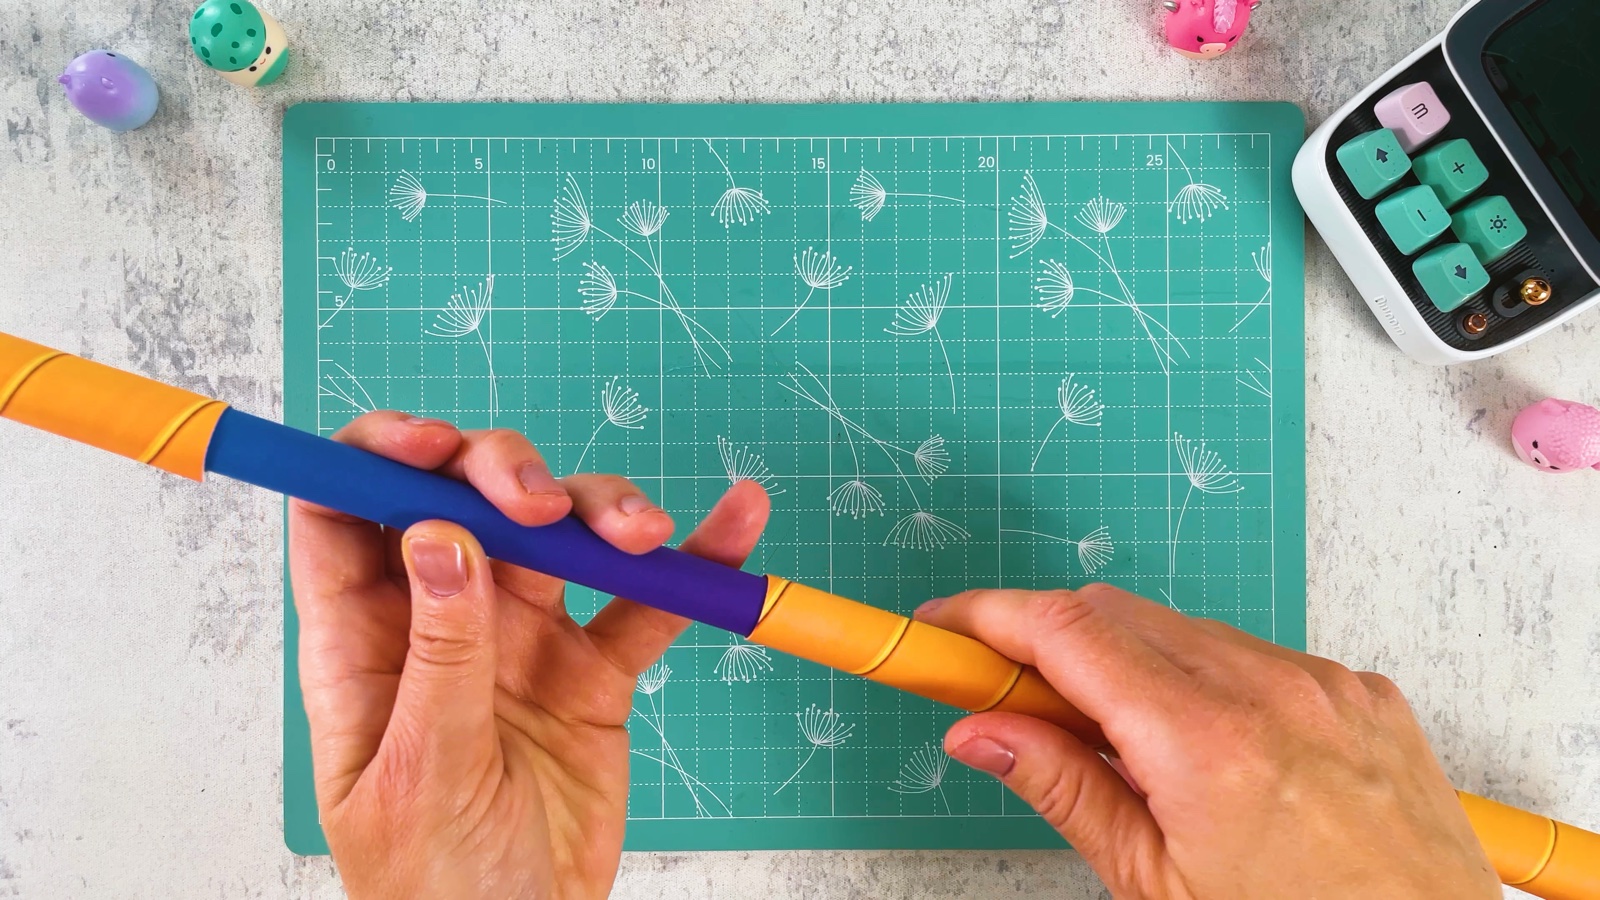
Put glue on one end of the purple tube and push it into the open end of the gold tube.
- 12
Add the second gold tube
Lay the end of the purple tube on the second gold sheet and roll the sheet tightly around it. Glue the edge.
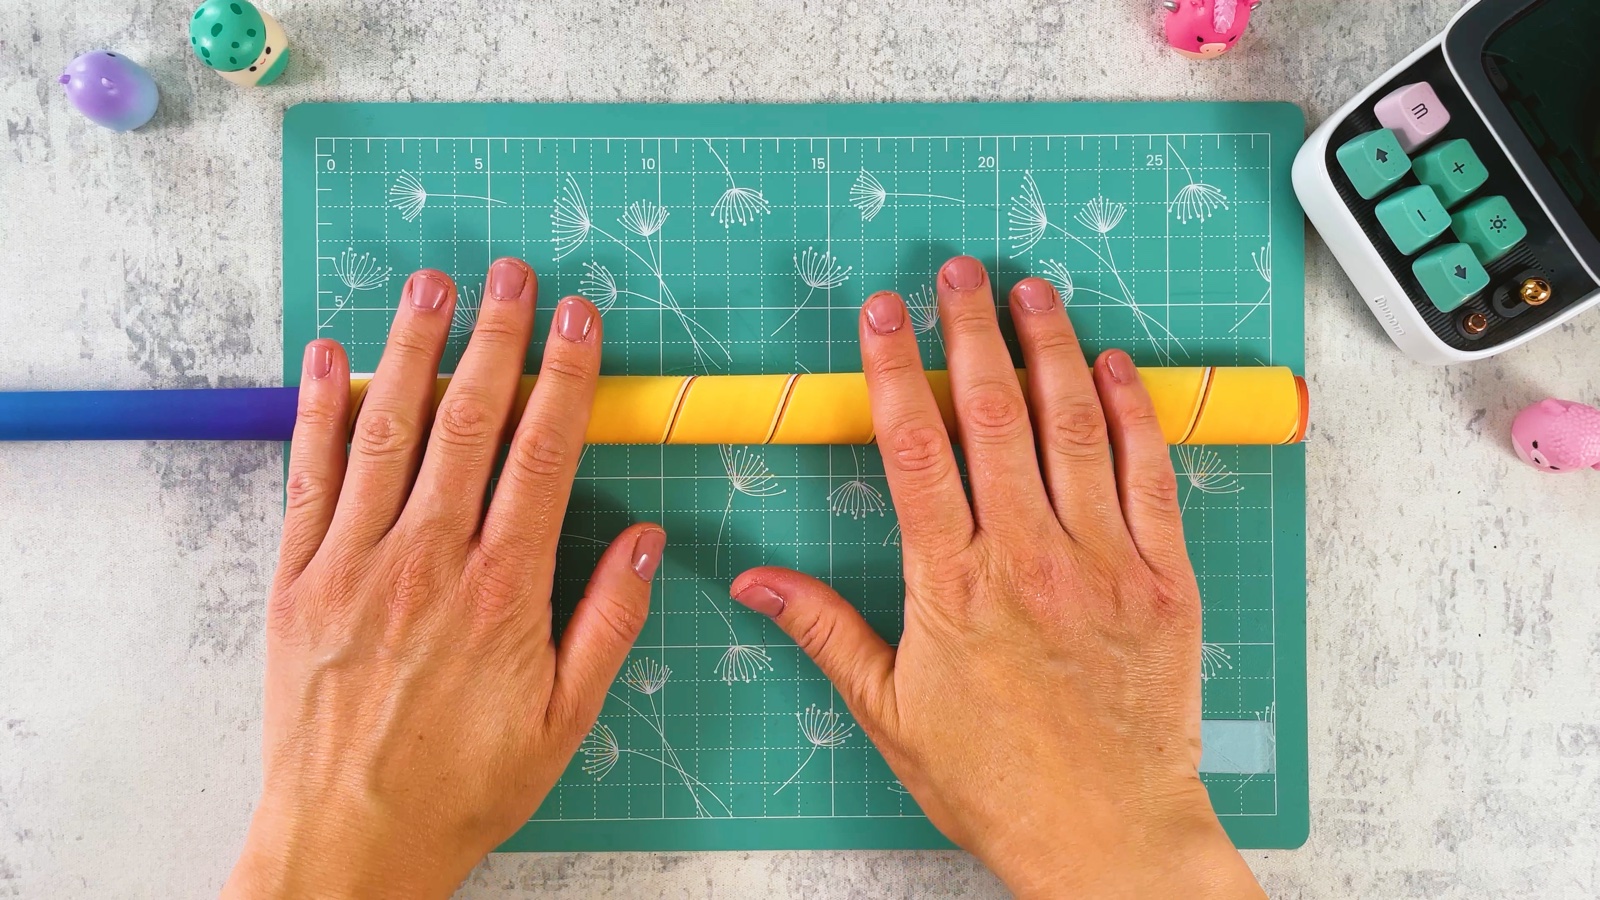
Now the pole is gold, then purple, then gold again.
PART 3 OF 3
The end and the gold rings
- 13
Add the end piece
Cut out the two gold end pieces from page 3.
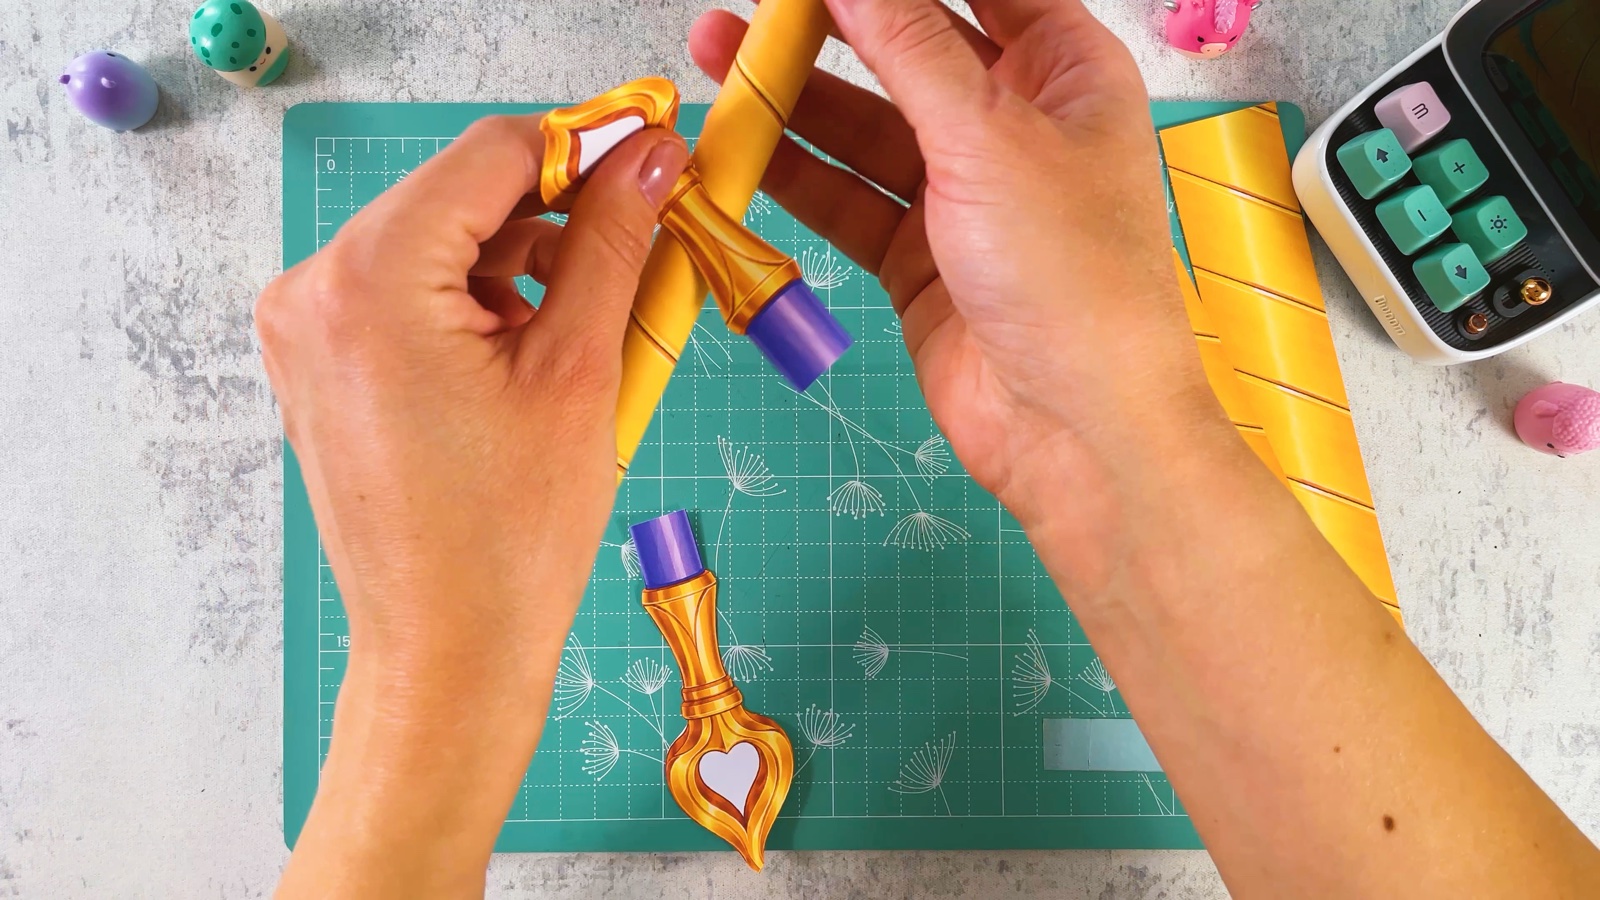
Glue them together on the end of the pole, one on each side, and press the white parts around the tube.
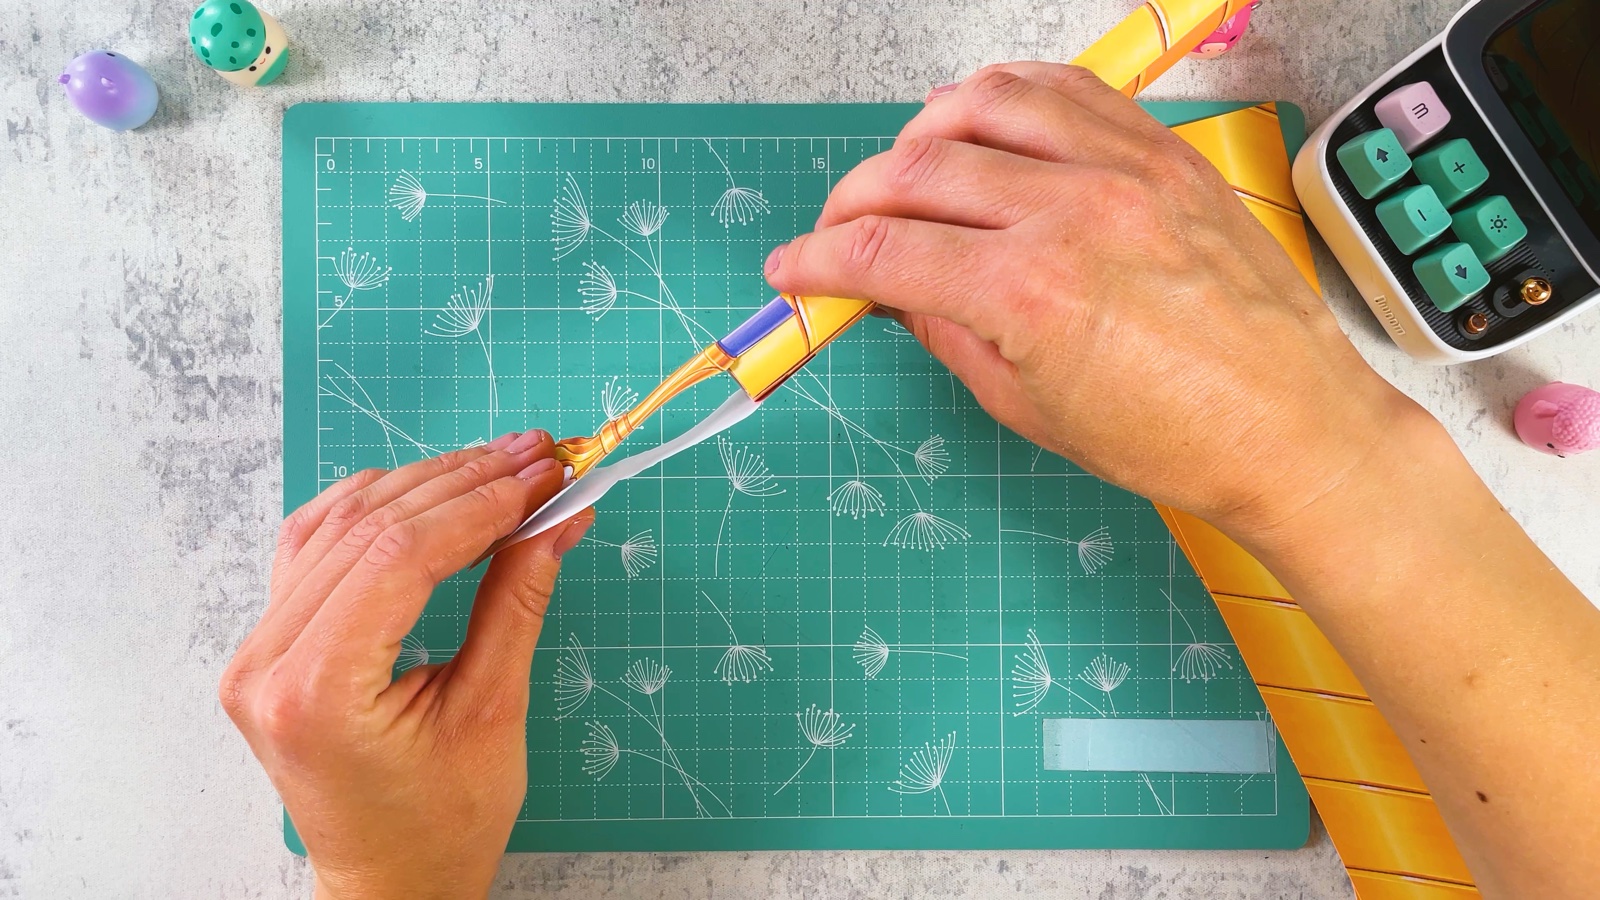
- 14
Wrap the gold rings
Put glue on the white side of a gold strip from page 3.
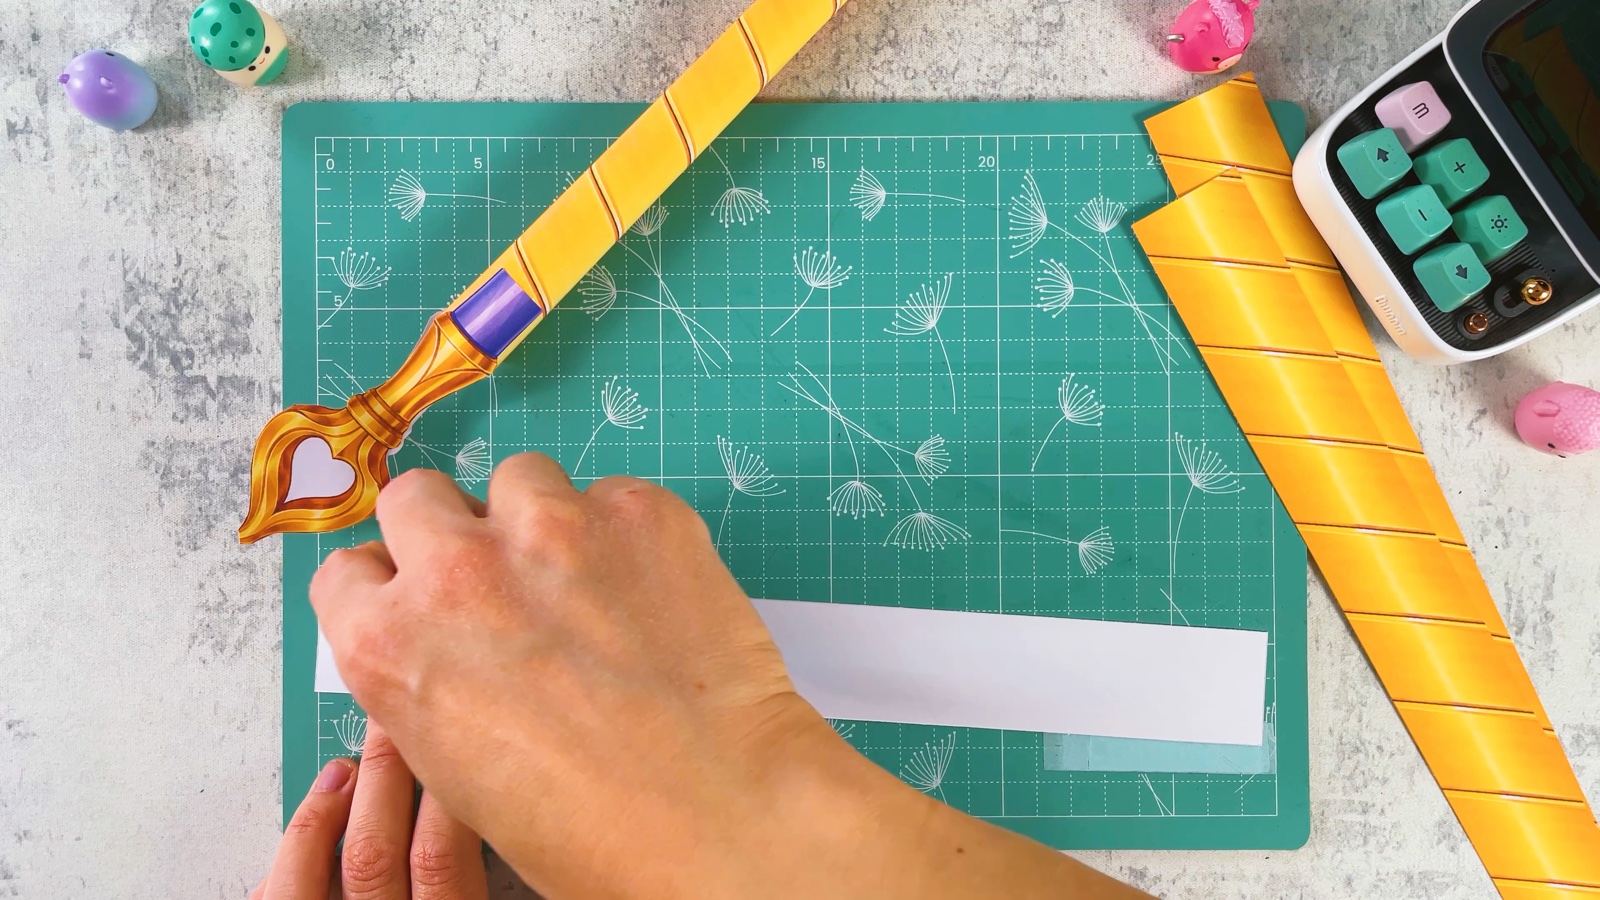
Wrap it around the pole where two parts meet. It hides the join and makes the pole stronger.
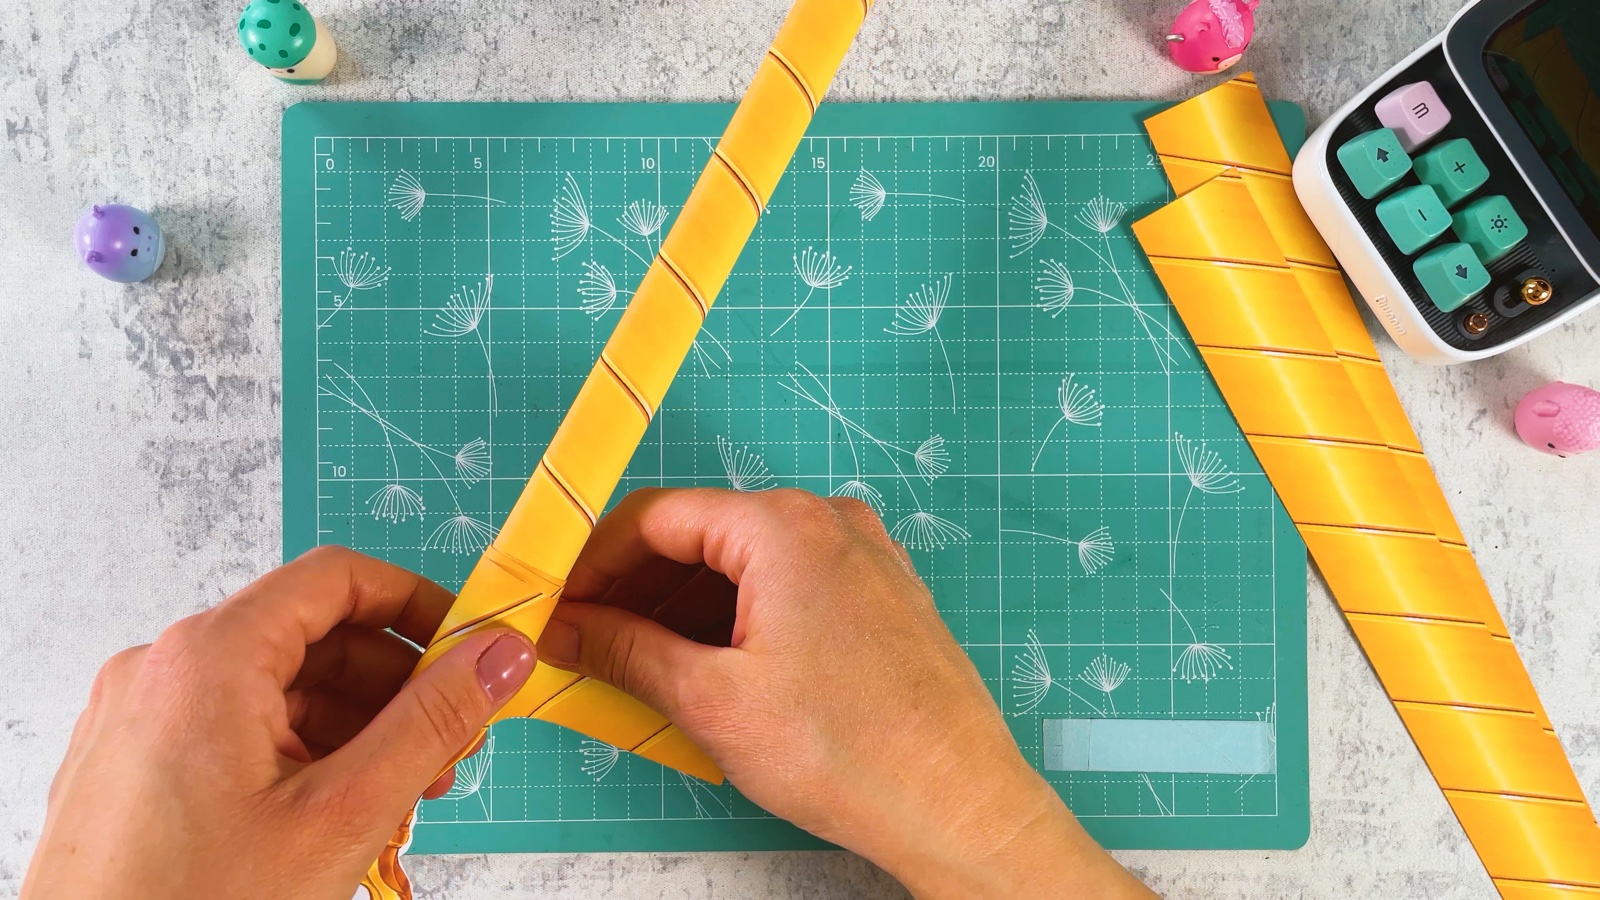
Do the same with the other two strips on the other joins.
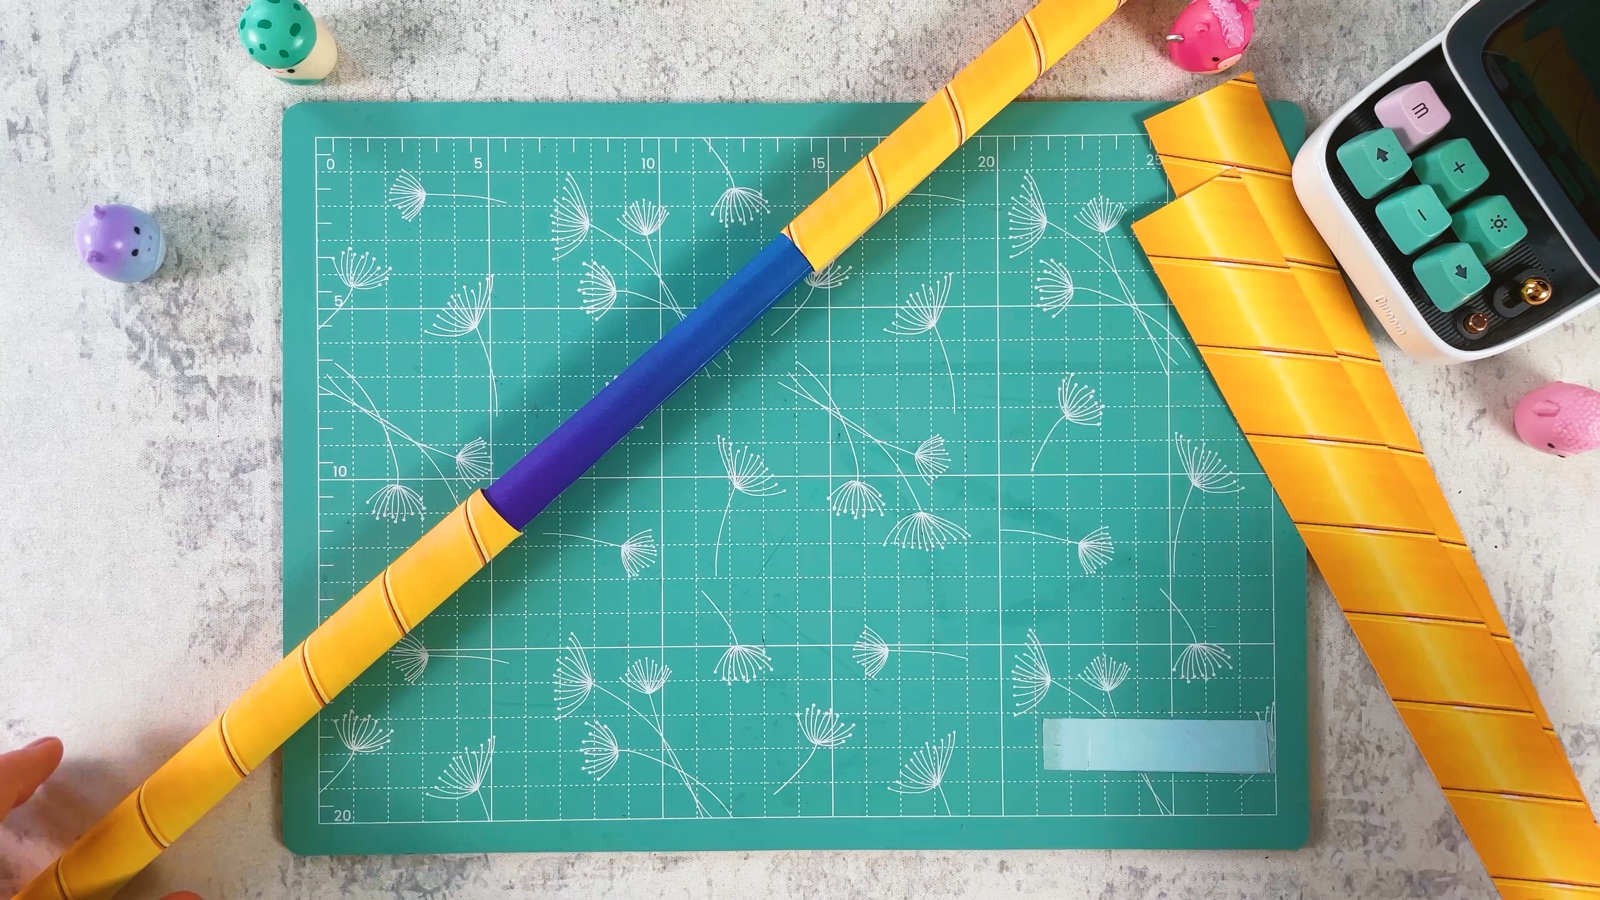
And here is the whole Gokdo, from the curved blade to the gold tip.
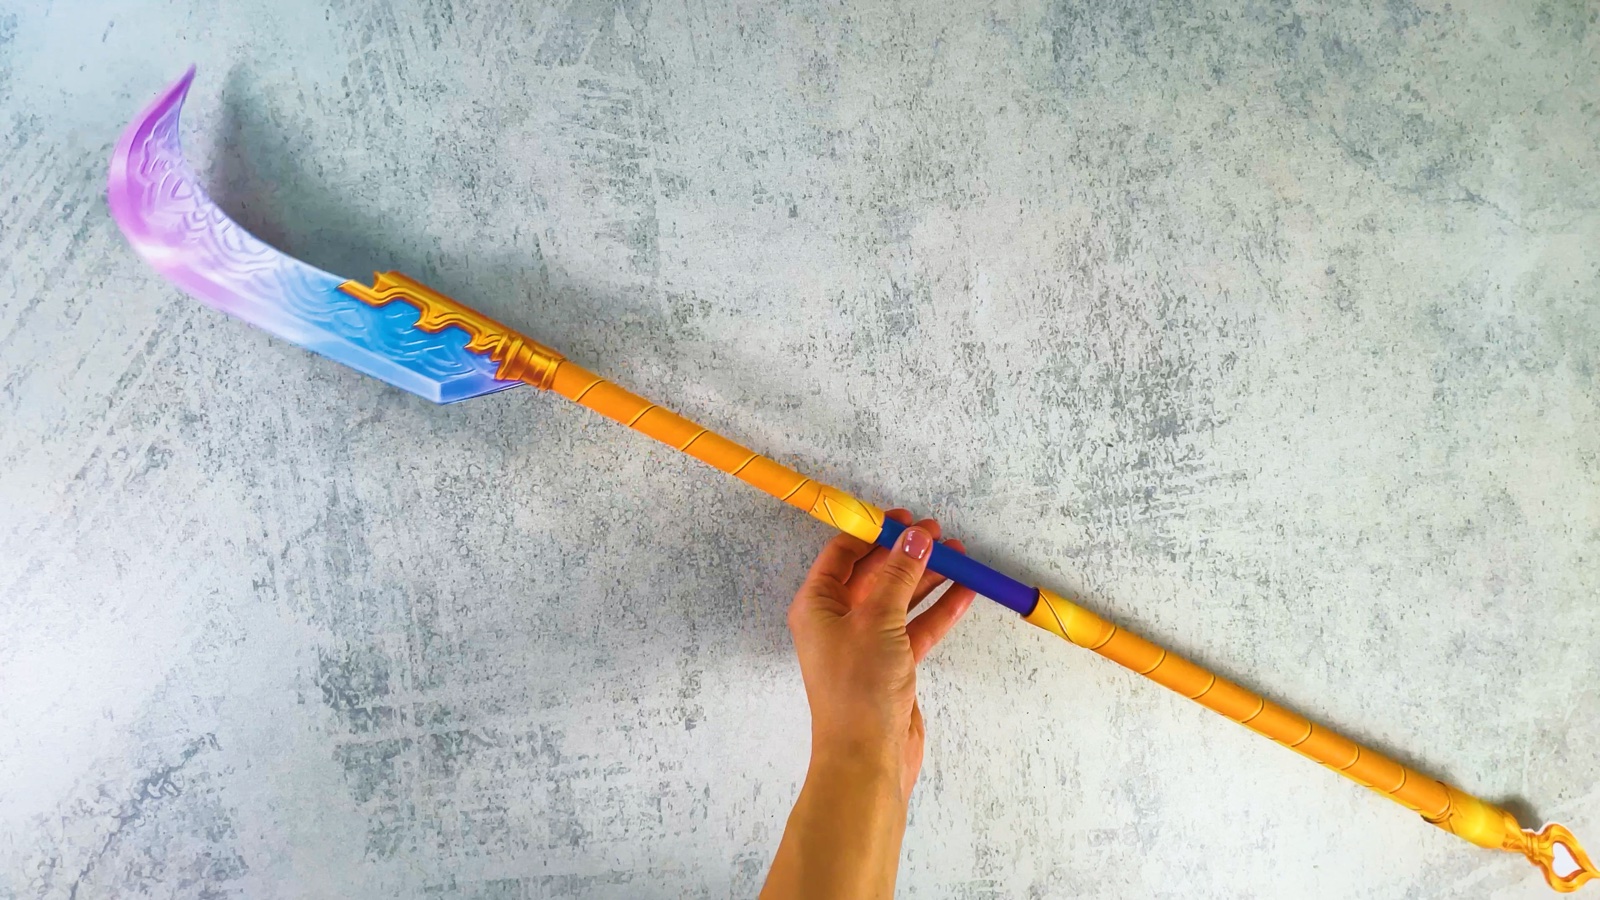
Mira’s Gokdo is ready.
THREE LITTLE TIPS
Make it easier.
- Use 120 g/m² (about 80 lb text) paper. It gives a sturdier sword than plain printer paper.
- Roll tight. A tight tube is stiffer and fits better into the next part.
- Use a glue stick, not liquid glue. Liquid glue makes thin paper wavy.

A CUBI MINI MOMENT
What will your Gokdo protect?
Cubi is guarding the craft table with a paper Gokdo, so no one can take the last glue stick. What will you protect with yours?
Mini’s tiny paper crown, kept safe for Mini’s birthday.
Loved making it?
Catch the next make first, or save this one for a rainy day.