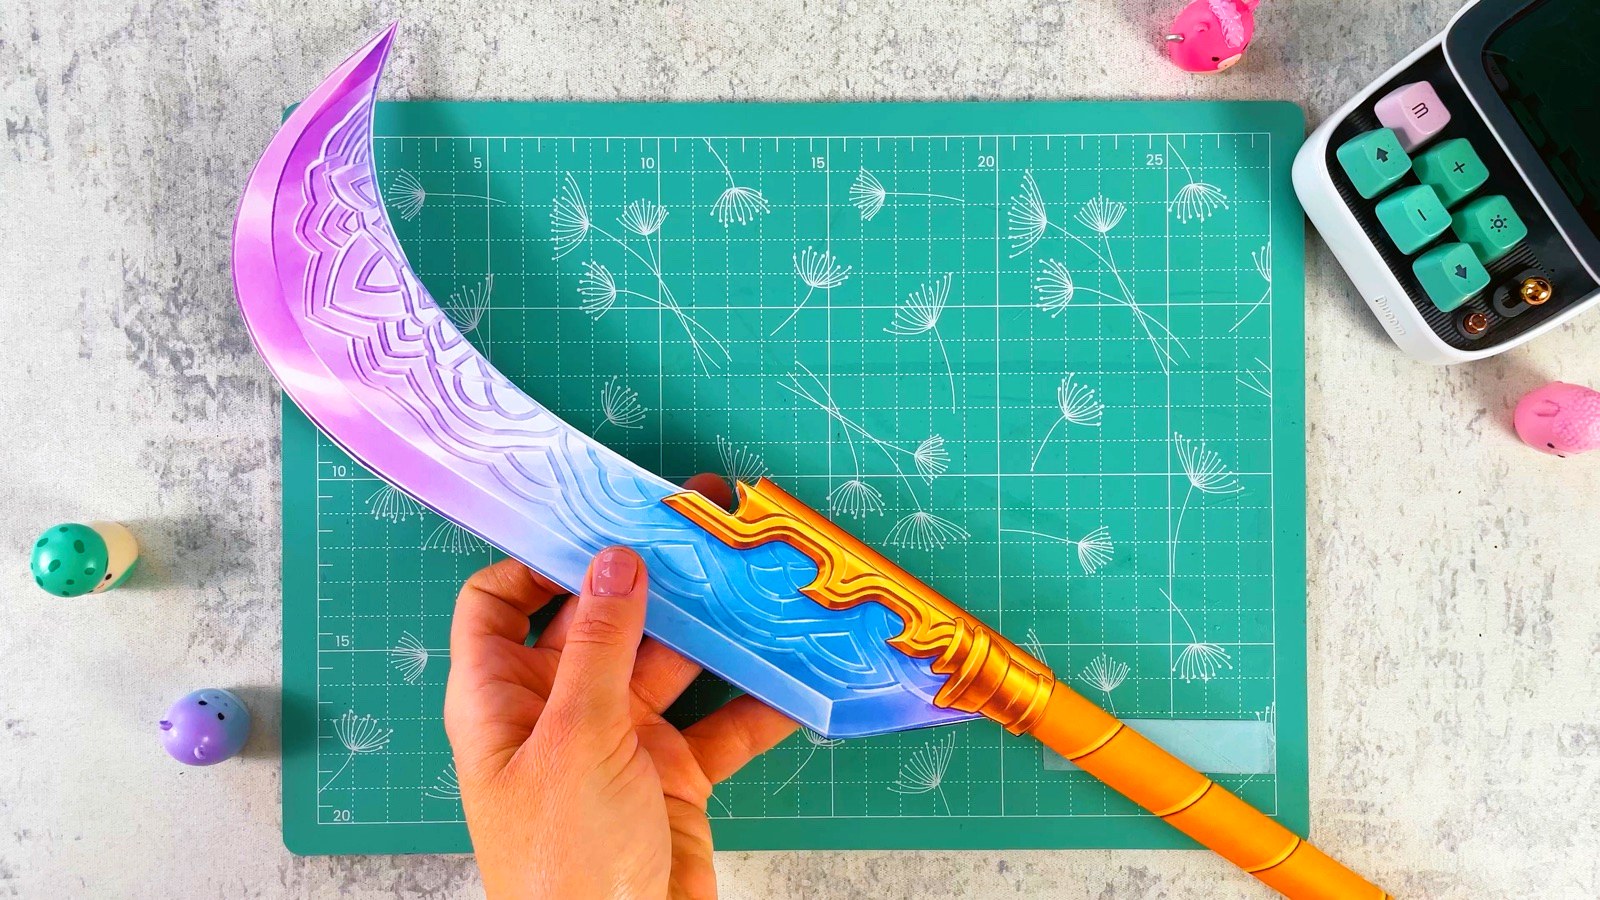
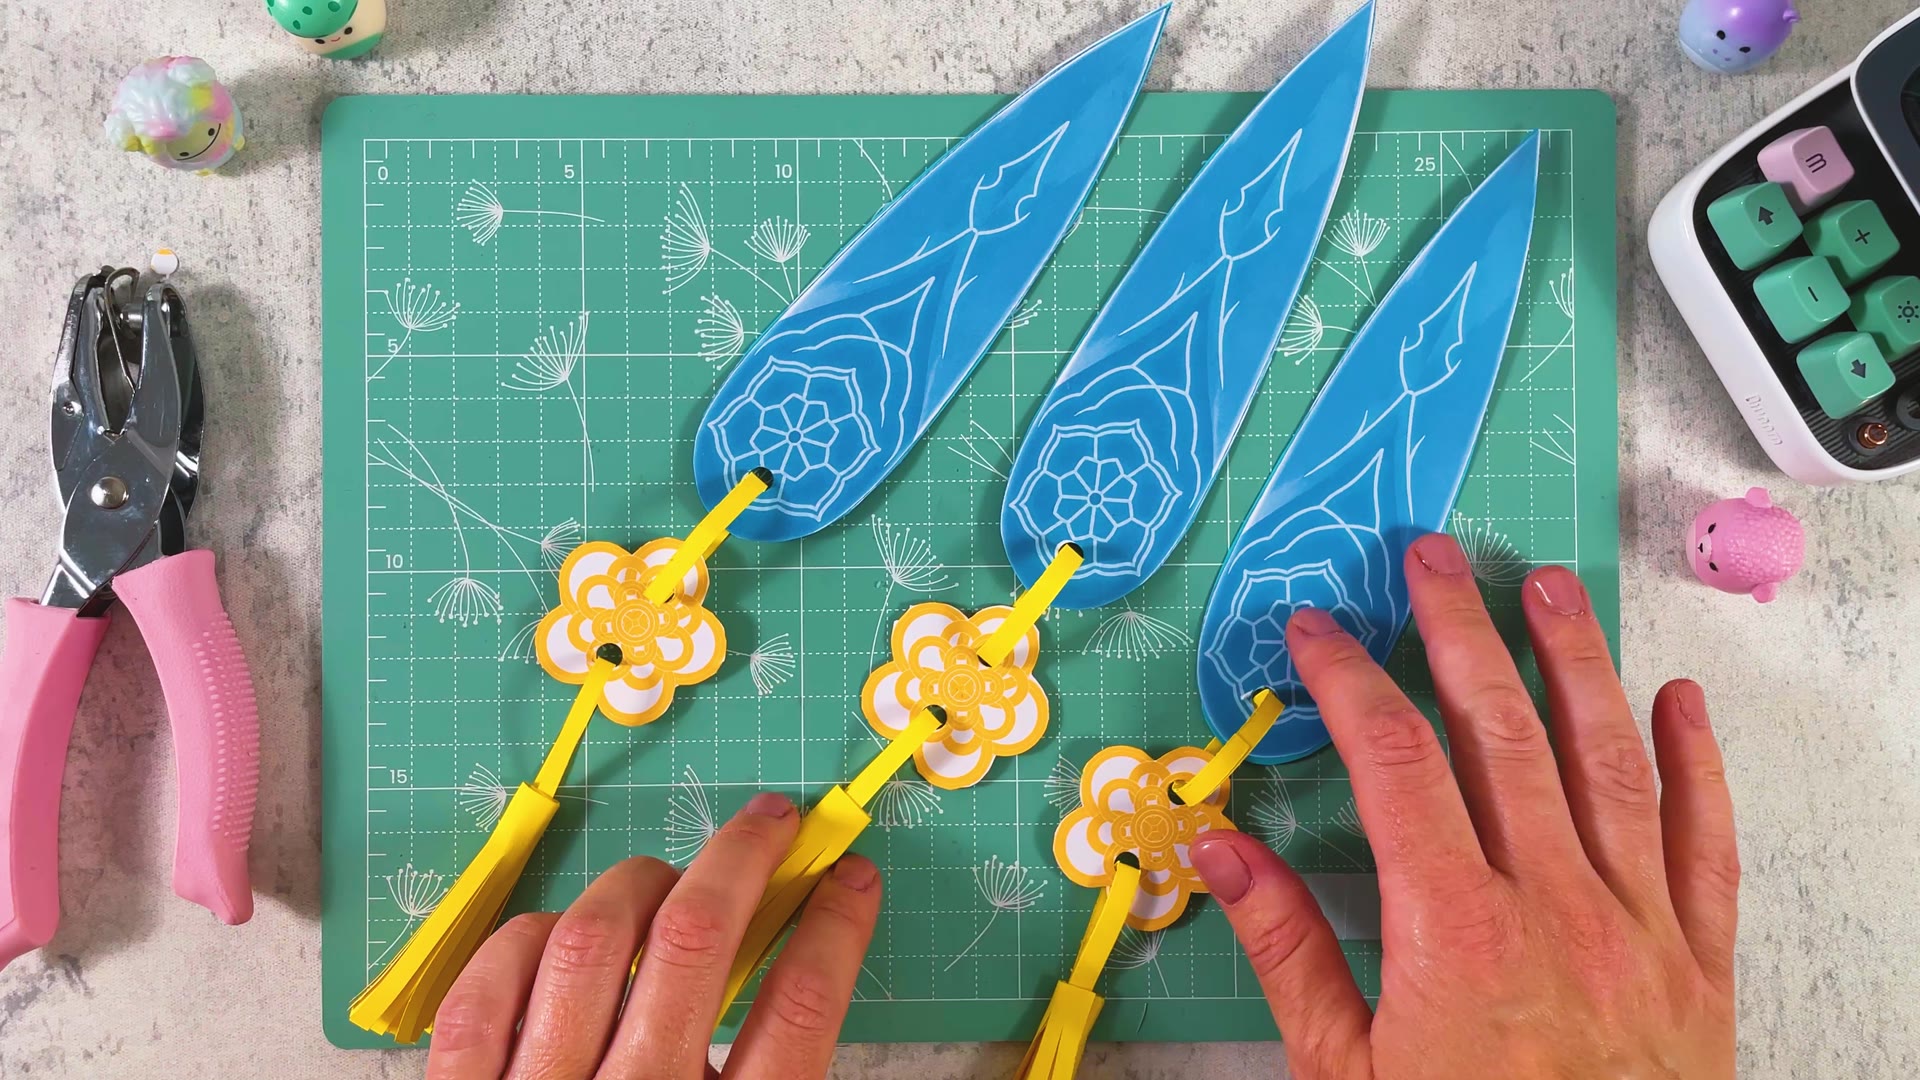
Zoey from KPop Demon Hunters fights with her Shin-Kal, the glowing blue Spirit Blades. In the movie she uses six of them and often holds three in each hand. In this tutorial we make them from paper. No special craft supplies, just paper, scissors, glue and a printer.
Each blade has a yellow flower charm and a soft paper tassel, just like in the movie. They are great for a KPop Demon Hunters costume, Halloween, a dress-up party, cosplay or a birthday.
BEFORE WE START
What you need.
Materials
- Printable template
- Blue paper or thin blue cardstock
- Yellow paper
- Glue stick
Tools
- Scissors
- Hole punch
- A printer
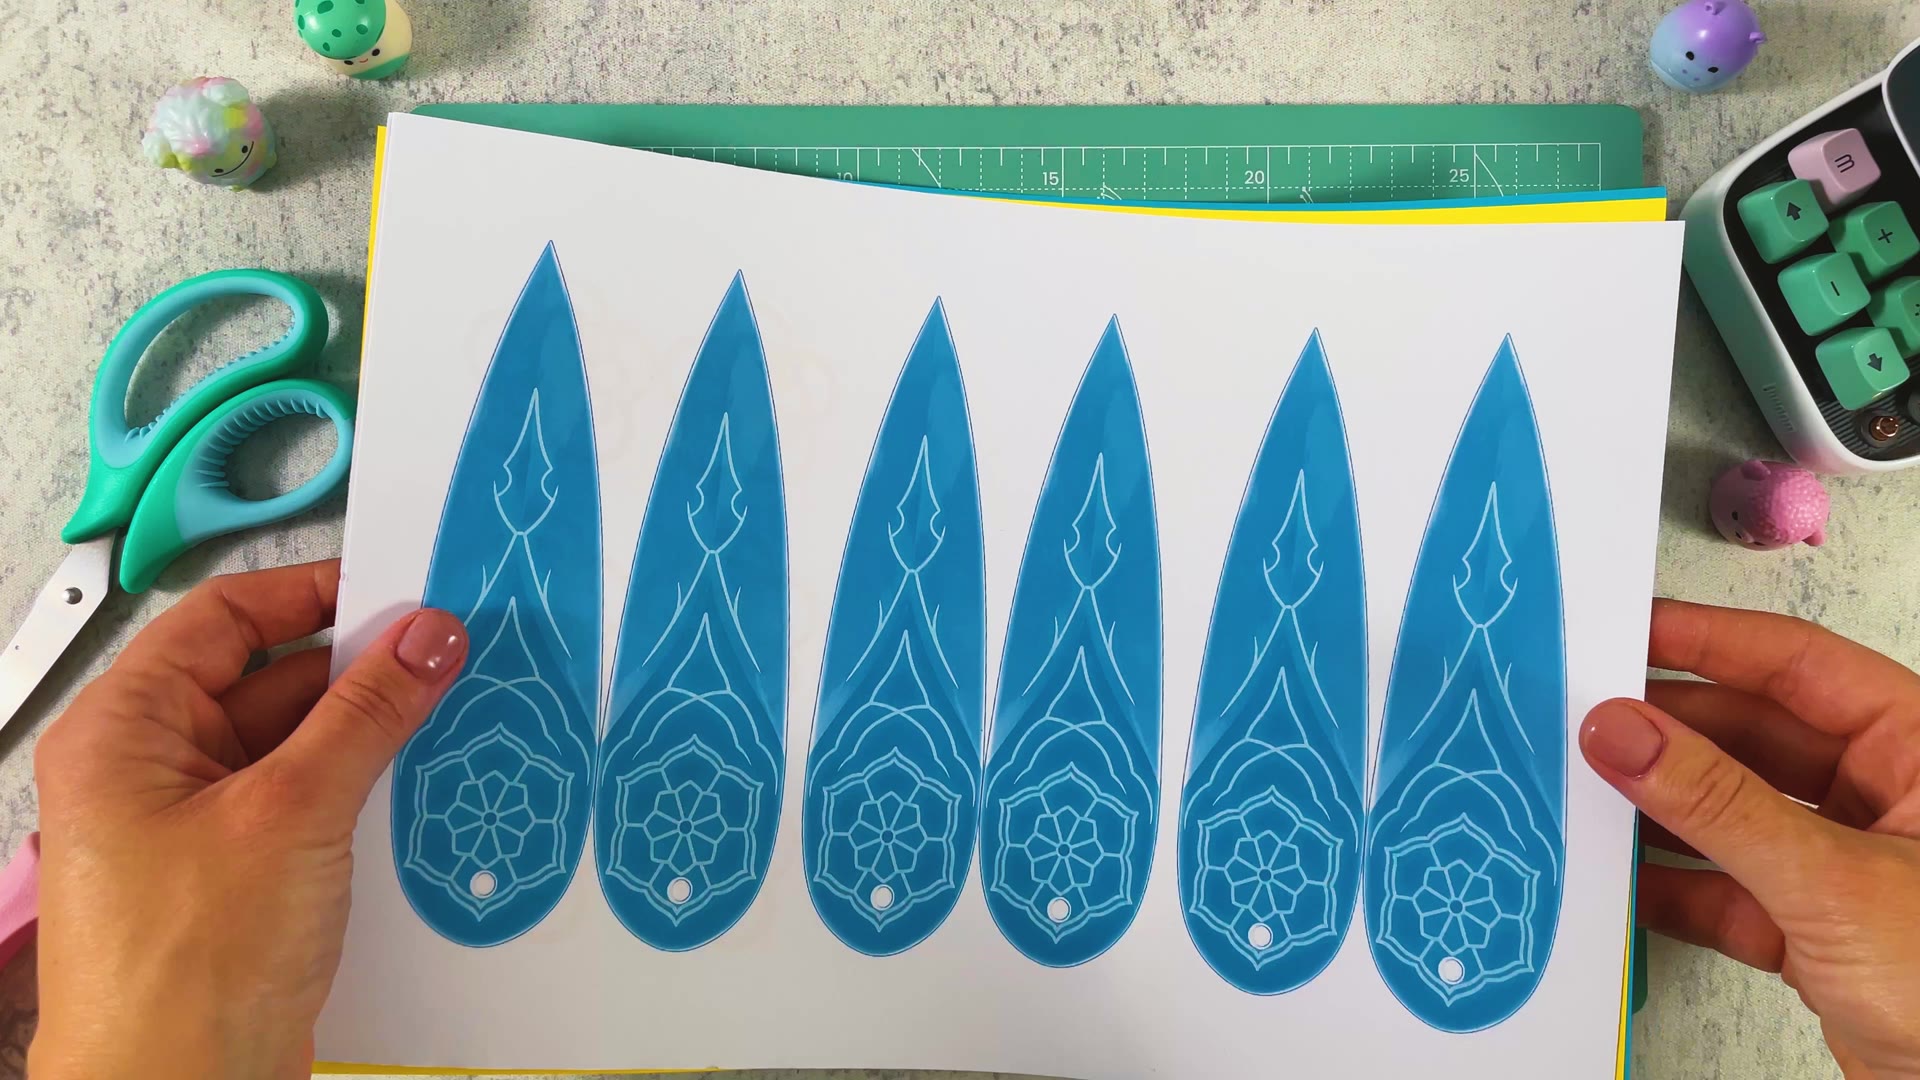
Zoey uses six, so print the template twice if you want the full set.
Get the free template ↓PART 1 OF 4
The blade
- 1
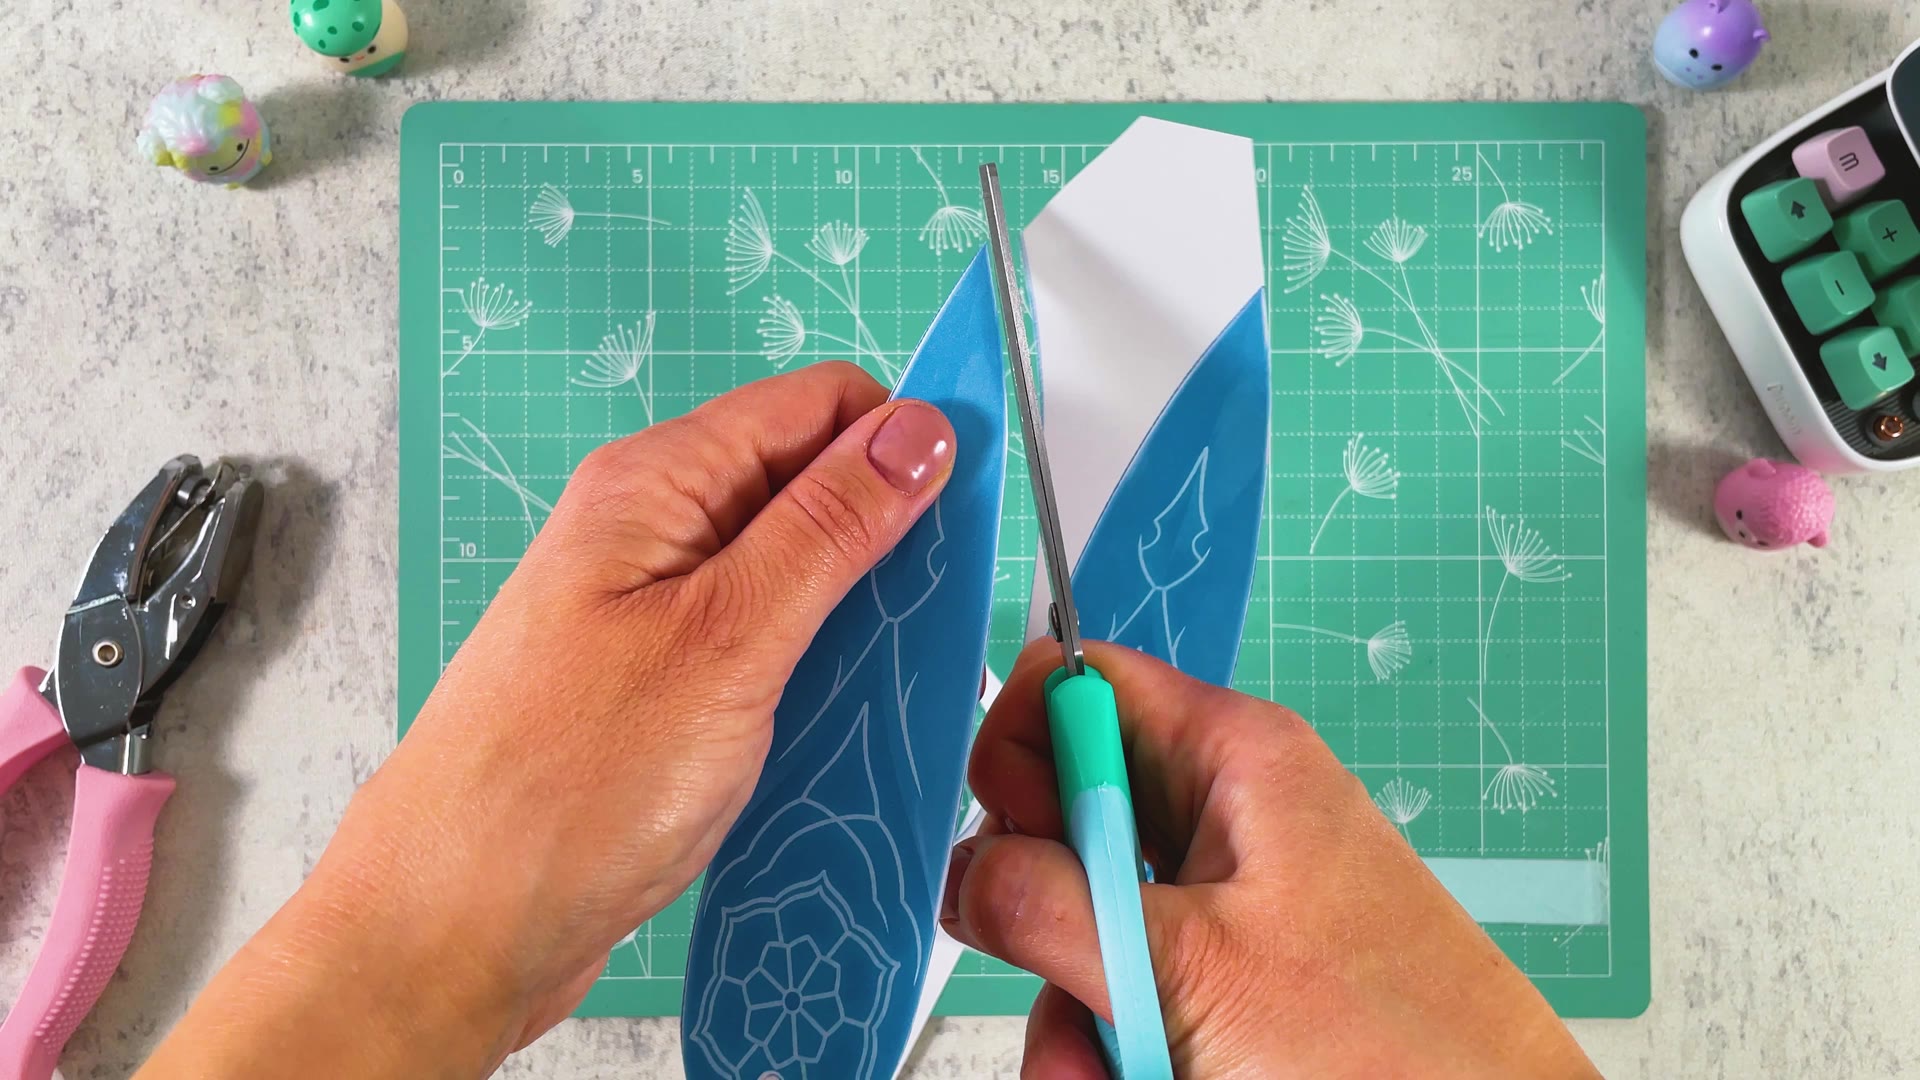
Cut out the blades
Print page 1 and cut out the blade shapes. Cut close to the outline so no white edge shows.
- 2
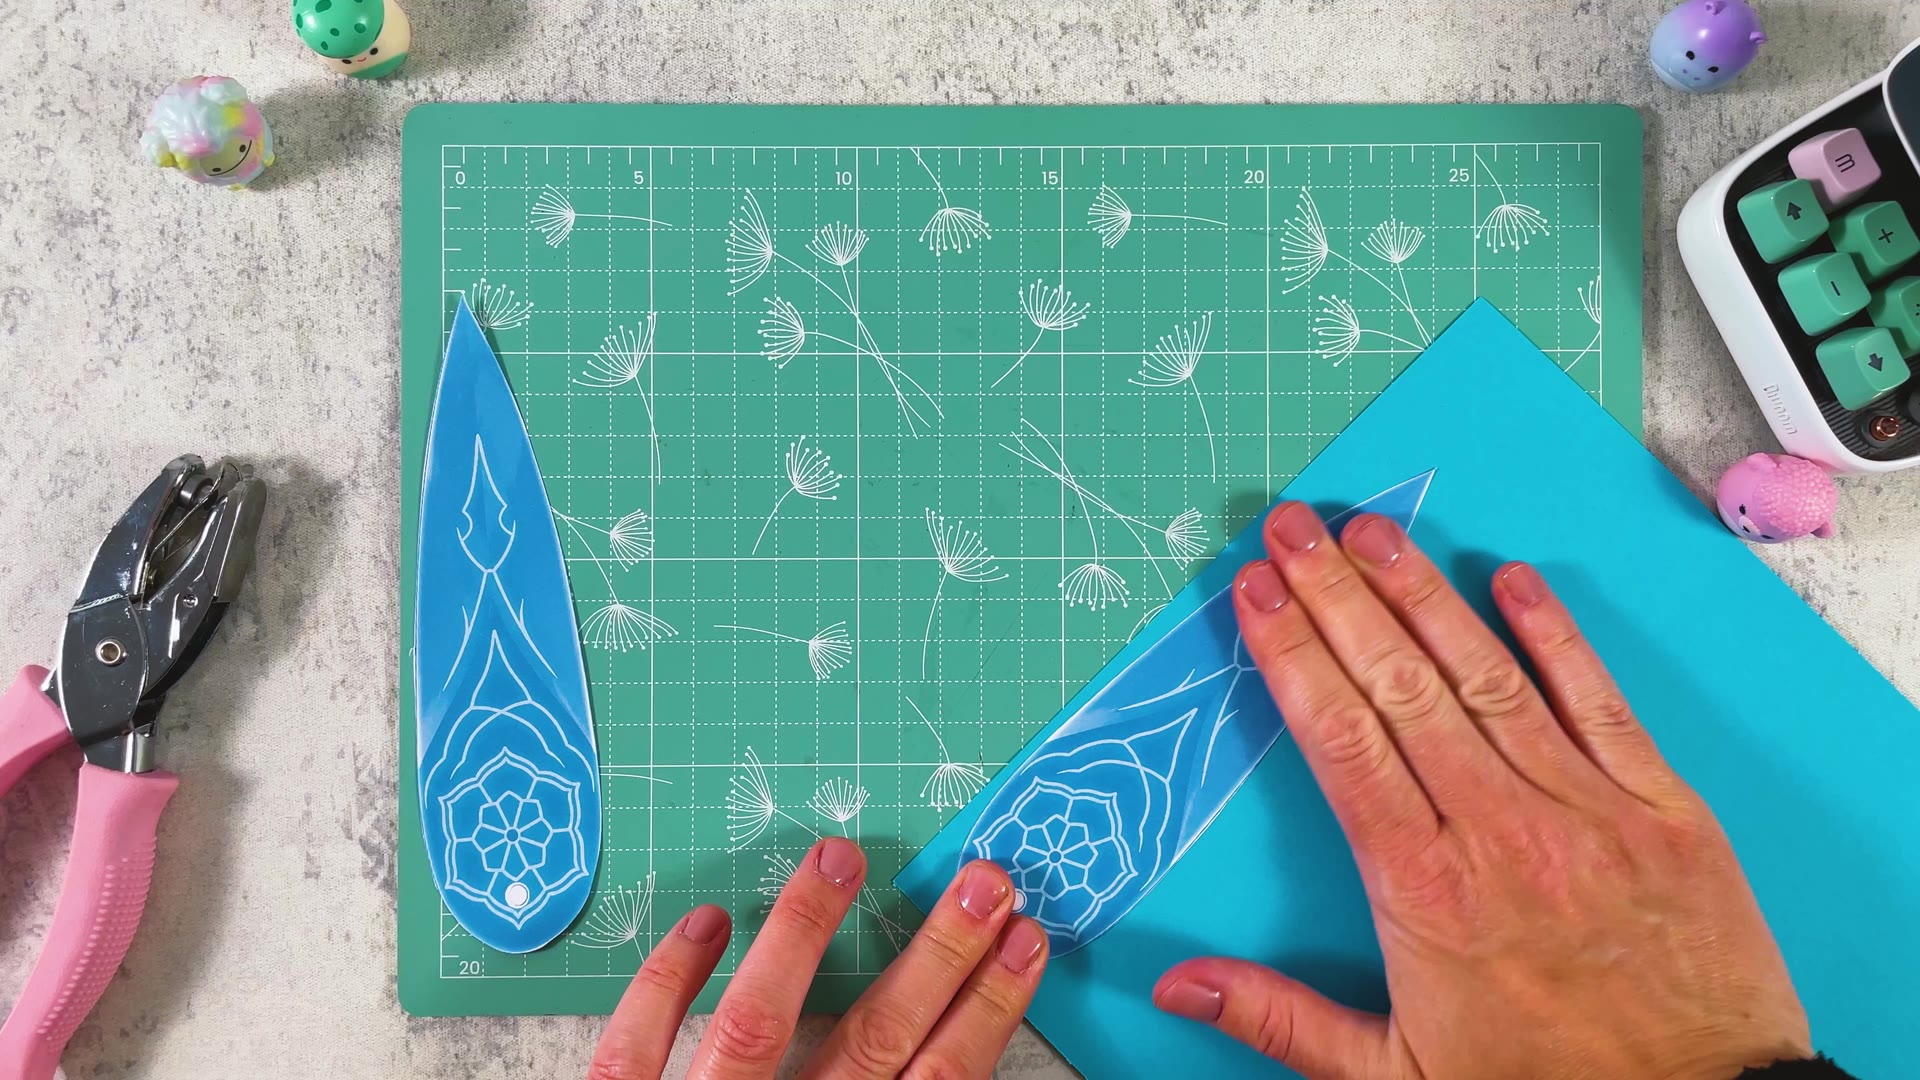
Glue the blade onto blue paper
Put glue on the back of one printed blade and press it onto a sheet of blue paper. The blue layer makes the blade stronger and stiffer.
- 3
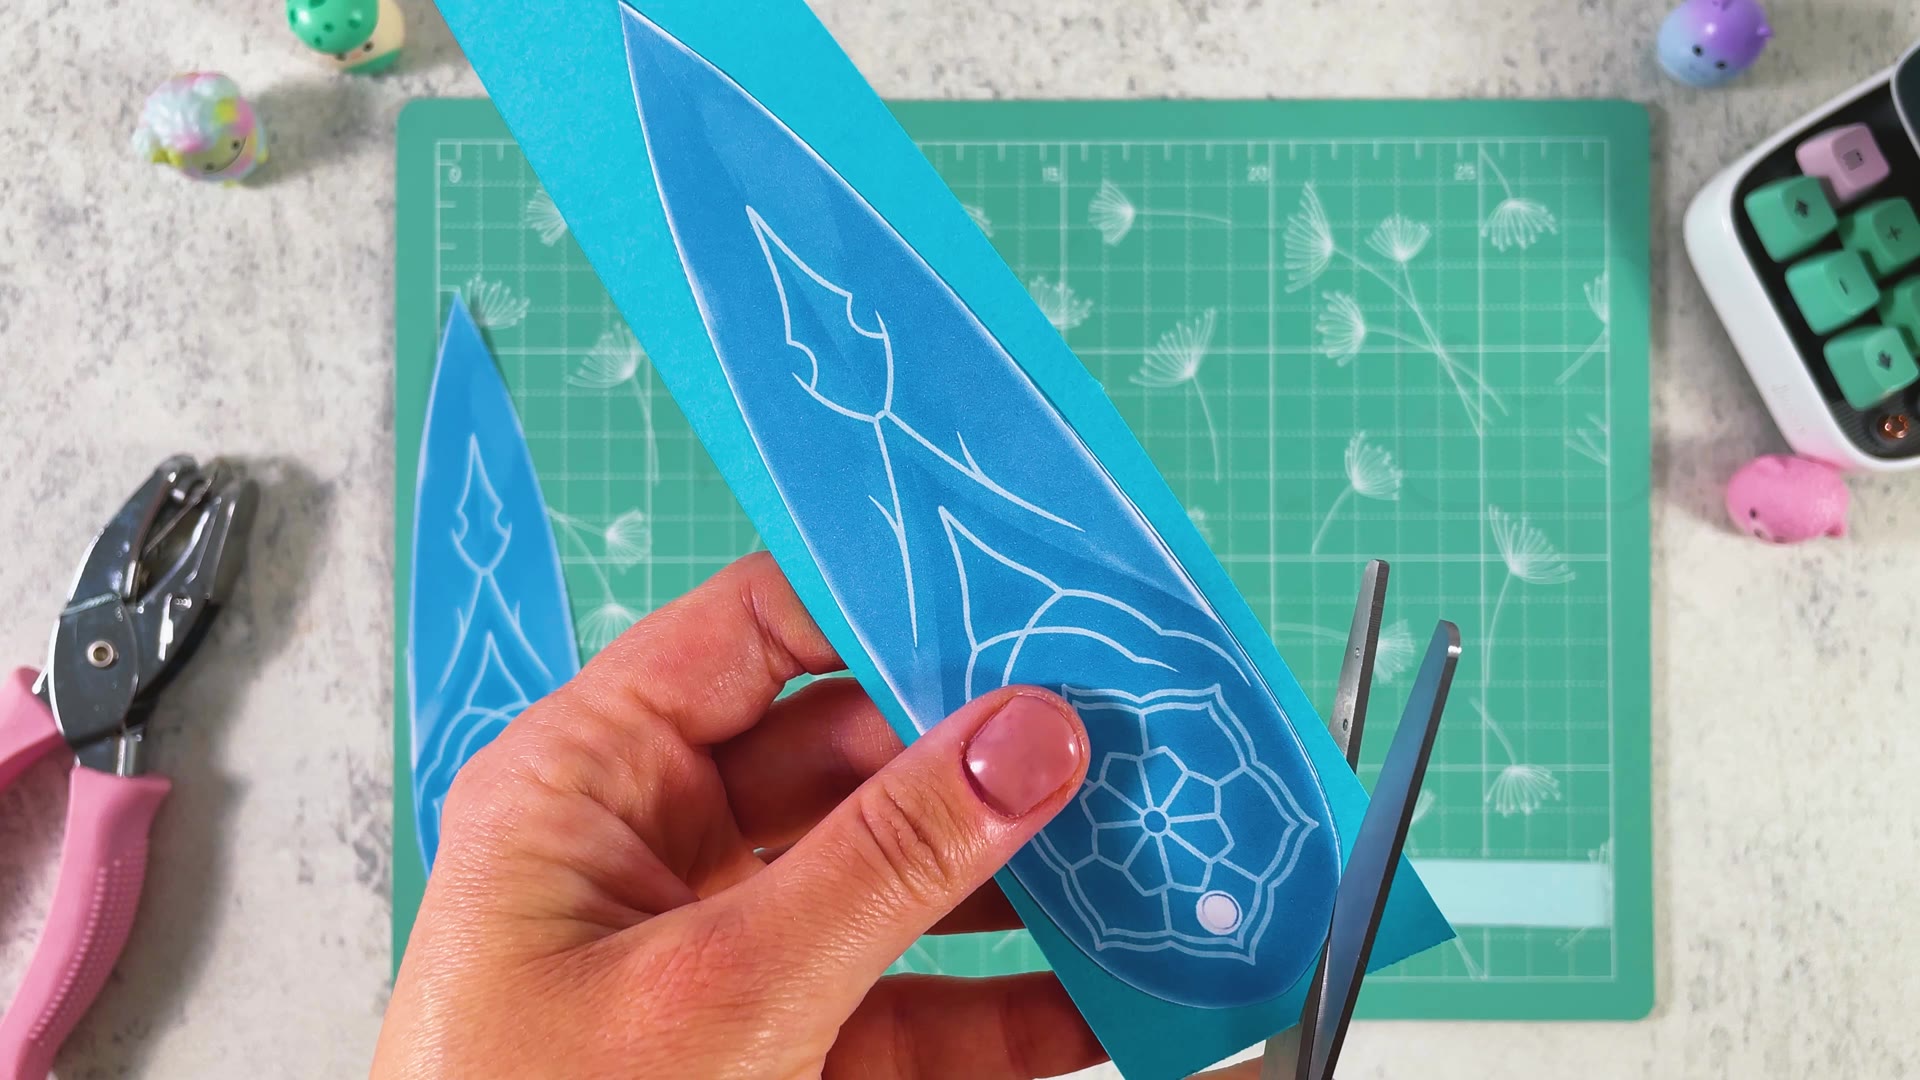
Cut it out again
Cut the blade out of the blue paper, following the printed shape.
- 4
Add the back side
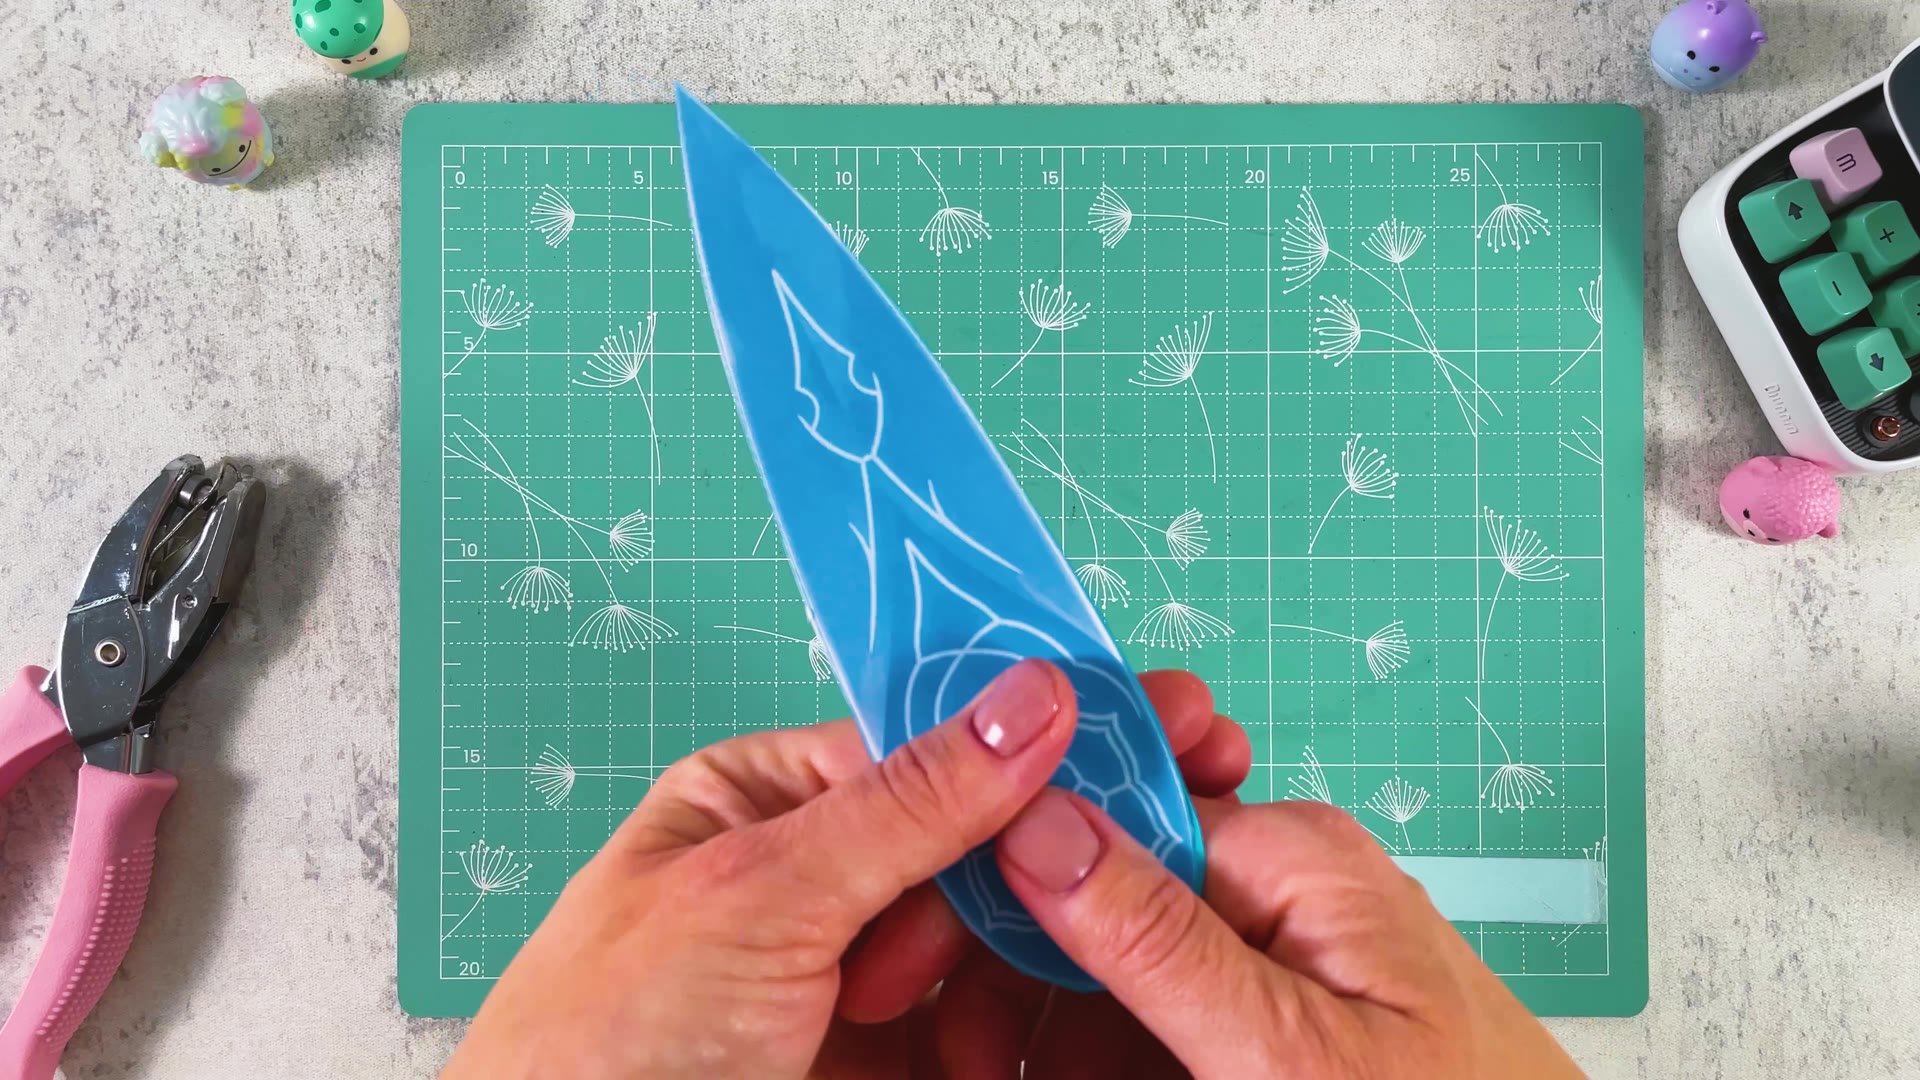
Now the blade is printed on one side and plain blue on the other. Take a second printed blade and get it ready for the back.
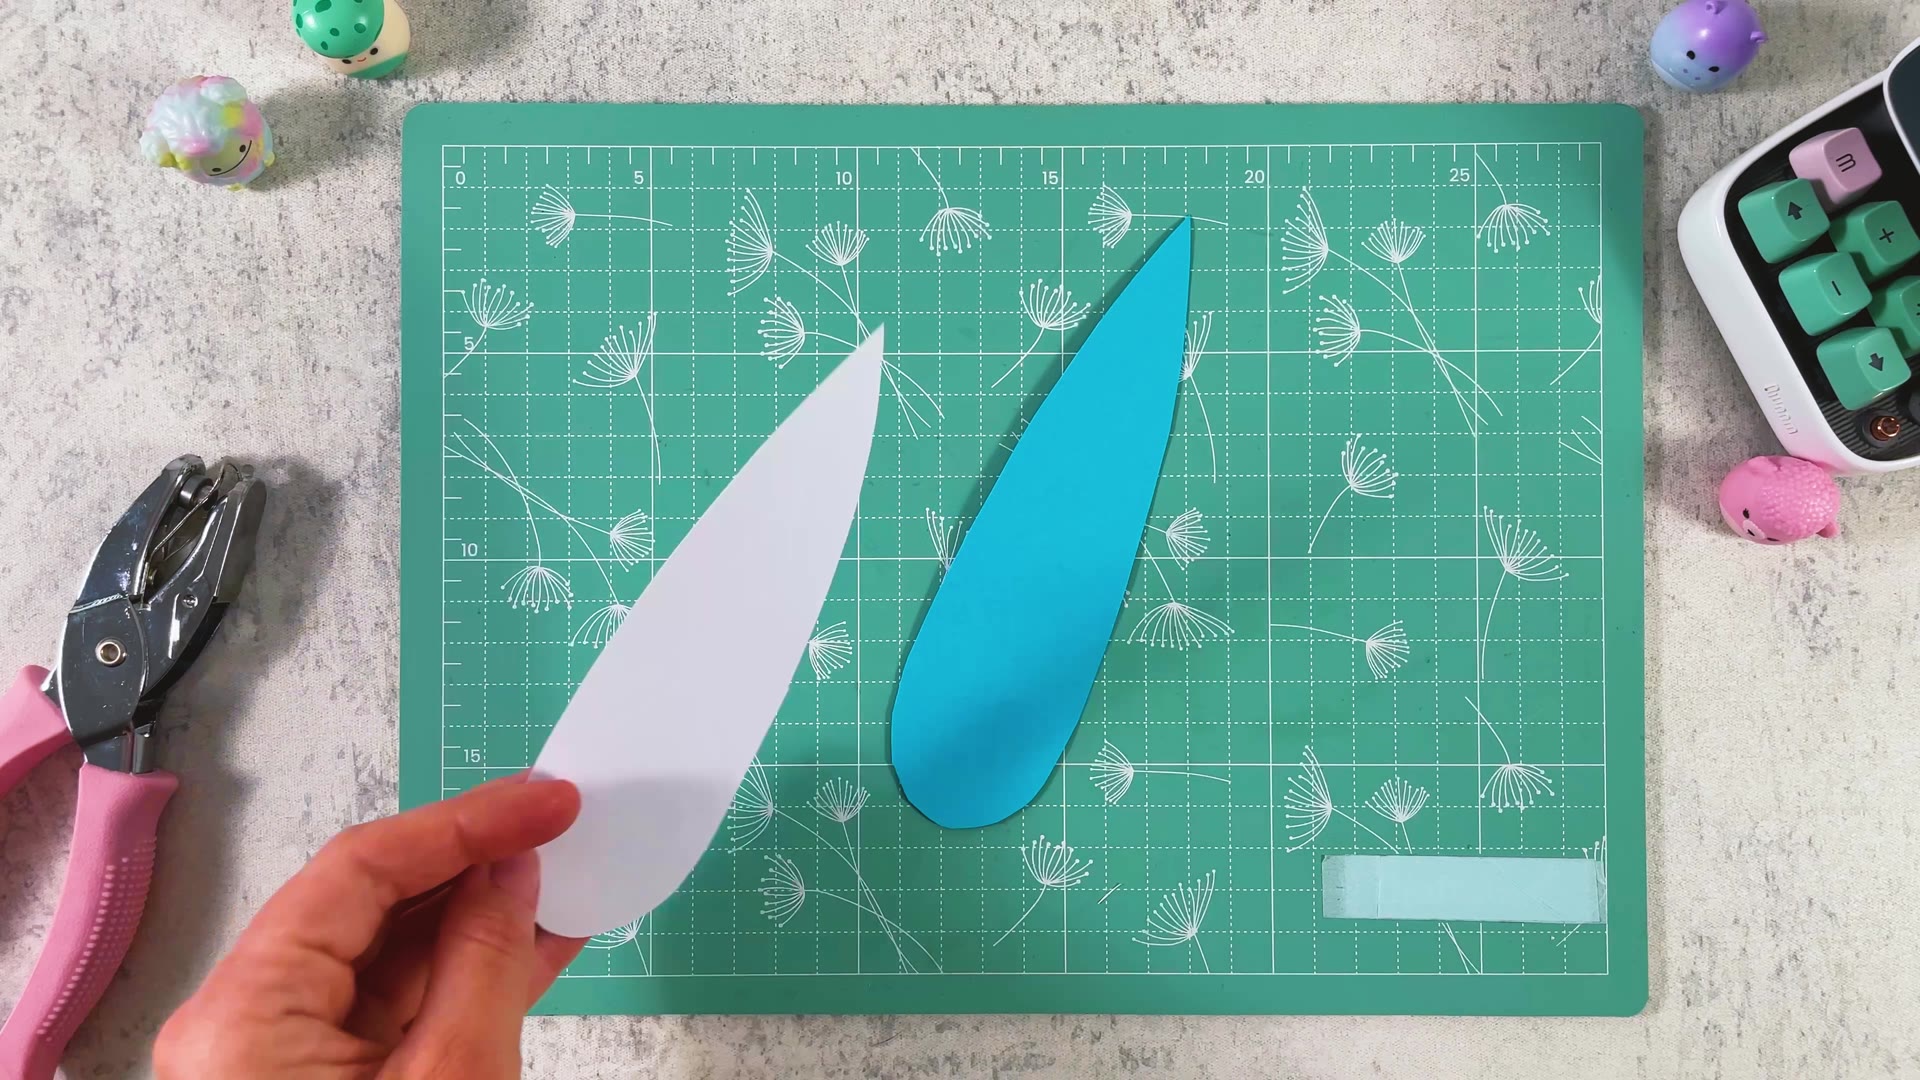
Put glue on the white side and press it onto the blue side of your blade. Line up the edges carefully. Now your blade has the pattern on both sides.
- 5
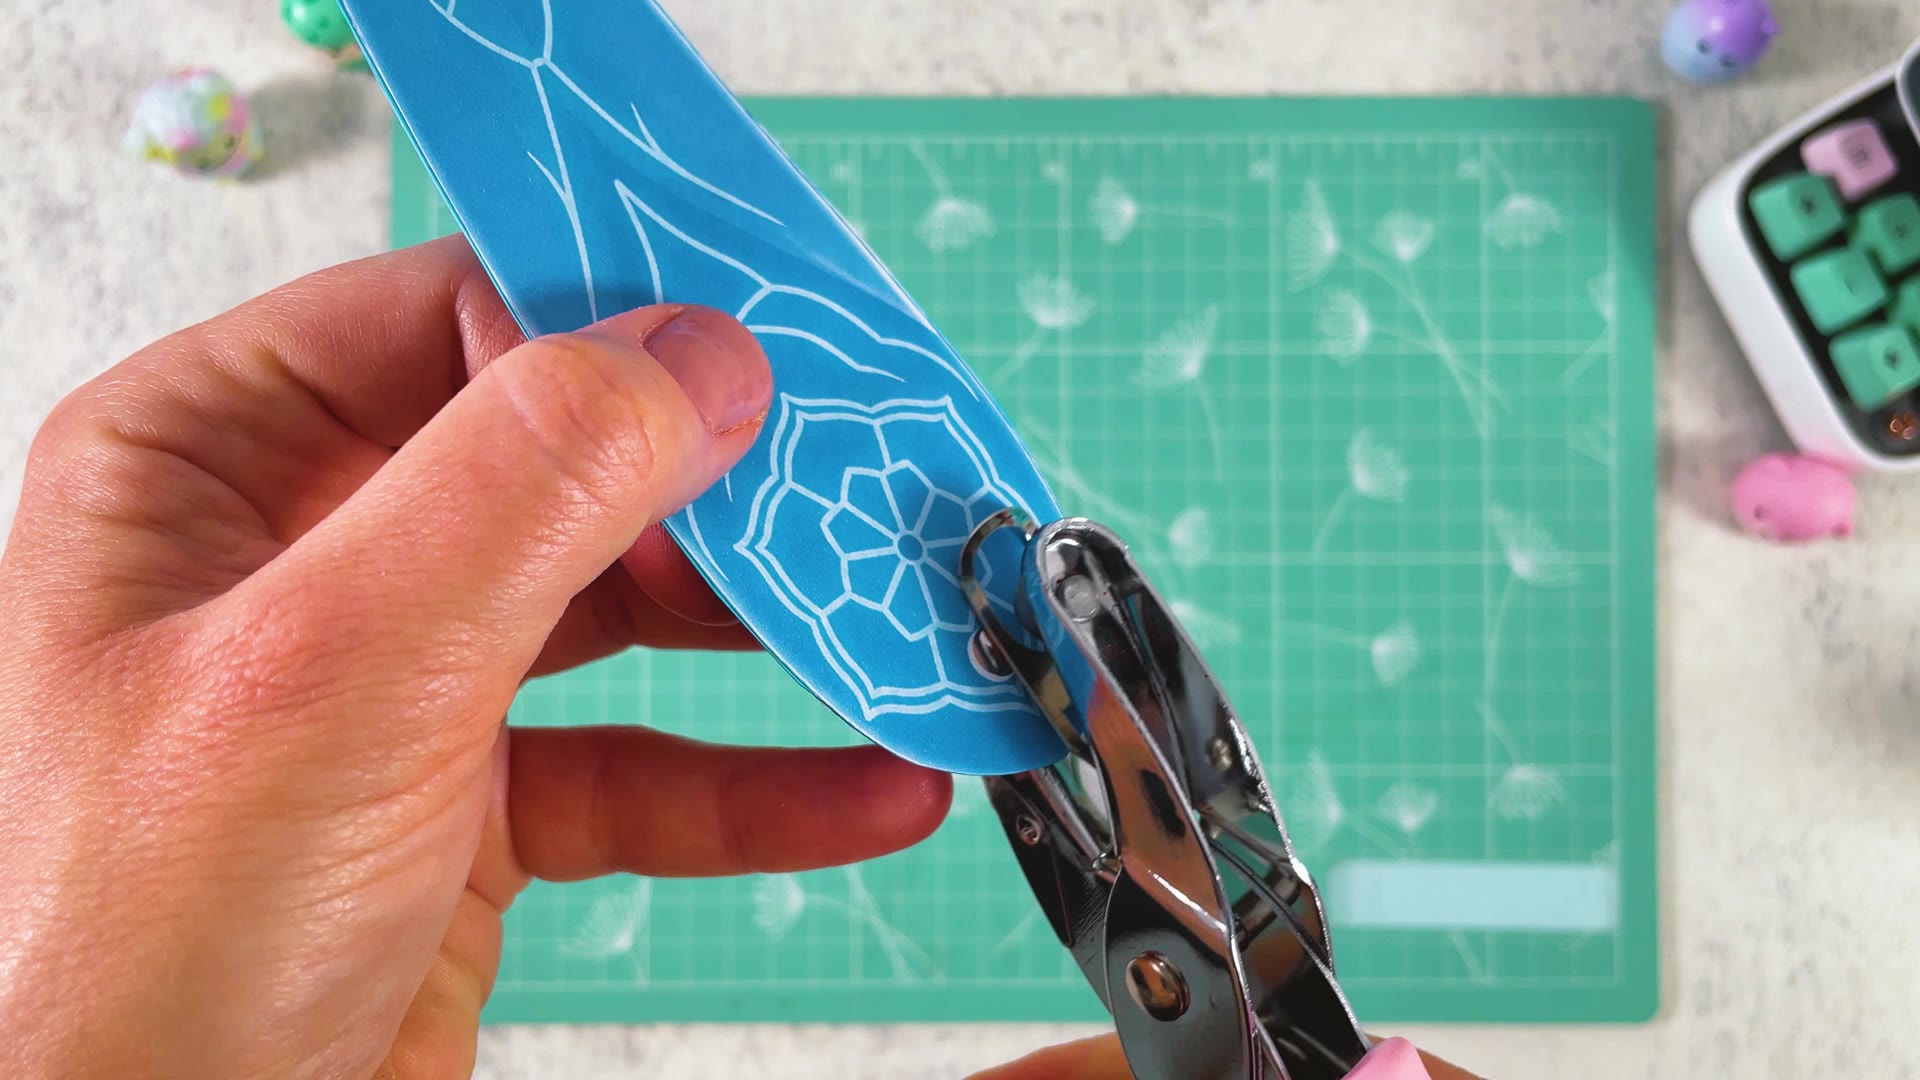
Punch a hole
Use a hole punch on the small white circle at the bottom of the blade. This is where the charm will hang.
PART 2 OF 4
The flower charm
- 6
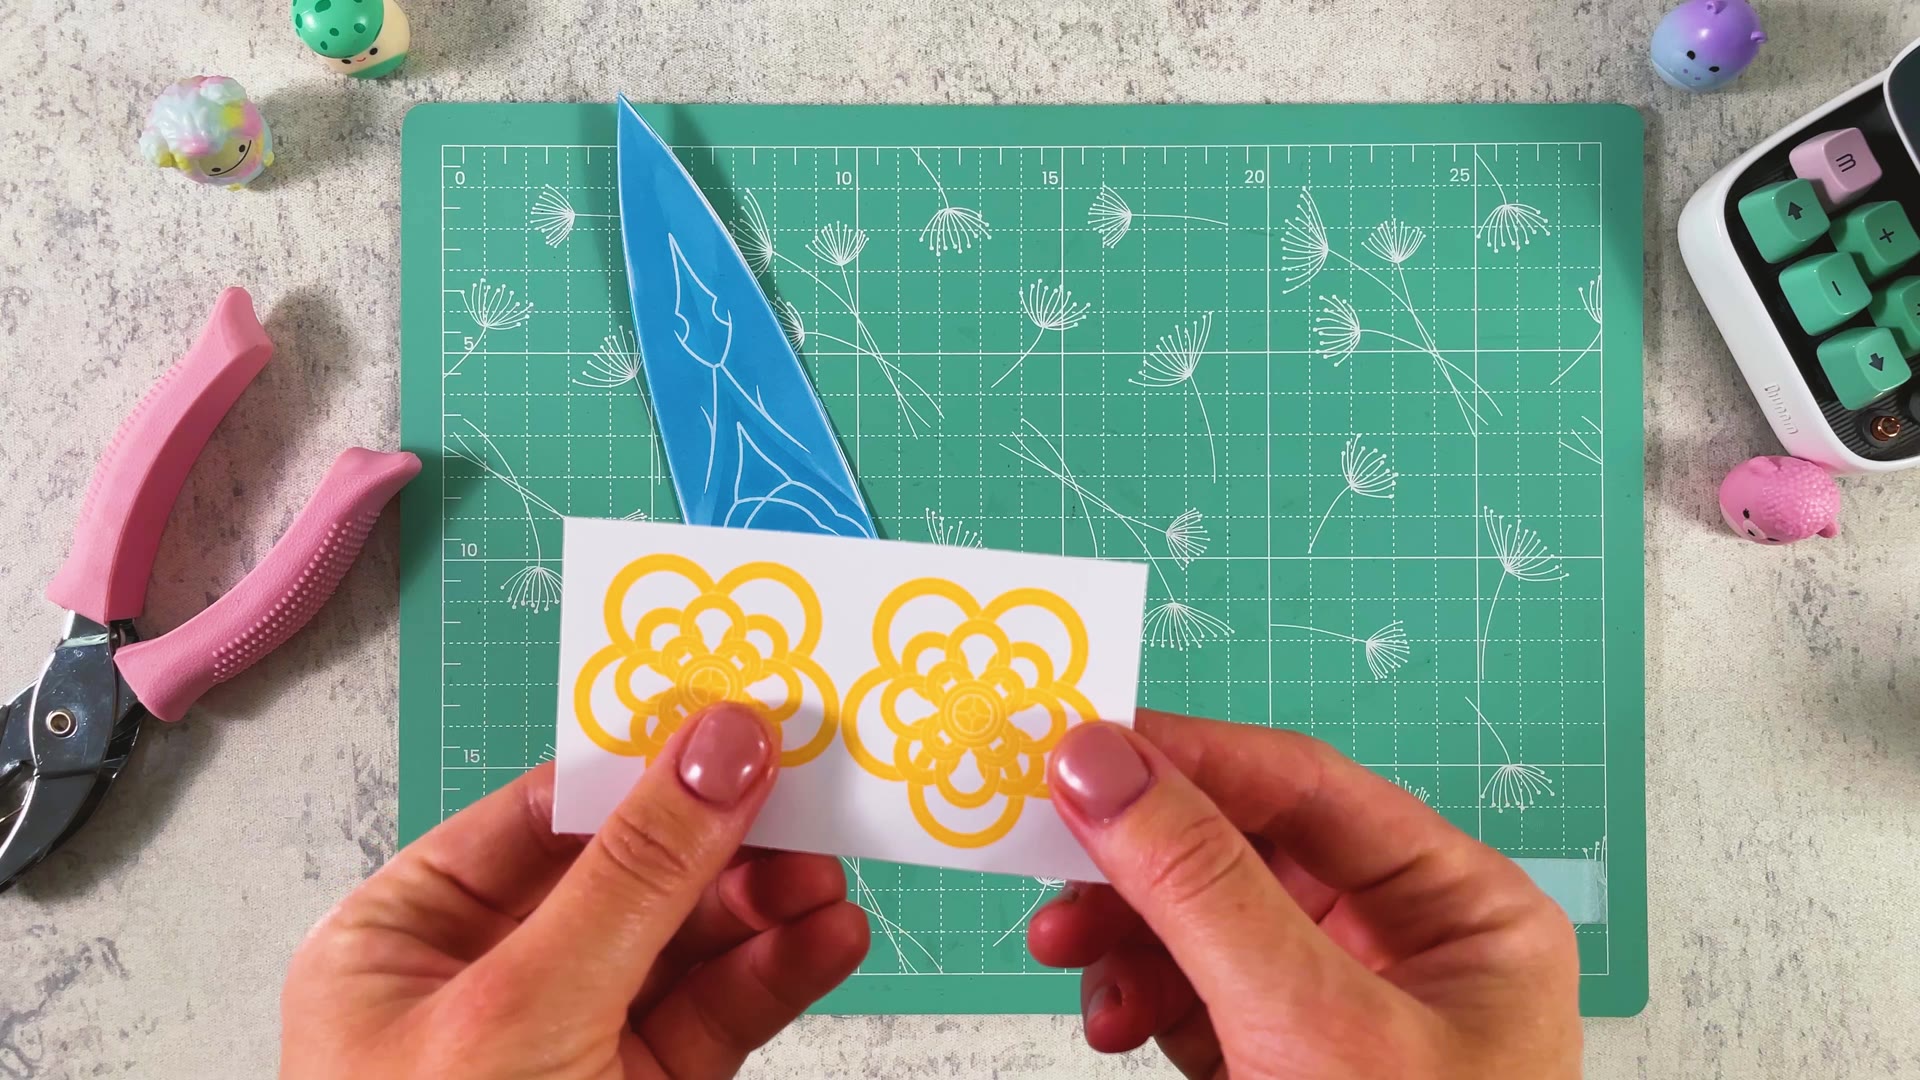
Cut out two flowers
Cut out two yellow flowers from page 2. You can cut a simple shape around them, you don’t need to cut inside the rings.
- 7
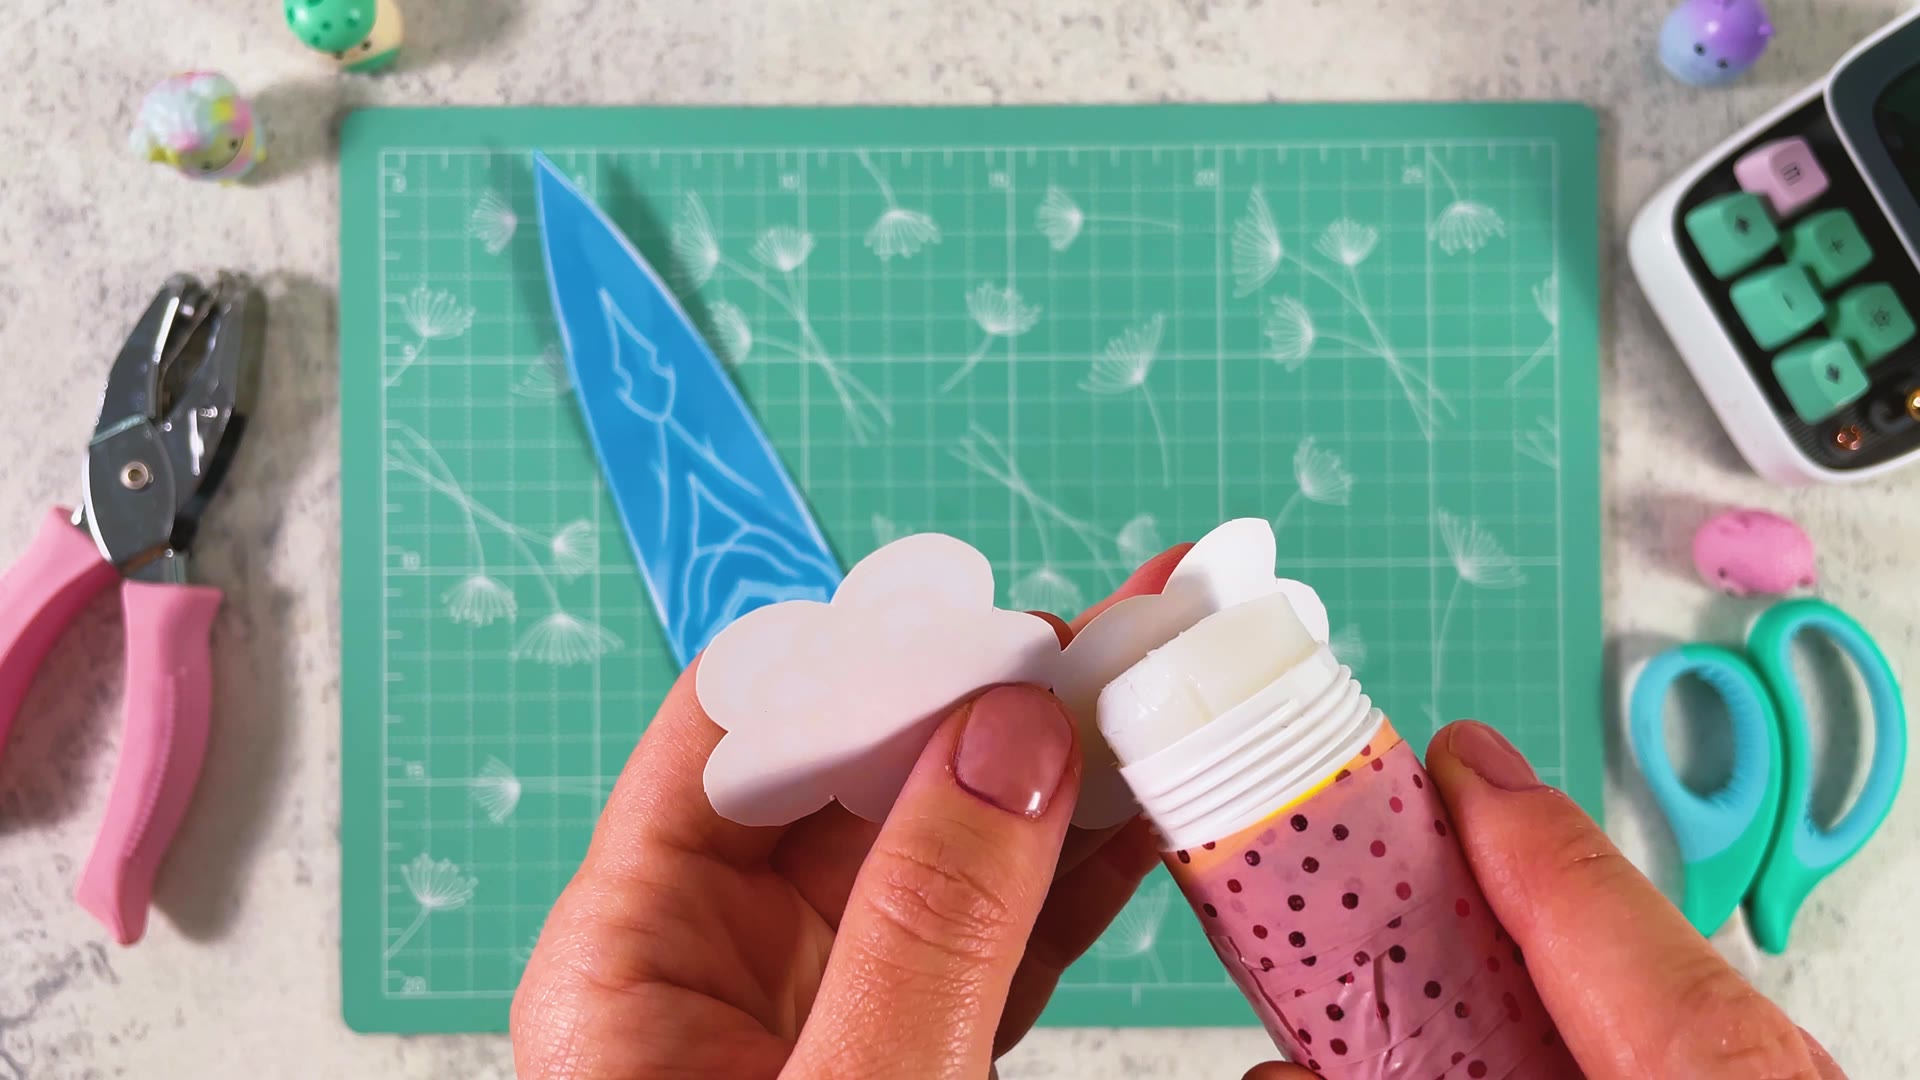
Glue them back to back
Put glue on the white side of one flower and press the second flower onto it. Now the charm looks good from both sides.
- 8
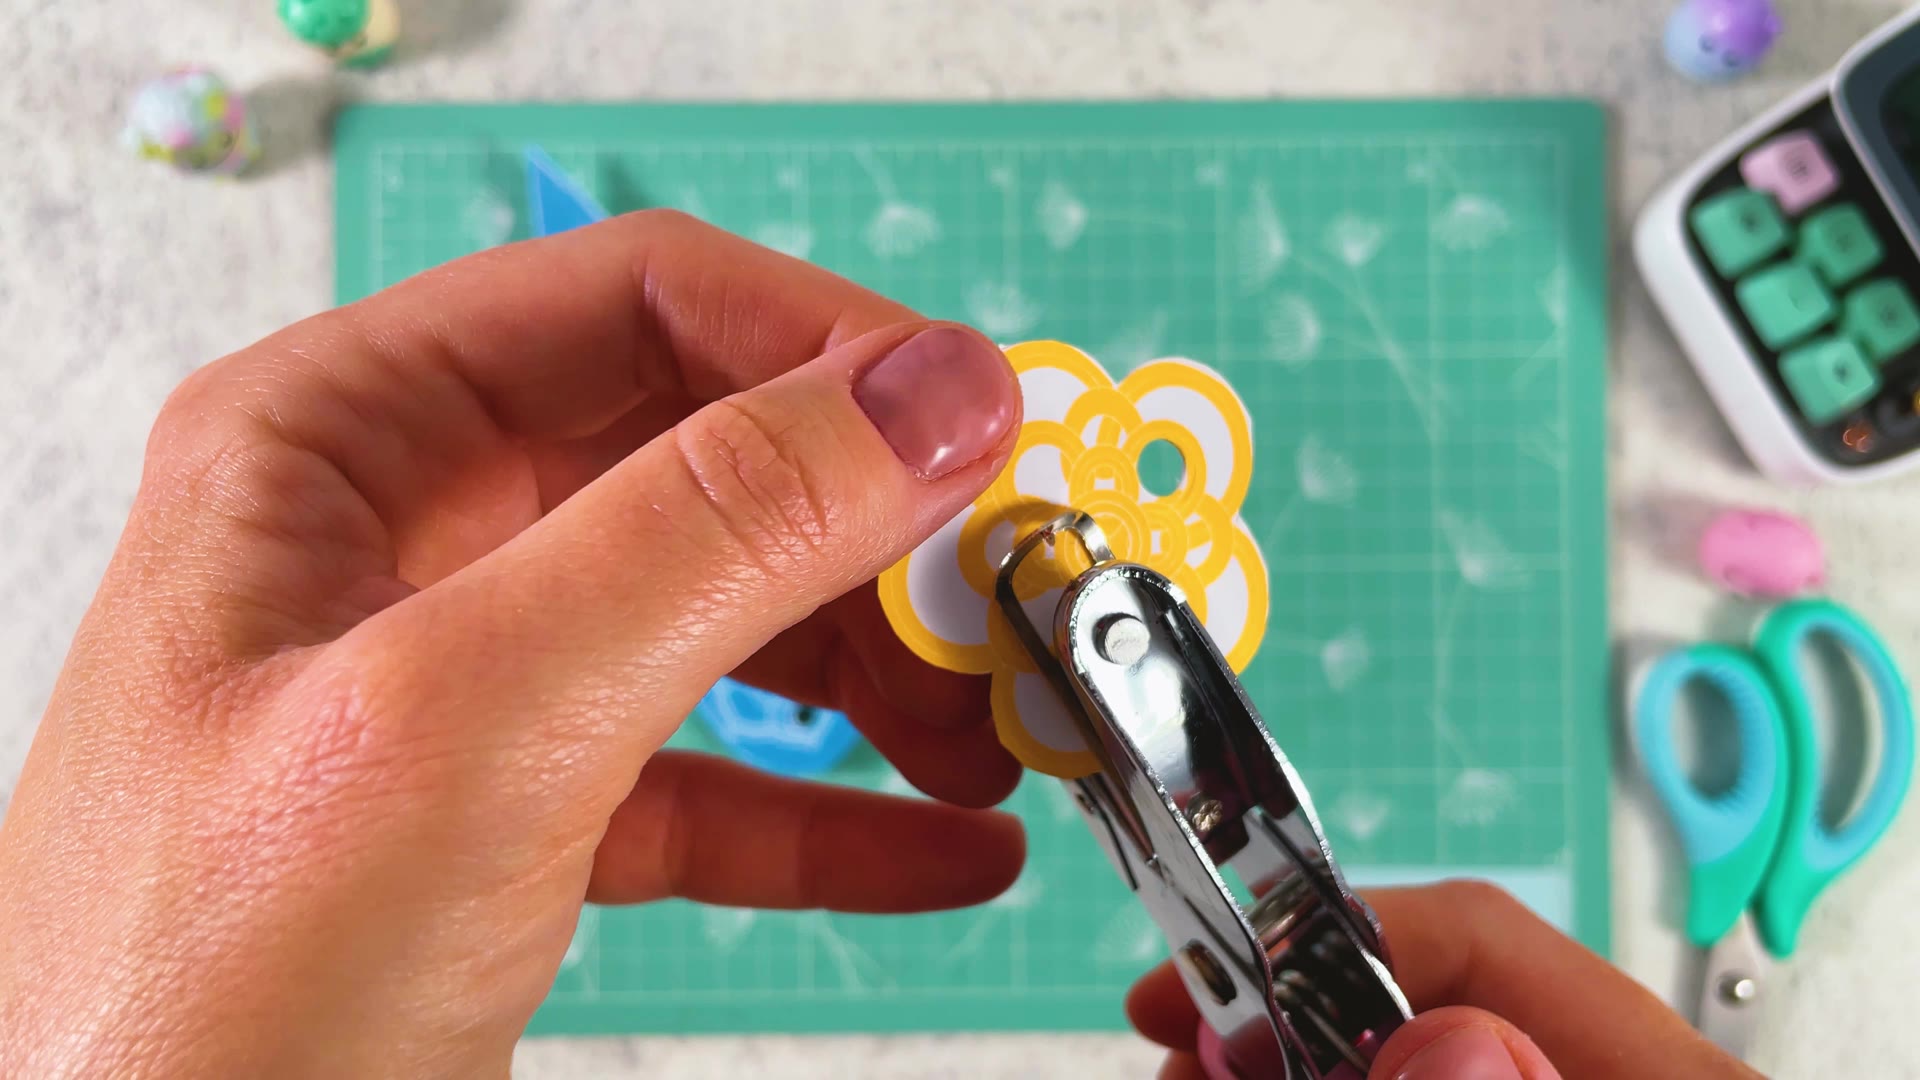
Punch two holes
Punch one hole near the top of the flower and one near the bottom. The cord goes through the top hole, and the tassel hangs from the bottom one.
PART 3 OF 4
The cord
- 9
Cut thin strips
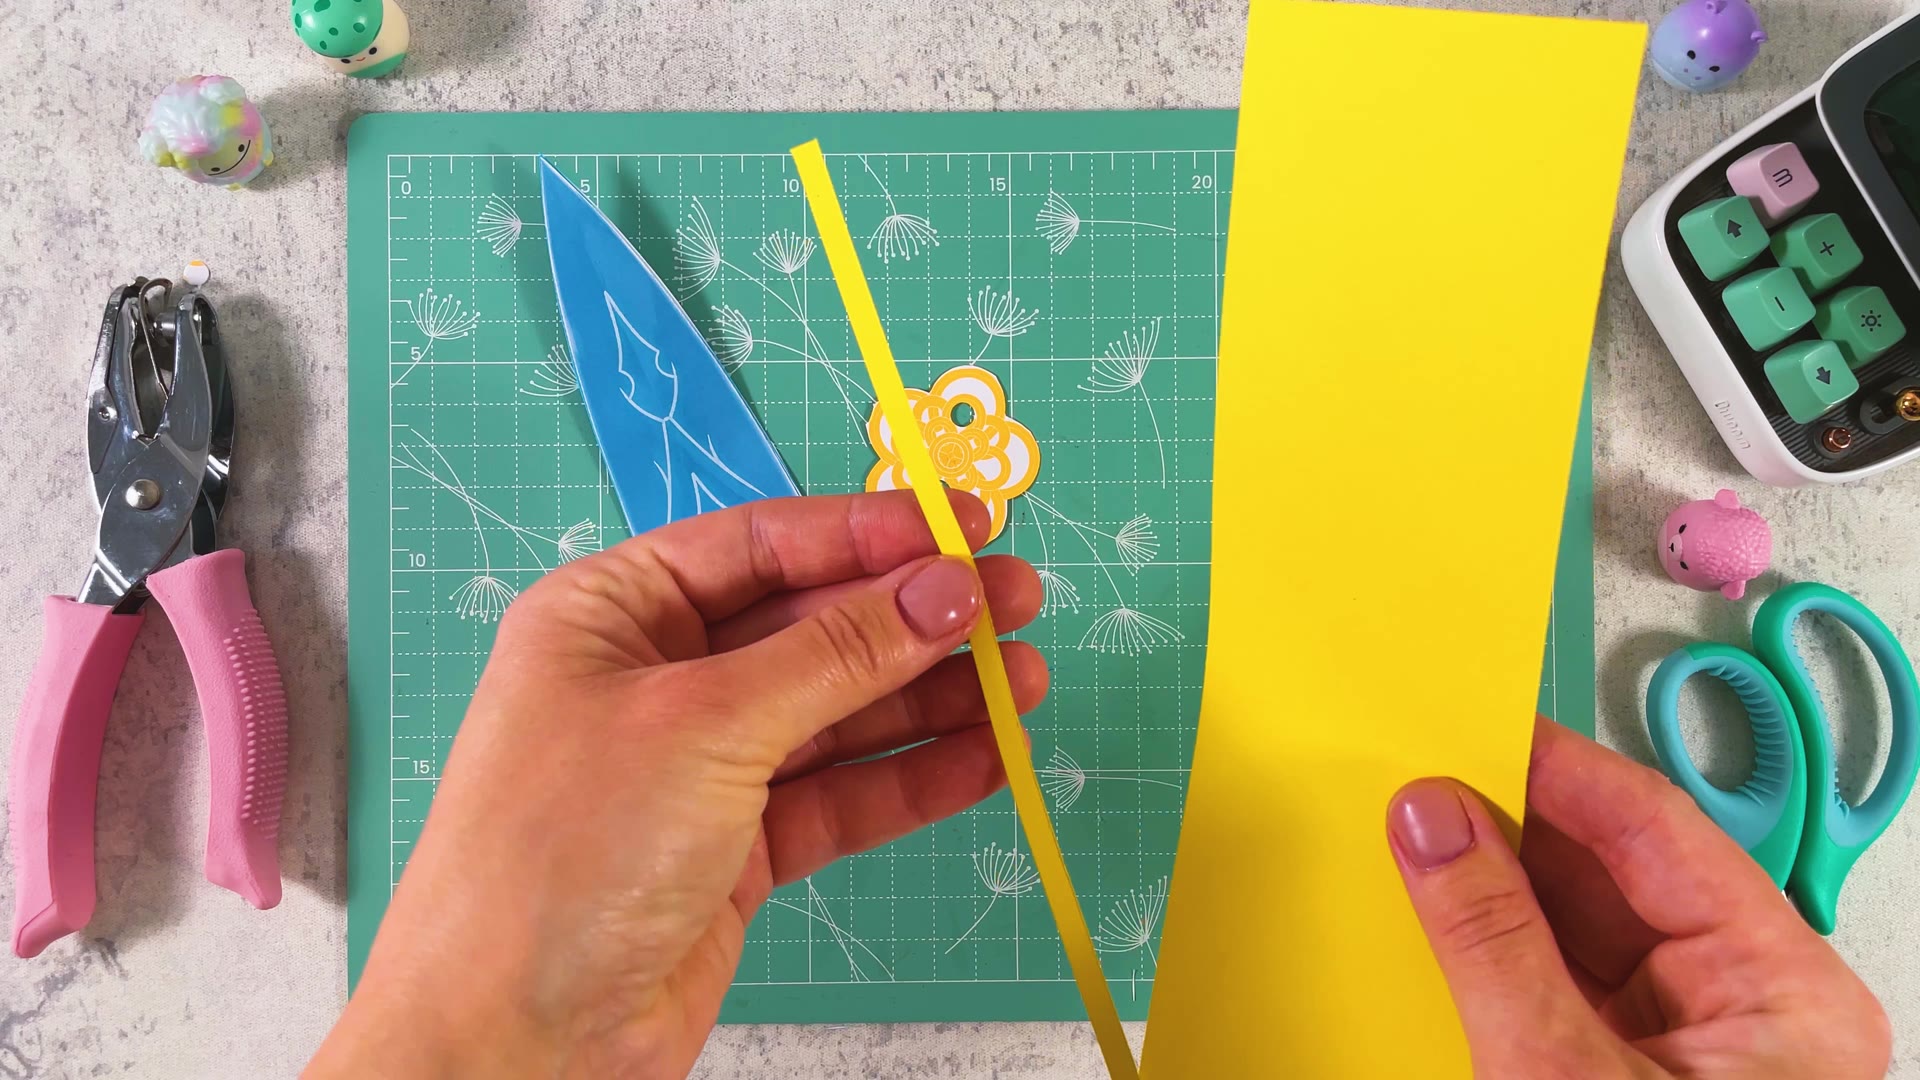
Cut thin yellow strips. Use the strips from page 2 or cut your own from yellow paper.
- 10
Thread the strip through the blade
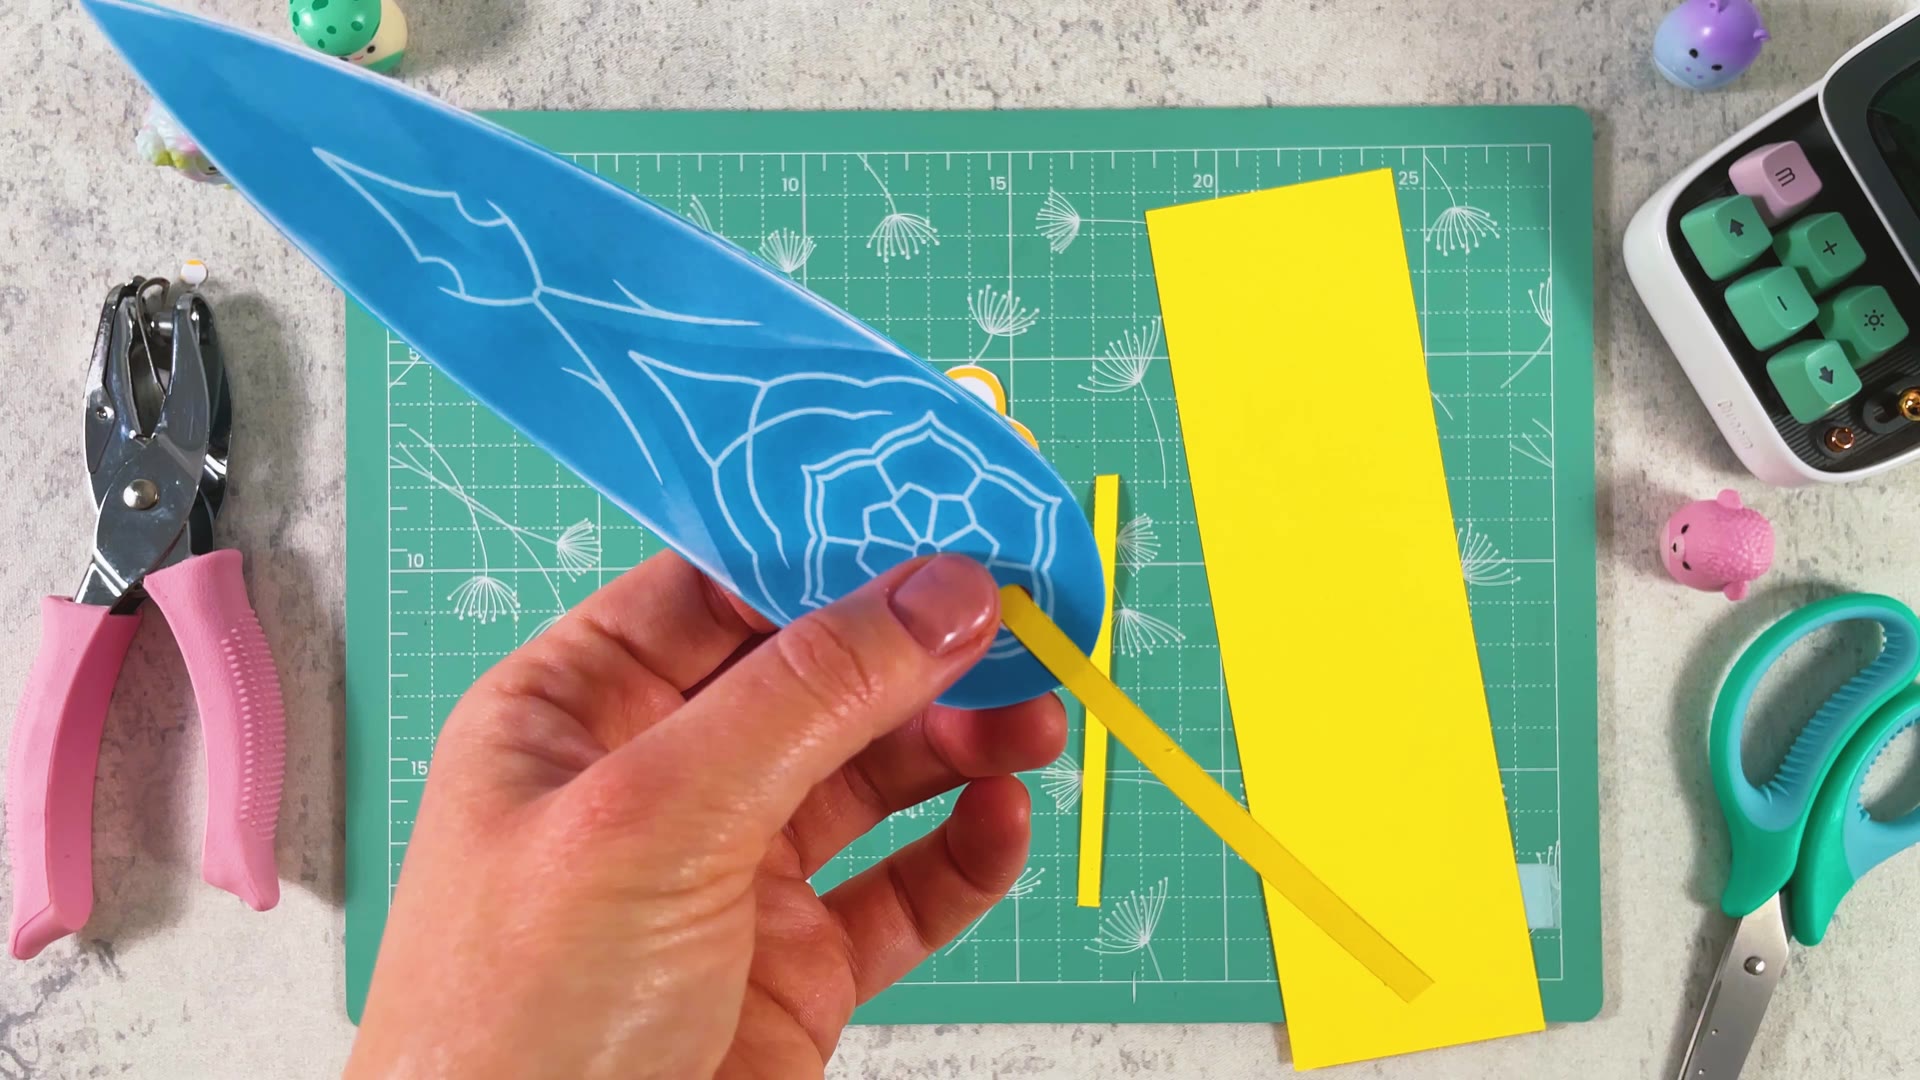
Push one strip through the hole in the blade.
- 11
Add the flower
Thread the same strip through the top hole of the flower charm. Glue the two ends of the strip together to close the loop. Now the flower hangs on the blade.
PART 4 OF 4
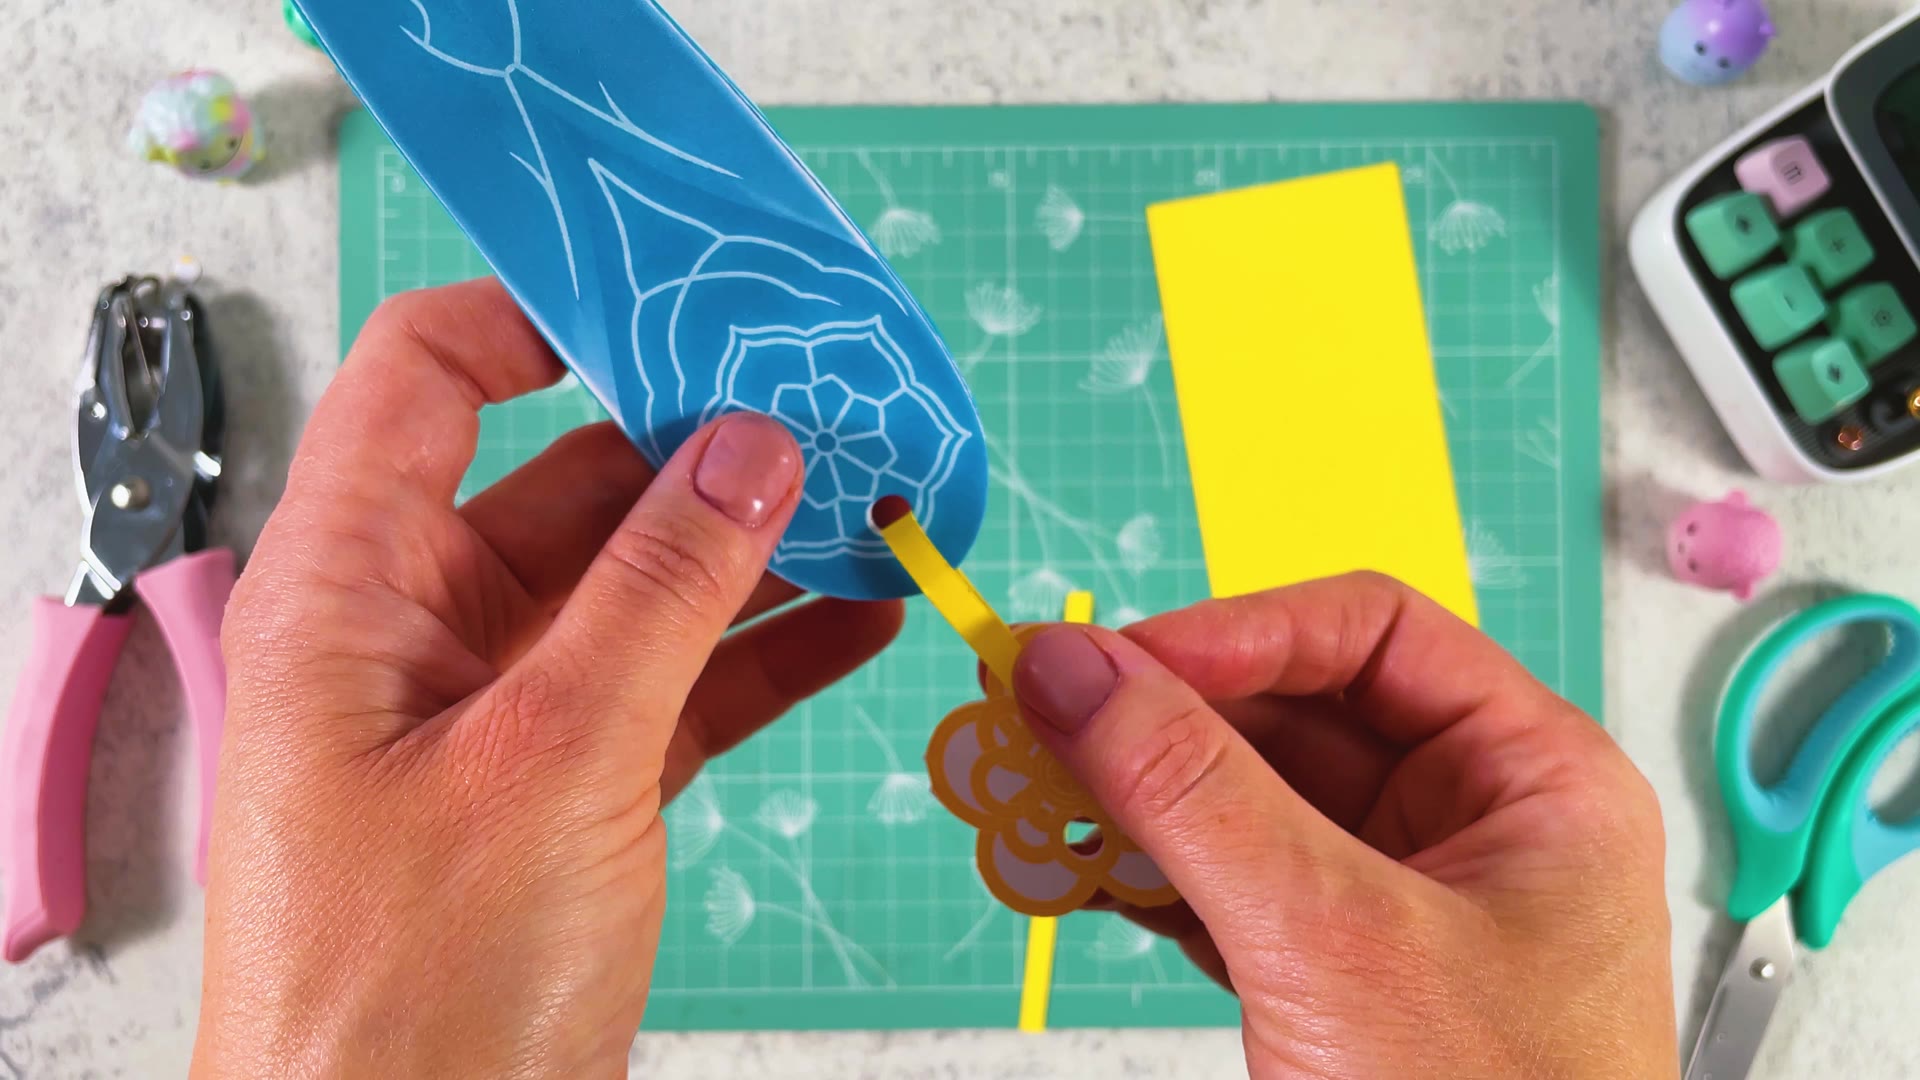
The tassel
- 12
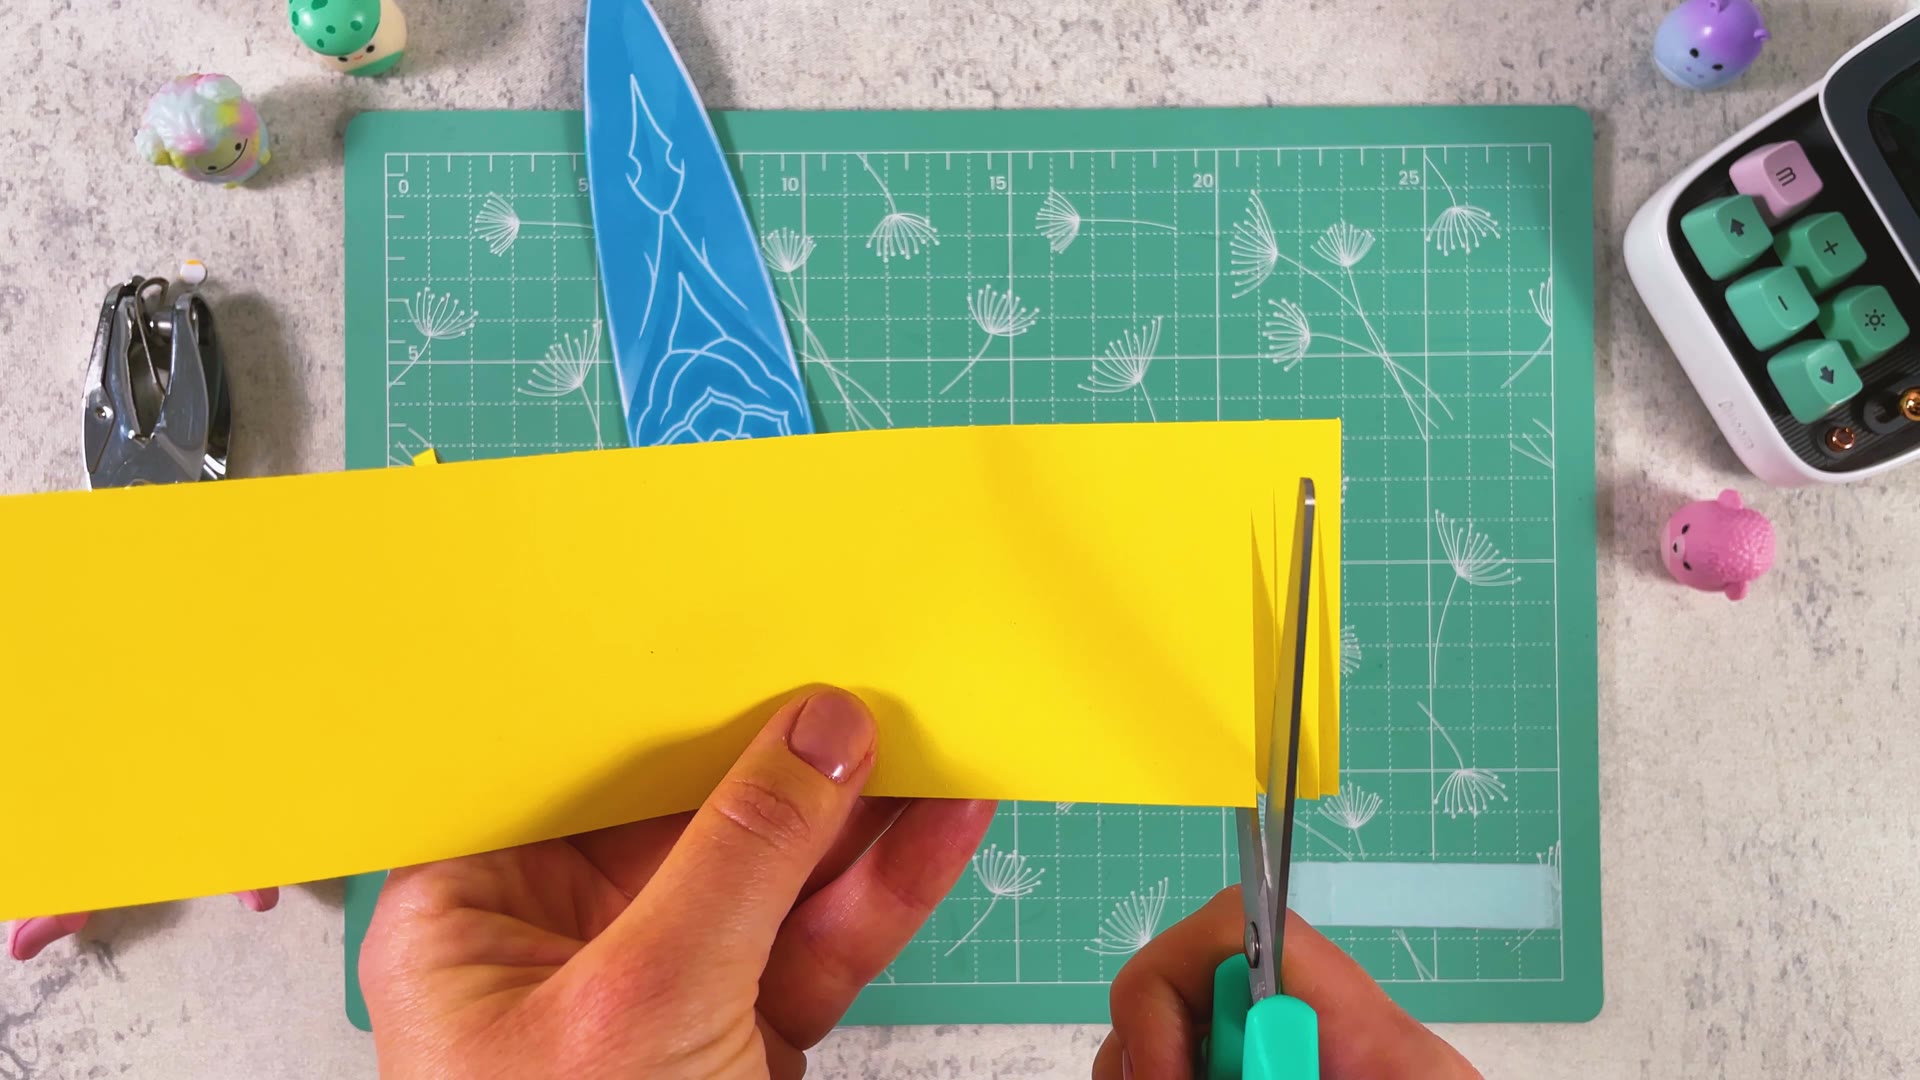
Cut the fringe
Take one wide yellow panel. Make many thin cuts along one long side. Stop before you reach the other edge so the panel stays in one piece.
- 13
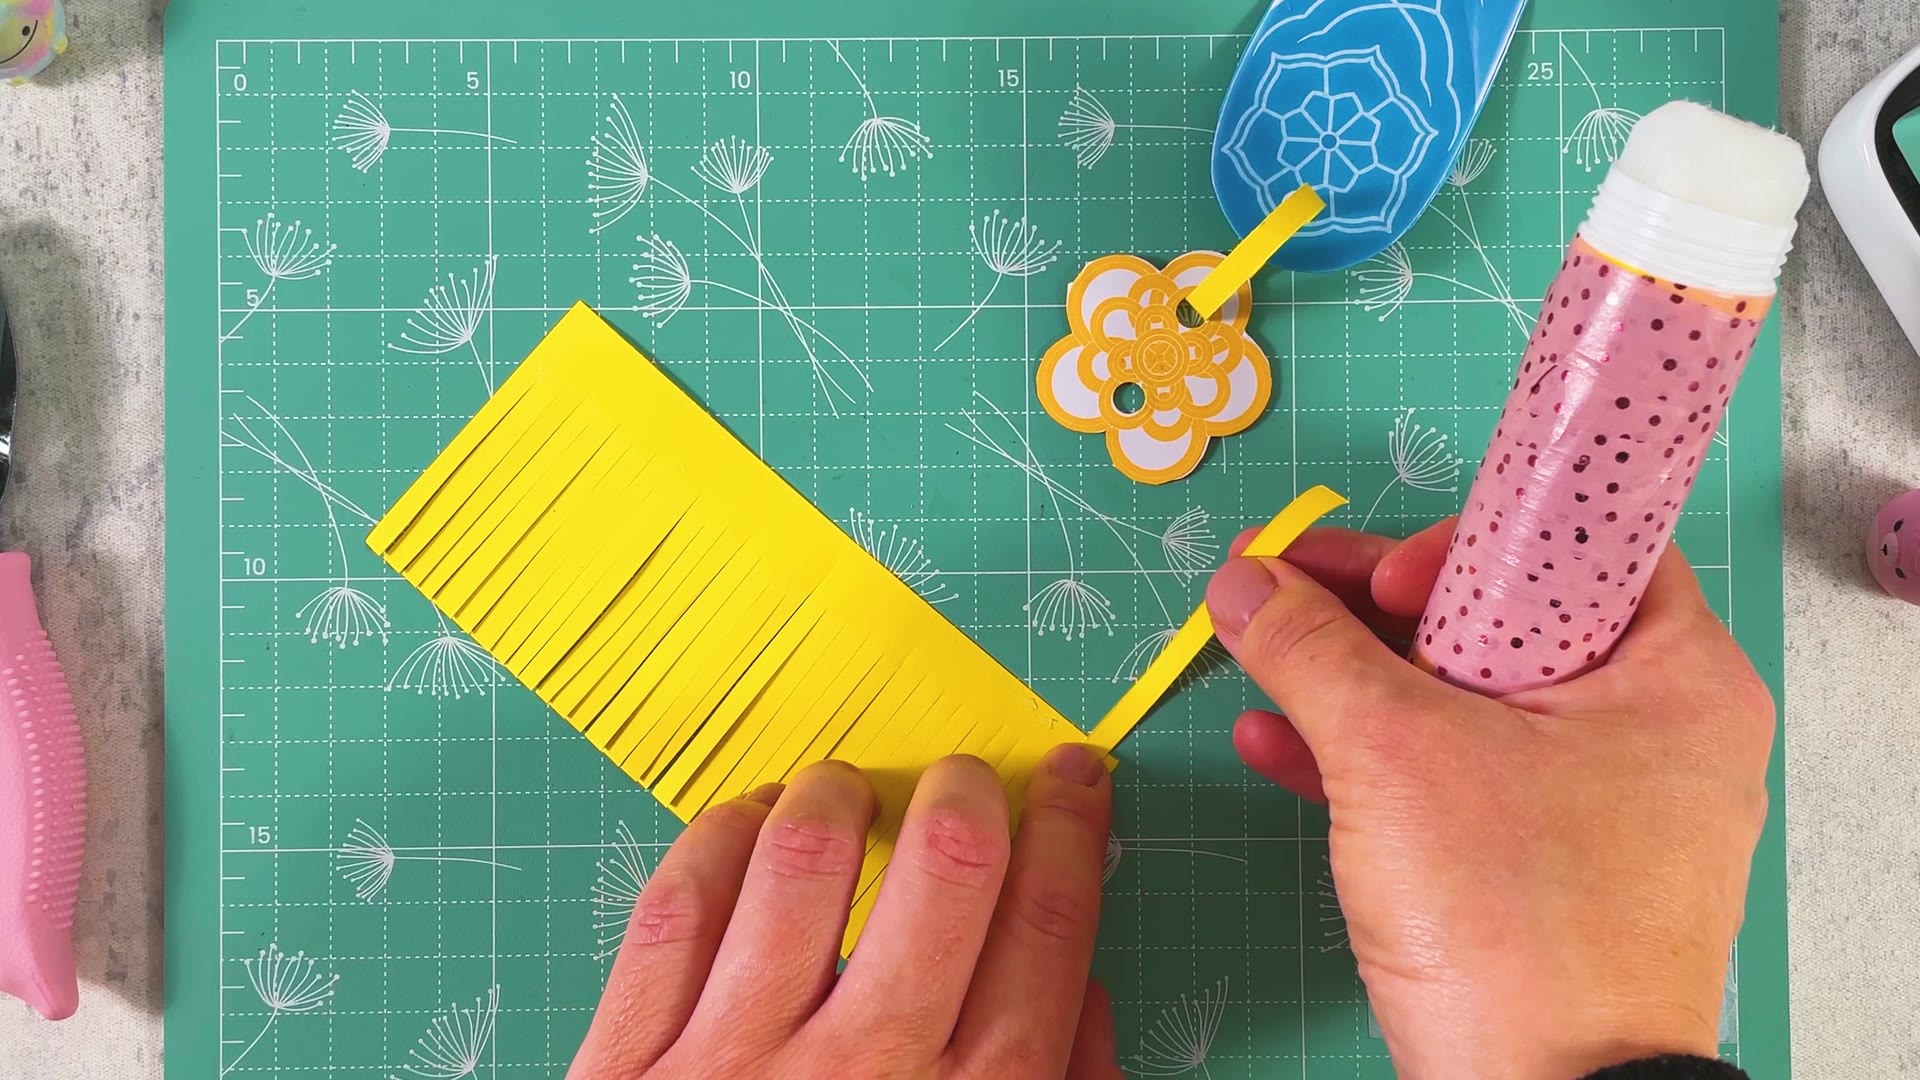
Glue the cord to the fringe
Thread a second strip through the bottom hole of the flower. Then put glue along the uncut edge of the fringe and lay the end of this strip on it.
- 14
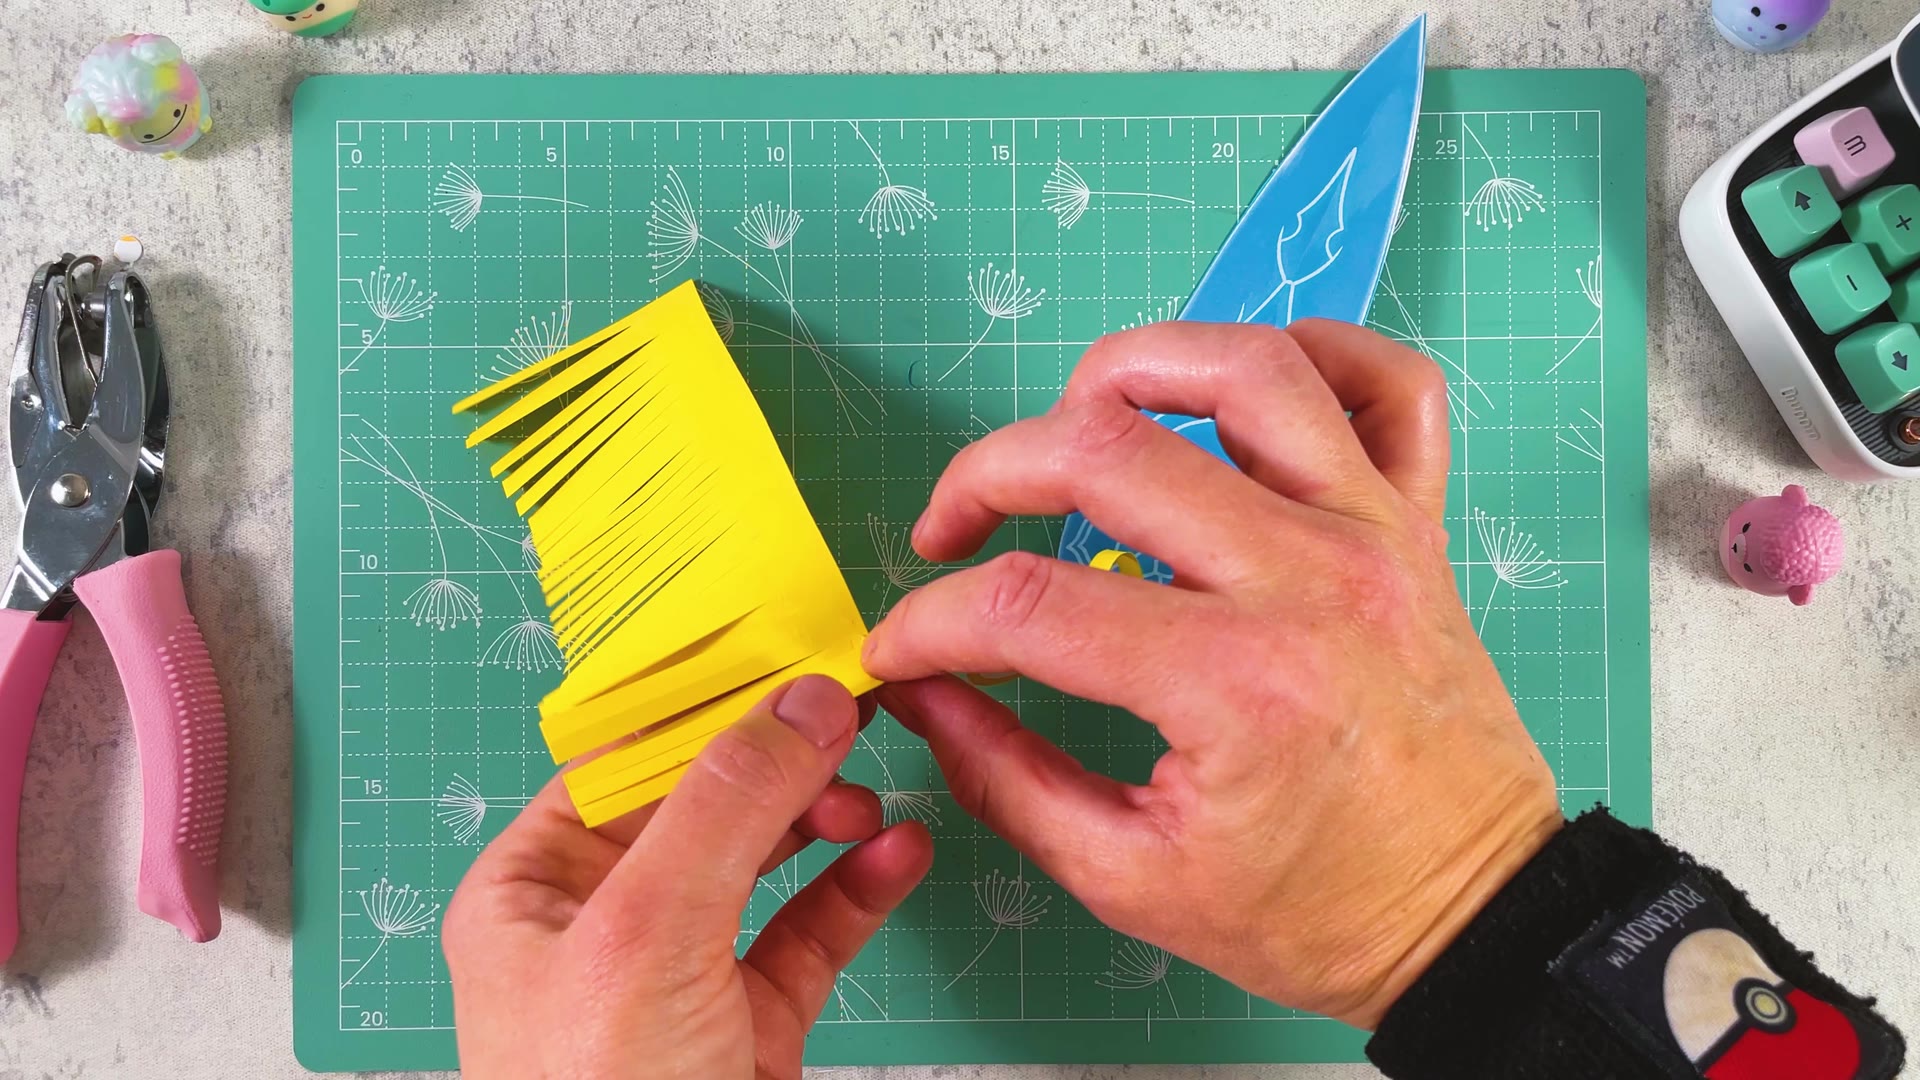
Roll it up
Roll the fringe tightly around the strip, adding a little glue as you go. Hold it for a few seconds so it stays closed.
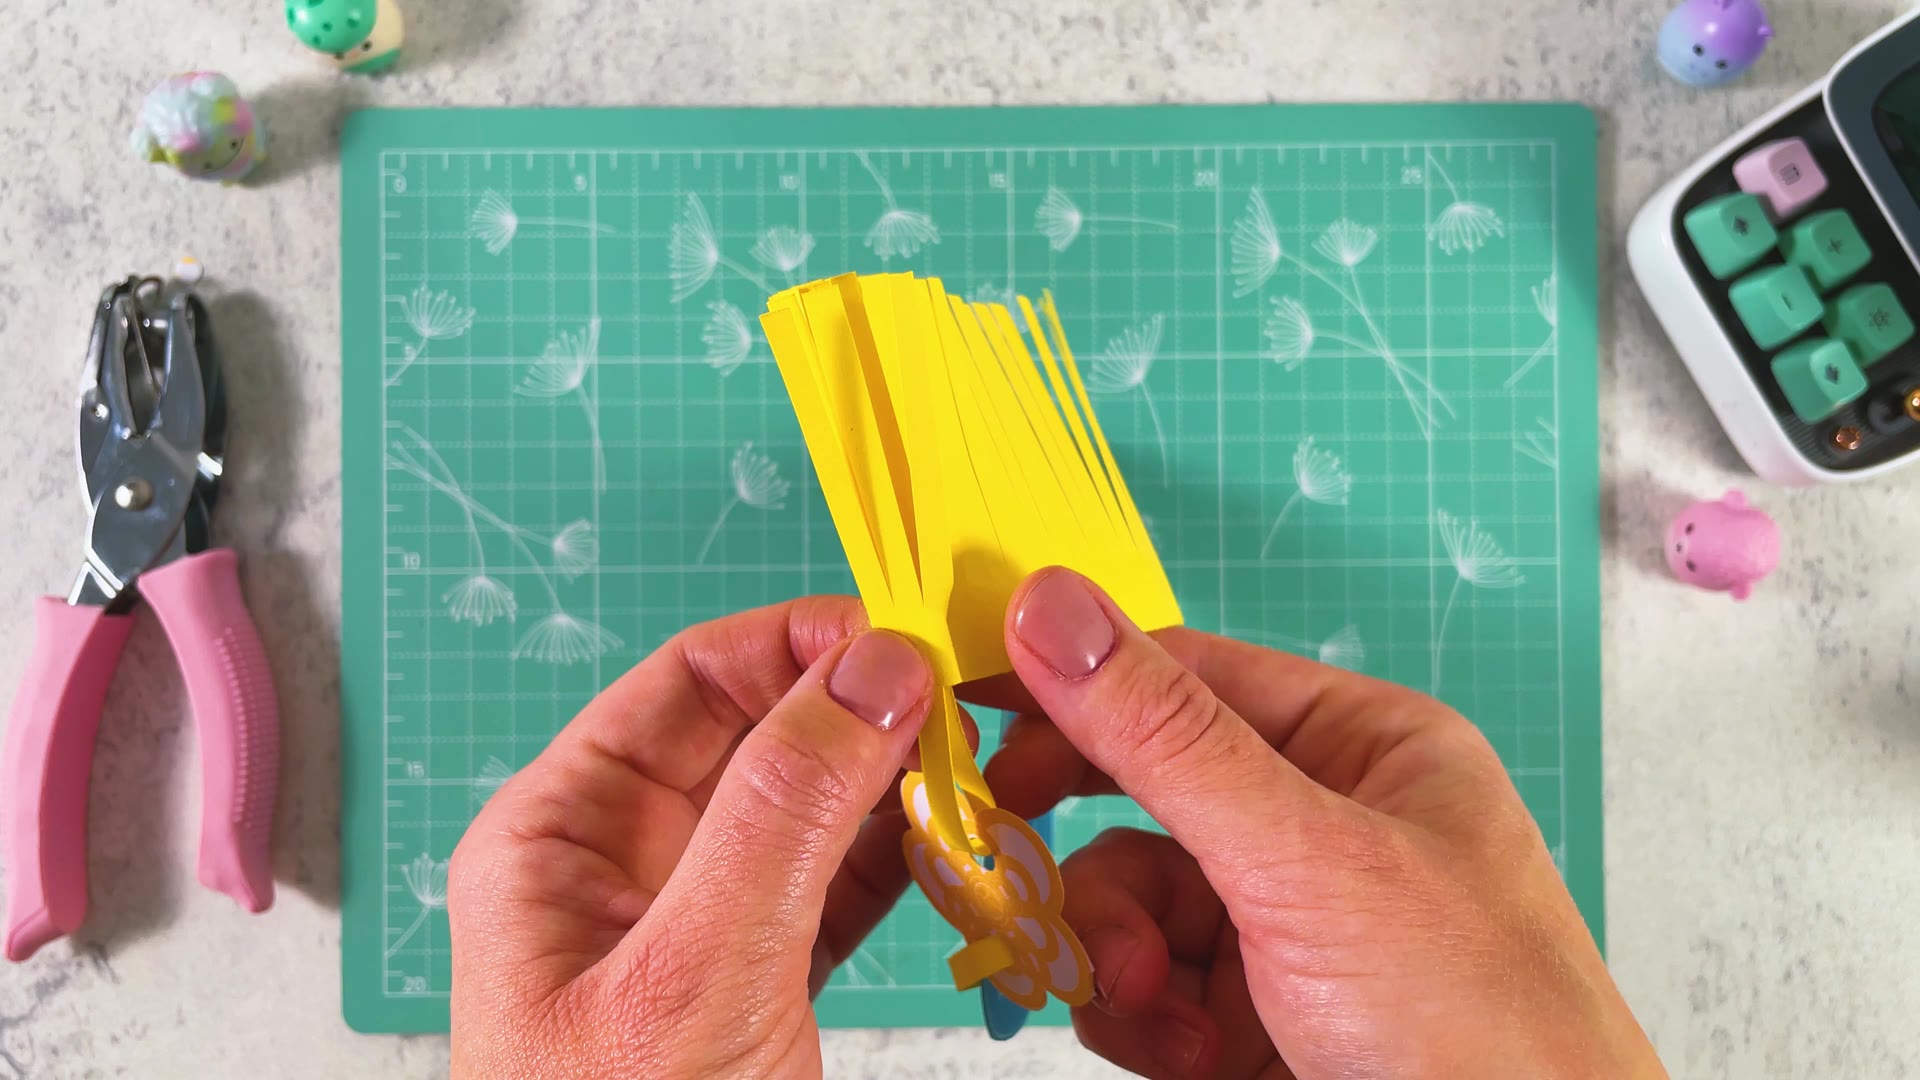
Your first Spirit Blade is ready.
- 15
Make the rest
Repeat the steps to make three blades for one hand, or six blades for the full Zoey look.
THREE LITTLE TIPS
Make it easier.
- Use a glue stick, not liquid glue. Liquid glue makes thin paper wavy.
- Thicker blue paper = stronger blades. If your blades feel too soft, use blue cardstock for the middle layer.
- Cut the fringe thin. The thinner the cuts, the softer and fuller the tassel looks.

A CUBI MINI MOMENT
Which move will you invent?
Mini is practising a tiny three-blade spin. What will your Spirit Blade move be called?
The Blueberry Twinkle Spin!
Loved making it?
Catch the next make first, or save this one for a rainy day.