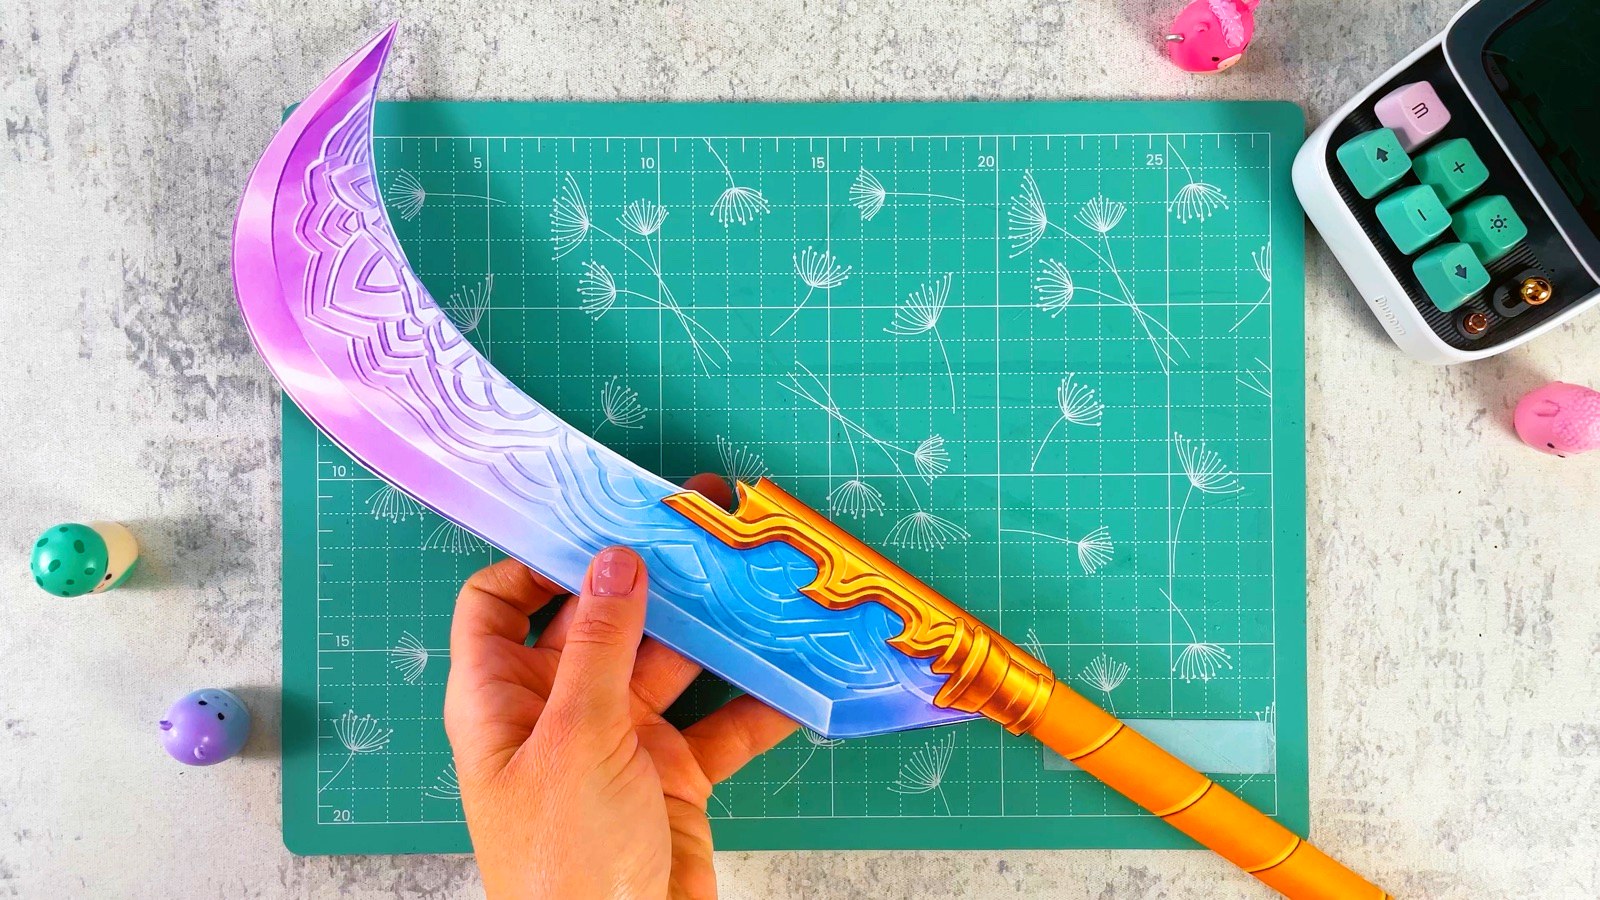
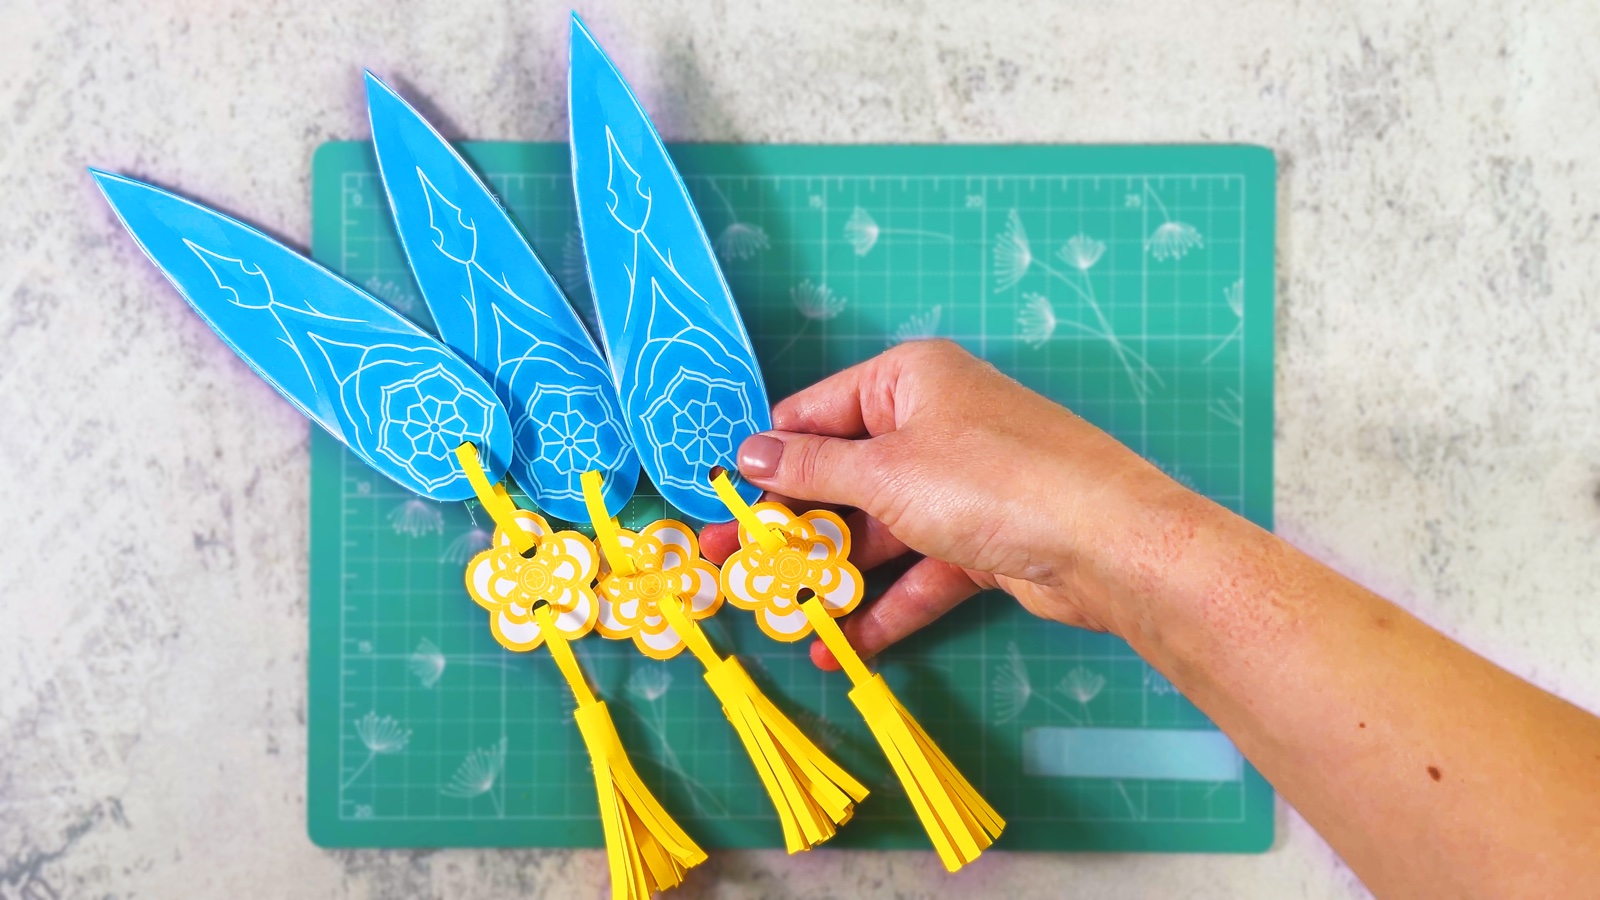
Let’s make Rumi’s sword from KPop Demon Hunters, all from paper! We make it from just a few sheets of plain printer paper, and all we need is a printer, glue and scissors. In this tutorial we also stiffen the sword from the inside, so it is surprisingly strong, stiff and comfortable to hold, even though it is made only of paper.
The finished sword is quite big and has a great scale. It is perfect for Rumi cosplay, a Halloween costume, a carnival or dress-up party, a KPop Demon Hunters birthday, or just as a fun DIY project.
Print the template, follow the steps and make your own Rumi sword! You can also make Mira’s Gokdo and Zoey’s Spirit Blades for the whole HUNTR/X set.
BEFORE WE START
What you need.
Materials
- Printable template
- Plain printer paper
- Glue stick
Tools
- Scissors
- A printer
- Paper trimmer (optional)
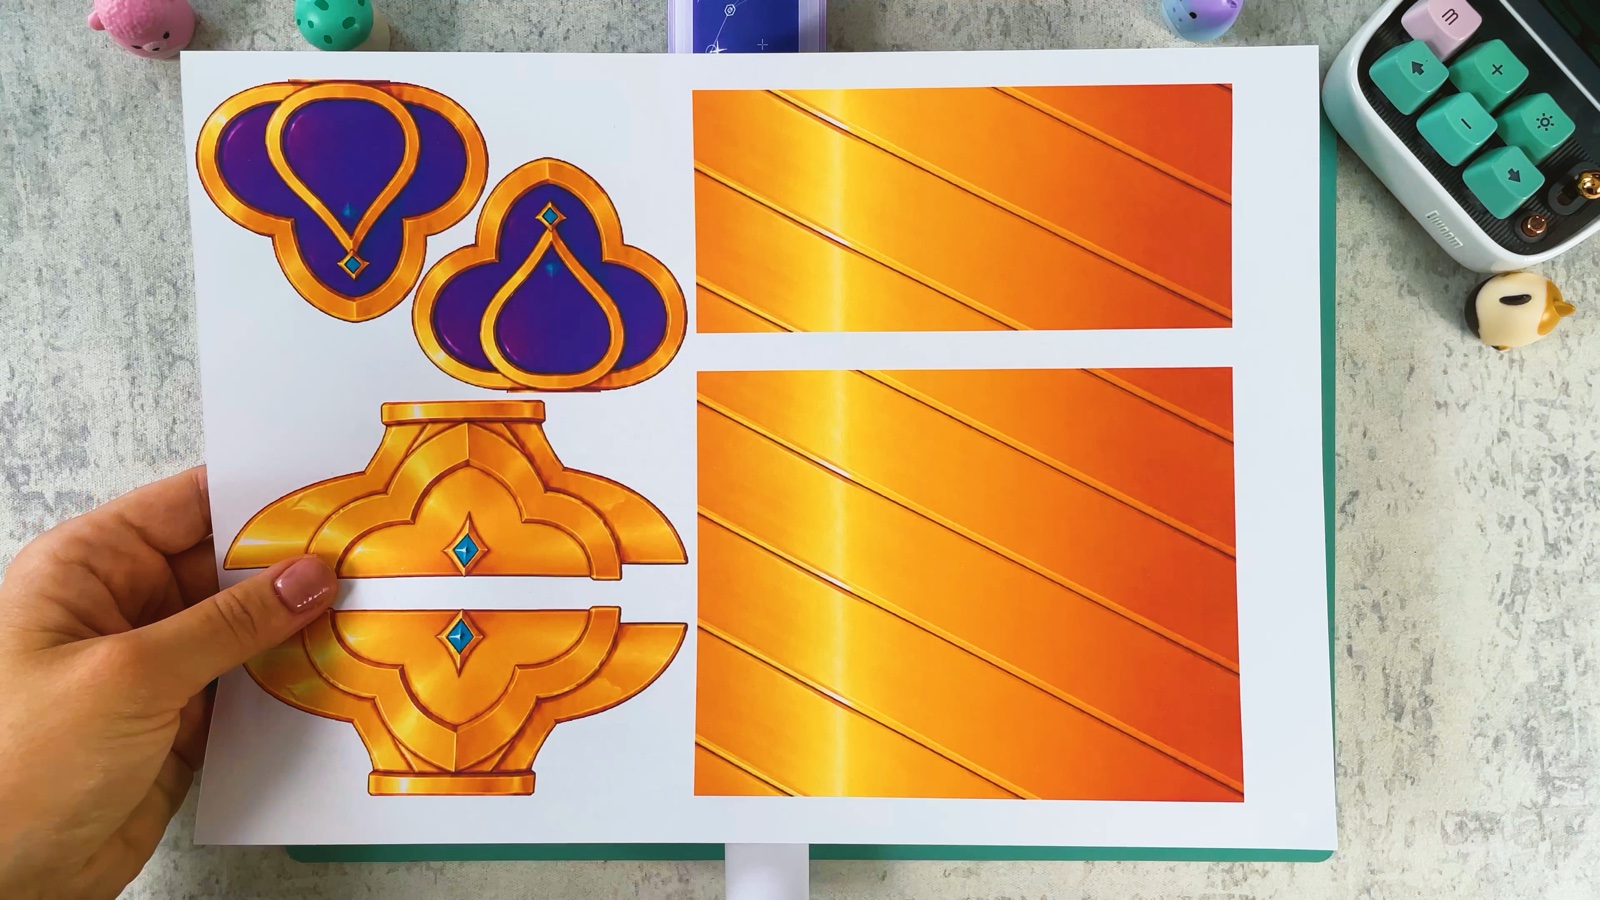
Page 2 is the top of the blade with the tip, page 1 is the lower part down to the handle. Page 3 is the gradient sheet that we roll into the inside tube, and page 4 has the gold handle, the guard and the end pieces.
Get the free template ↓PART 1 OF 4
The blade pieces
- 1
Cut out the template
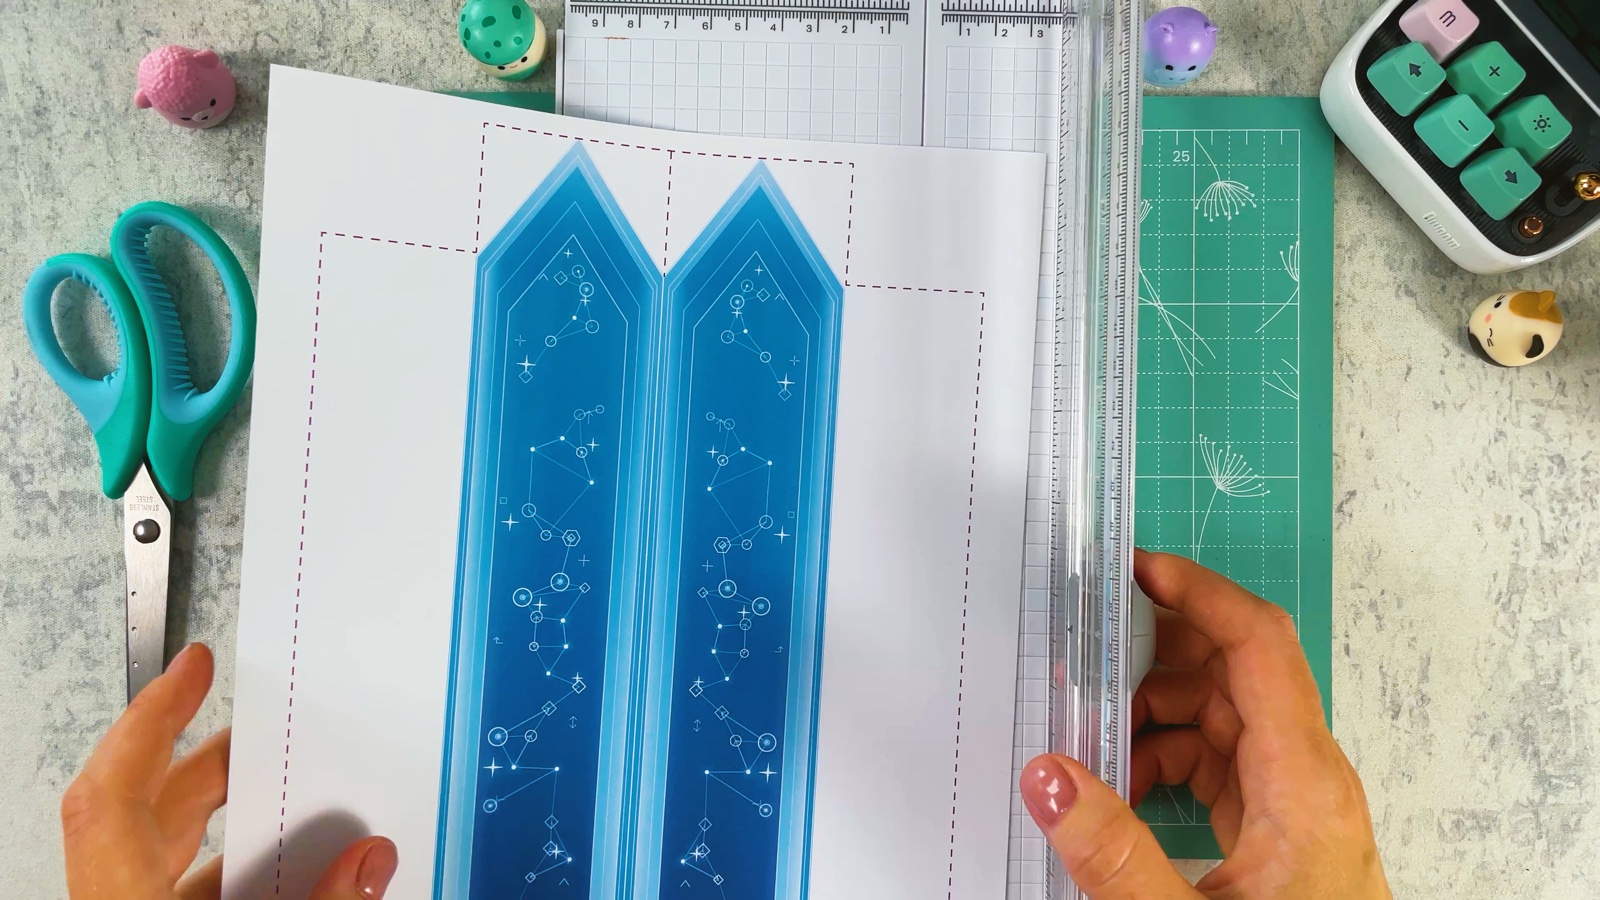
Print the template. Cut out pages 1 and 2 along the outer dashed lines. Page 2 is the top part of the blade with the tip. Page 1 is the lower part that goes down to the handle.
- 2
Snip along the middle line
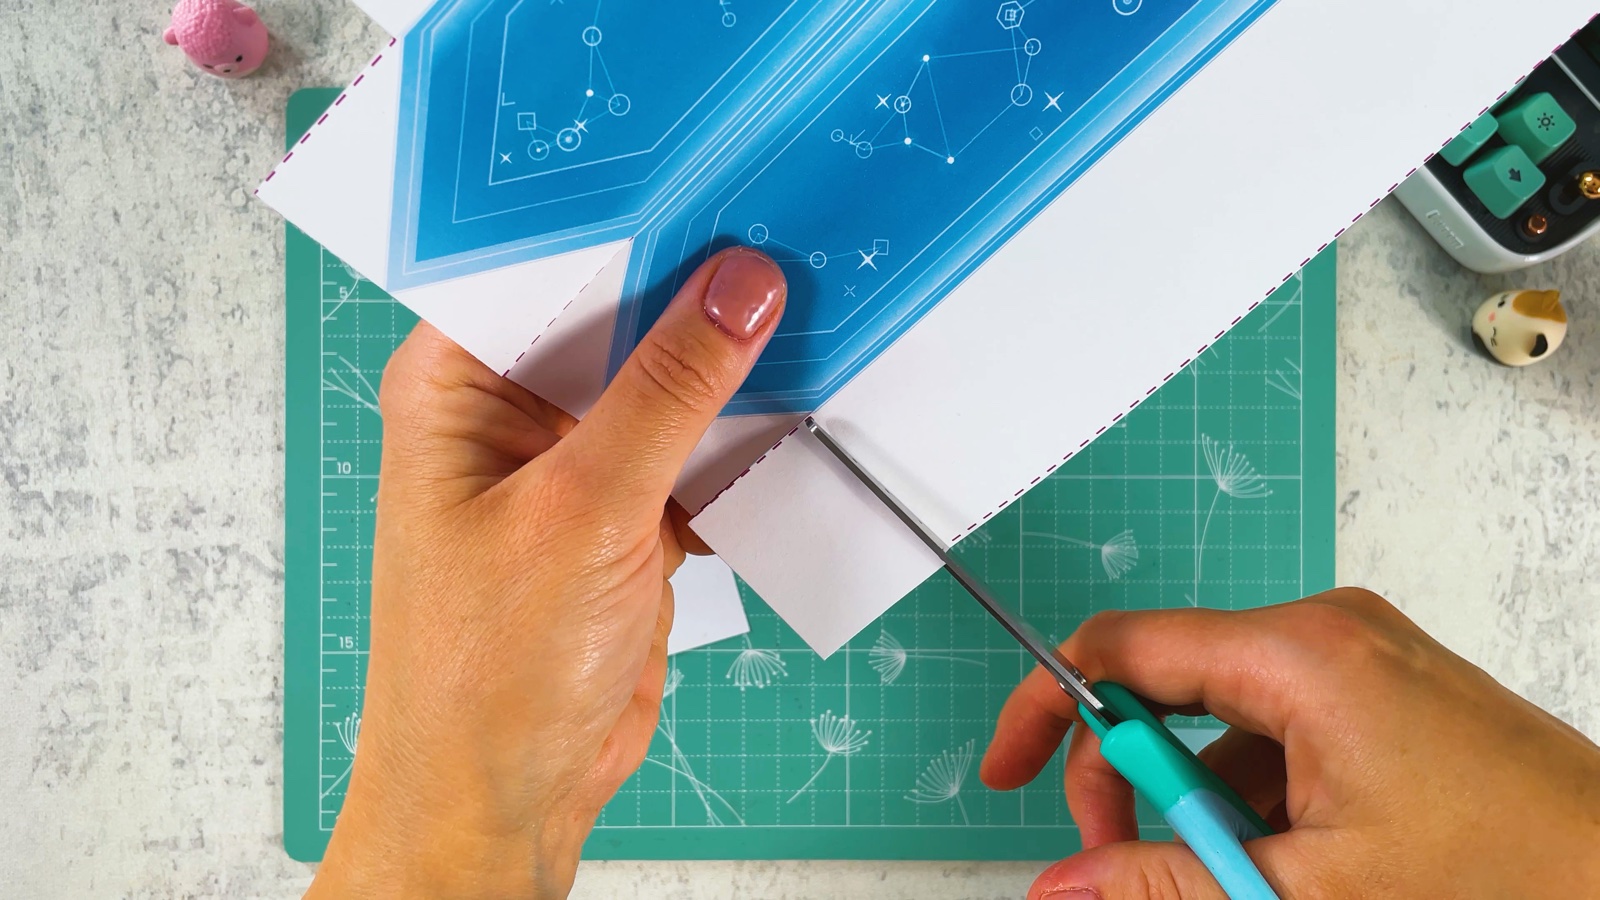
Make a small cut along the short dashed line in the middle, between the two strips. Only cut as far as the dashed line goes, not all the way. Later we fold the piece in half here.
- 3
Fold the white paper to the back
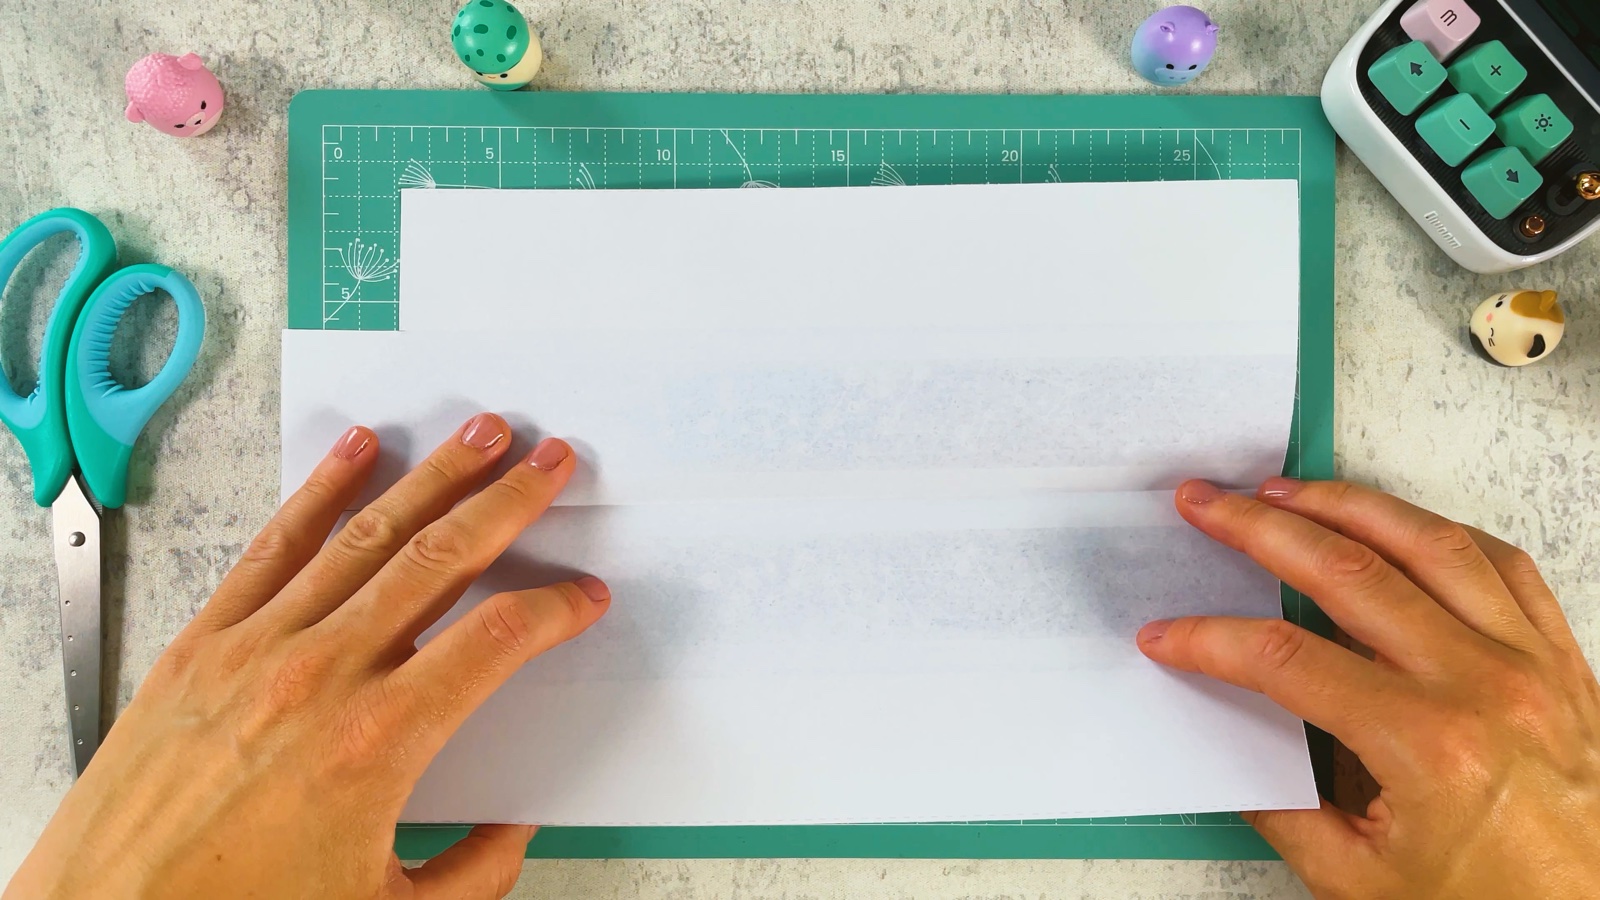
Turn the piece over. Fold the white paper along the dashed lines so it lies flat on the back of the blade. These folded layers make the blade stiff.
- 4
Fold around the tip
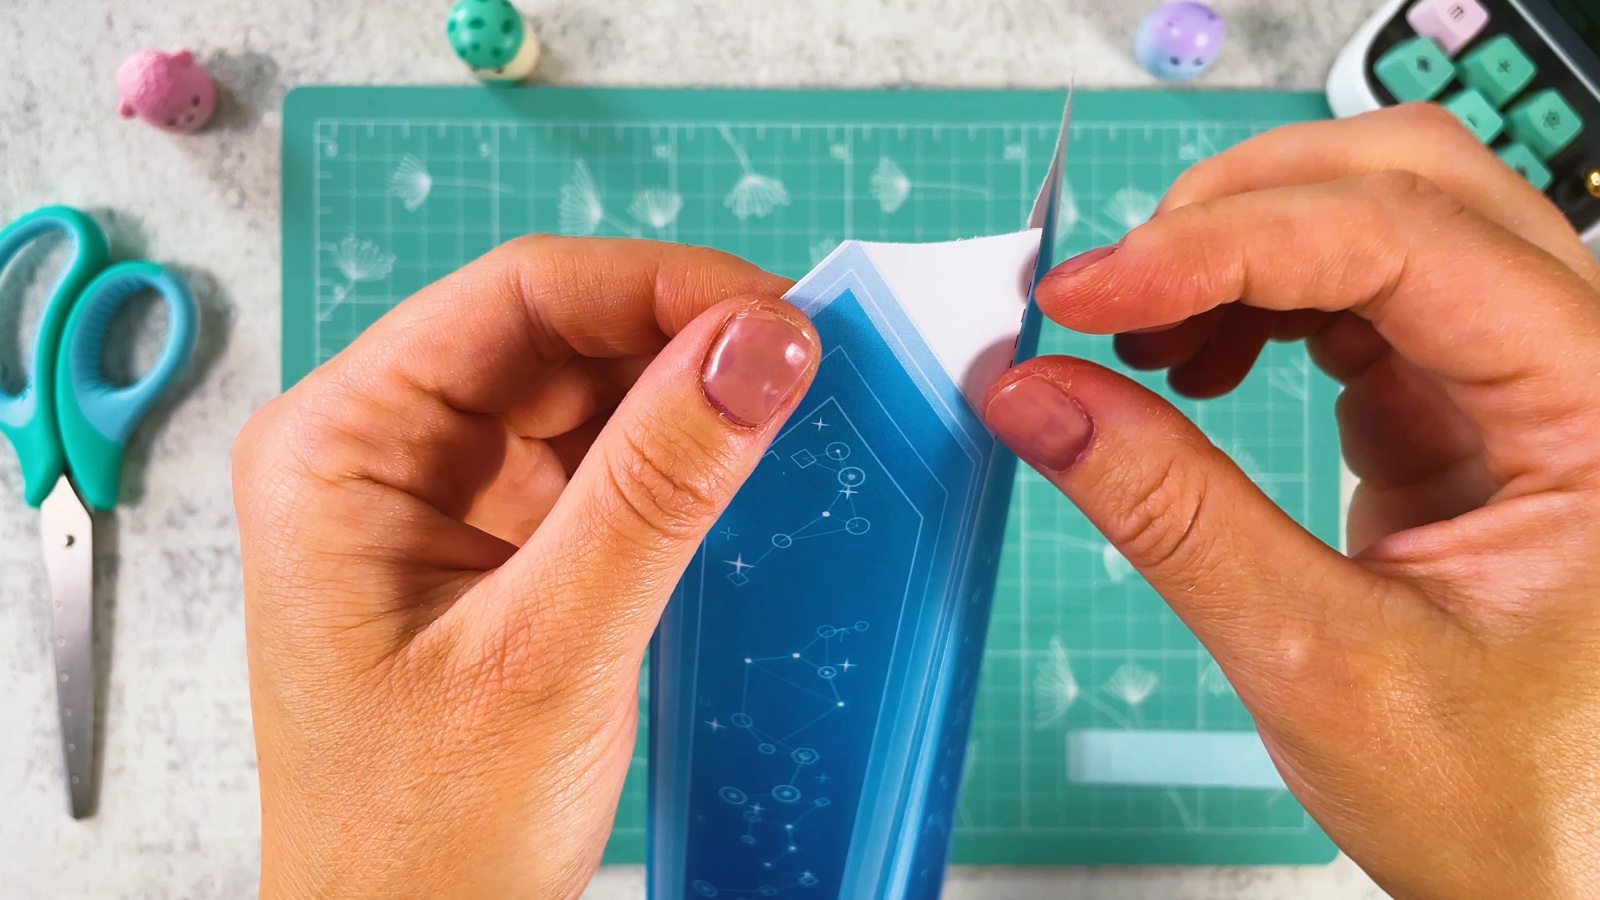
At the pointed end, fold the white paper to the back so it follows the shape of each tip.
- 5
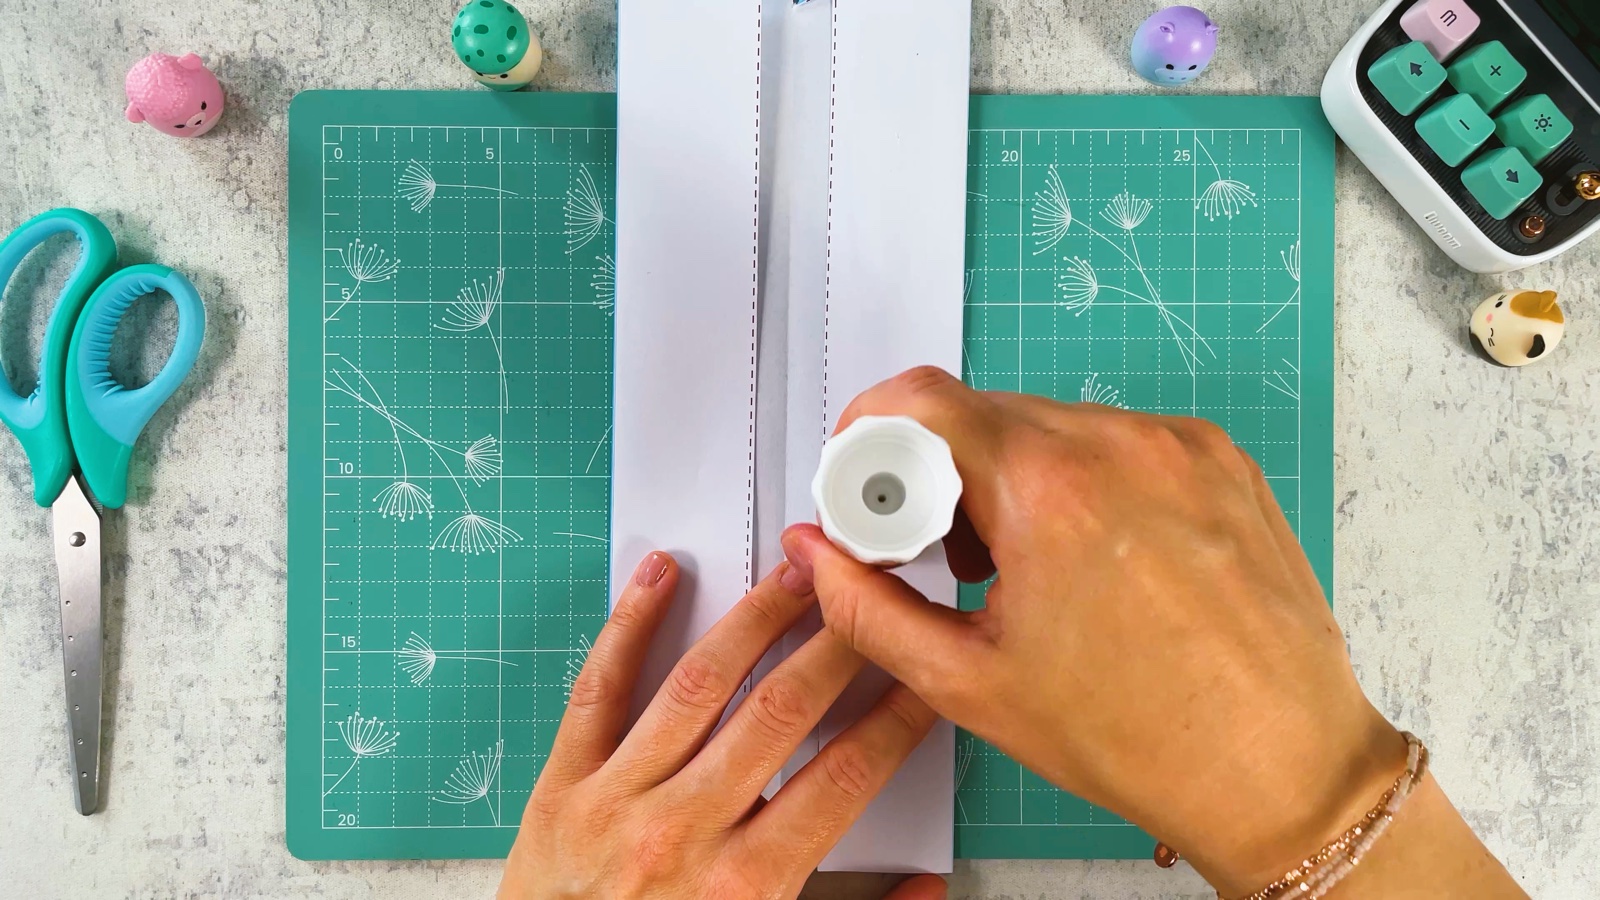
Glue the folds down
Put glue under the folded white paper and press it down along the whole piece.
- 6
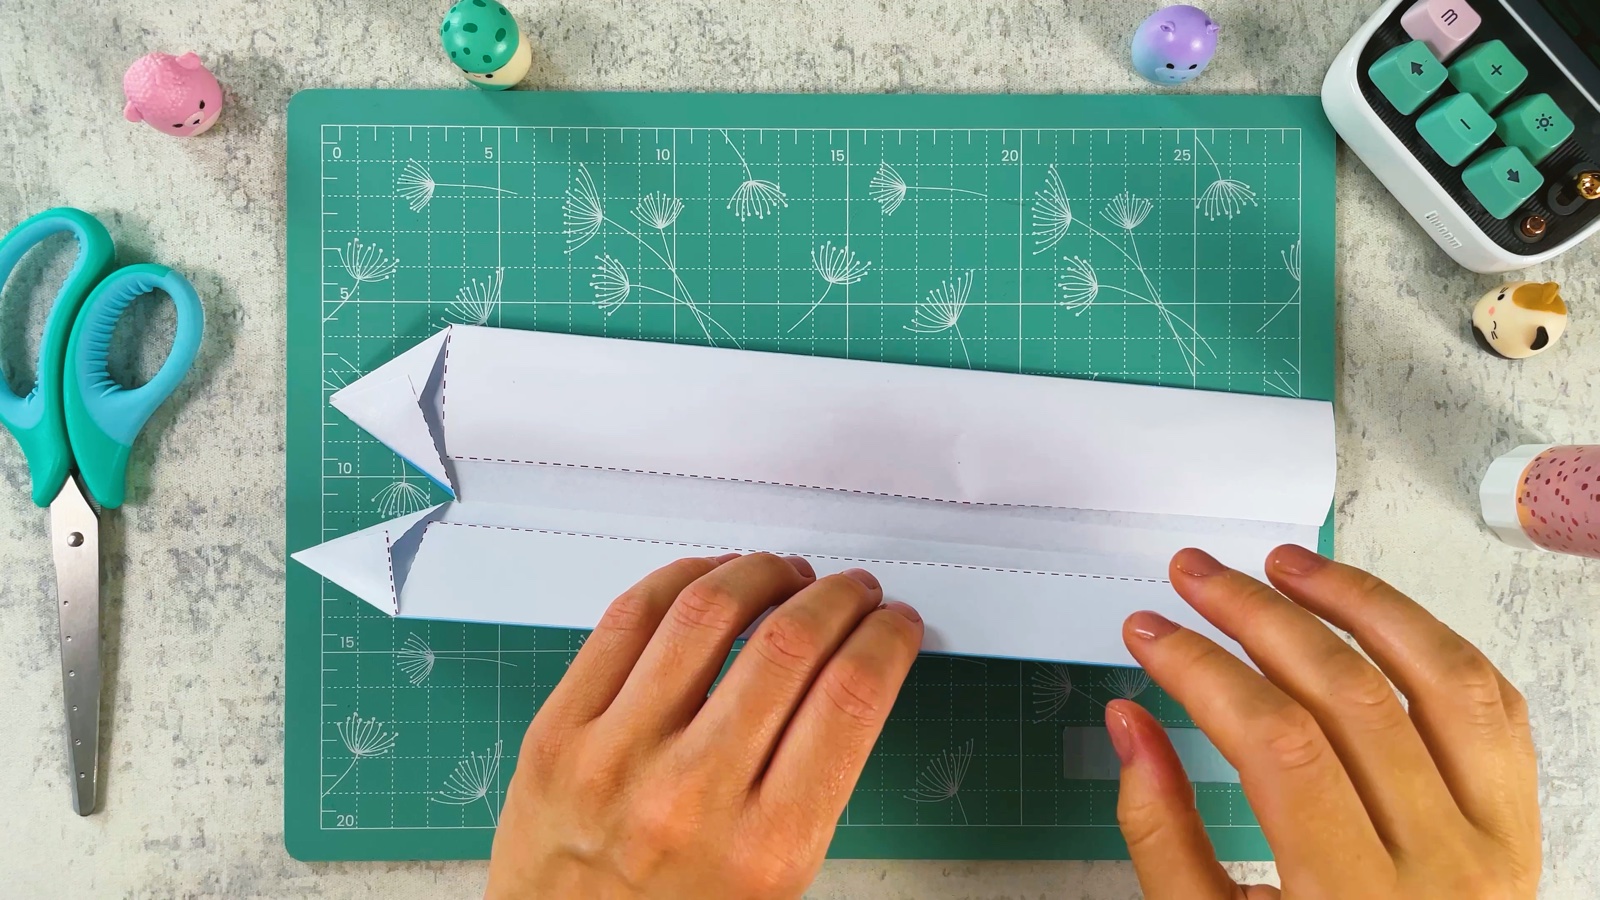
Fold it in half
Fold the piece in half along the middle, with the printed side out, so the two tips meet.
- 7
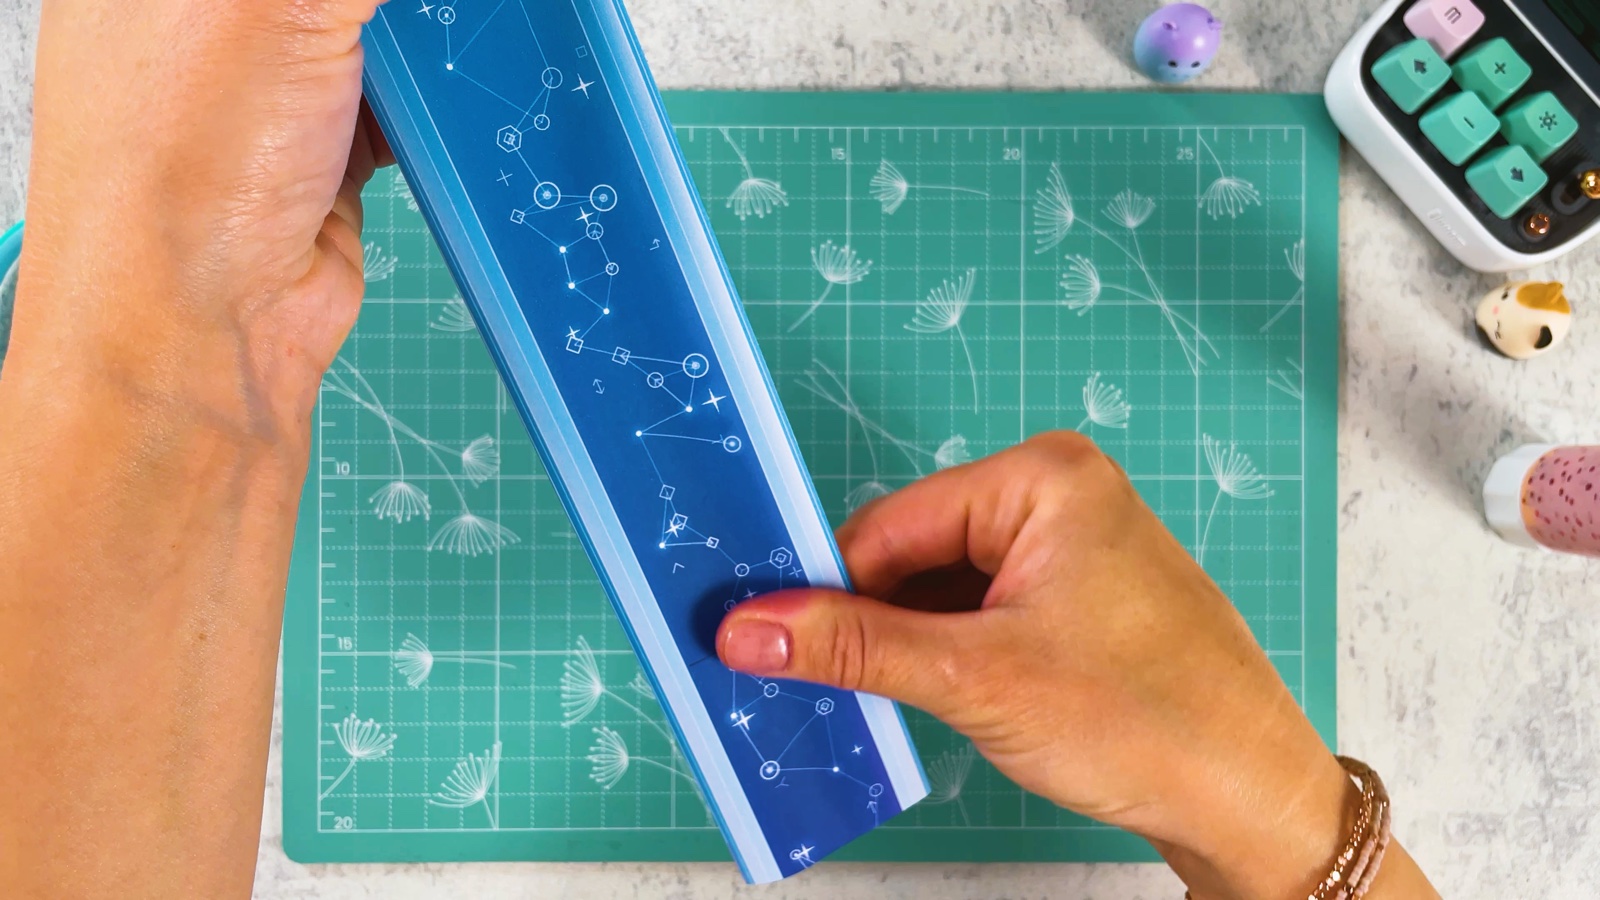
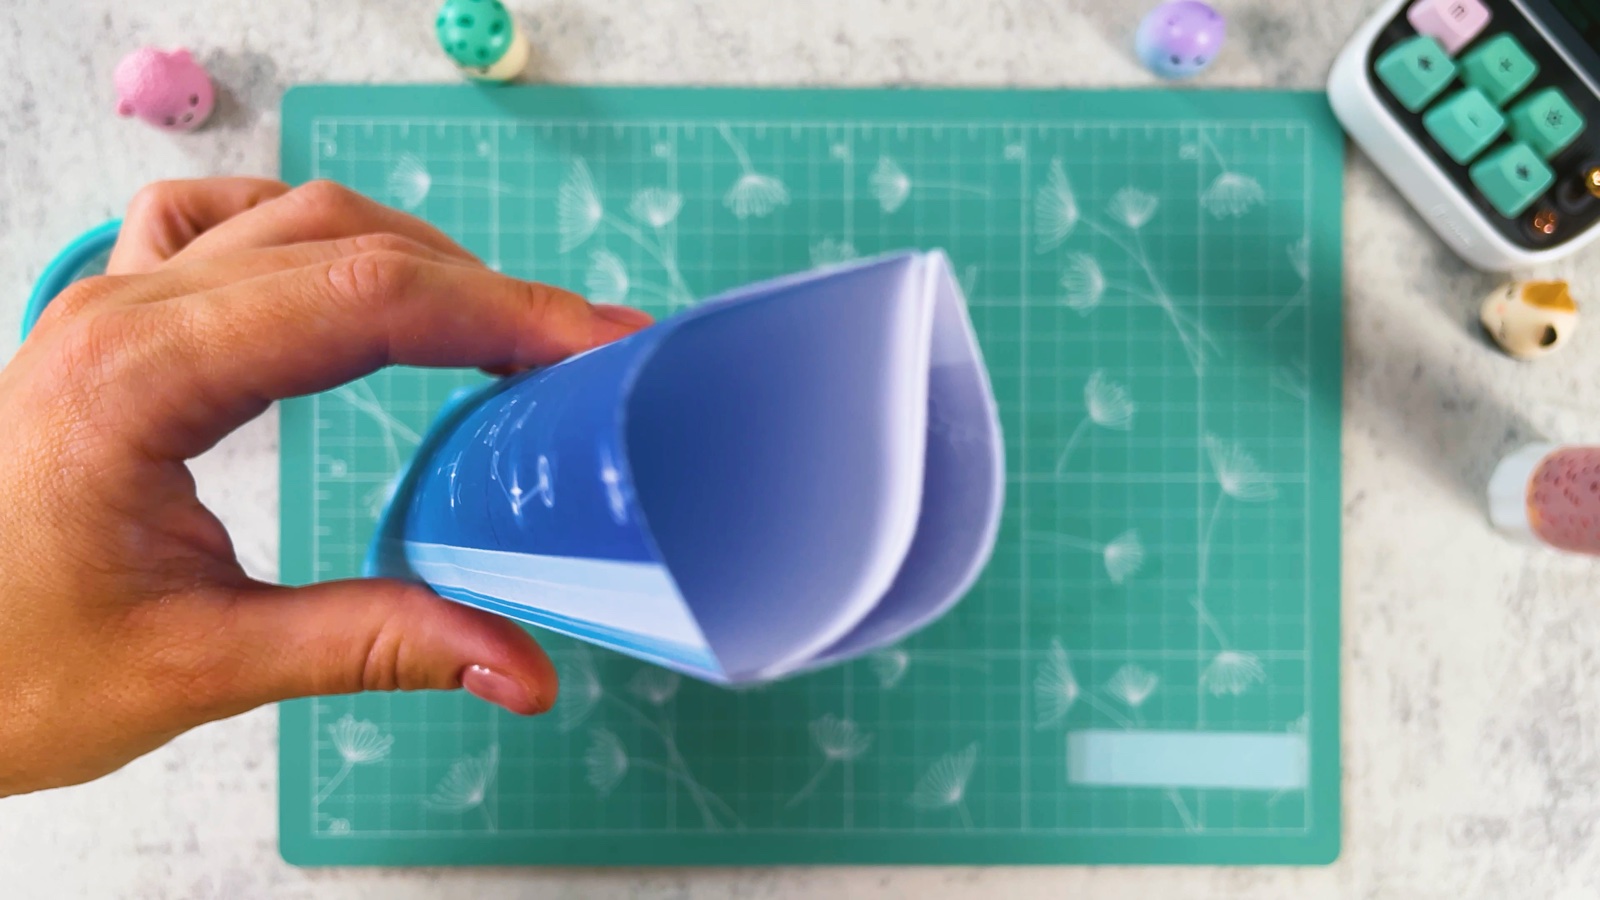
Shape the blade
Turn it over and gently open it, so the blade piece gets a soft rounded shape. Now the blade has a pattern on both sides.
- 8
Make the purple piece
Do the same with page 1, but without the tip. Now you have the blue top part with the tip and the purple lower part.
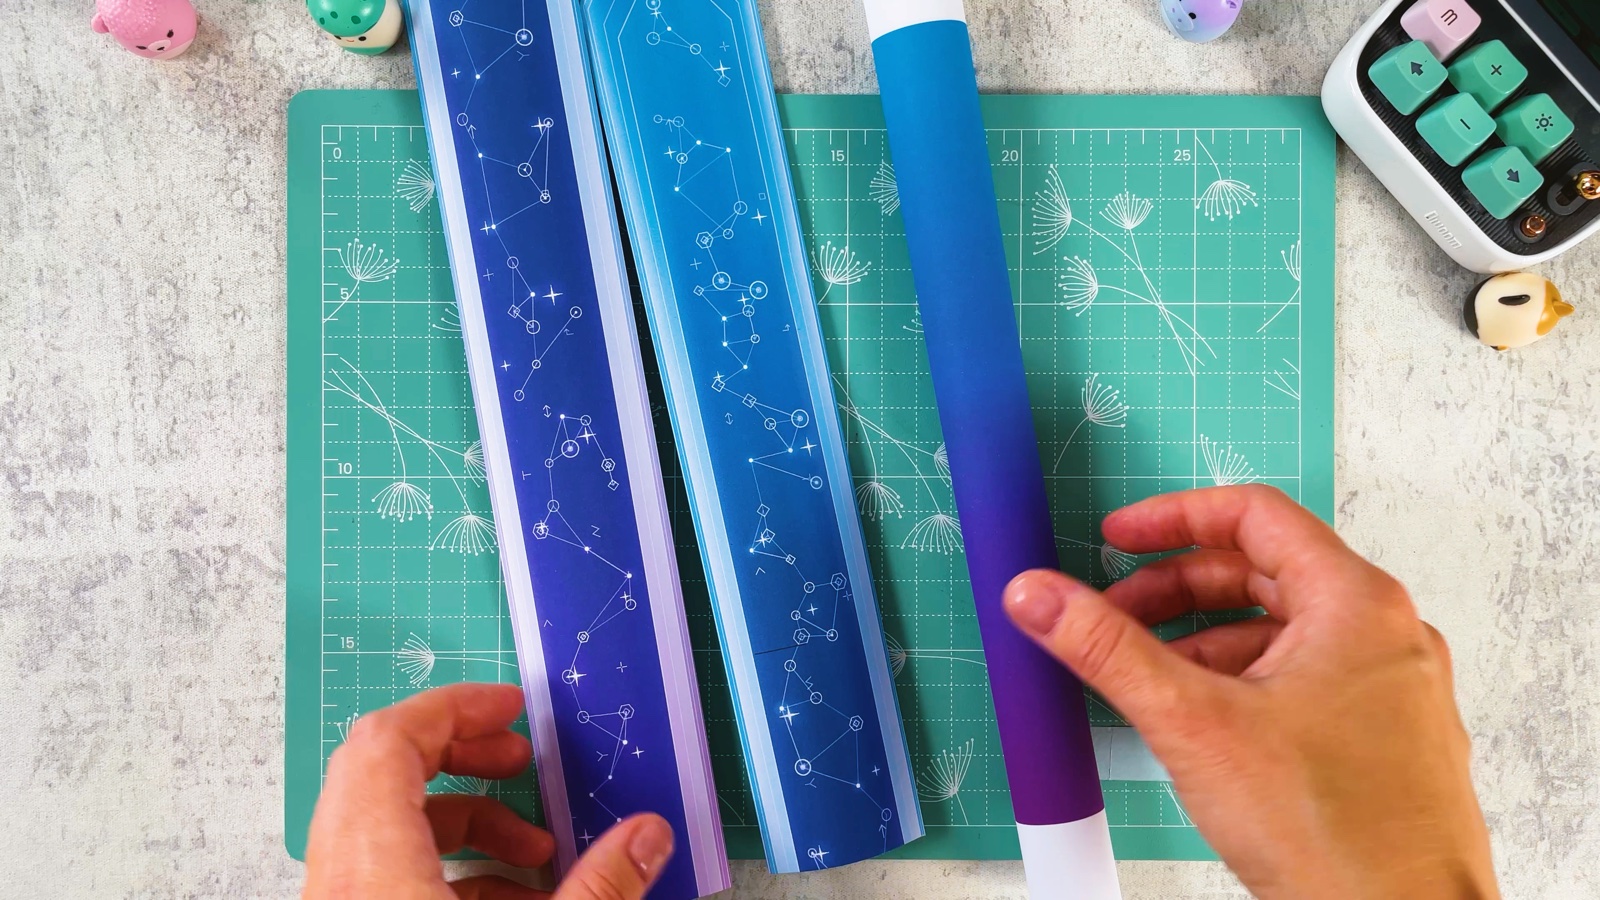
PART 2 OF 4
The inside tube
- 9
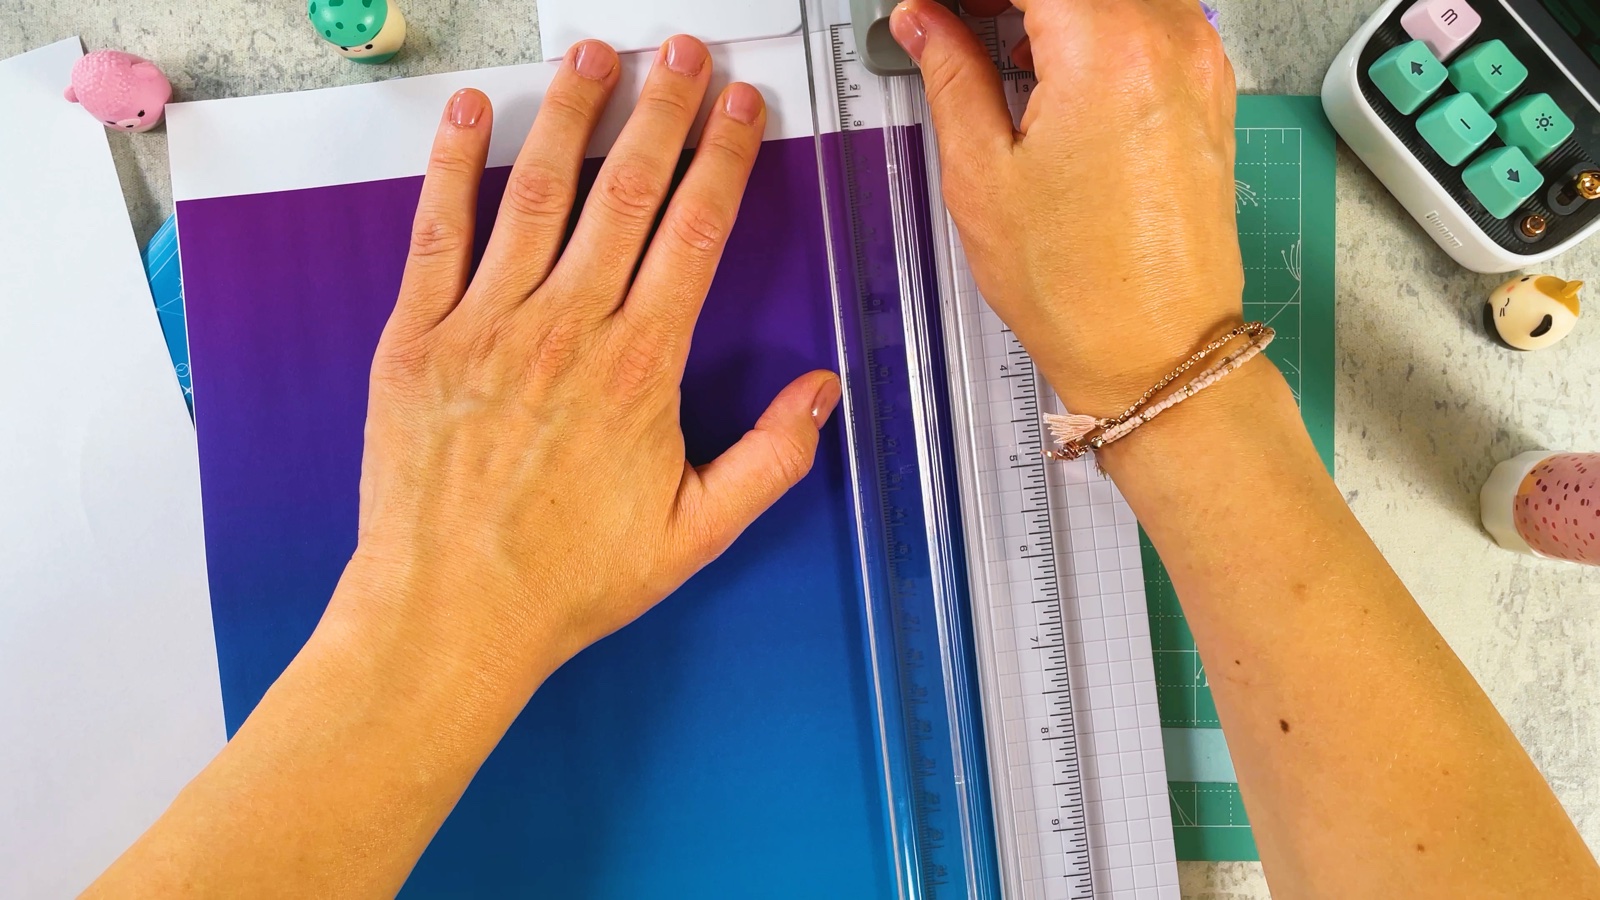
Trim the gradient sheet
Take page 3 with the purple and blue gradient. Cut off the white edge.
- 10
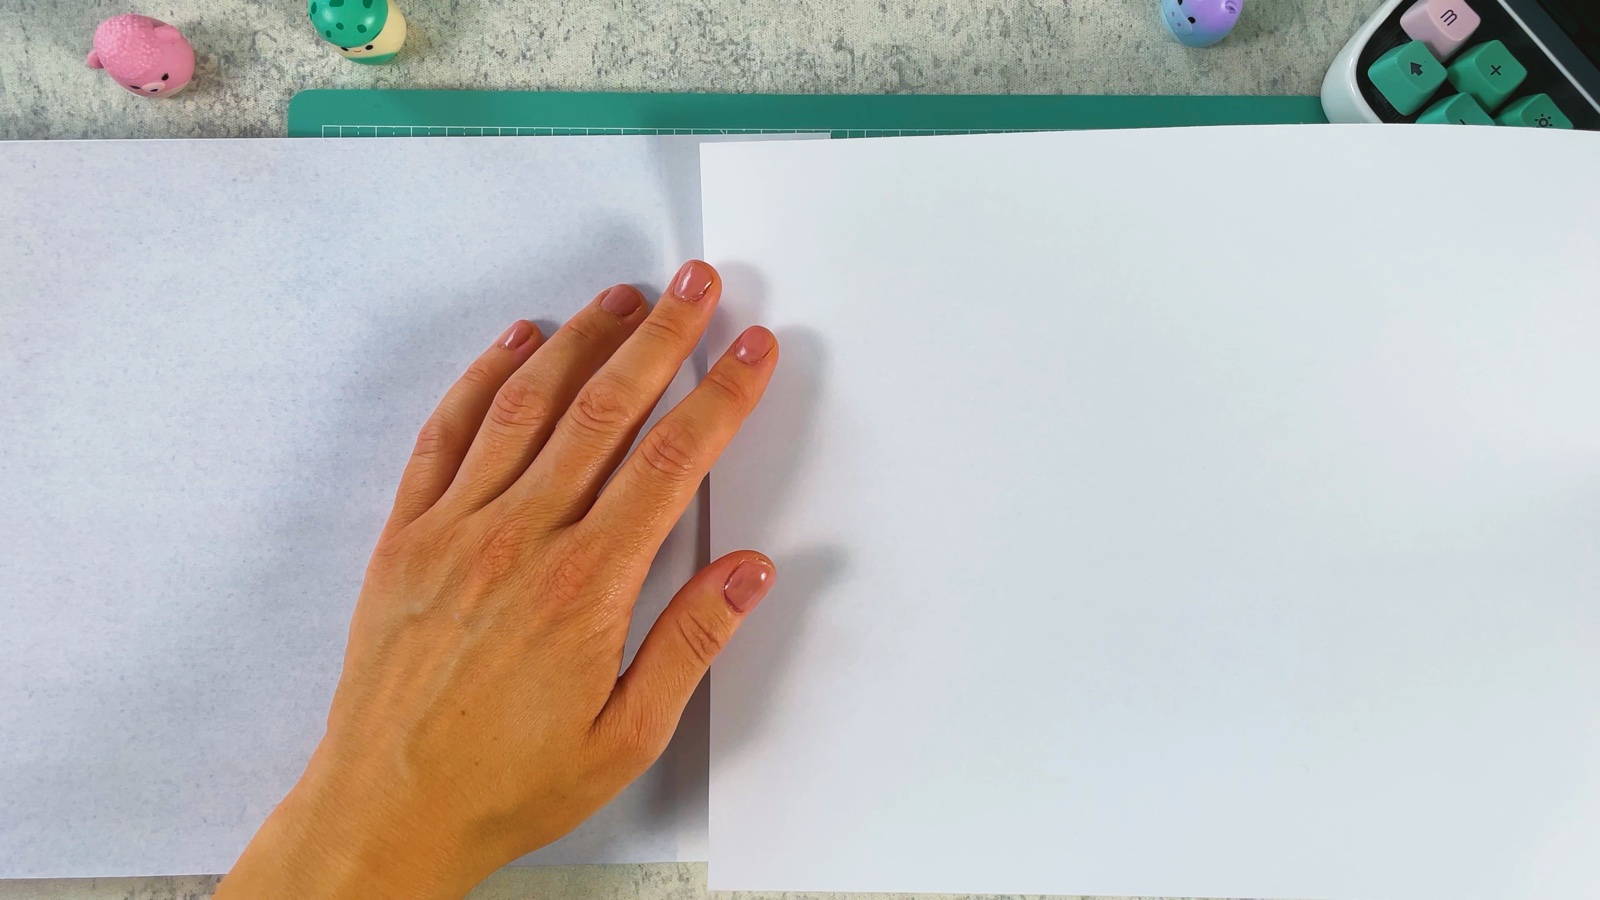
Make one long sheet
Glue plain sheets of printer paper to the end of the gradient sheet, overlapping the edges a little. This makes one long sheet for the tube.
- 11
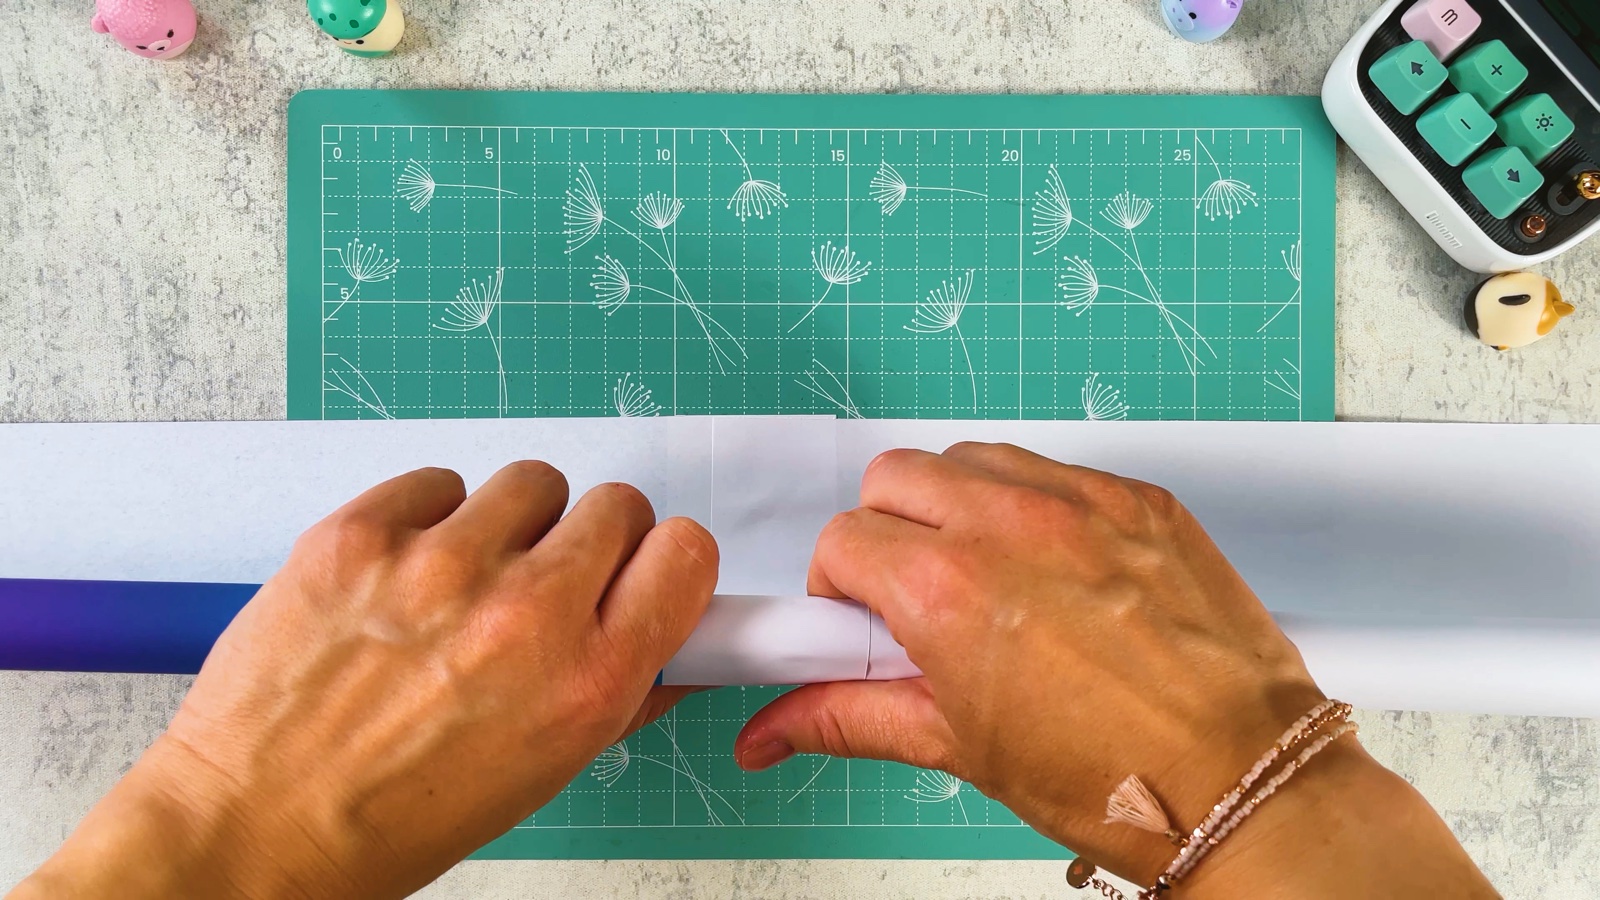
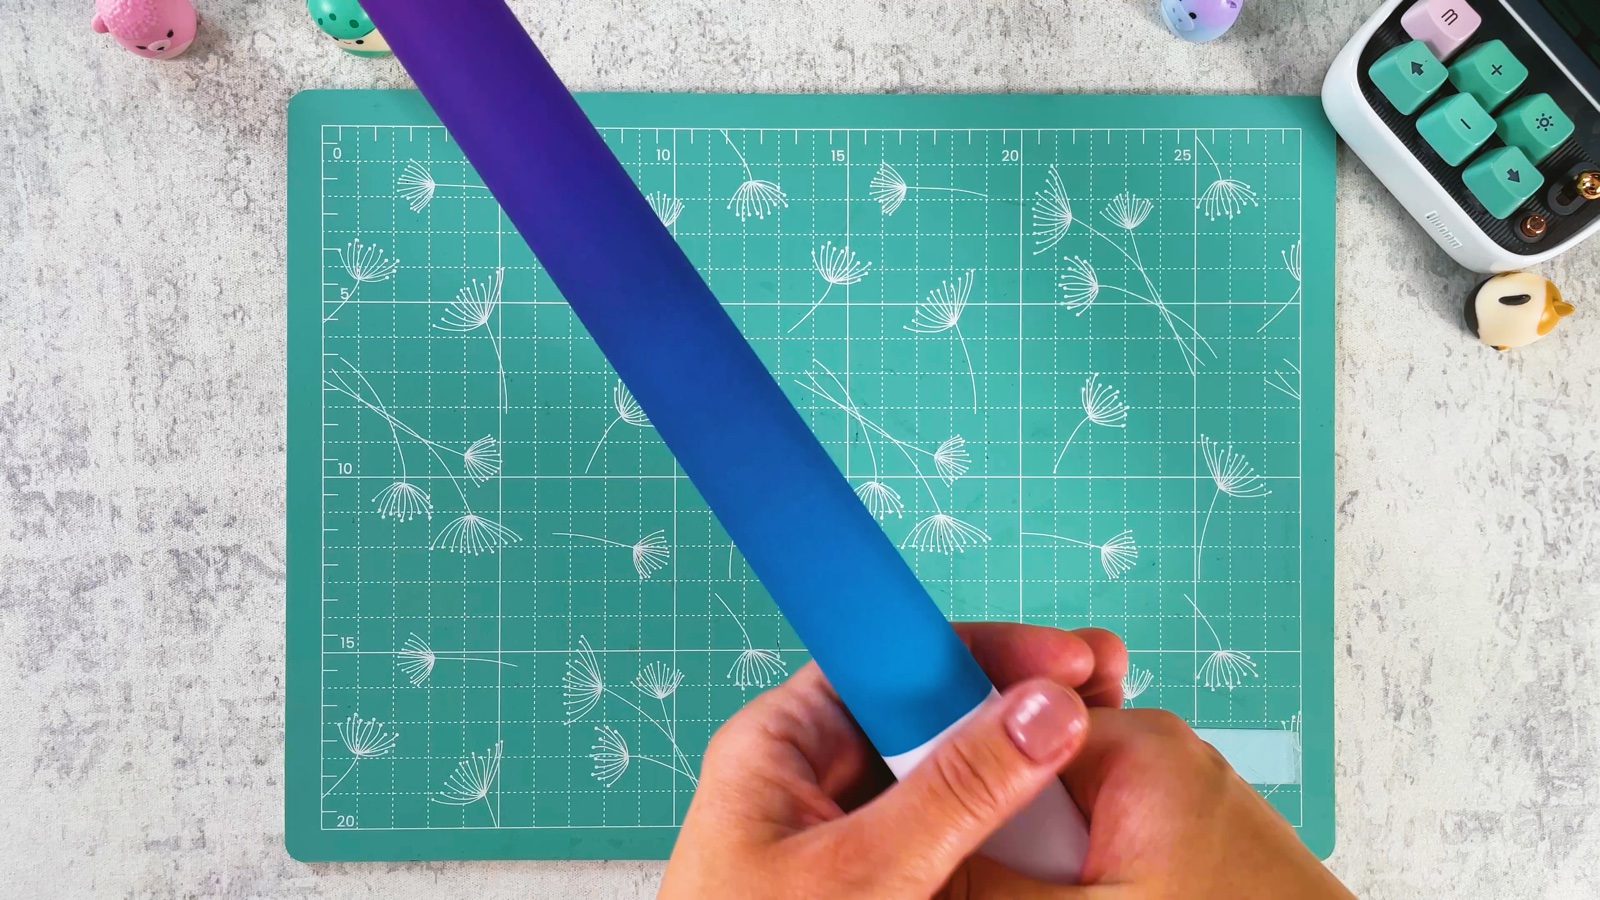
Roll it tightly
Start rolling from the gradient end. Roll as tightly as you can, so the tube is hard and strong. Glue the last edge down.
- 12
Check the tube
The finished tube is long and stiff. The gradient part will be the handle, and the white part goes inside the blade.
PART 3 OF 4
Put the blade together
- 13
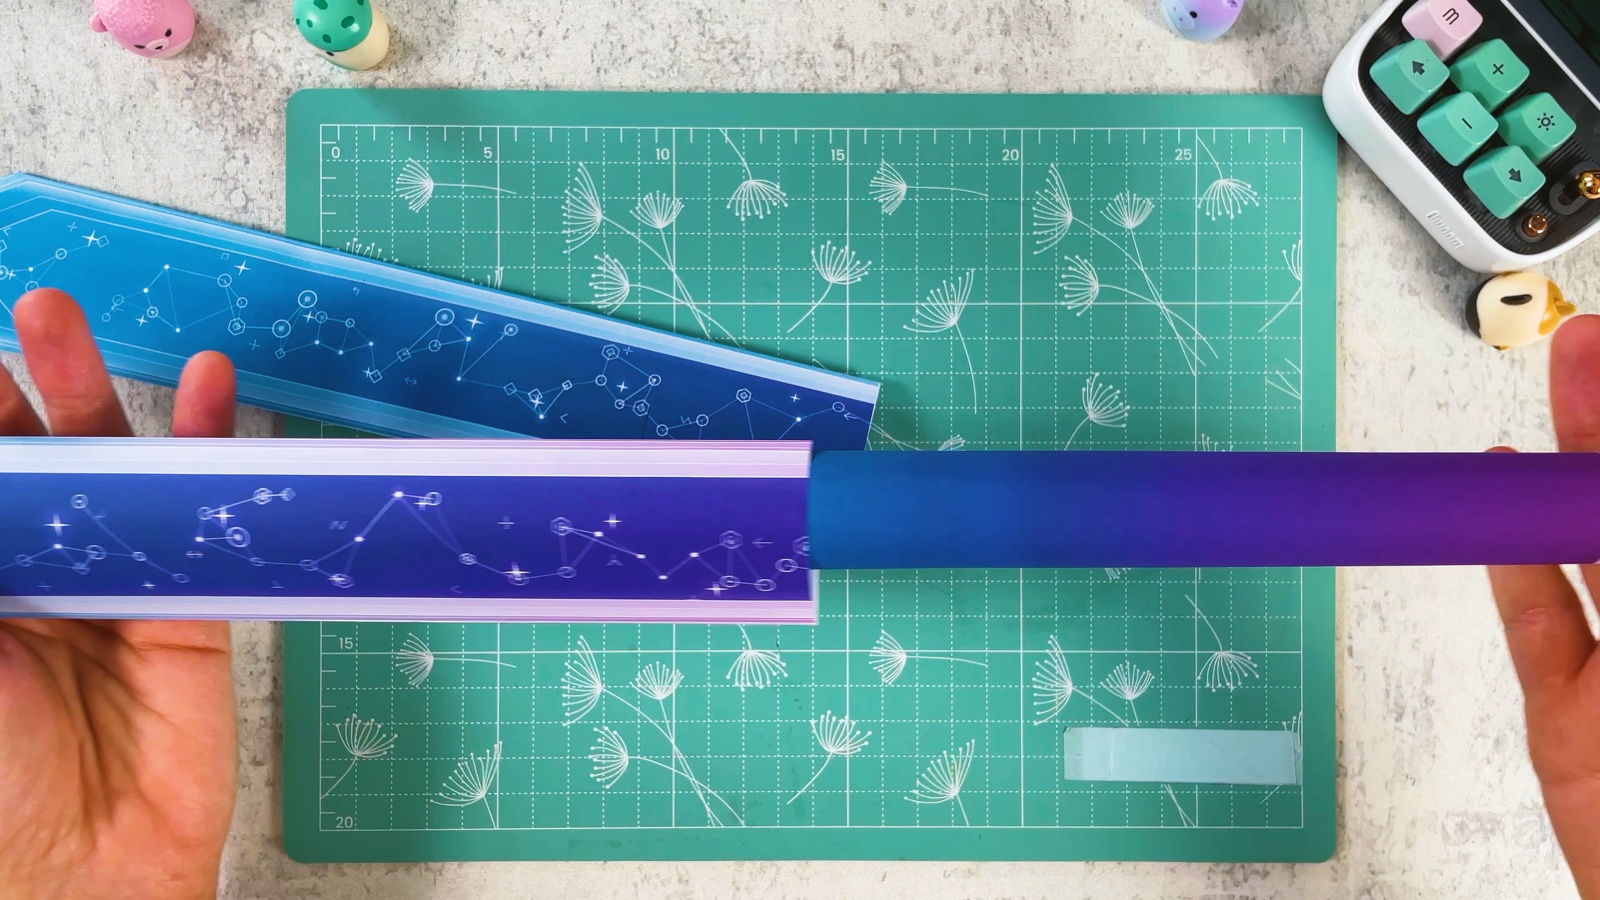
Slide the tube into the purple piece
Push the white end of the tube into the purple blade piece. The gradient end sticks out and becomes the handle.
- 14
Add the blue tip
Slide the blue piece with the tip onto the rest of the tube, until it meets the purple piece.
- 15
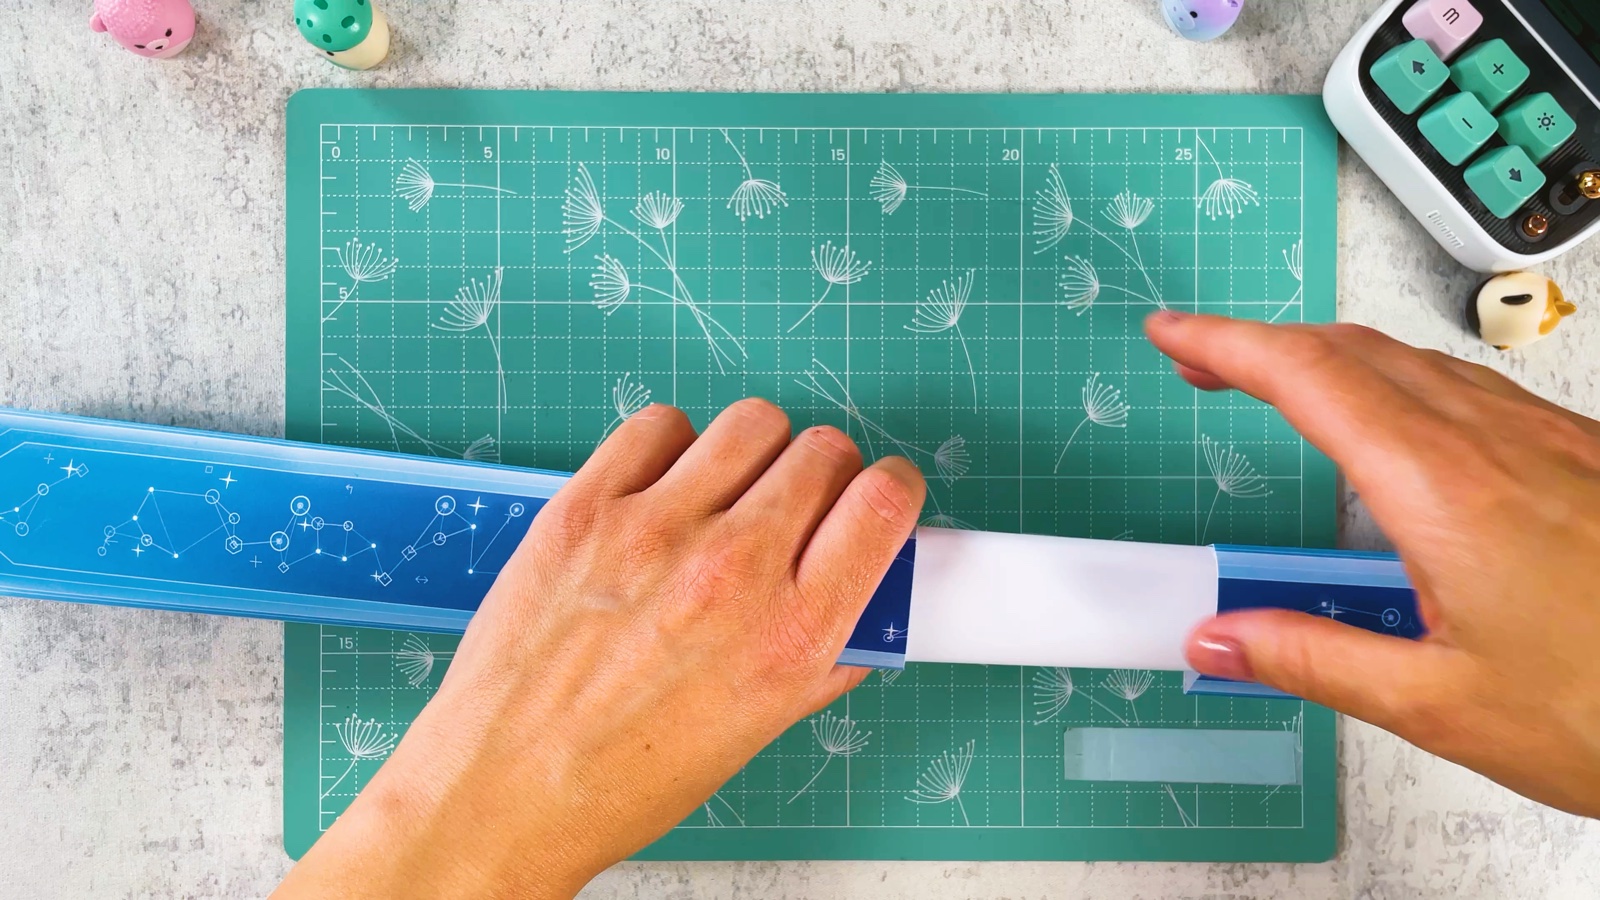
Close the blade
Put glue along the open long edge of each blade piece and press it closed around the tube.

The blade is ready.
- 16
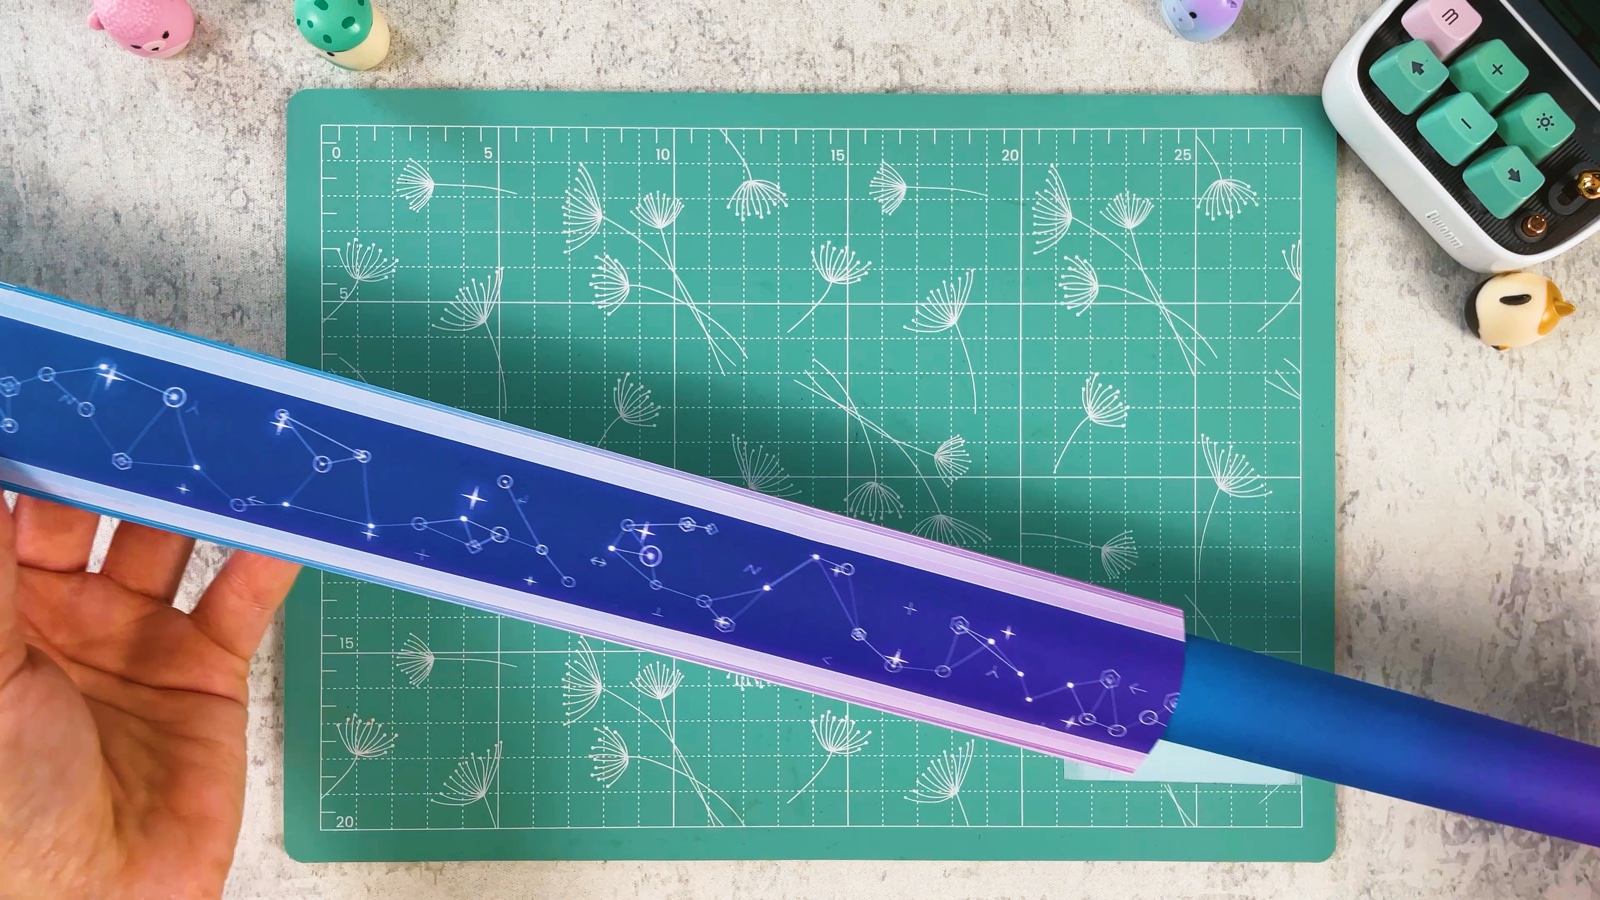
Check the blade
Now the blade is closed around the tube, and the purple and blue handle sticks out at the bottom.
PART 4 OF 4
The gold handle
- 17
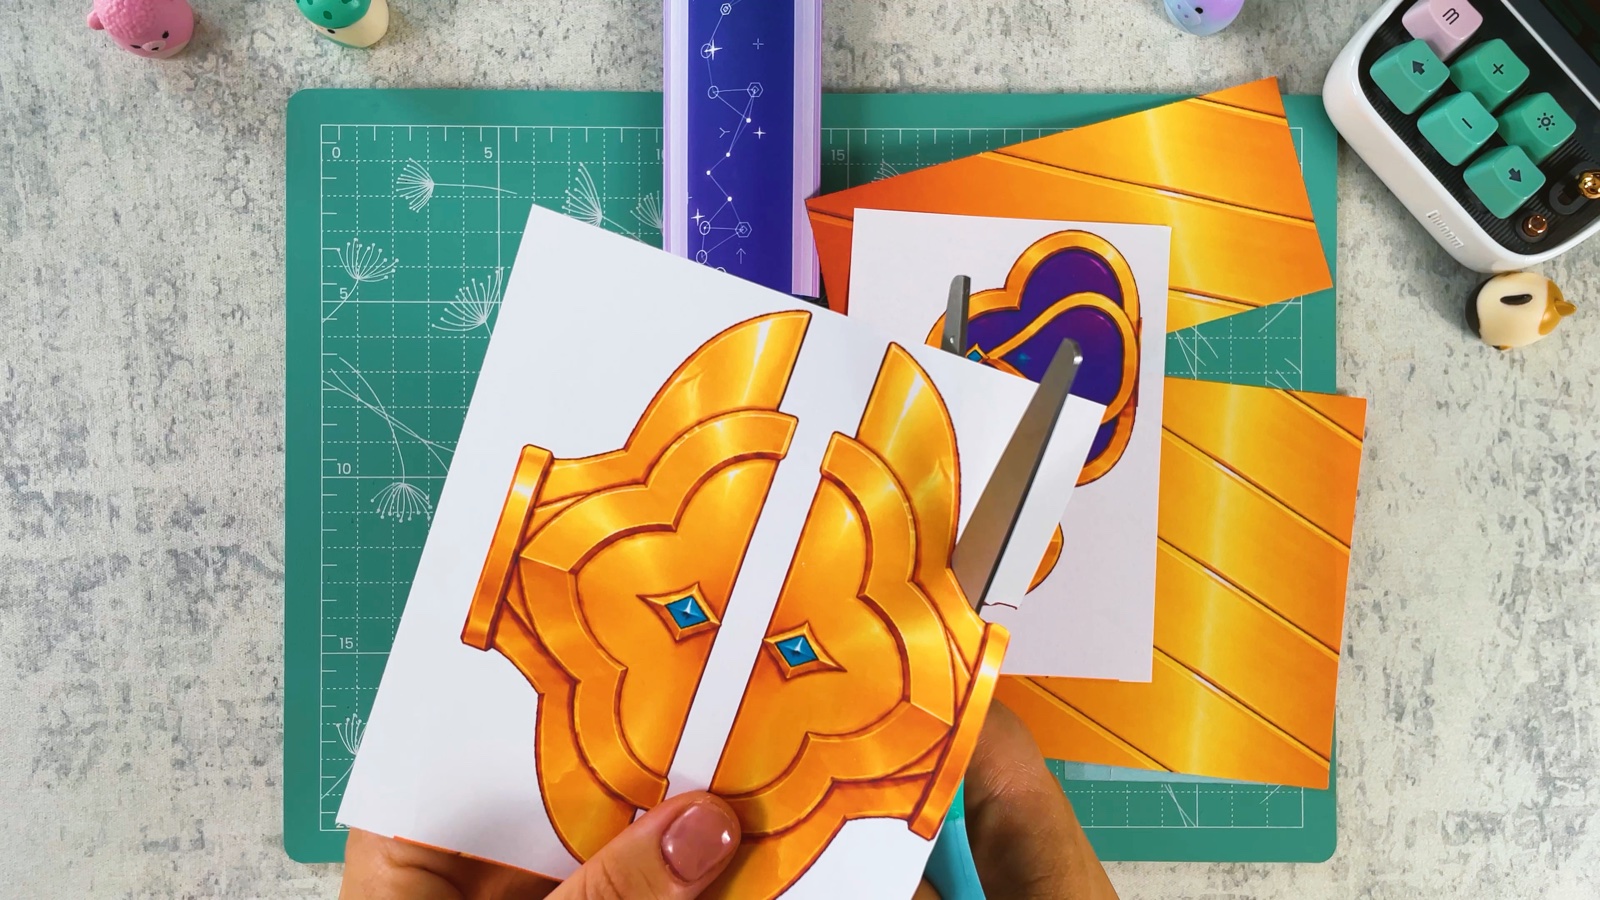
Cut out the gold parts
Cut out everything from page 4: the two gold striped panels, the two halves of the guard and the two purple end pieces.
- 18
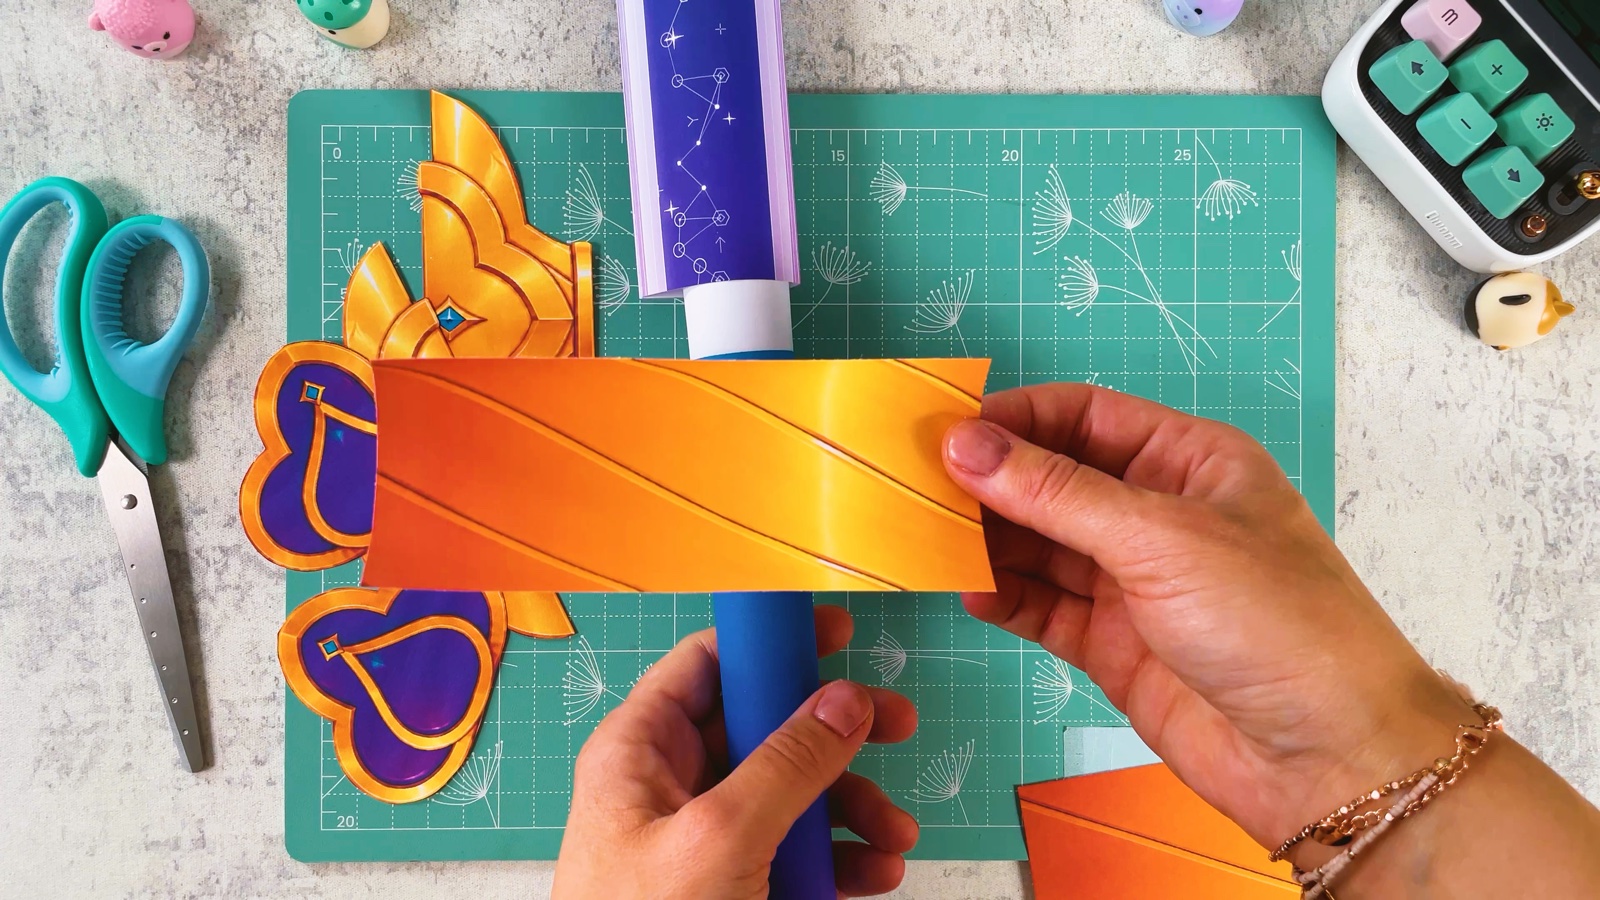
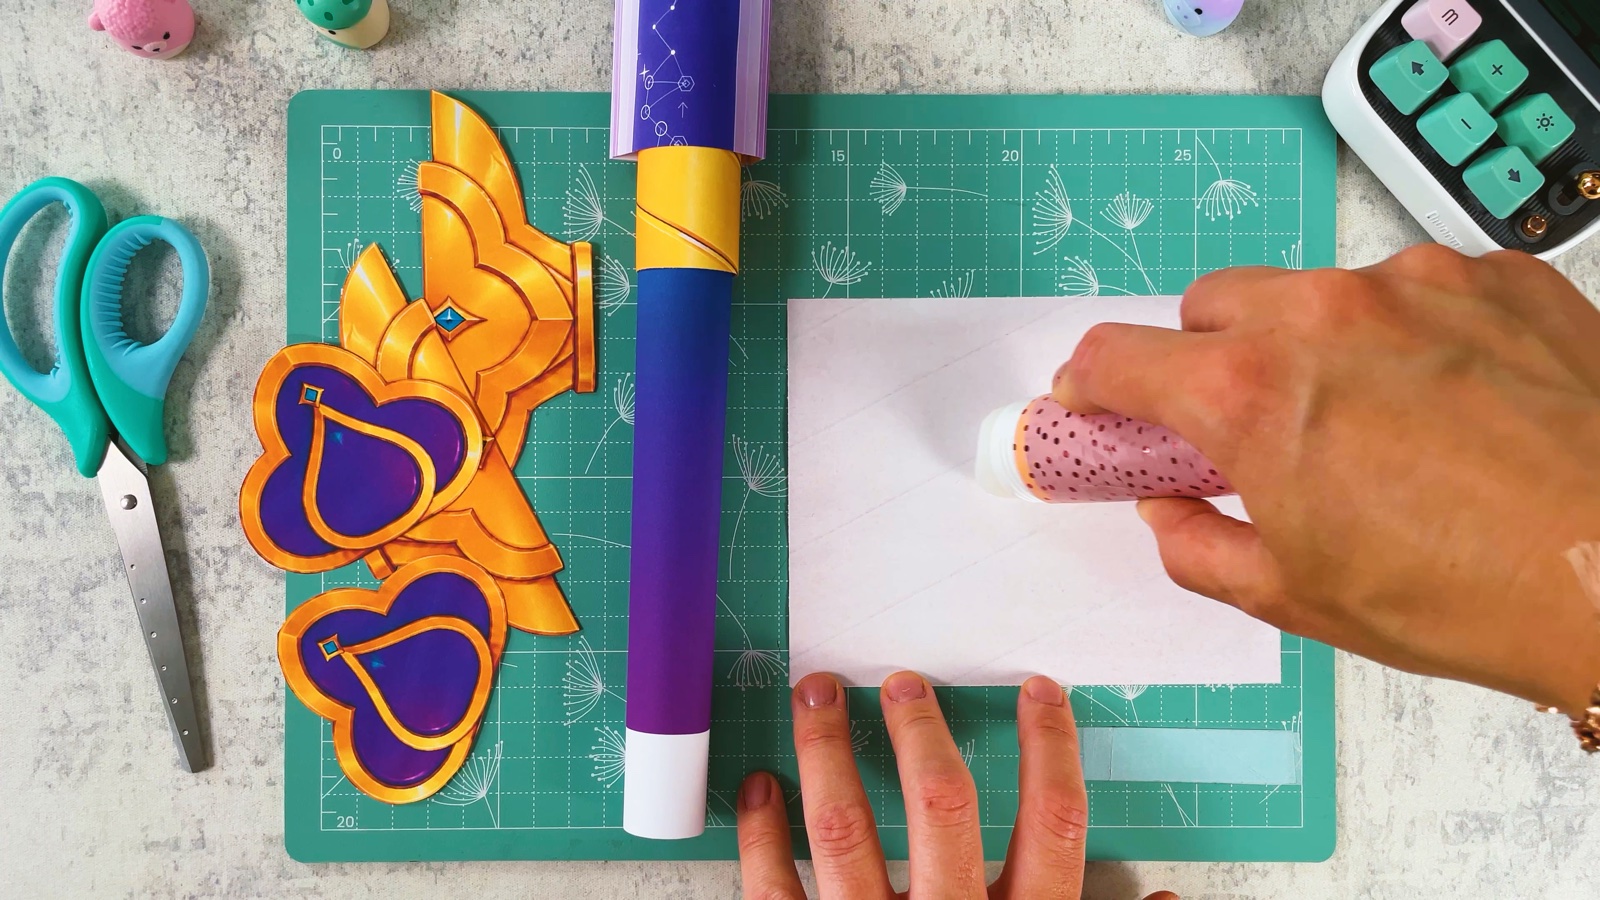
Wrap the handle
Put glue on the white back of one gold panel and wrap it around the top of the handle. Wrap the second panel a little lower, so a band of purple shows between them.
- 19
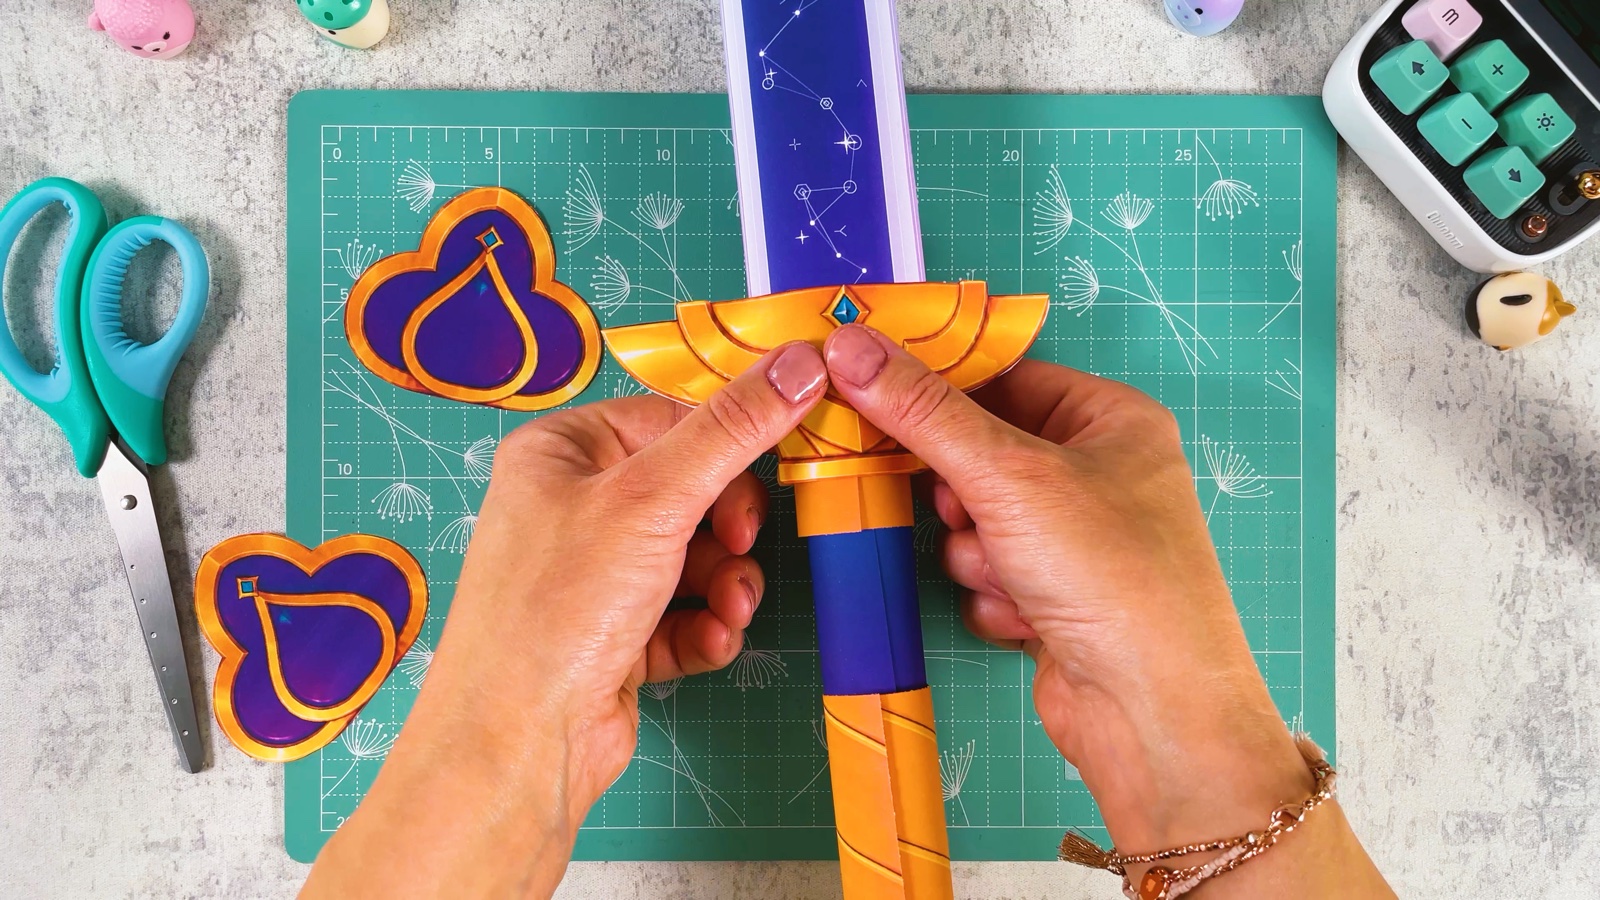
Add the guard
Glue the white flaps of the two guard halves and press them around the bottom of the blade, one on each side. Hold them until the glue sets.
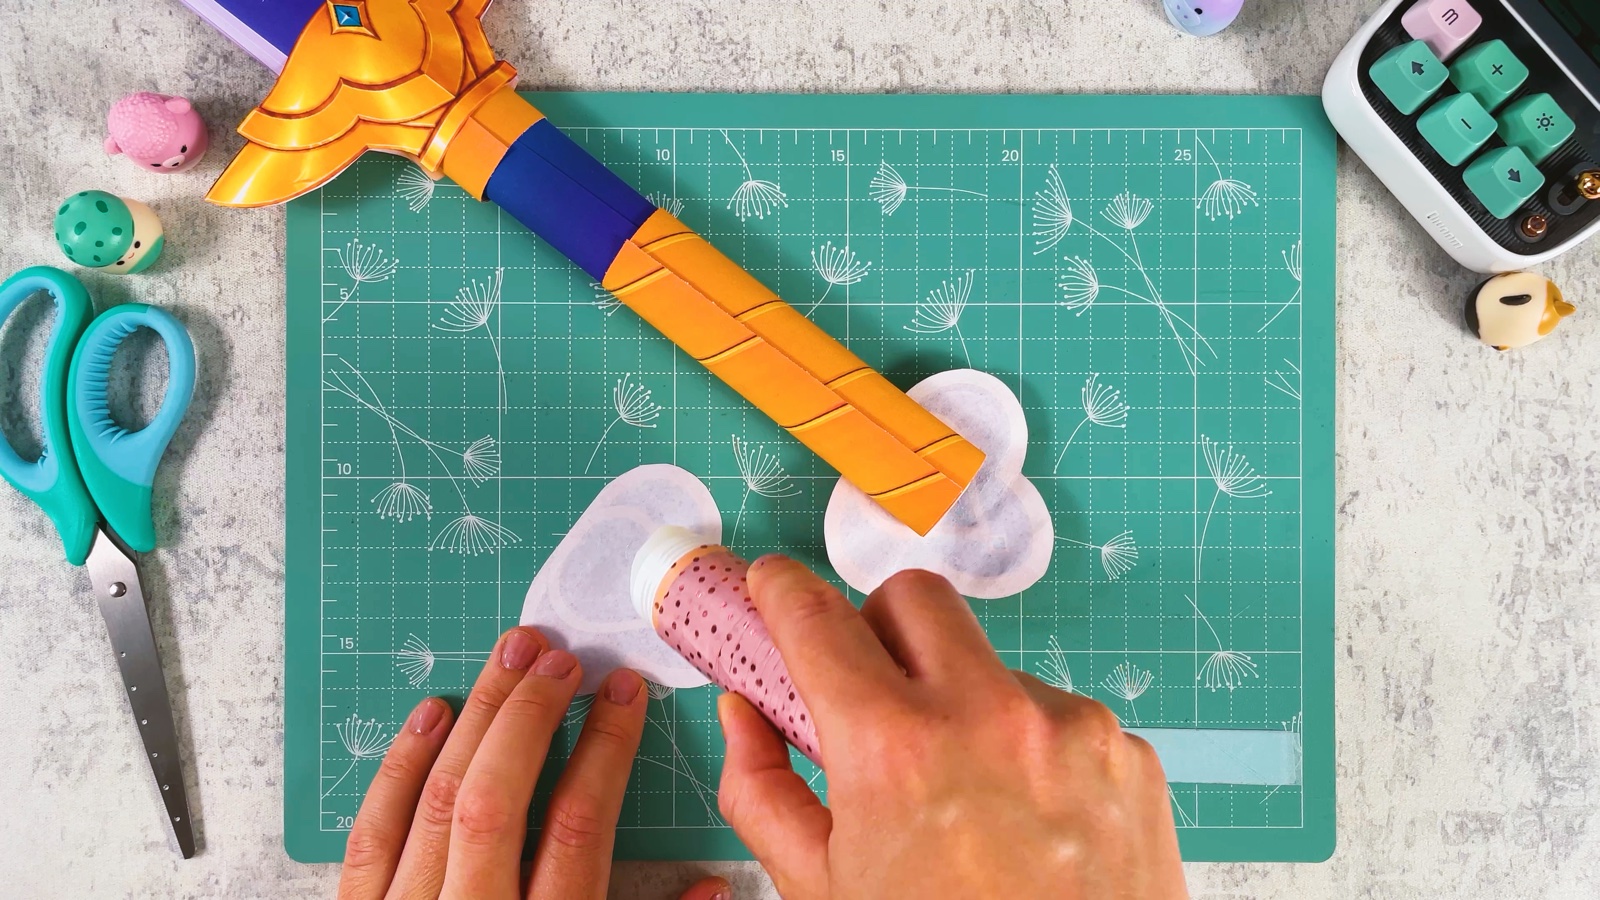
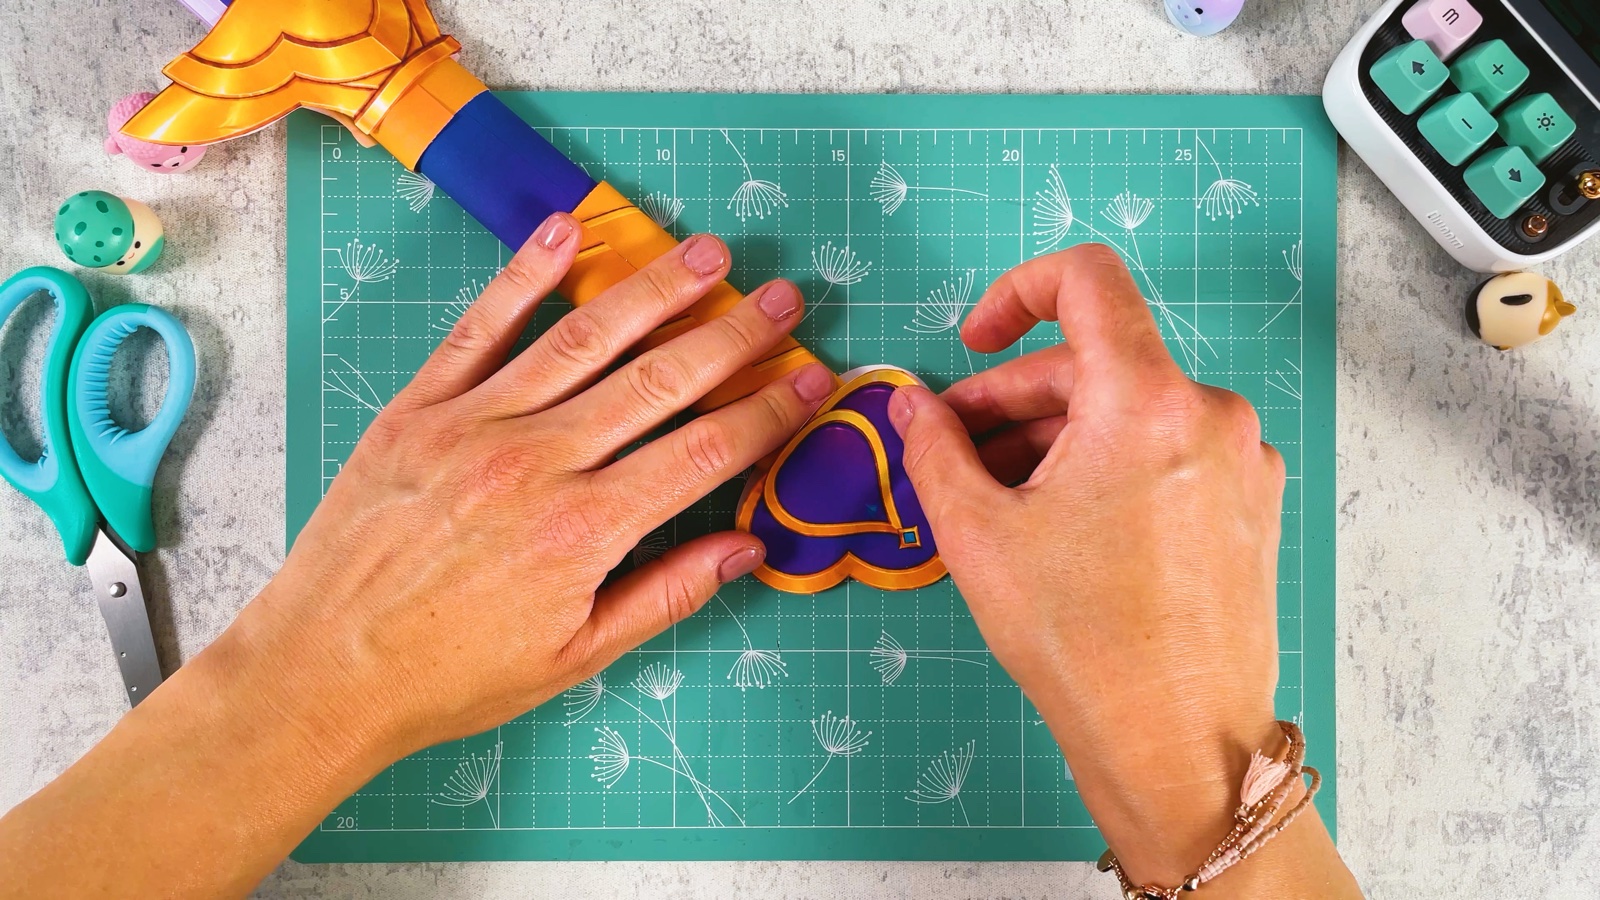
- 20
Add the end pieces
Put glue on the white back of a purple end piece and press it onto the bottom of the handle. Glue the second one on the other side, so they cover the end of the tube.
- 21
Your sword is ready
Check that all the edges are glued down. Now Rumi’s sword is ready for the stage.
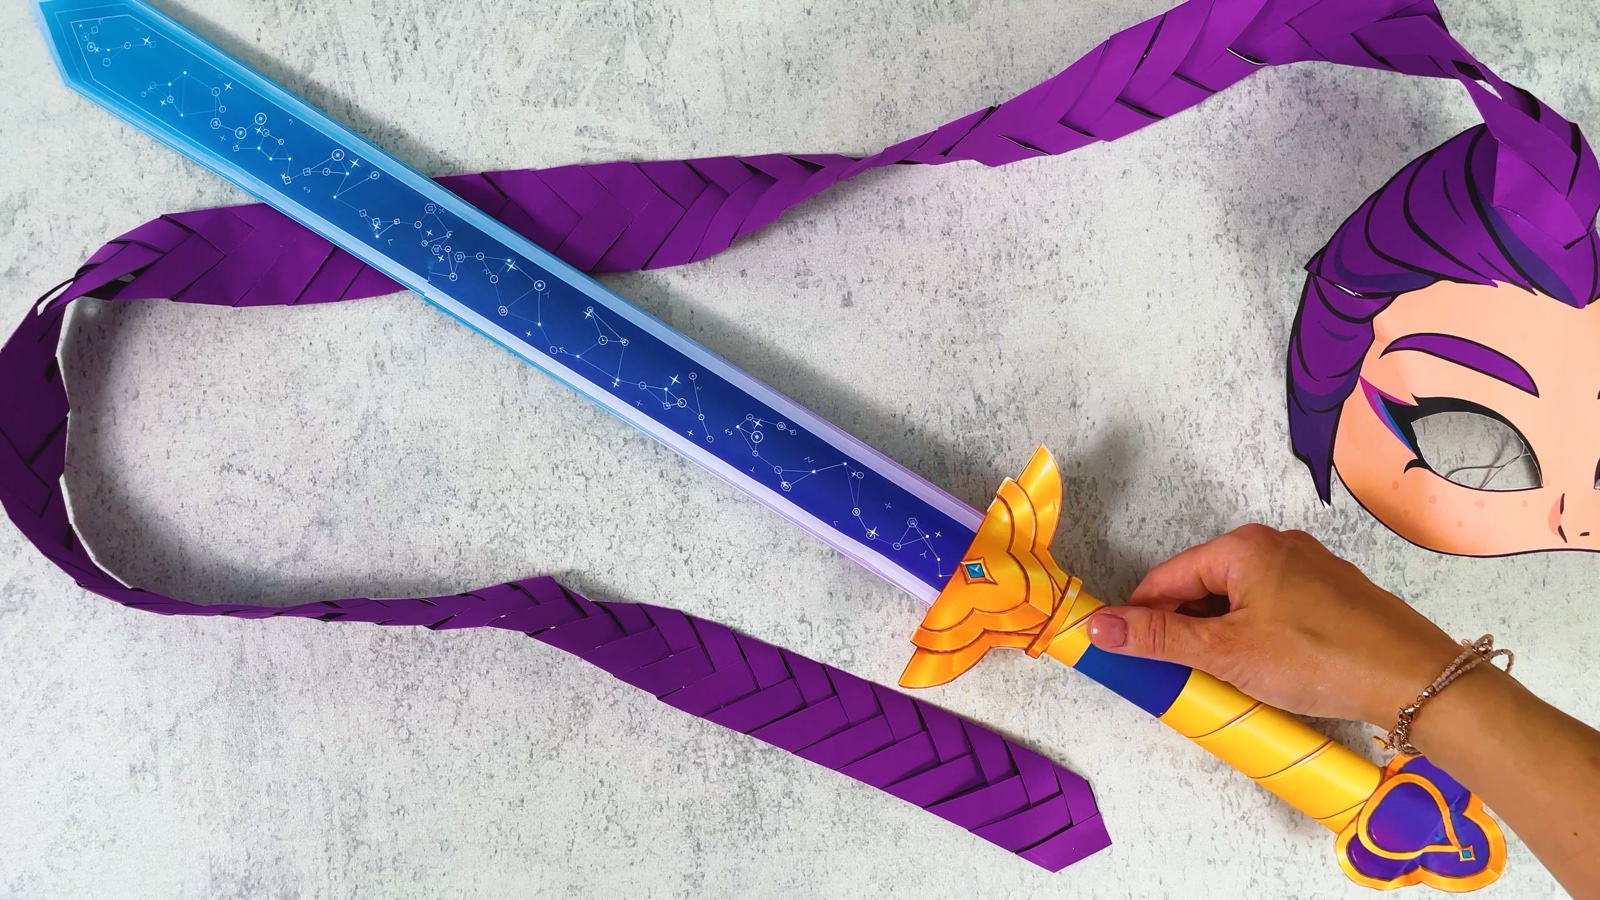
Rumi’s sword is ready.
THREE LITTLE TIPS
Make it easier.
- Roll the tube tight. A tight tube makes the whole sword stiff and strong.
- Use a glue stick, not liquid glue. Liquid glue makes the paper wavy.
- Thicker paper = stronger sword. Plain printer paper works, but thicker paper makes the blade even stiffer.

A CUBI MINI MOMENT
What will your sword protect?
Cubi’s sword keeps watch over Mini’s tiny paper castle. What will your sword protect?
A secret drawer full of shiny star stickers.
Loved making it?
Catch the next make first, or save this one for a rainy day.