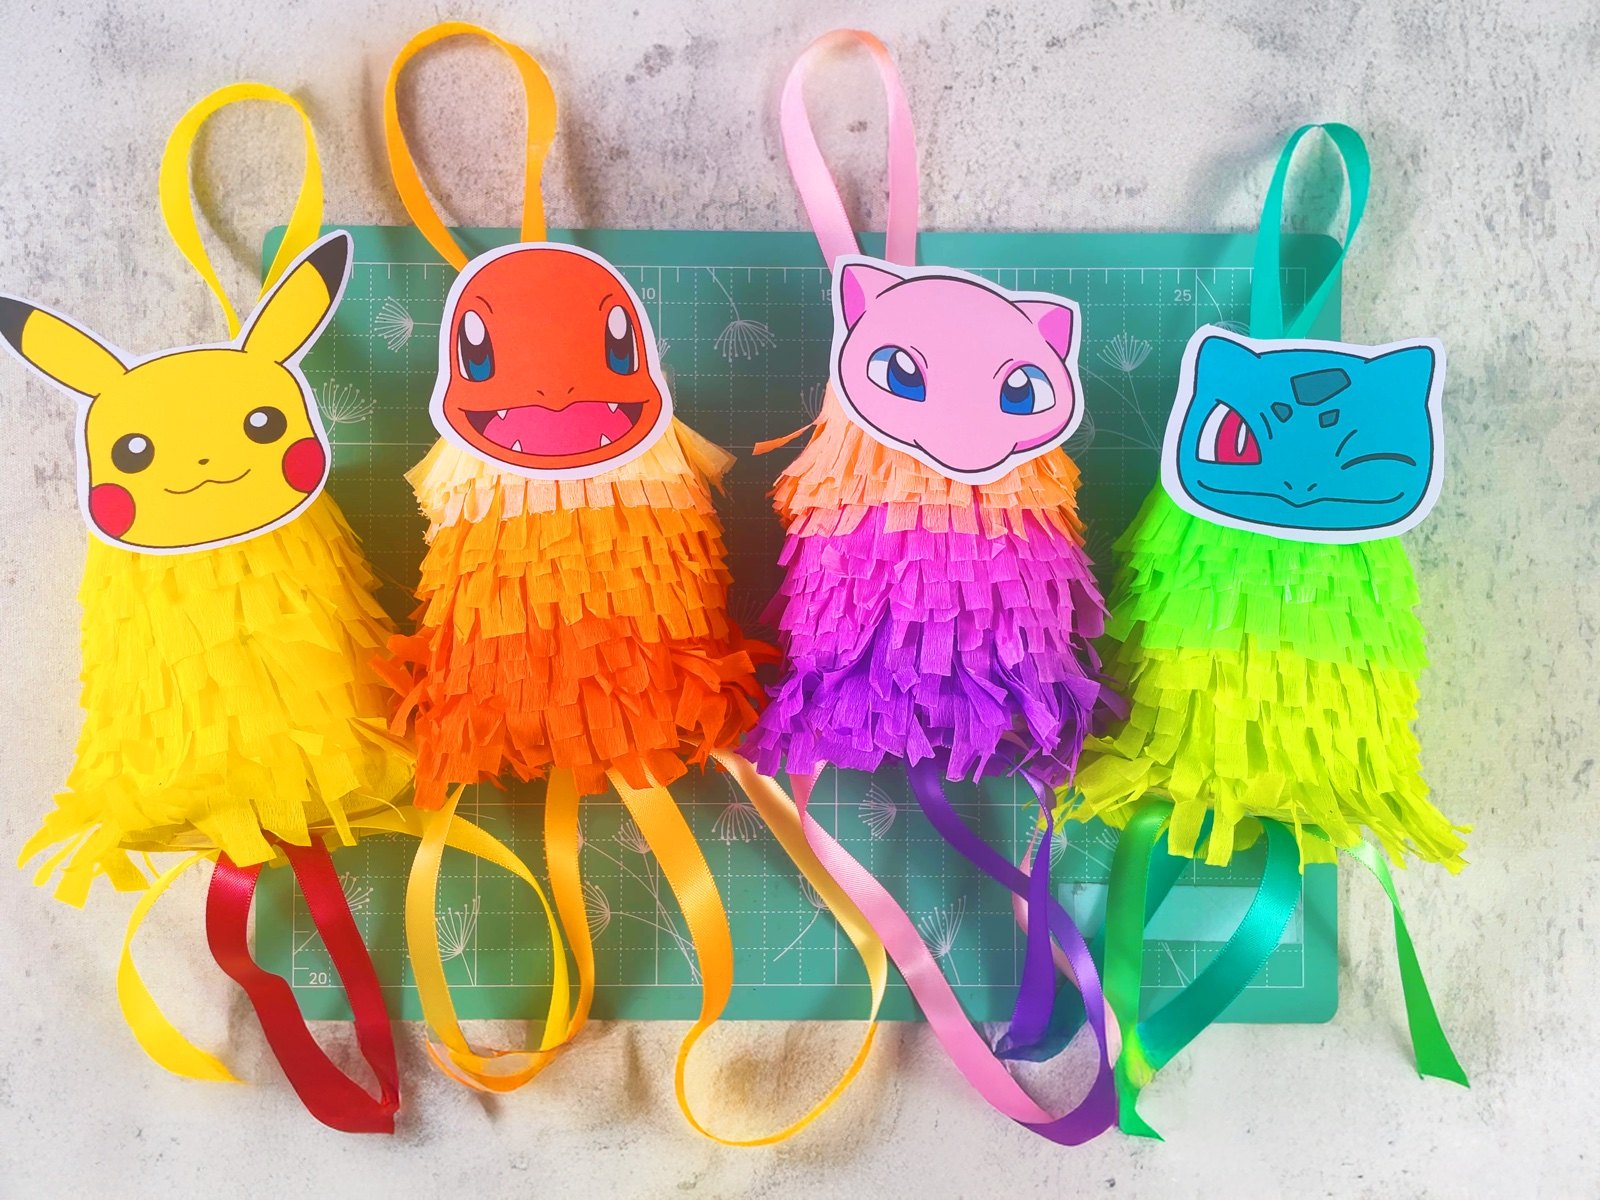
Let’s make a super easy Poké Ball paper rosette! This simple paper craft is a fun way to make an eye-catching Pokémon birthday party decoration from just a few sheets of paper.
We fold each sheet into an accordion, fold it in half and glue all the pieces together, and the paper rosette is ready. Then a black paper strip and simple circles in the centre turn it into a giant Poké Ball.
Make one giant Poké Ball or several rosettes in different sizes for a wall, a birthday table, a party backdrop, a photo booth or a Pokémon room. Perfect for fans of Pikachu, Charmander, Bulbasaur and Squirtle.
BEFORE WE START
What you need.
Materials
- Red paper× 2
- White paper× 2
- Black paper
- Glue
Tools
- Scissors
- Circle punch or a round lid to trace
PART 1 OF 4
The red half
- 1
Fold an accordion
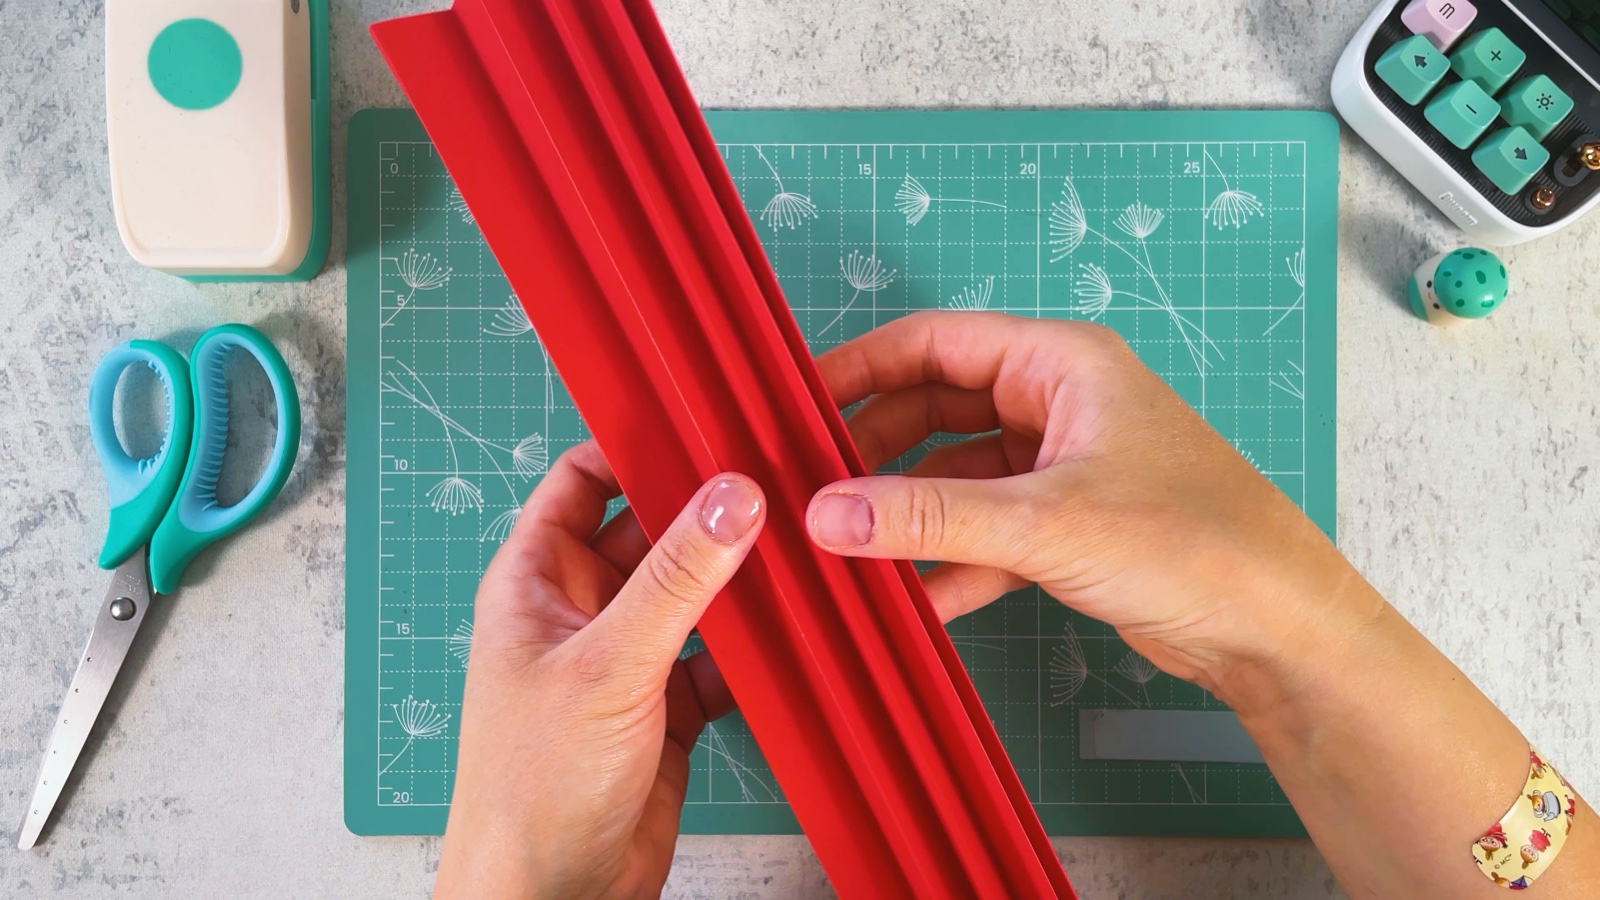
Lay one red sheet (A4 or US Letter) in front of you, long side down. Fold the bottom edge up into a narrow strip and press the fold flat.
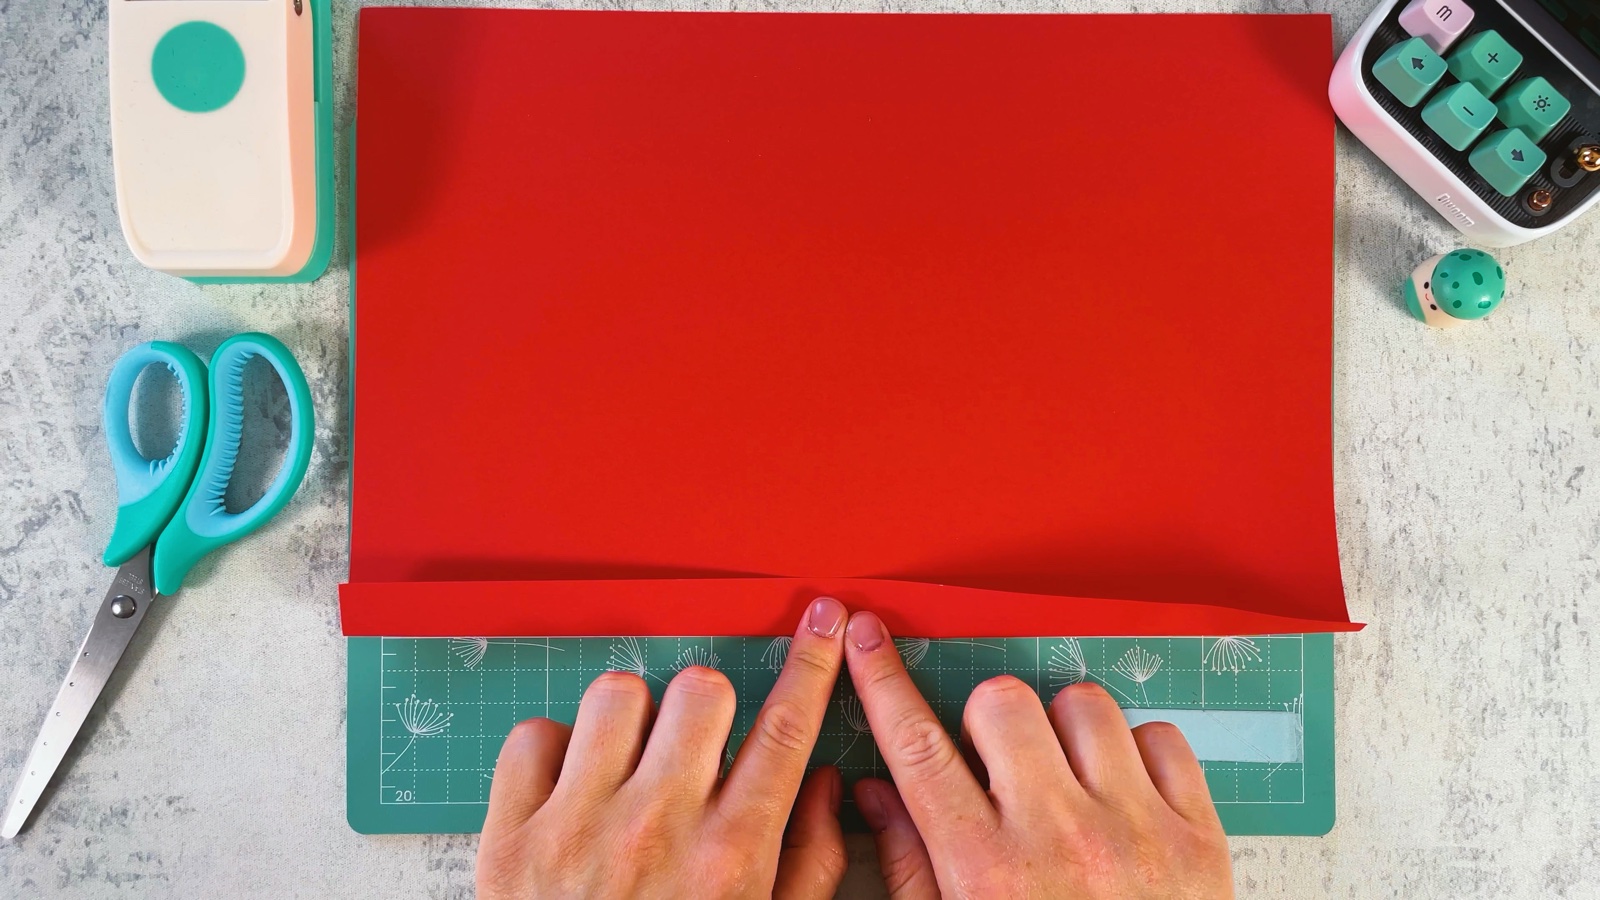
Turn the paper over and fold the same width again. Keep going, back and forth, to the end of the sheet. Now you have a long, narrow accordion. Fold the second red sheet the same way.
- 2
Fold it in half
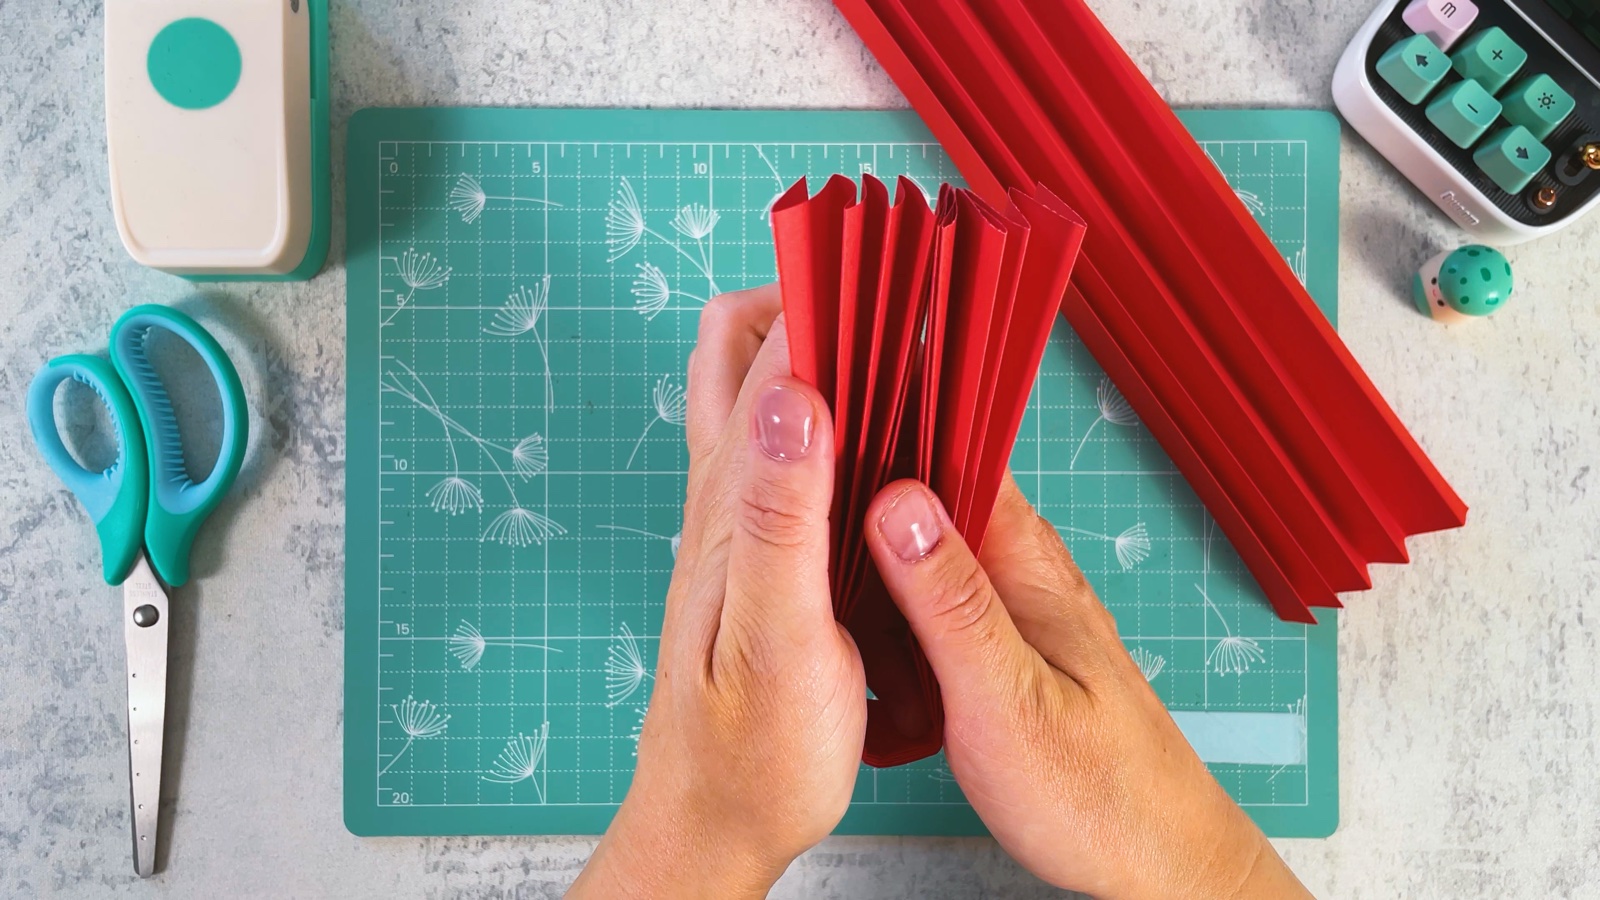
Fold one accordion in half, so the two ends meet. Squeeze the folds together at the bend.
- 3
Glue it into a fan
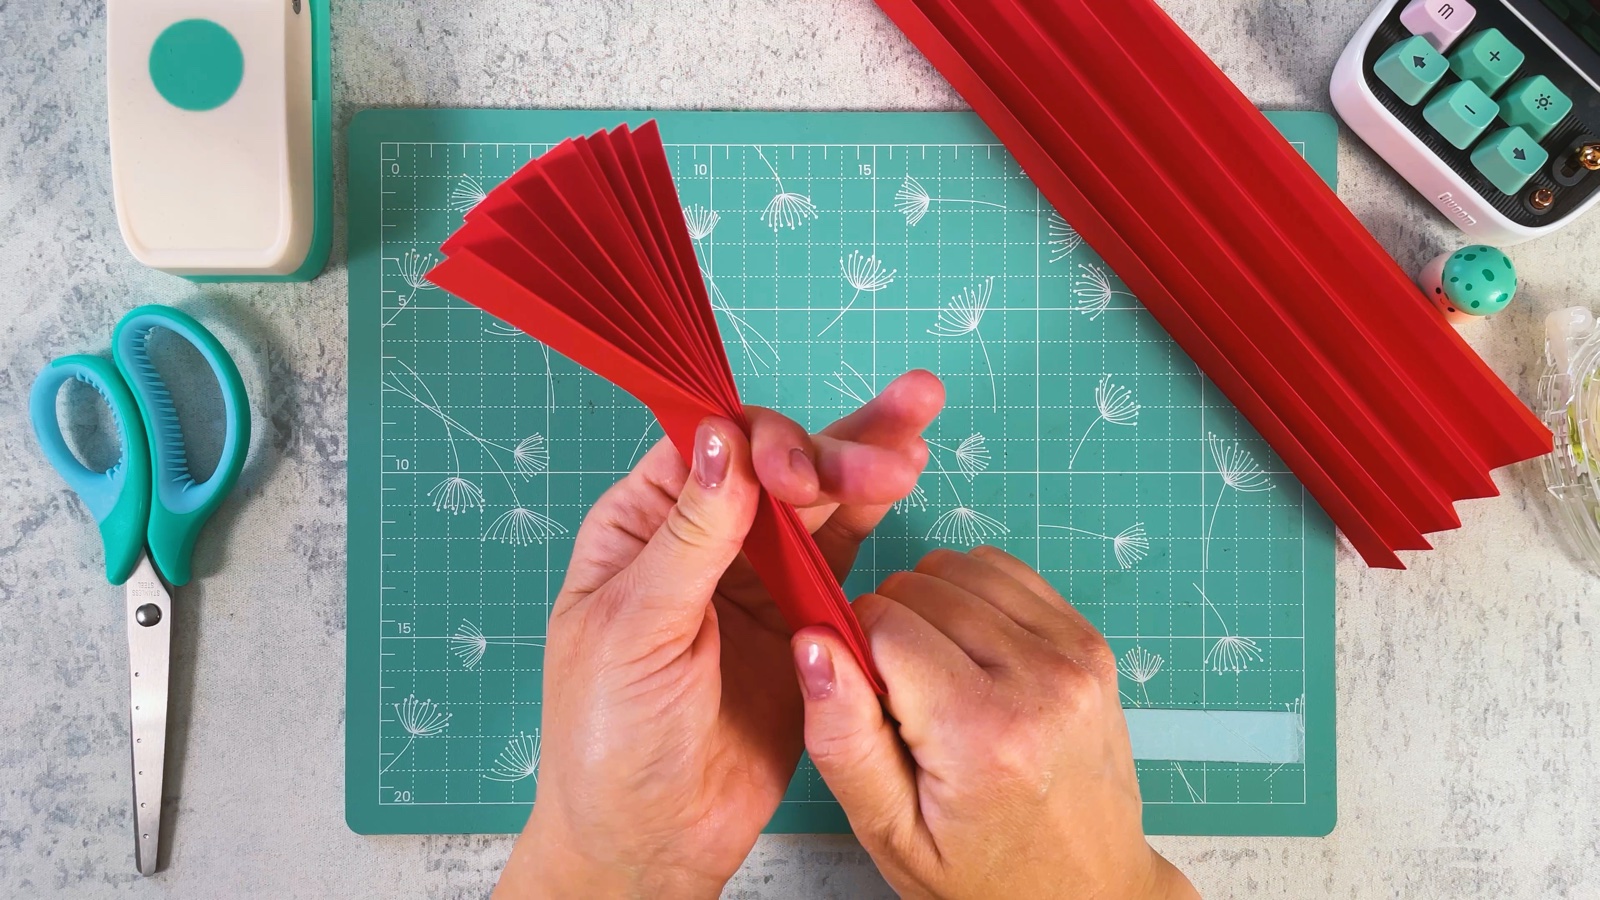
Glue the two inside folds together, where the halves touch. Then open the top. The accordion becomes a fan.
- 4
Make a second red fan
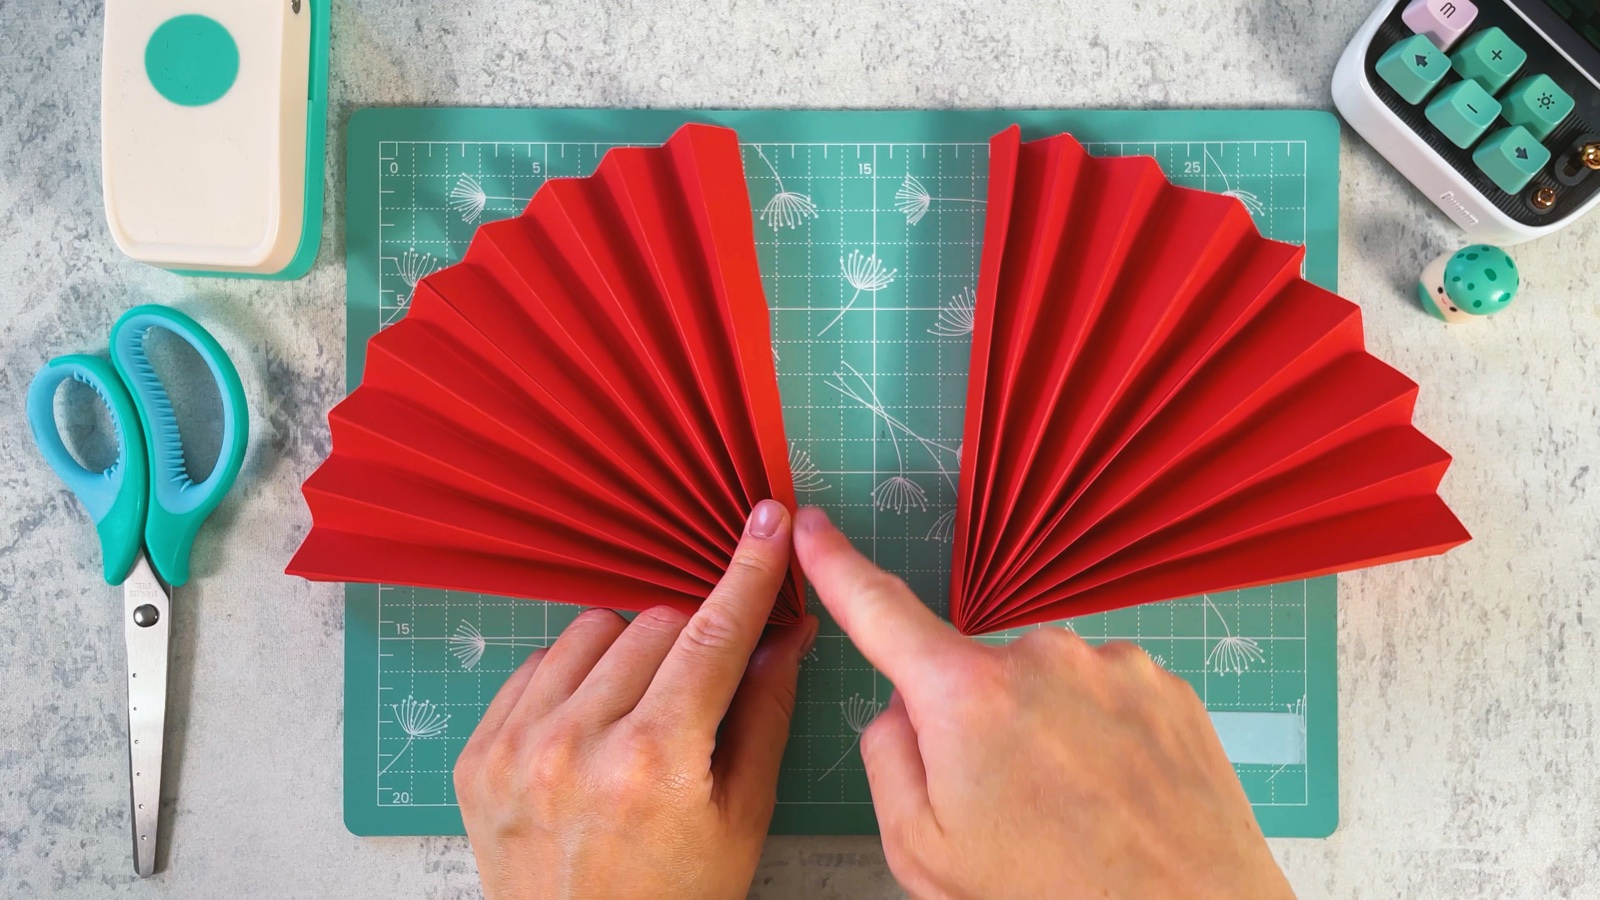
Fold and glue the second red accordion the same way. Now you have two red fans.
- 5
Glue the fans together
Put glue on the outer fold of one fan and press the second fan onto it. Open it out into a half circle.
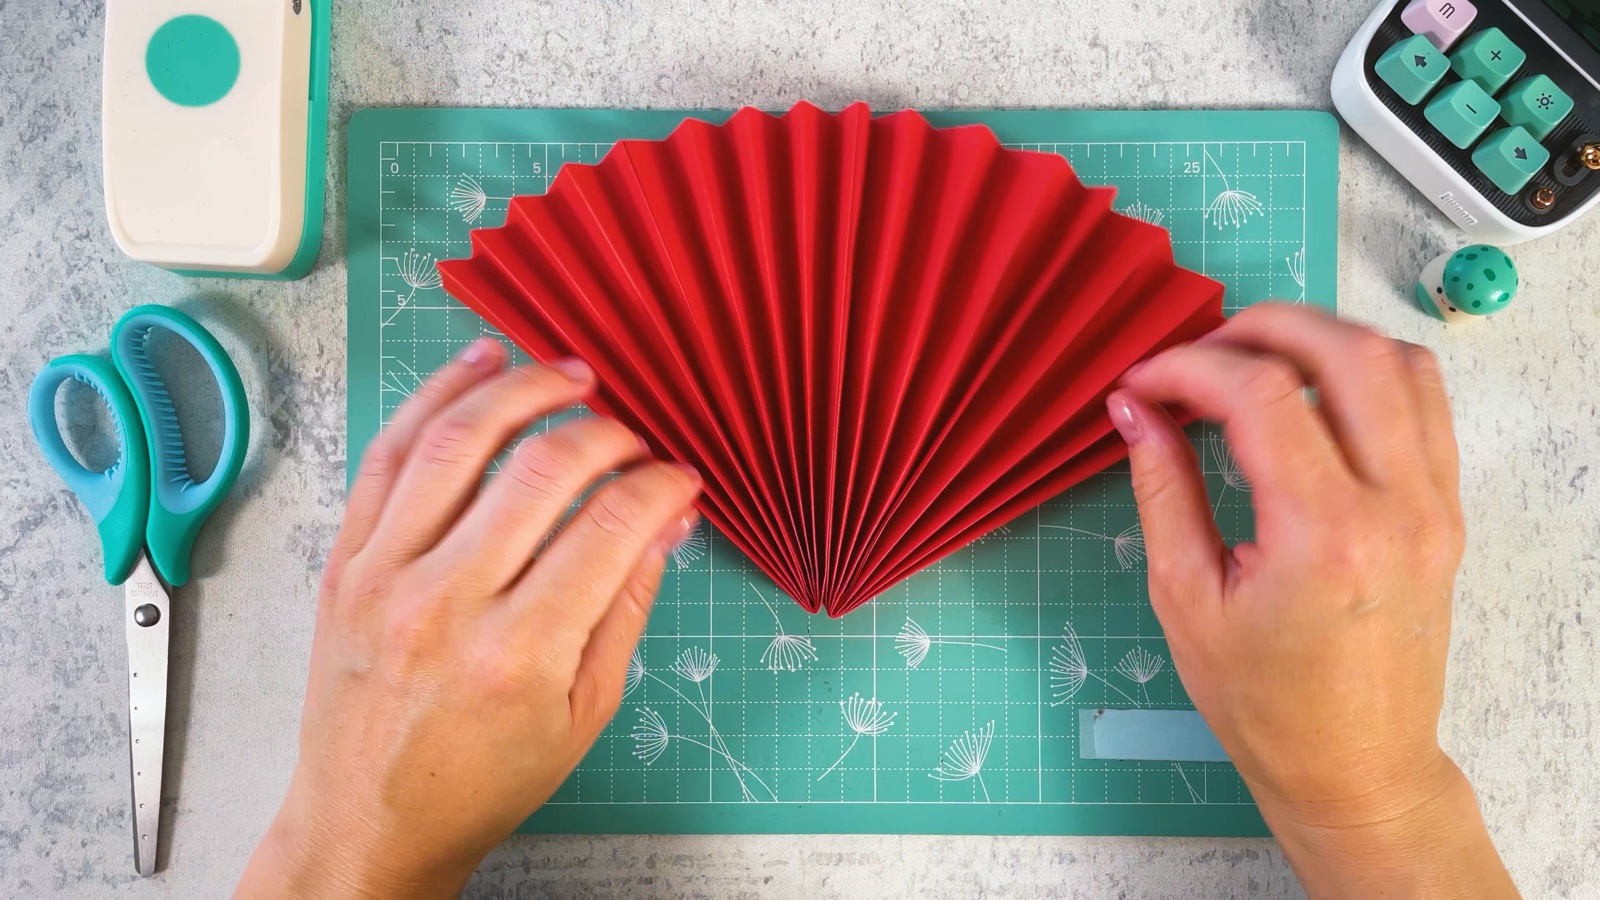
The red half is ready.
PART 2 OF 4
The white half
- 6
Make two white fans
Now the white sheets. Fold each one into an accordion, fold it in half and glue it into a fan, just like the red ones.
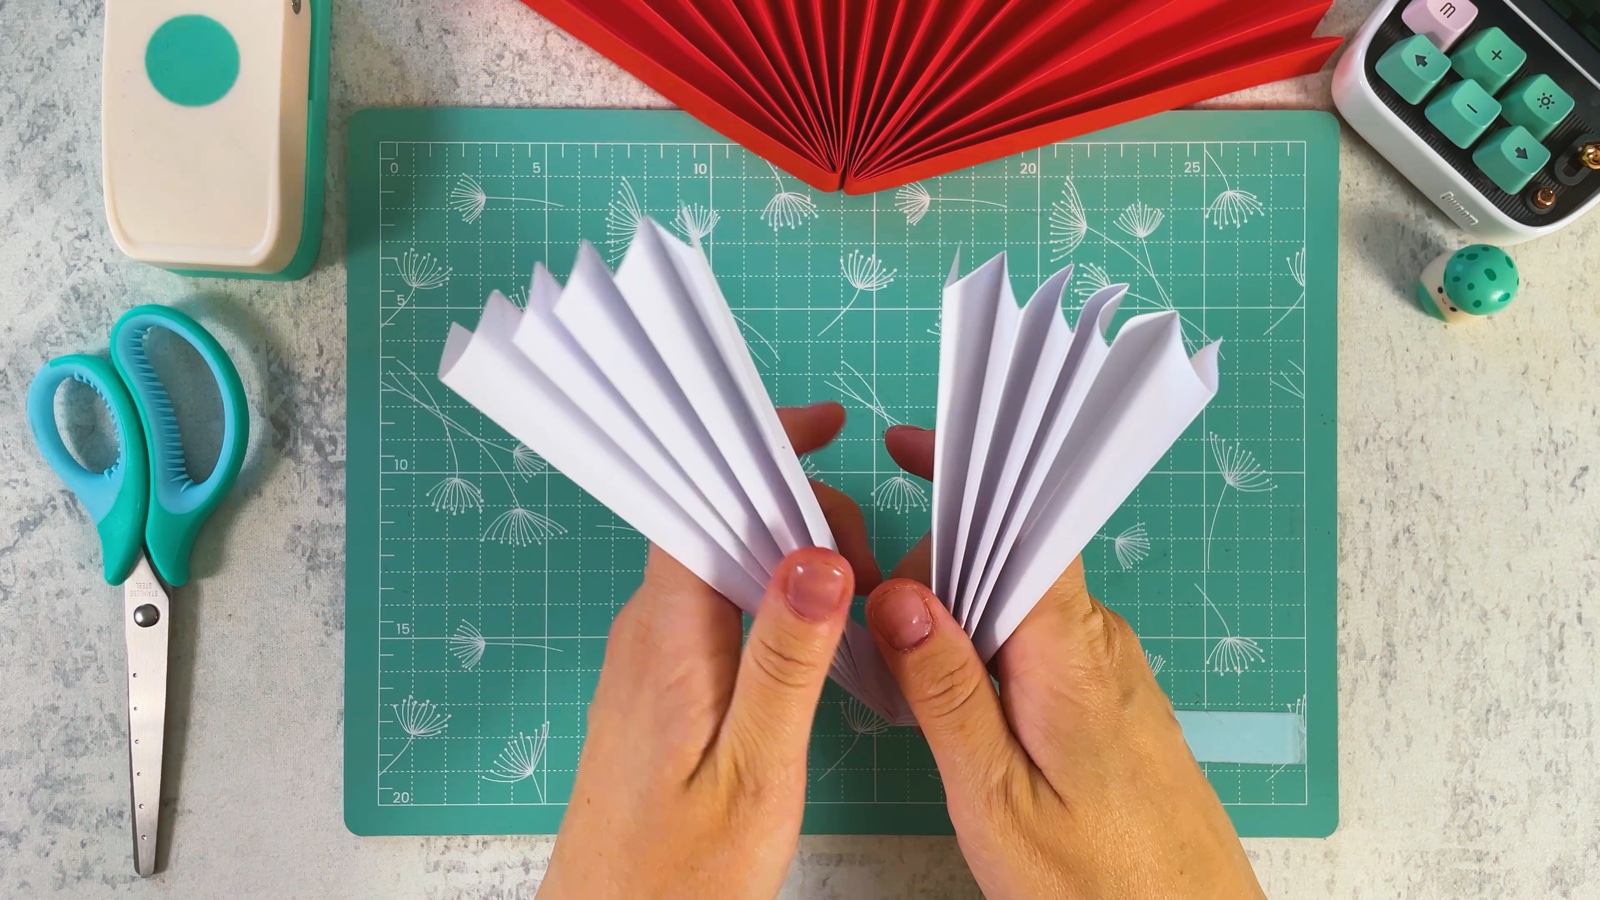
- 7
Glue them into a half circle
Glue the two white fans together along the outer fold and open them into a white half circle.
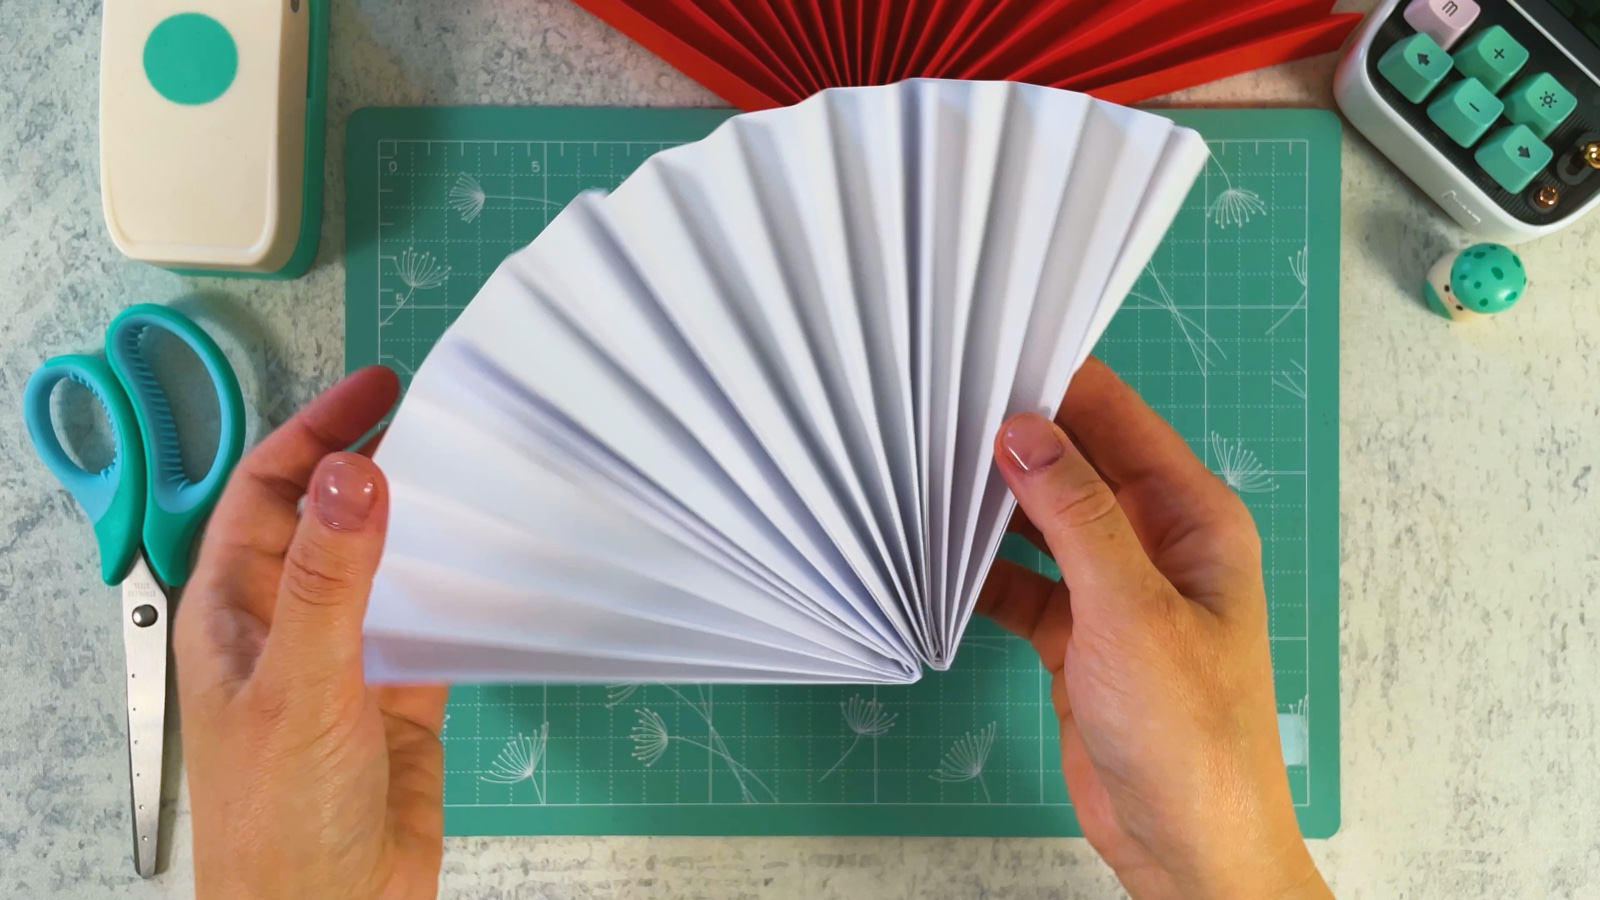
The white half is ready.
PART 3 OF 4
The circle
- 8
Join red and white
Put glue on the outer fold of the red half and press the white half onto it.
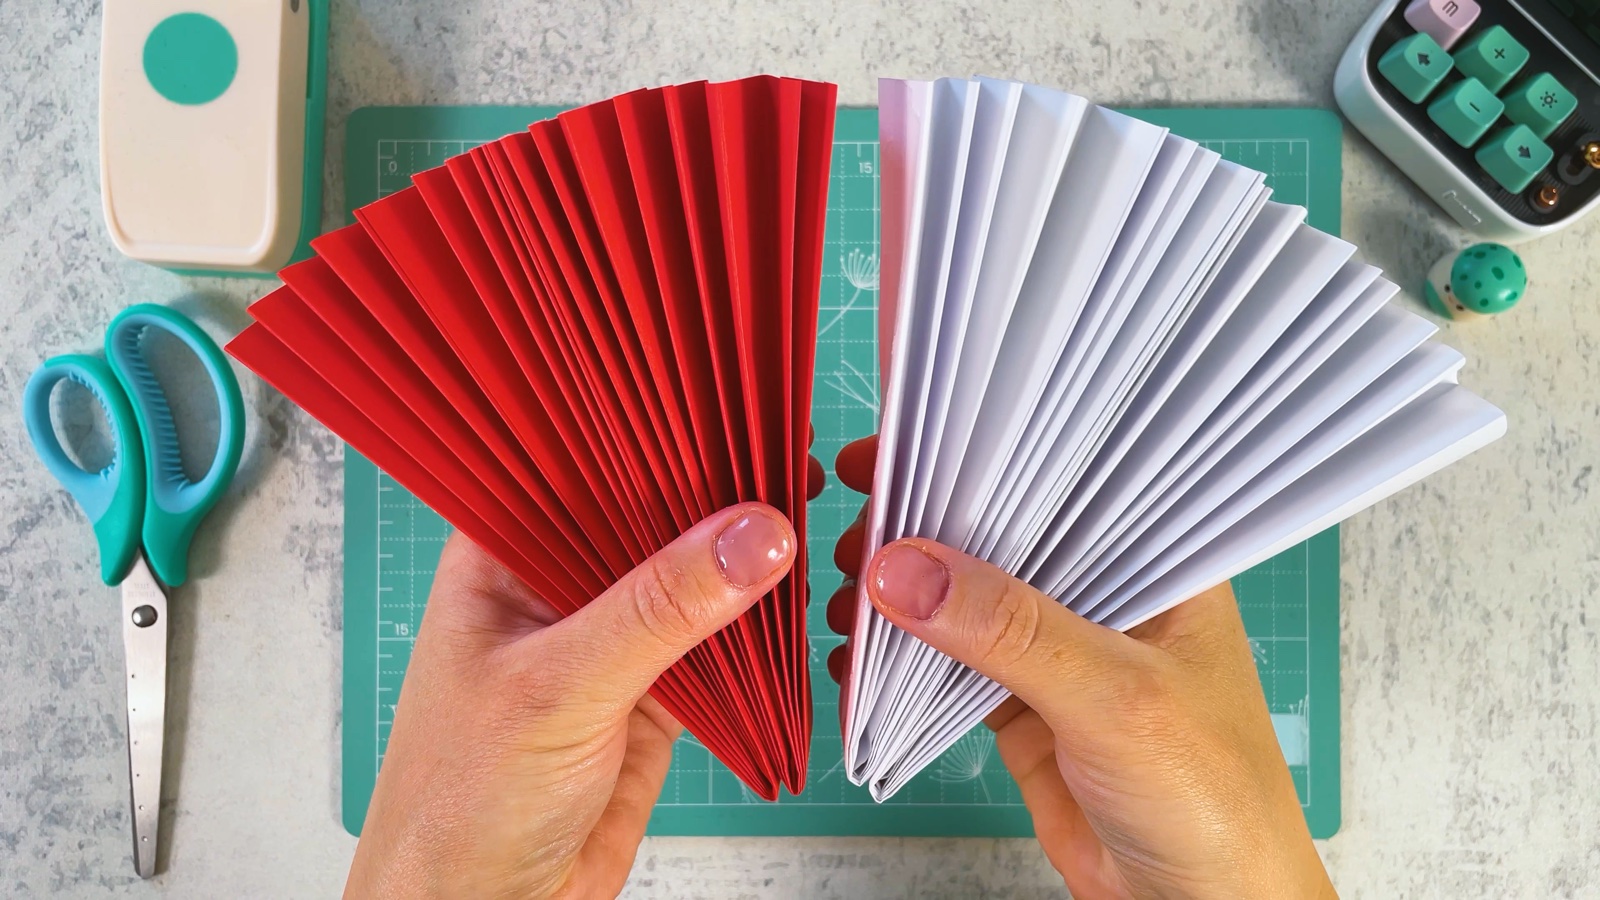
Glue the last two edges together too. Press the middle down gently so the circle lies flat.
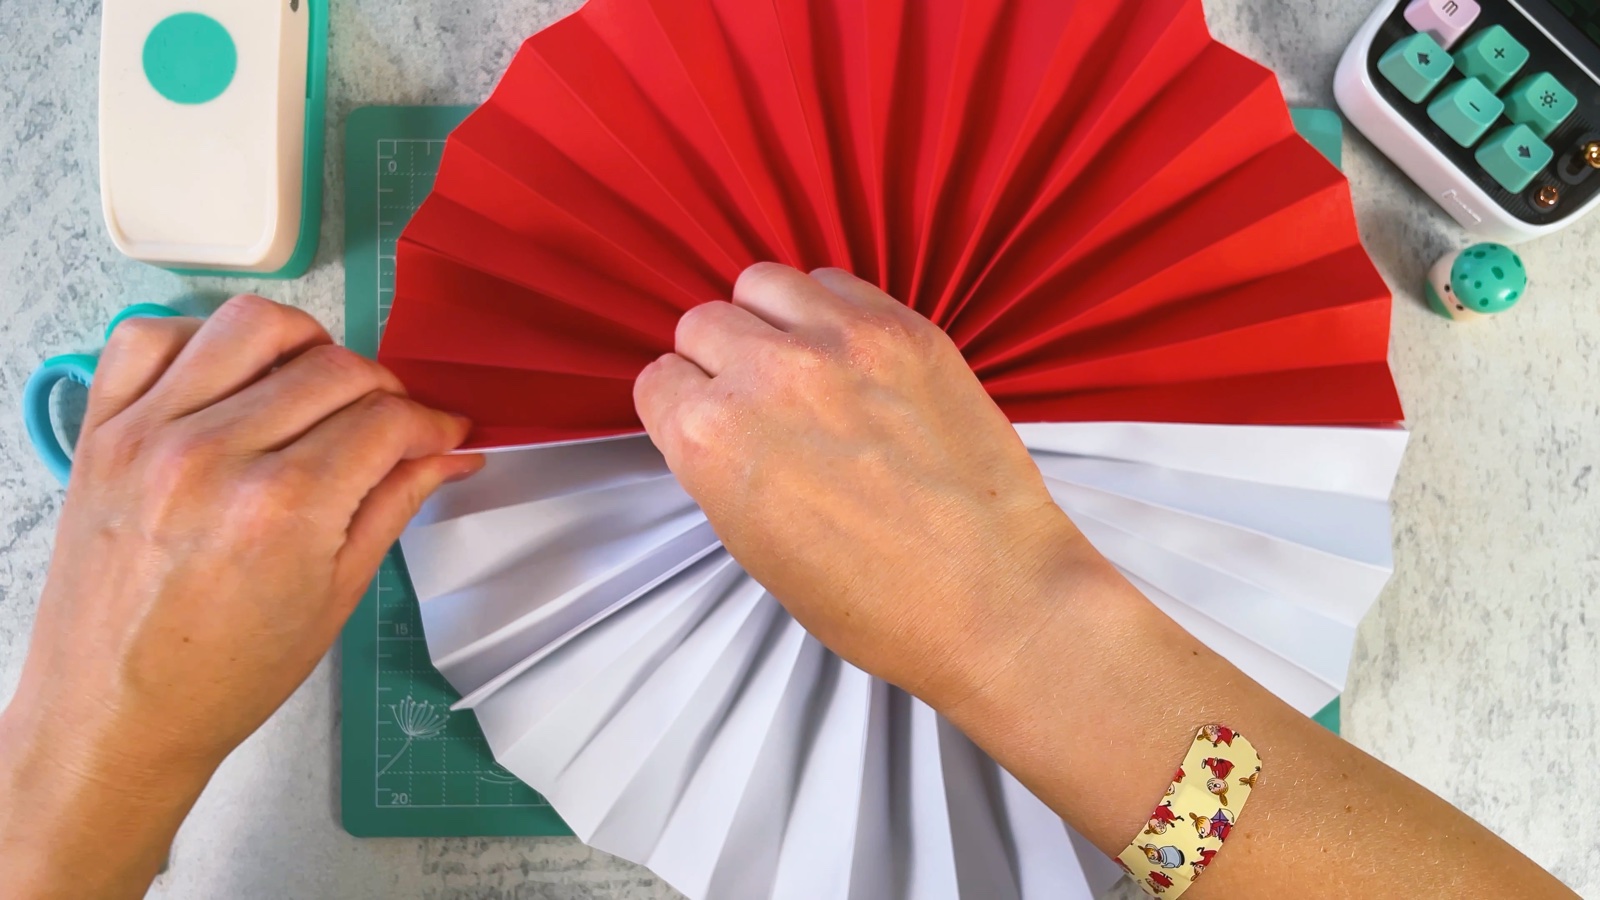
Your paper rosette is ready.
PART 4 OF 4
The Poké Ball details
- 9
Add a black strip
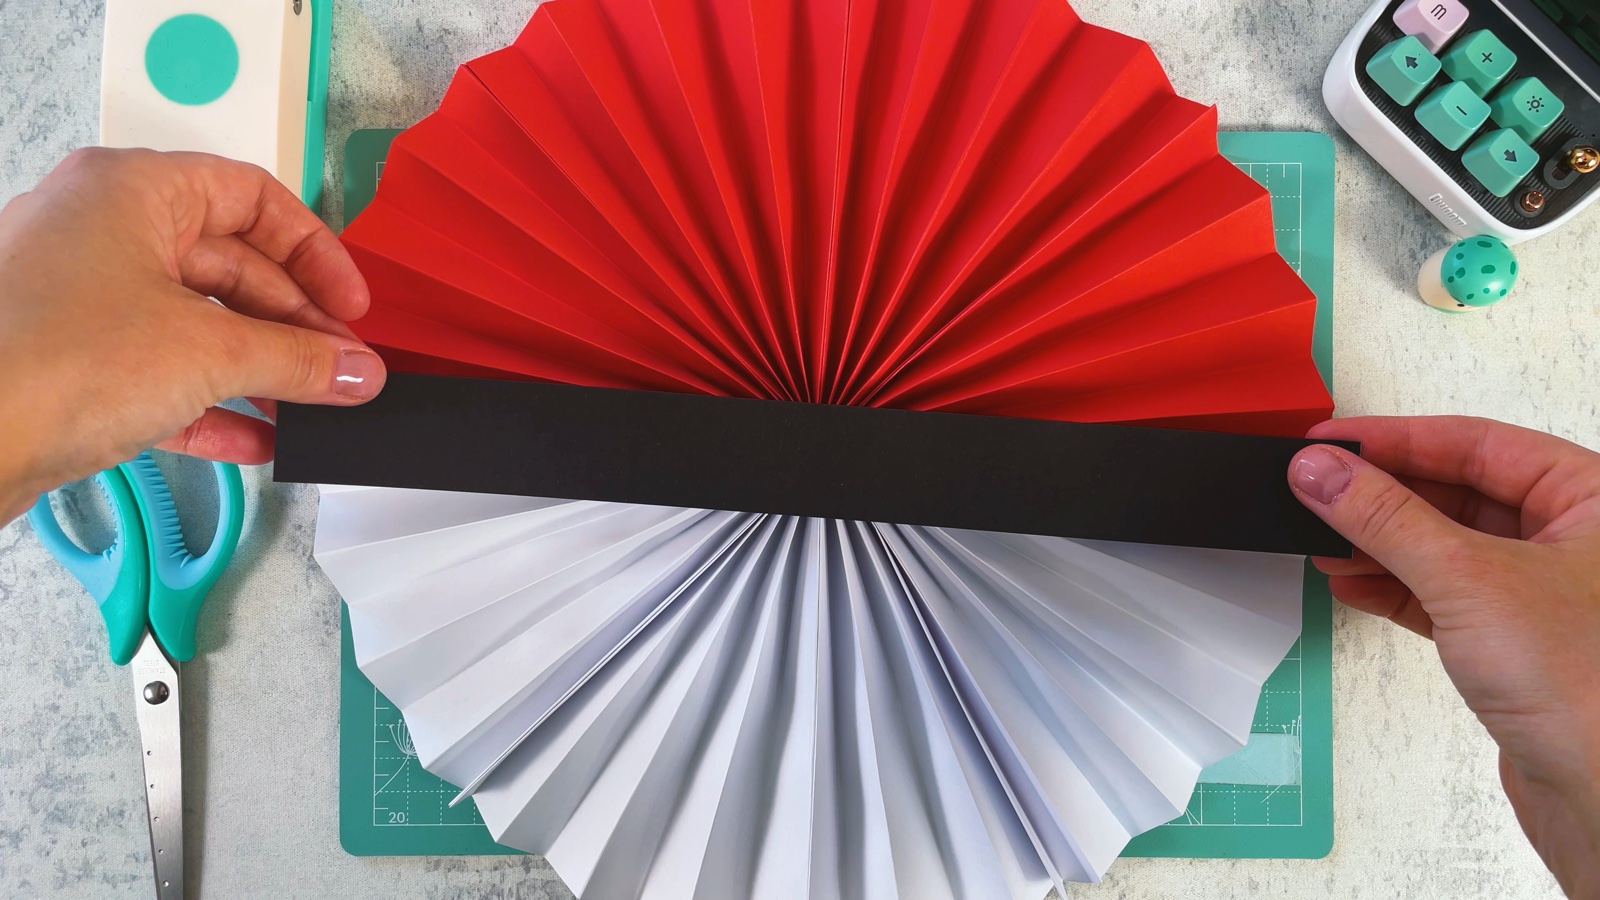
Cut a long strip of black paper, a little longer than the rosette is wide. Glue it across the rosette, right where the red meets the white.
- 10
Punch a white circle
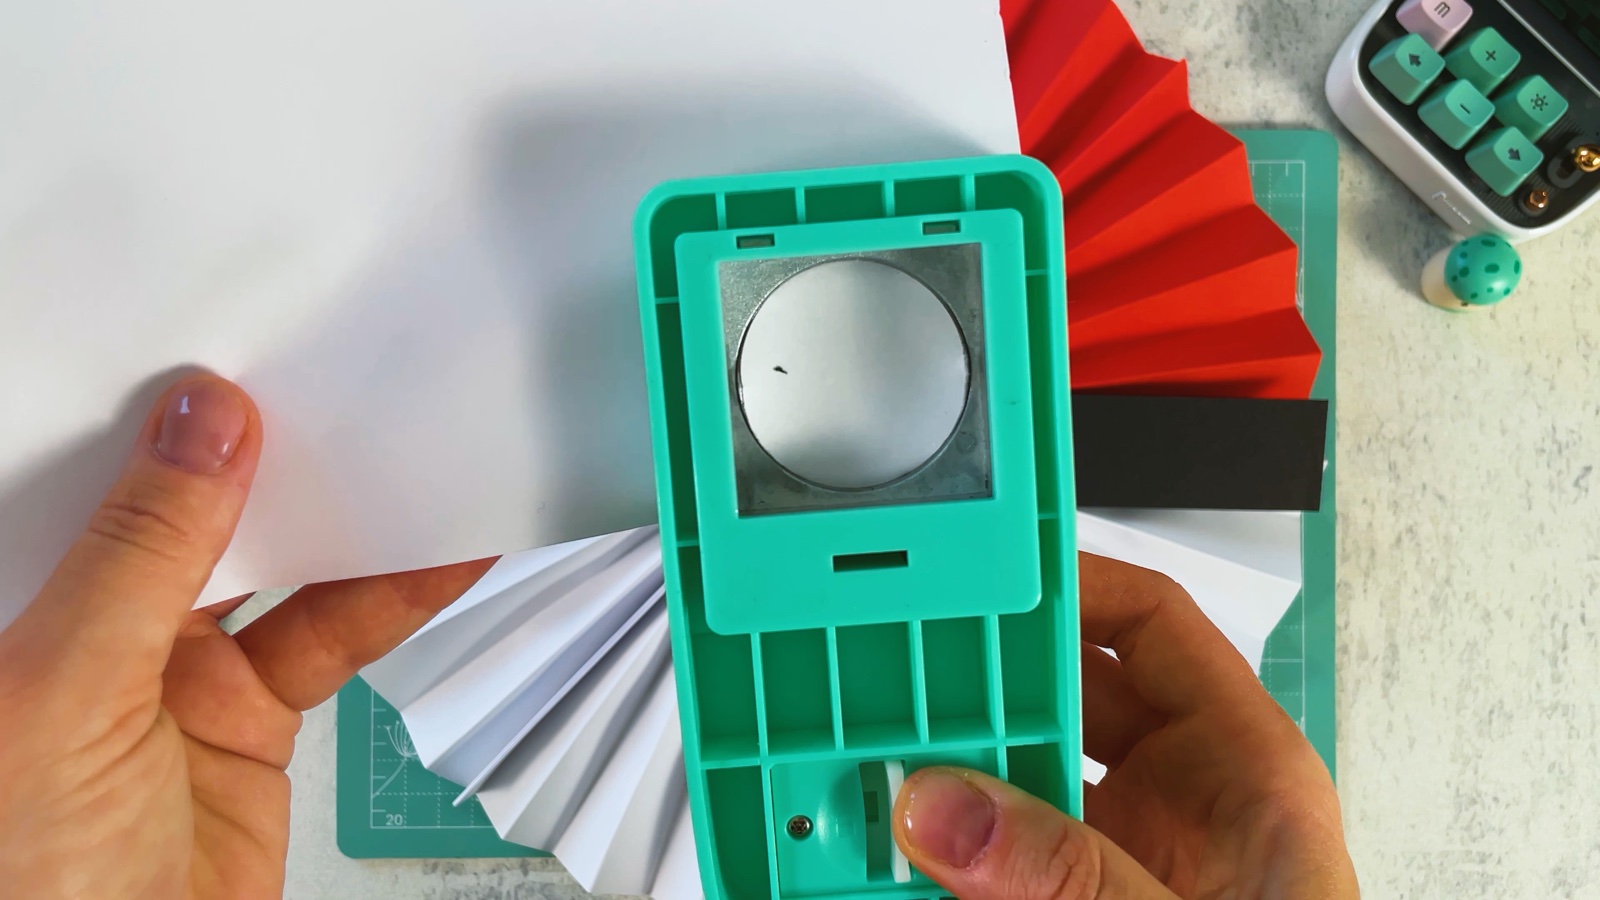
Punch a circle out of a scrap of white paper. No punch? Trace around a small round lid and cut it out.
- 11
Give it a black ring
Glue the white circle onto black paper.
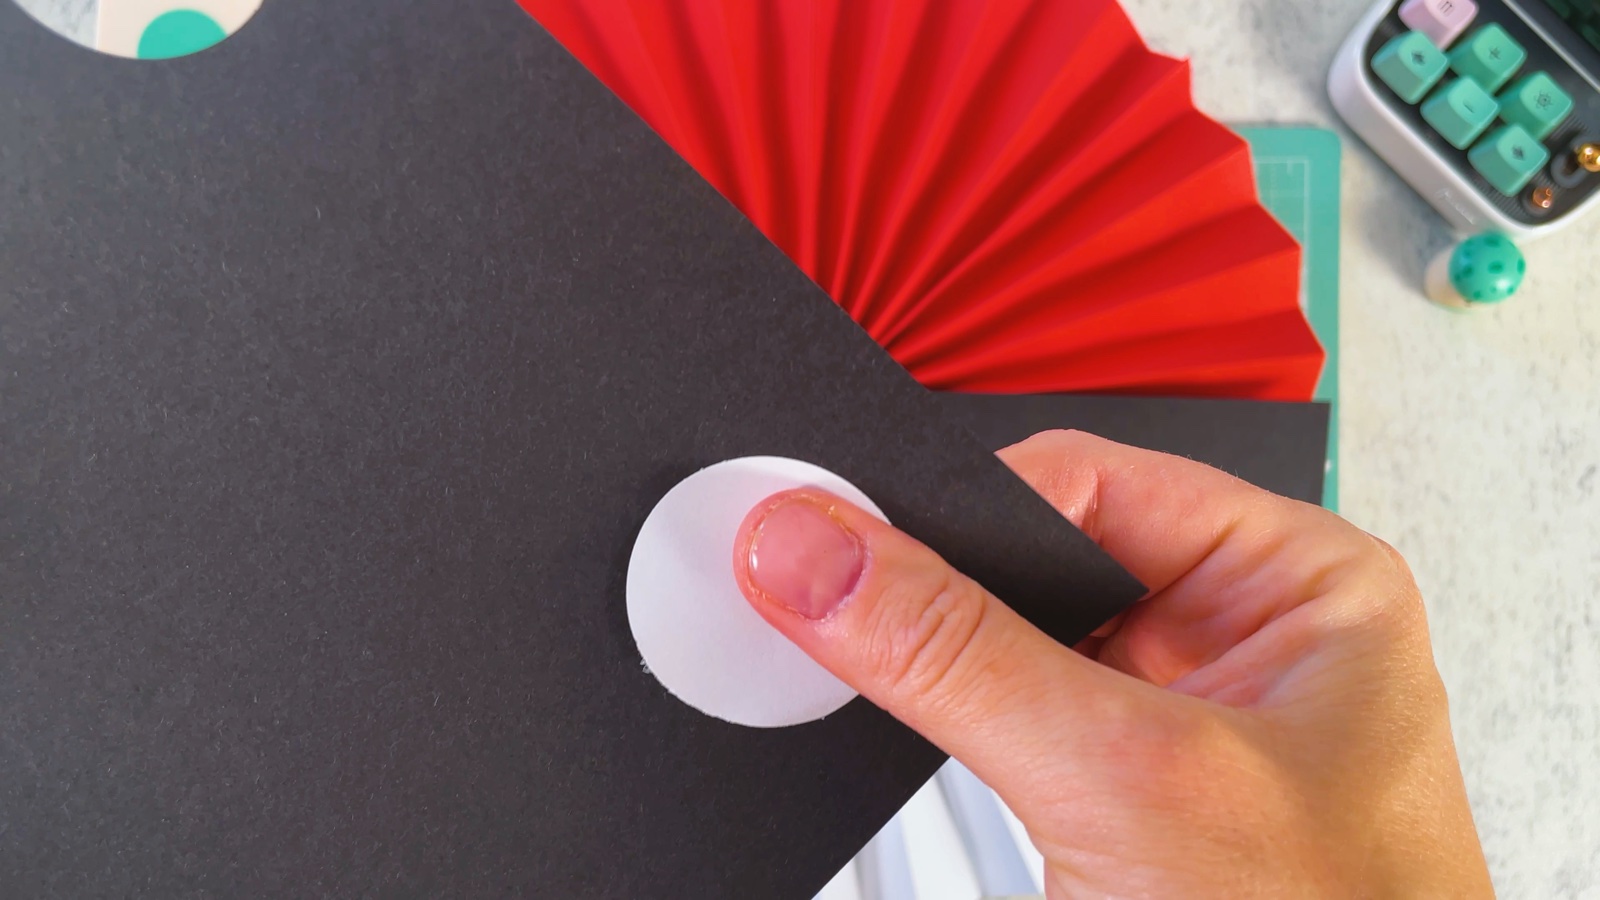
Cut around it, leaving a black ring around the white circle. This is the Poké Ball button.
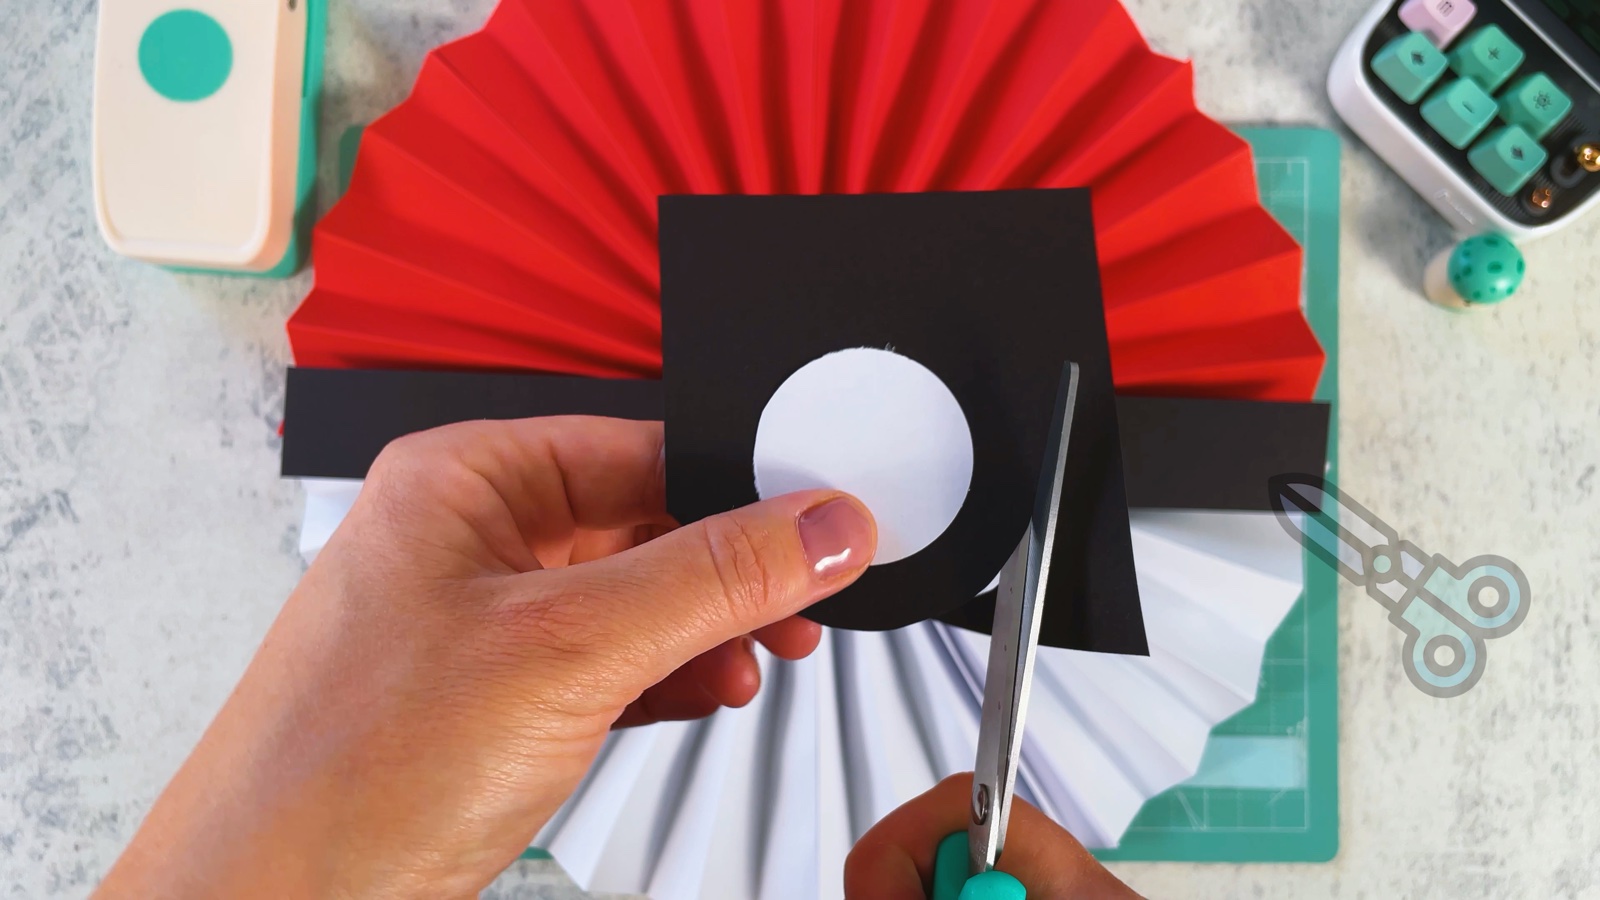
- 12
Add the button
Put glue on the back of the button and press it onto the middle of the black strip.
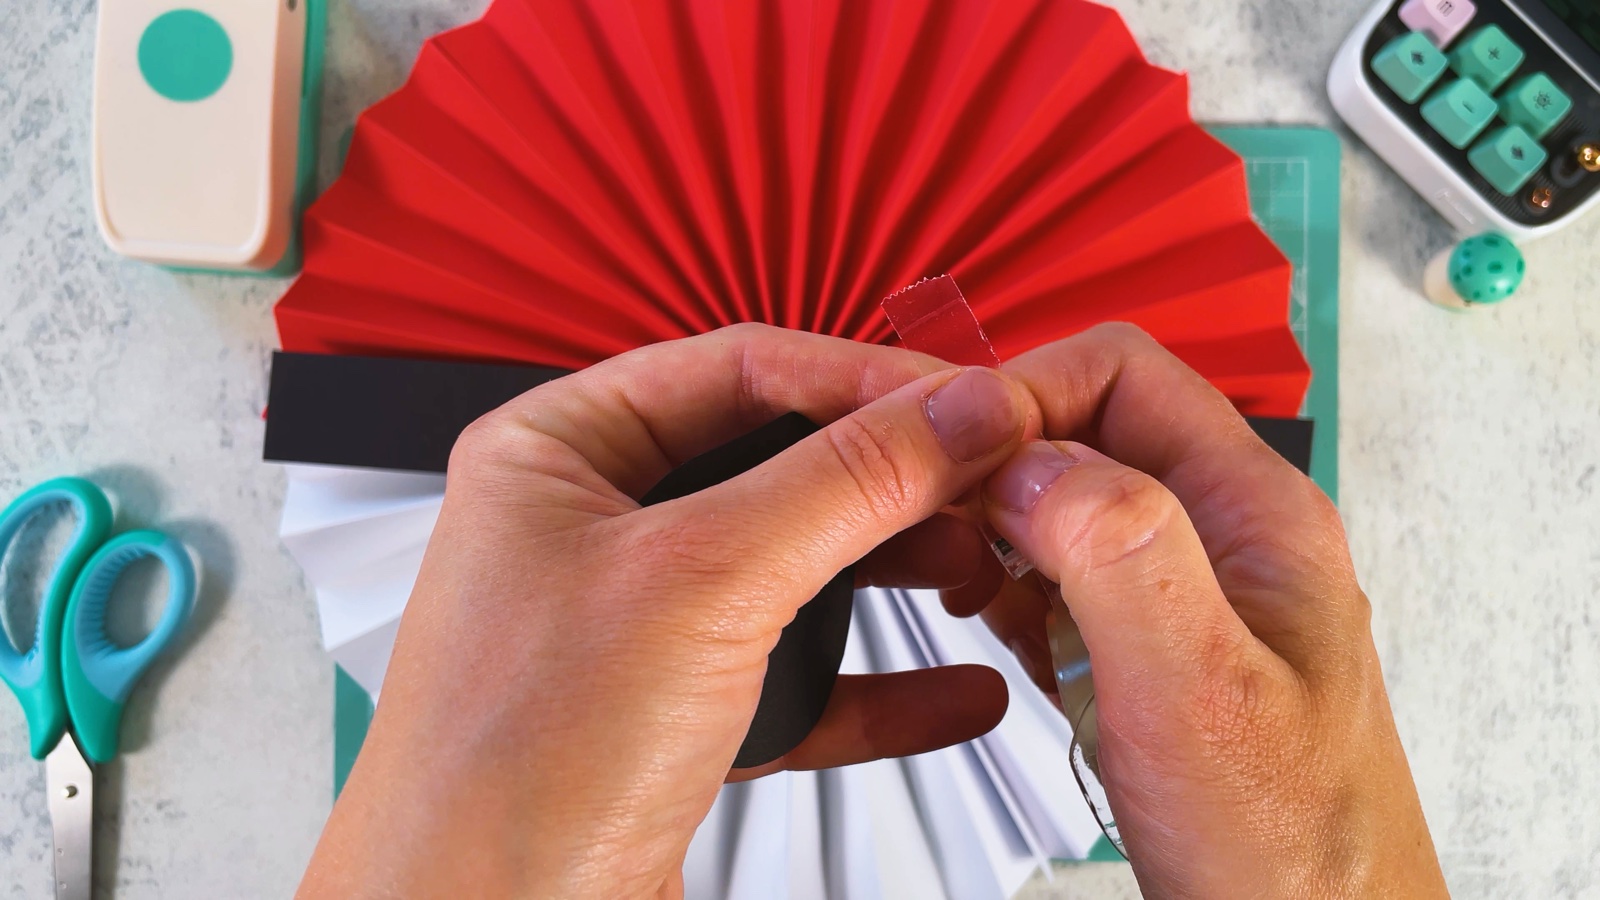
Hang it on a wall, a party backdrop or the birthday table.
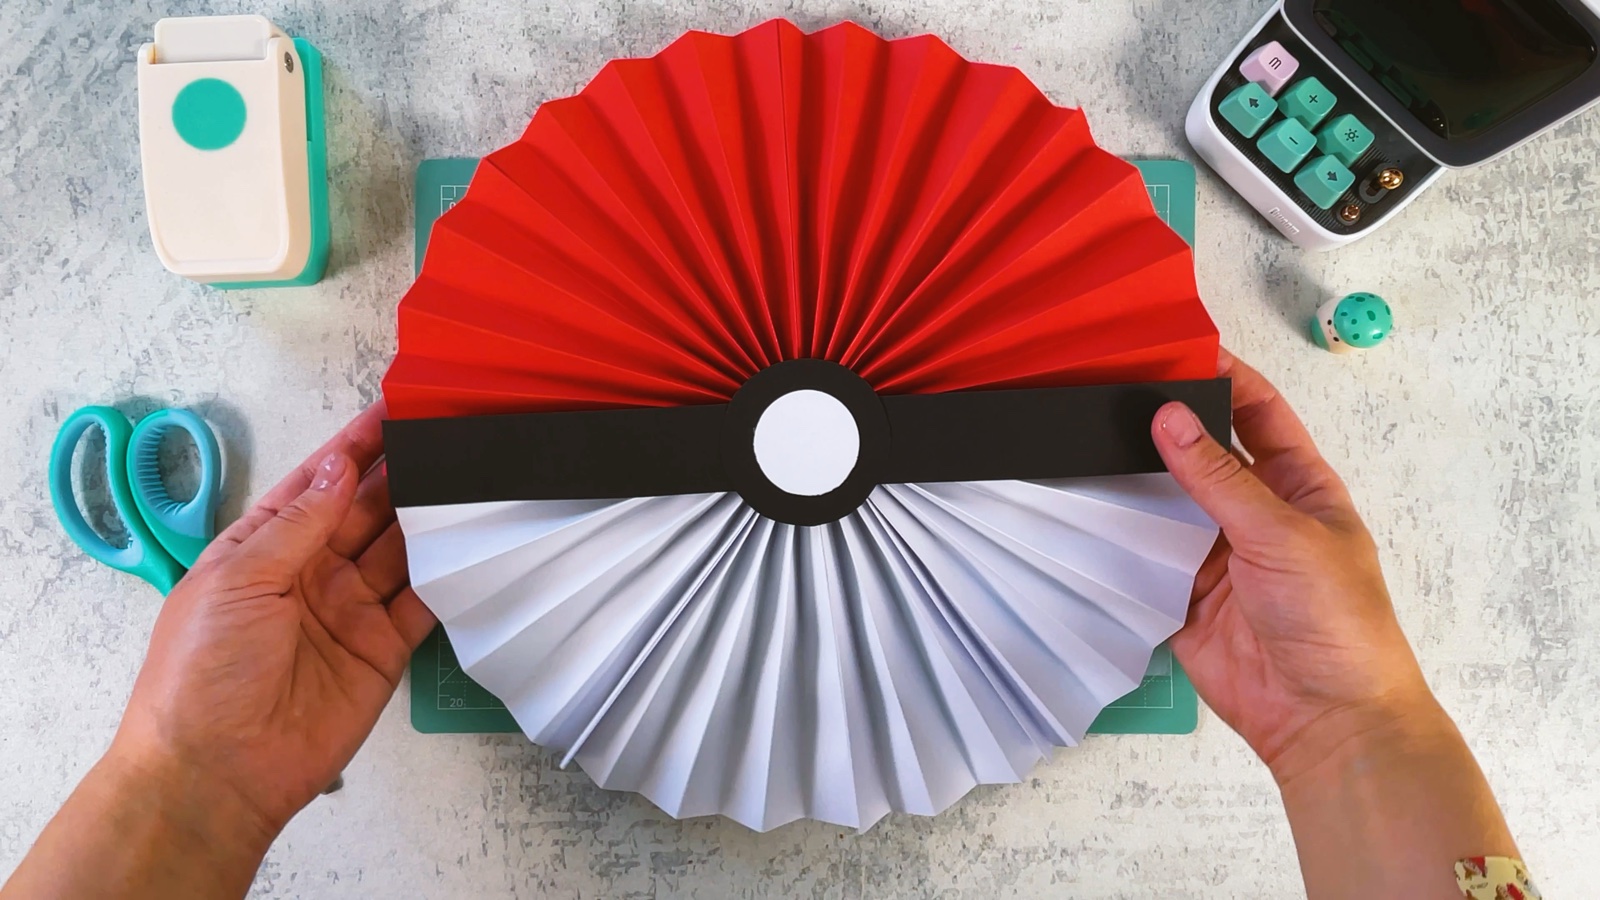
Your Poké Ball rosette is ready.
THREE LITTLE TIPS
Make it easier.
- Press every fold hard. Sharp folds make the rosette open into a neat, round circle.
- Keep the folds the same width. If one strip is wider, the circle comes out a little uneven.
- Make a whole wall of them. Smaller sheets make smaller rosettes. Mix big and small Poké Balls on a party backdrop.

A CUBI MINI MOMENT
Which Pokémon lives in your Poké Ball?
Cubi hung a Poké Ball over Mini’s party table. Mini already knows who is hiding inside. What about yours?
A sleepy Snorlax, napping until the cake is ready.
Loved making it?
Catch the next make first, or save this one for a rainy day.