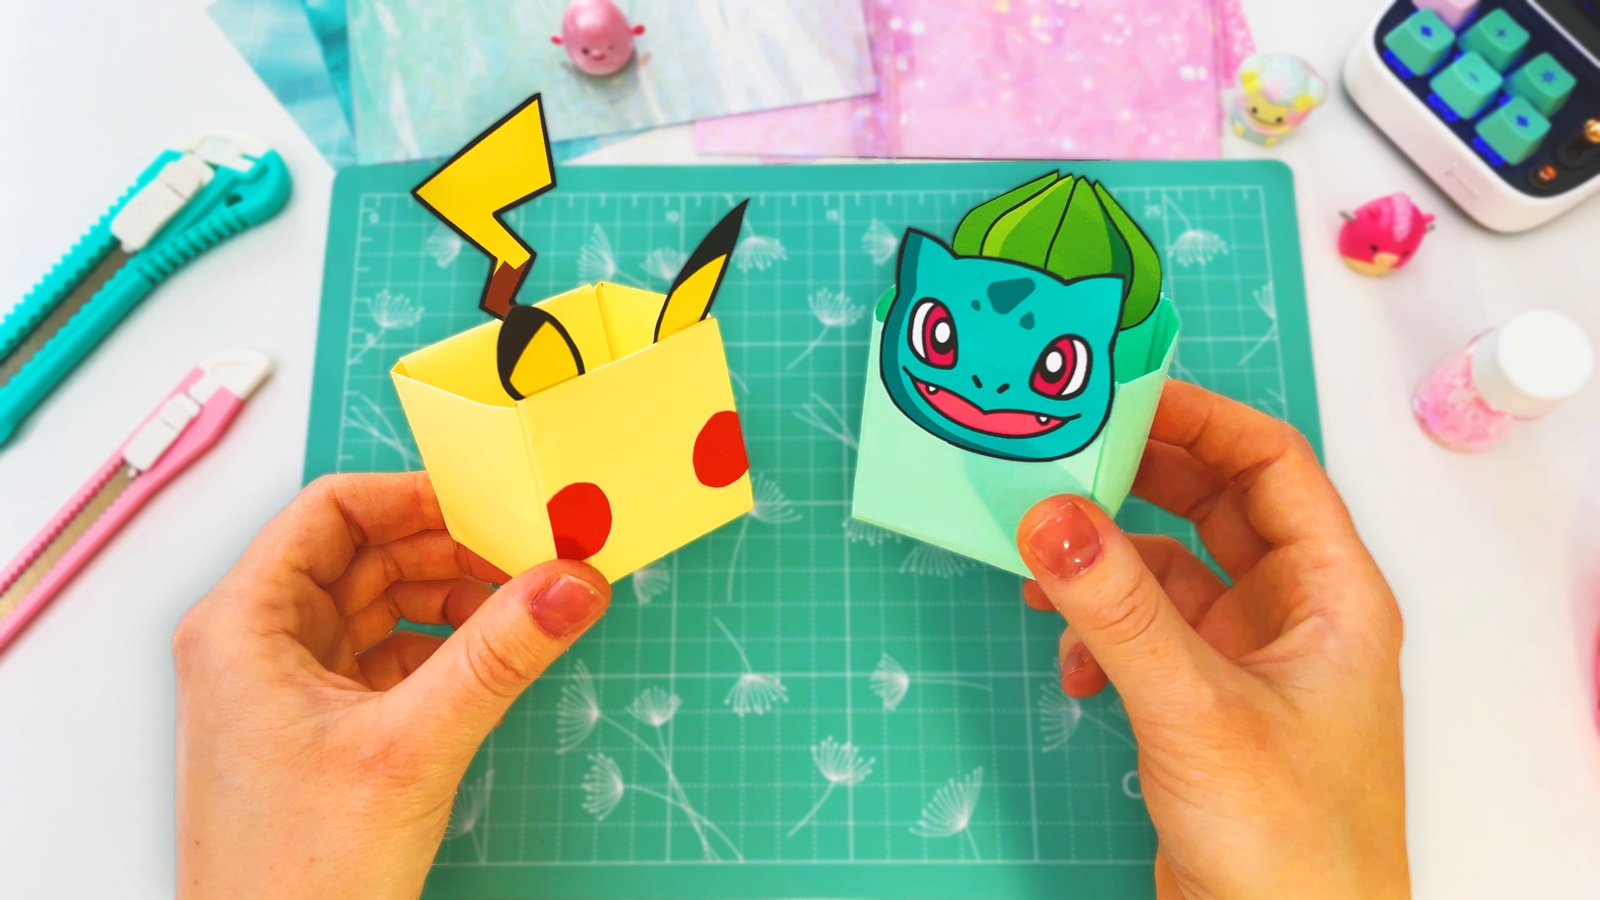
Let’s make an awesome Minecraft paper flip toy! This fun paper fidget changes every time you flip it, horizontally or vertically, again and again, without an end. Some people call it an Endless Magic Card.
We use just one square sheet of paper (21 × 21 cm (8¼ × 8¼ in), cut from A4 or US Letter), then fold, cut and glue it step by step. At the end we have a flat toy that shows a new character with every flip: Creeper, Steve, Pig, Enderman, Villager, Zombie, Carved Pumpkin, Mooshroom, Blaze, Magma Cube and more.
It is light and flat, so it fits in a pocket or a backpack. Make one for a Minecraft birthday party, as a party favour, or for a quiet rainy afternoon.
BEFORE WE START
What you need.
Materials
- Printable template
- Coloured paper
- Glue stick or glue tape
Tools
- Scissors
- Ruler
- Paper trimmer
- A printer
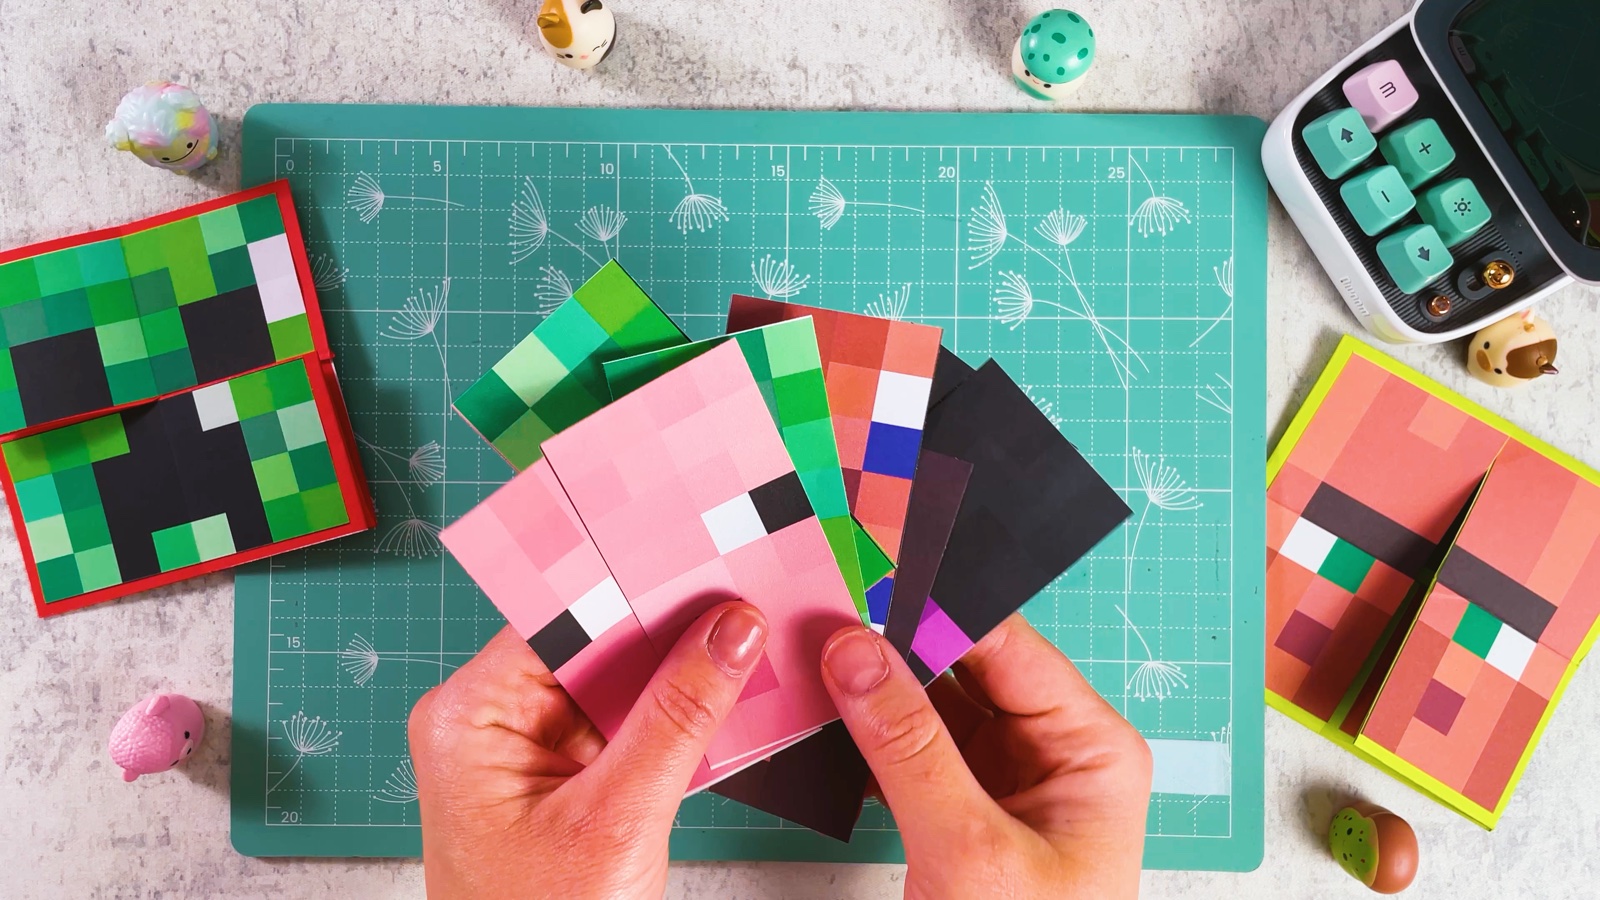
Each page has four faces. The template has three pages, so you can make three different toys.
Get the free template ↓PART 1 OF 3
The faces
- 1
Print and cut the faces
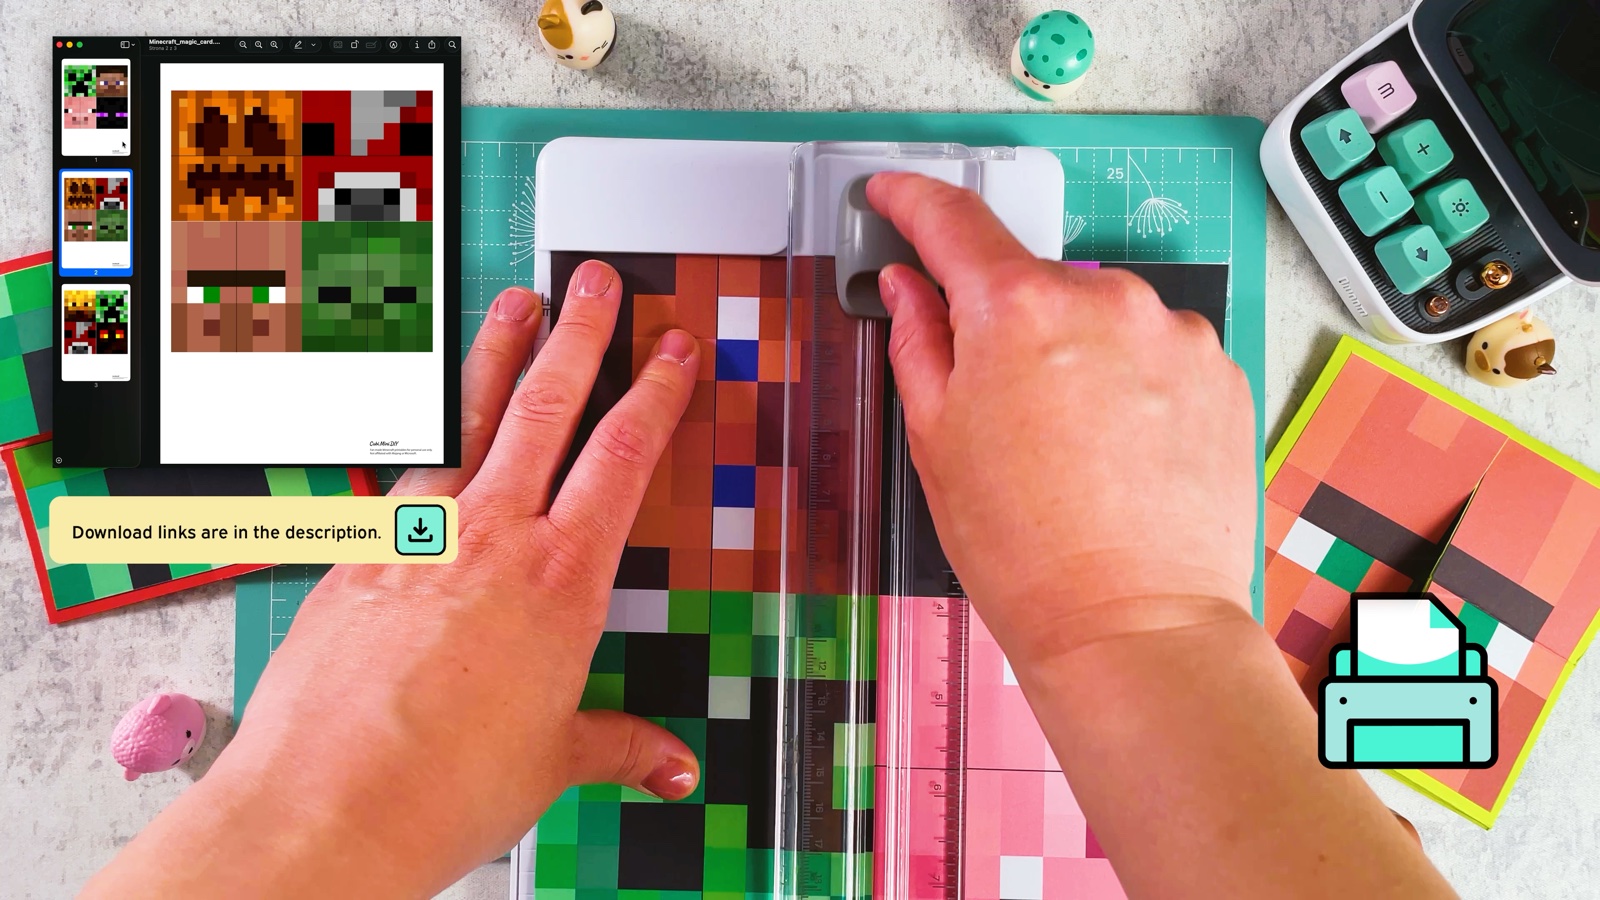
Print one page of the template. Cut out the four faces. Then cut each face in half along the thin line in the middle. Some faces have the line across, some have it from top to bottom. Keep the two halves of each face together.
PART 2 OF 3
The flip base
- 2
Cut a paper square
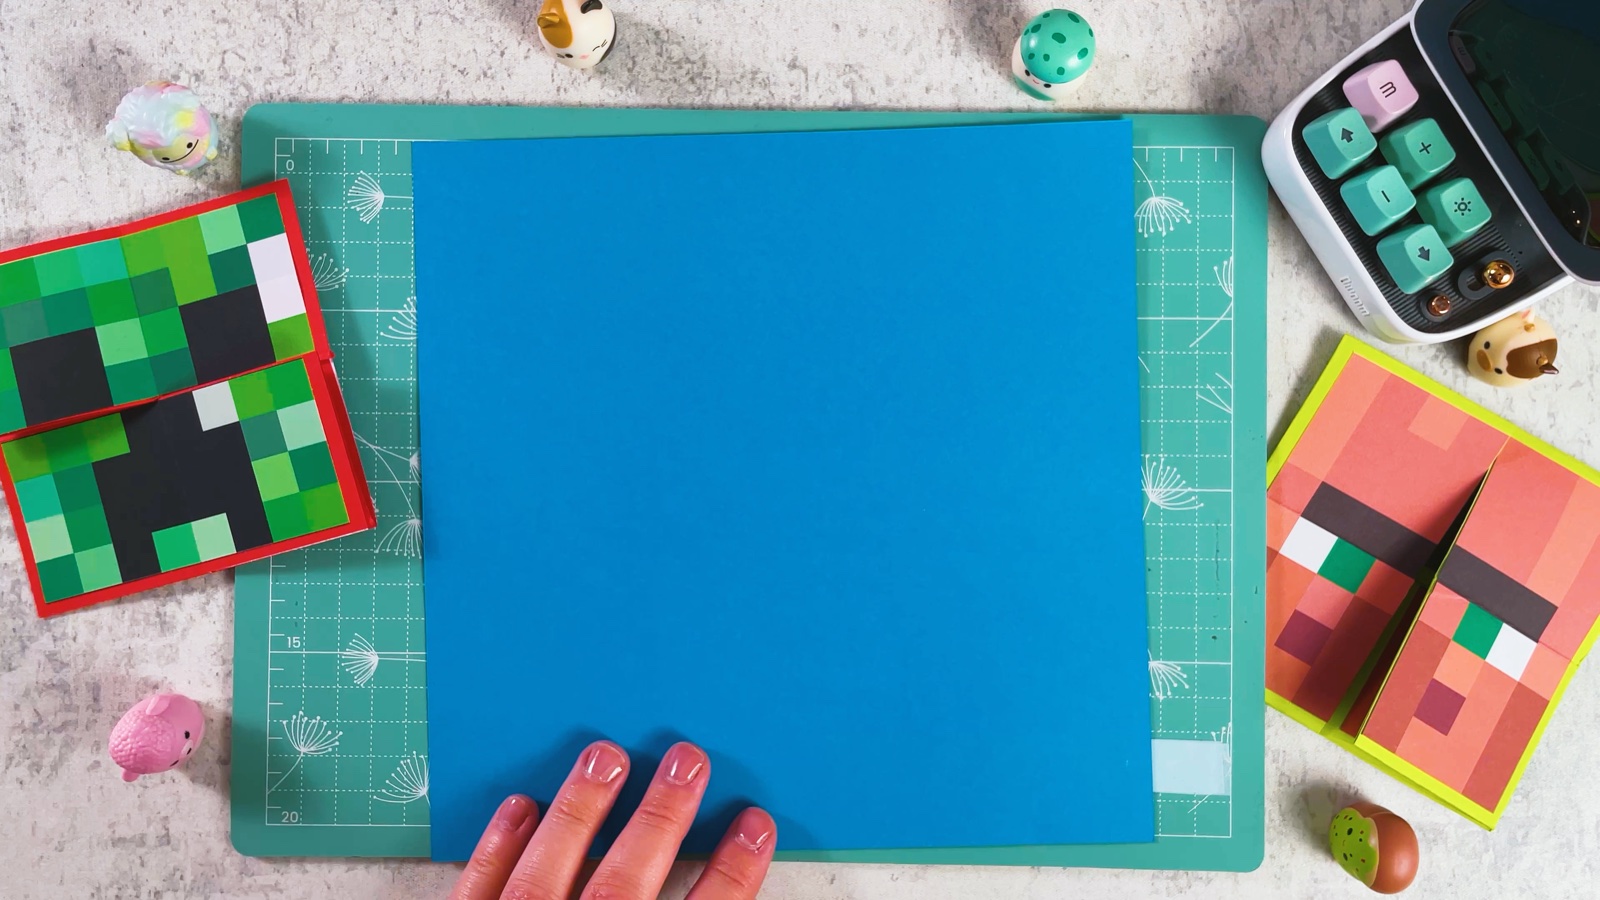
Cut a square of coloured paper, 21 × 21 cm (8¼ × 8¼ in). You can cut it from an A4 or US Letter sheet. The colour will show as a thin frame around the faces.
- 3
Fold it into four strips
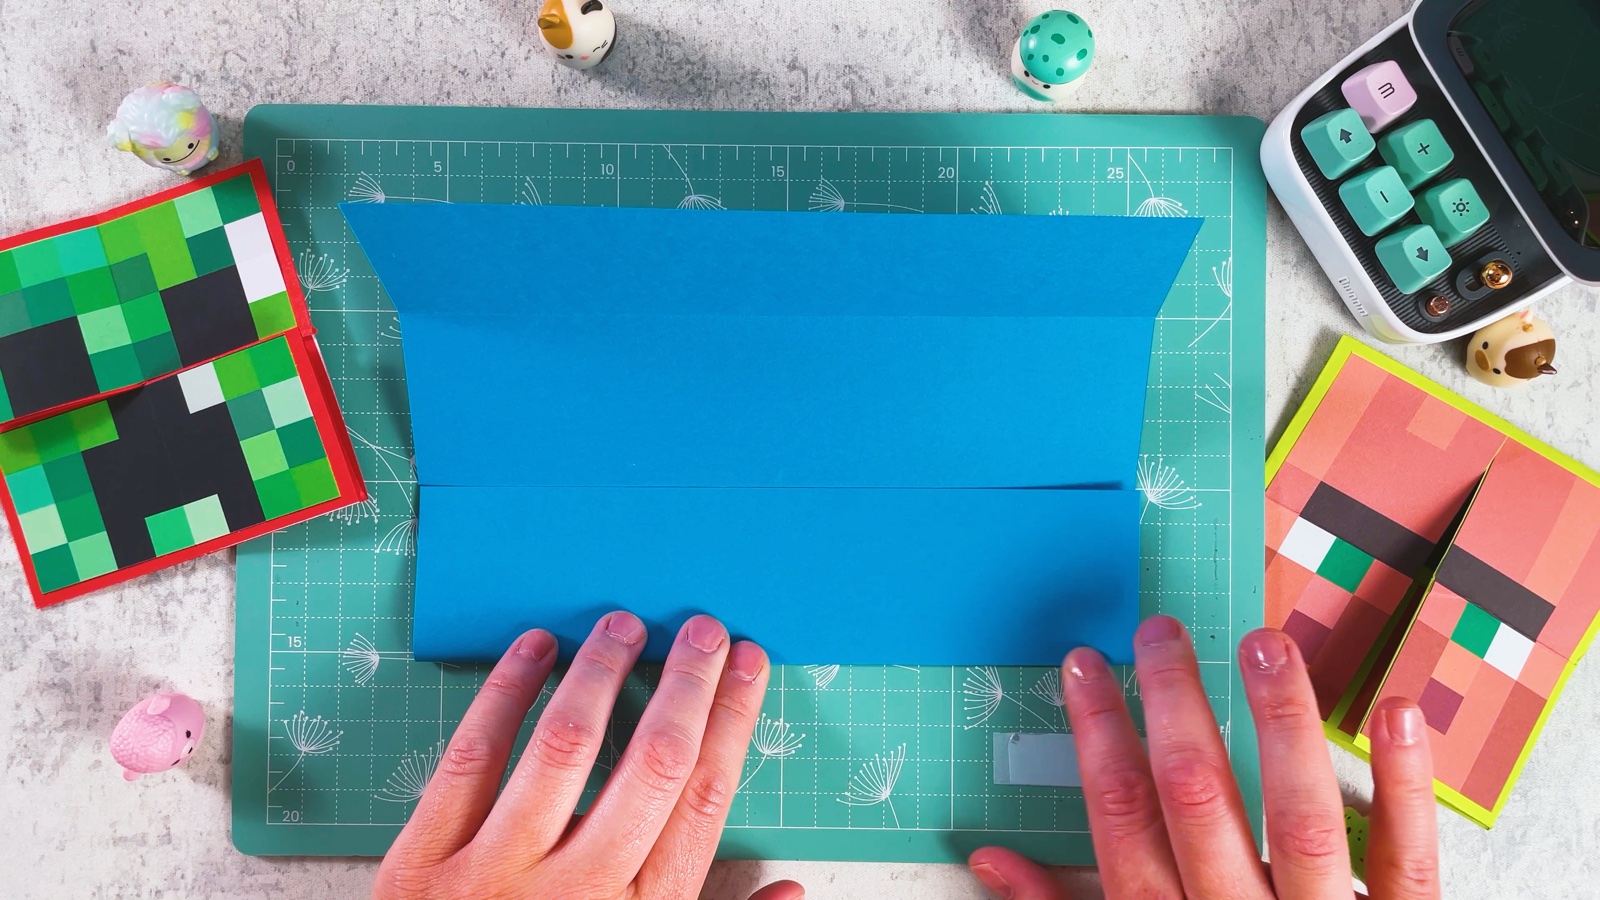
Fold the square in half and open it again. Fold the top and bottom edges to the middle line and press the folds well. Open the paper.
- 4
Turn and fold again
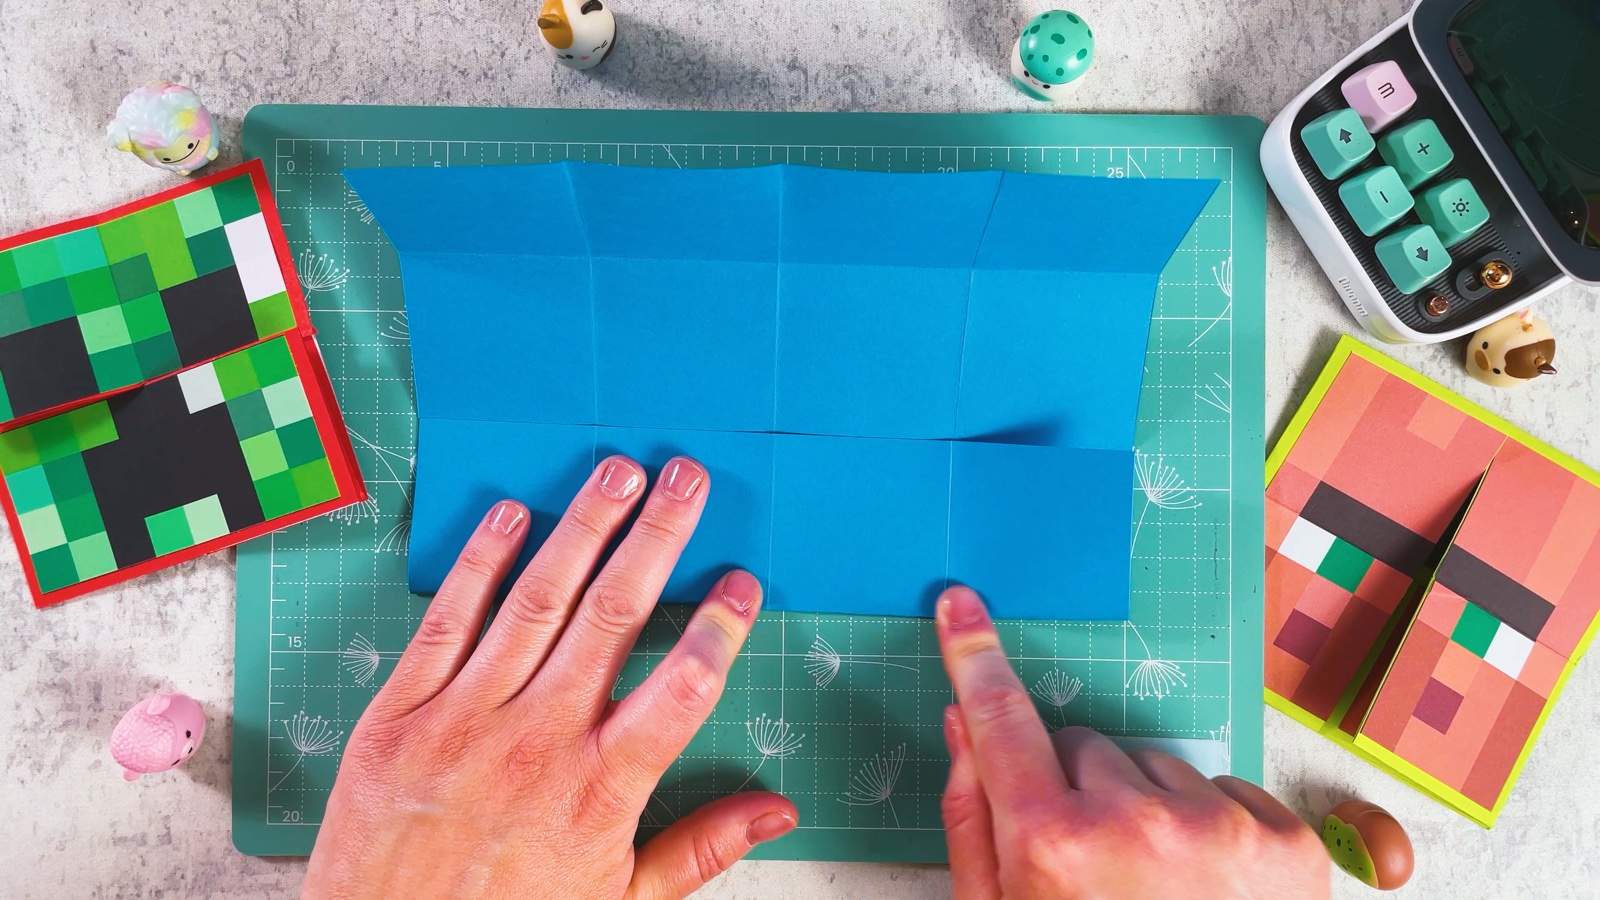
Turn the paper a quarter turn and do the same folds again. When you open it, the creases make a grid of 16 small squares.
- 5
Cut out the middle
Fold the paper in half. From the folded edge, cut along the two inner creases, only one square deep. Then cut along the crease between them to take out the middle.
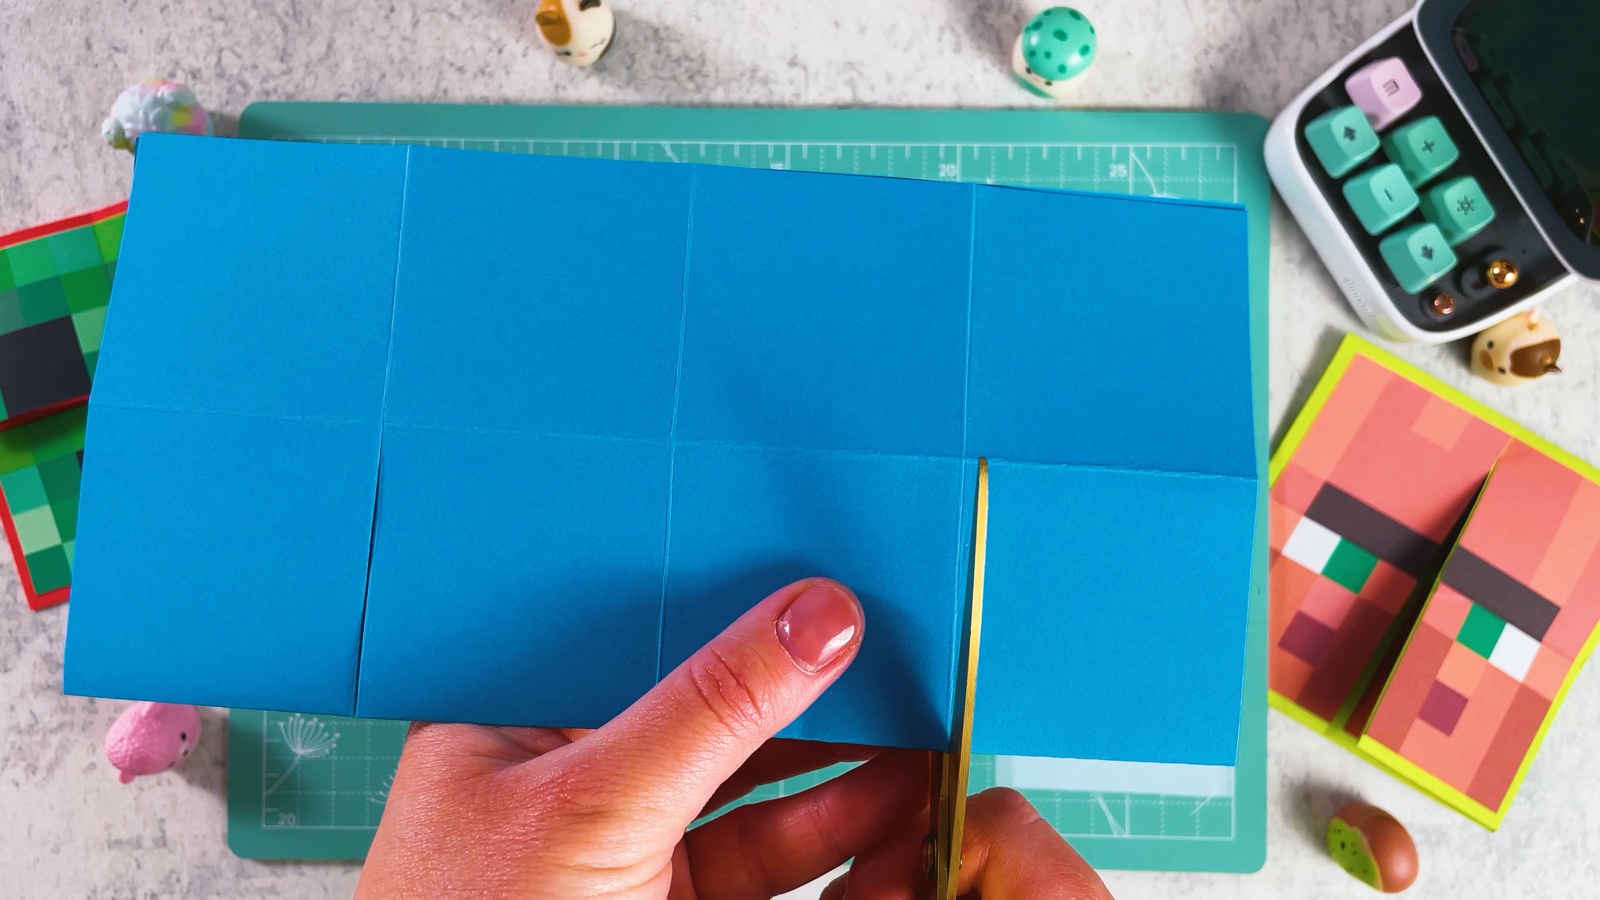
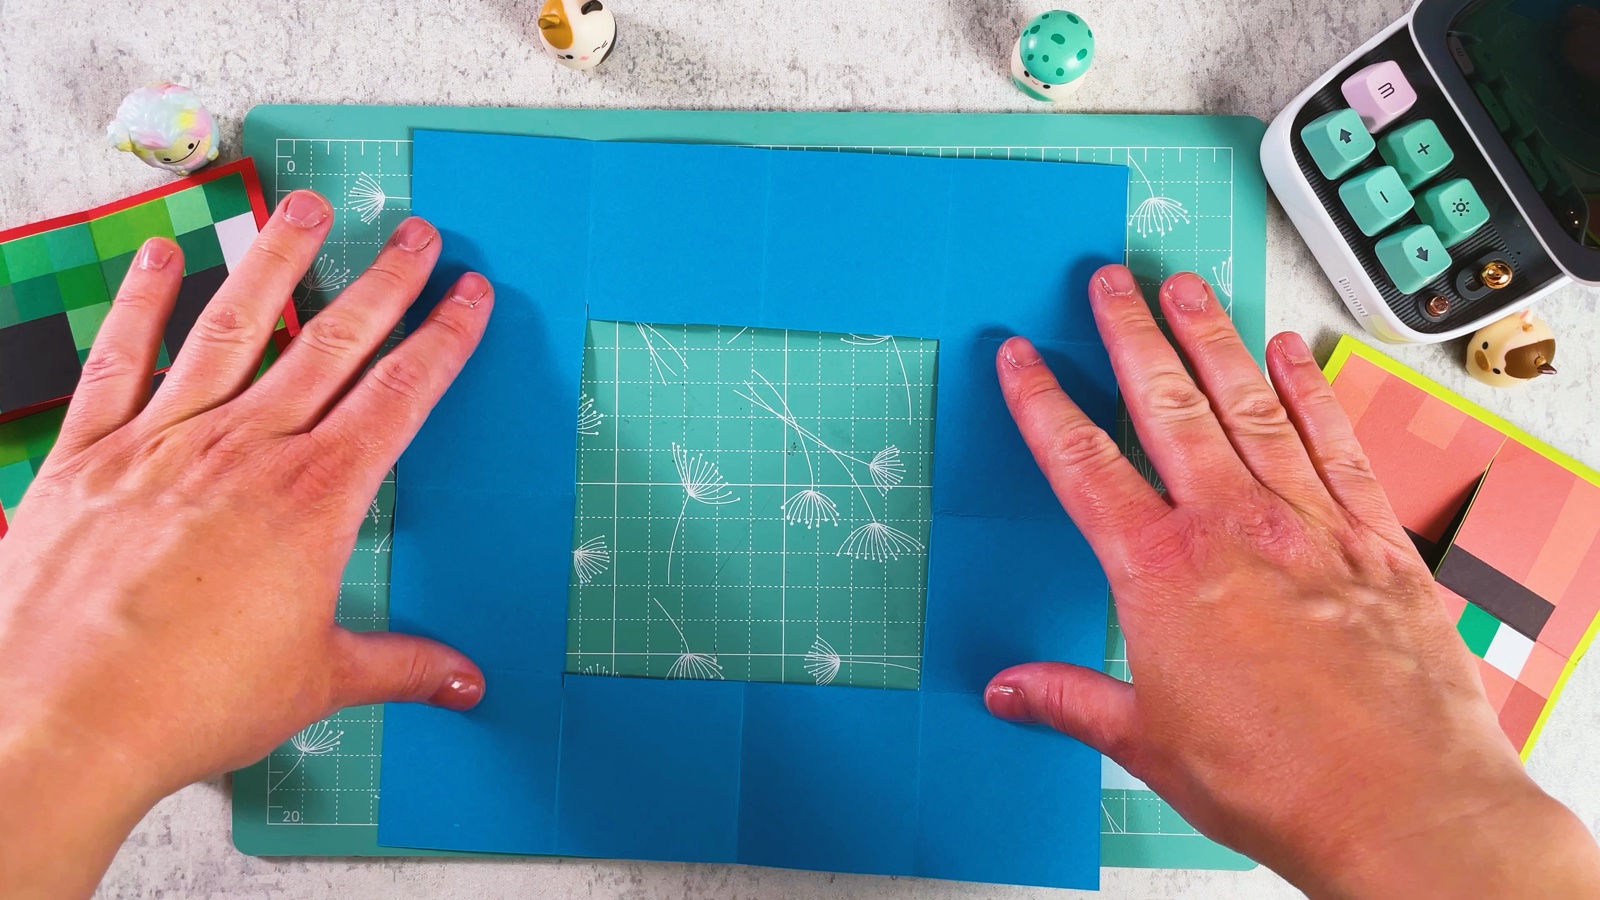
Open the paper. Now it is a square frame with a hole in the middle, the size of four small squares.
- 6
Glue and fold the frame
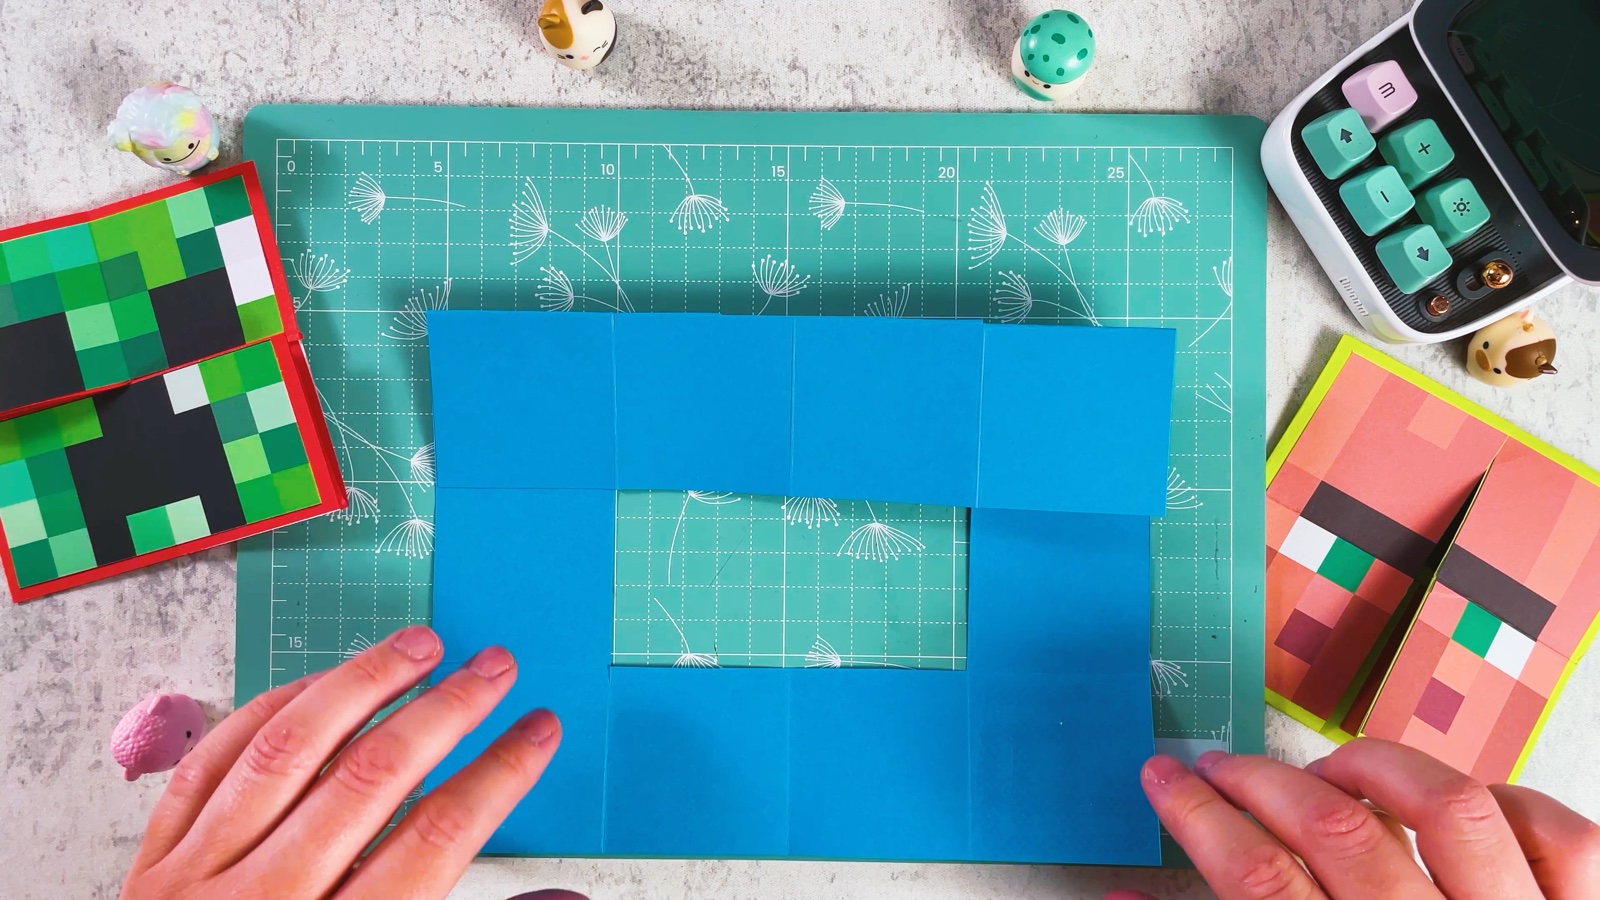
Put glue on the squares as shown in the video. Fold the top and bottom of the frame to the middle and press them down.
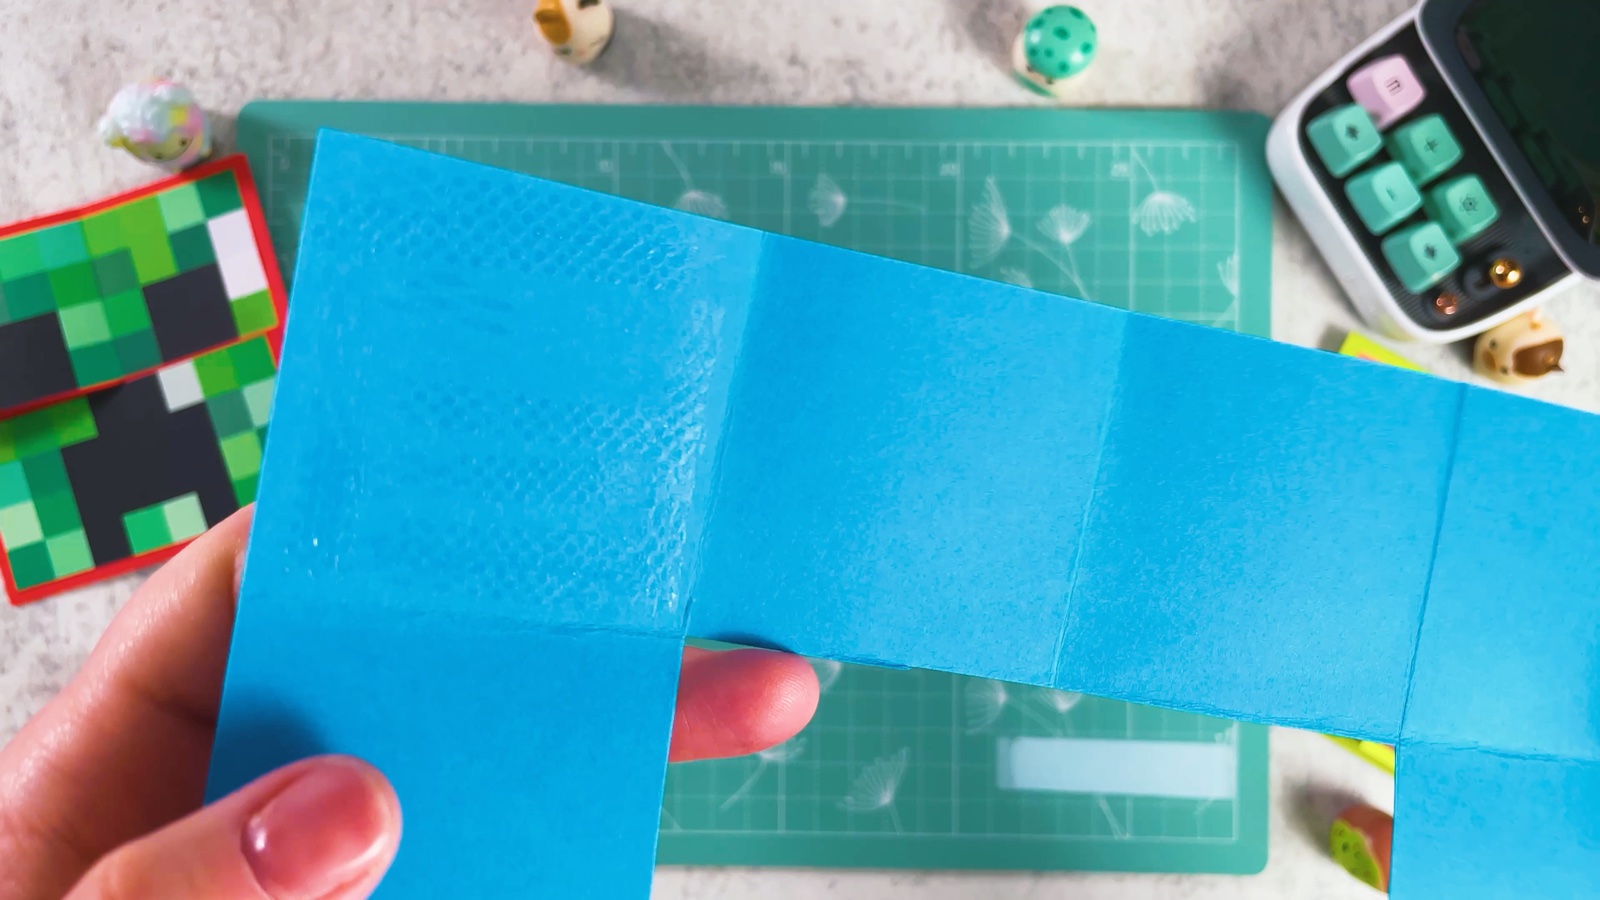
Now the frame is a long rectangle with a small window in the middle.
- 7
Fold it into a small square
Fold the left and right sides to the middle. Now you have a small square with a slit down the centre. This is the flip base.
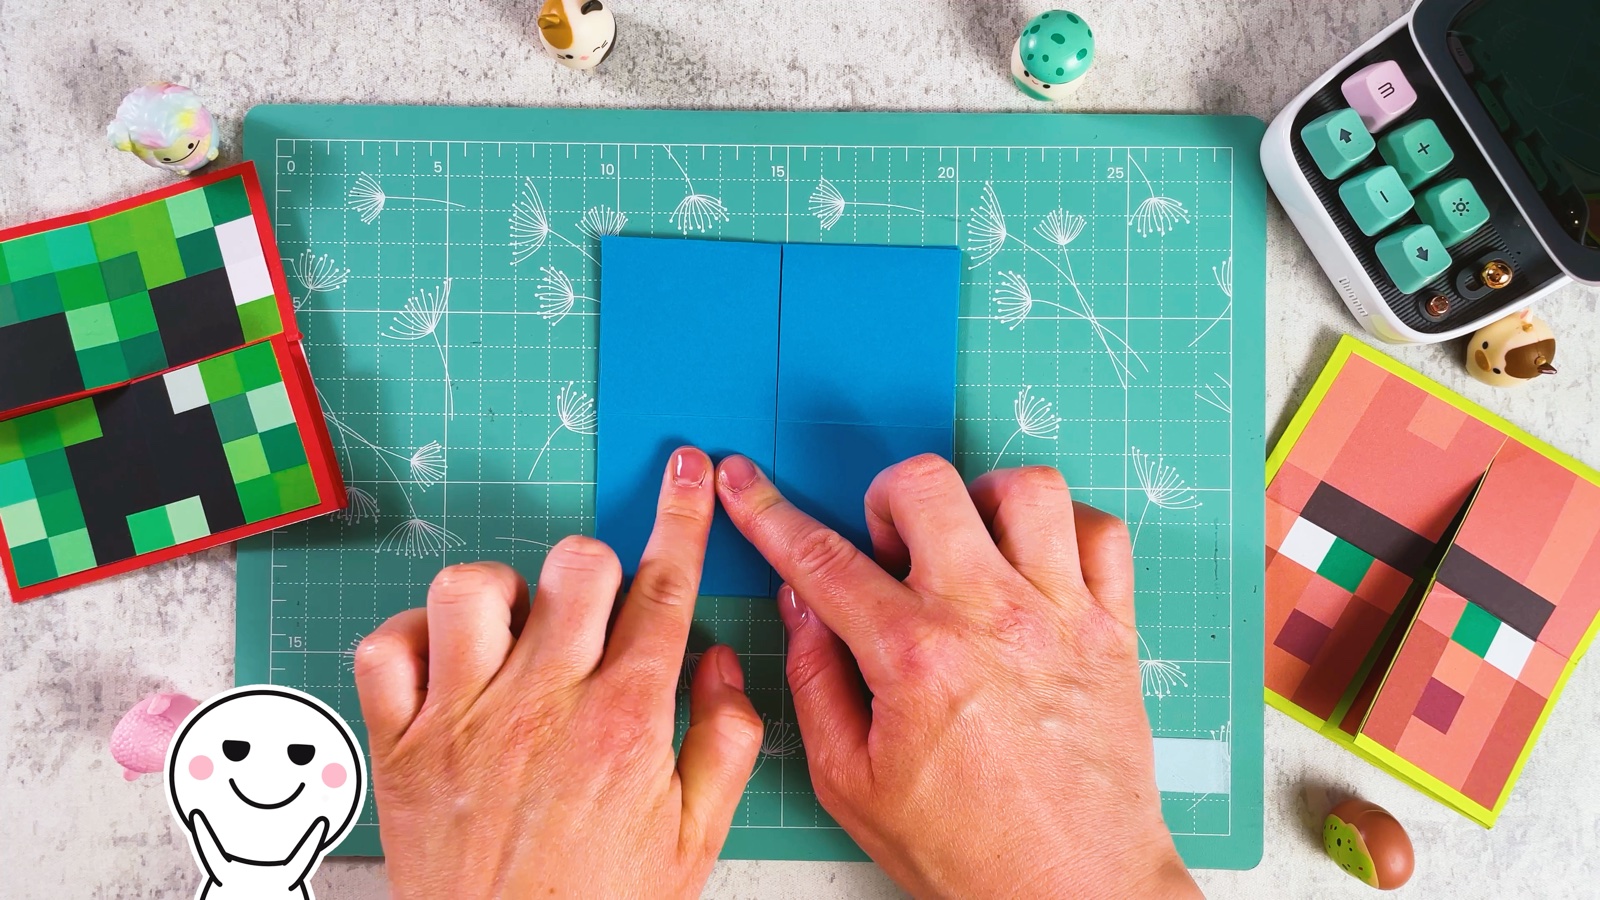
The flip base is ready.
PART 3 OF 3
Faces on the flip base
- 8
Glue on the first face
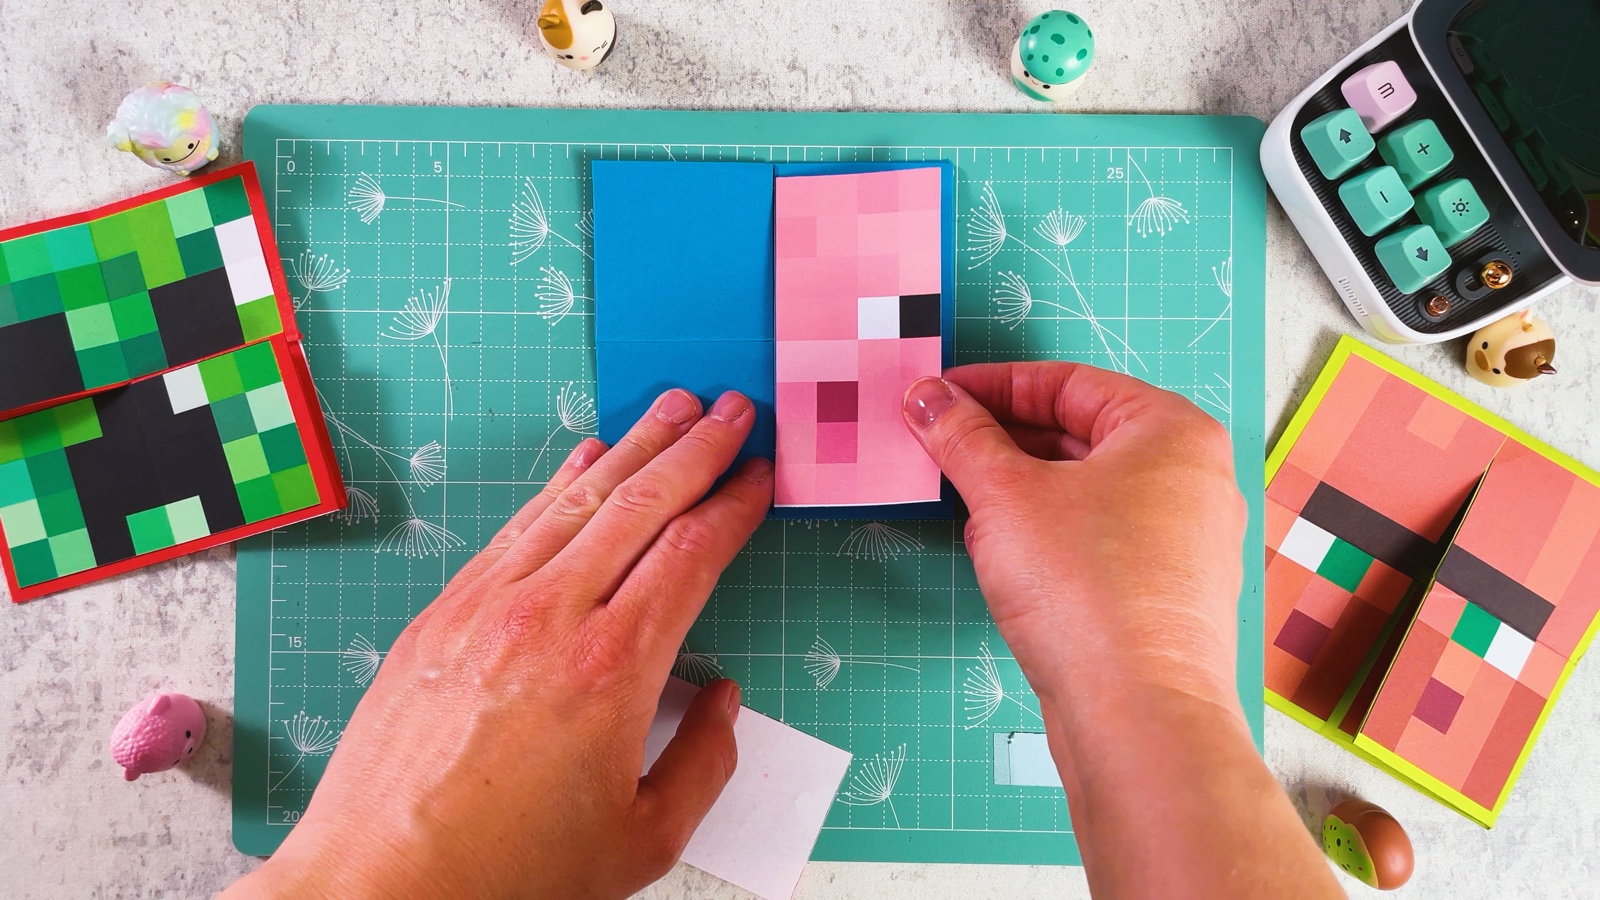
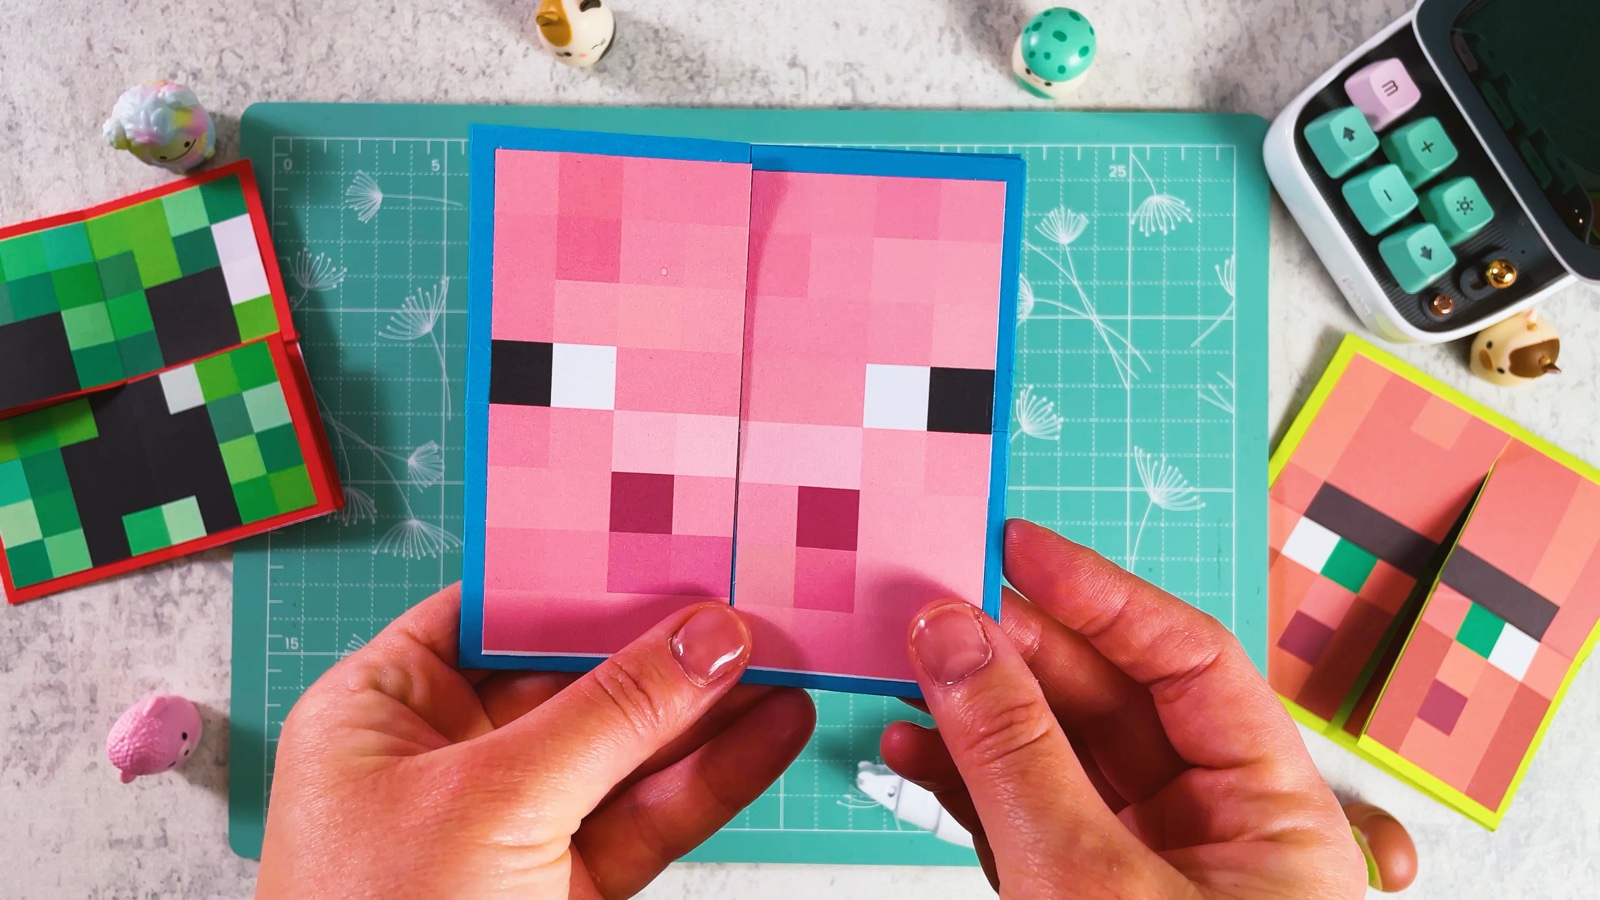
Put glue on one half of the square and press one half of a face onto it. Glue the other half of the face next to it, so the face lines up across the slit.
- 9
Flip and add the next face
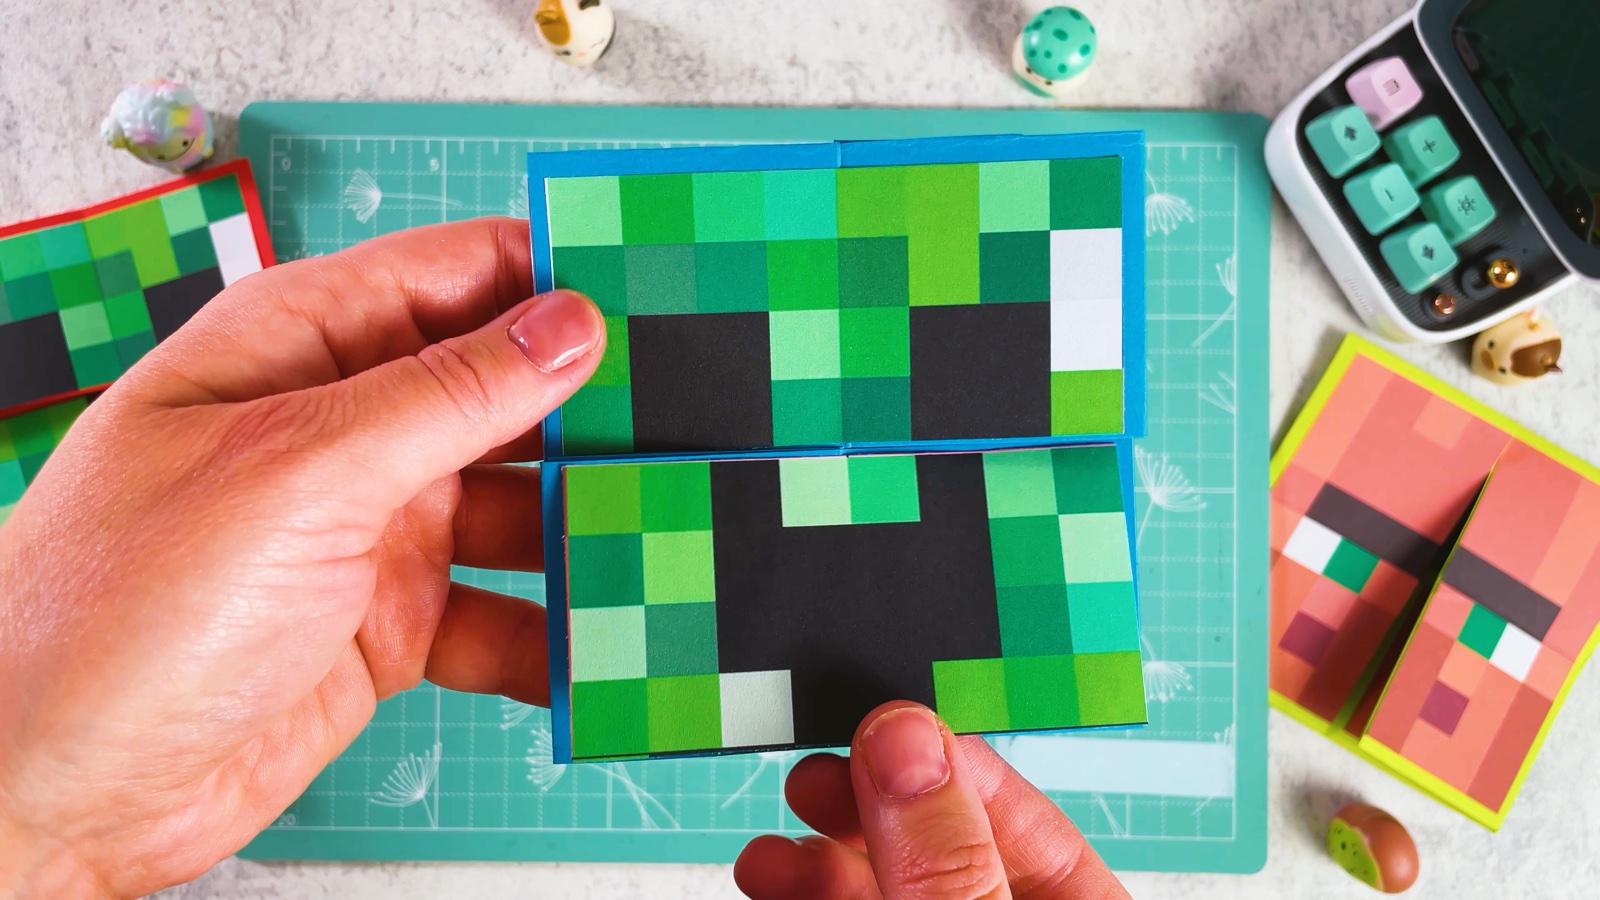
Fold the square open from the middle to find a new plain side. Glue the next face there, one half at a time.
- 10
Add the last two faces
Flip again and glue the third face. Flip once more and glue the last one. Now every side has a character.
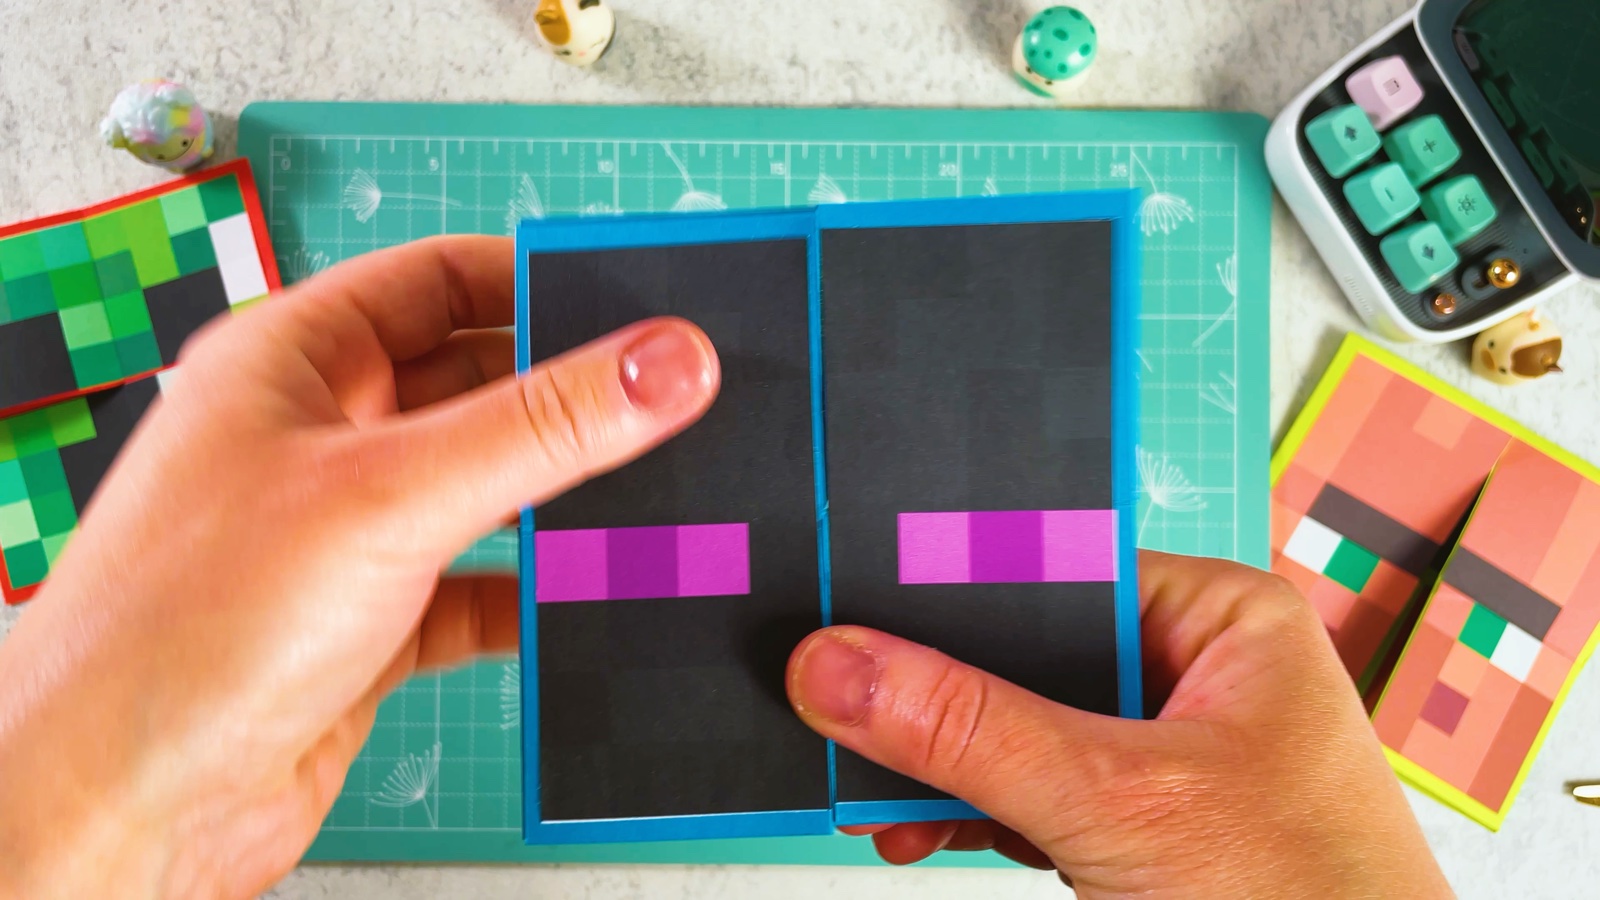
- 11
Flip, flip, flip
Open the toy from the middle, sideways or up and down, and a new face appears. Keep flipping, it never ends.
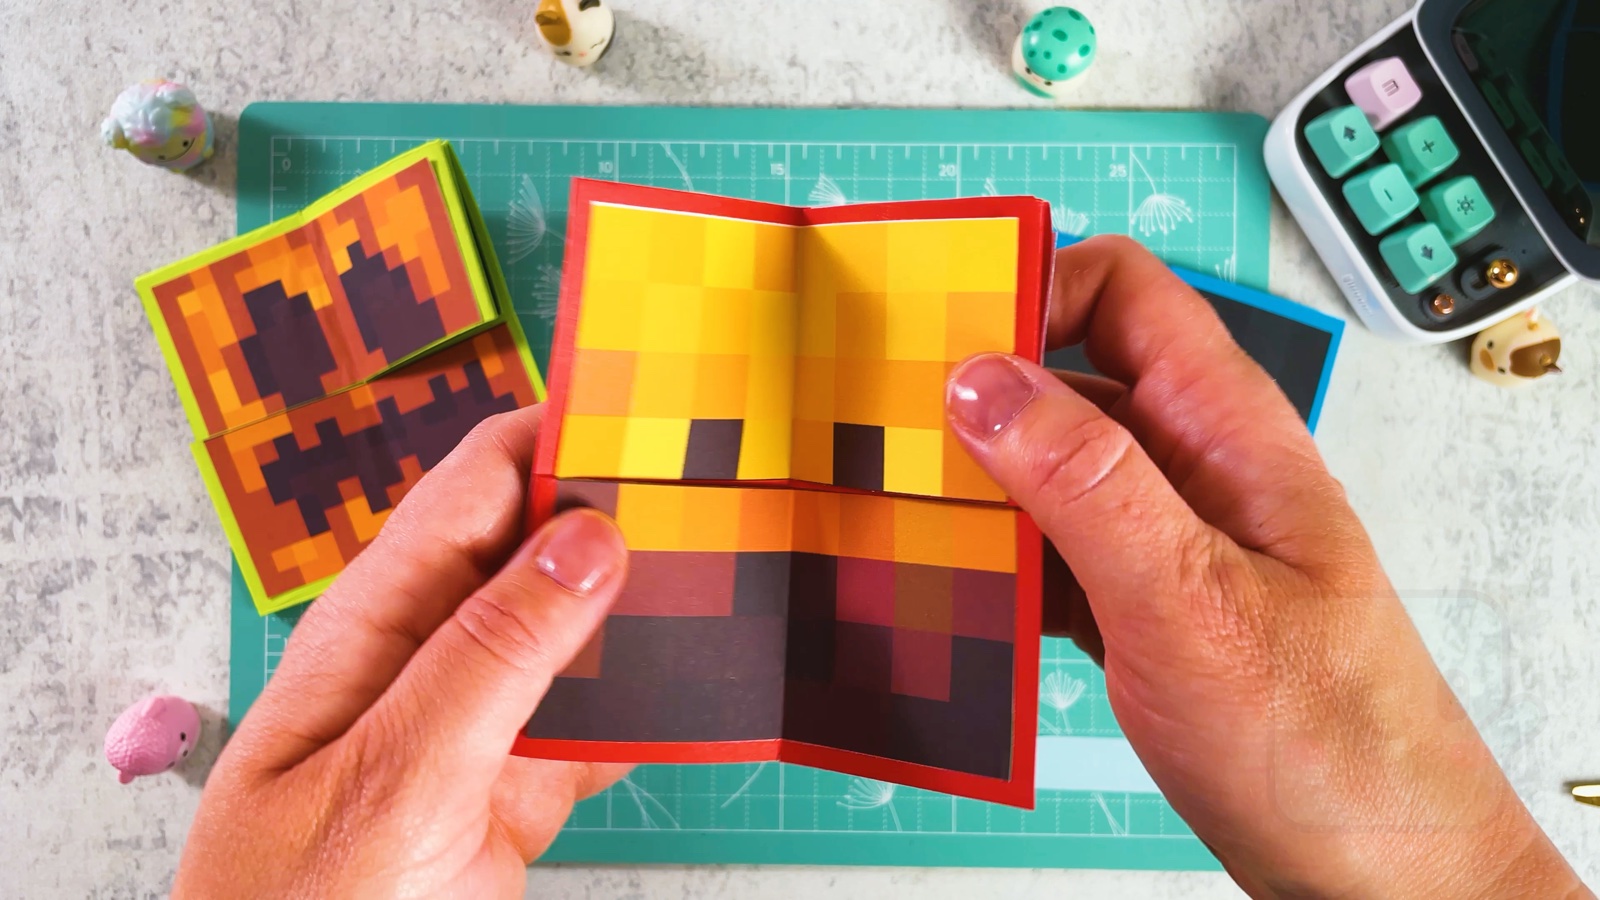
Make the other pages too and you have a whole set of Minecraft friends.
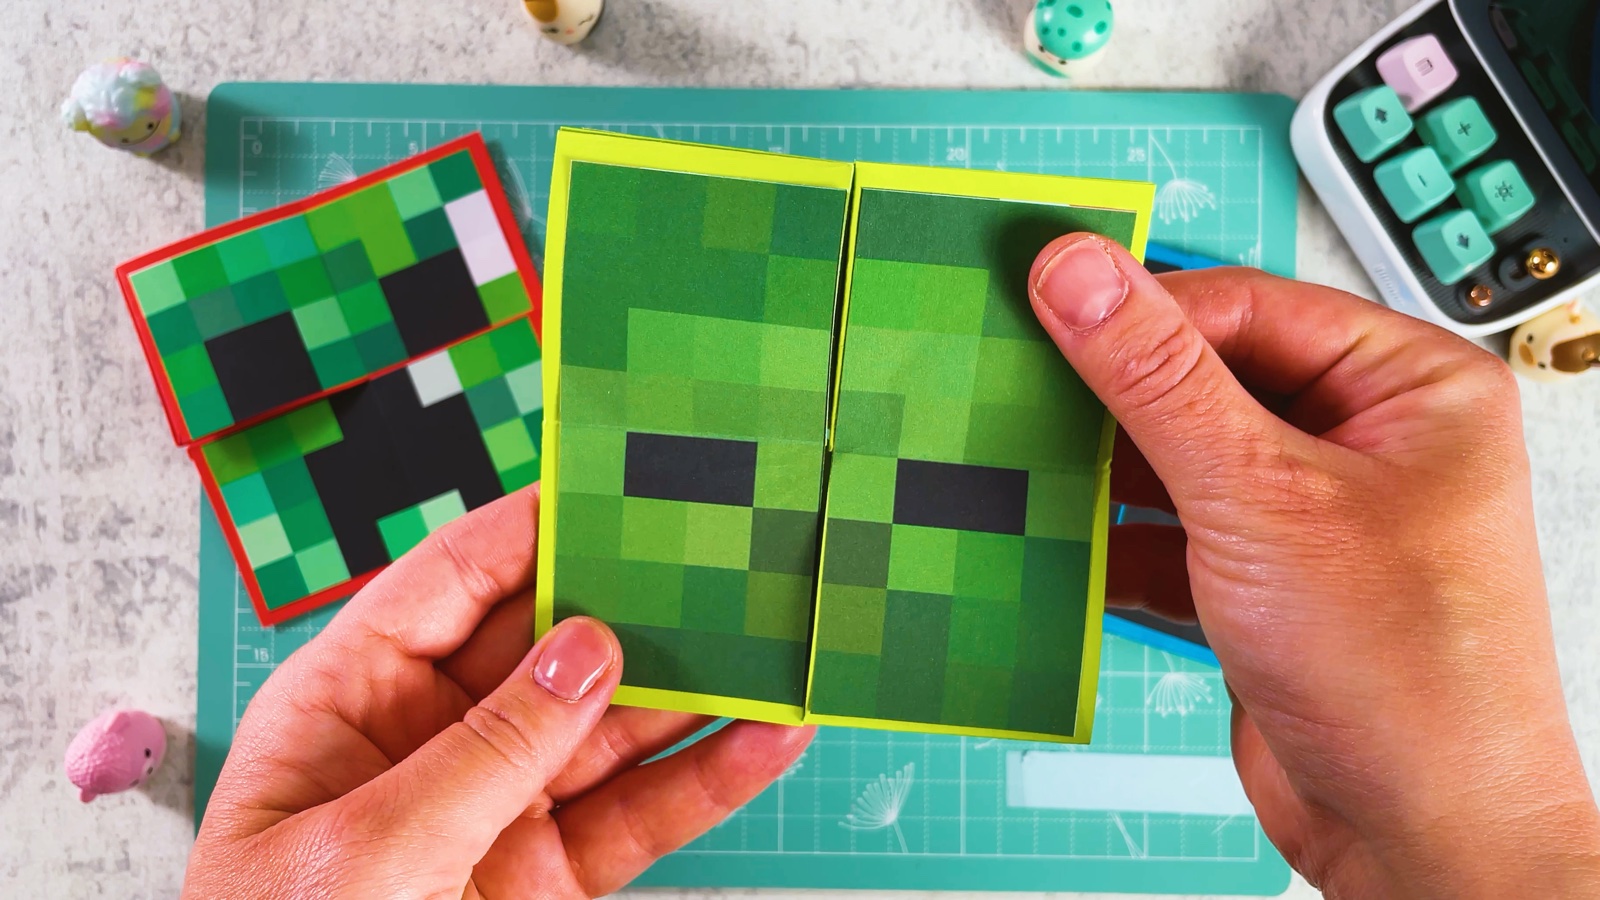
Your Minecraft flip toy is ready.
THREE LITTLE TIPS
Make it easier.
- Press every fold hard. Sharp creases make the toy flip smoothly.
- Glue tape keeps it flat. Liquid glue makes the paper wavy and the toy sticks.
- Try a different colour for each toy. The base paper shows as a frame, so every toy gets its own look.

A CUBI MINI MOMENT
Which face will you show first?
Cubi flips to the Creeper every time Mini comes close. Mini always flips back to the Pig. Who will you surprise with yours?
A secret fifth face: Cubi, drawn small in the corner of the Pig.
Loved making it?
Catch the next make first, or save this one for a rainy day.