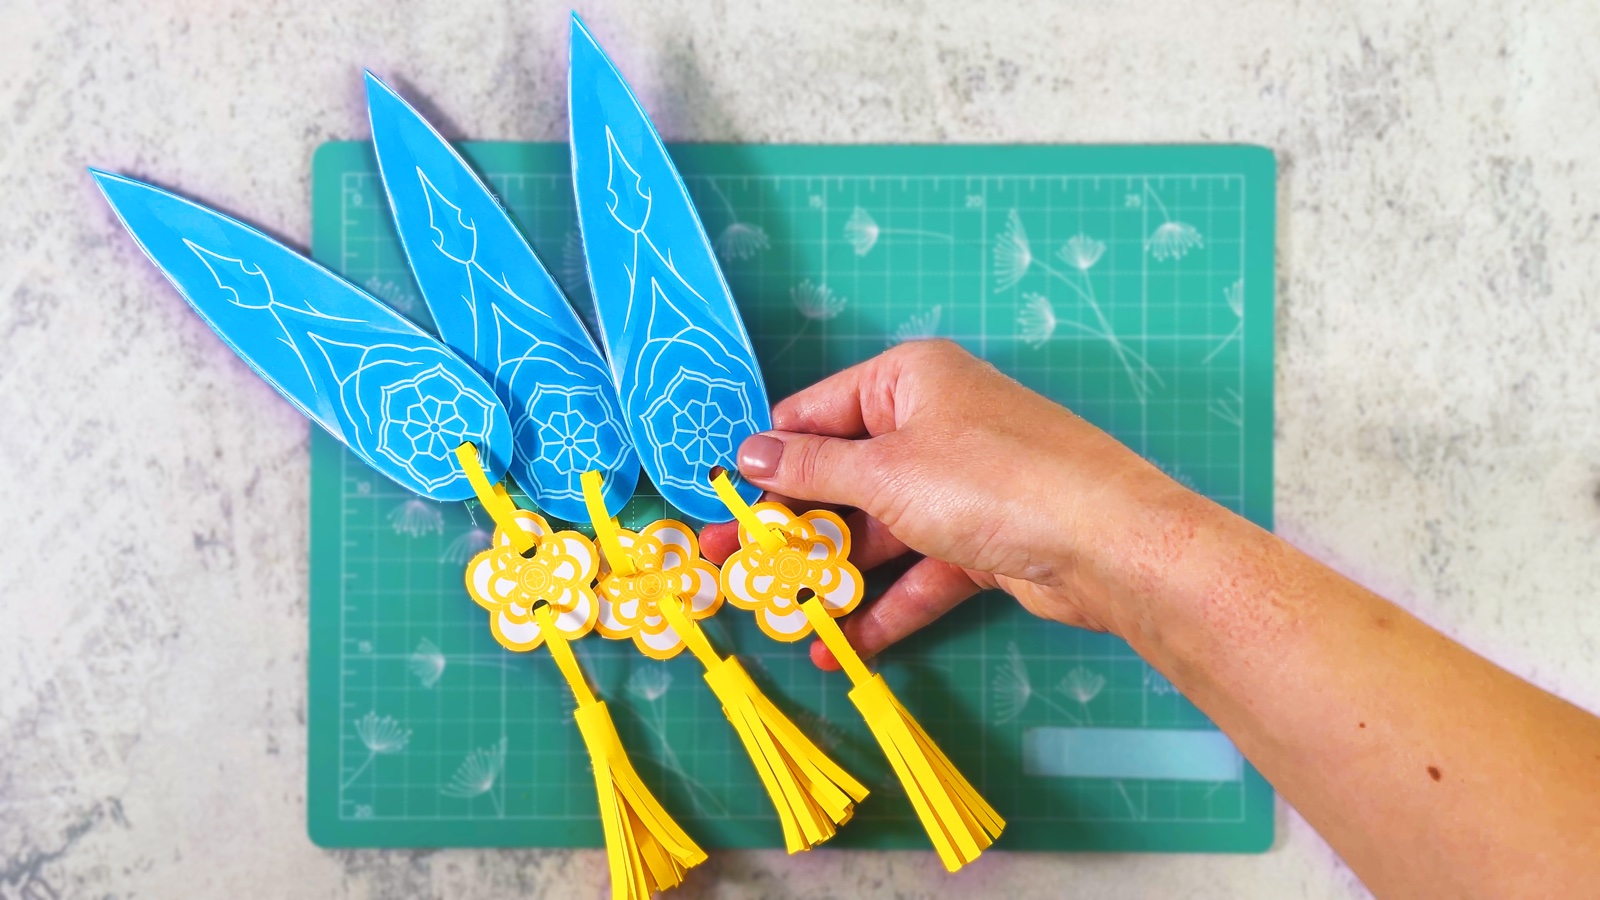
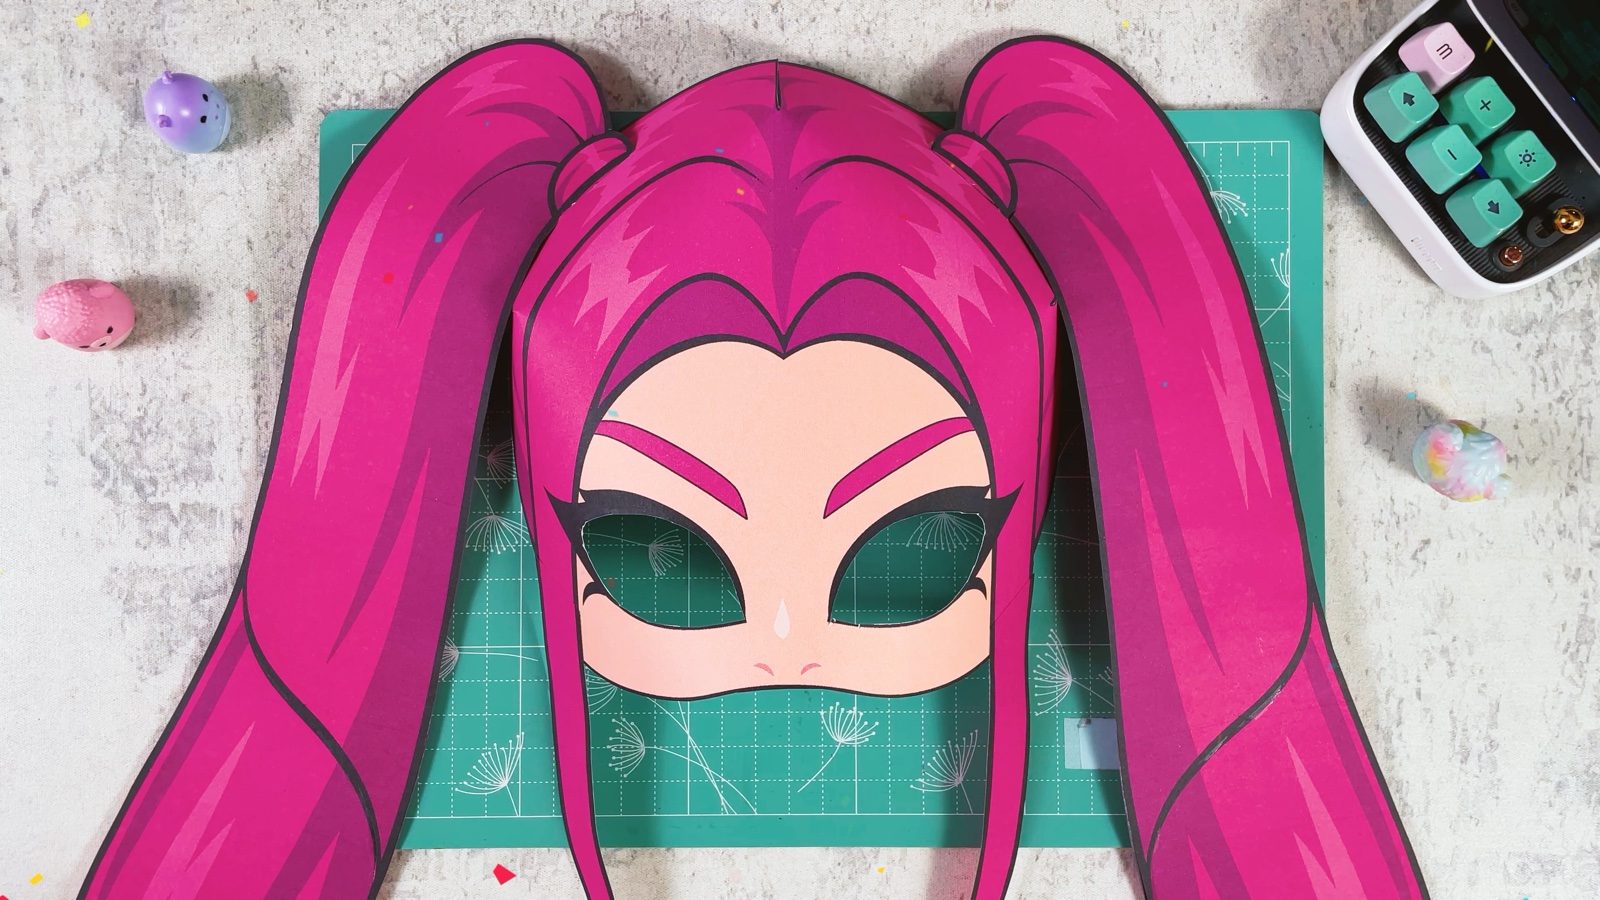
Let’s make an amazing Zoey mask from KPop Demon Hunters, all from paper! Cubi shows us step by step how to make Zoey’s signature mask, using simple things you probably already have at home: paper, glue, scissors and a printer.
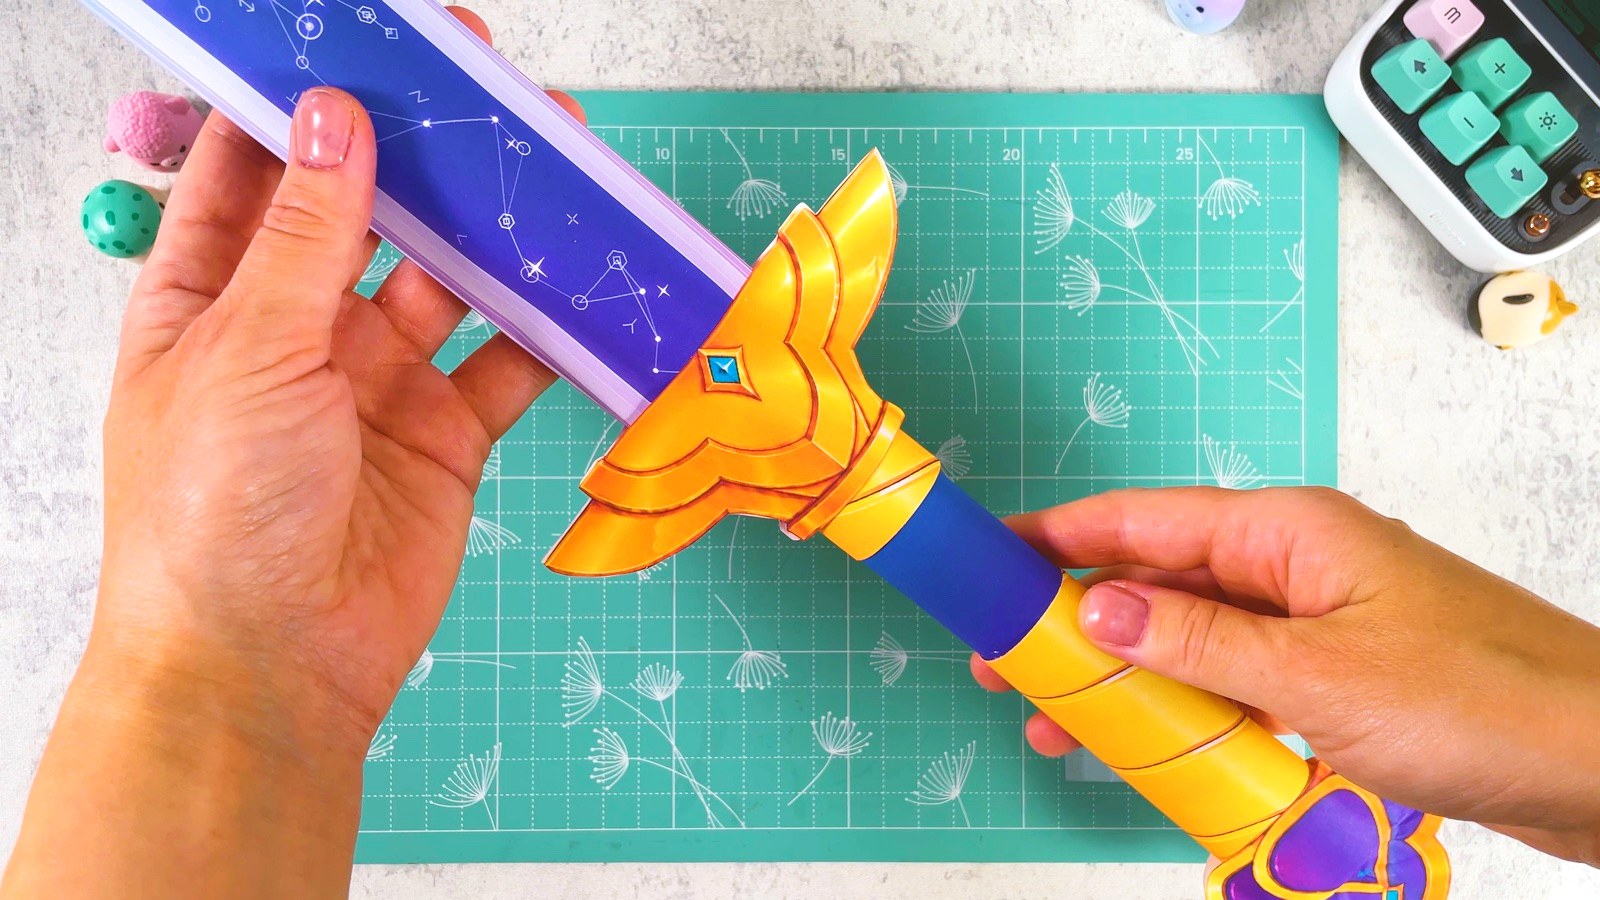
If you are a fan of KPop Demon Hunters, love cosplay or just love paper crafts, this is a great way to bring one of the most loved characters from the film to life. It is perfect for cosplay, a costume party, Halloween, a birthday, a themed party or simply creative play. Pair it with a blue outfit, or with Zoey’s paper Spirit Blades, for an even more real Zoey look.
BEFORE WE START
What you need.
Materials
- Printable template
- Paper
- Glue stick
Tools
- Scissors
- A printer
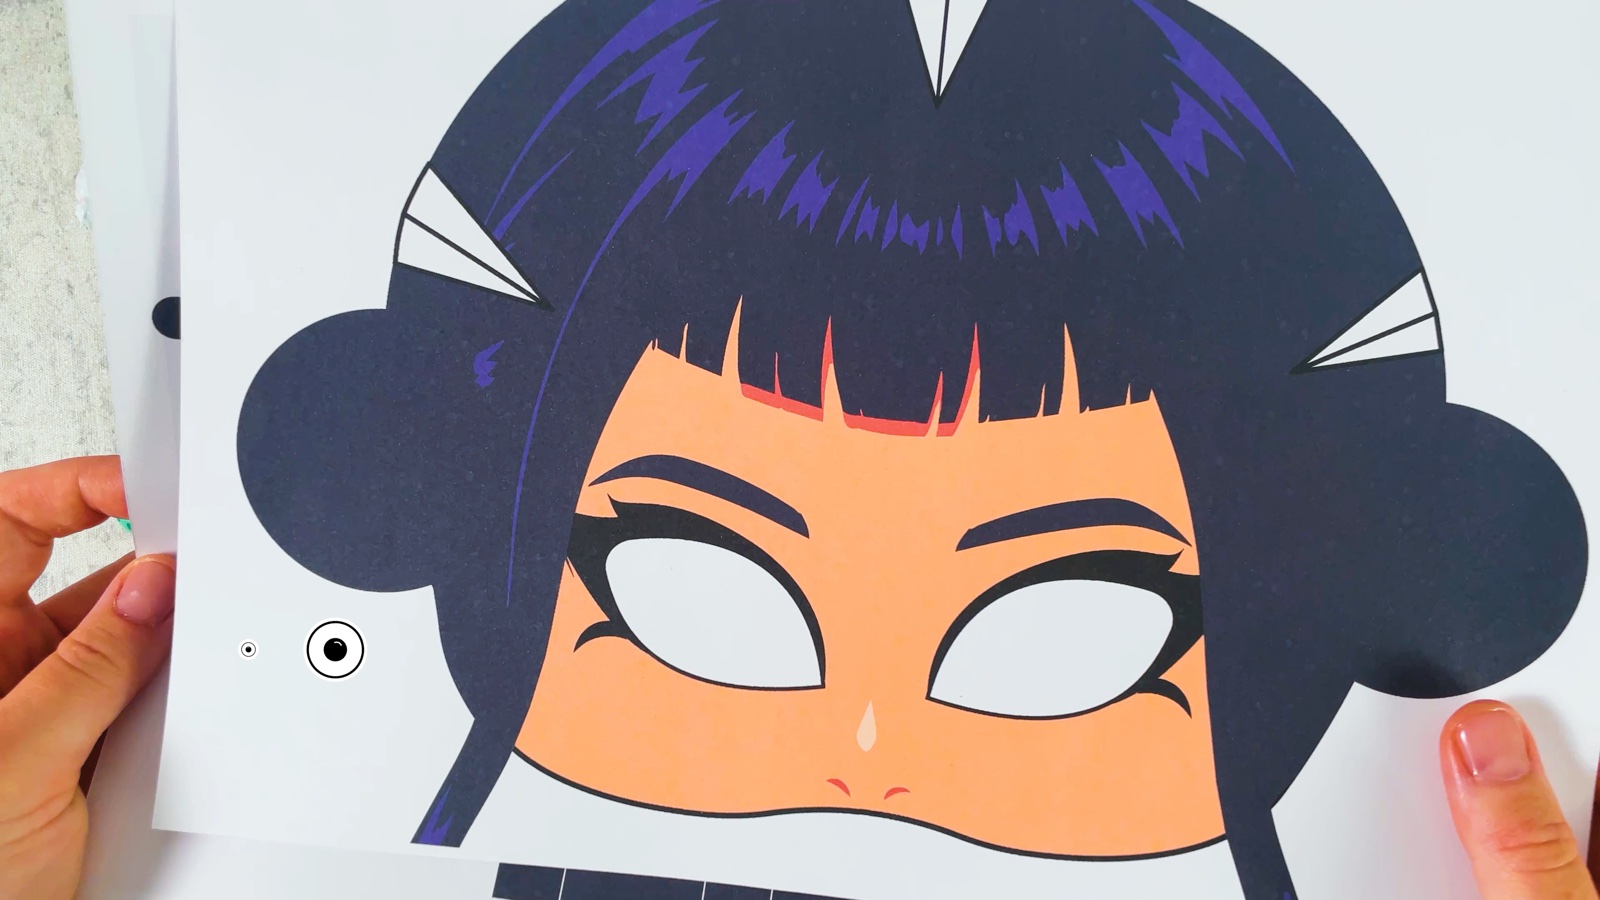
Page 3 is plain purple. Print it on the back of page 2, so the buns are purple on the inside too.
Get the free template ↓PART 1 OF 2
The mask
- 1
Print the template
Print page 1 with Zoey’s face on one side only. Print page 2 with the flowers, the strands and the strips, then put the sheet back in the printer and print page 3, the plain purple page, on the back.
- 2
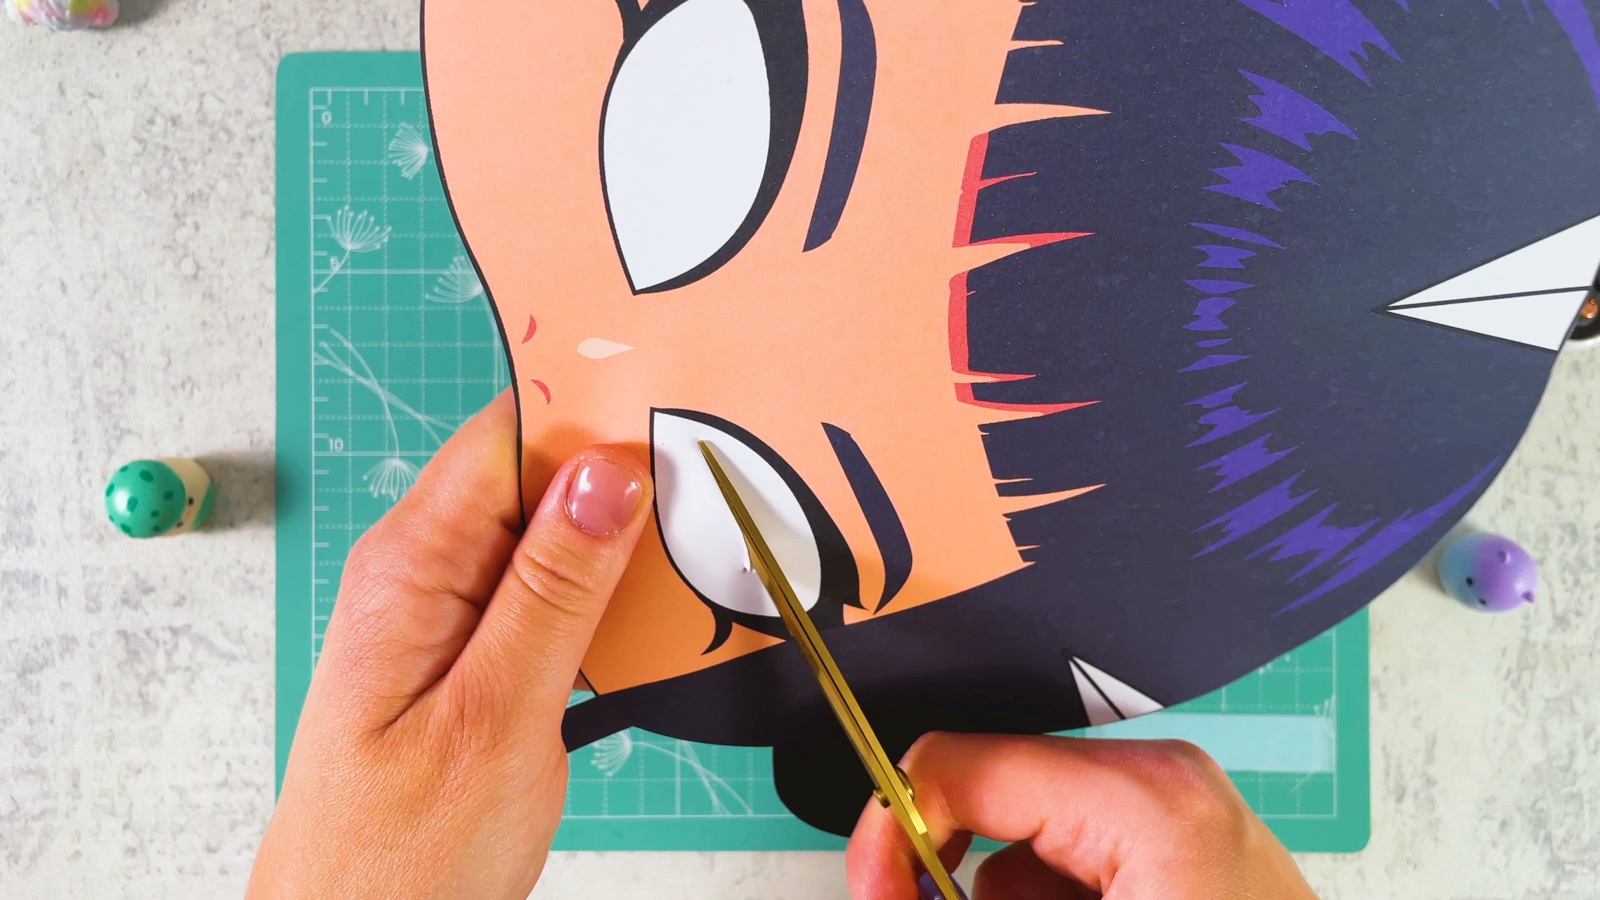
Cut out the mask and the eyes
Cut out the mask along the black outline. Then cut out the two white eye holes.
- 3
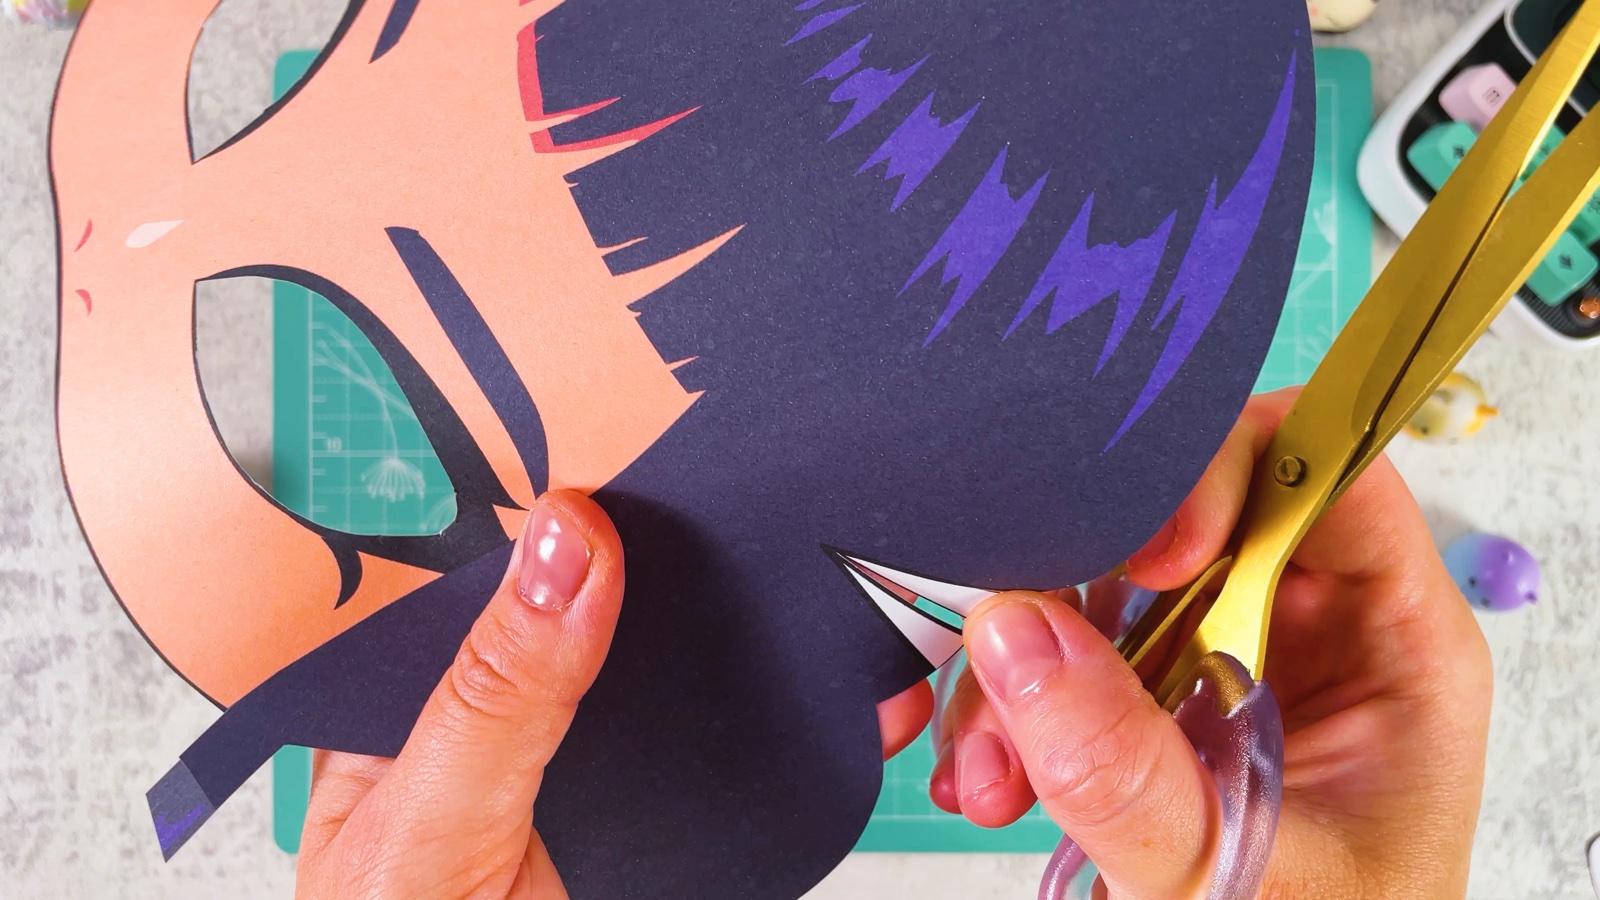
Snip the white triangles
There are three small white triangles in the hair: one at the top and one on each side. Cut along one line of each triangle, up to its tip.
- 4
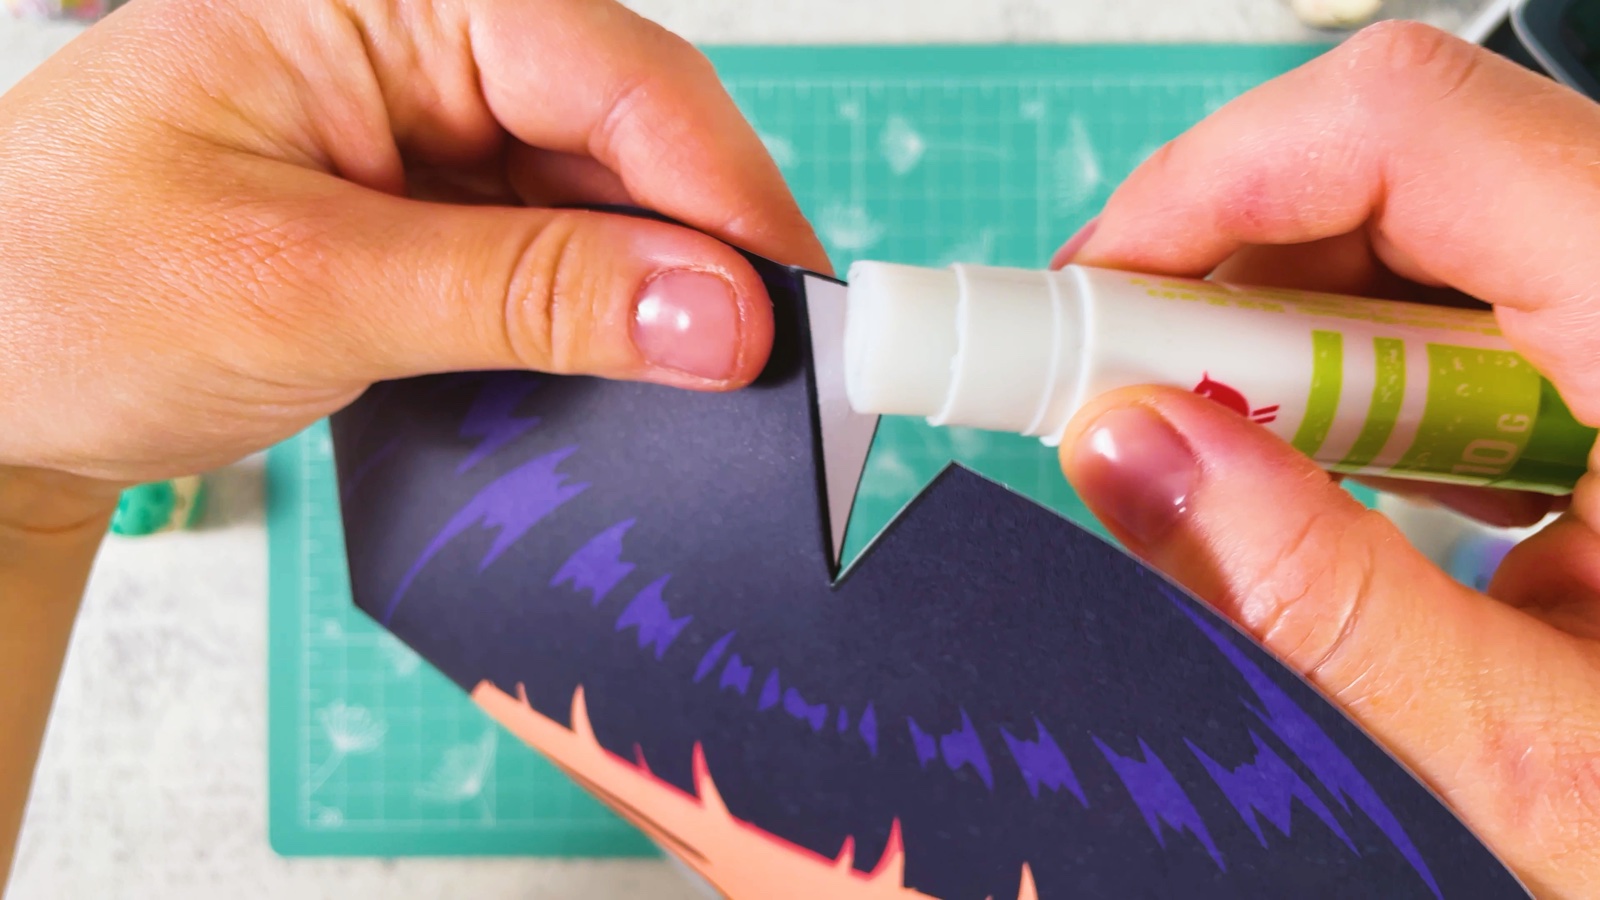
Glue the triangles down
Put glue on a white triangle and slide the cut edge of the hair over it, so the white is hidden.
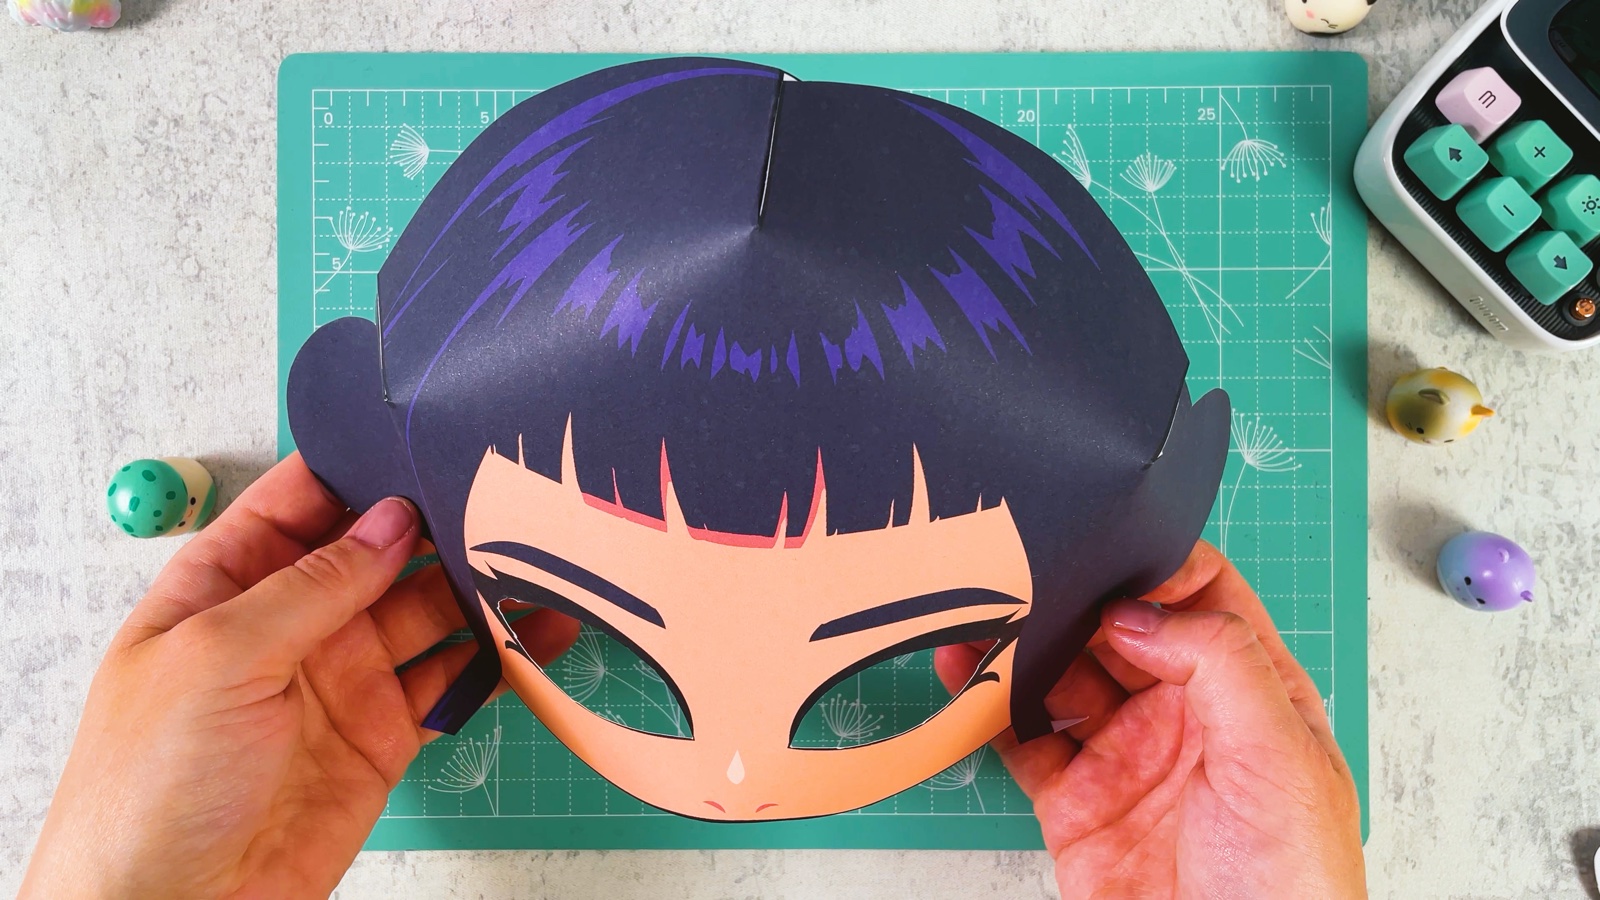
Do the same with all three. Now the mask bends and fits around the face.
- 5
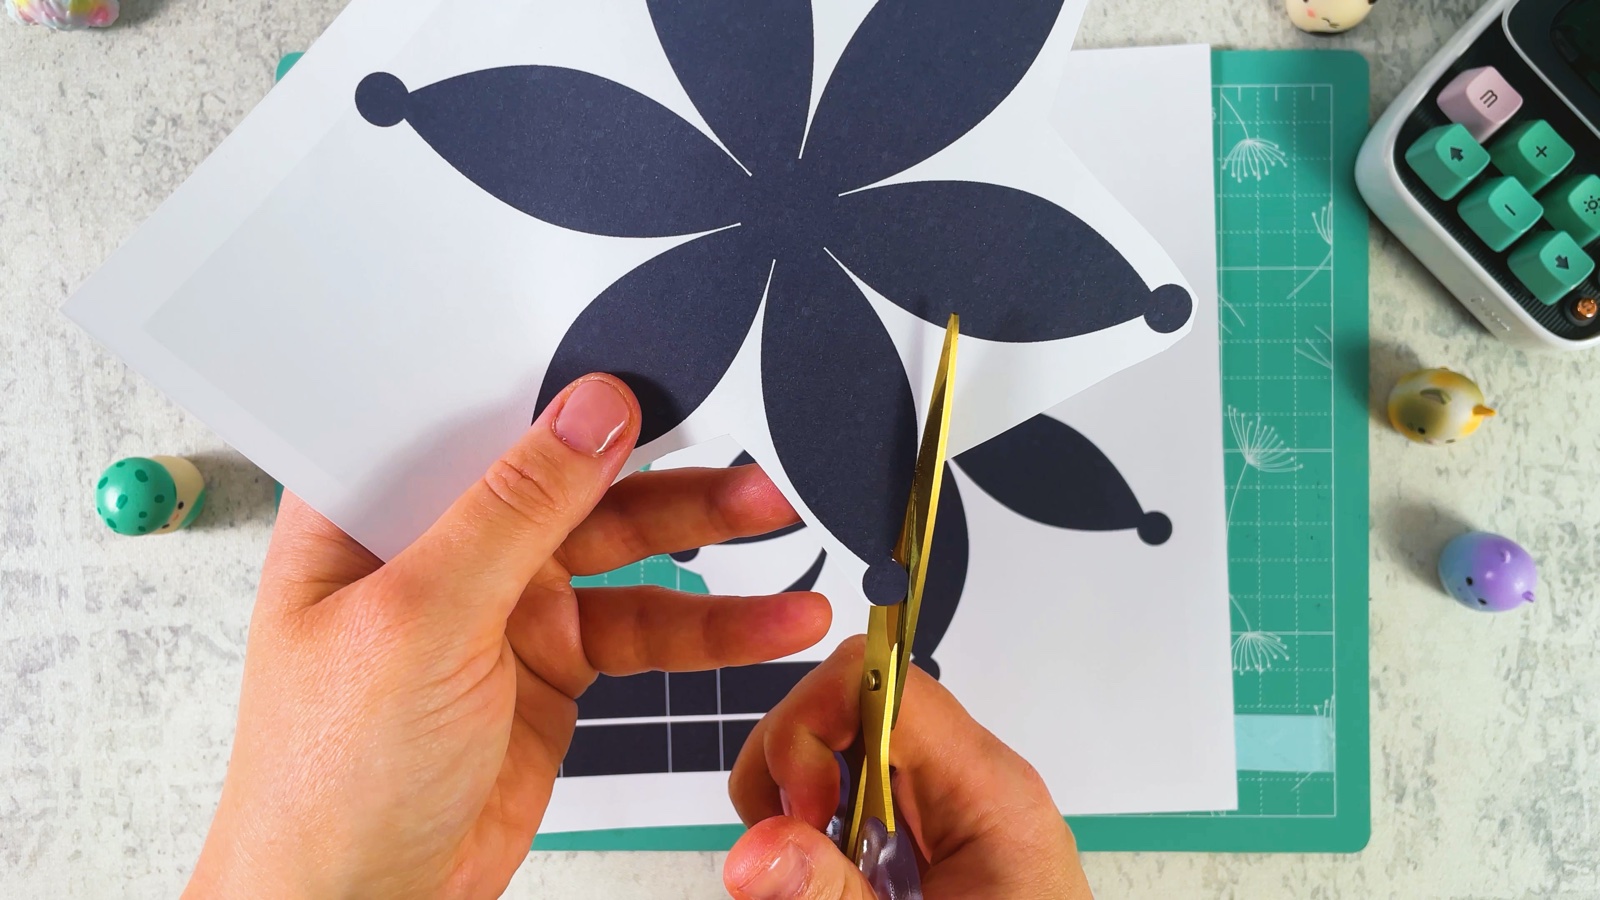
Cut out the small pieces
From page 2, cut out the two flowers, the two thin strands and the two strips with squares.
- 6
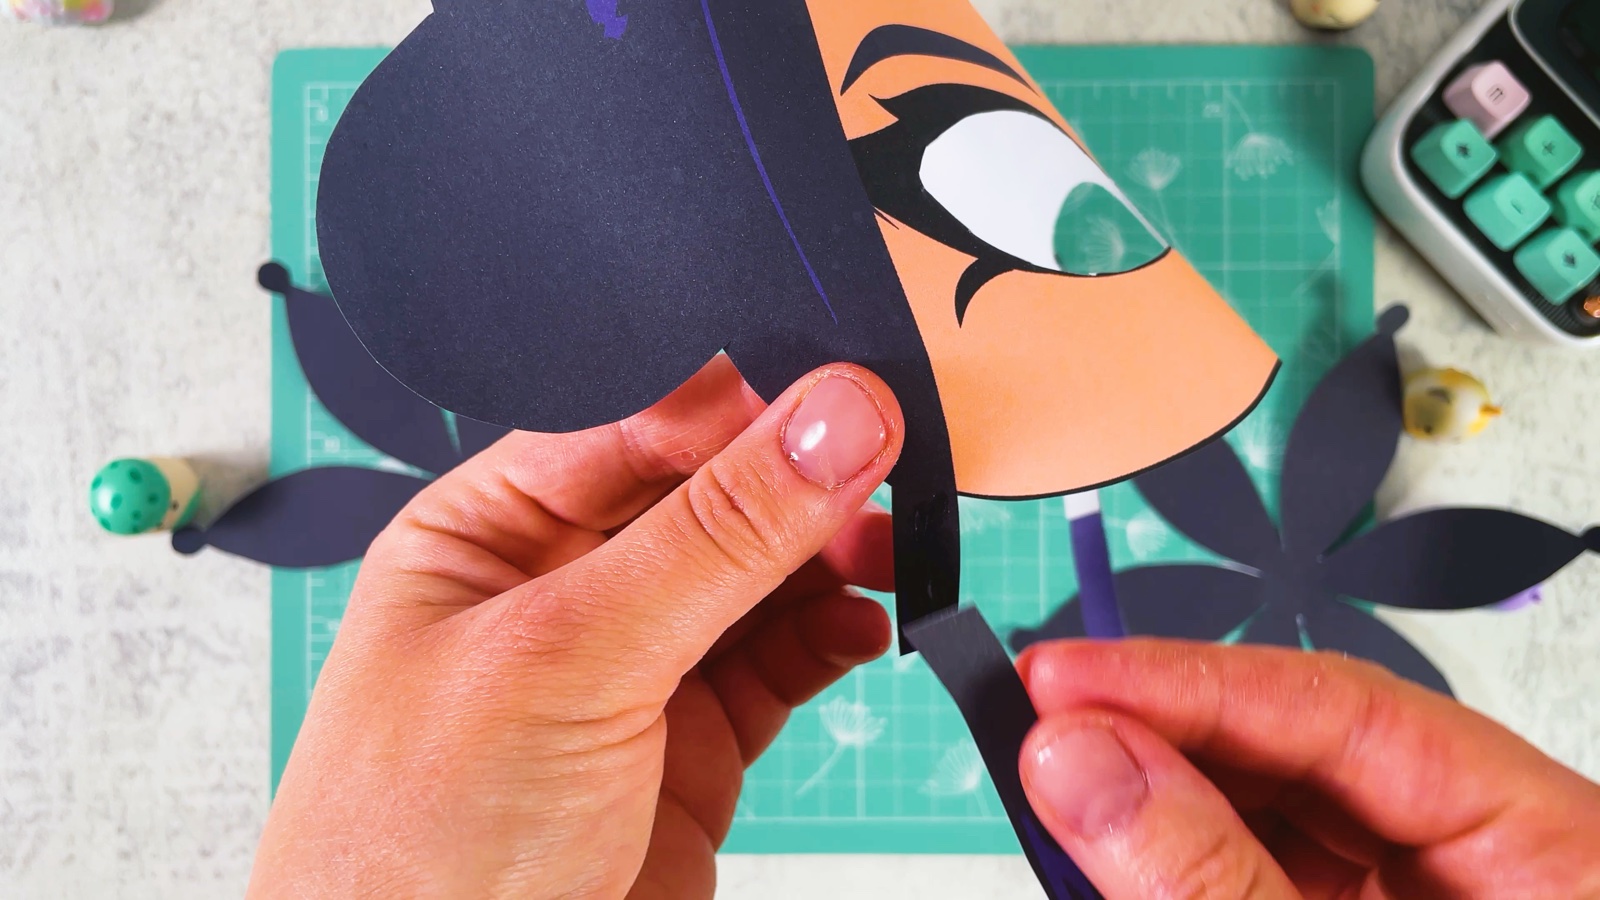
Add the strands
Put glue on the top end of a strand. Press it to the back of the hair, at the side next to the cheek, so it hangs down past the chin. Do the same on the other side.
PART 2 OF 2
The buns
- 7
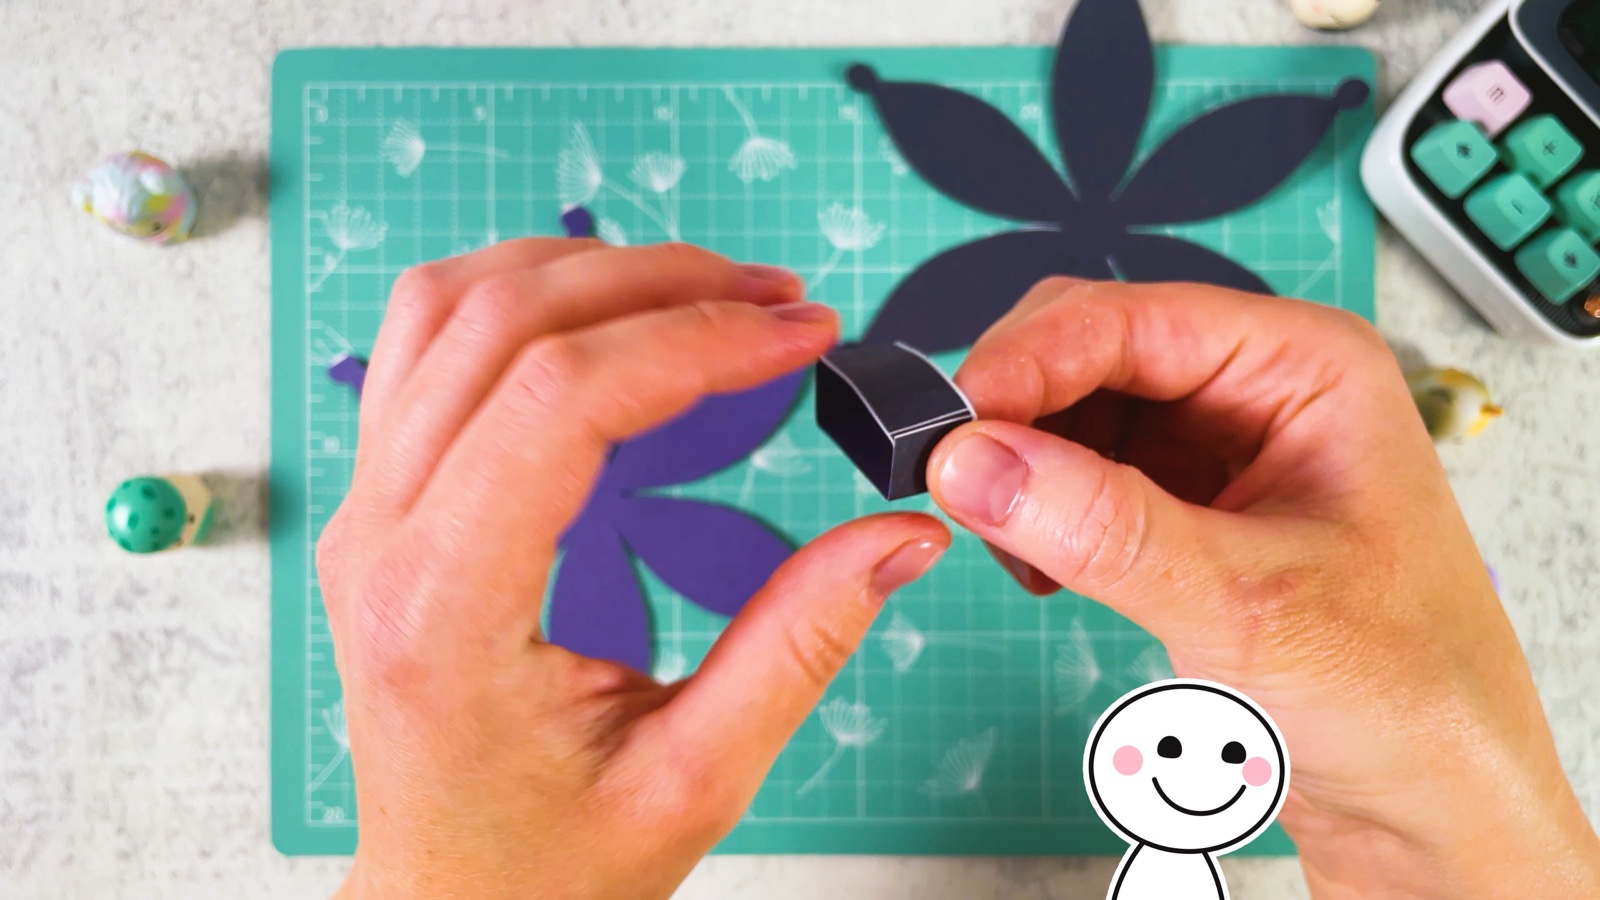
Fold a little box
Fold a strip along every line between the squares. Bend it into a small square box and glue the last square over the first one.
- 8
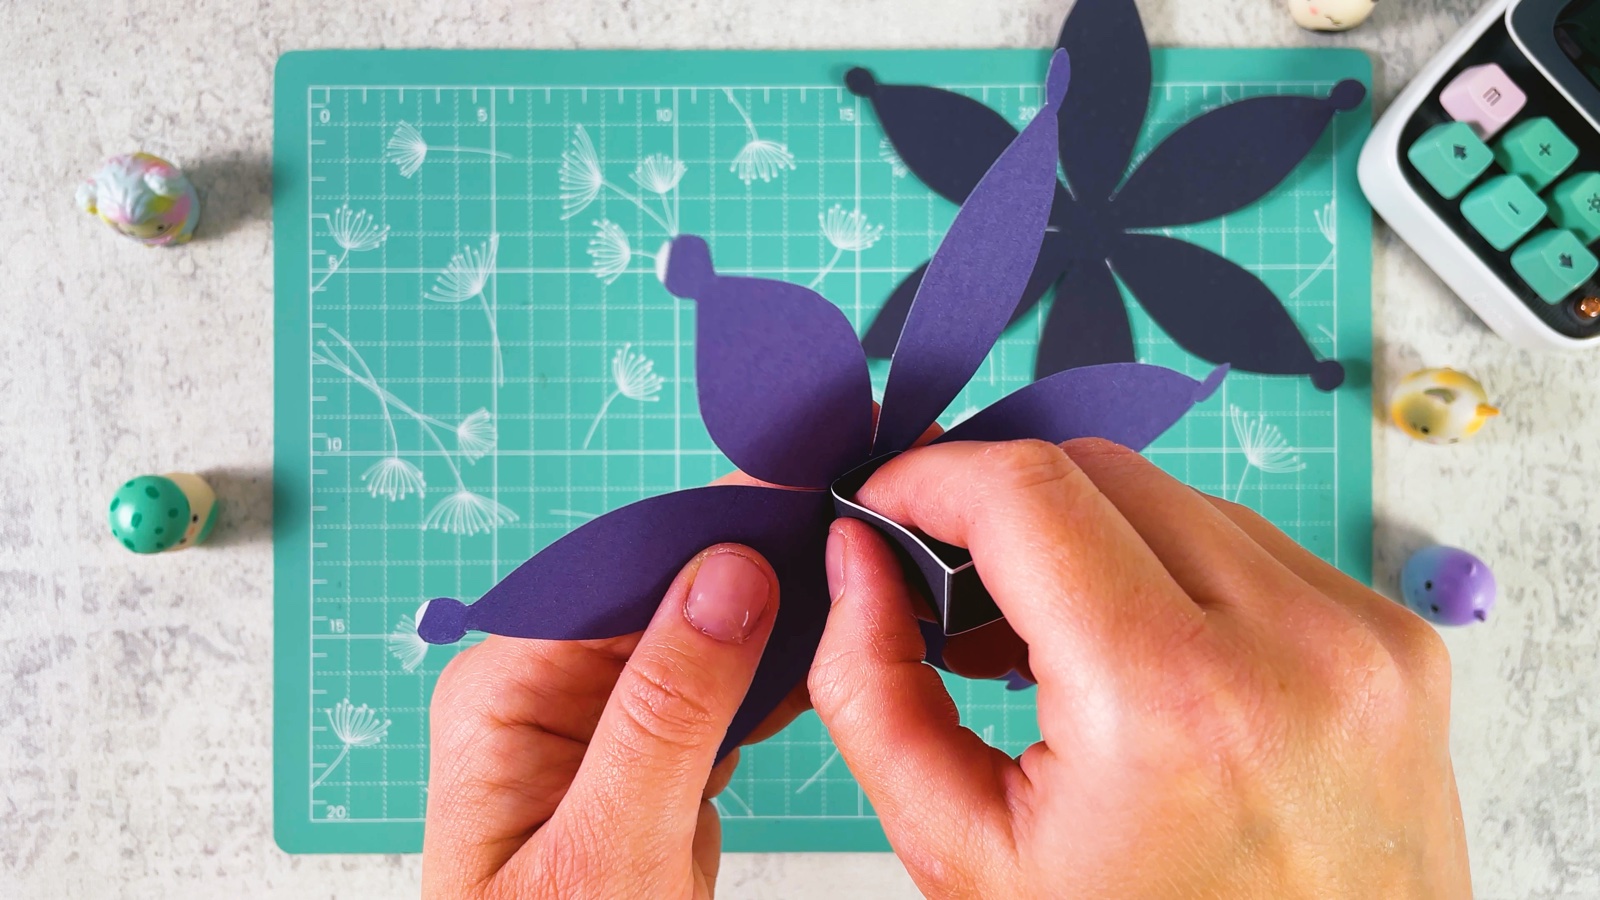
Glue the box to a flower
Put glue on one open side of the box. Stand it in the middle of a flower, on the purple side.
- 9
Fold the petals into a bun
Put glue on the round tip of a petal. Bend the petal up over the box and press the tip onto the top. Do the same with every petal, one by one.
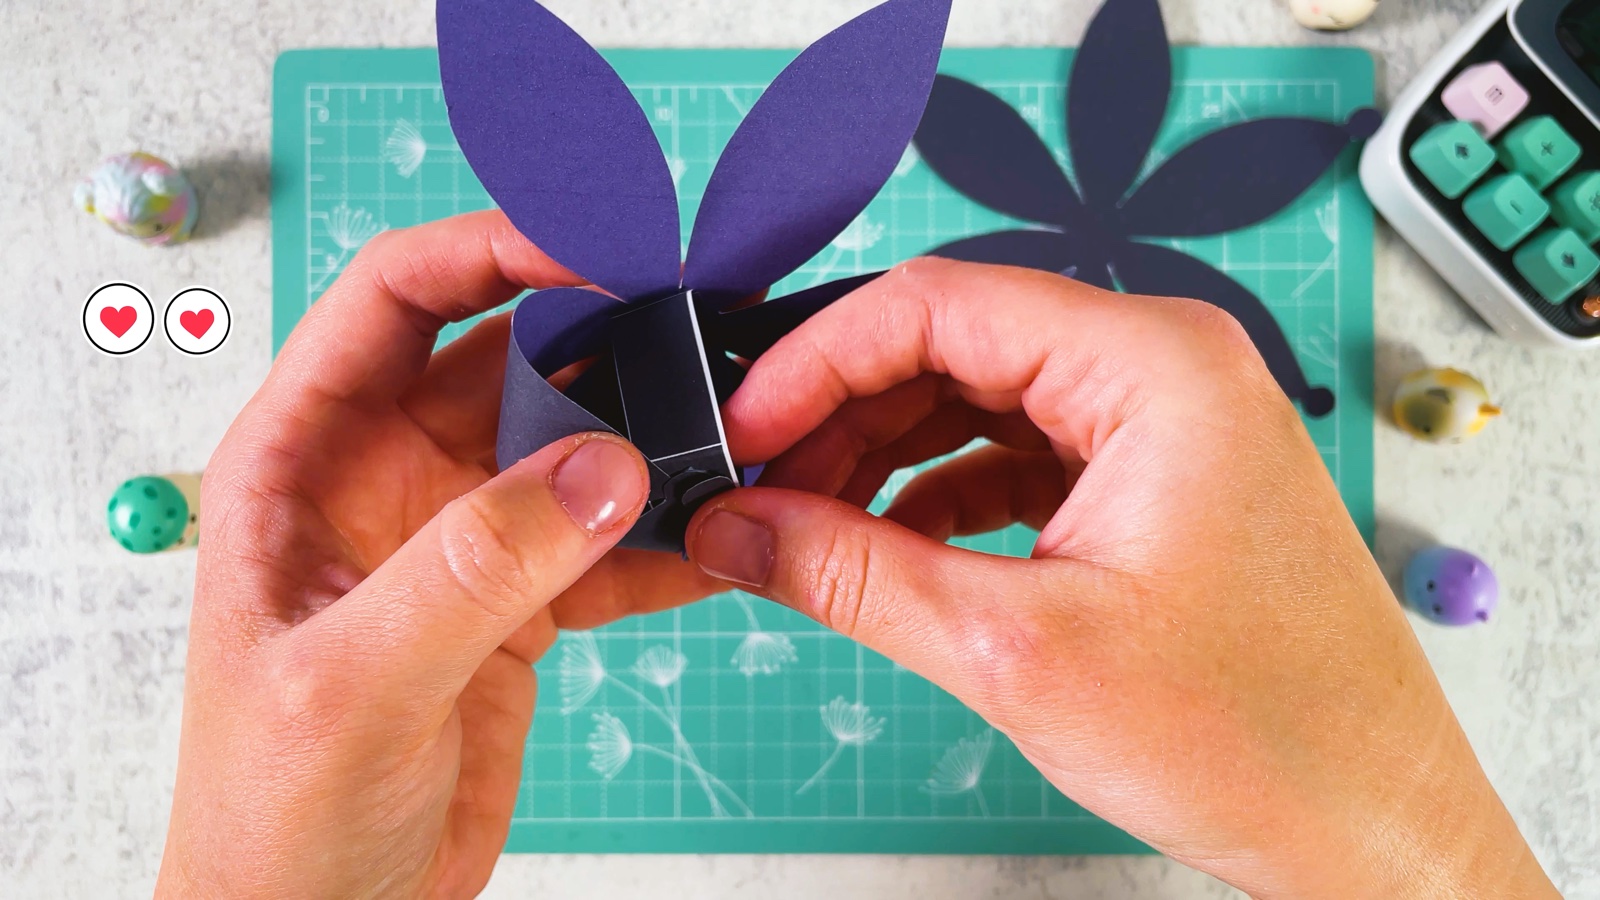
When all the petals meet at the top, the bun is round and full.
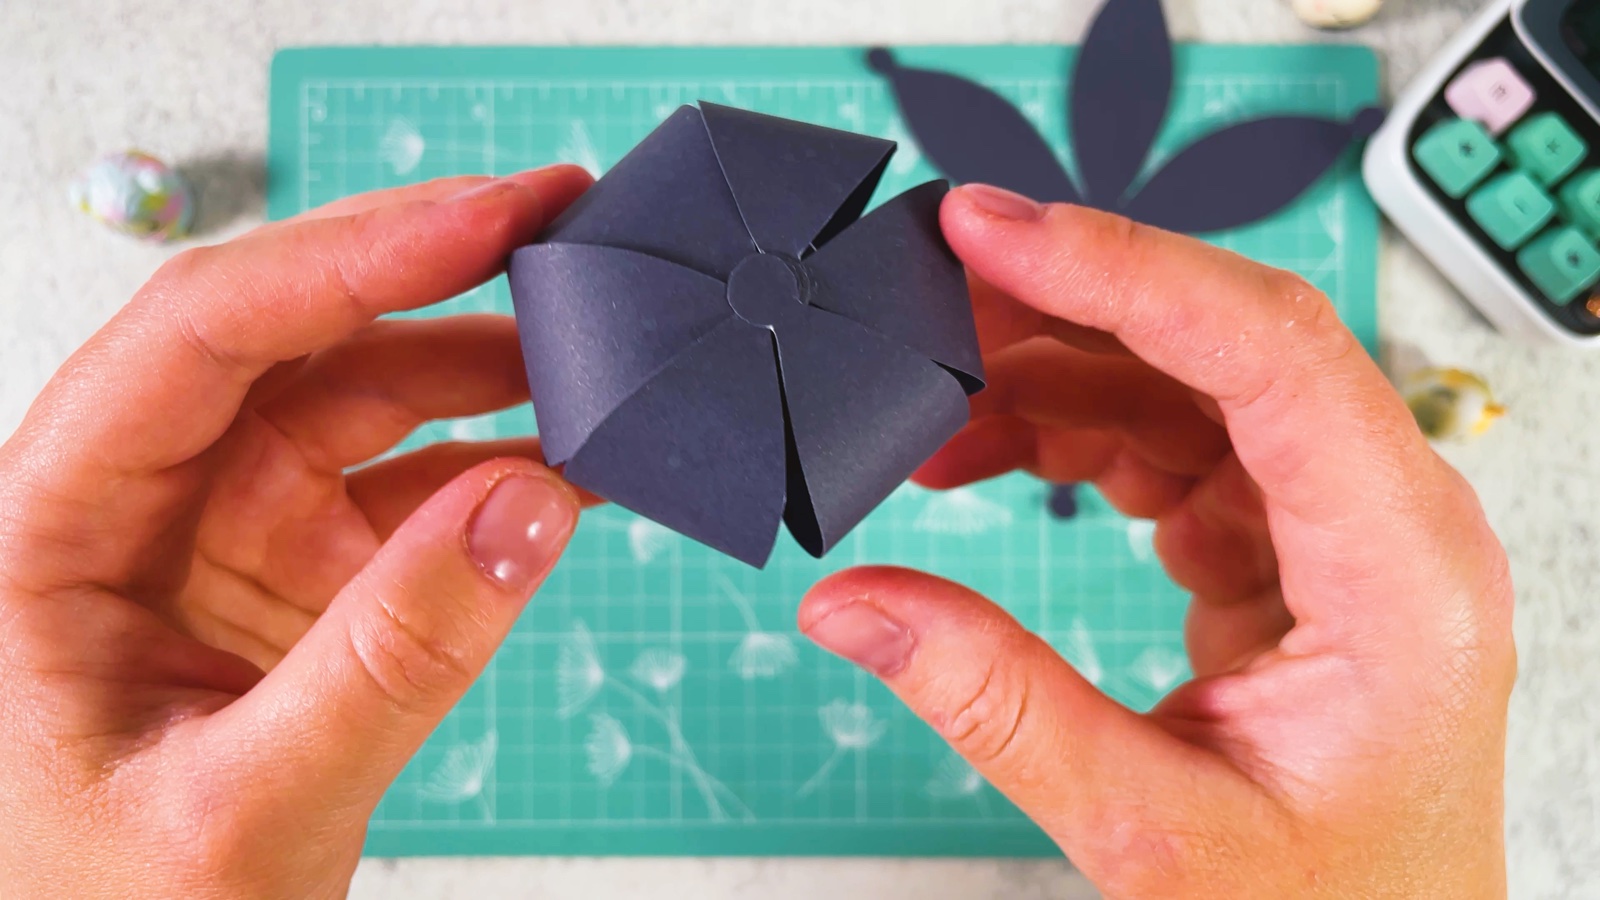
- 10
Make the second bun
Make the second bun the same way, with the other box and the other flower.
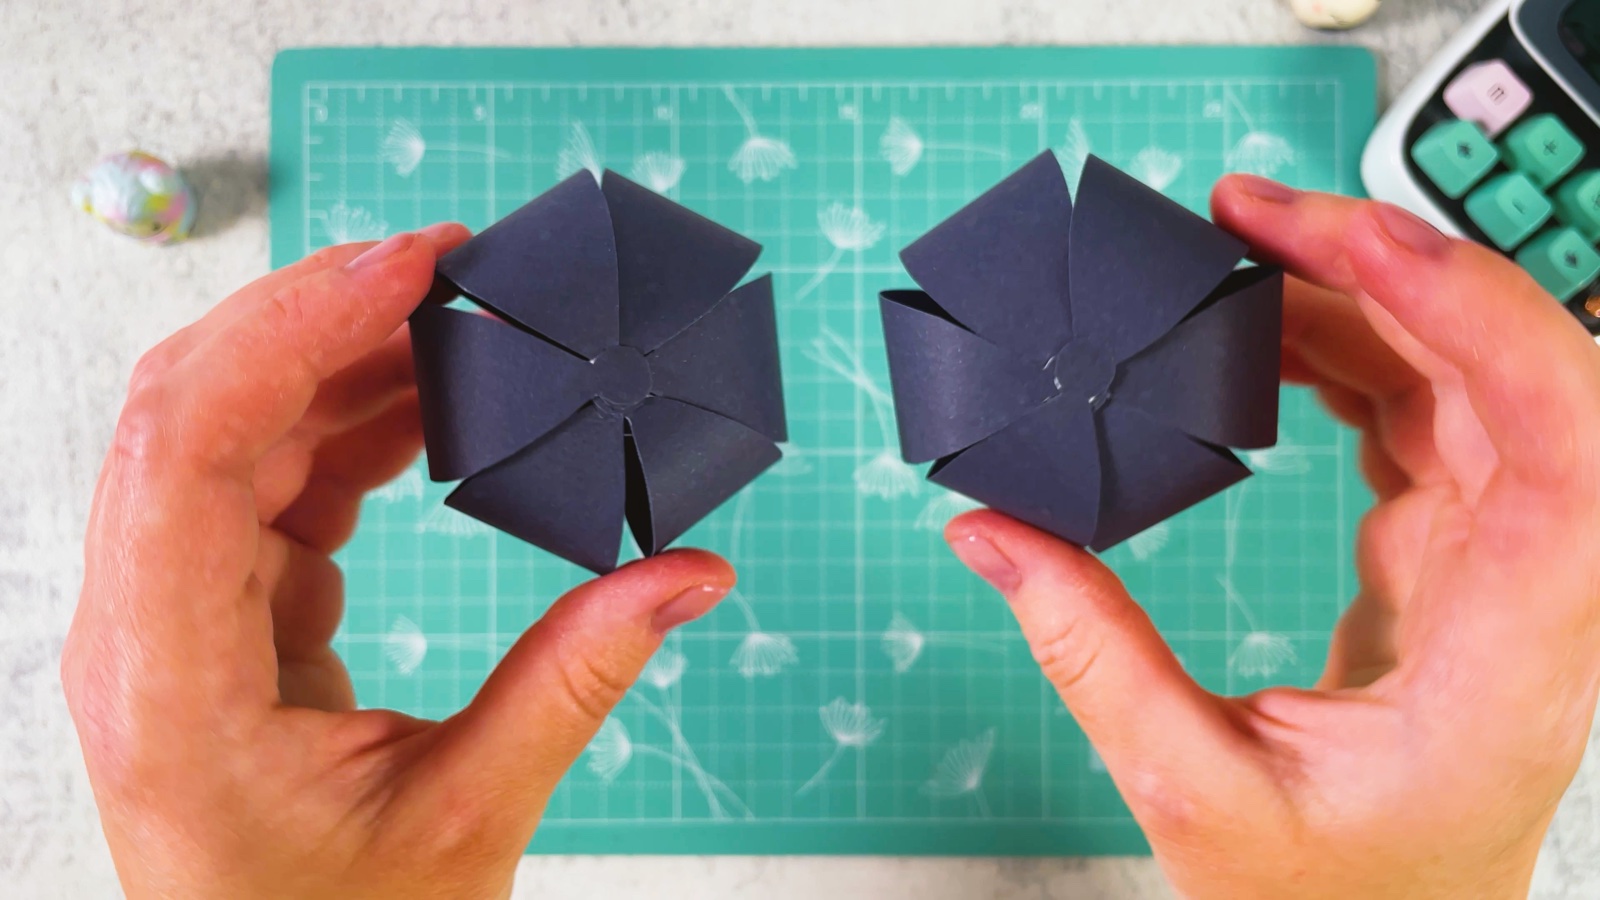
- 11
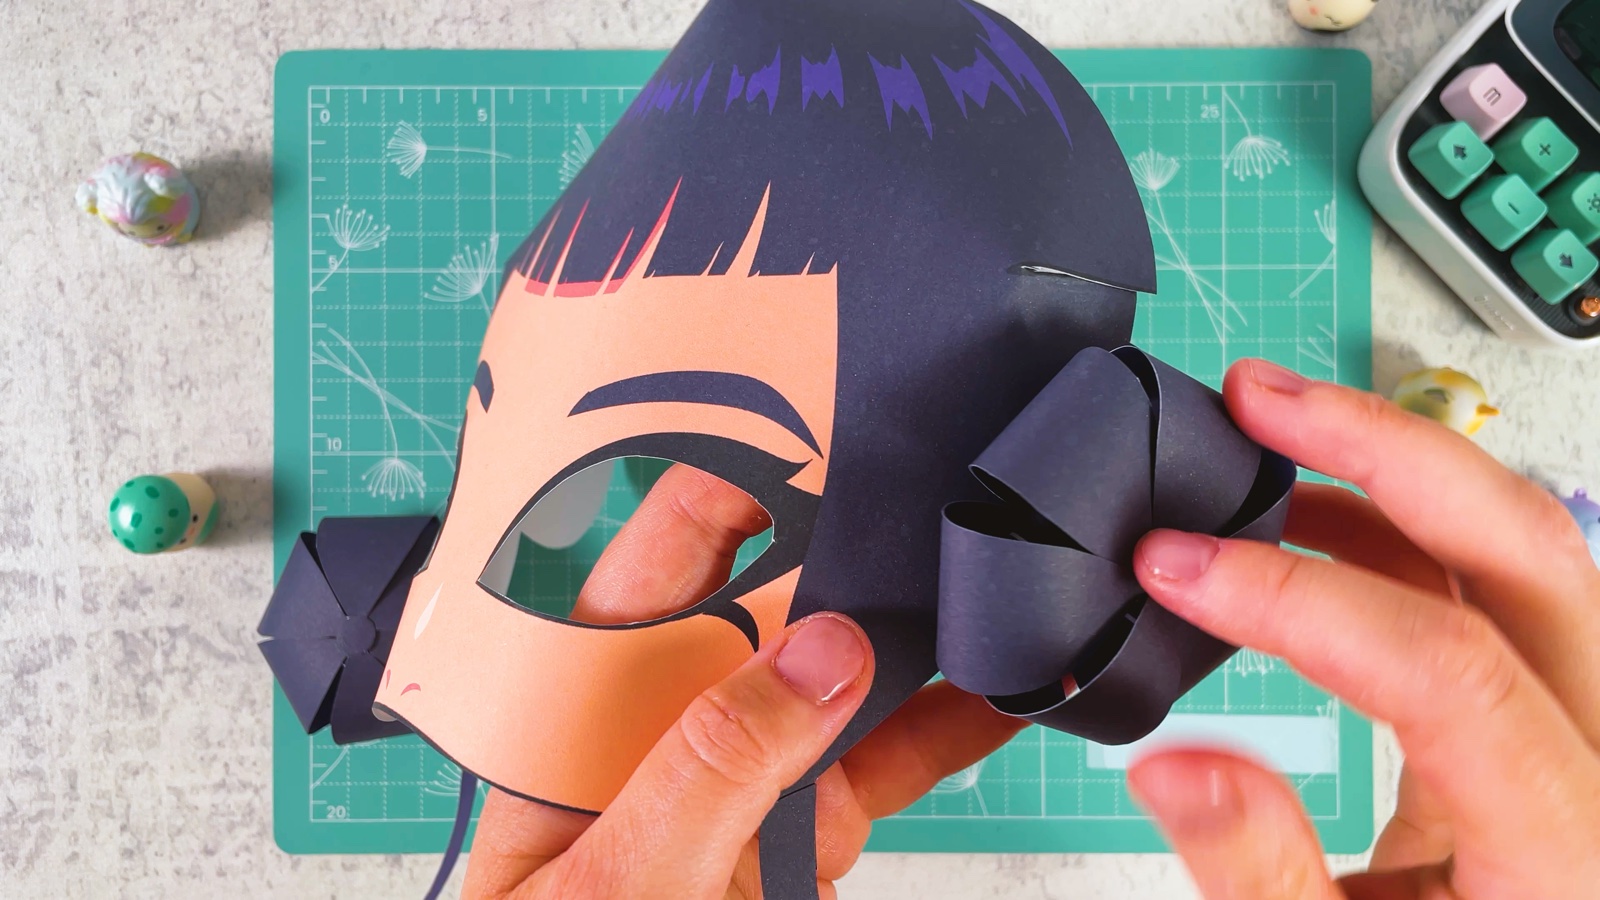
Glue on the buns
Put glue on the flat bottom of a bun.
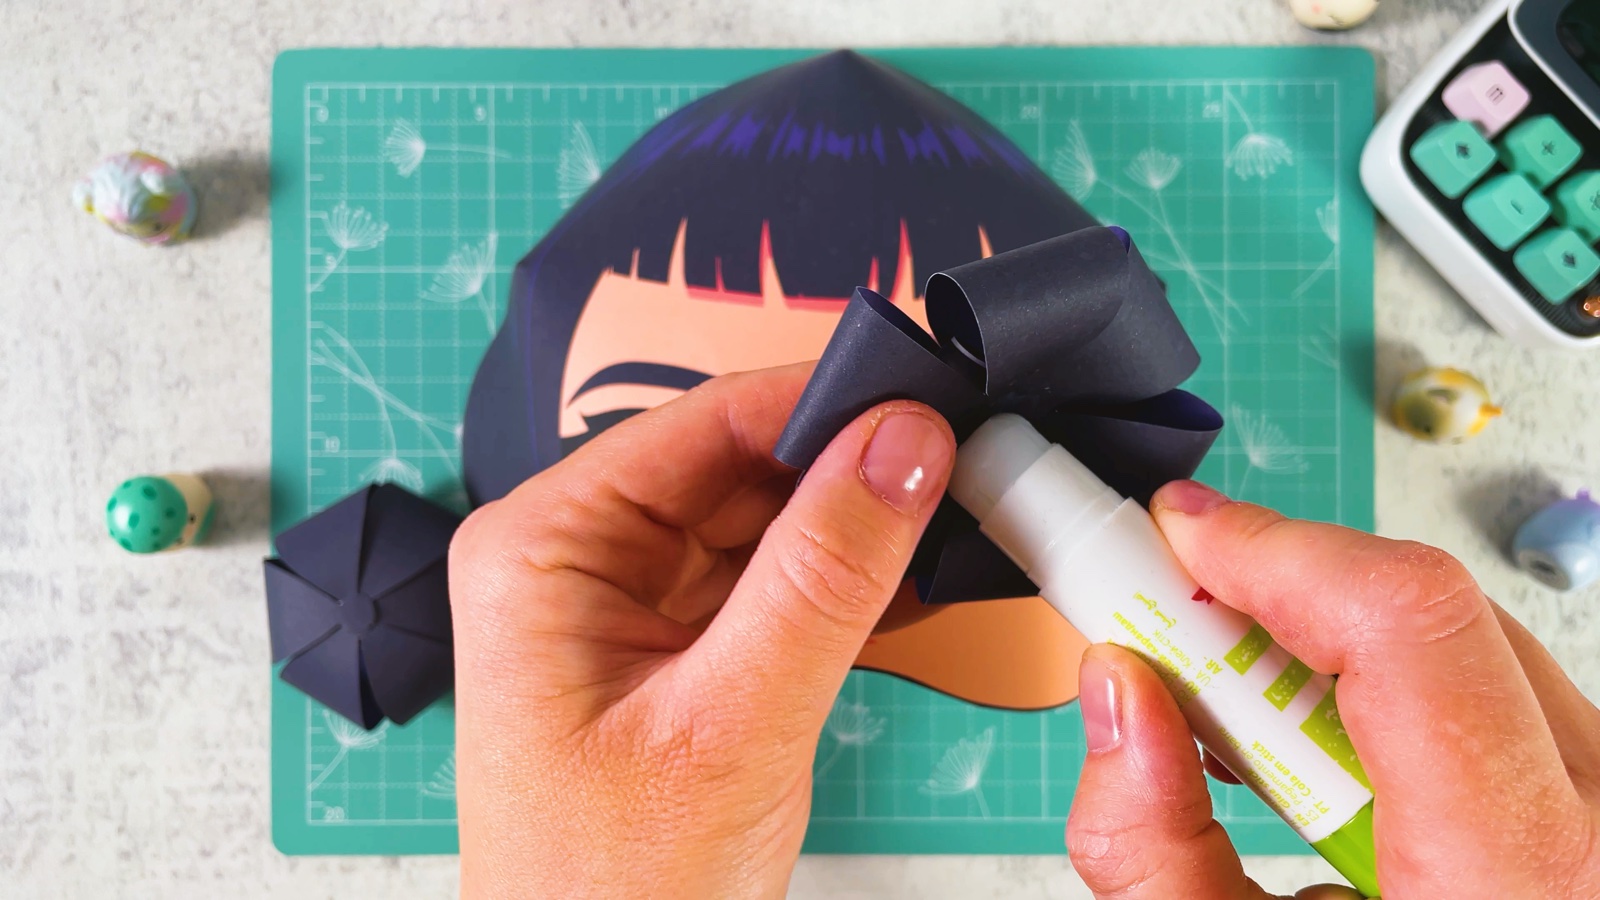
Press it onto one of the round buns printed on the side of the mask. Hold it for a few seconds. Do the same on the other side.
- 12
Try it on
Gently bend the strands so they hang nicely around the face.
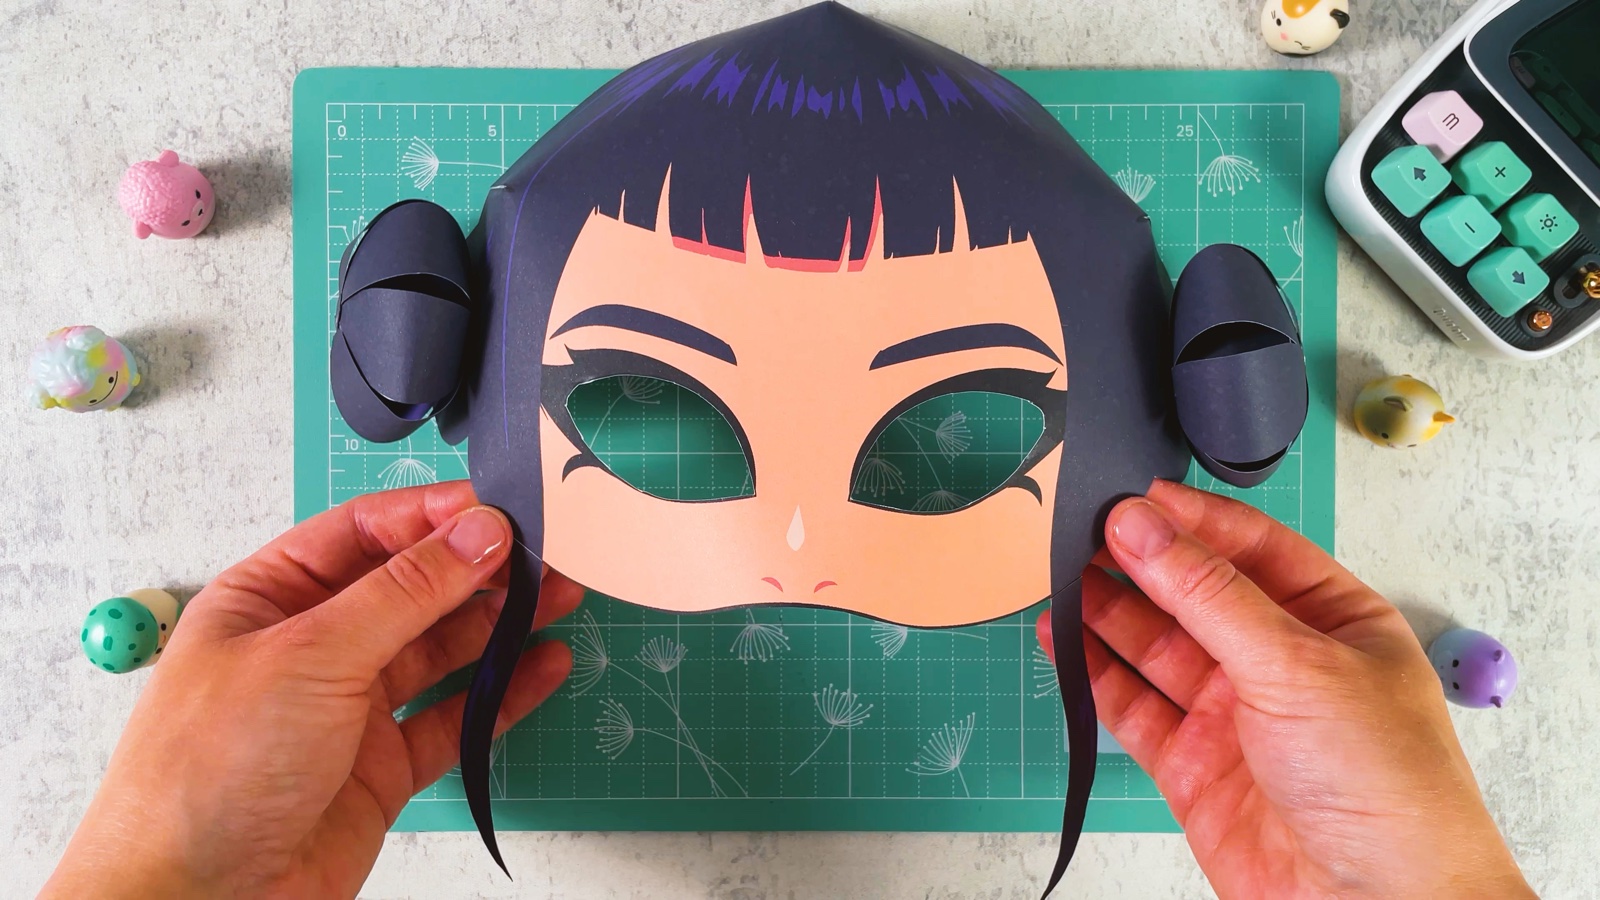
Zoey’s mask is ready.
TWO LITTLE TIPS
Make it easier.
- Use a glue stick, not liquid glue. Liquid glue makes thin paper wavy.
- Hold each glued part for a few seconds. Especially the triangles and the petal tips, so they stay in place.

A CUBI MINI MOMENT
Which HUNTR/X singer are you?
Cubi made Zoey’s mask for Mini, so they can sing Zoey’s part together. Rumi, Zoey or Mira: who will you be?
A rap battle in the hallway, with a paper hairbrush for a microphone.
Loved making it?
Catch the next make first, or save this one for a rainy day.