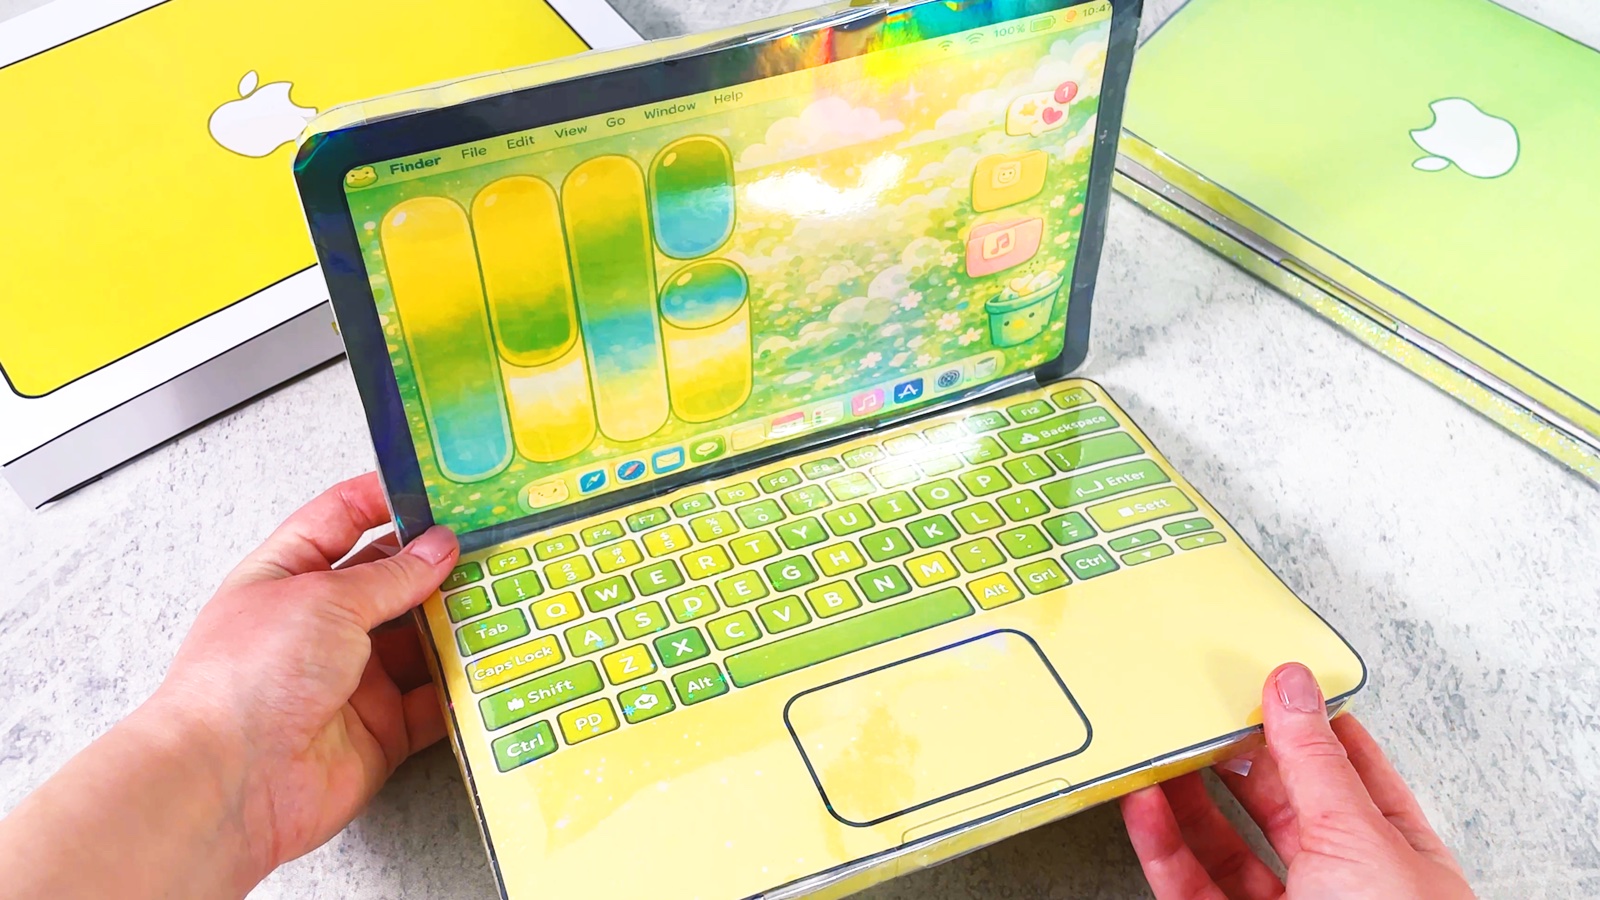
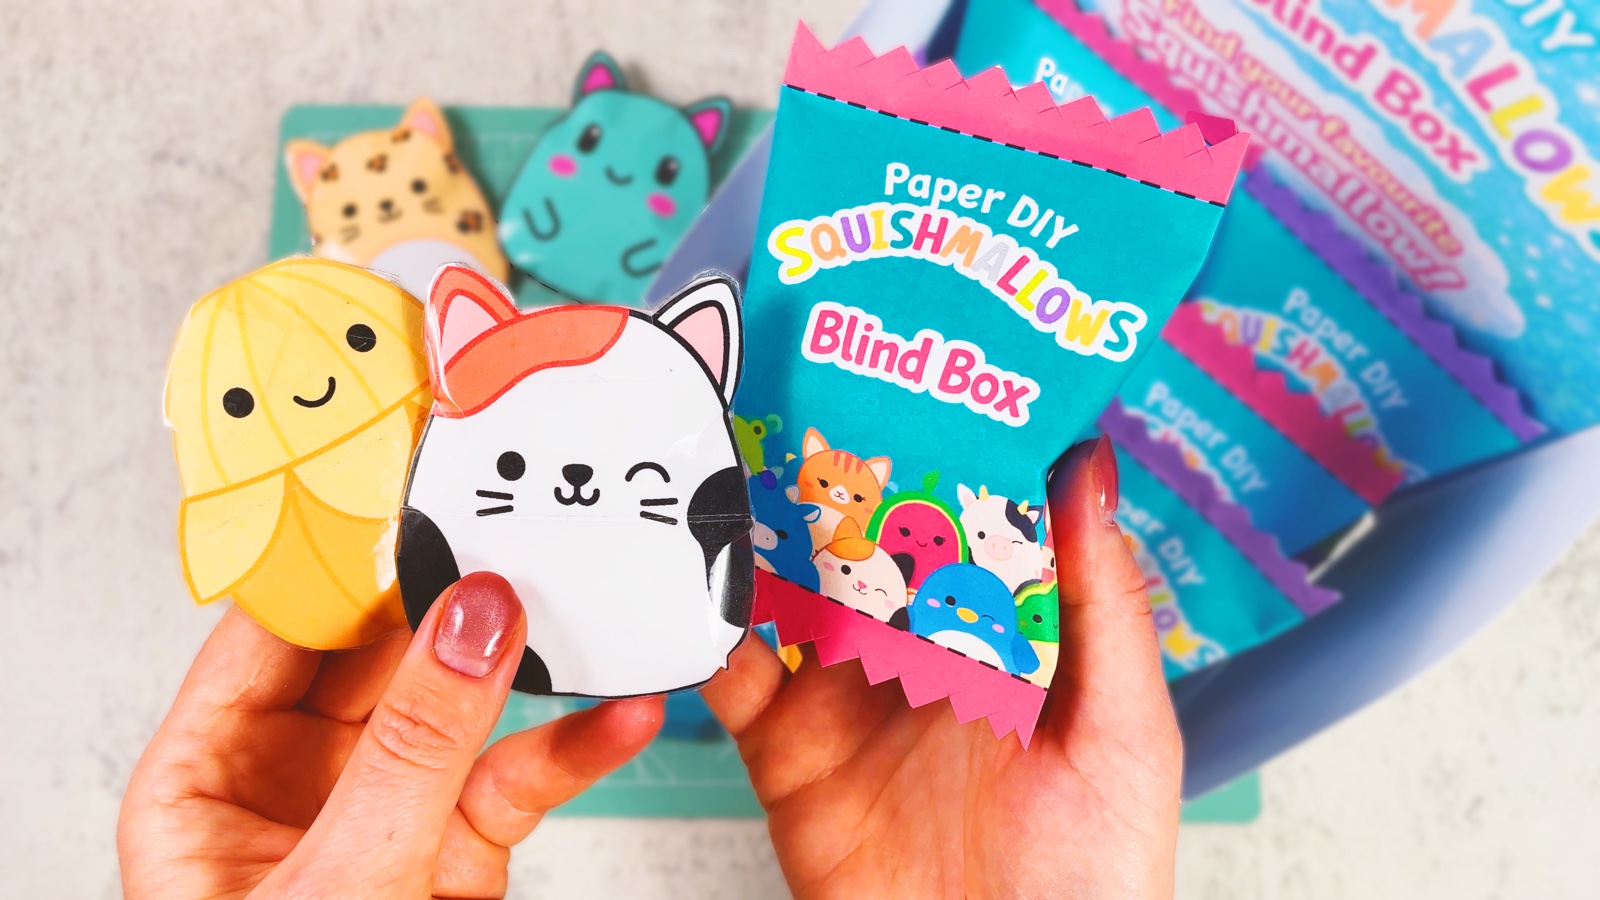
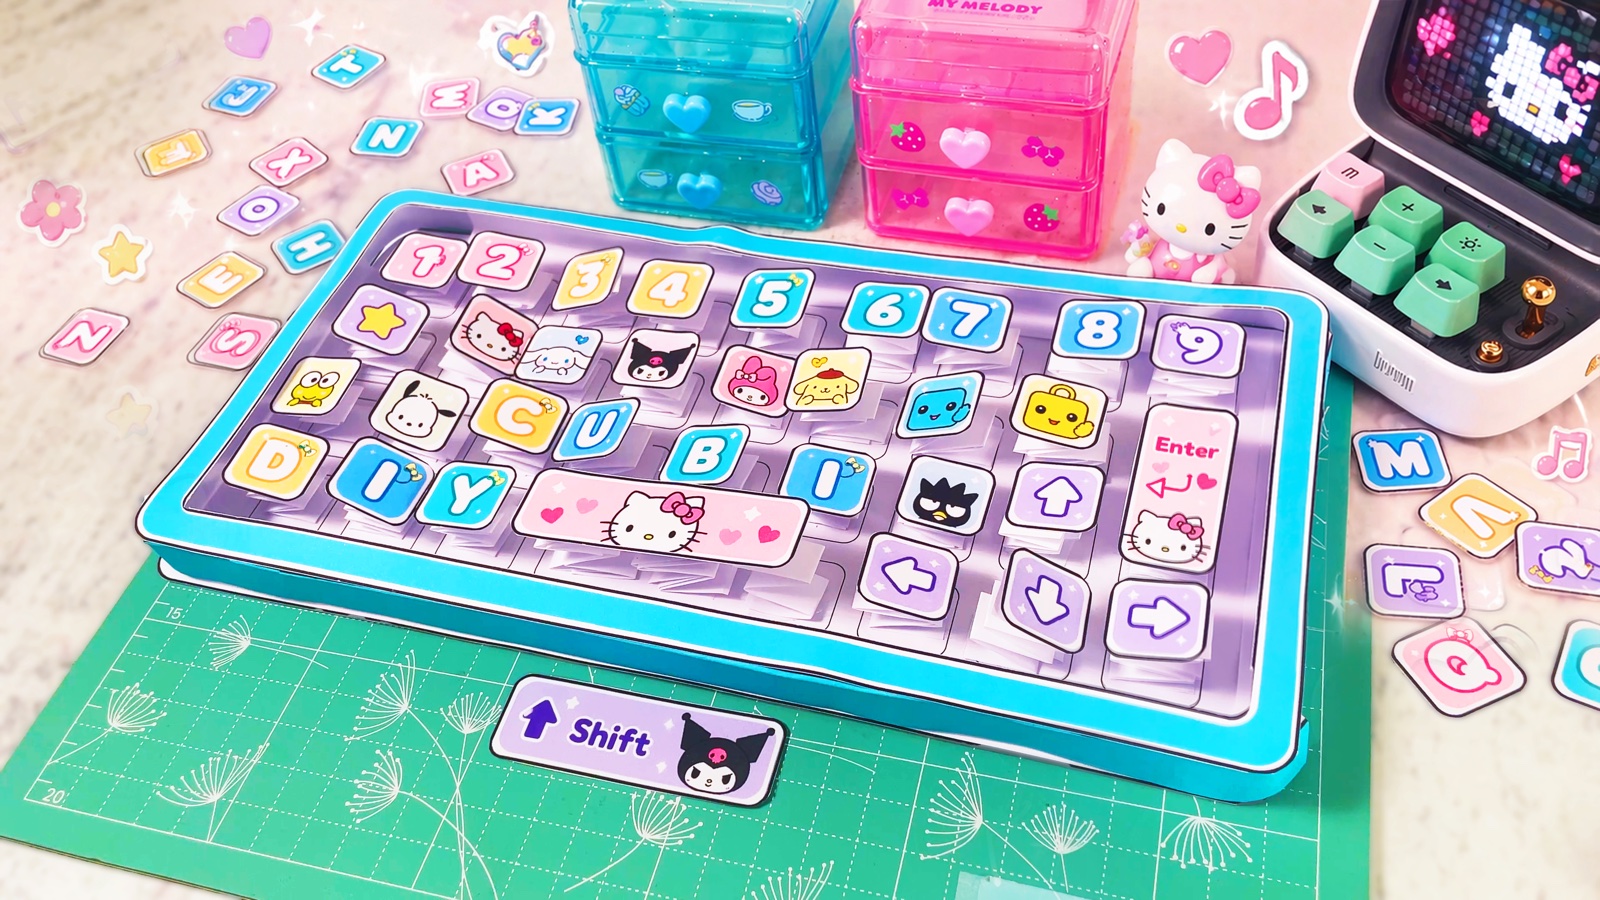
Let’s make the new iPhone 17 Pro soft, squishy, smooth and shiny, and even the cutest little iPhone box to go with it!
Cubi loves this trend so much, because the phone turns out super glossy (just like a real screen!), extra soft thanks to the fluffy filling, and so satisfying to squeeze. And it’s all made with just paper, tape and cotton.
We use the colour template here. If you’d rather colour your iPhone yourself with crayons, markers or glitter, print the black and white version instead.
You can also use this method to make squishy iPads, MacBooks, tablets and more. A paper iPhone in its own box is a sweet birthday gift, too.
BEFORE WE START
What you need.
Materials
- Printable template
- Clear packing tape
- Cotton wool
- Glue stick
Tools
- Scissors
- A printer
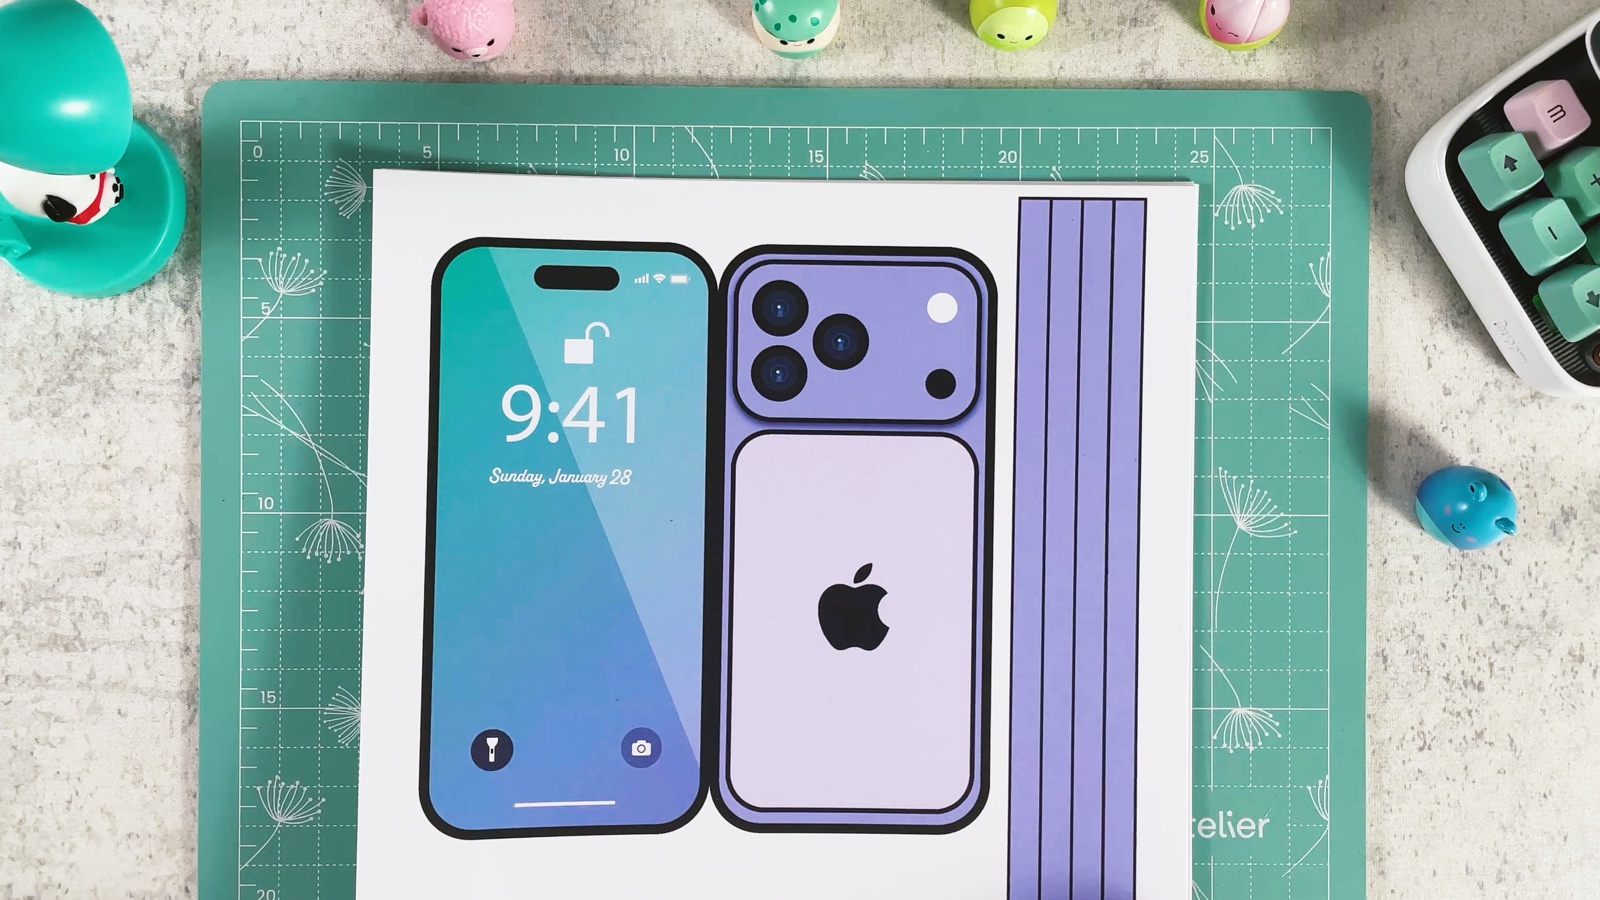
Page 1 is the phone and its side strips, pages 2 to 4 are the box: the lid, the bottom and the insert.
Get the free template ↓PART 1 OF 2
The squishy phone
- 1
Print the template
Print the template on A4 (on US Letter, choose “Fit to page”).
- 2
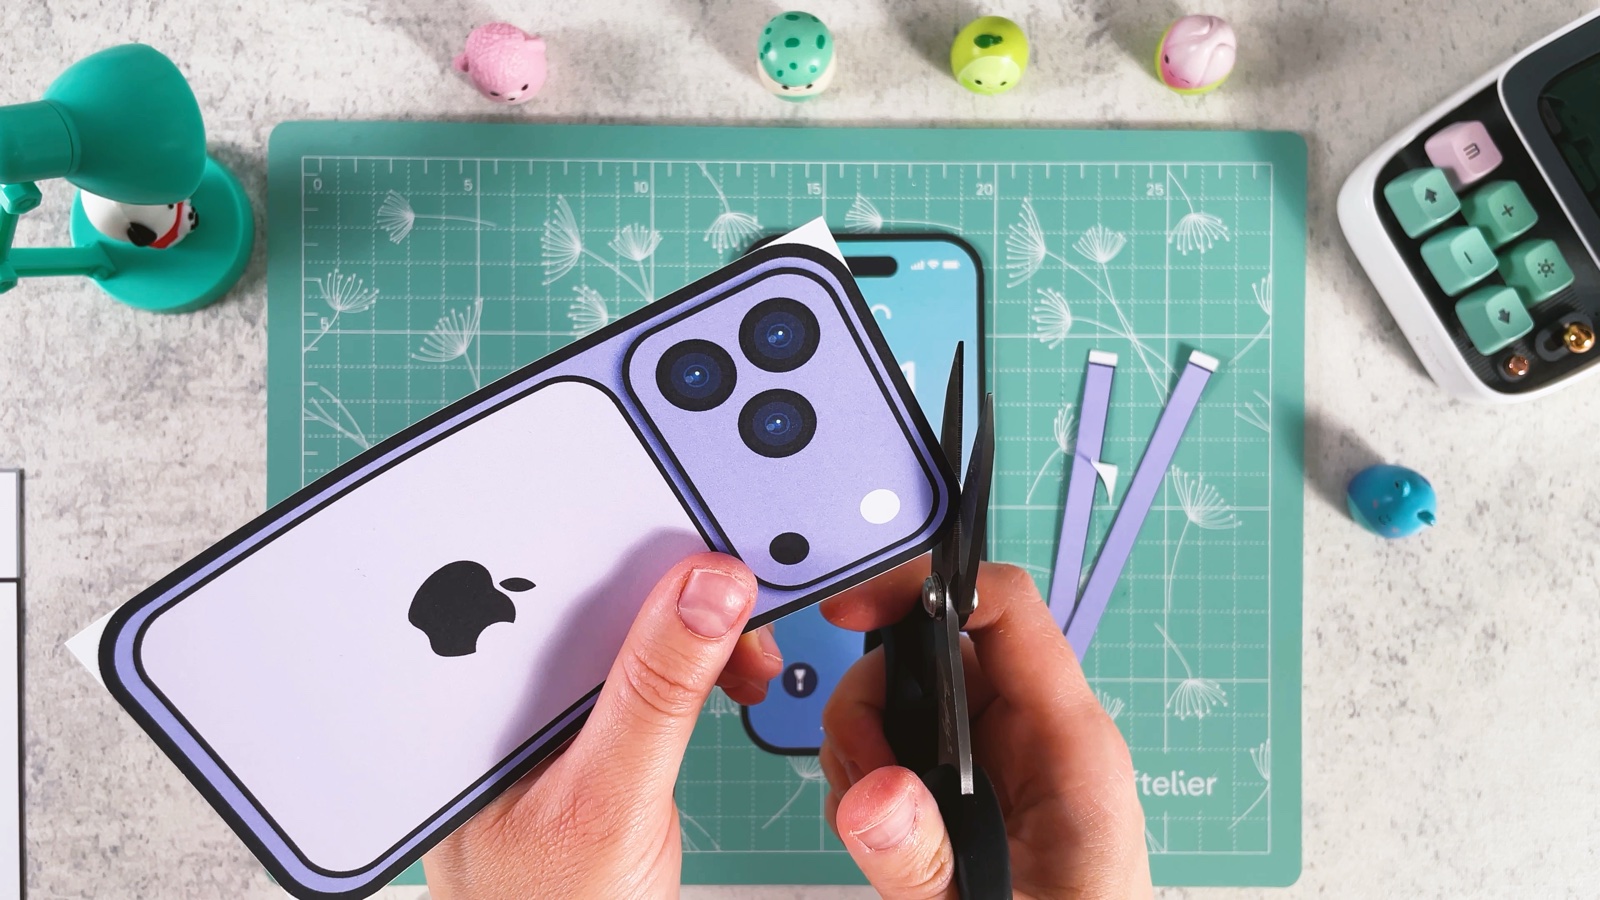
Cut out the screen and the back
Cut out the screen and the back along the black outline, following the rounded corners.
- 3
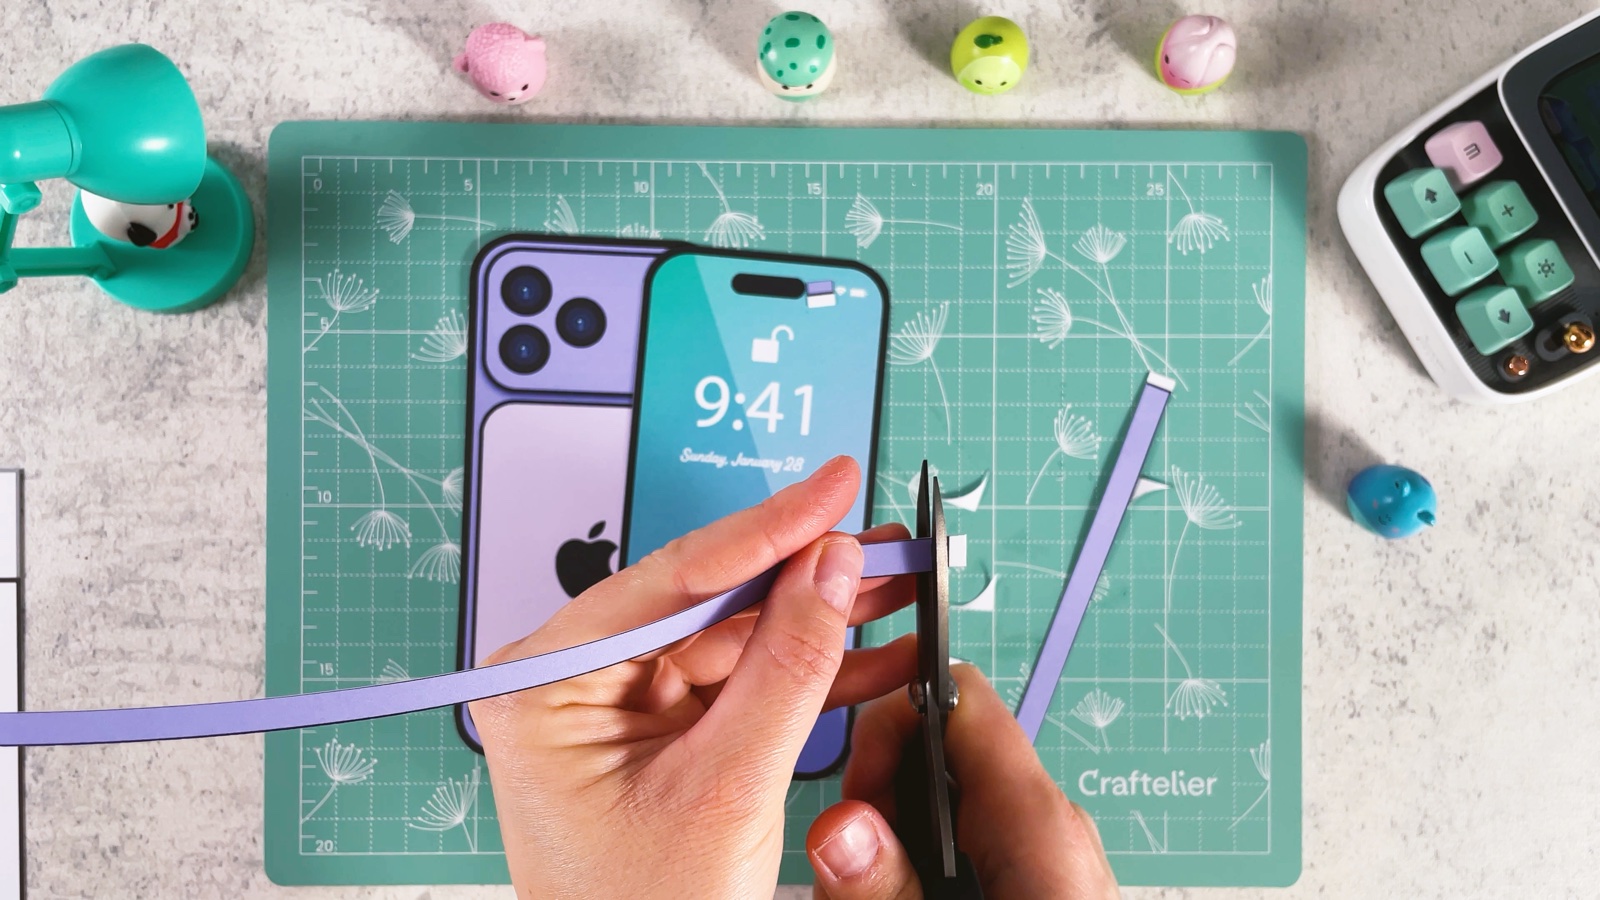
Cut out the side strips
Cut the purple side strips apart along the lines.
- 4
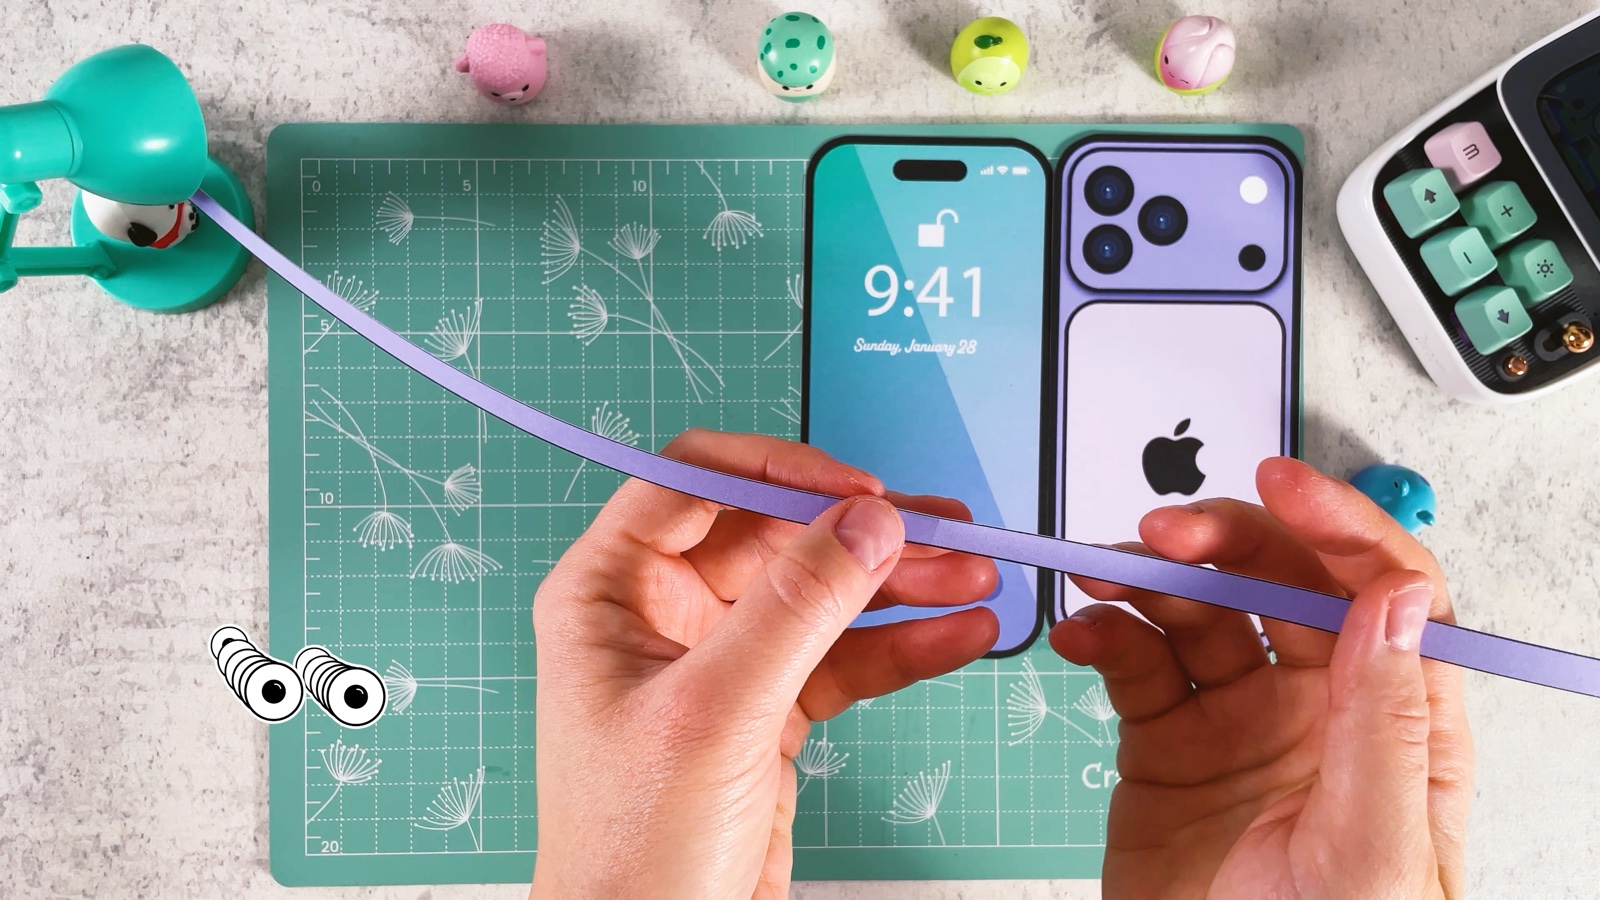
Join the strips
Tape the strips end to end with clear tape to make one long strip. It has to go all the way around the phone.
- 5
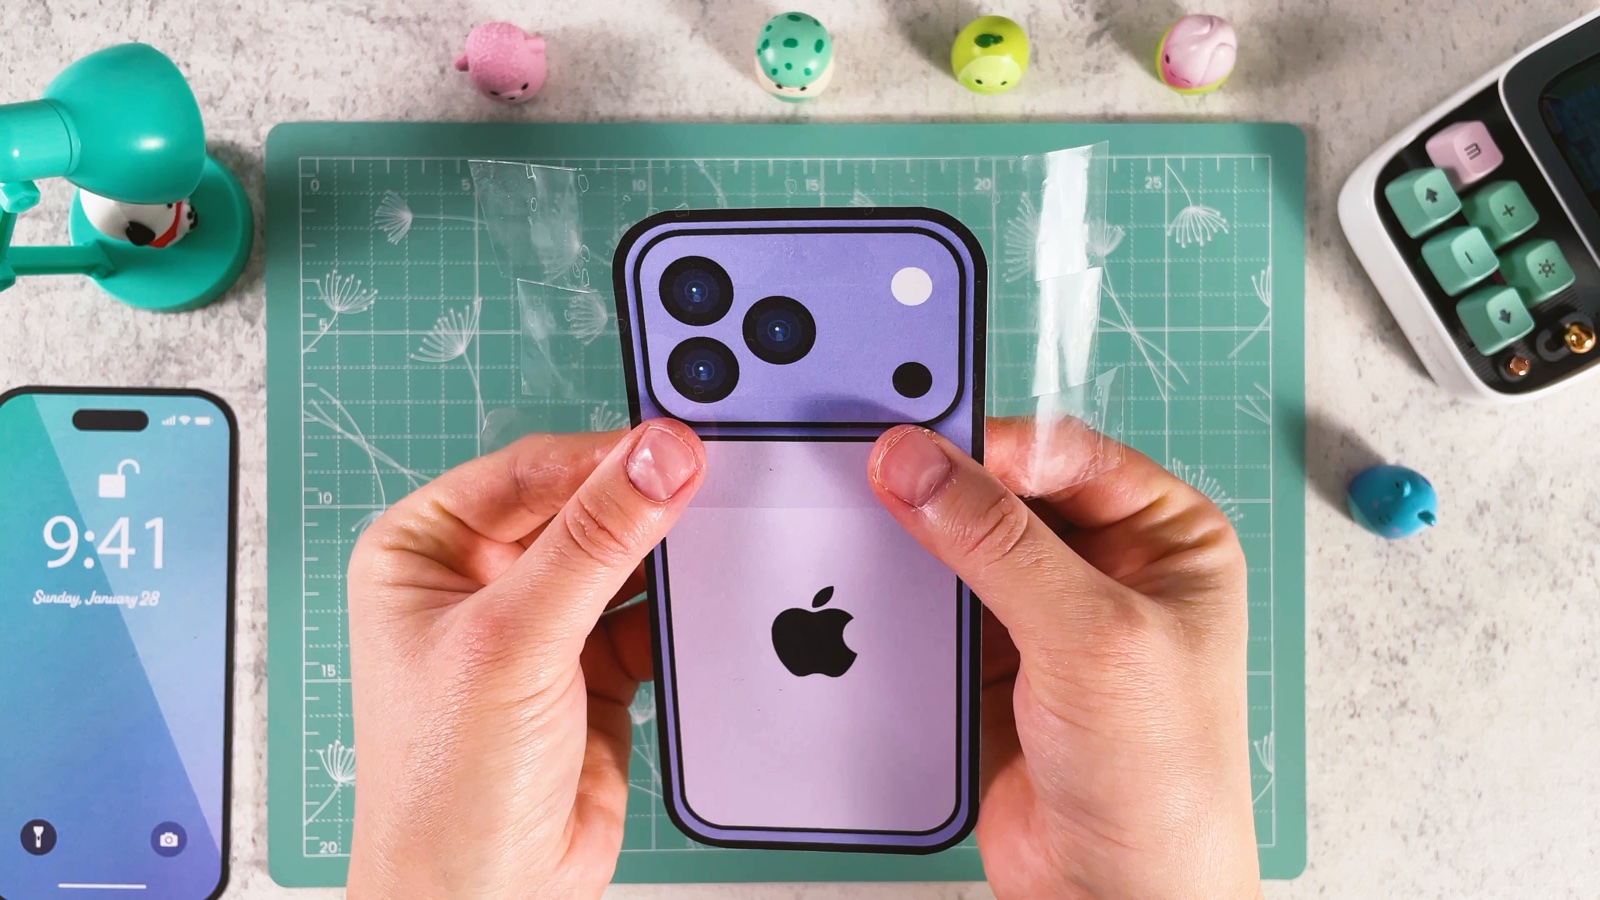
Cover the back with clear tape
Lay strips of clear packing tape over the printed back, side by side, until it is all covered. This is what makes it glossy, like a real phone.
- 6
Trim the tape
Cut the tape along the edge of the back, following the rounded corners.
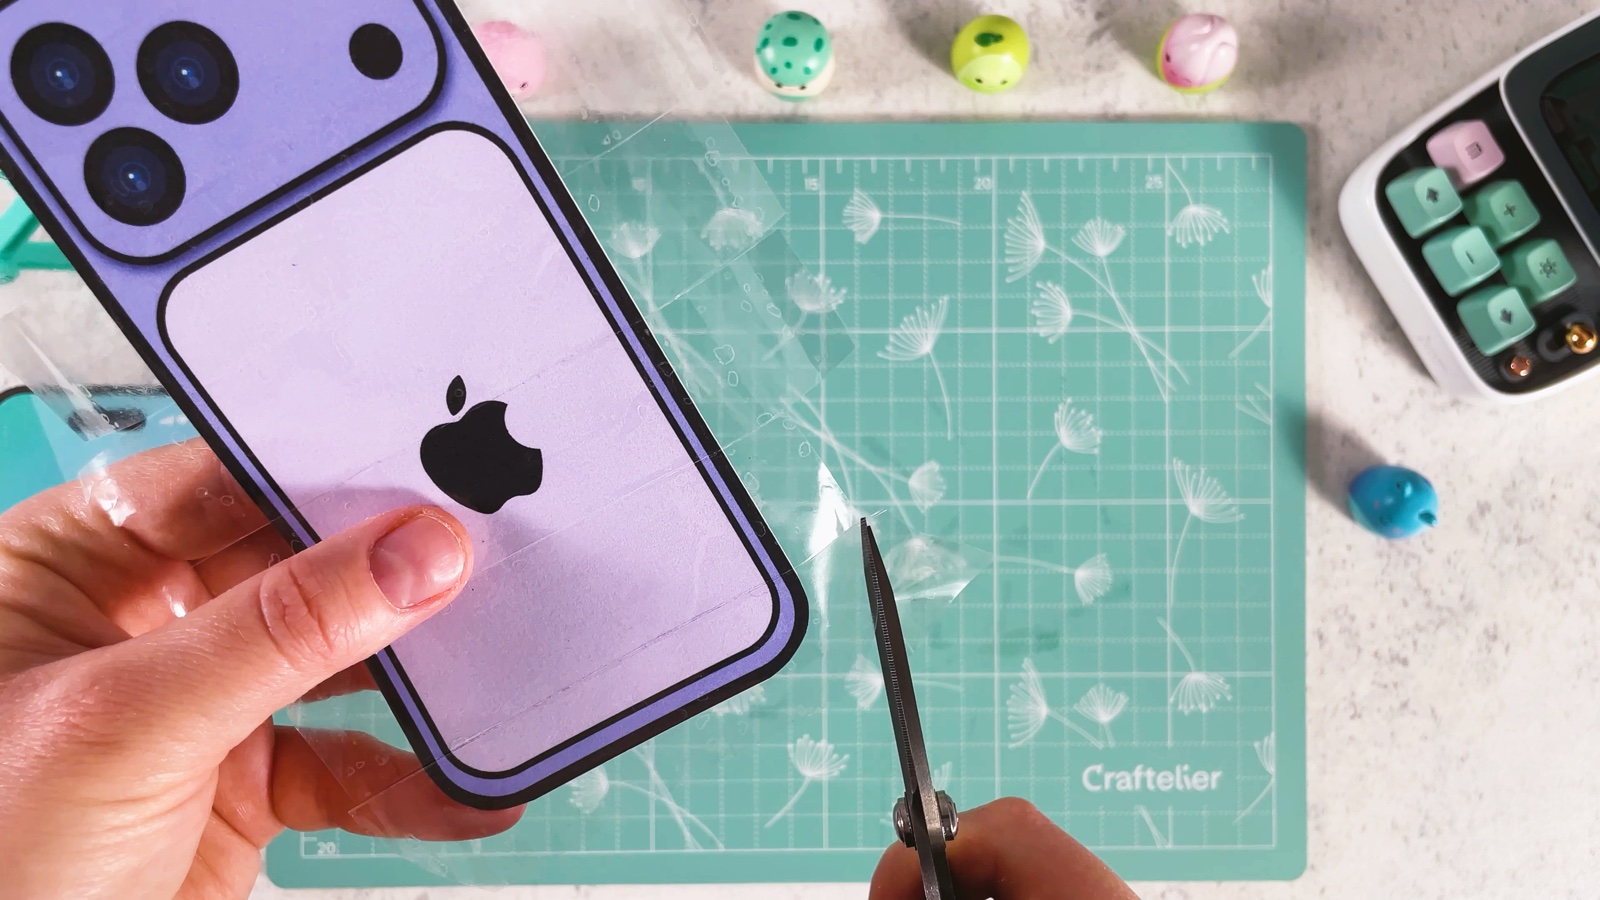
- 7
Build the sides
Turn the back over, so the white side is up. Hold the long strip against its edge, standing up like a low wall.
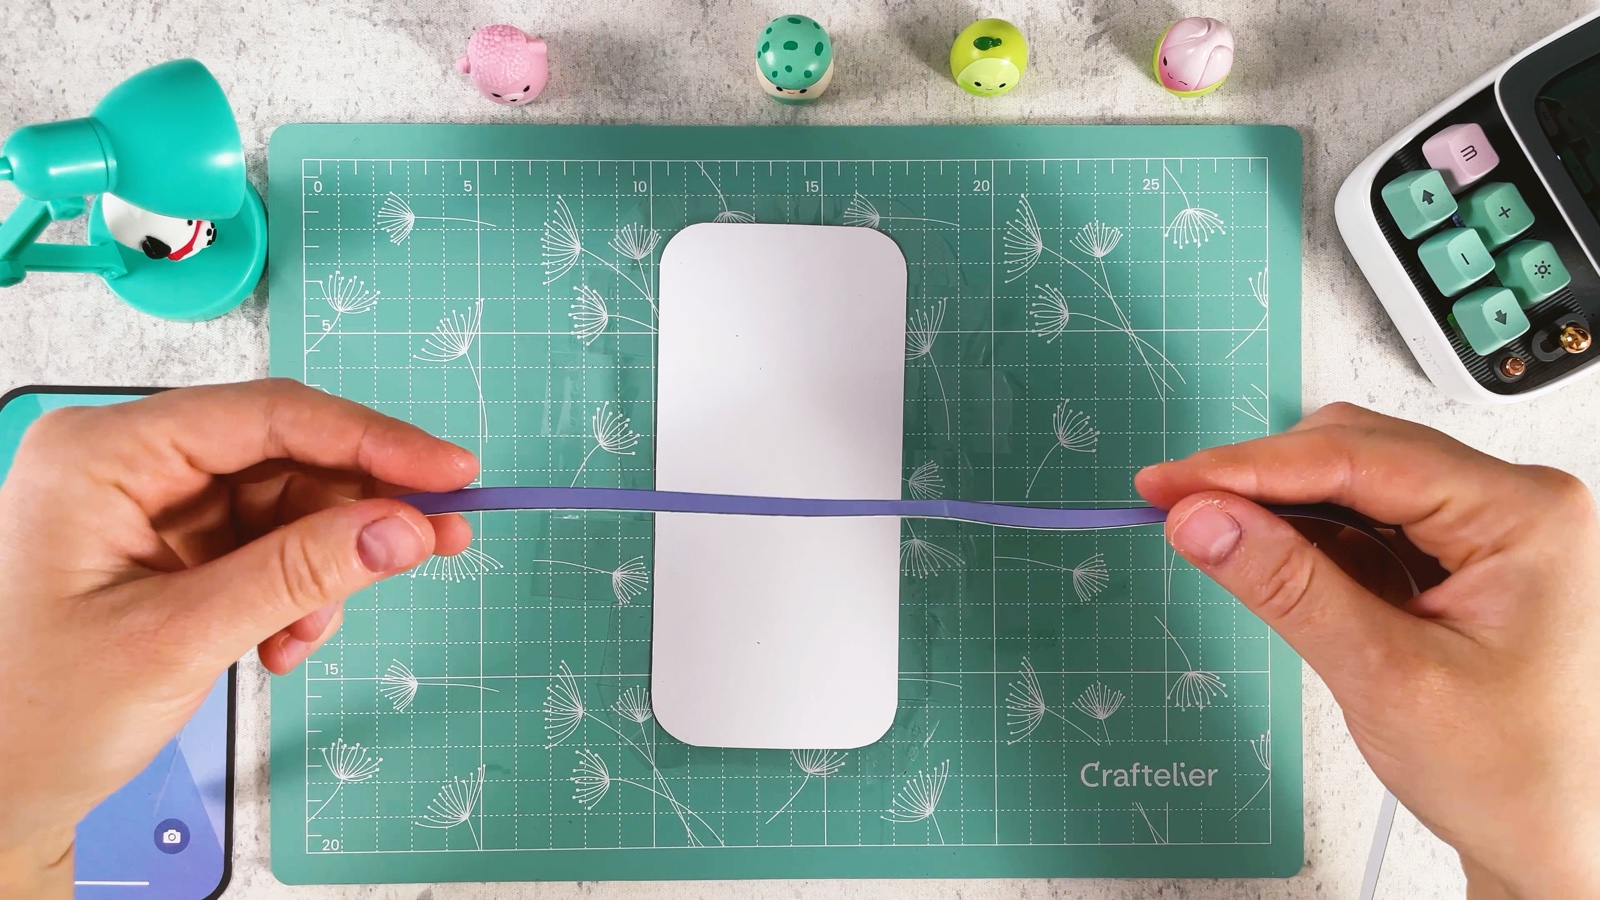
Tape the strip to the edge all the way around, also at the corners, with small pieces of clear tape.
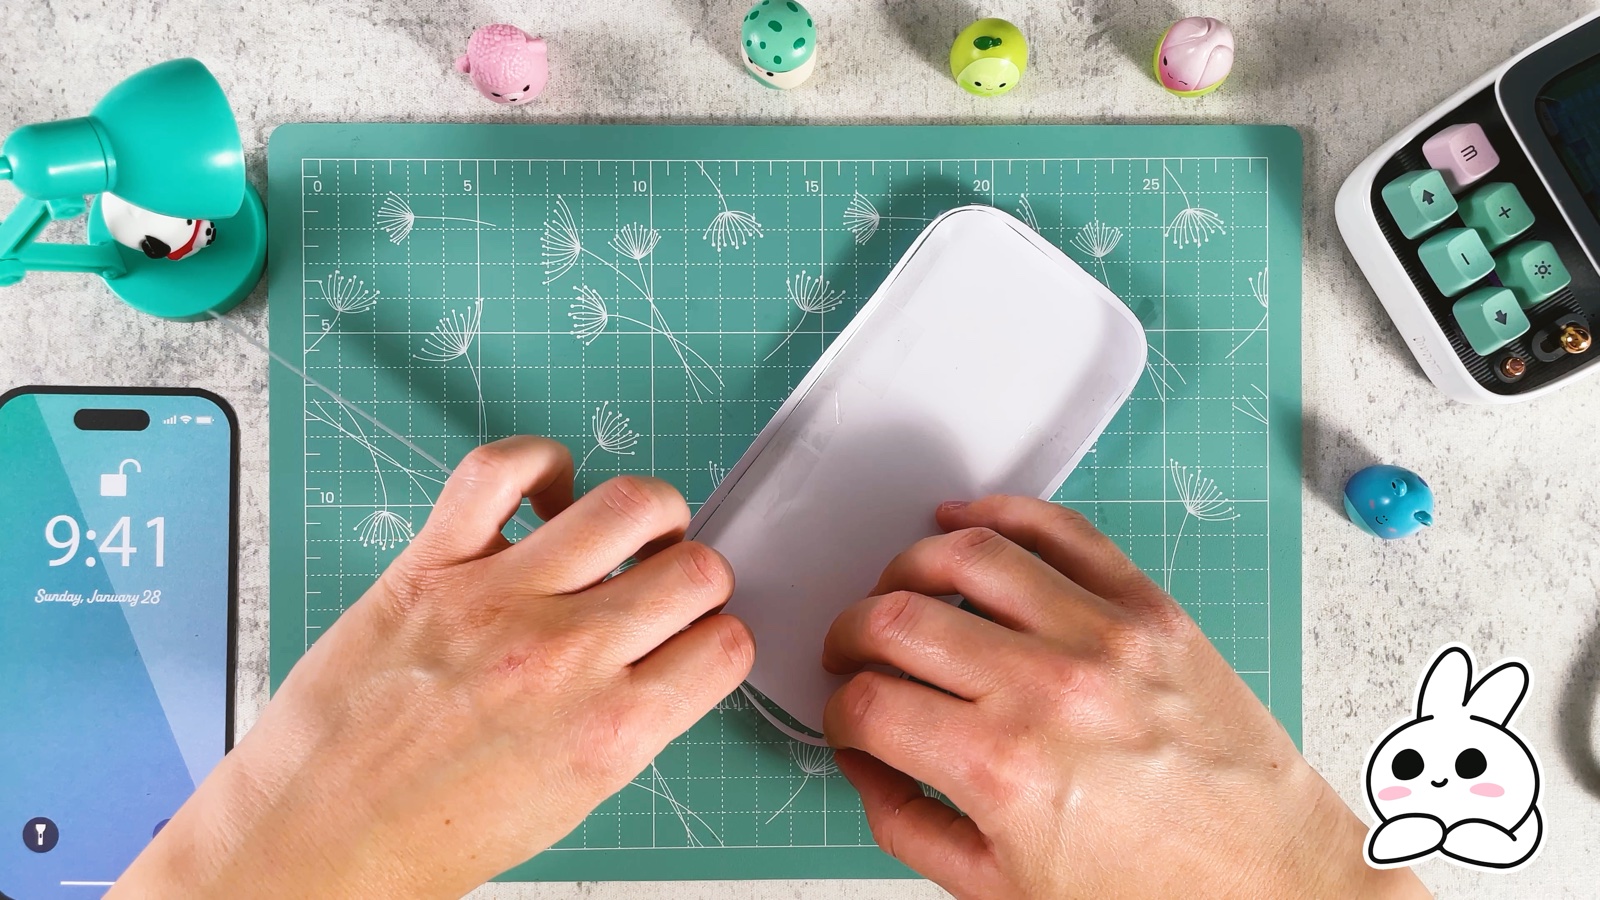
Turn it over. The back of your phone now has sides.
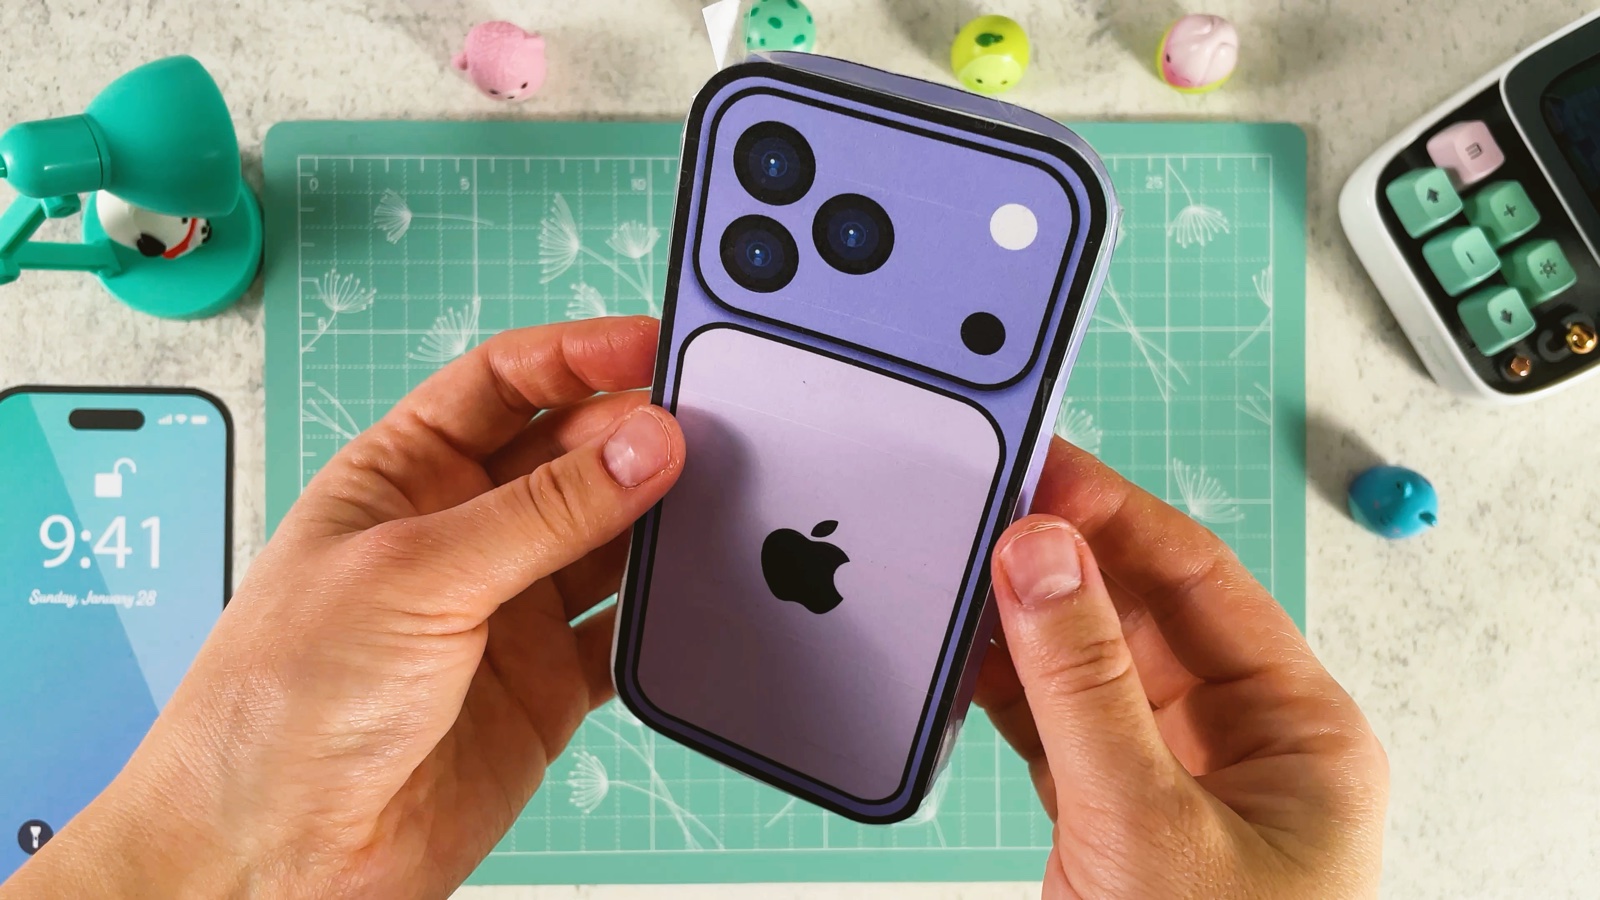
- 8
Cover the screen with clear tape
Cover the screen with clear packing tape in the same way.
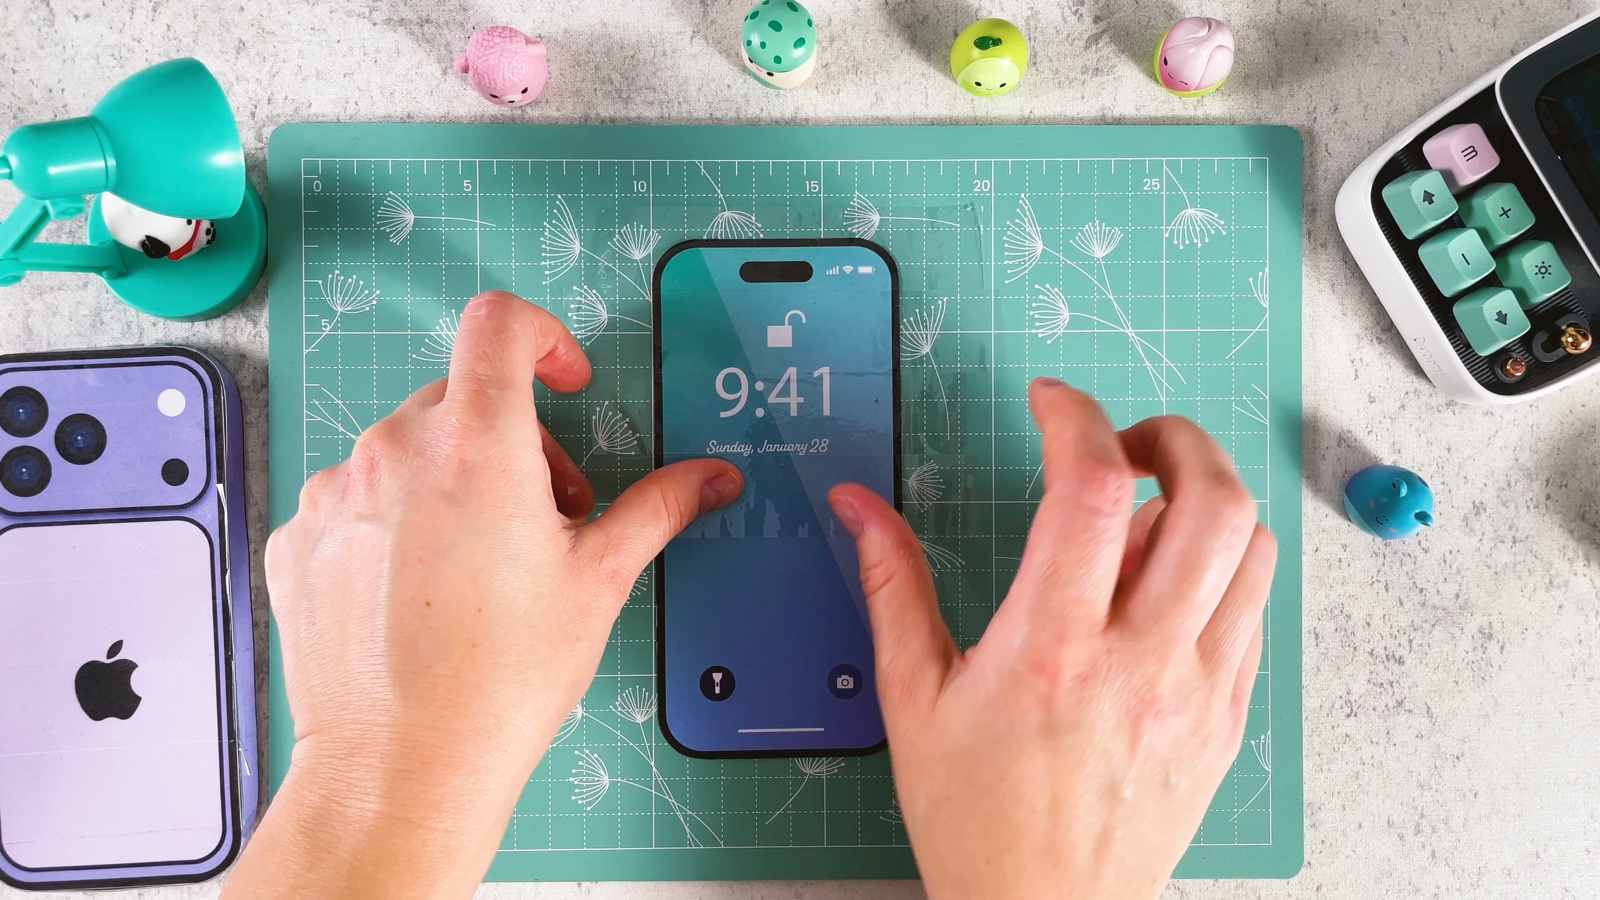
Trim the tape along the edge of the screen.
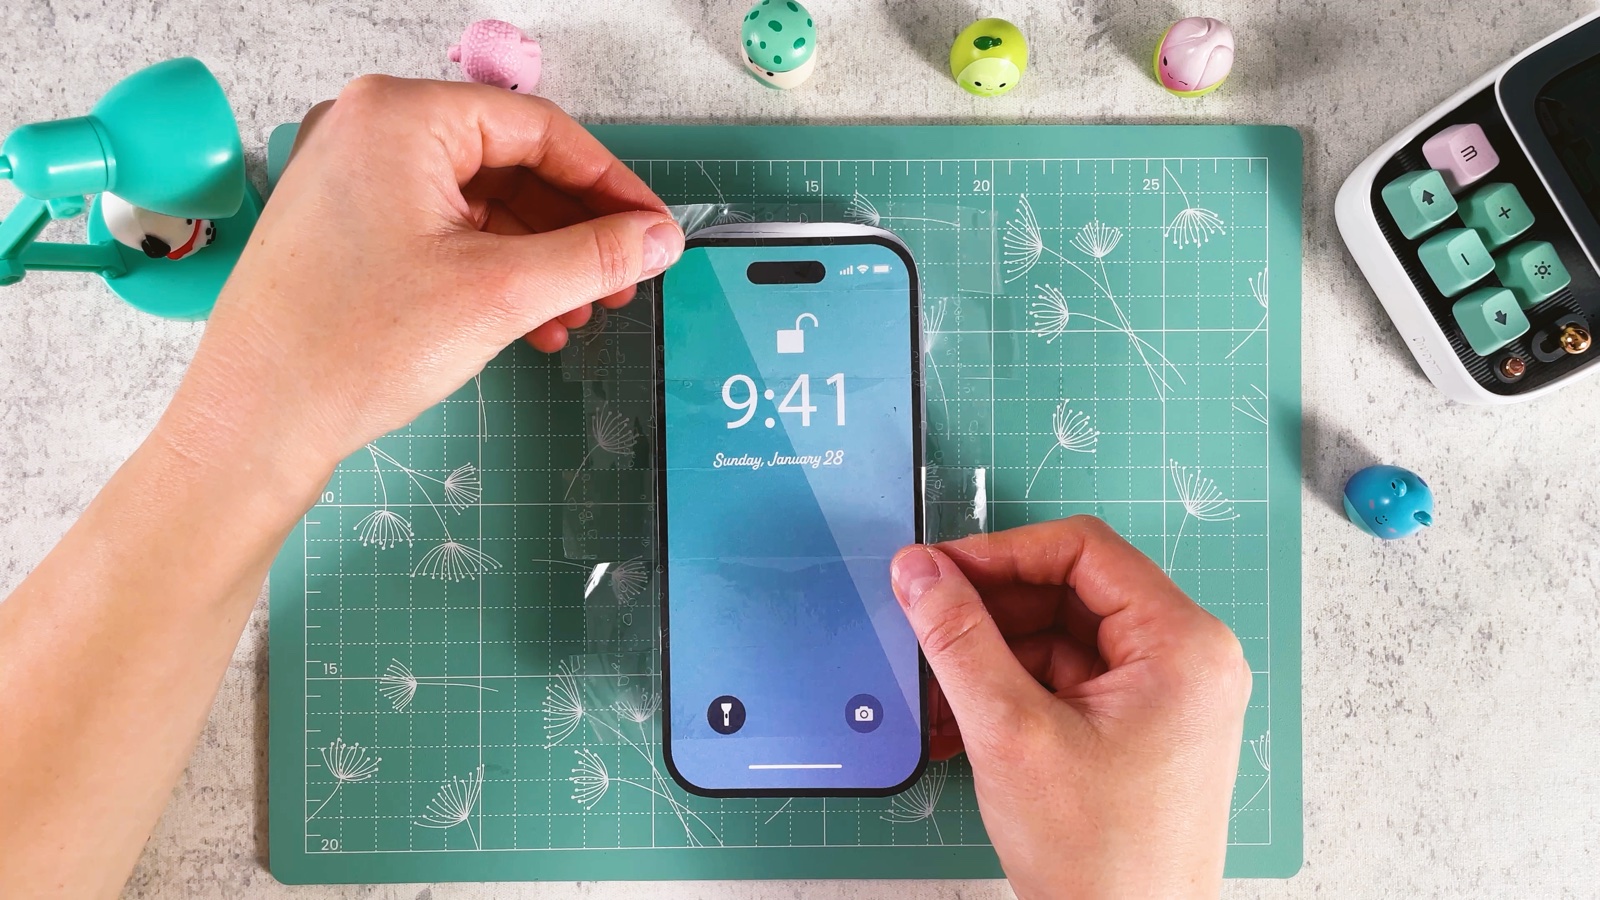
- 9
Tape the screen on
Lay the screen on top of the sides and tape its edges to them with clear tape. Leave the bottom end open for the filling.
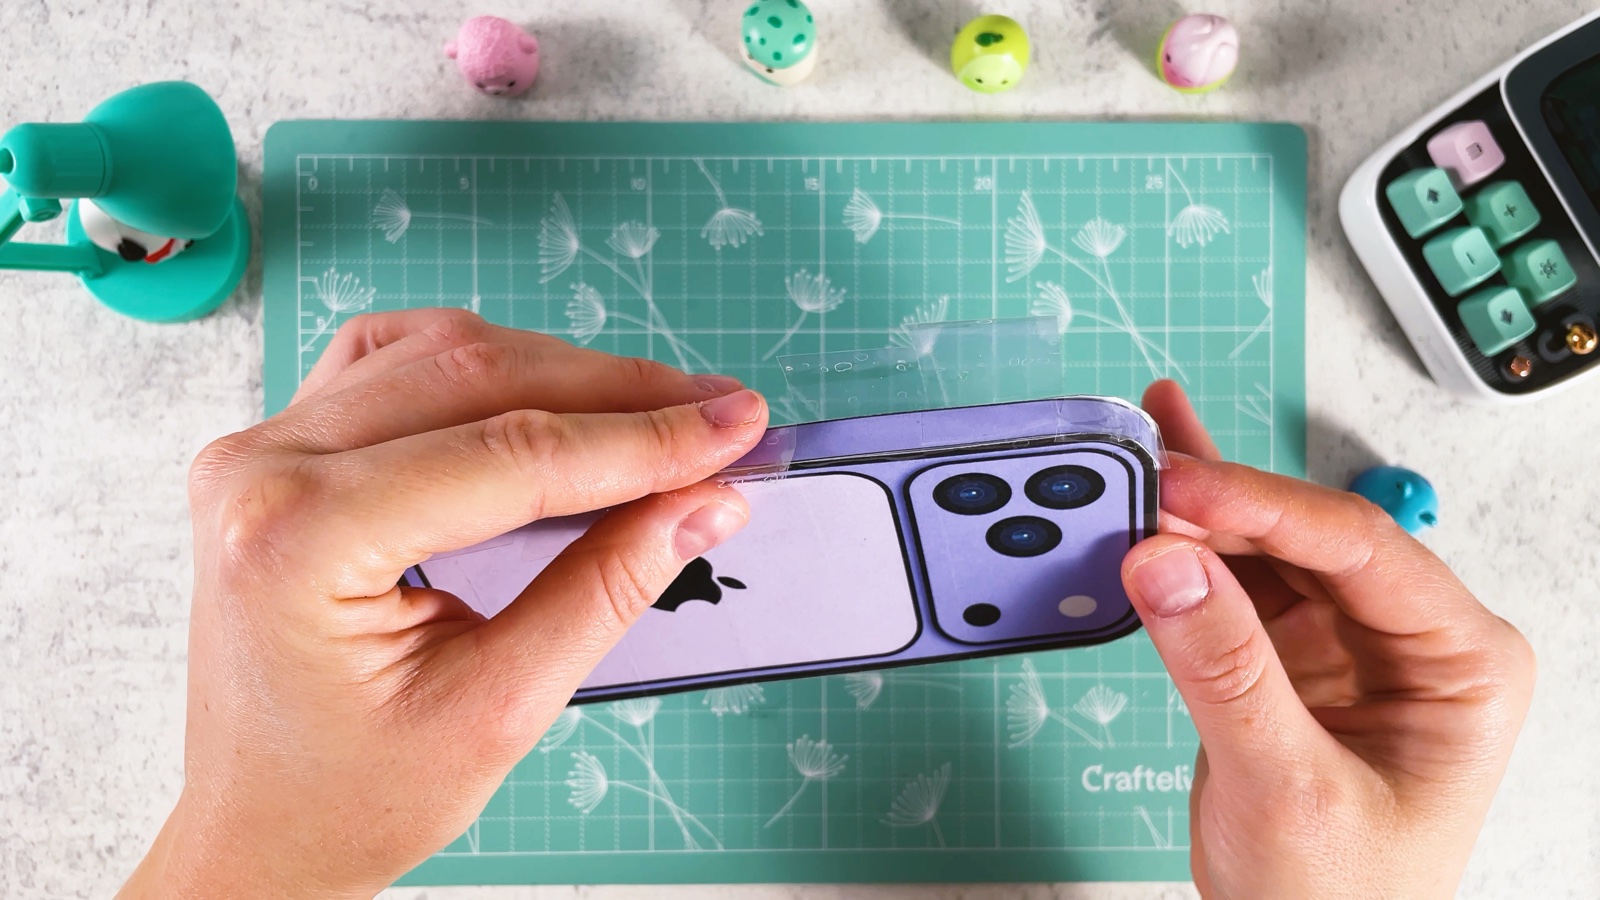
- 10
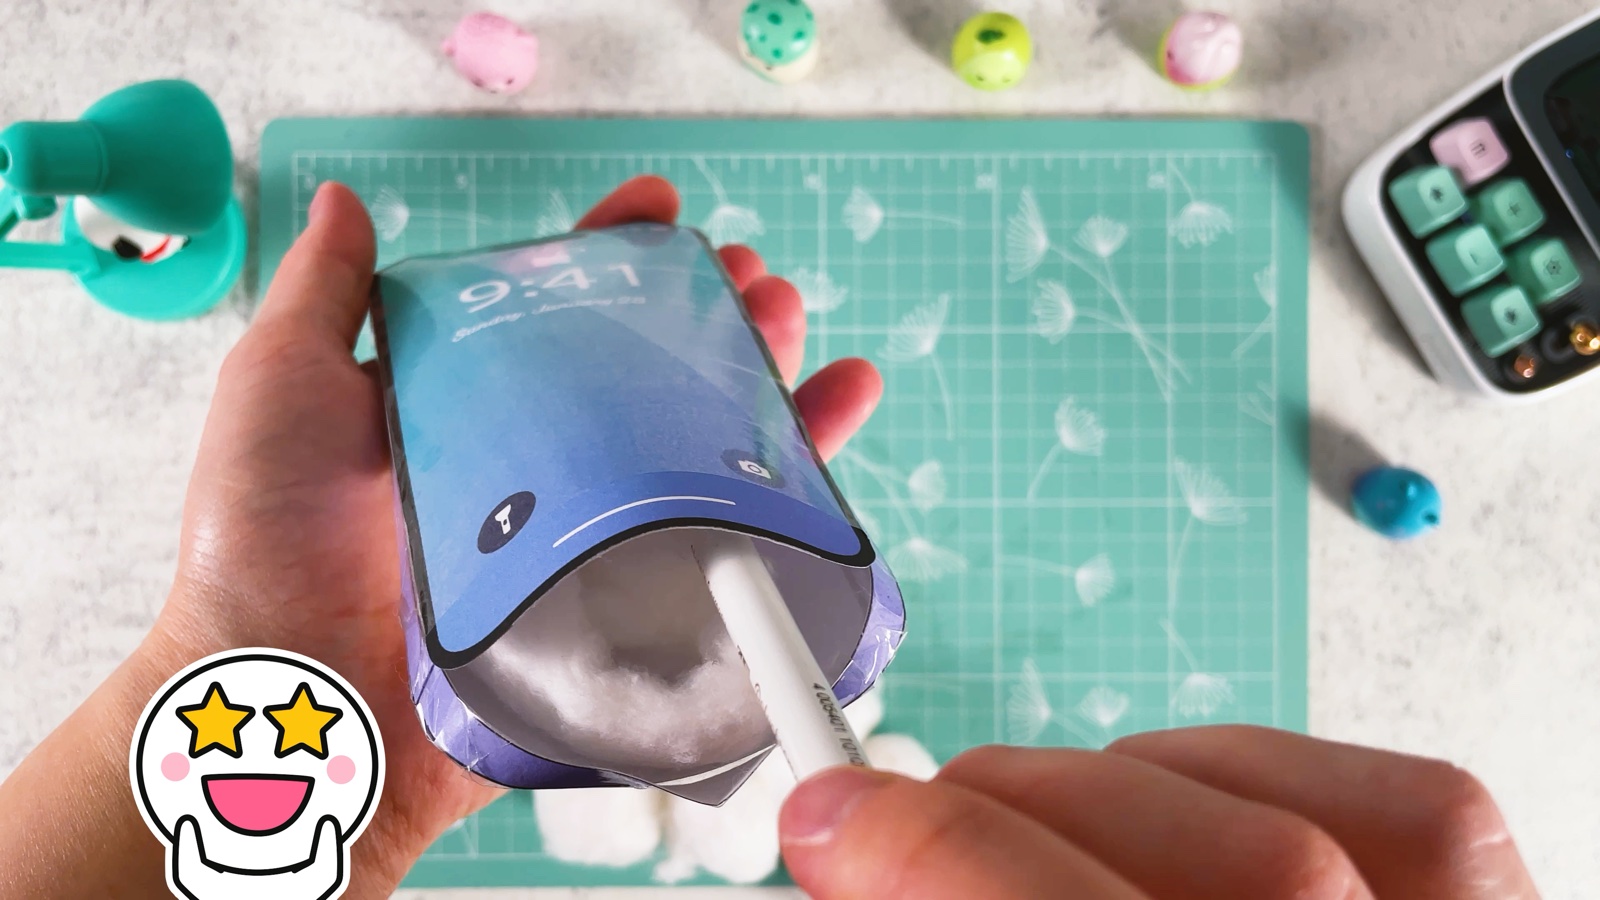
Fill it with cotton
Fill the phone generously with soft cotton wool through the open end. The more you add, the puffier and squishier it gets.
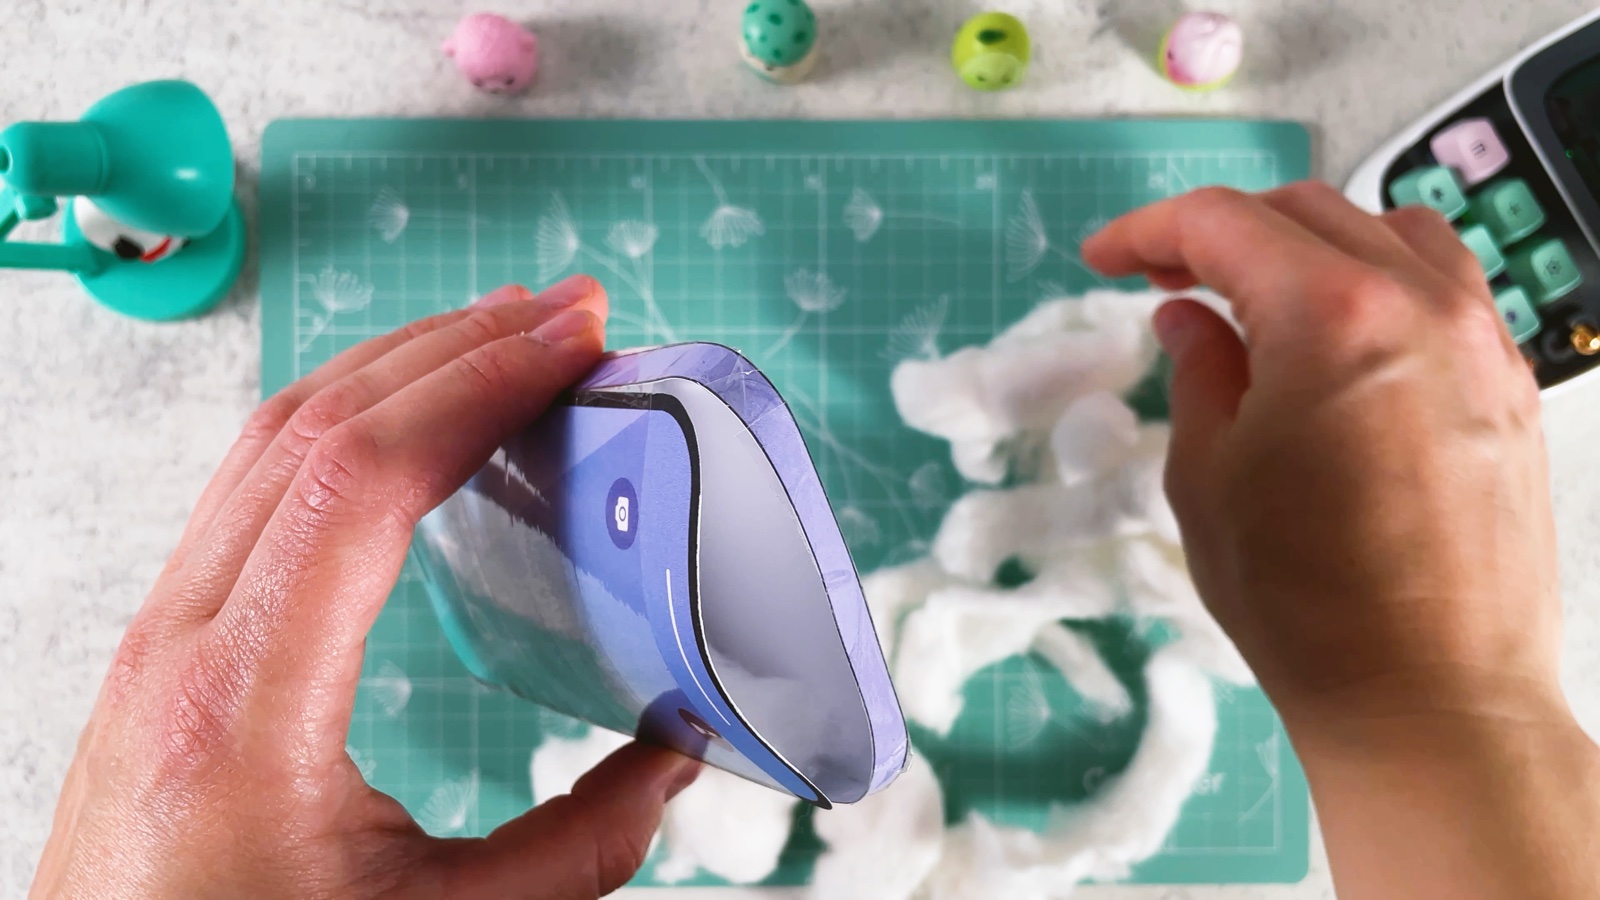
Push the cotton into the corners with the back of a pen or a pencil.
- 11
Close the phone
Tape the open end shut.
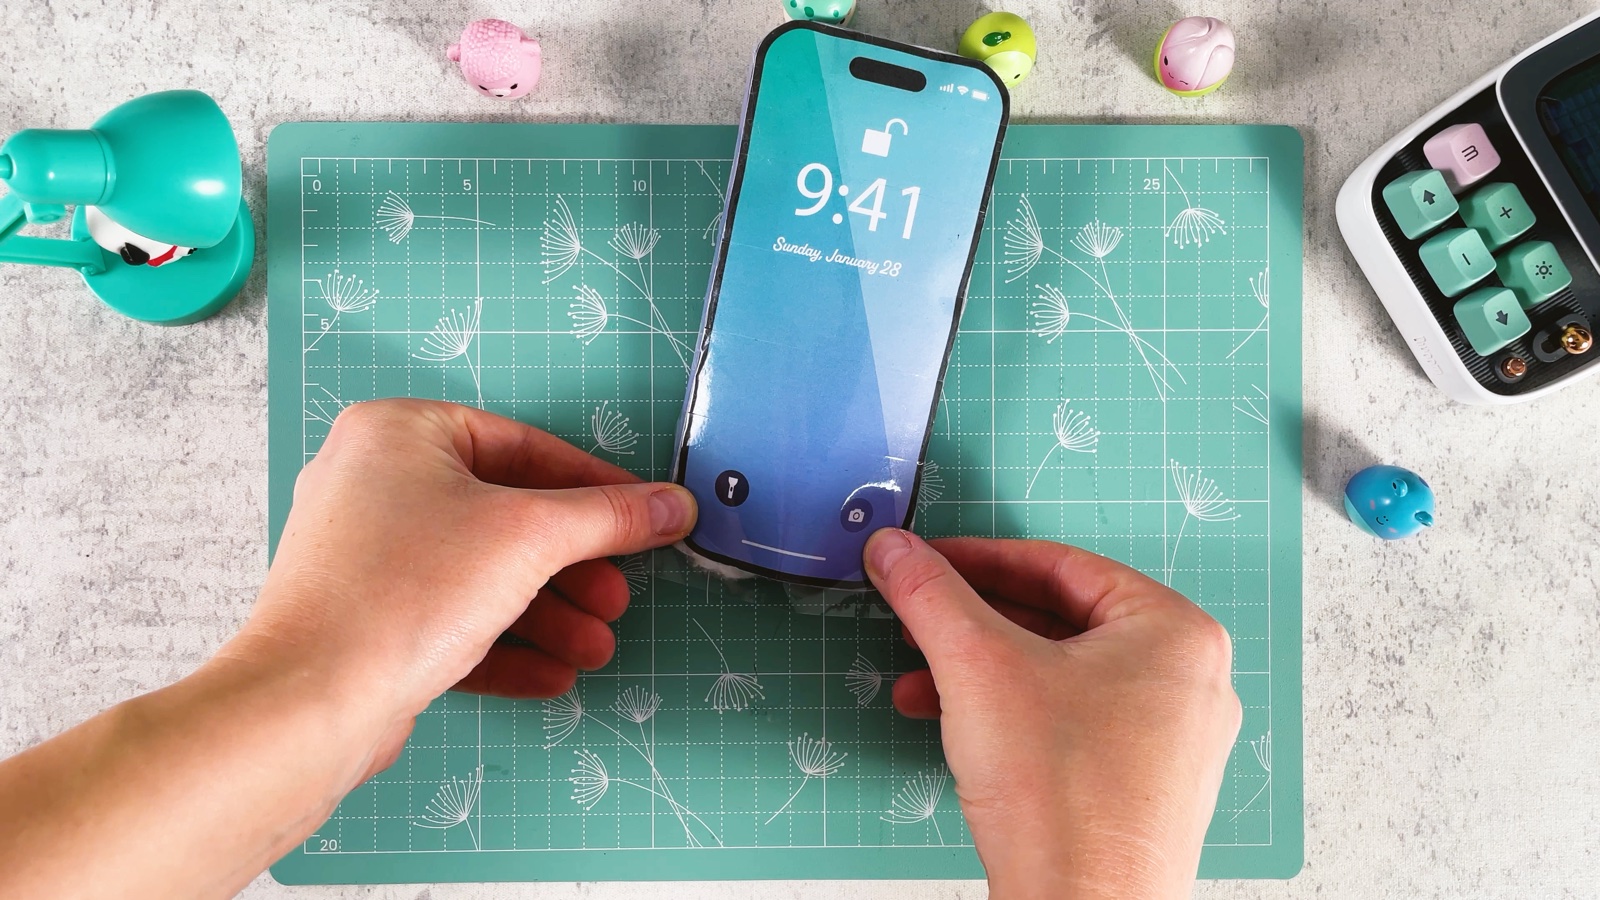
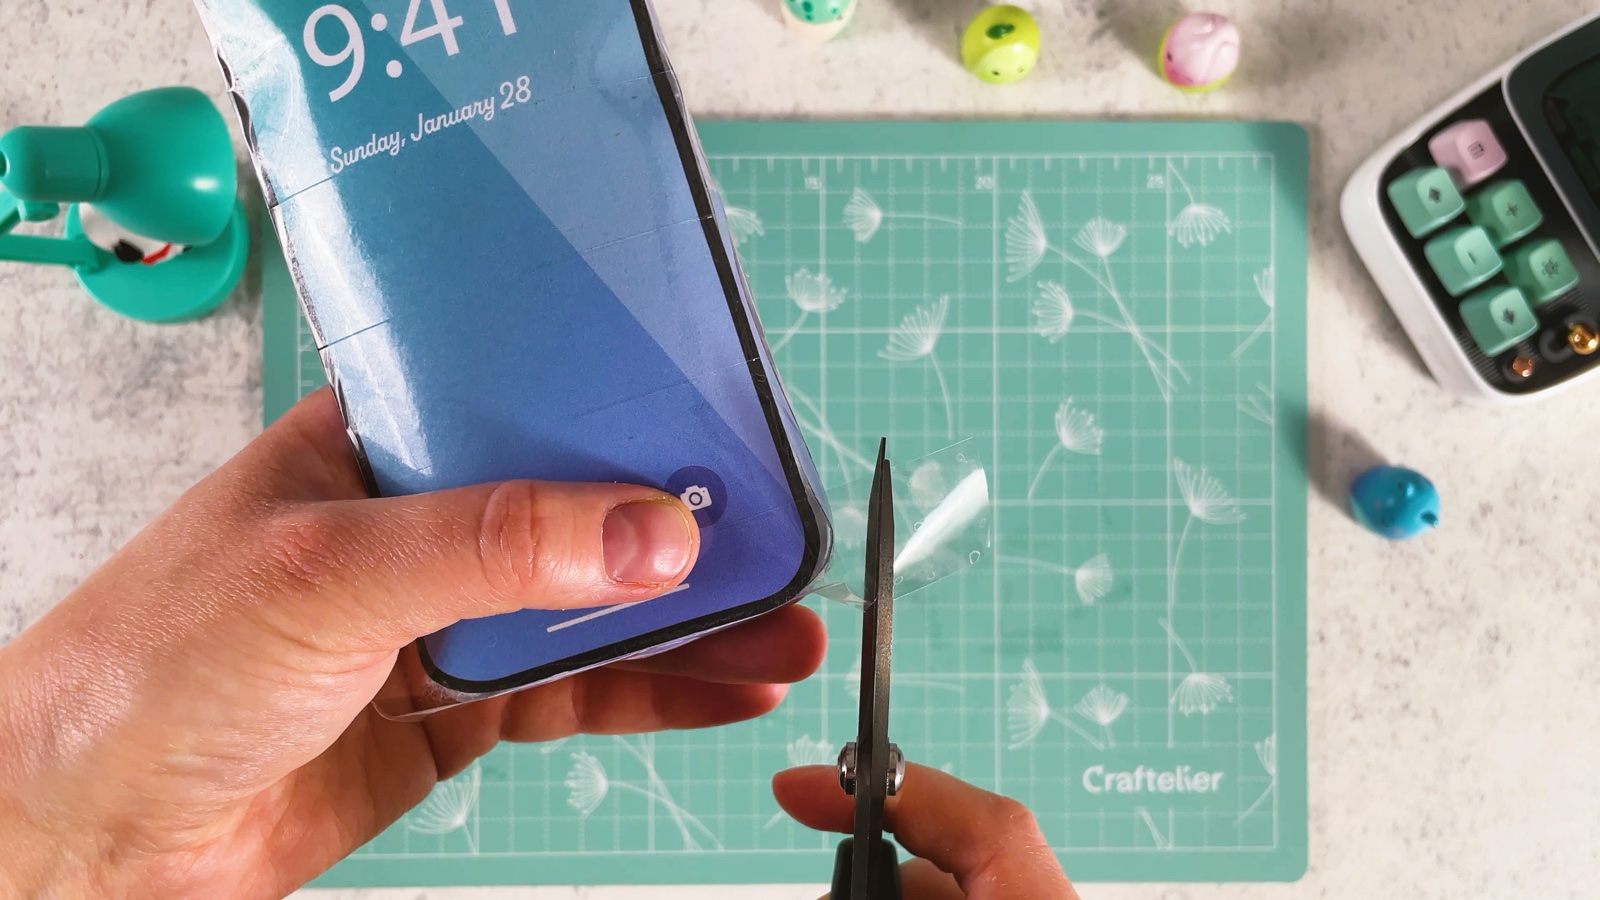
Trim any tape that sticks out over the edge.
PART 2 OF 2
The iPhone box
- 12
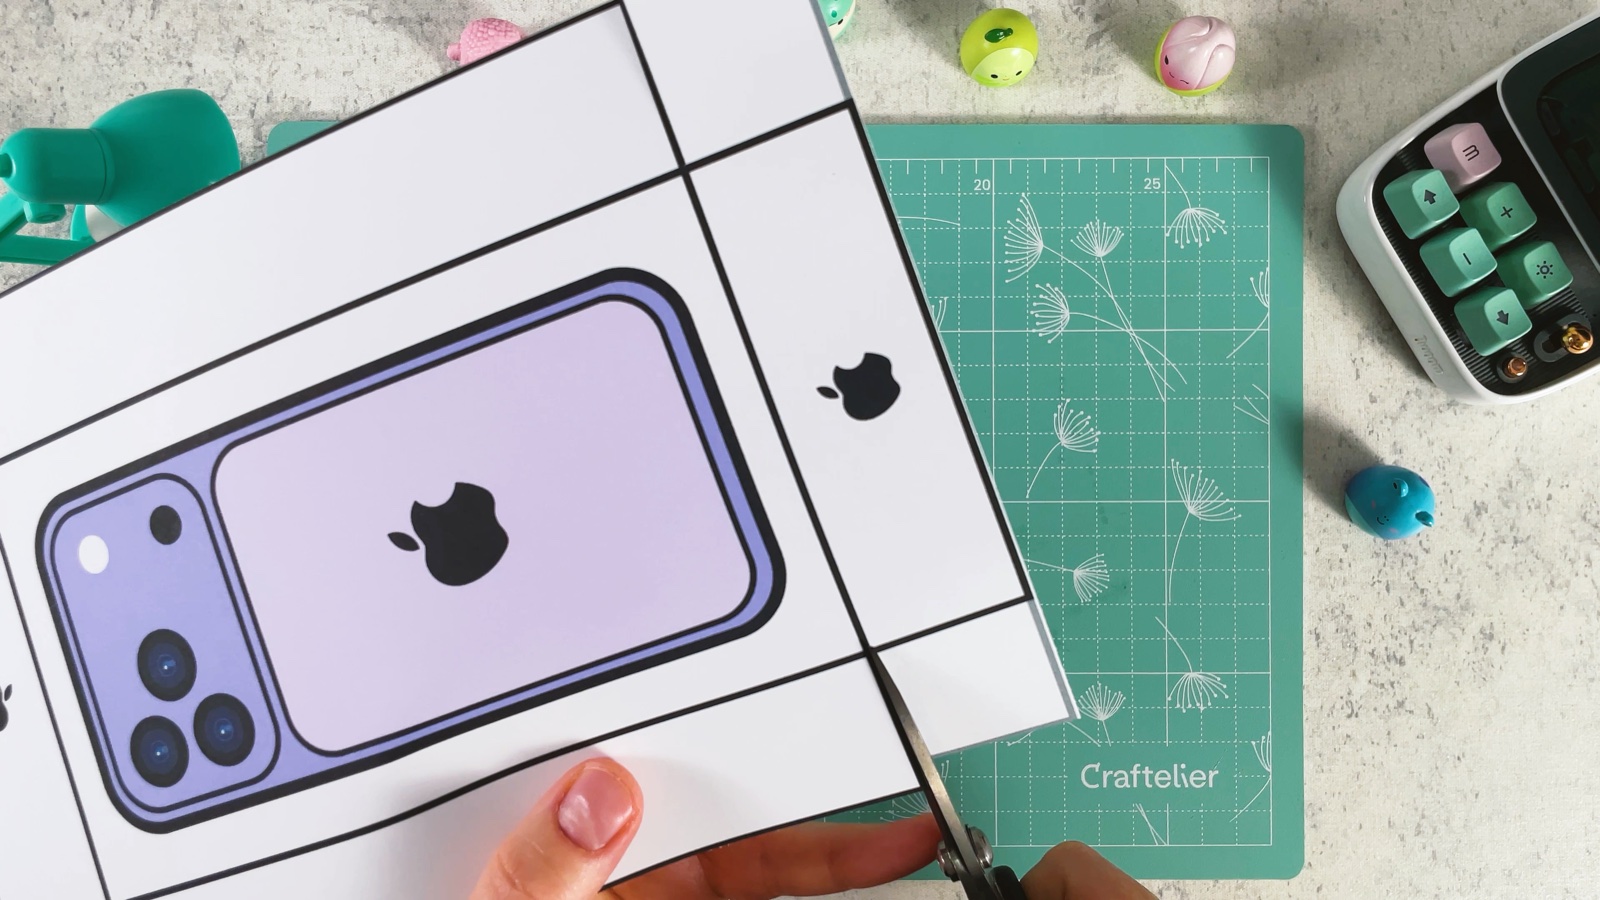
Cut out the box lid
Cut out the lid, the page with the purple iPhone on it. Cut along the outer line, then cut in along the short lines at each corner.
- 13
Fold the lid
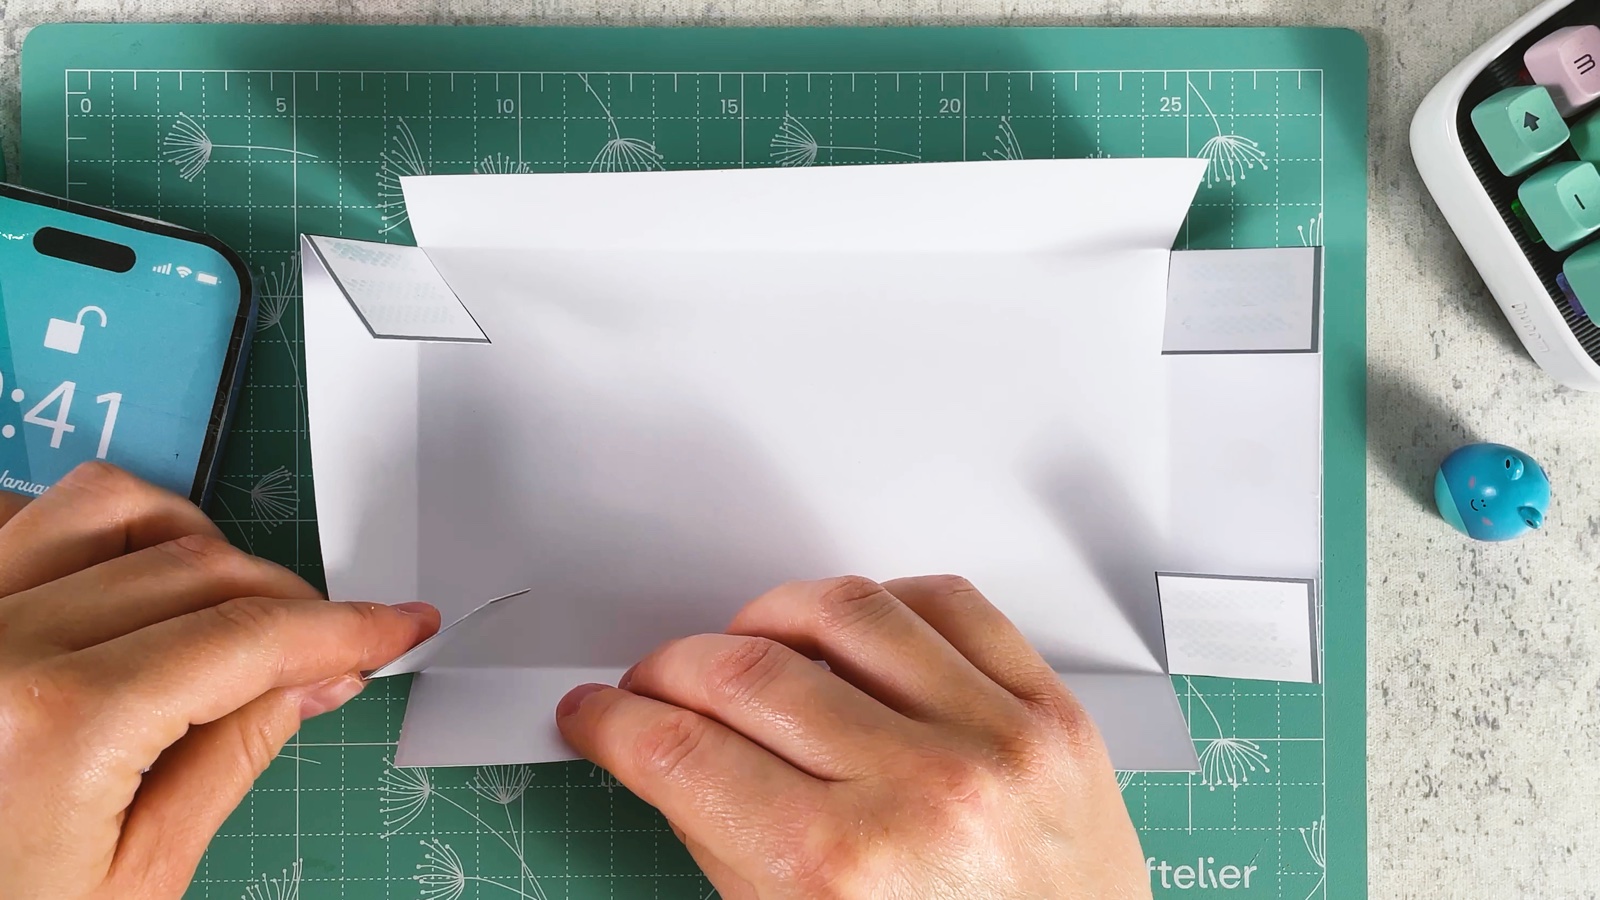
Fold all four sides down along the lines.
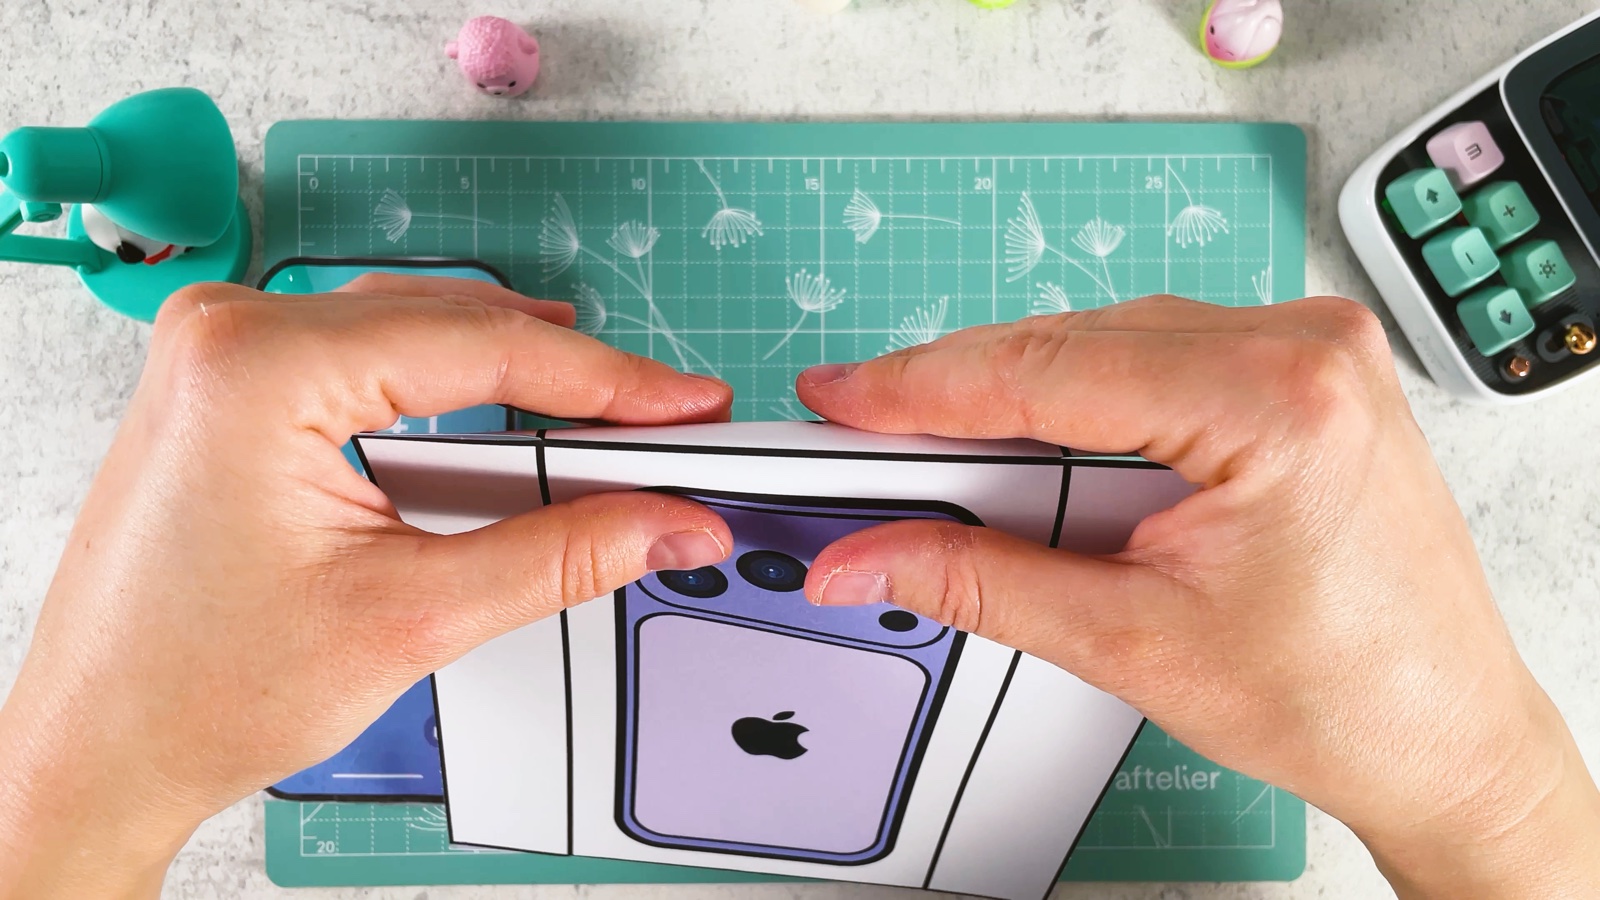
Turn it over and glue the corner flaps to the inside of the sides.
Now the lid looks like a real iPhone box.
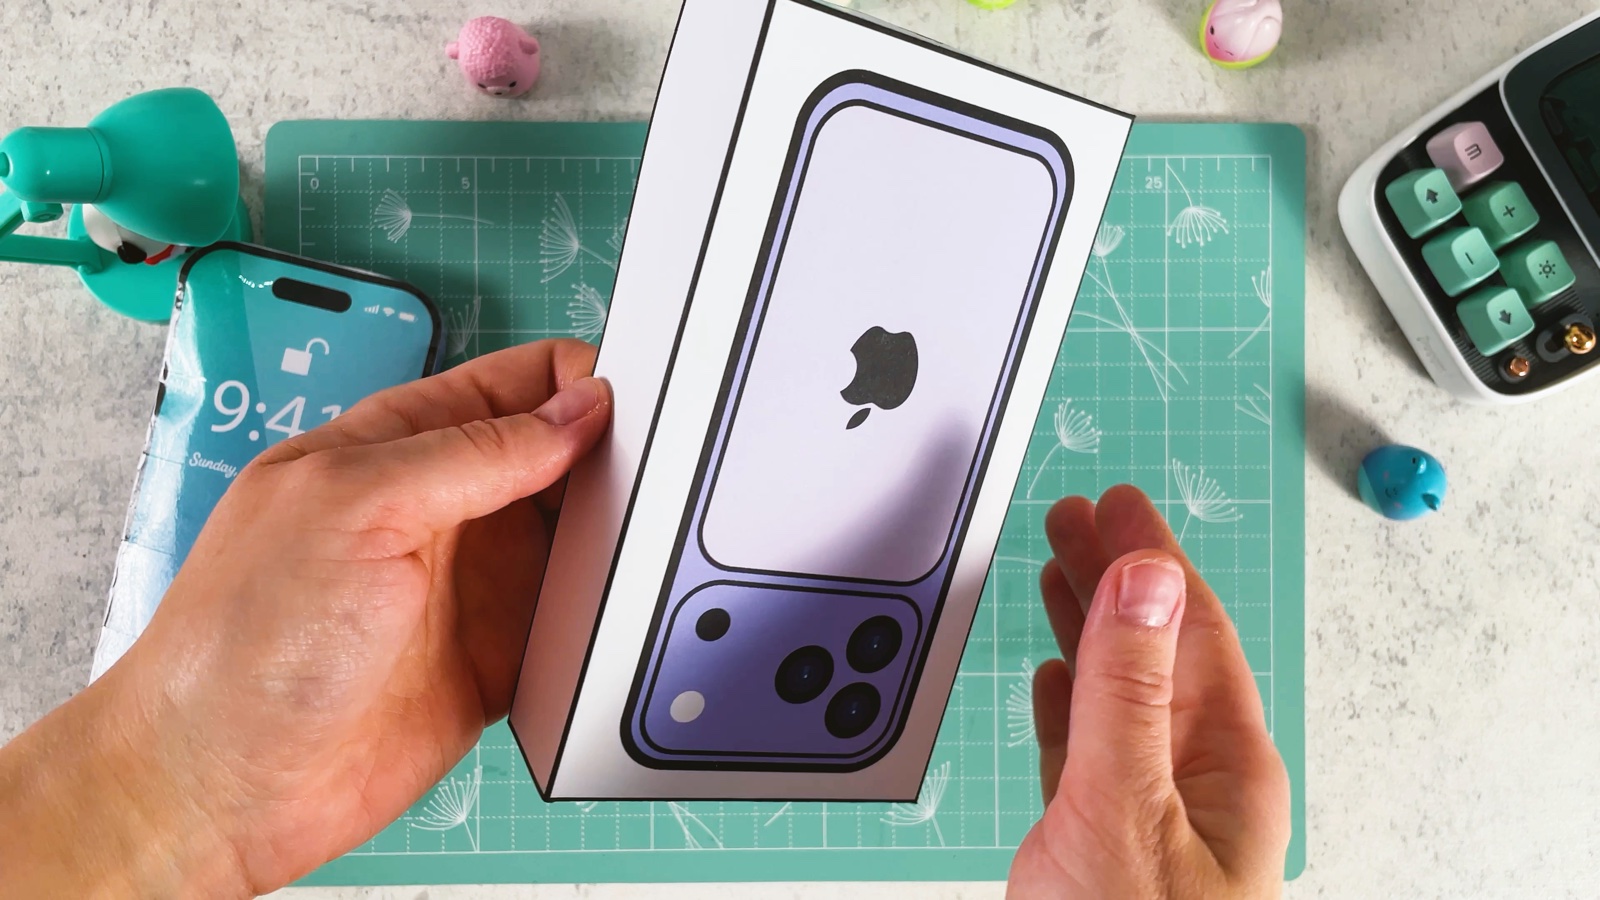
- 14
Make the box bottom
Cut out the plain box page. Cut along the outer line, then cut in along the short lines at each corner, just like the lid.
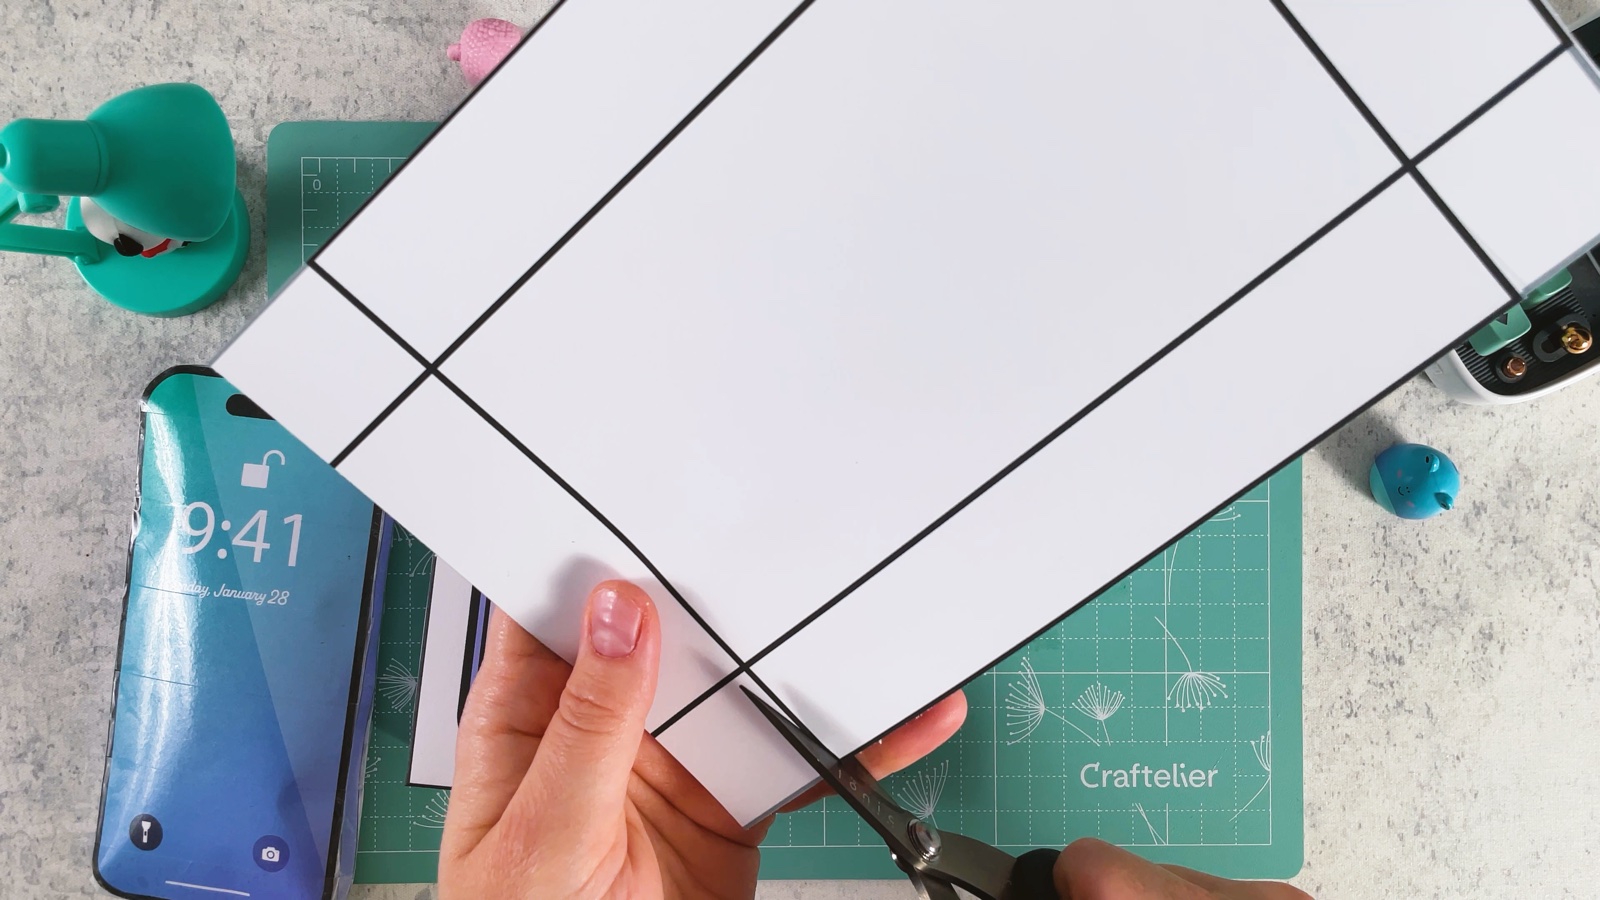
Fold up the sides and glue the corner flaps inside.
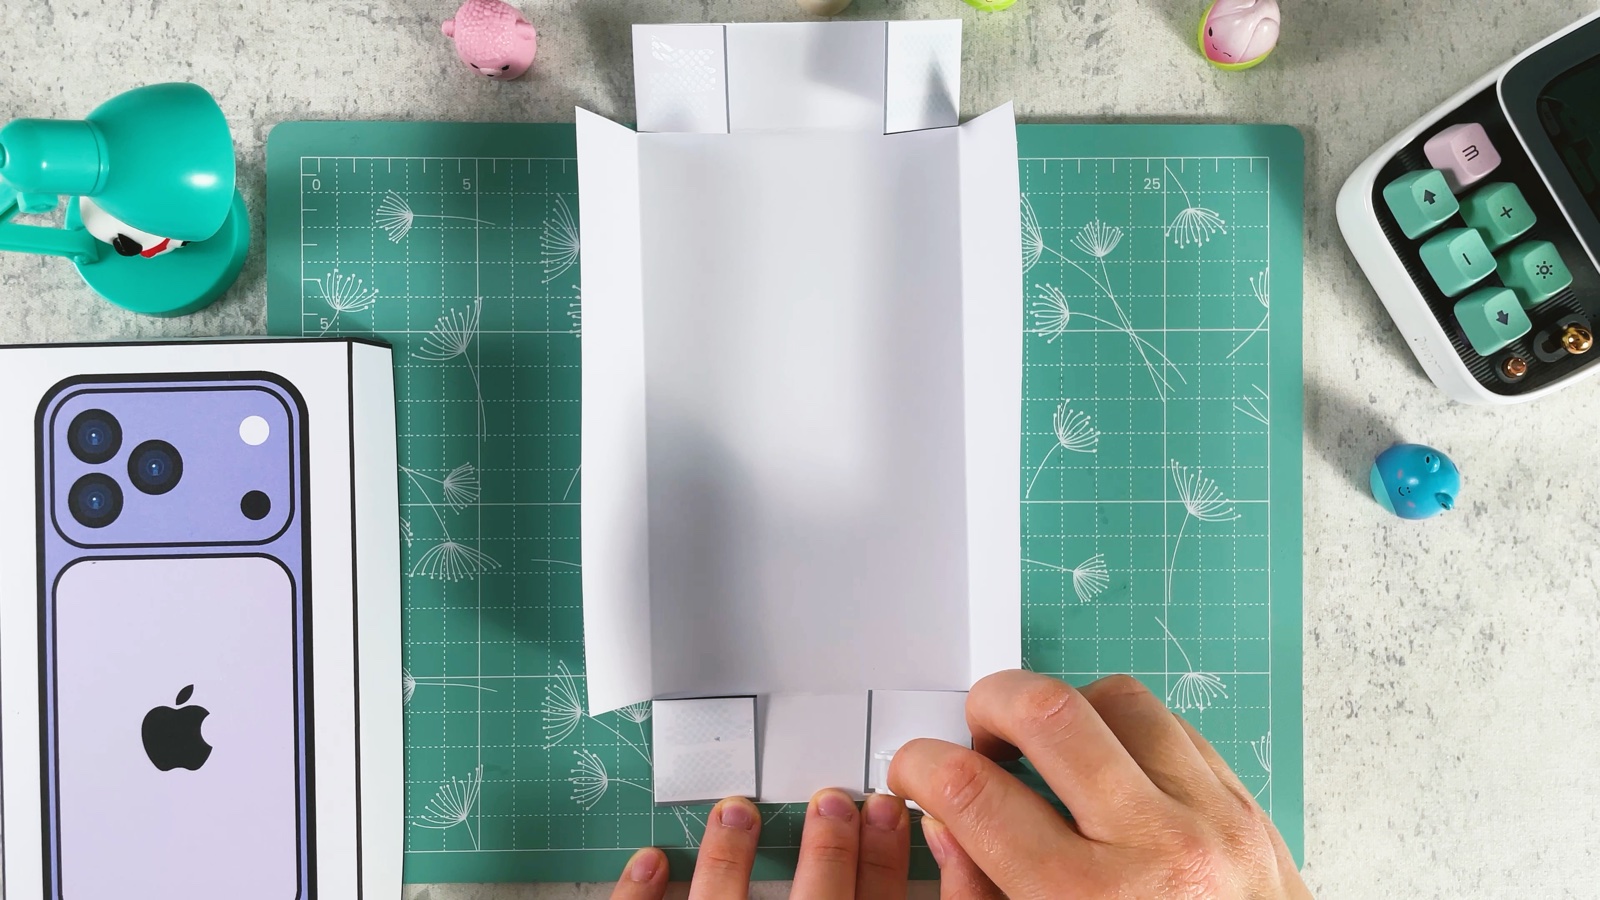
Now you have the bottom of the box.
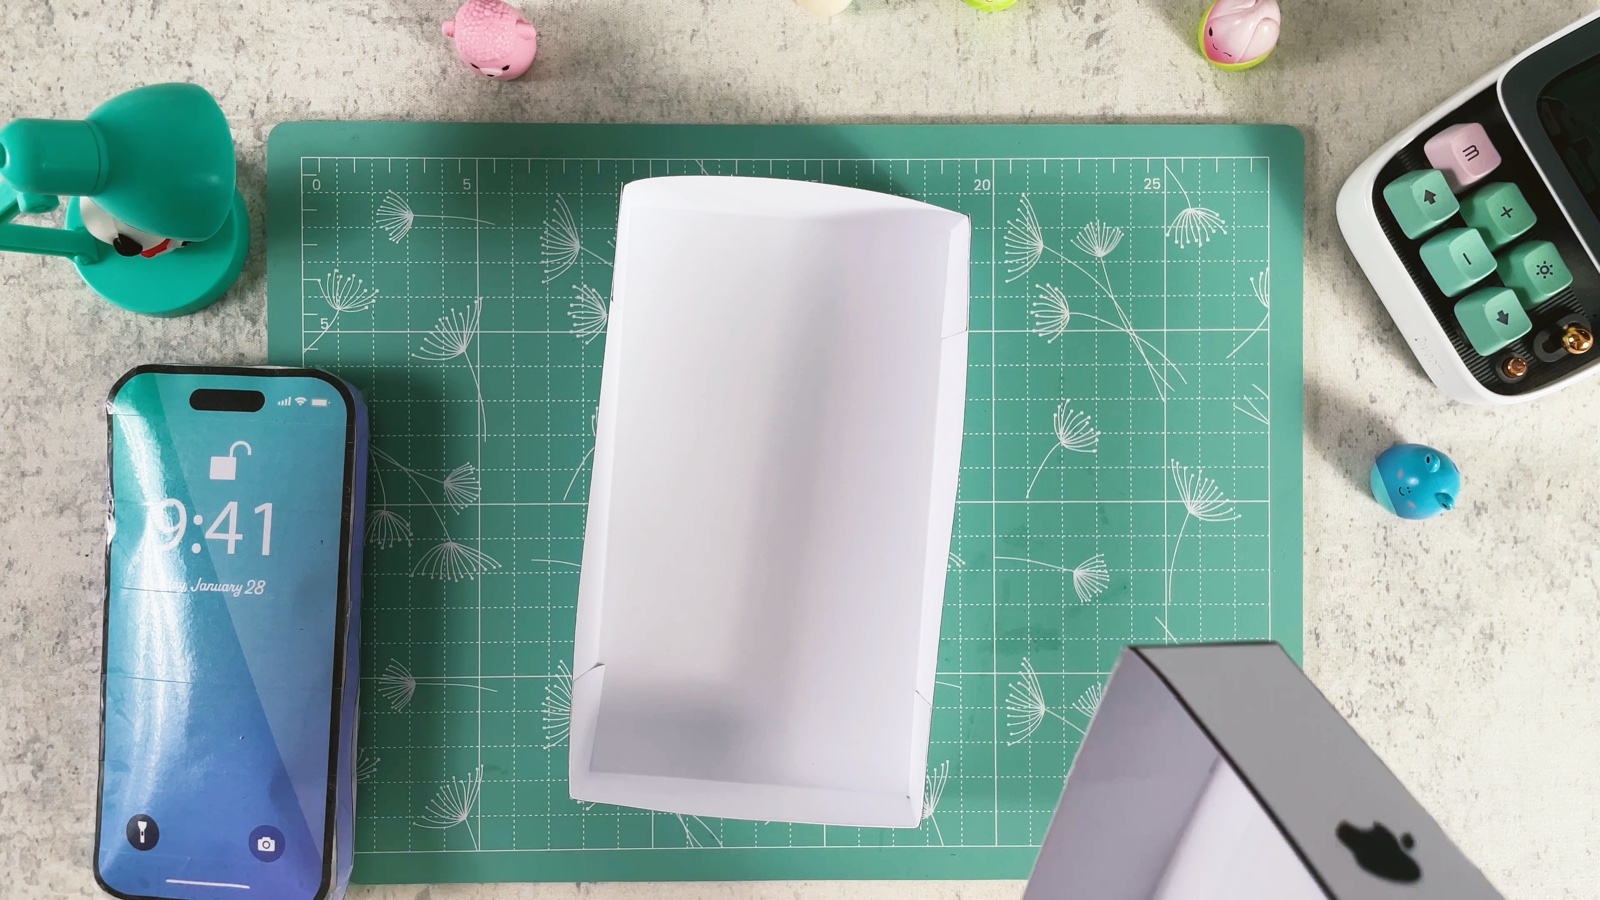
- 15
Make the insert
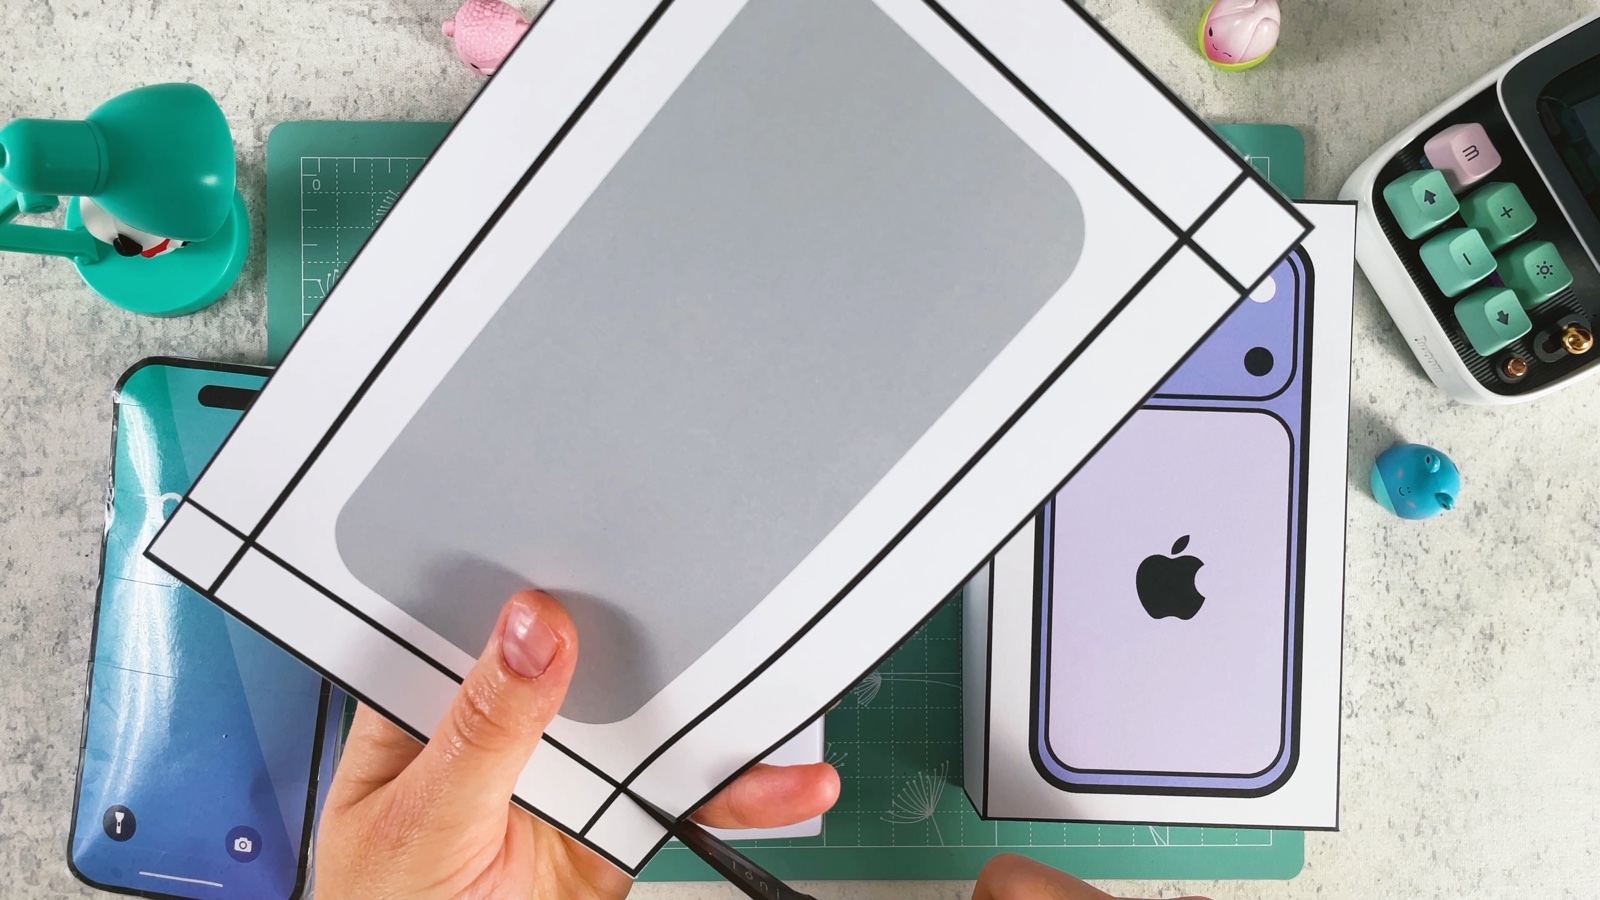
Cut out the page with the grey phone shape and fold its sides along the lines.
- 16
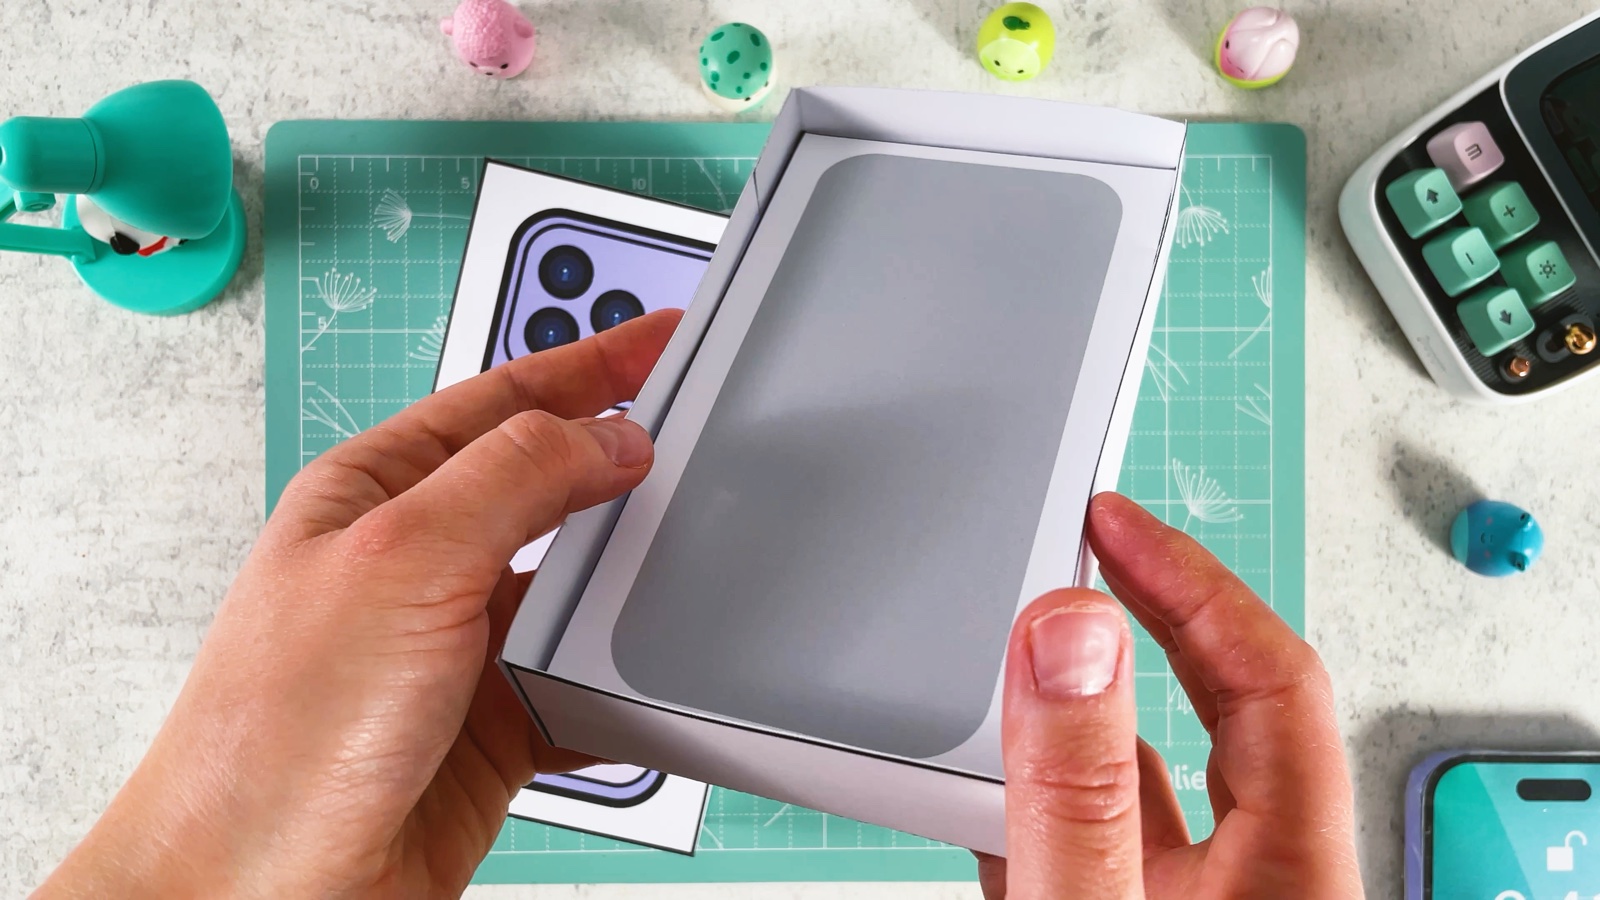
Put the insert in the box
Slide the insert into the box bottom. This is where the phone sleeps, like in real iPhone packaging.
- 17
Pack your iPhone
Lay the squishy iPhone on the insert and put the lid on.
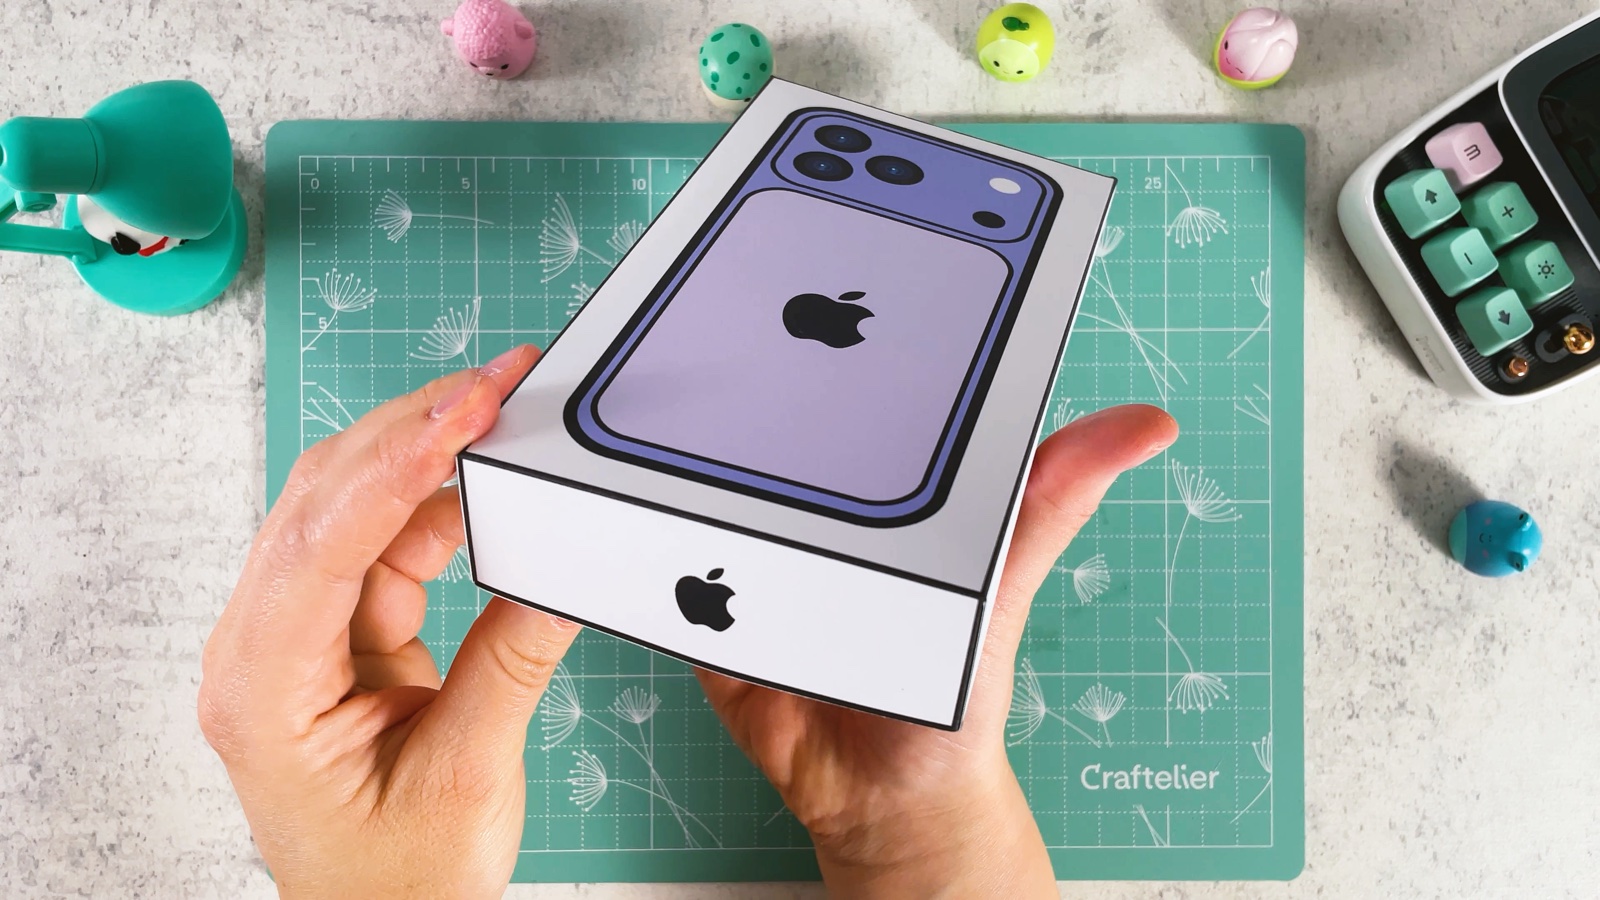
Open it again and squeeze!
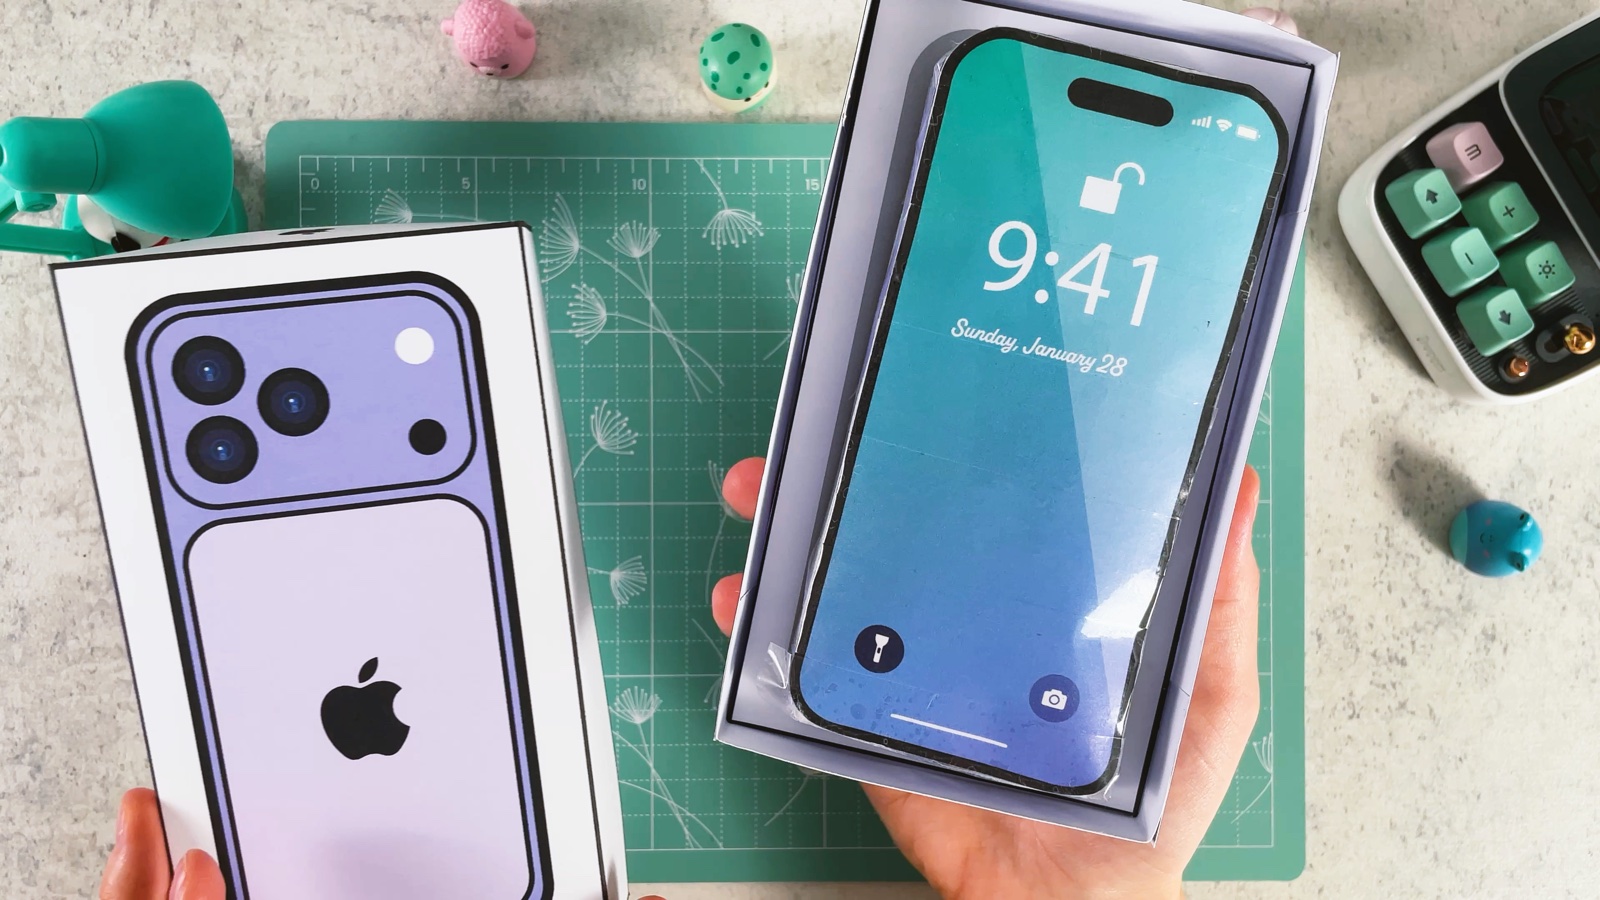
Your squishy iPhone 17 Pro is ready to squeeze.
THREE LITTLE TIPS
Make it easier.
- Smooth the tape as you go. Press it down from the middle out, so it stays glossy and clear.
- More cotton = more squish. Fill it generously, so it feels fluffy when you press it.
- Colour your own. Print the black and white version and make your iPhone any colour you like.

A CUBI MINI MOMENT
What’s on your lock screen?
Cubi’s squishy iPhone has a photo of Mini on the lock screen, so Mini smiles every time Cubi squeezes it. What will be on yours?
A tiny drawing of Mini, waving hello at 9:41.
Loved making it?
Catch the next make first, or save this one for a rainy day.