Let’s make the cutest Christmas snow globe gift box from an empty Pringles can! We recycle a round Pringles container and turn it into a magical winter scene.
The dome is half of a clear plastic opening bauble, filled with mini Christmas figurines, fuzzy pom-poms, colourful beads and fluffy fake snow. Inside the can you can hide your favourite little treasures, or use it as a creative gift box for someone special. It is a quick, festive upcycling craft for holiday gifting, a Christmas surprise, or a sparkly decoration for a desk, a room or under the tree.
BEFORE WE START
What you need.
Materials
- Empty Pringles can
- Half of a clear plastic opening bauble
- Mini holiday figurines
- Pom-poms
- Christmas colour beads
- Fake snow or cotton
- Decorative paper
- Silver glitter foam sheet
- Ribbon
- Double-sided tape
- Hot glue
Tools
- Scissors or a paper trimmer
- Circle punch
- Hot glue gun
PART 1 OF 4
The can
- 1
Cut the paper to size
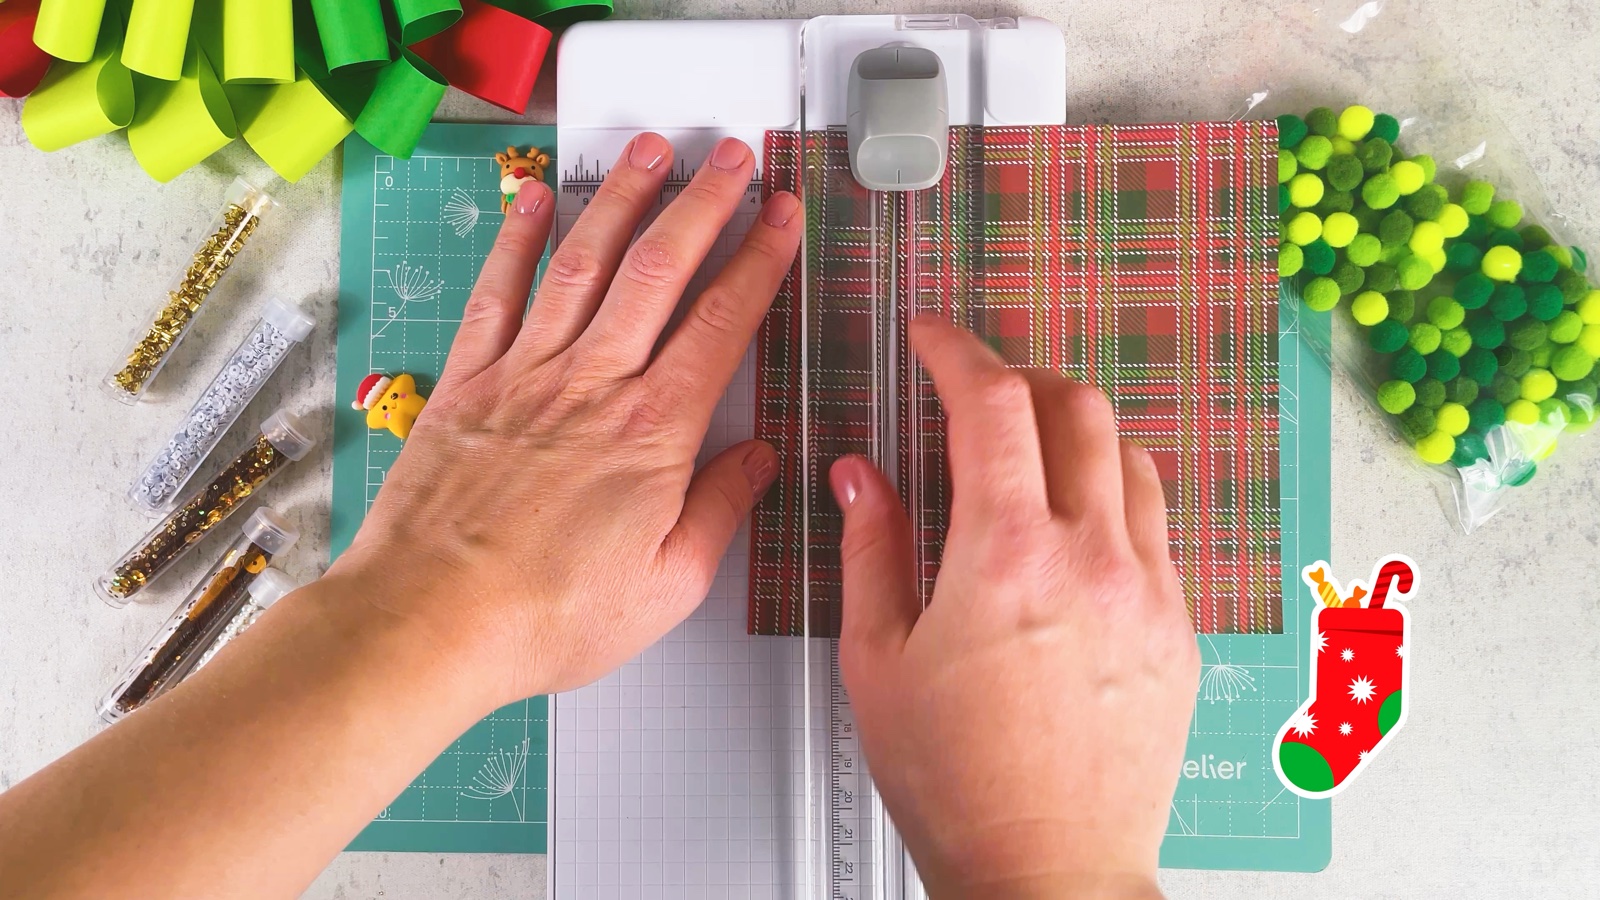
Empty the can and wipe it clean. Hold a sheet of decorative paper against the can and cut it to the height of the can, below the lid. We used a 15 × 15 cm (6 × 6 in) plaid paper pad.
- 2
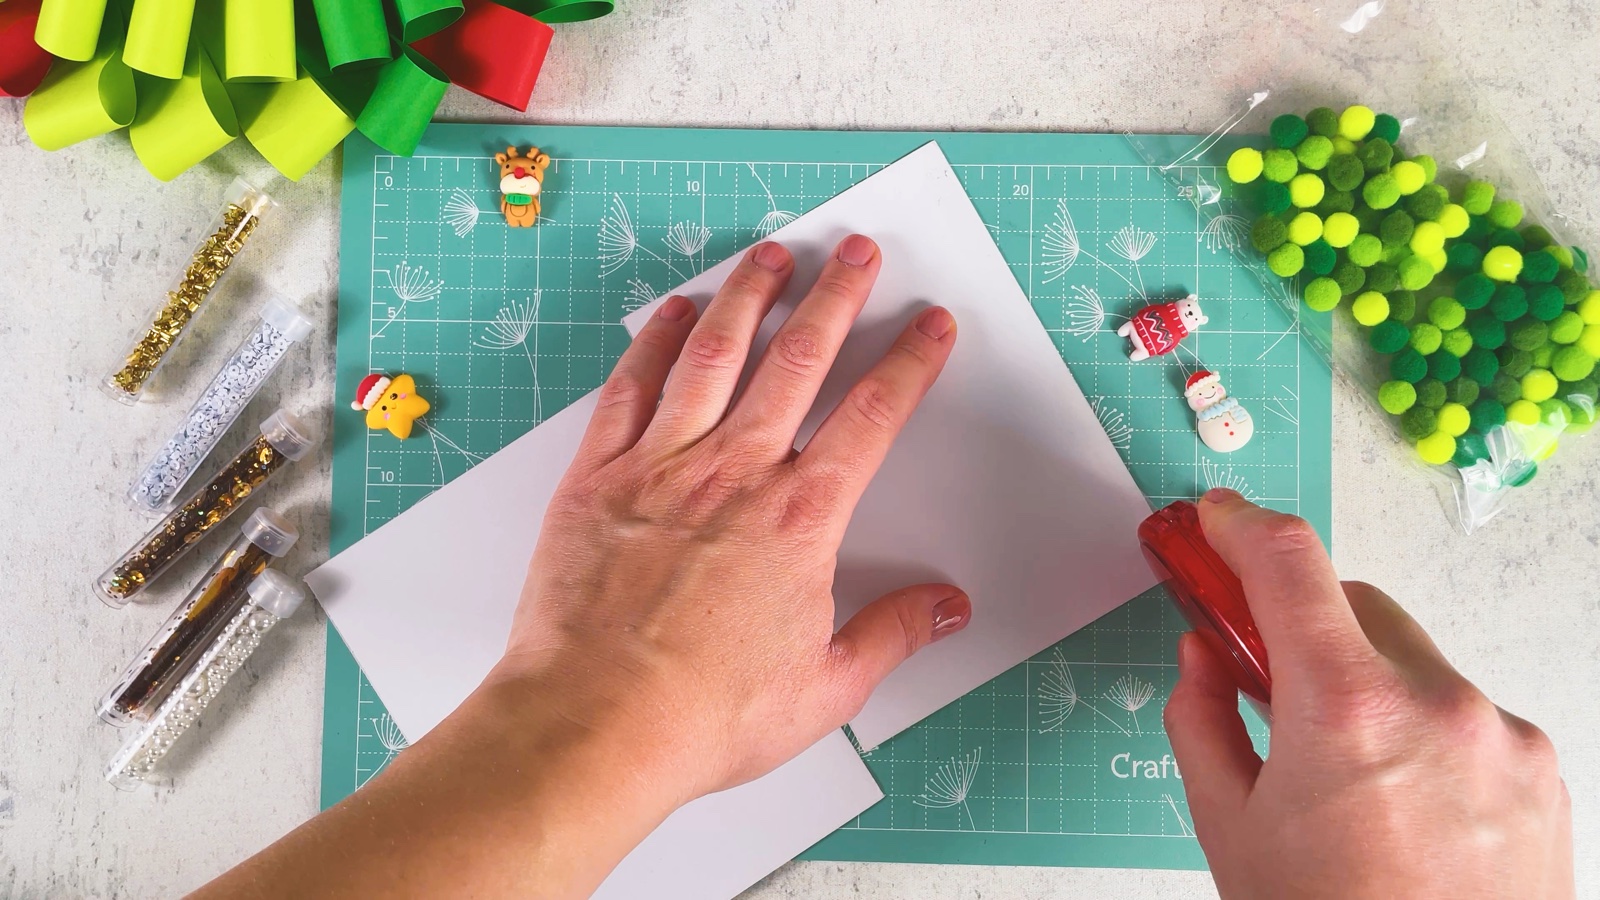
Add tape to the back
Turn the paper over and cover the back with double-sided tape.
- 3
Wrap the can
Peel off the backing and stick one edge of the paper to the can. Roll the can slowly so the paper wraps around it.
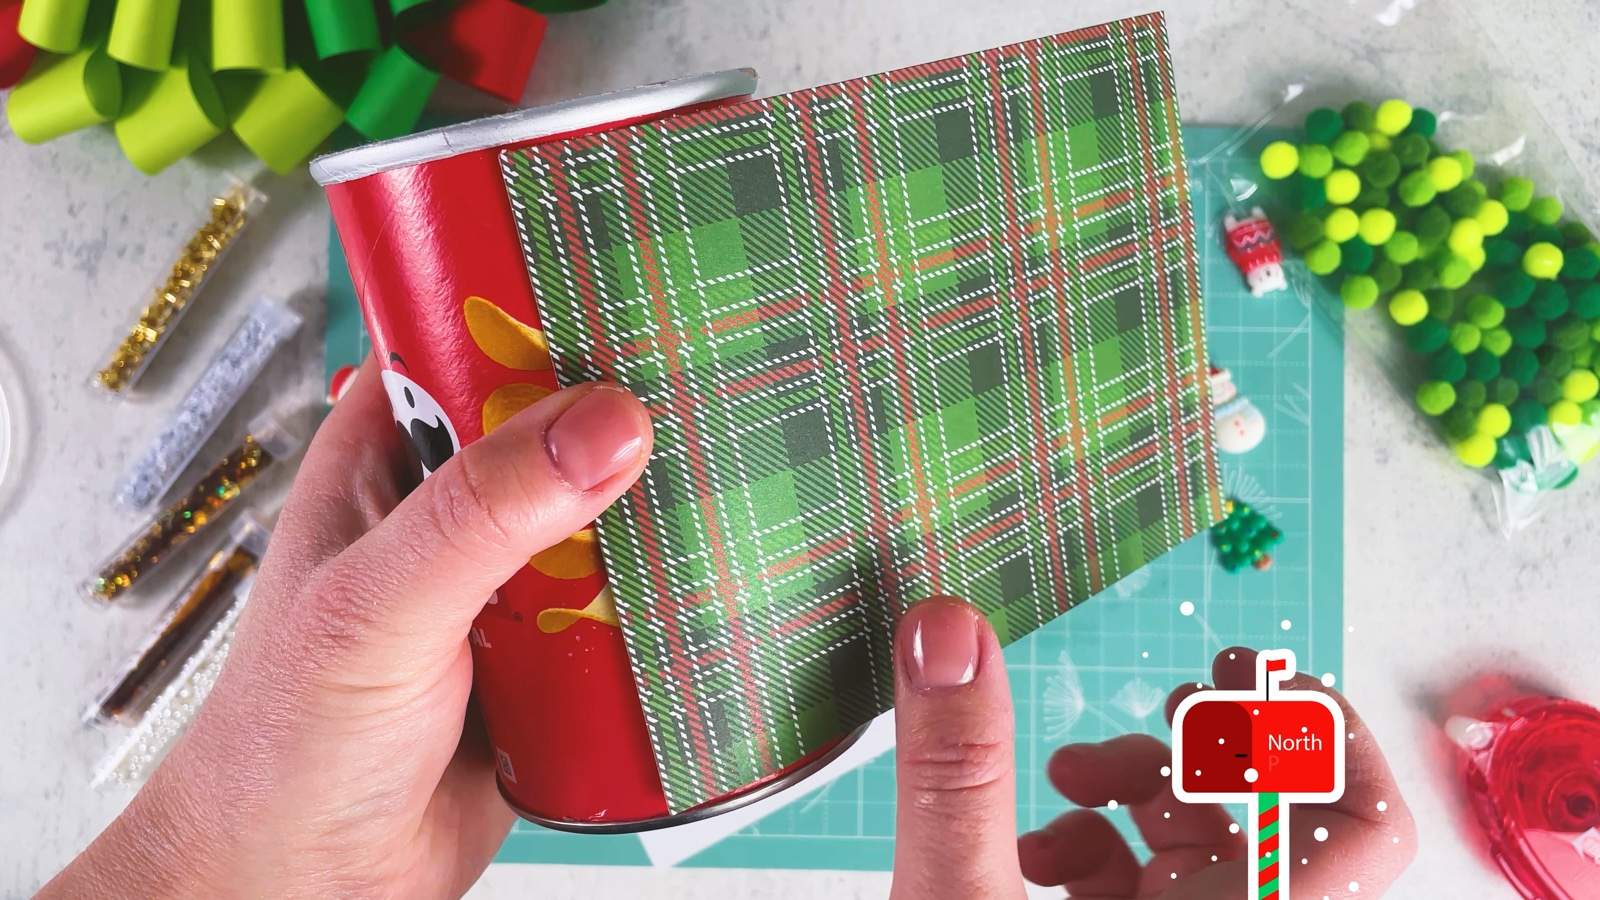
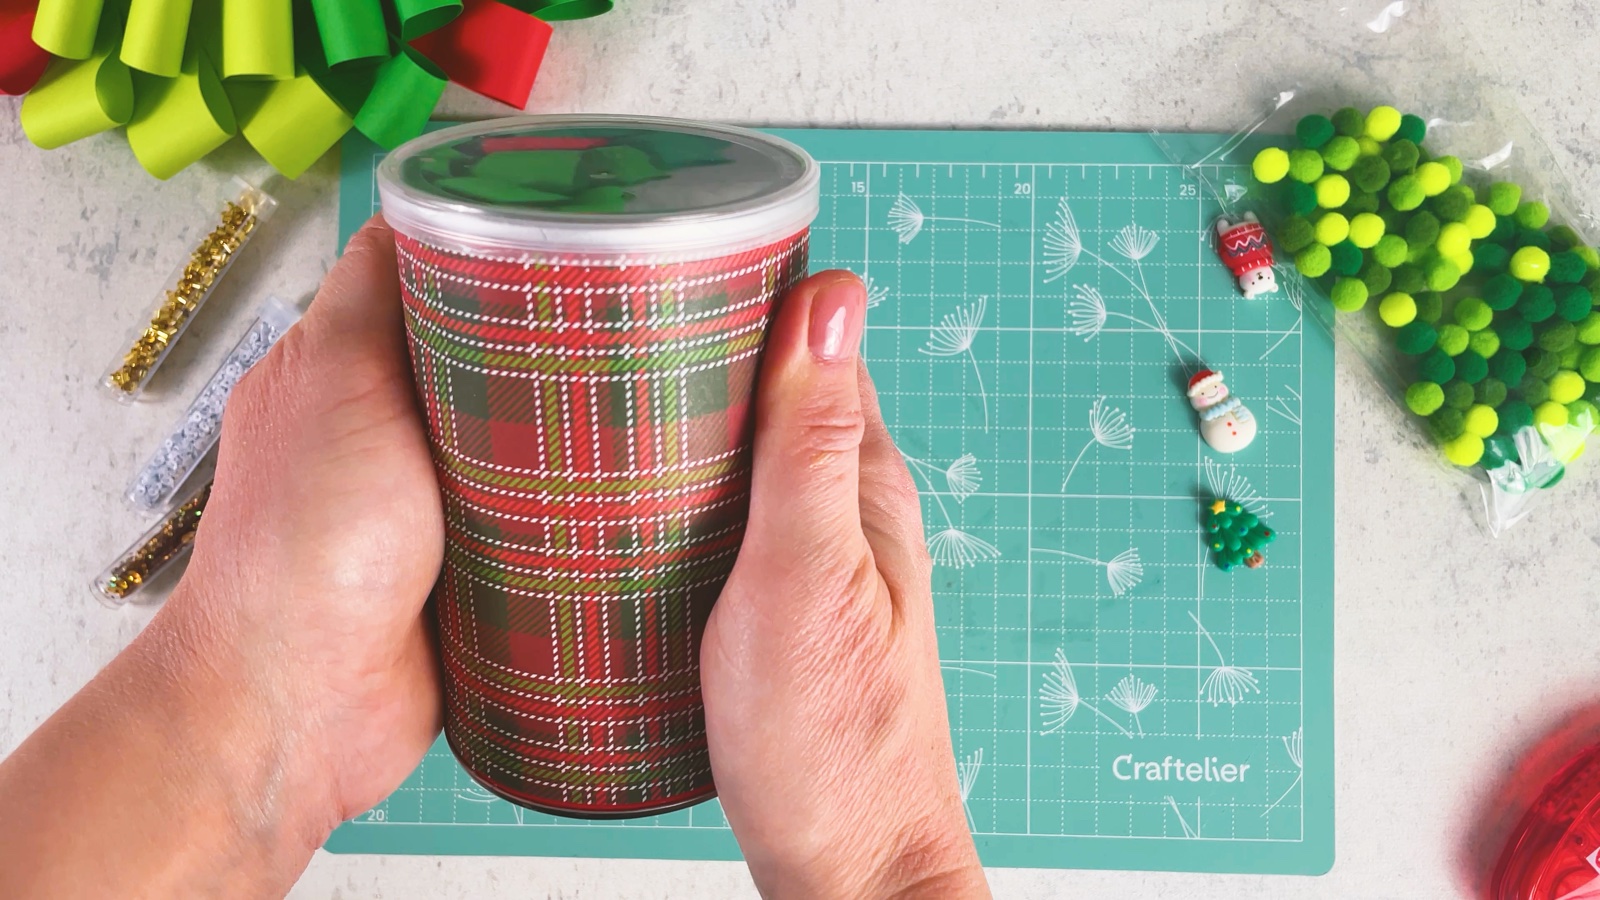
Press the paper down all around, so it sits flat with no bubbles. If one sheet is too short, add a second one.
PART 2 OF 4
The snowy base
- 4
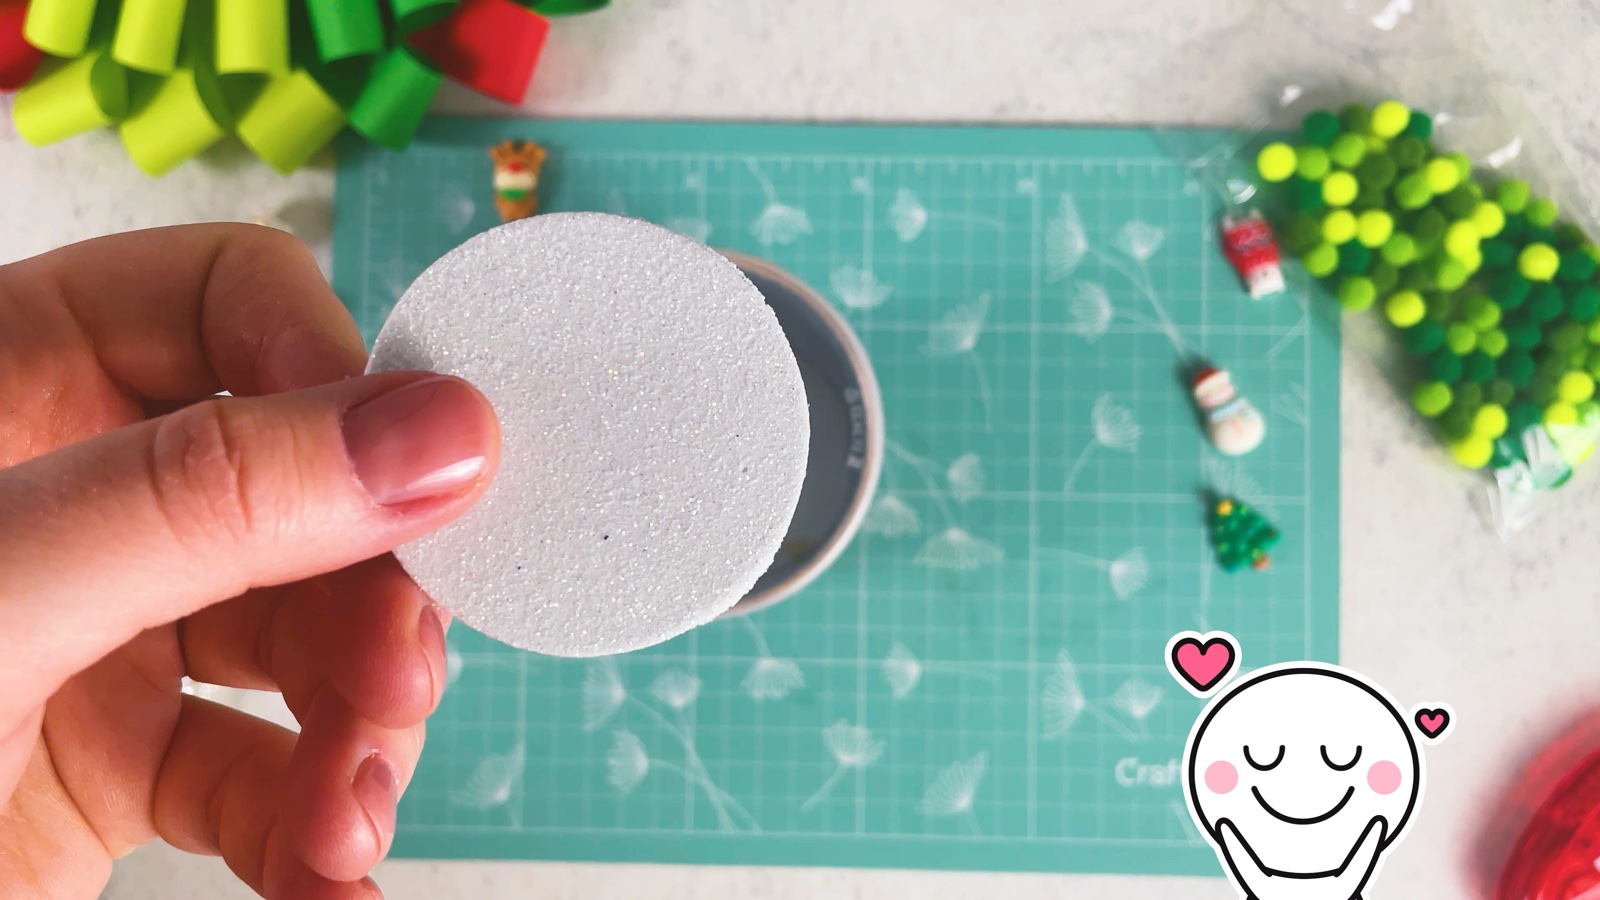
Punch a glitter circle
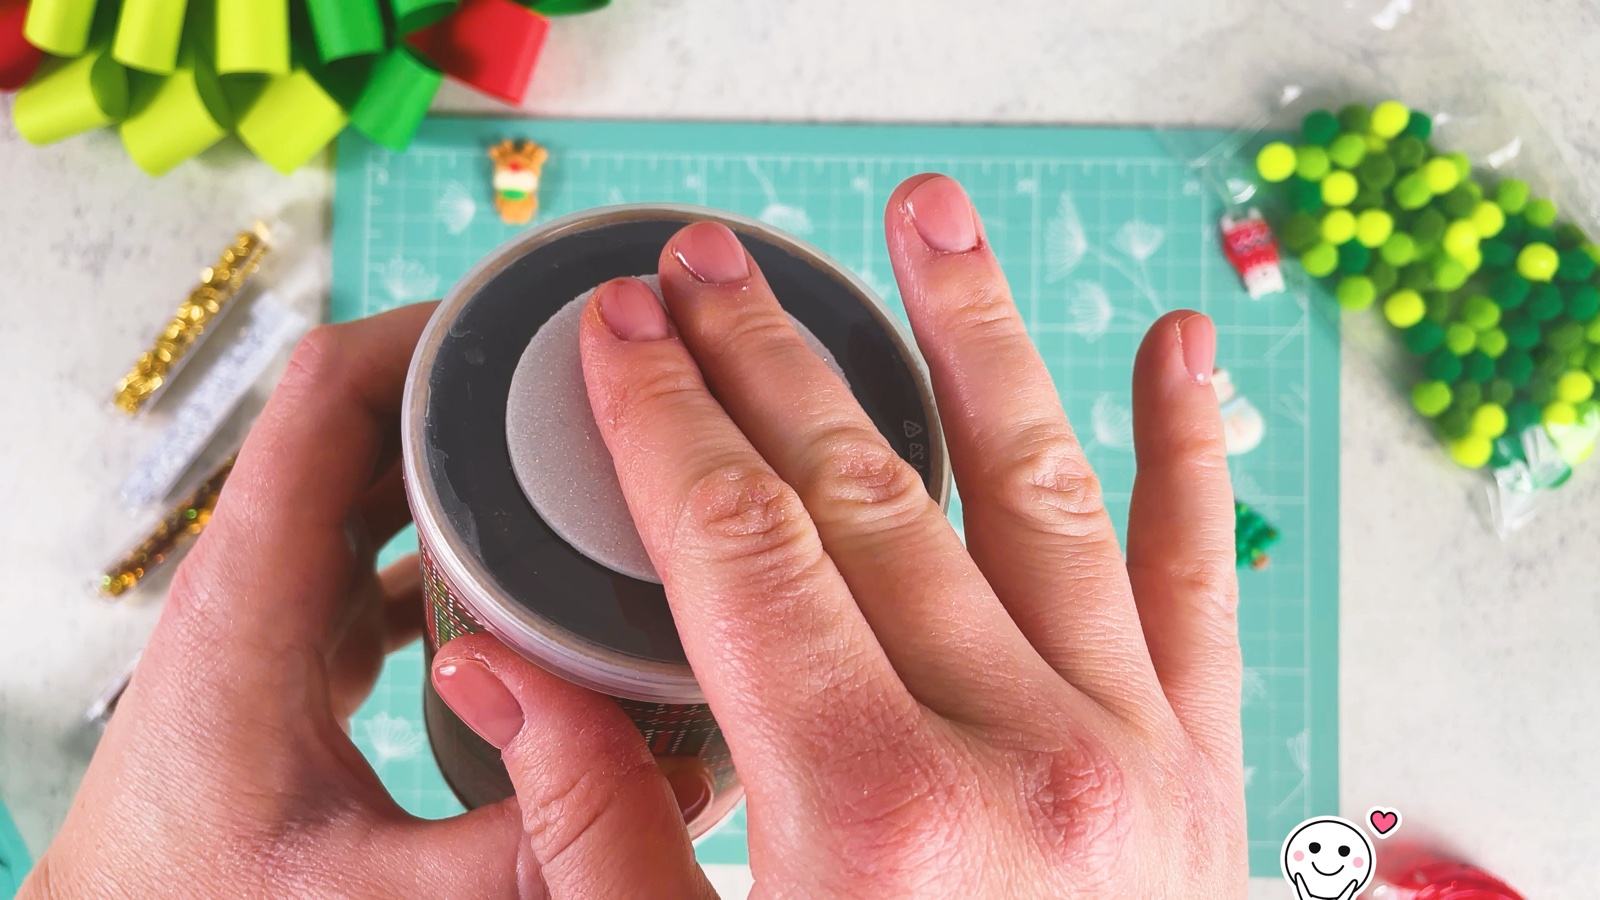
Punch a circle out of a silver glitter foam sheet. It should fit inside the lid.
- 5
Stick it into the lid
Put the lid on the can and press the glitter circle into the middle of the lid. This is the snowy ground for the scene.
- 6
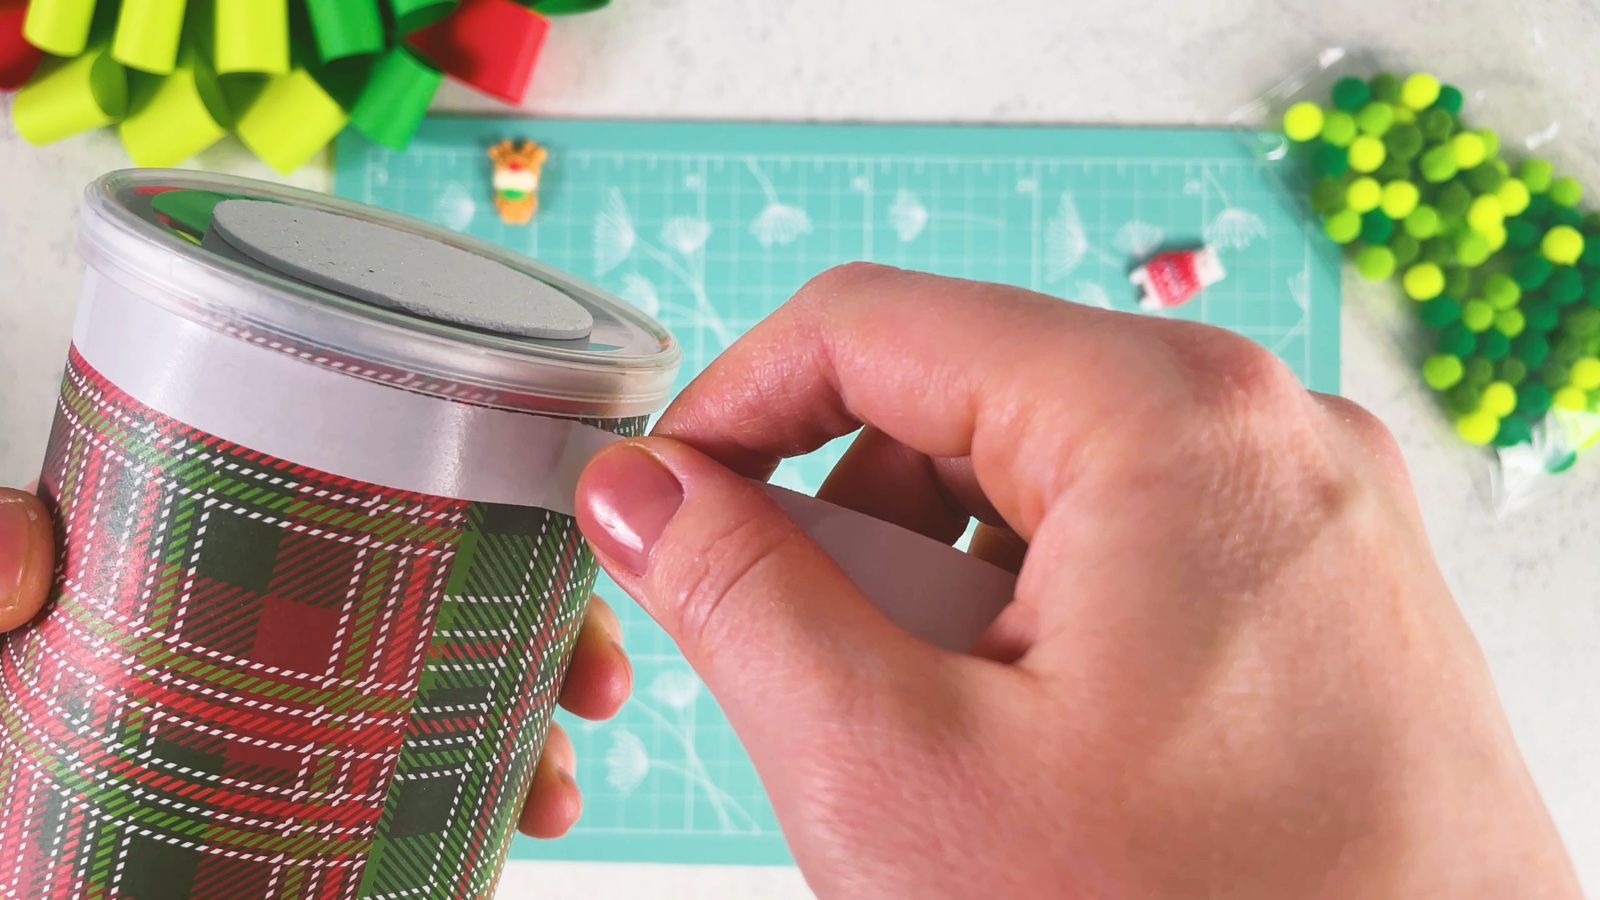
Add tape around the top
Stick a strip of double-sided tape around the top of the can, just below the lid.
- 7
Add a pom-pom trim
Peel the tape and press small pom-poms onto it, one next to the other. Mix the greens.
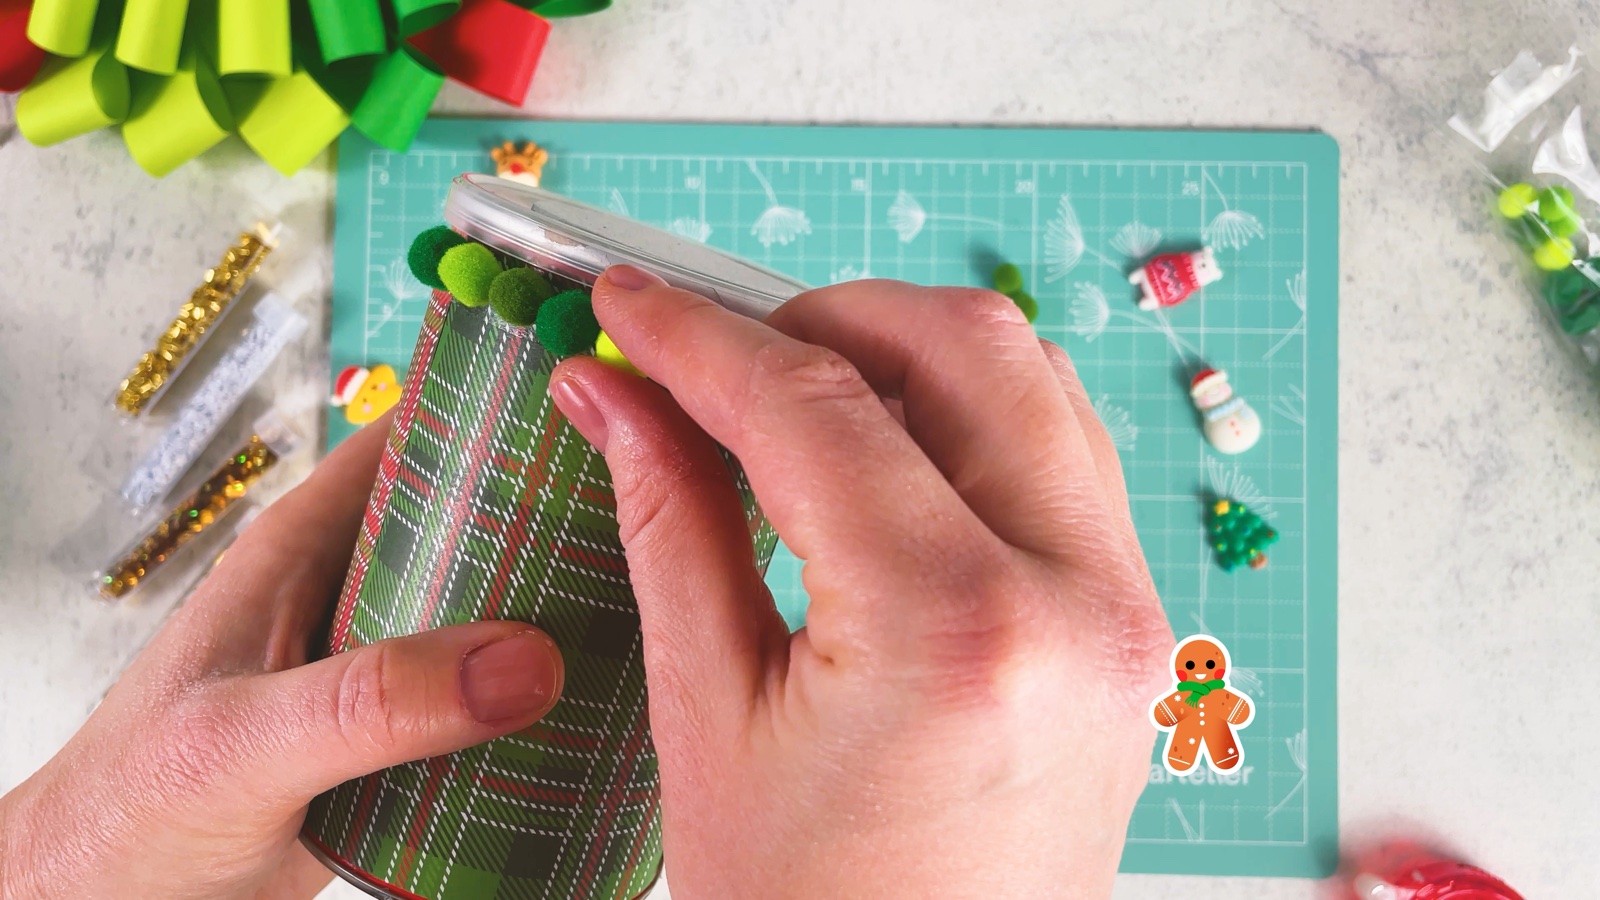
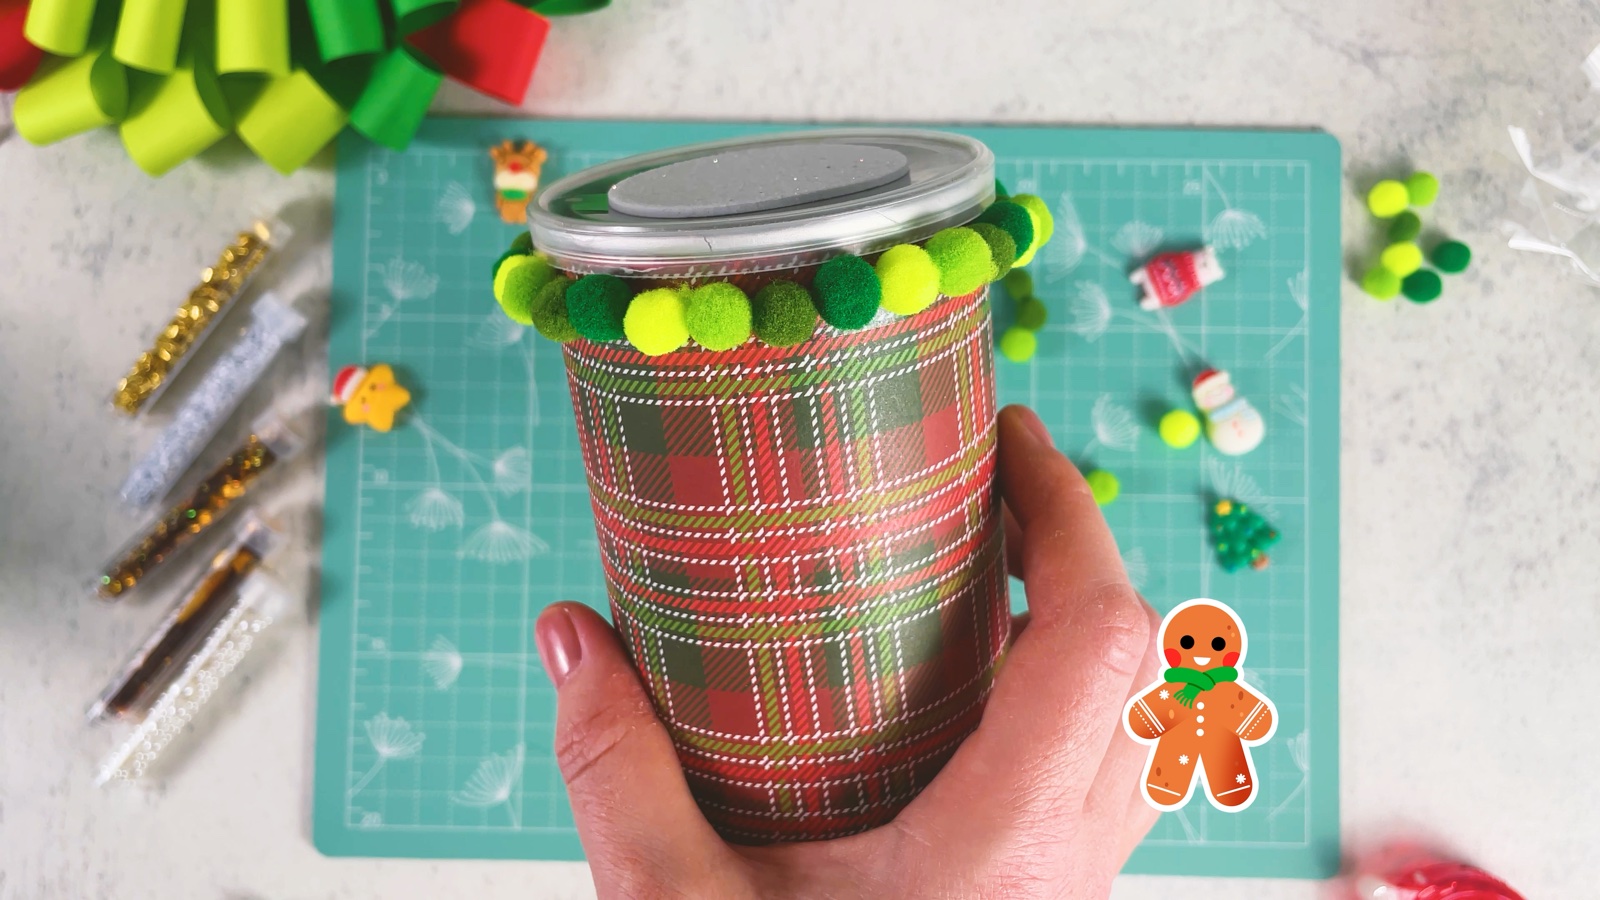
Go all the way around until the ring is closed.
- 8
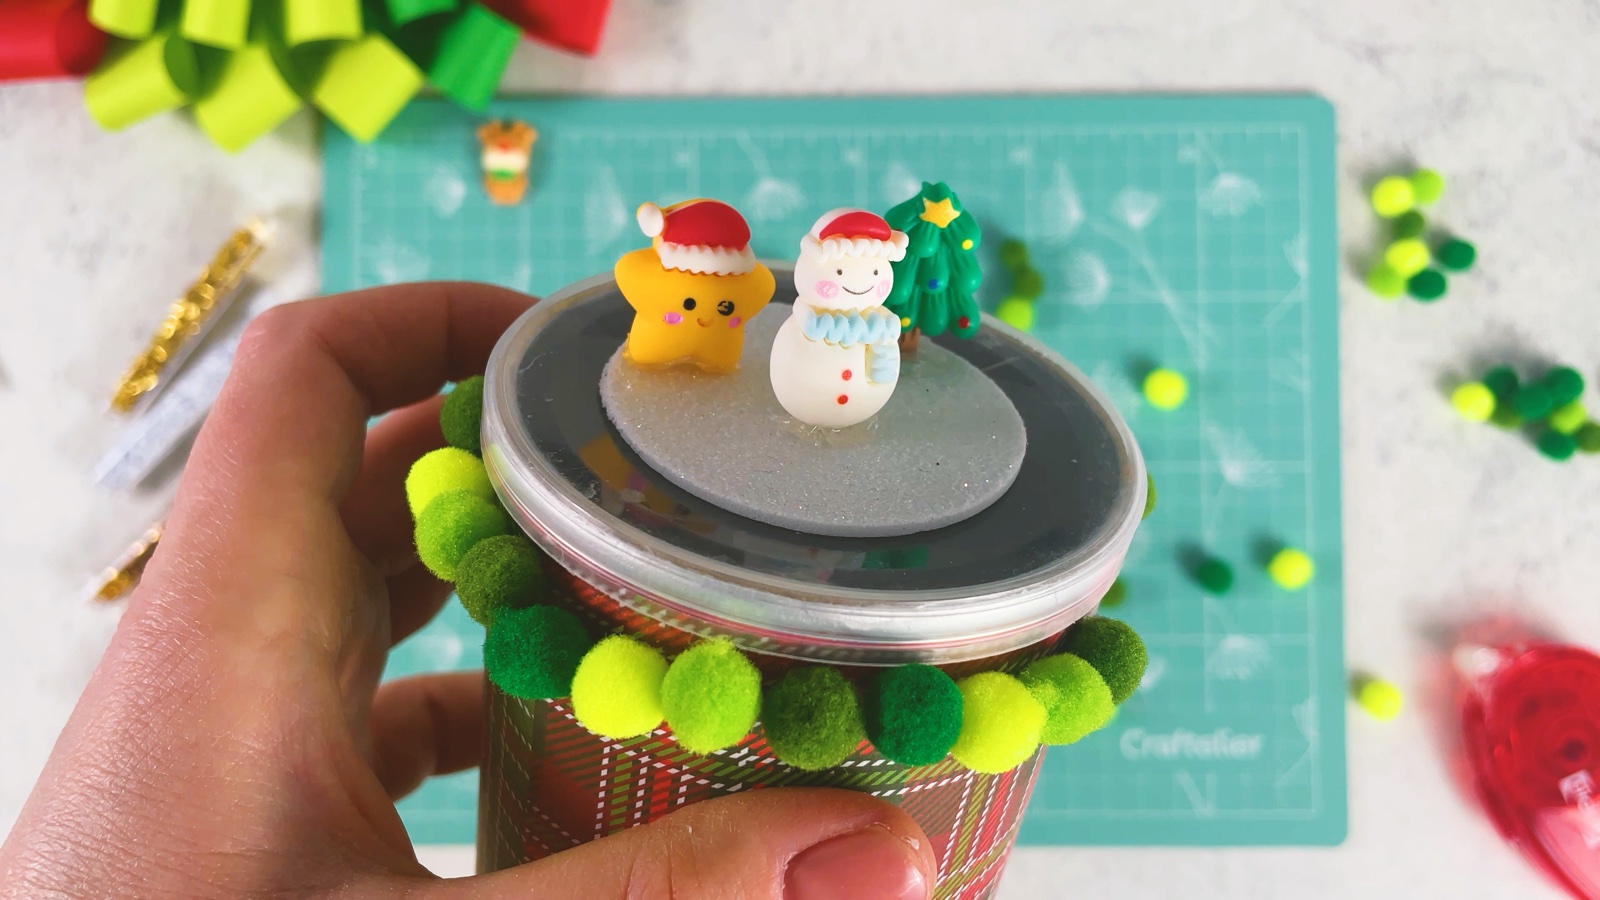
Glue on the figurines
Glue your mini holiday figurines onto the glitter circle with hot glue. Keep them in the middle, so the dome fits over them.
- 9
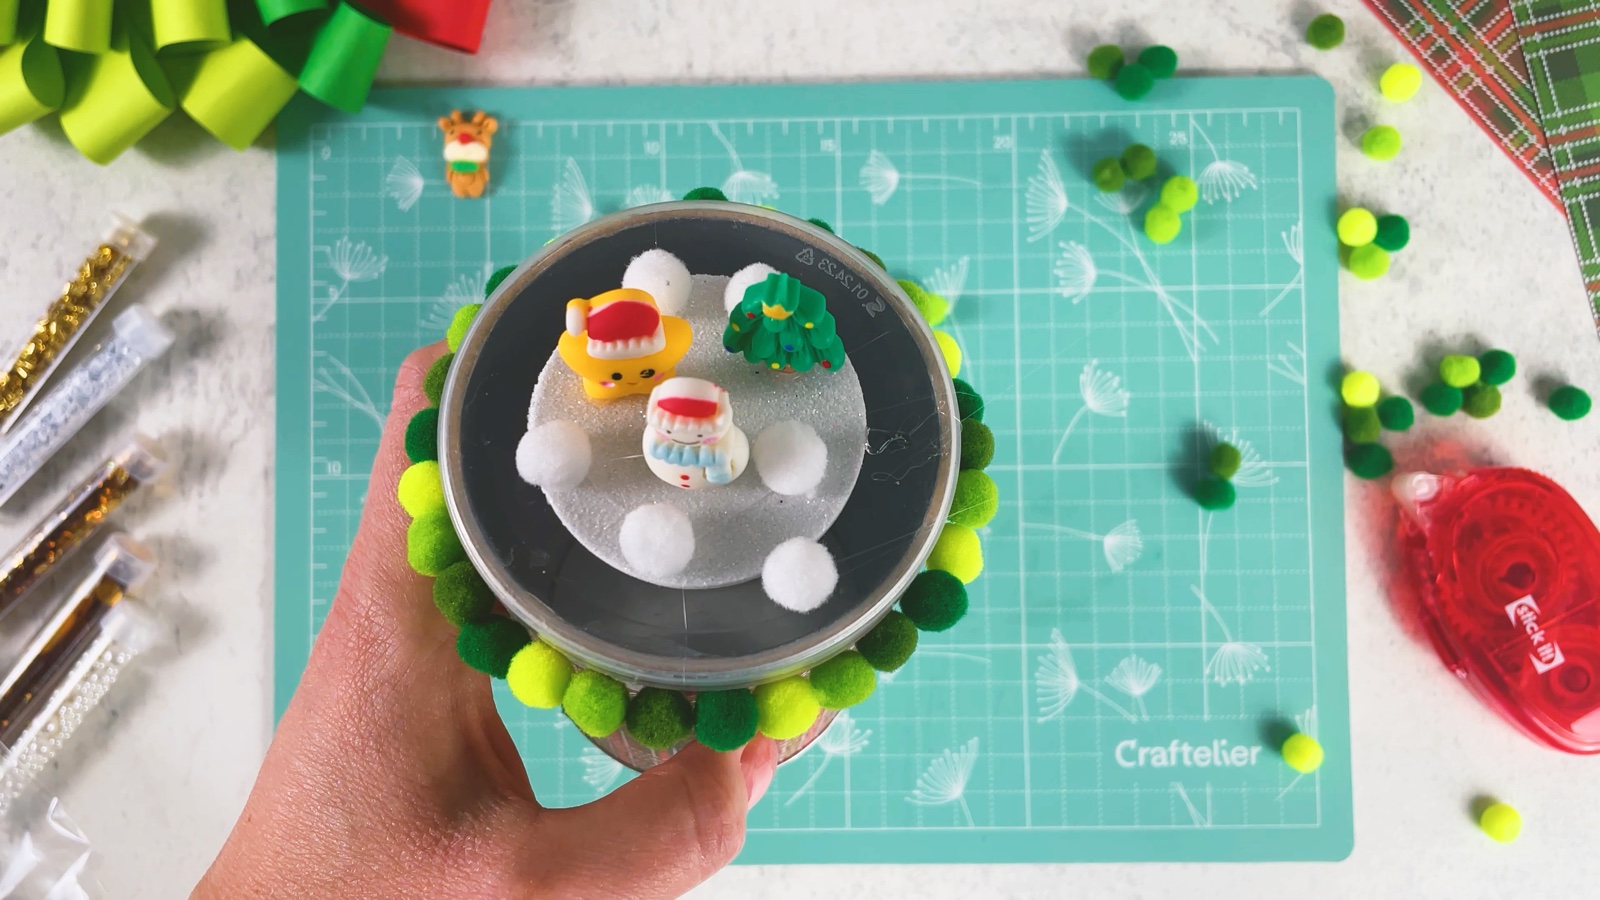
Add snowballs
Glue small white pom-poms around the figurines. They look like little snowballs.
PART 3 OF 4
The dome
- 10
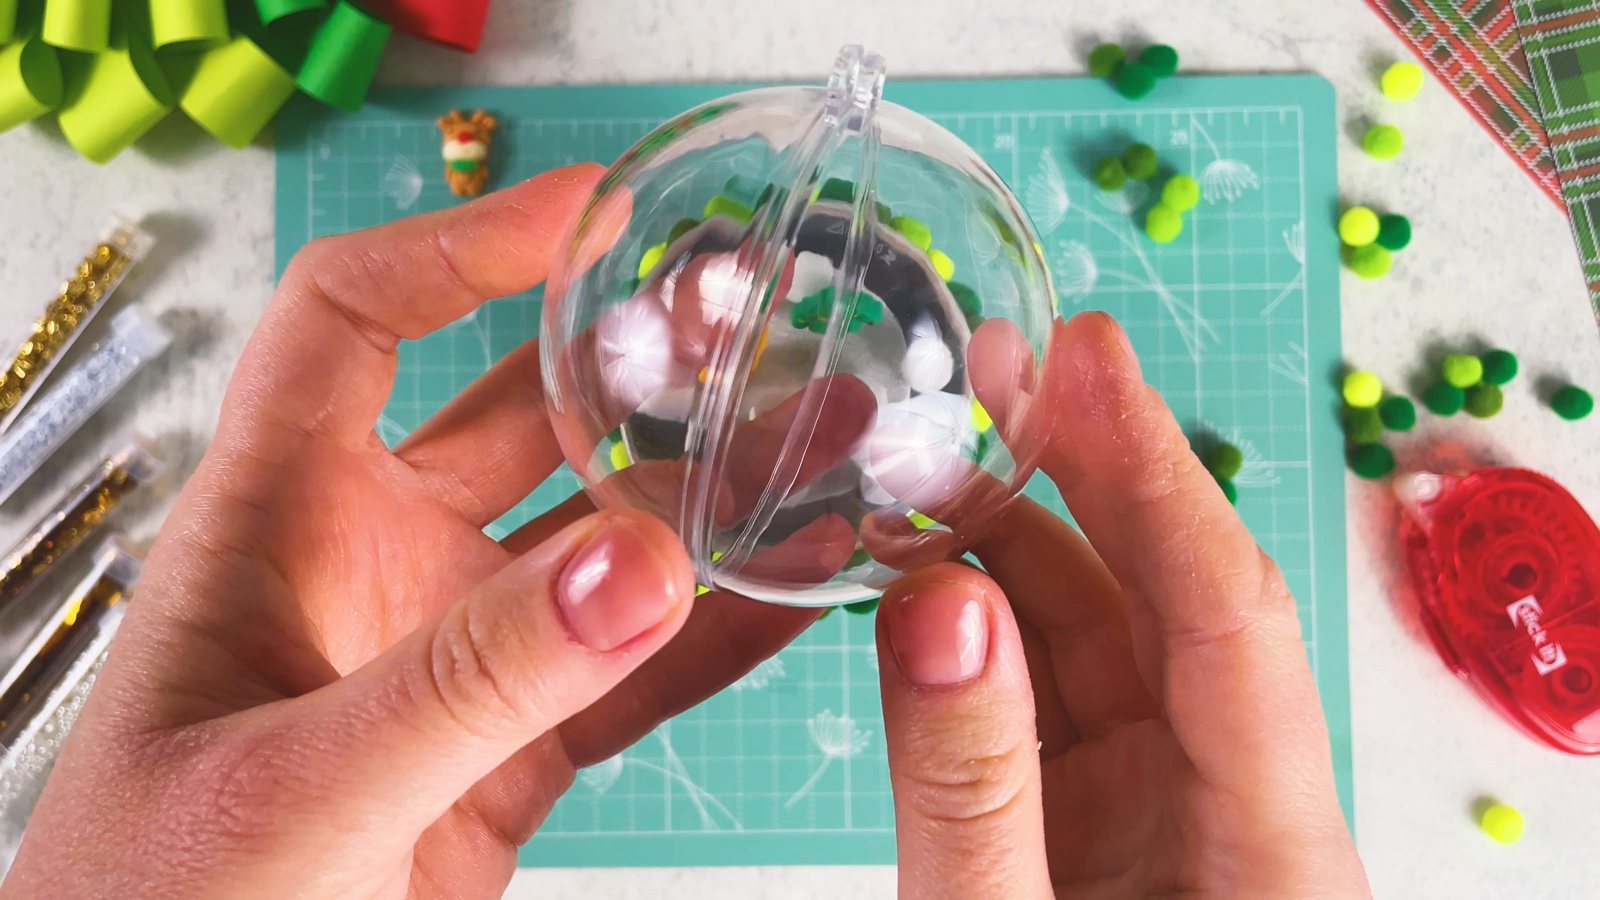
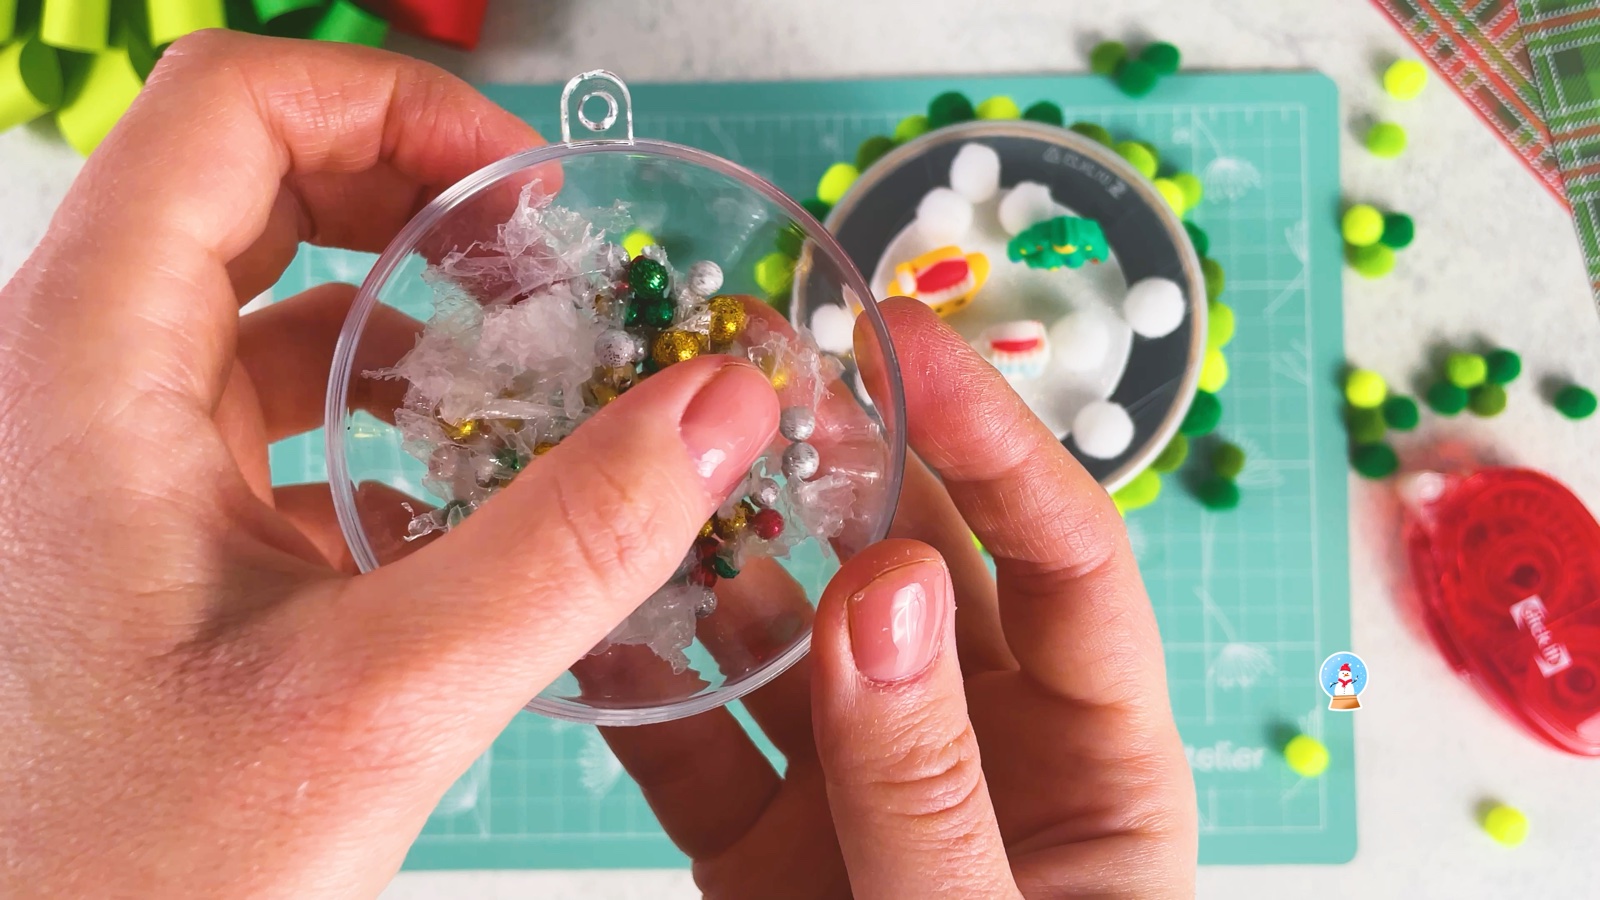
Fill the bauble
Open the plastic bauble. We only need one half, the one that fits over the lid.
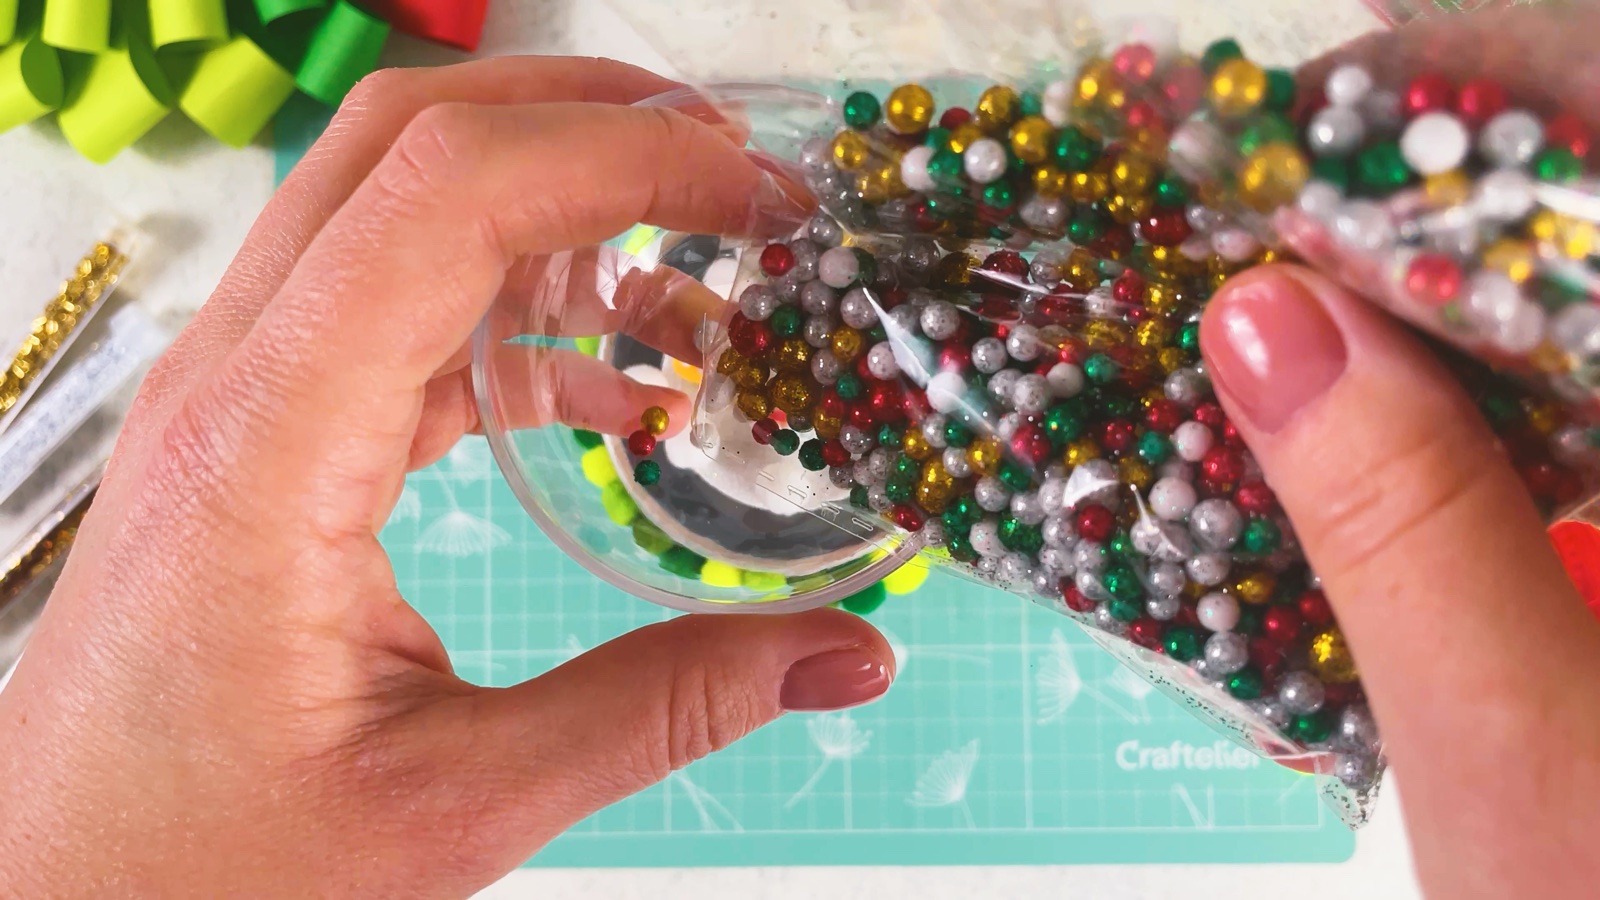
Pour Christmas colour beads into the bauble half.
- 11
Add the snow
Add a little fake snow or cotton on top of the beads.
- 12
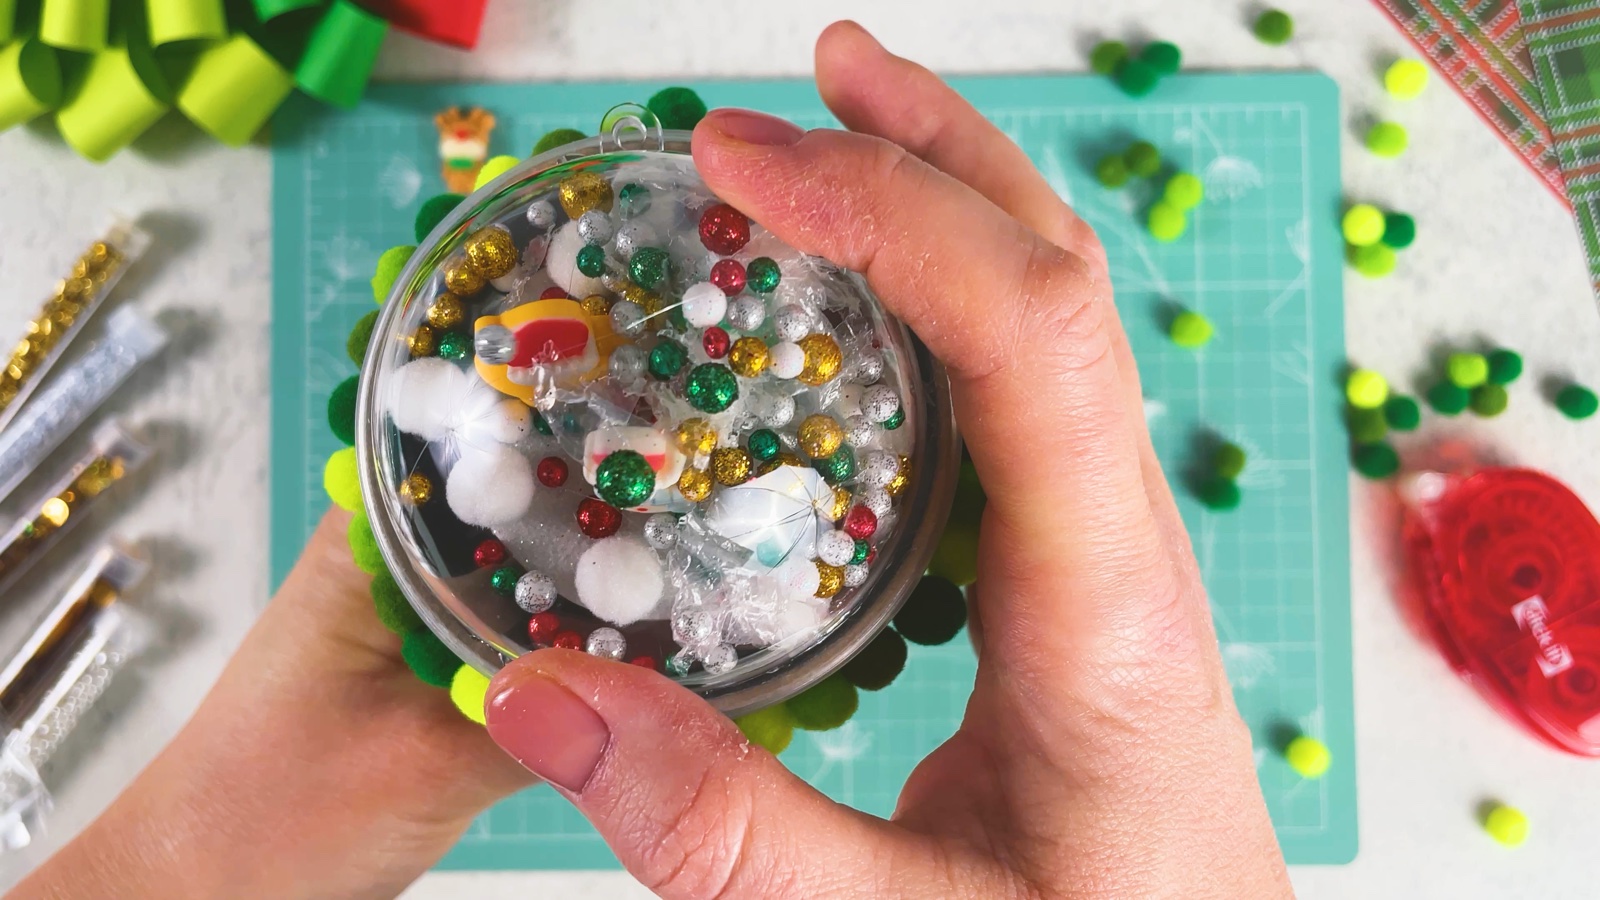
Glue the dome onto the lid
Run hot glue along the edge of the bauble half.
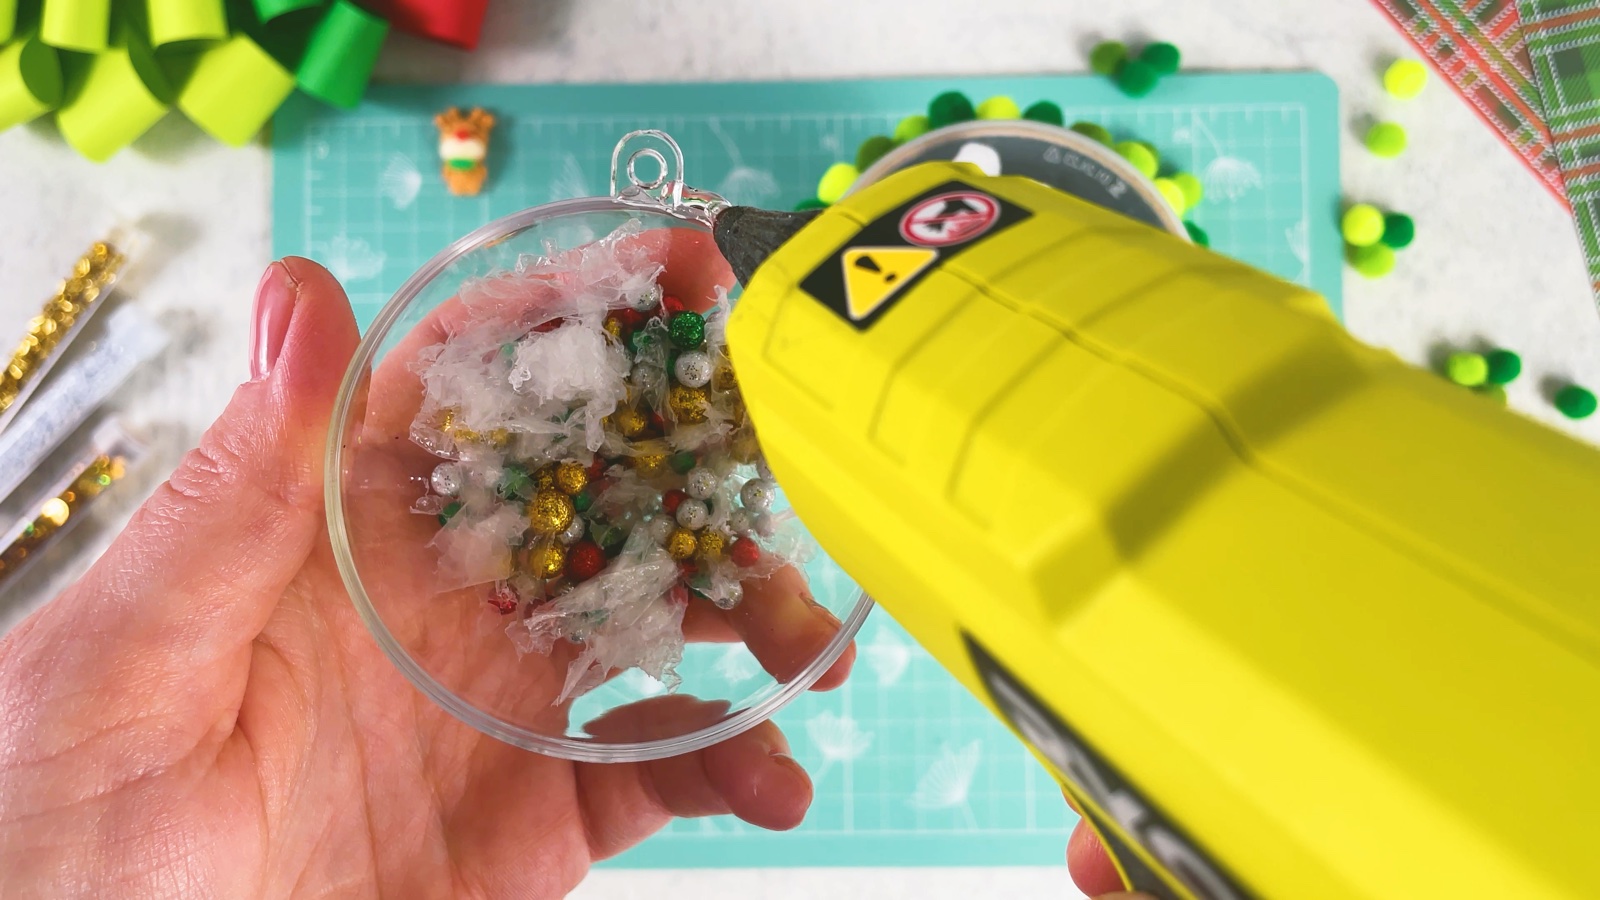
Turn the lid upside down and press it into the dome. Hold it for a few seconds so it stays.
PART 4 OF 4
The finish
- 13
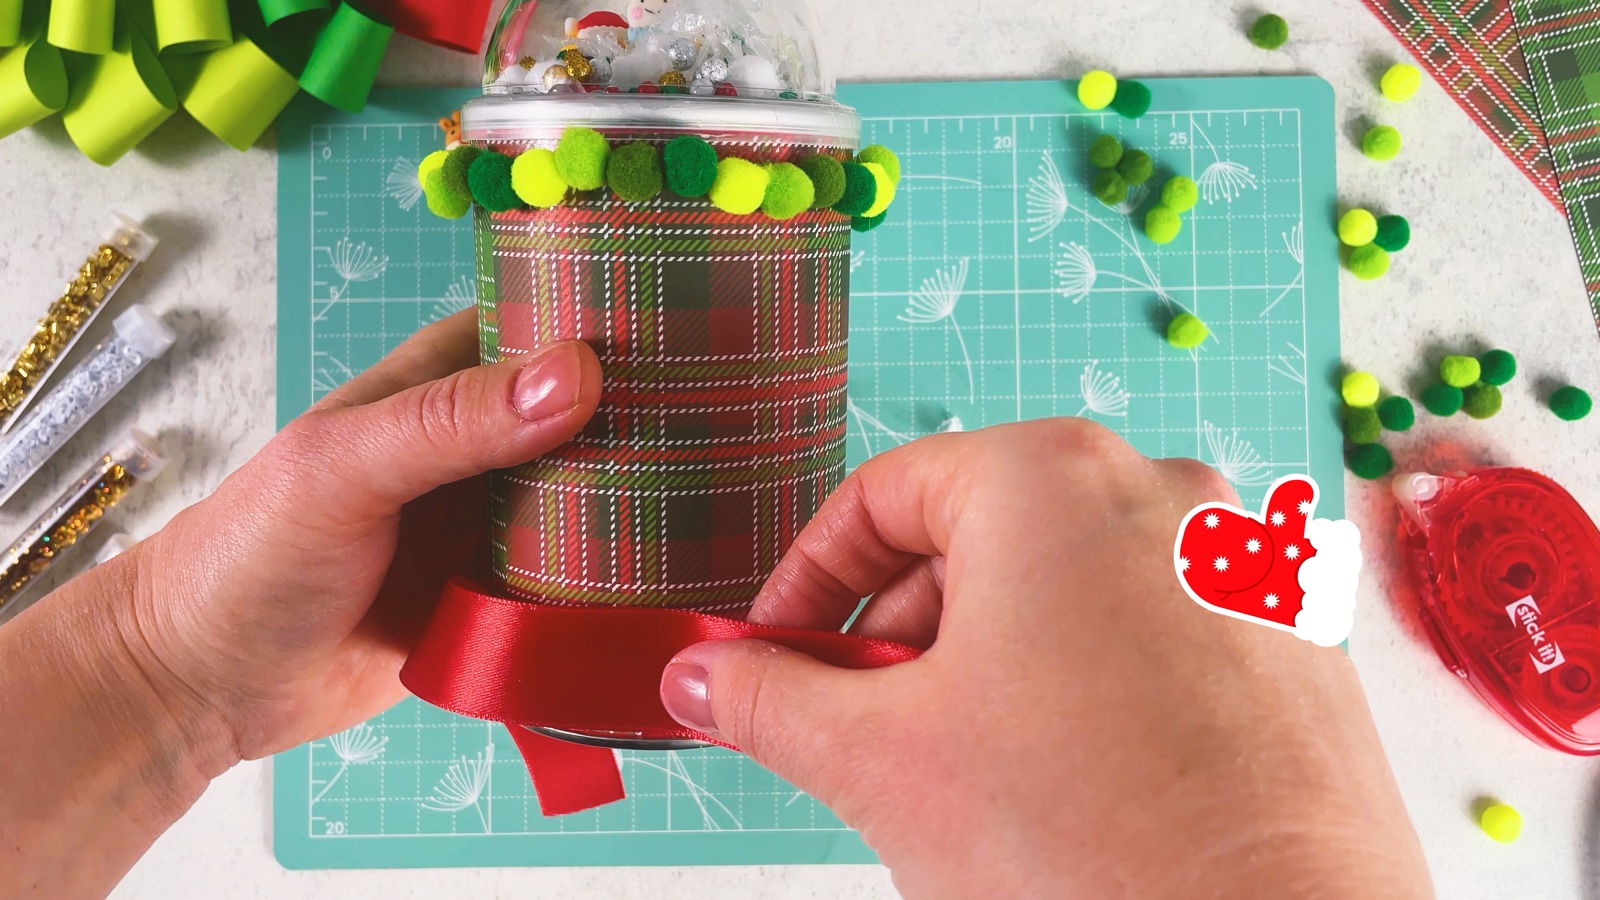
Add a ribbon
Stick double-sided tape around the bottom of the can.
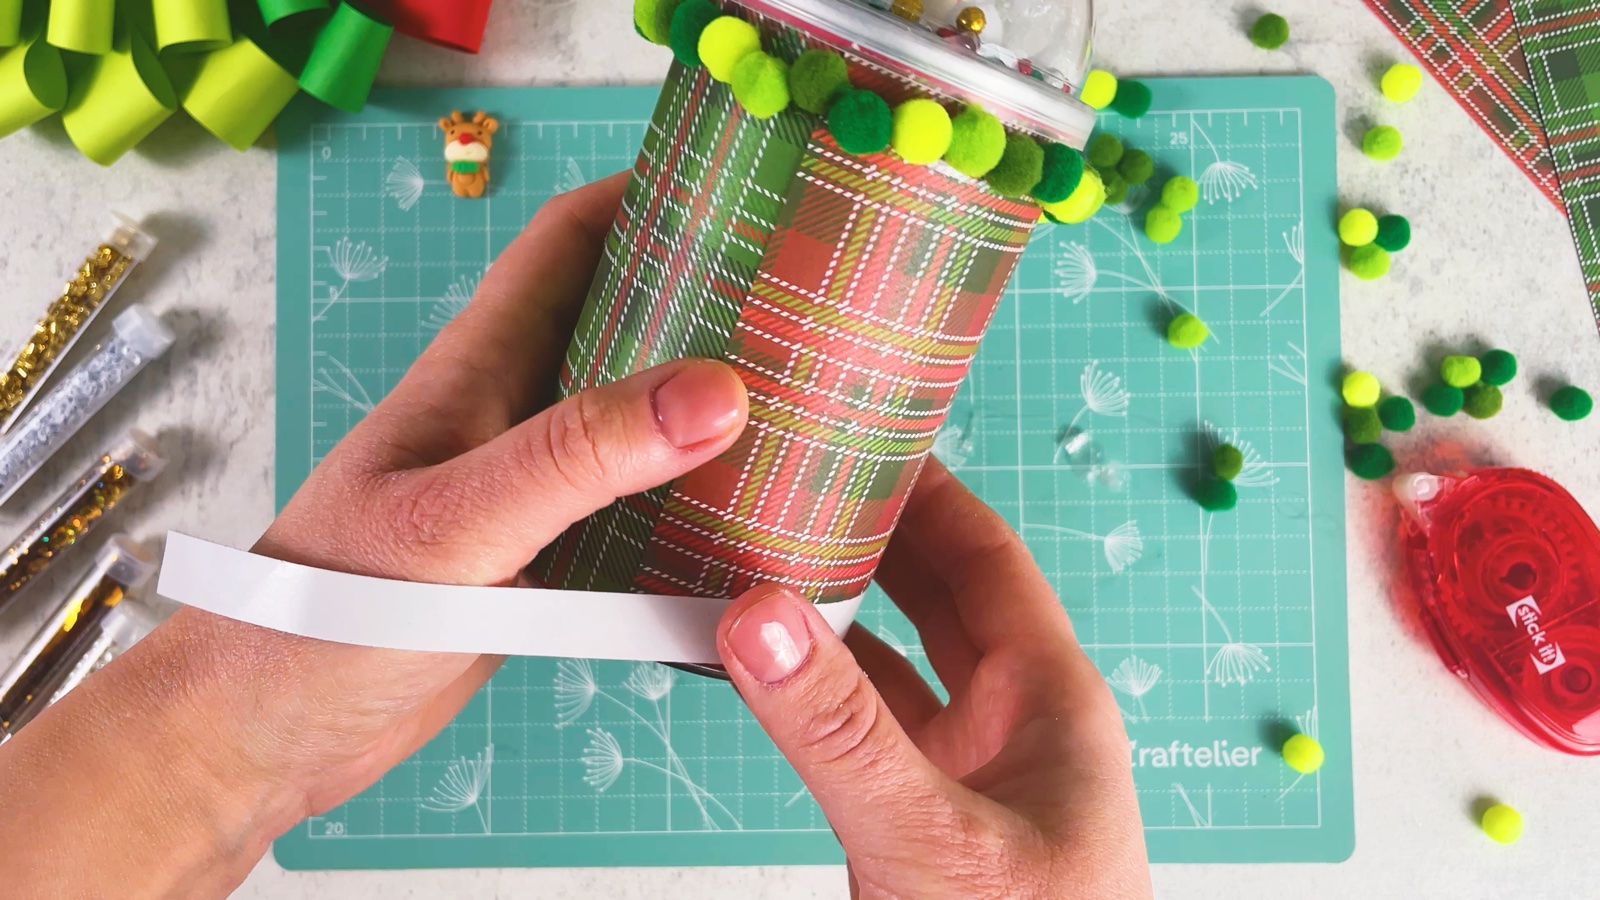
Peel the tape and wrap a red ribbon over it.
- 14
Hide a treasure inside
Lift off the snow globe lid and put a little treasure into the can. Close it again.
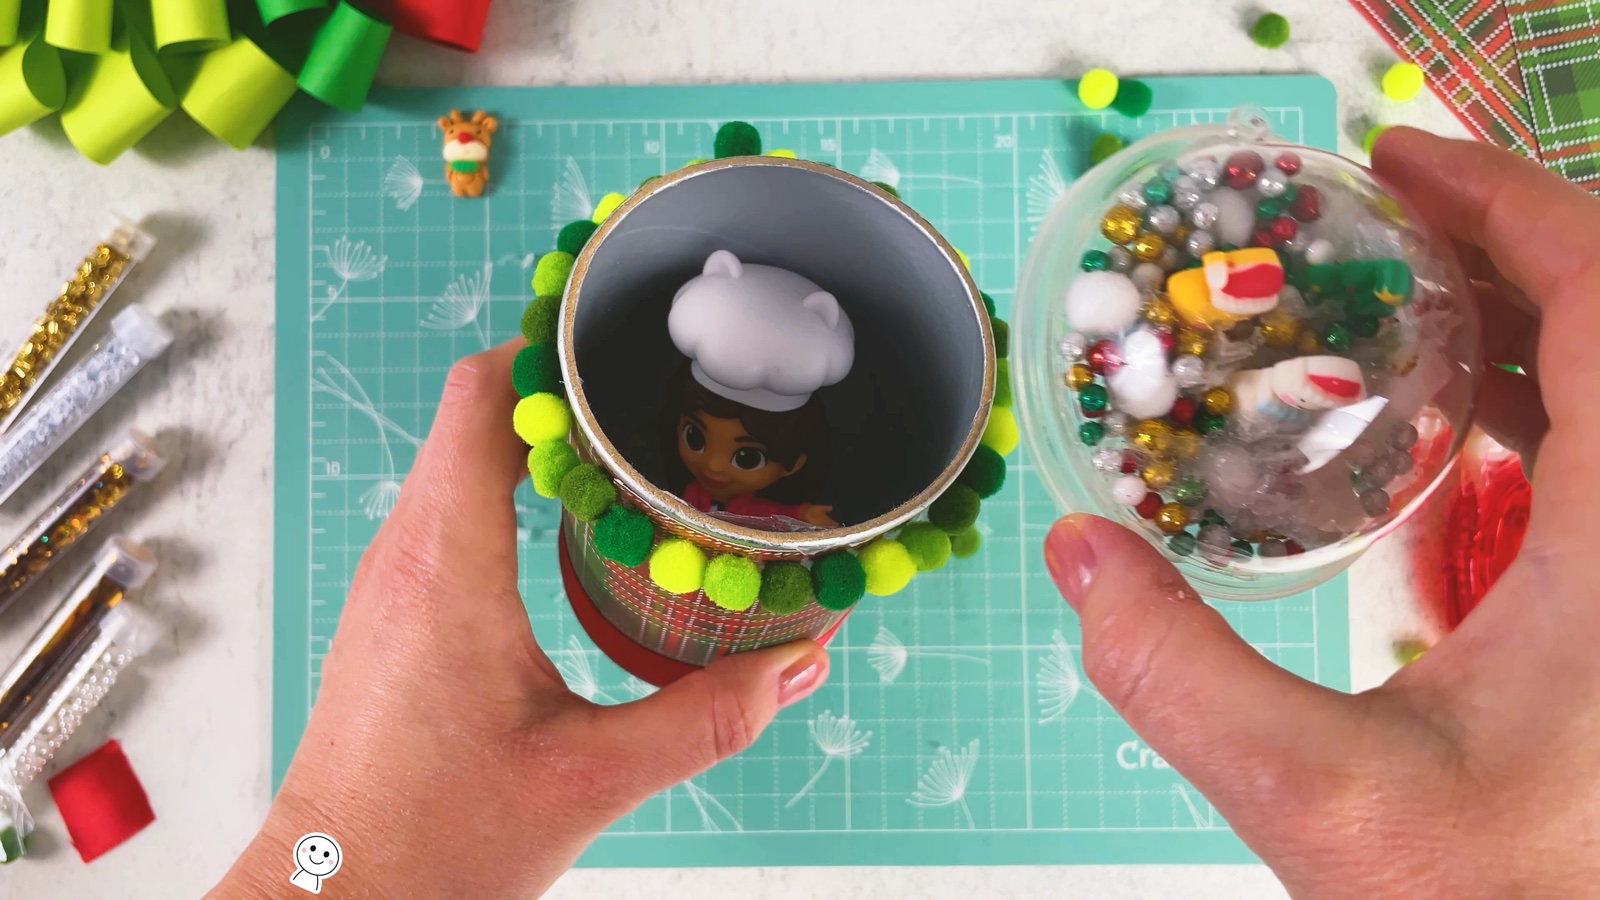
Your snow globe gift box is ready to give, or to keep on a desk or under the tree.
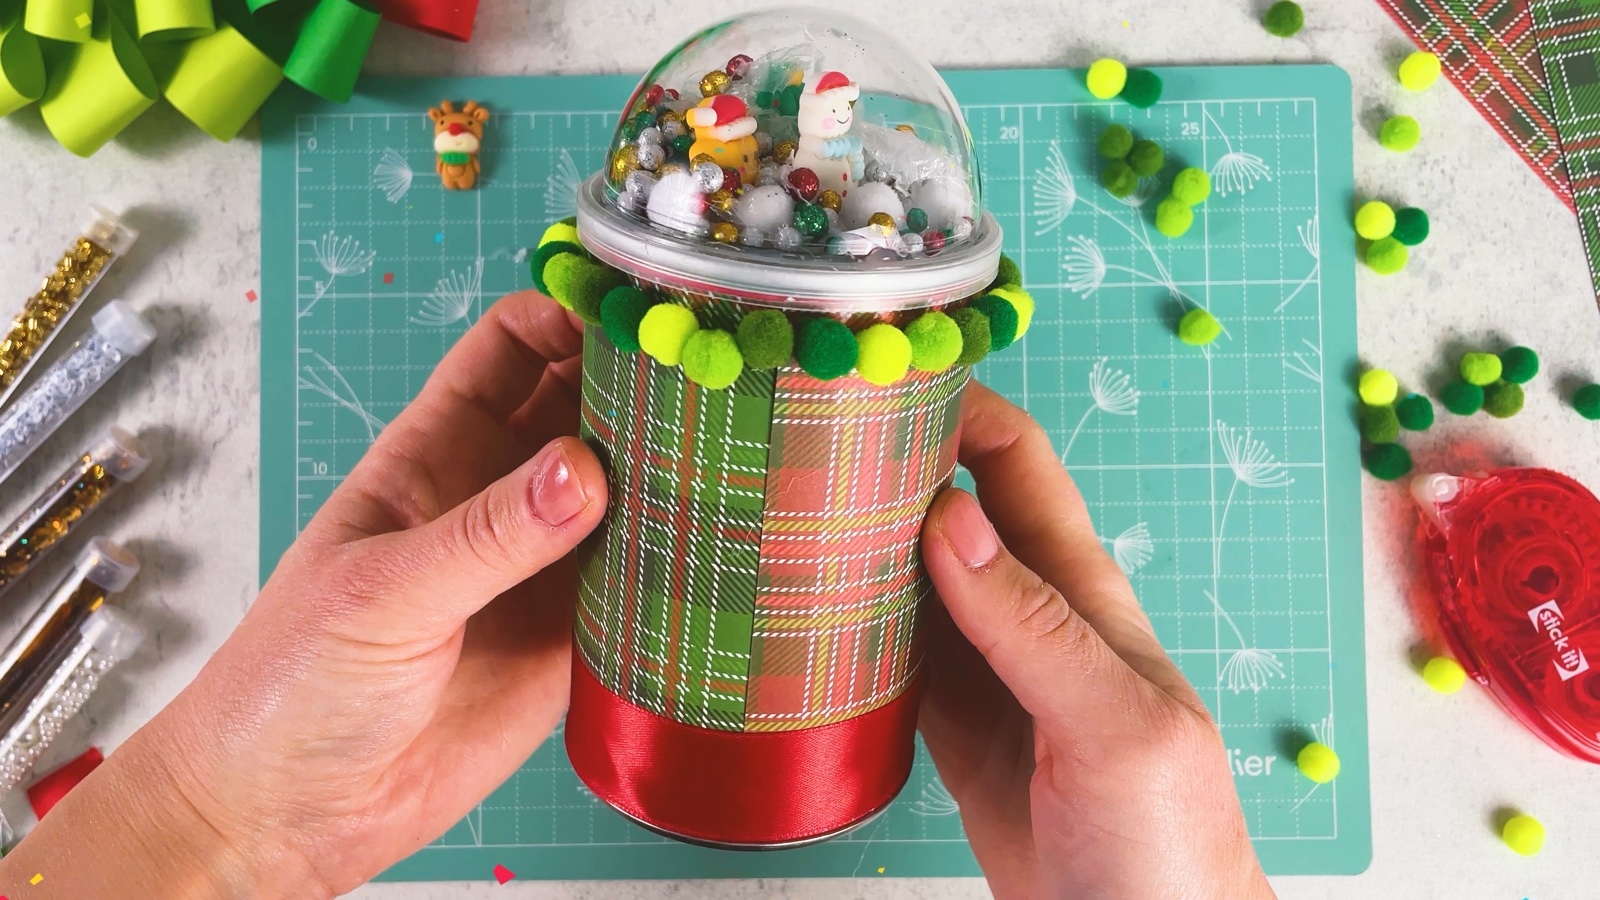
Your snow globe gift box is ready.
THREE LITTLE TIPS
Make it easier.
- Check the bauble size first. Hold the bauble half over the lid before you buy or fill it. It should cover the glitter circle and sit on the lid rim.
- Low figurines fit best. Tall figurines can touch the dome. Try the dome over them before you glue.
- Use only a little snow. Too much snow hides the figurines. Leave space so you can still see the scene.

A CUBI MINI MOMENT
Who will find a treasure inside?
Cubi is hiding a tiny surprise in a snow globe box for Mini. What will you hide in yours, and who is it for?
A paper star with a secret wish written on the back, just for Mini.
Loved making it?
Catch the next make first, or save this one for a rainy day.