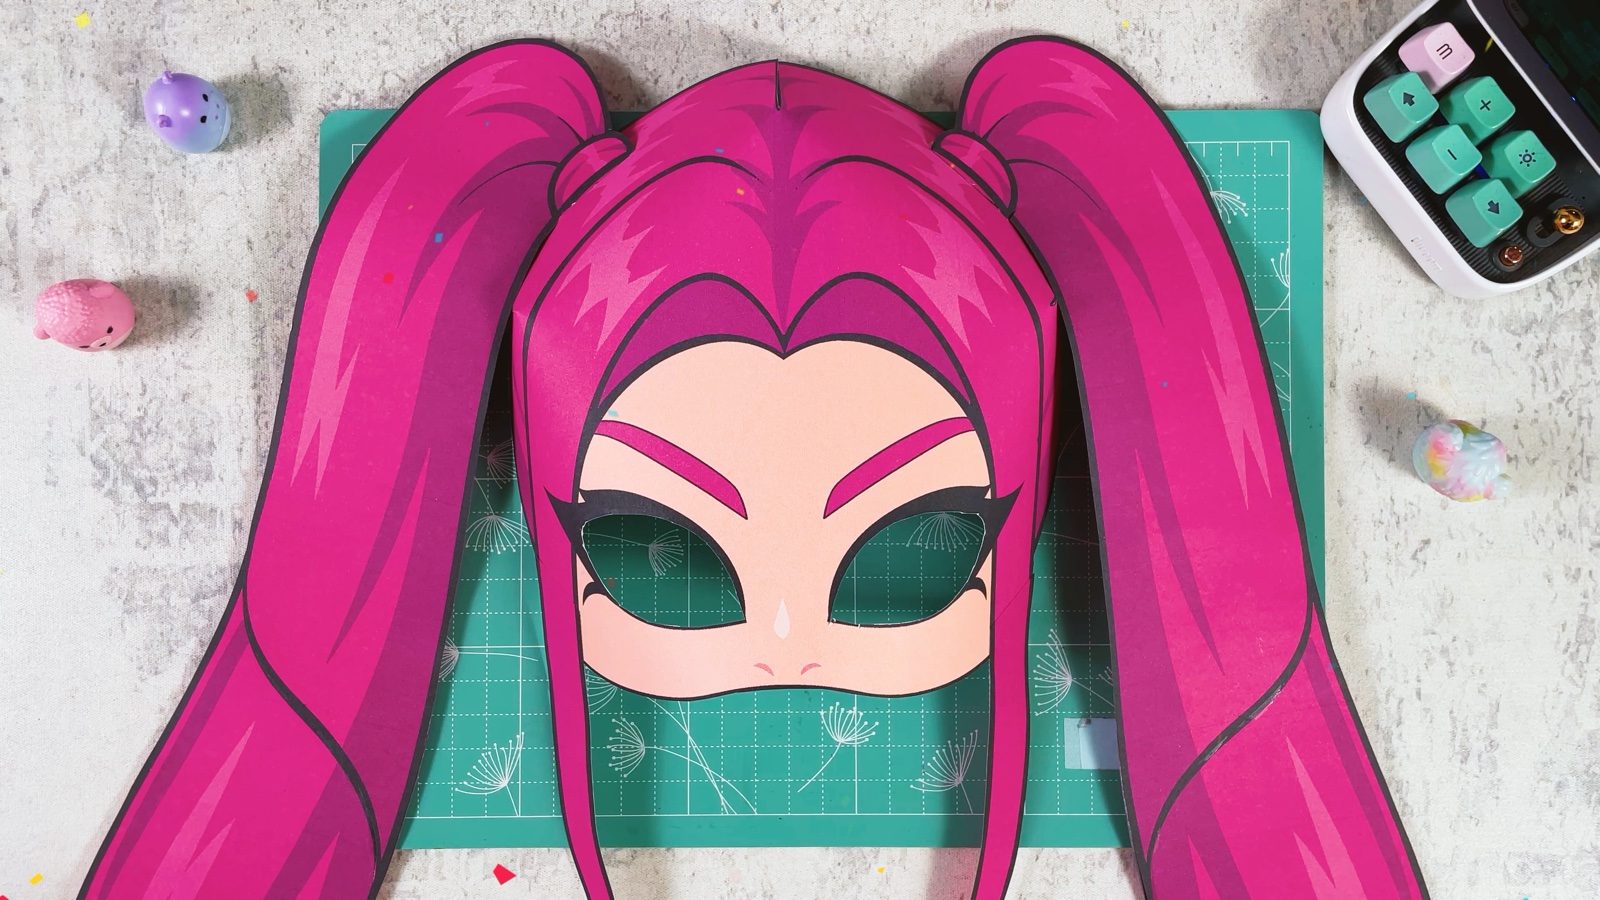
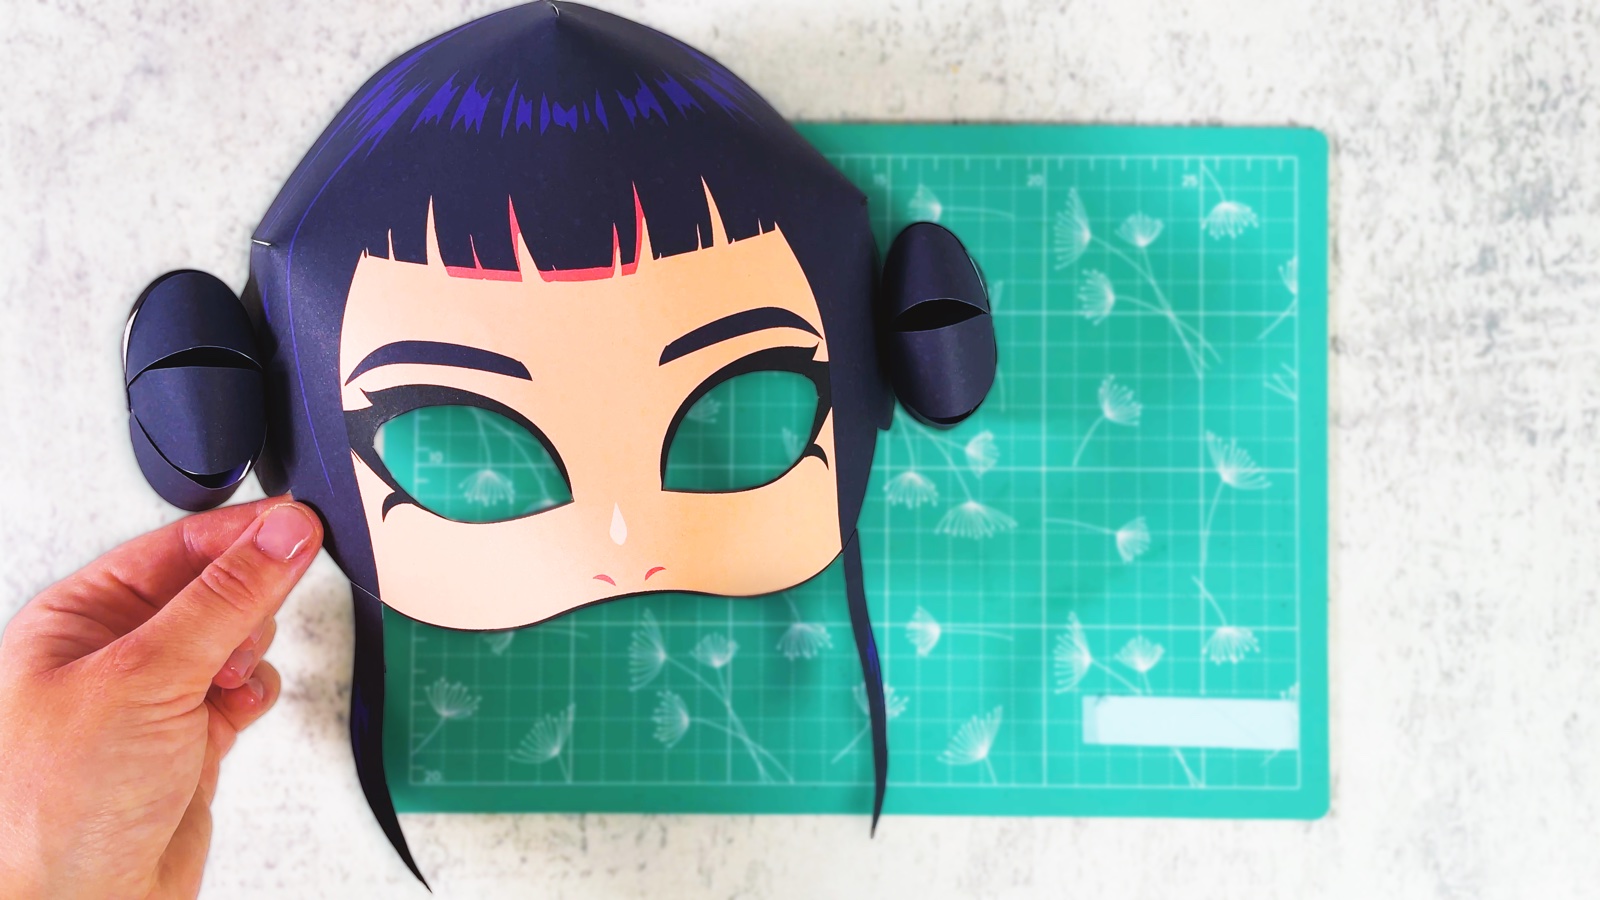
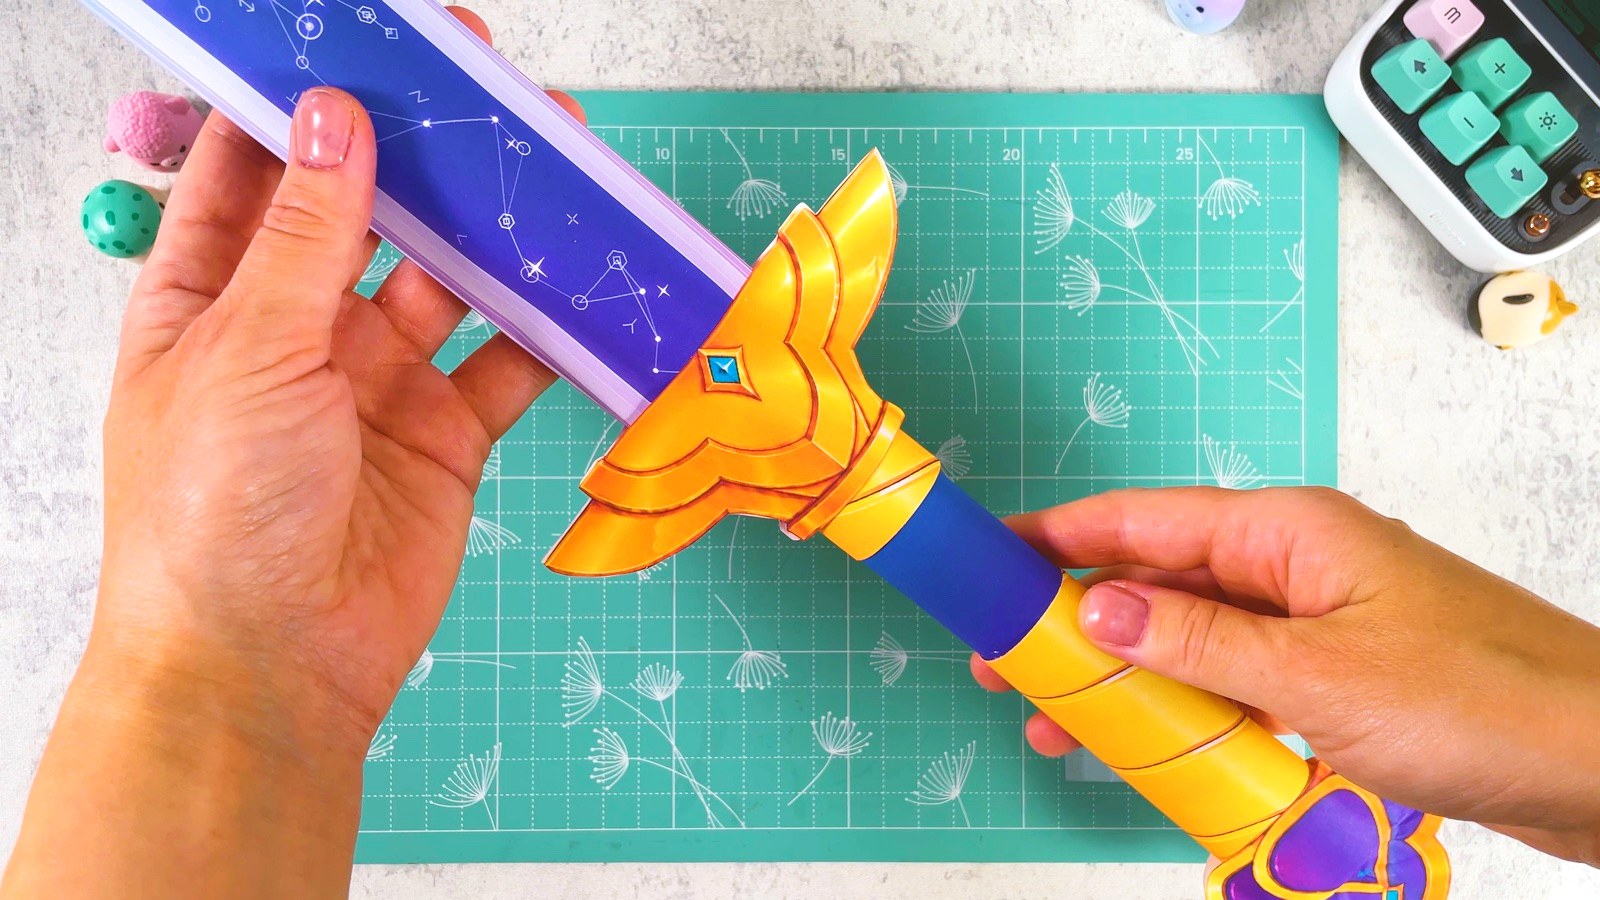
Let’s make the most stunning Rumi mask from KPop Demon Hunters, all from paper! Together we make Rumi’s signature mask and her iconic long purple braid, using only a few simple things: paper, glue, scissors and a printer.
There is an easy and clever trick to braid long paper strips, so the finished braid looks just like Rumi’s hair from the movie. It is a perfect Halloween craft for KPop Demon Hunters fans, and great for a costume, cosplay, a creative party or a birthday. Pair it with a purple outfit or glow accessories for the complete look, or make Mira’s and Zoey’s masks for the whole HUNTR/X.
BEFORE WE START
What you need.
Materials
- Printable template
- Paper
- Glue stick
Tools
- Scissors
- Craft knife
- Ruler
- Cutting mat
- A printer
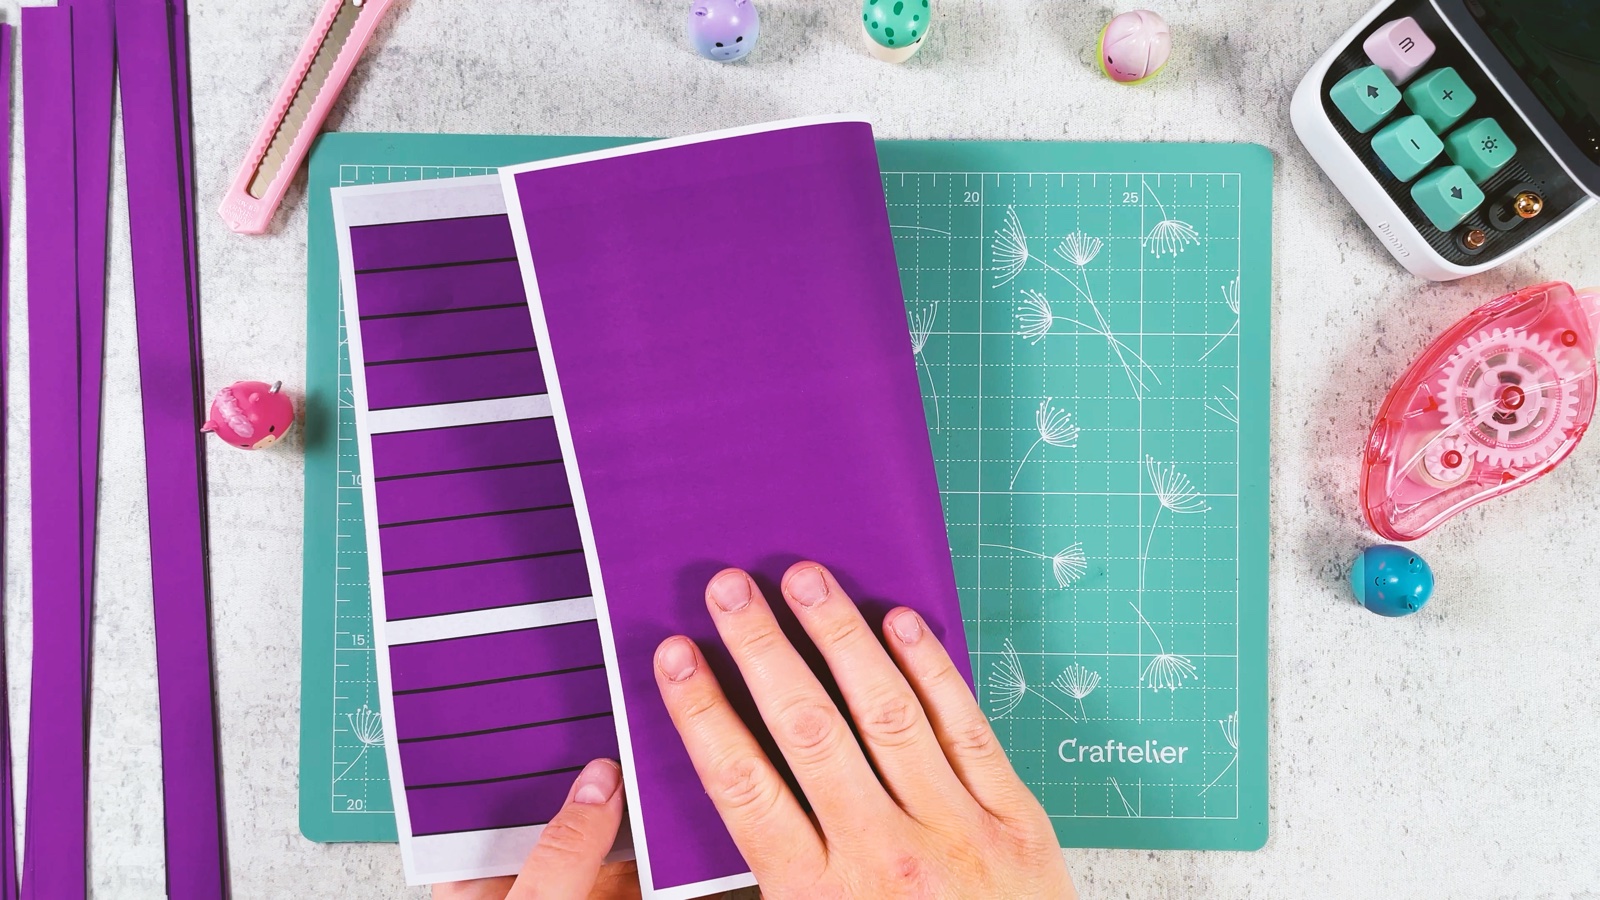
Pages 3, 5 and 7 are plain purple. Print each one on the back of the strip page before it, so the braid is purple on both sides.
Get the free template ↓PART 1 OF 3
The mask
- 1
Print the template
Print page 1 with Rumi’s face on one side only, on A4 (on US Letter, choose “Fit to page”).
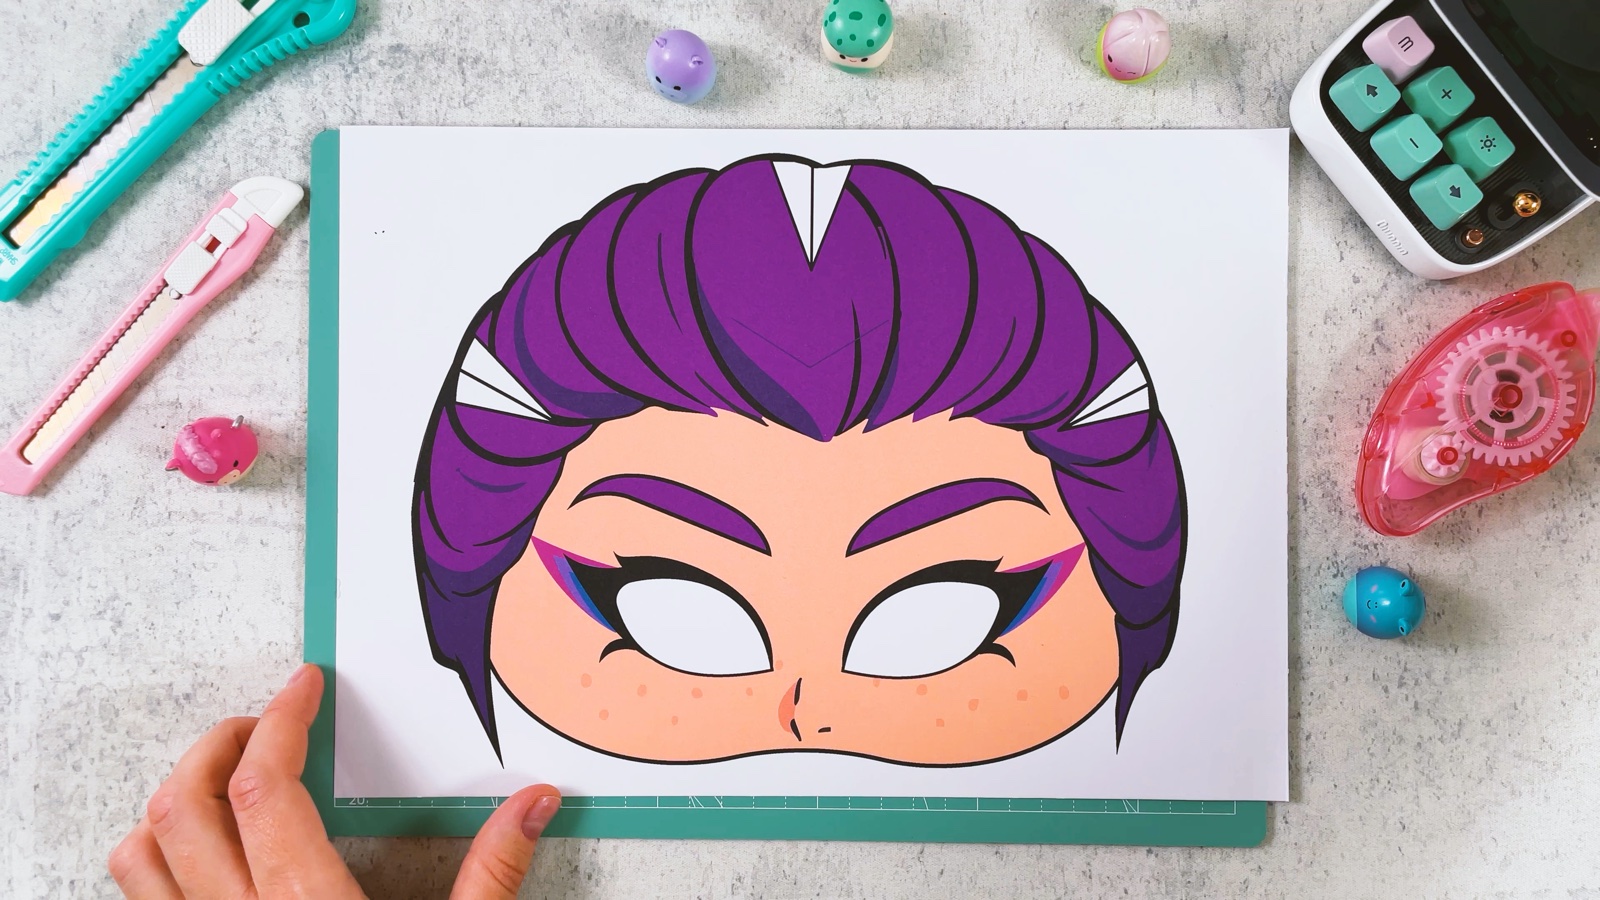
Pages 2, 4 and 6 have the strips. Print each of them, then put the sheet back in the printer and print the plain purple page that comes after it (3, 5 and 7) on the back.
- 2
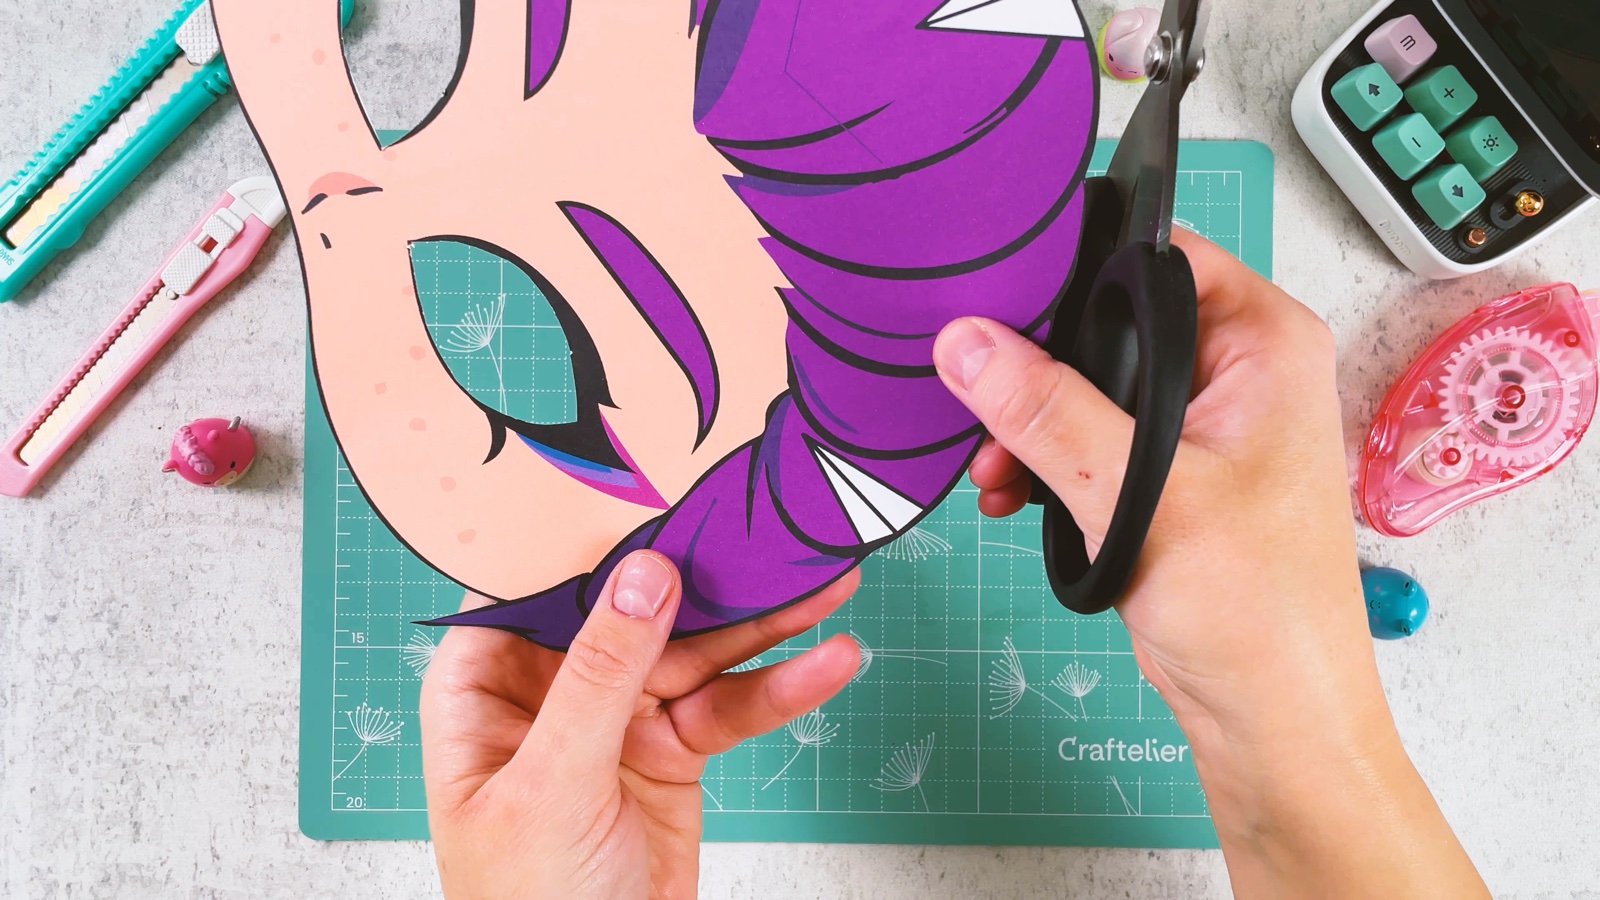
Cut out the mask
Cut out the mask along the black outline.
- 3
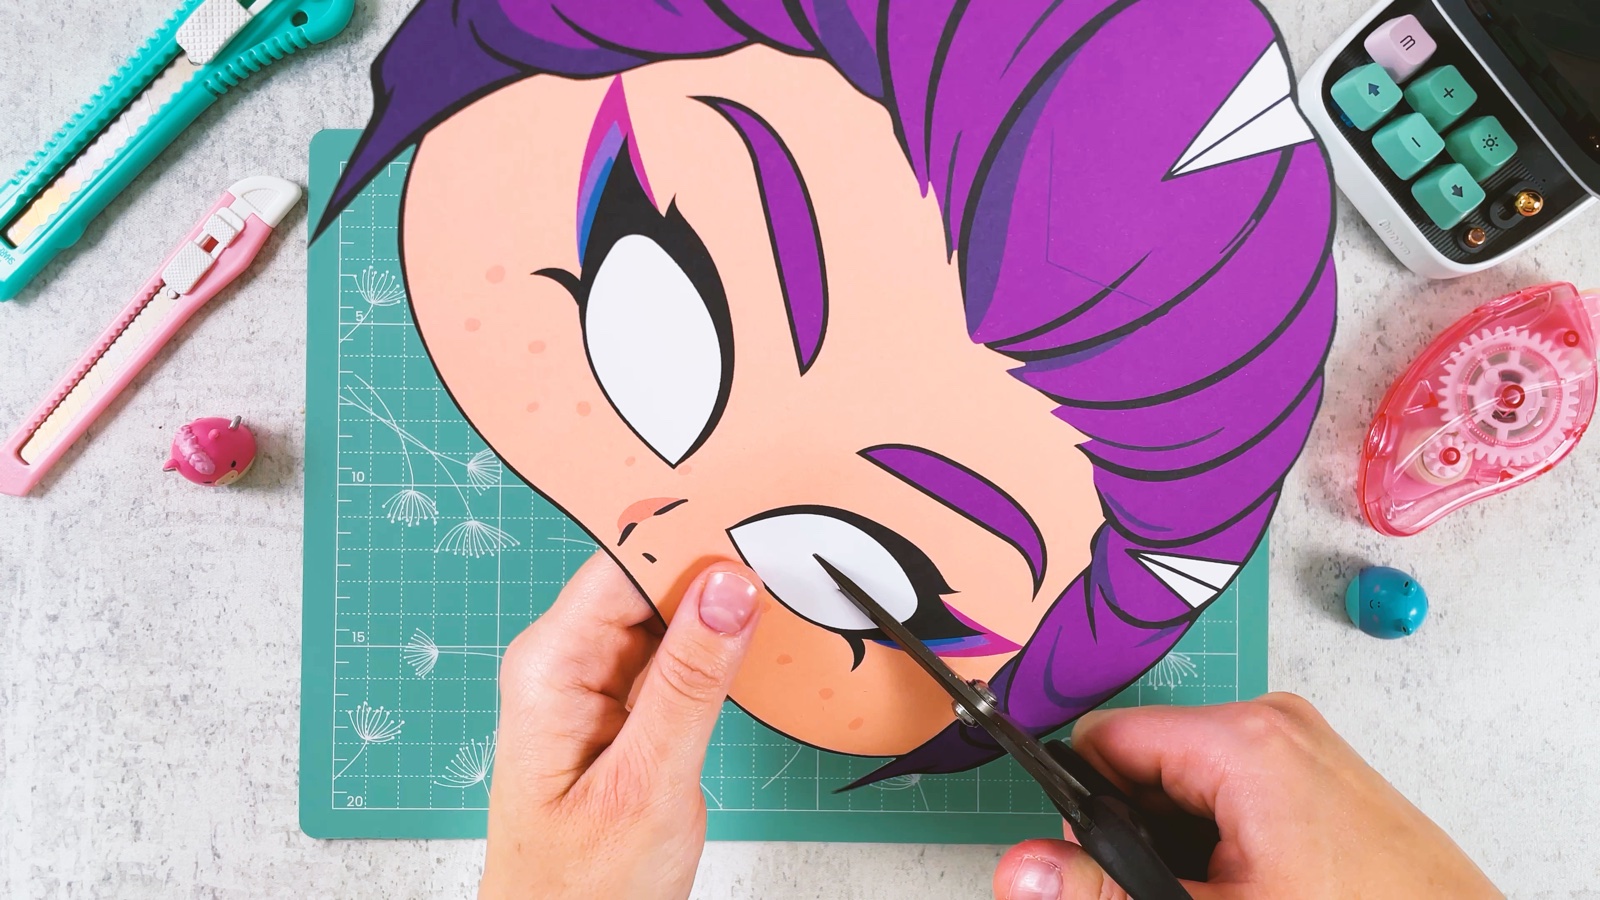
Cut out the eyes
Cut out the two white eye holes. Start with a small snip in the middle of the white part, then cut along the black line.
- 4
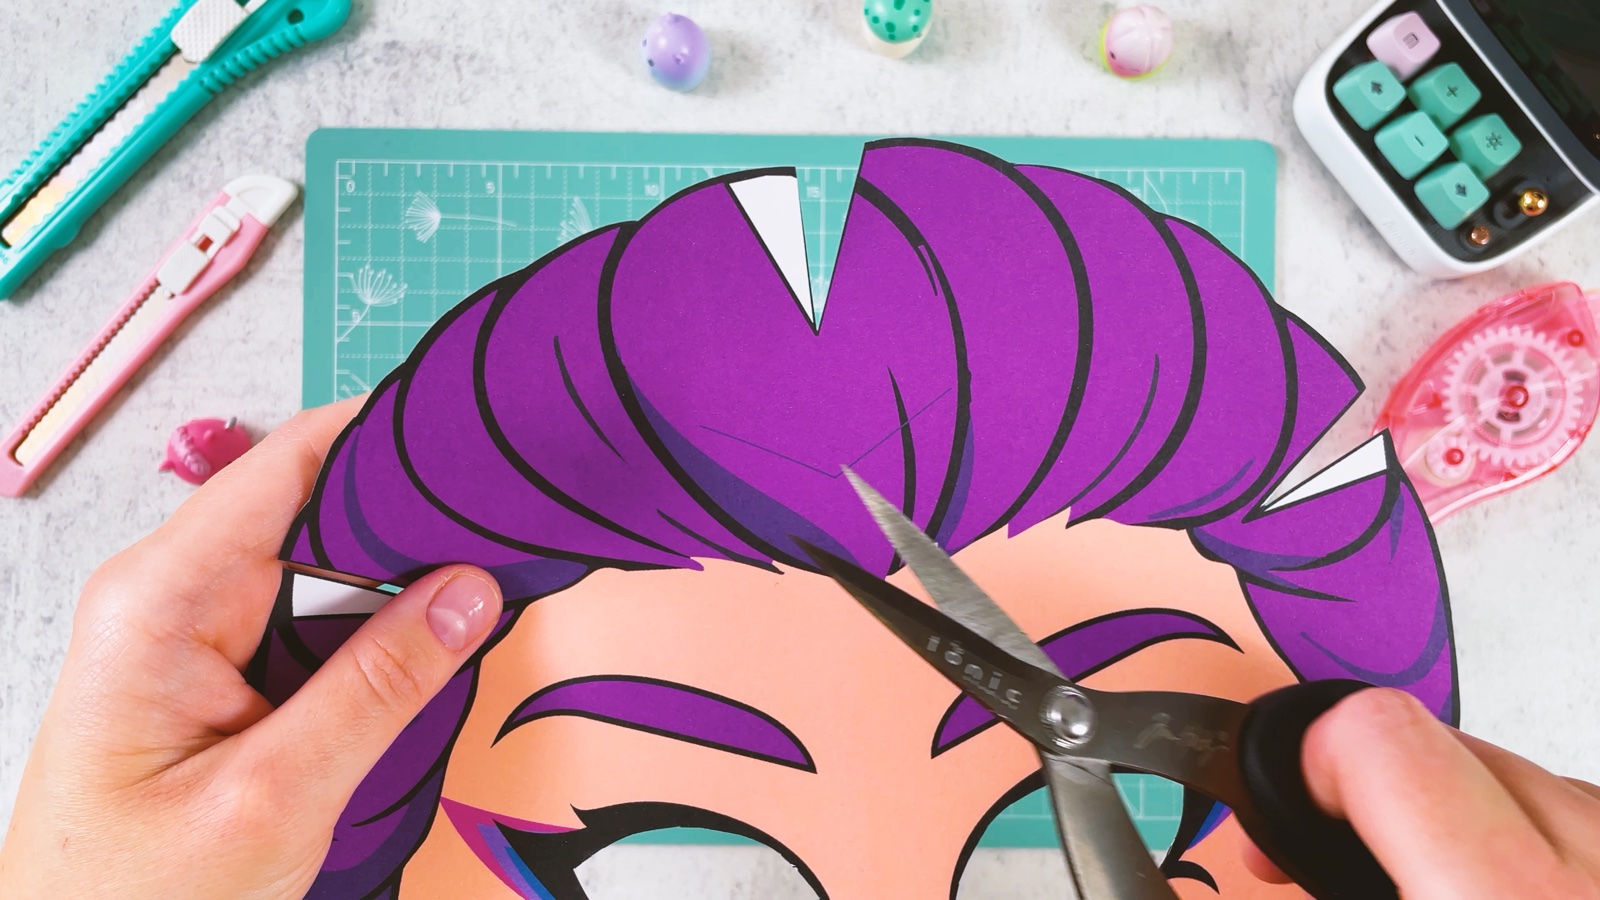
Snip the white triangles
There are three small white triangles in the hair: one at the top and one on each side. Cut along one line of each triangle, up to its tip.
- 5
Cut the slit at the top
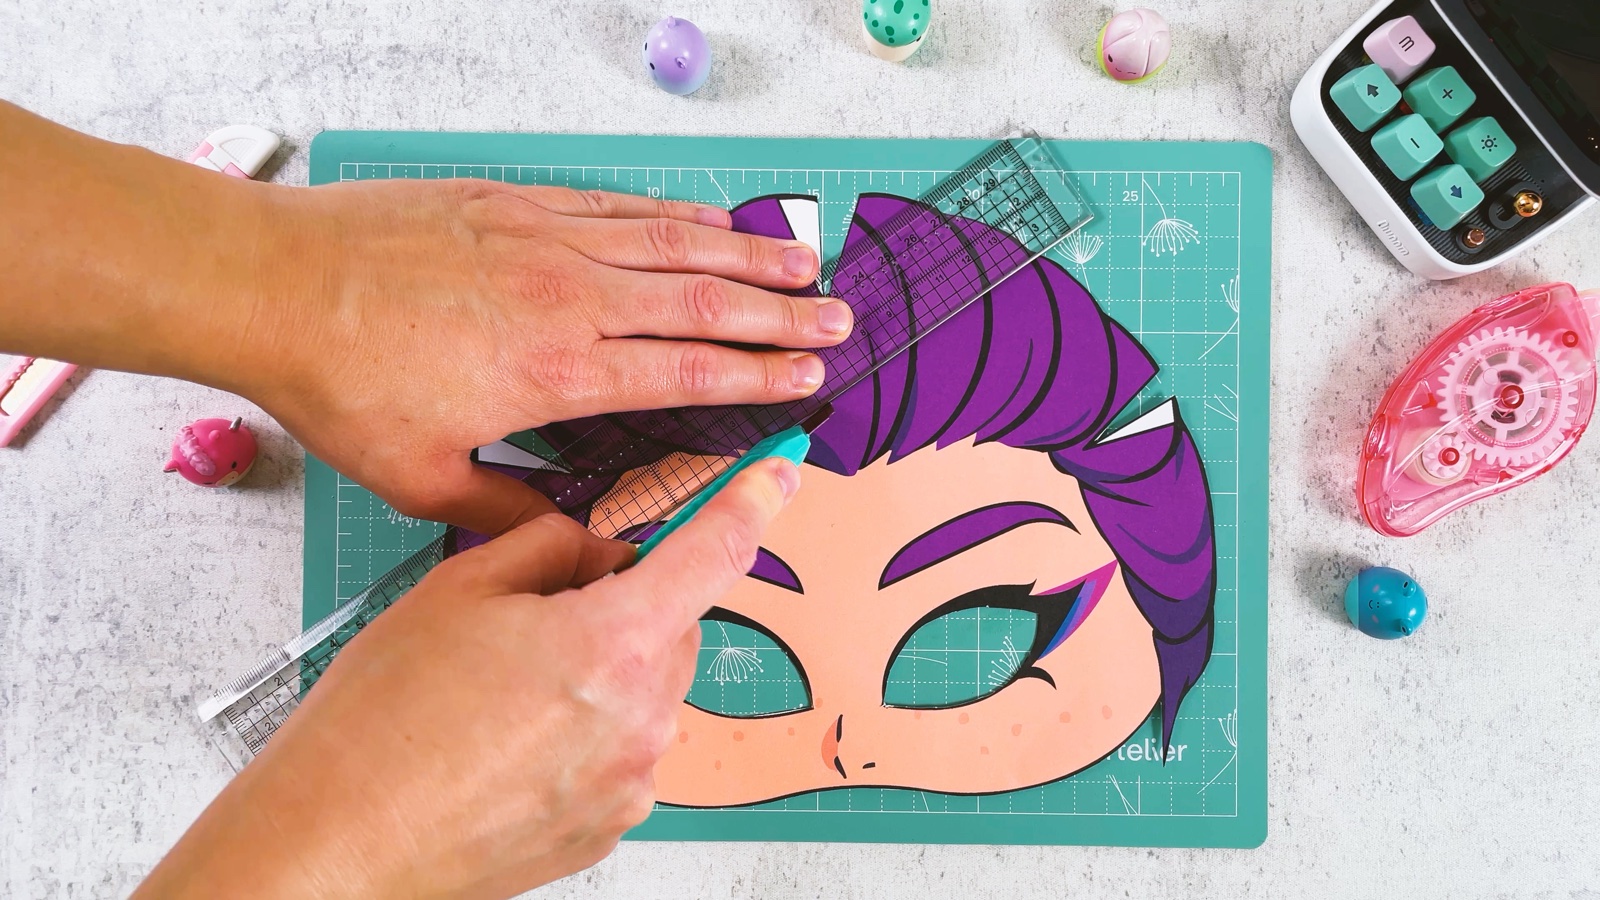
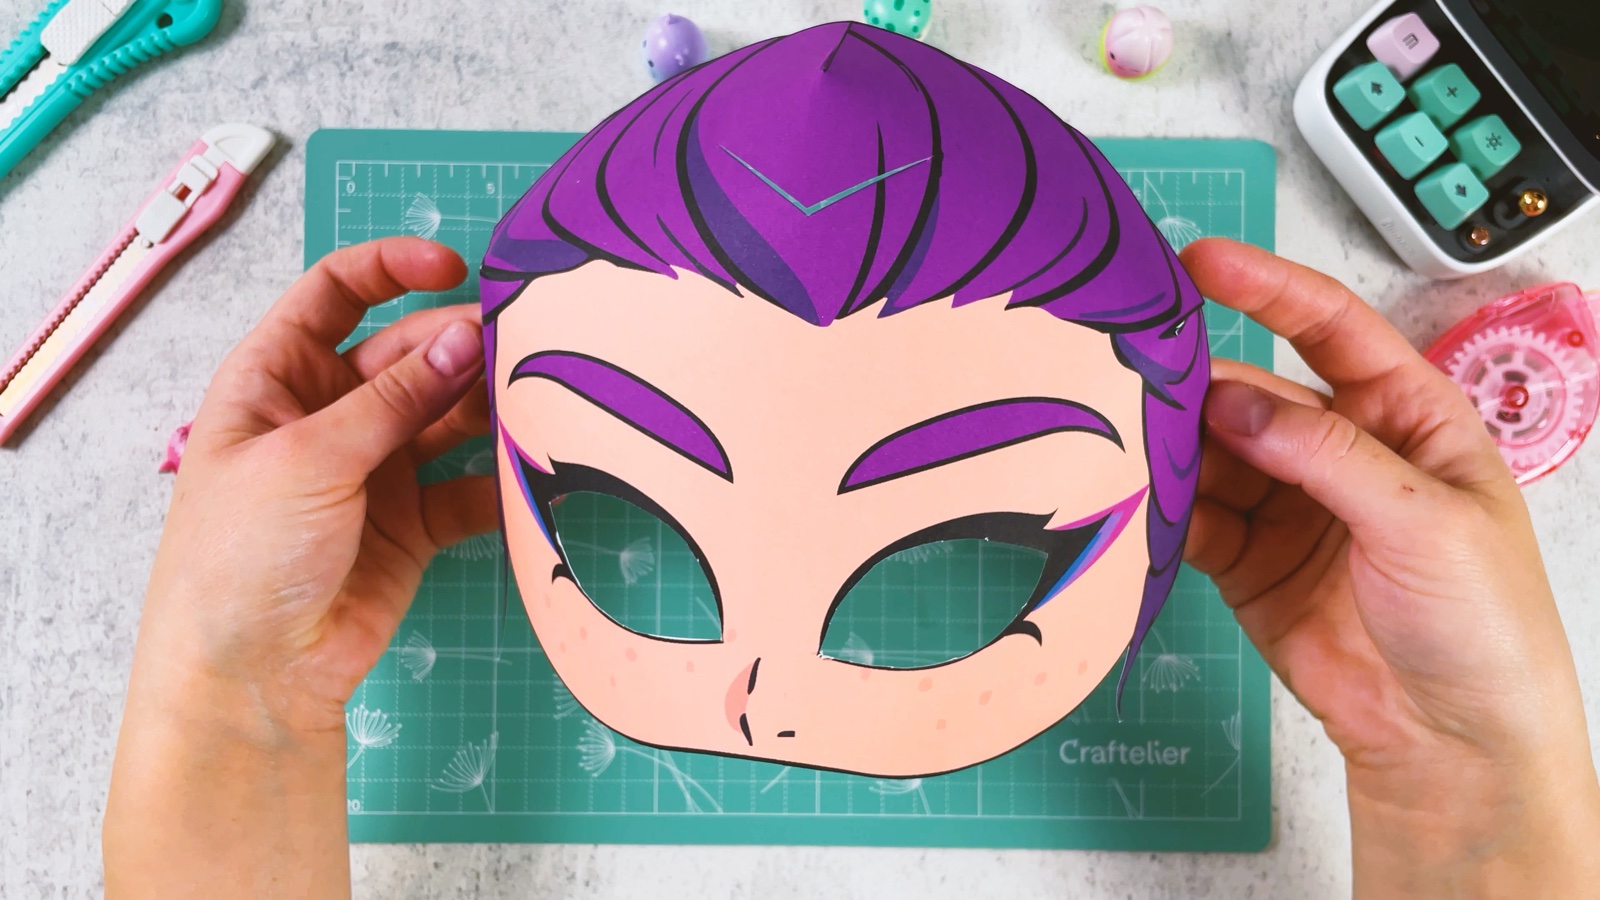
Under the top triangle there is a thin V-shaped line in the hair. Lay a ruler along it and cut it with a craft knife. This is where the braid goes in.
- 6
Glue the triangles down
Put glue on a white triangle and slide the cut edge of the hair over it, so the white is hidden. Do the same with all three.
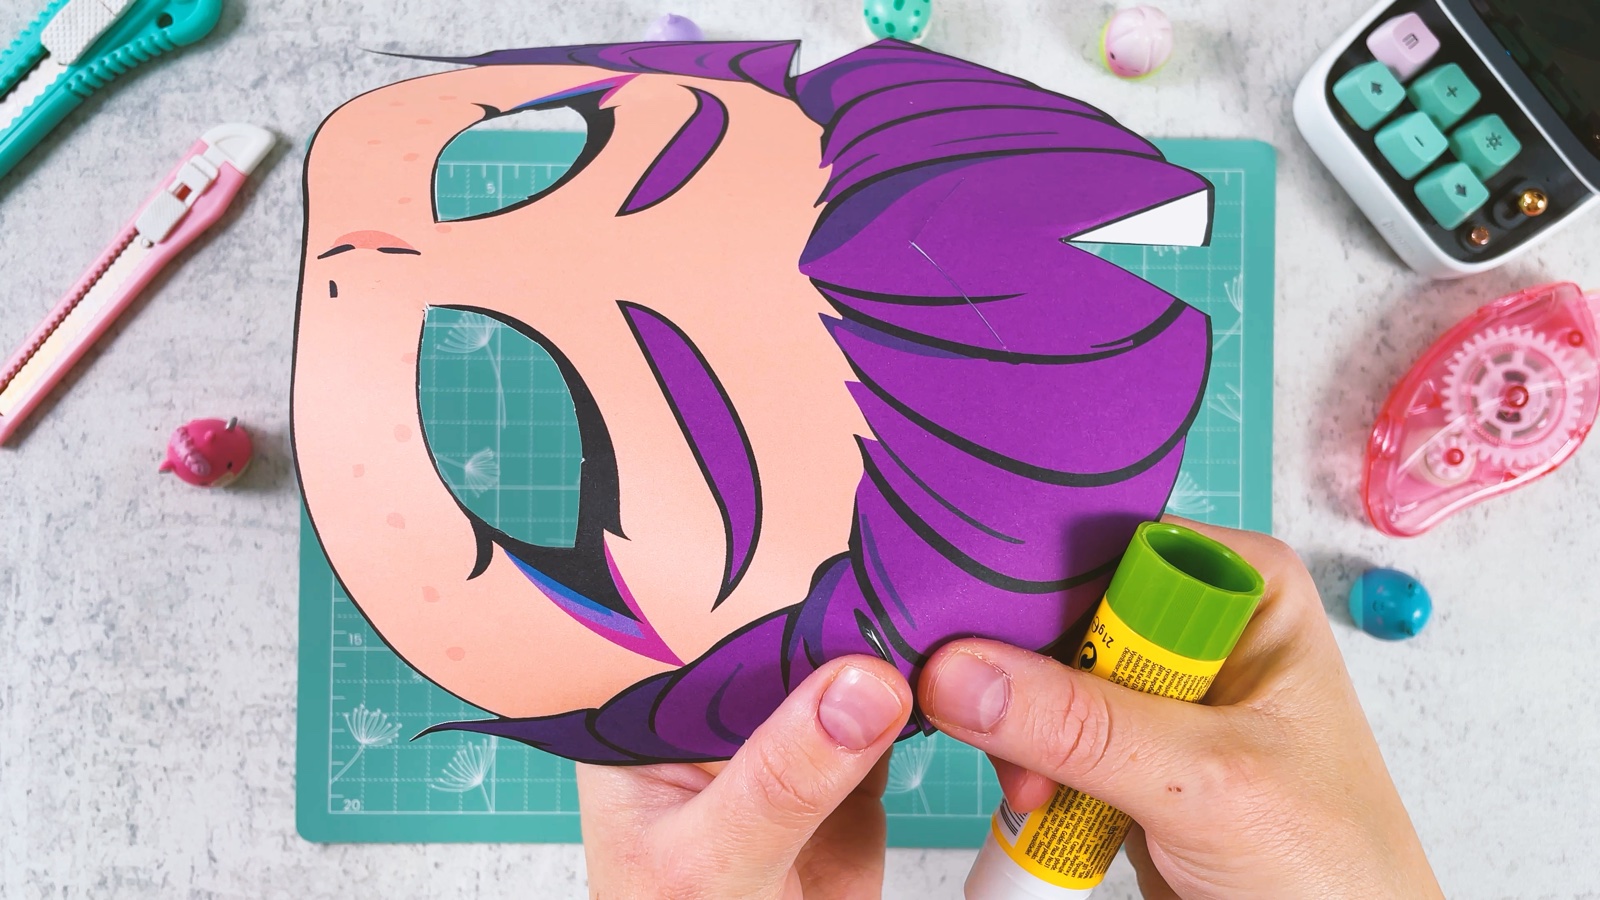
Now the mask bends and fits around the face.
PART 2 OF 3
The braid
- 7
Cut the strips
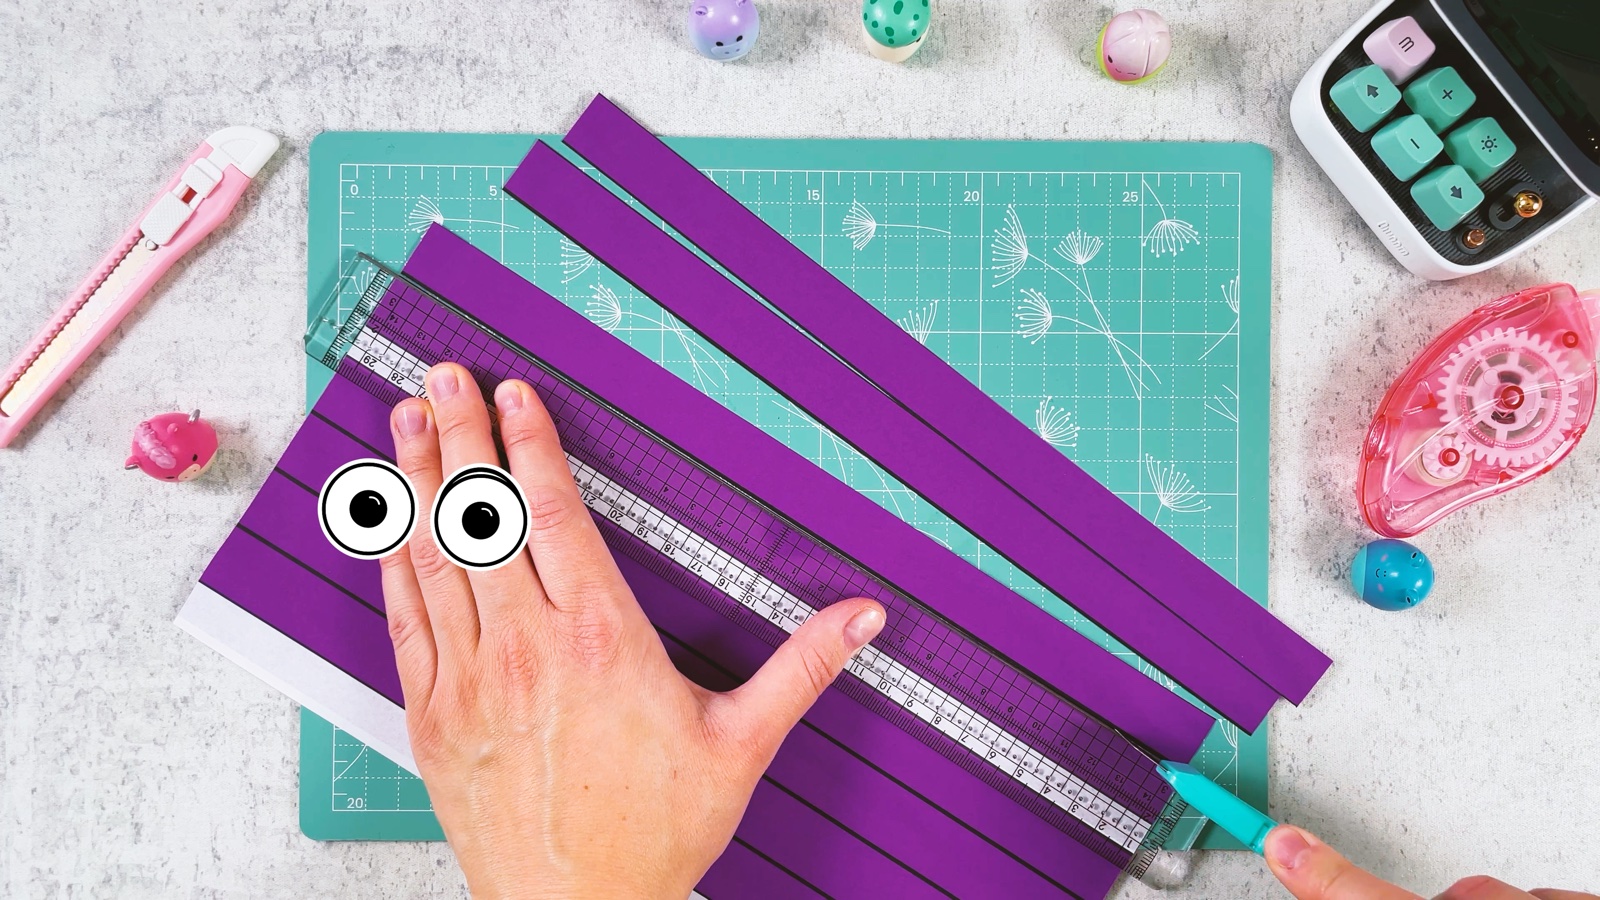
Cut the purple pages into strips along the black lines. A ruler and a craft knife make long, straight cuts much easier than scissors.
- 8
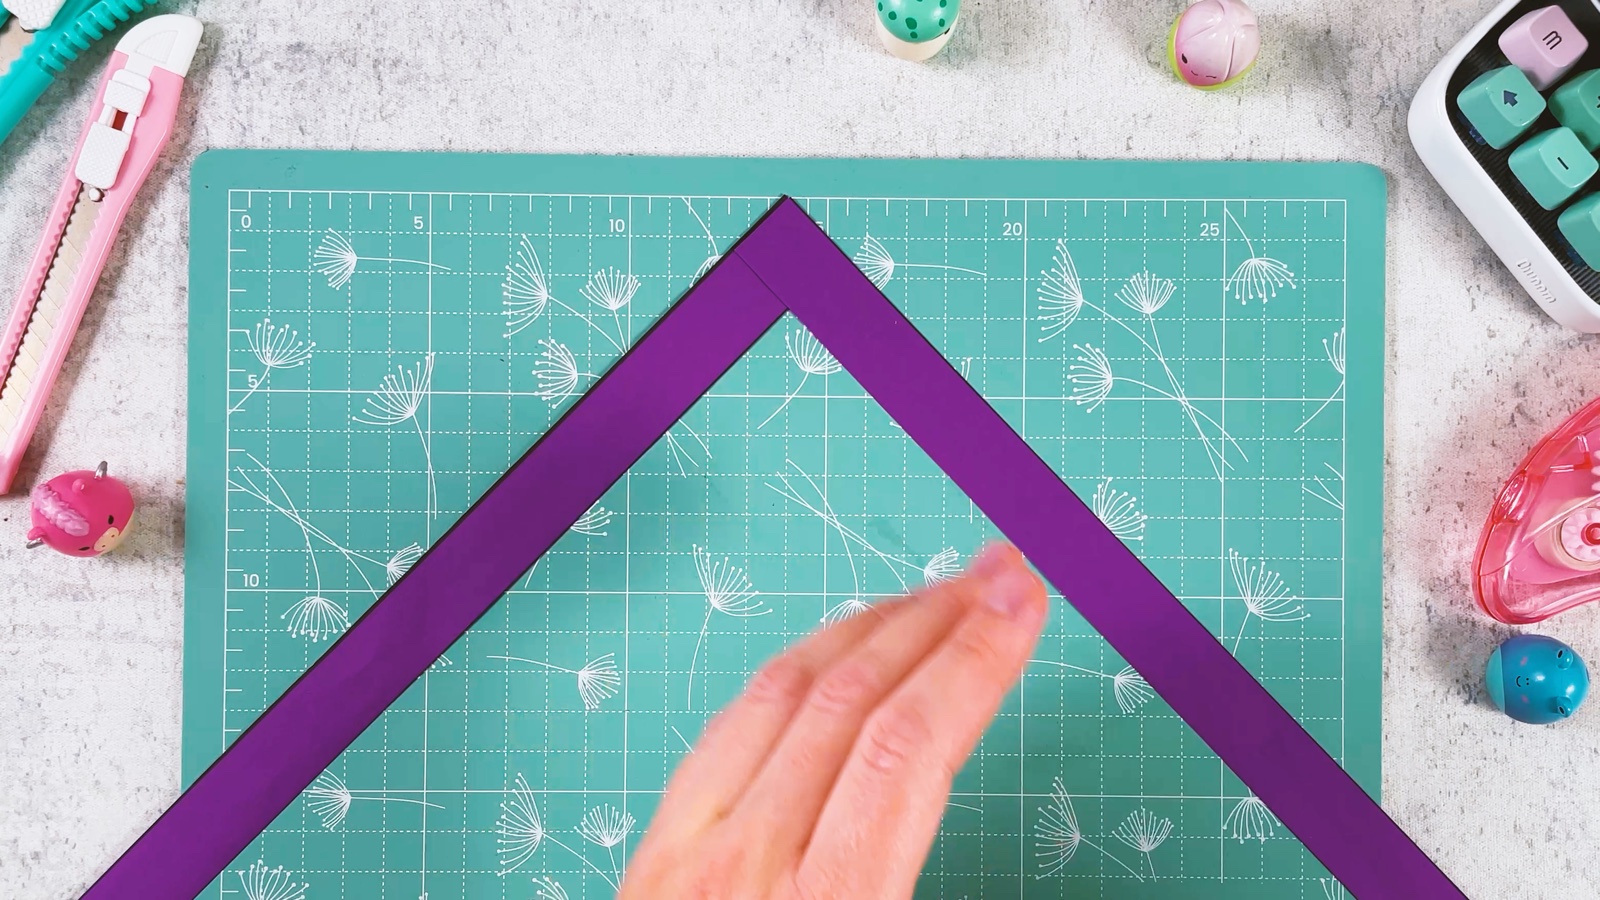
Lay two strips in a V
Lay two strips on the table so they meet at the top, like a pointy roof. One end lies over the other. Glue them together where they cross.
- 9
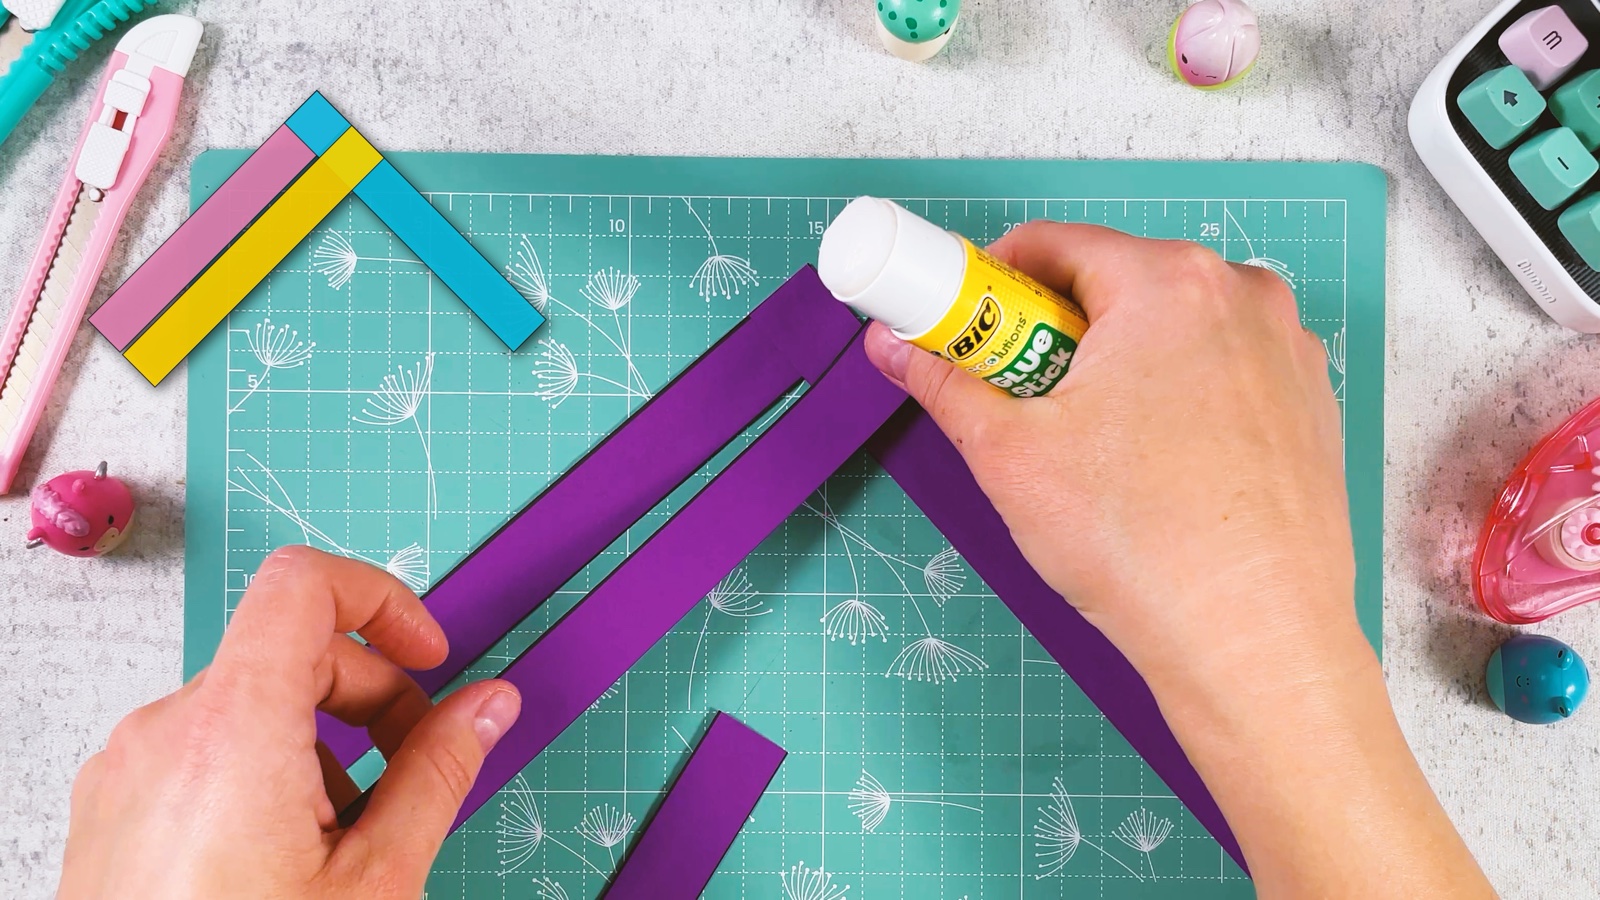
Add two more strips
Lay a second strip next to each one, on the inside of the V, and glue them at the top in the same way. Now each side of the V is two strips wide.
- 10
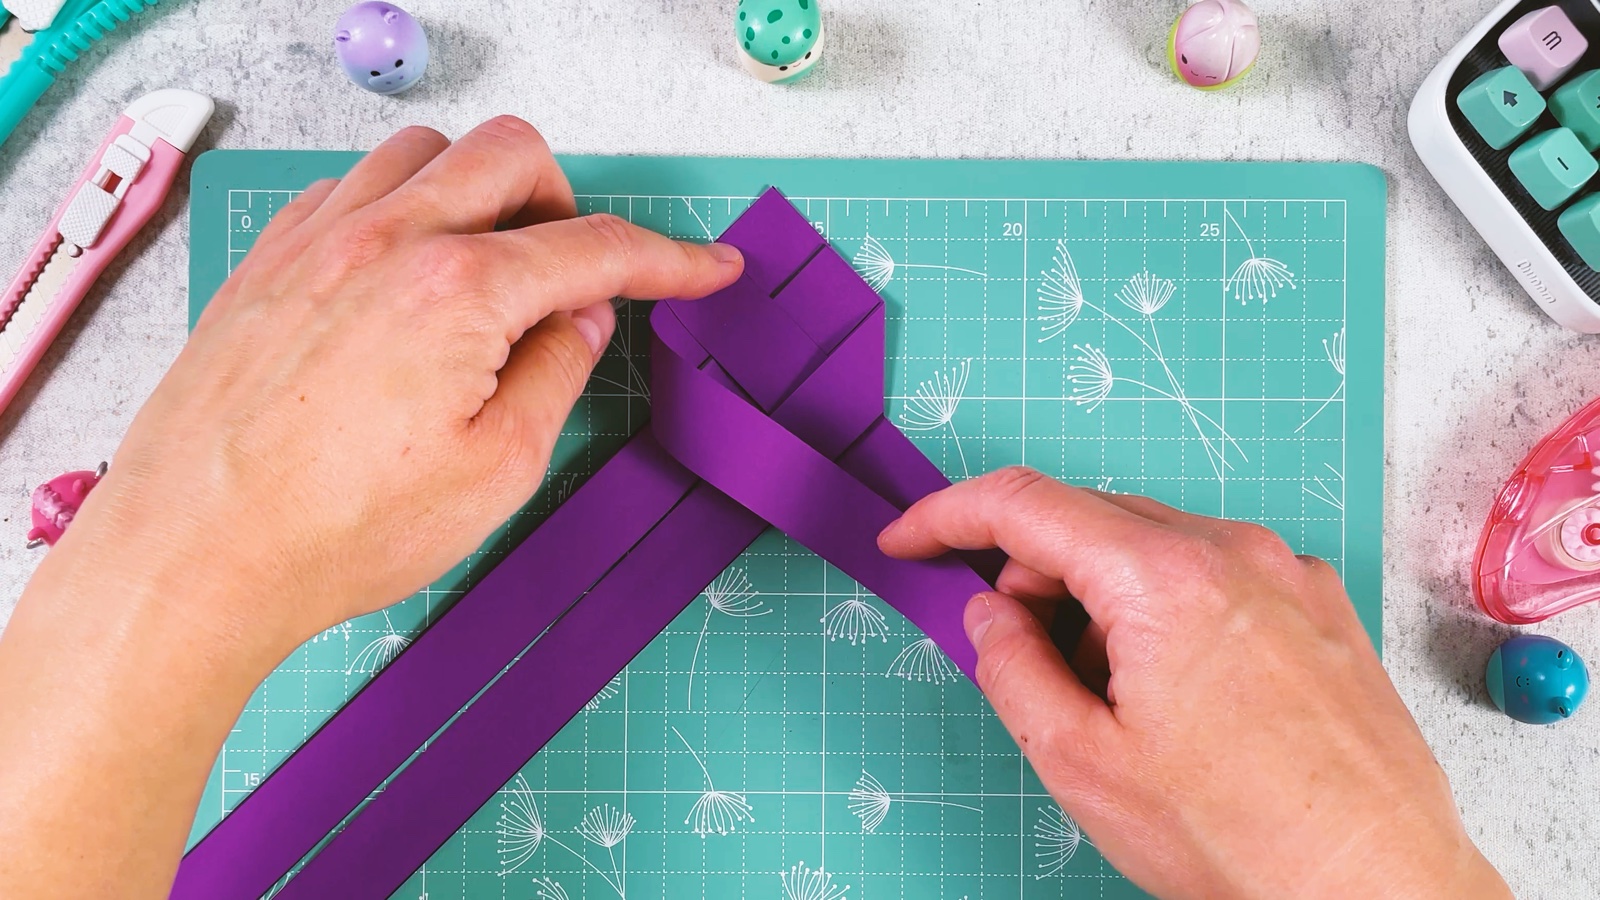
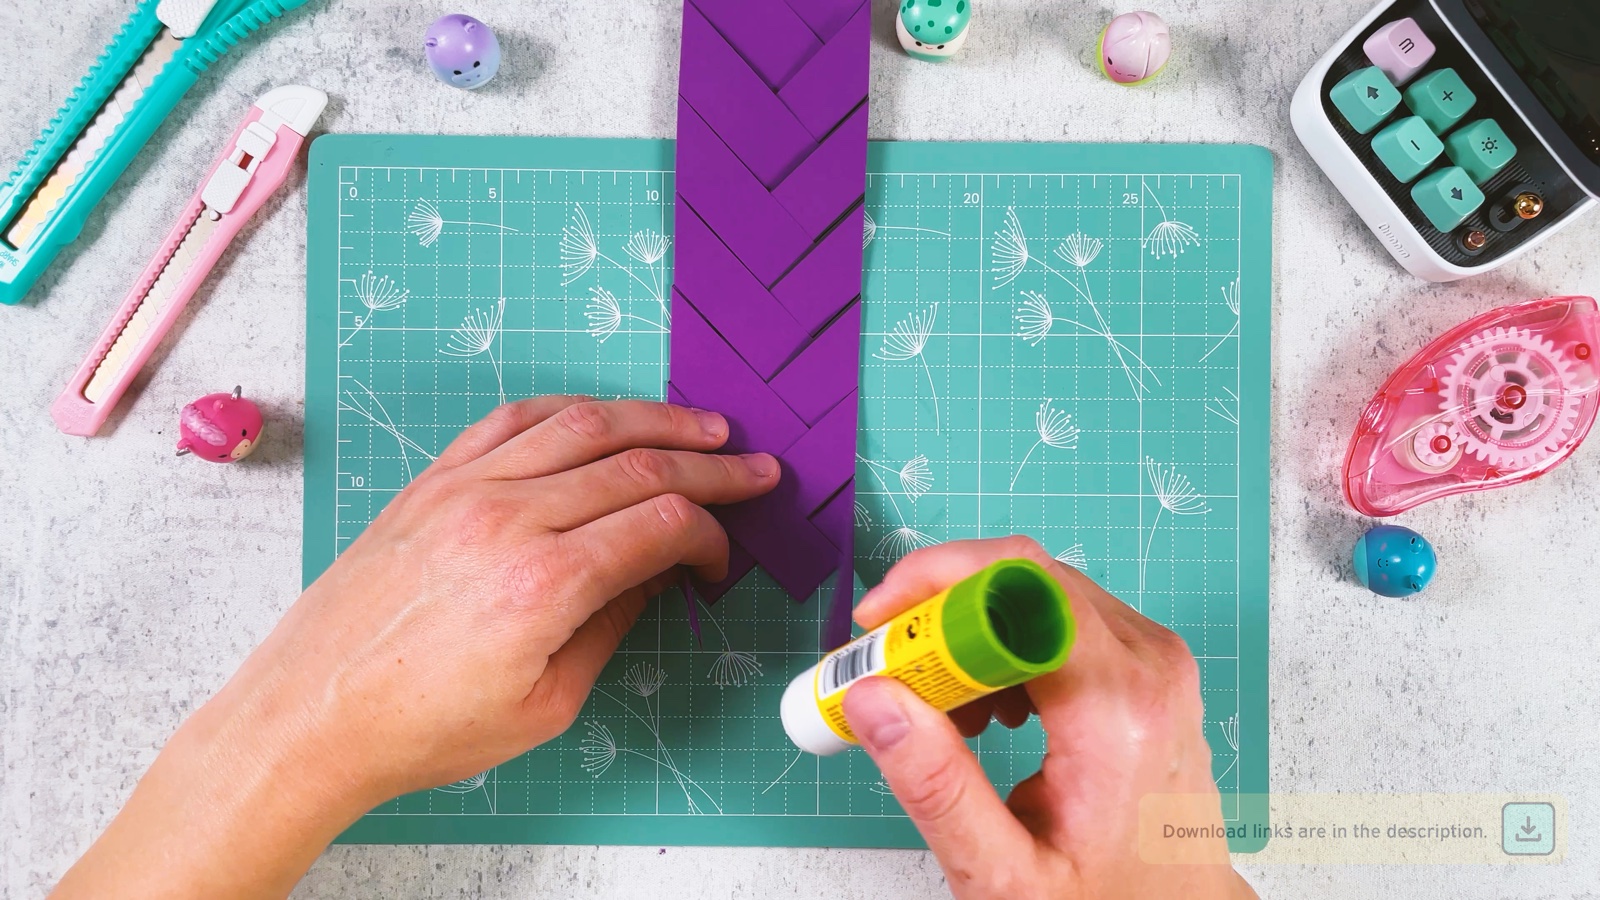
Fold the braid
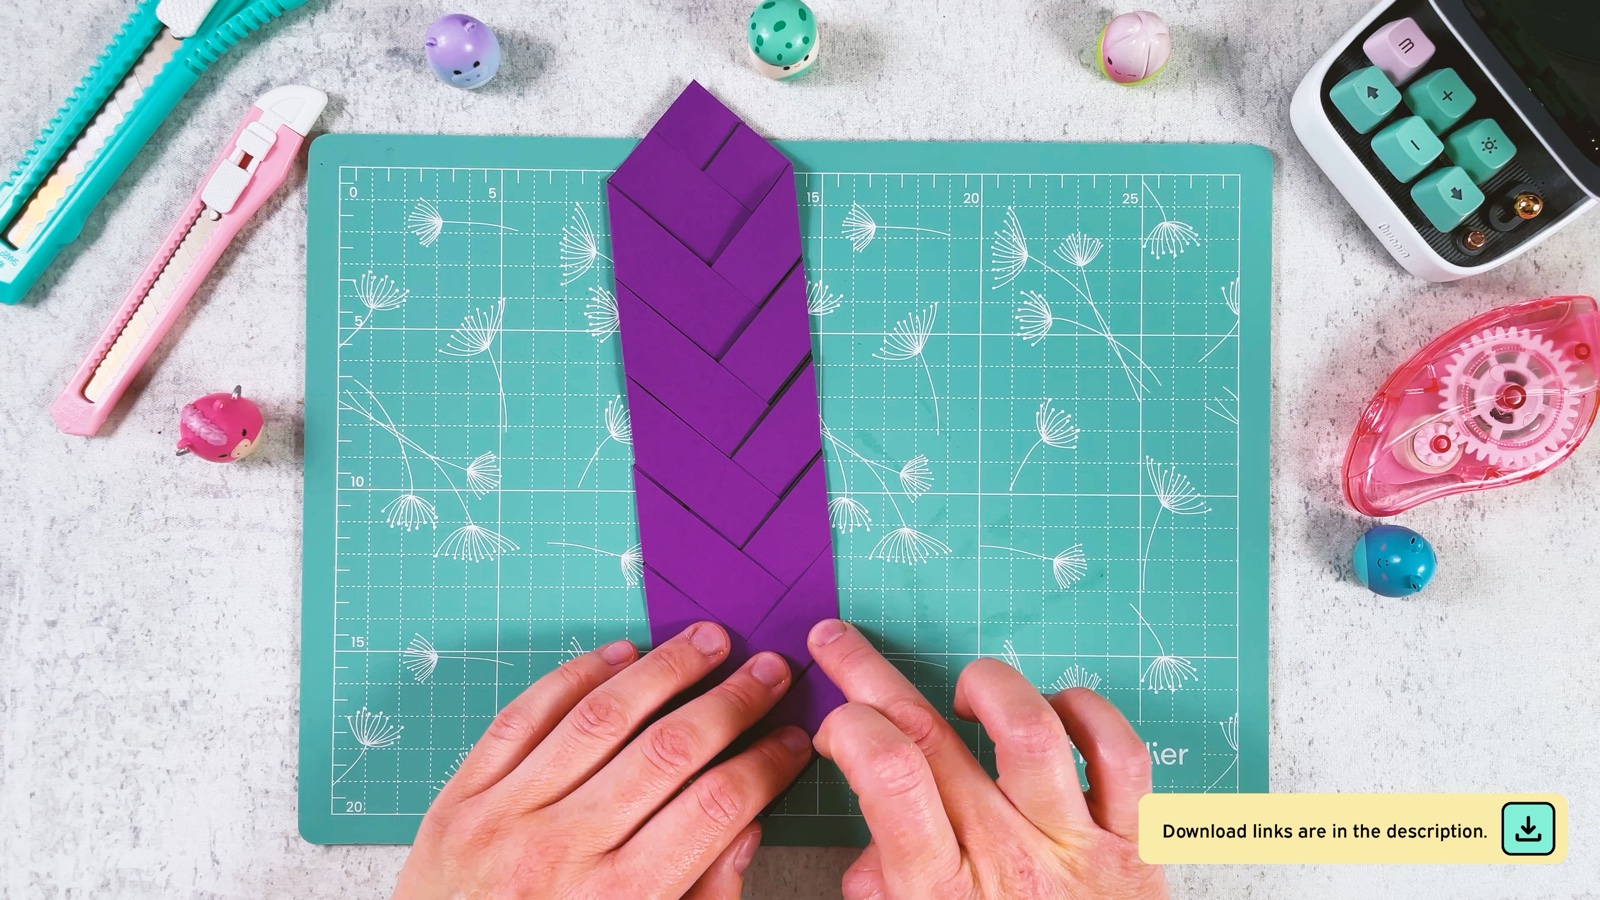
Take the outer strip on one side and fold it across to the other side, so it lies along the other strips. Then do the same with the outer strip on the other side. Keep going, one side, then the other, and press every fold flat.
With every fold, the braid grows a new little zigzag, just like Rumi’s hair.
- 11
Glue the ends
When the strips get short, put a little glue under the last folds so the braid does not open.
- 12
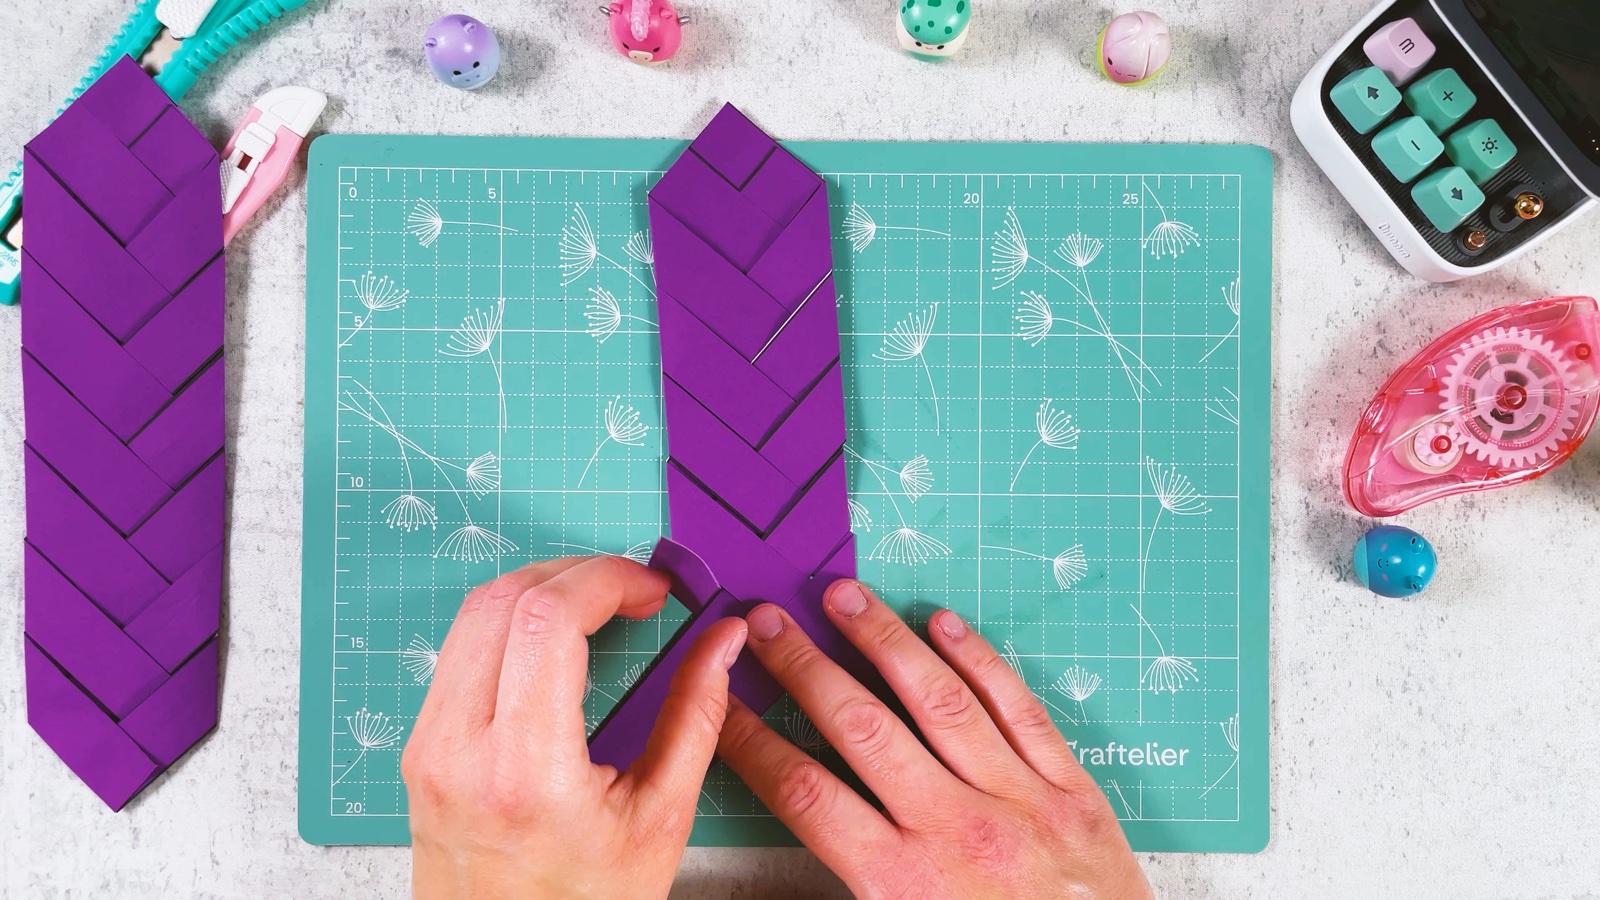
Make more braid pieces
Make more braid pieces in the same way, with the rest of the strips.
- 13
Join the pieces
Put glue on the end of the braid and press the pointed tip of the next piece onto it, so the zigzag carries on. Add all the pieces, one after another.
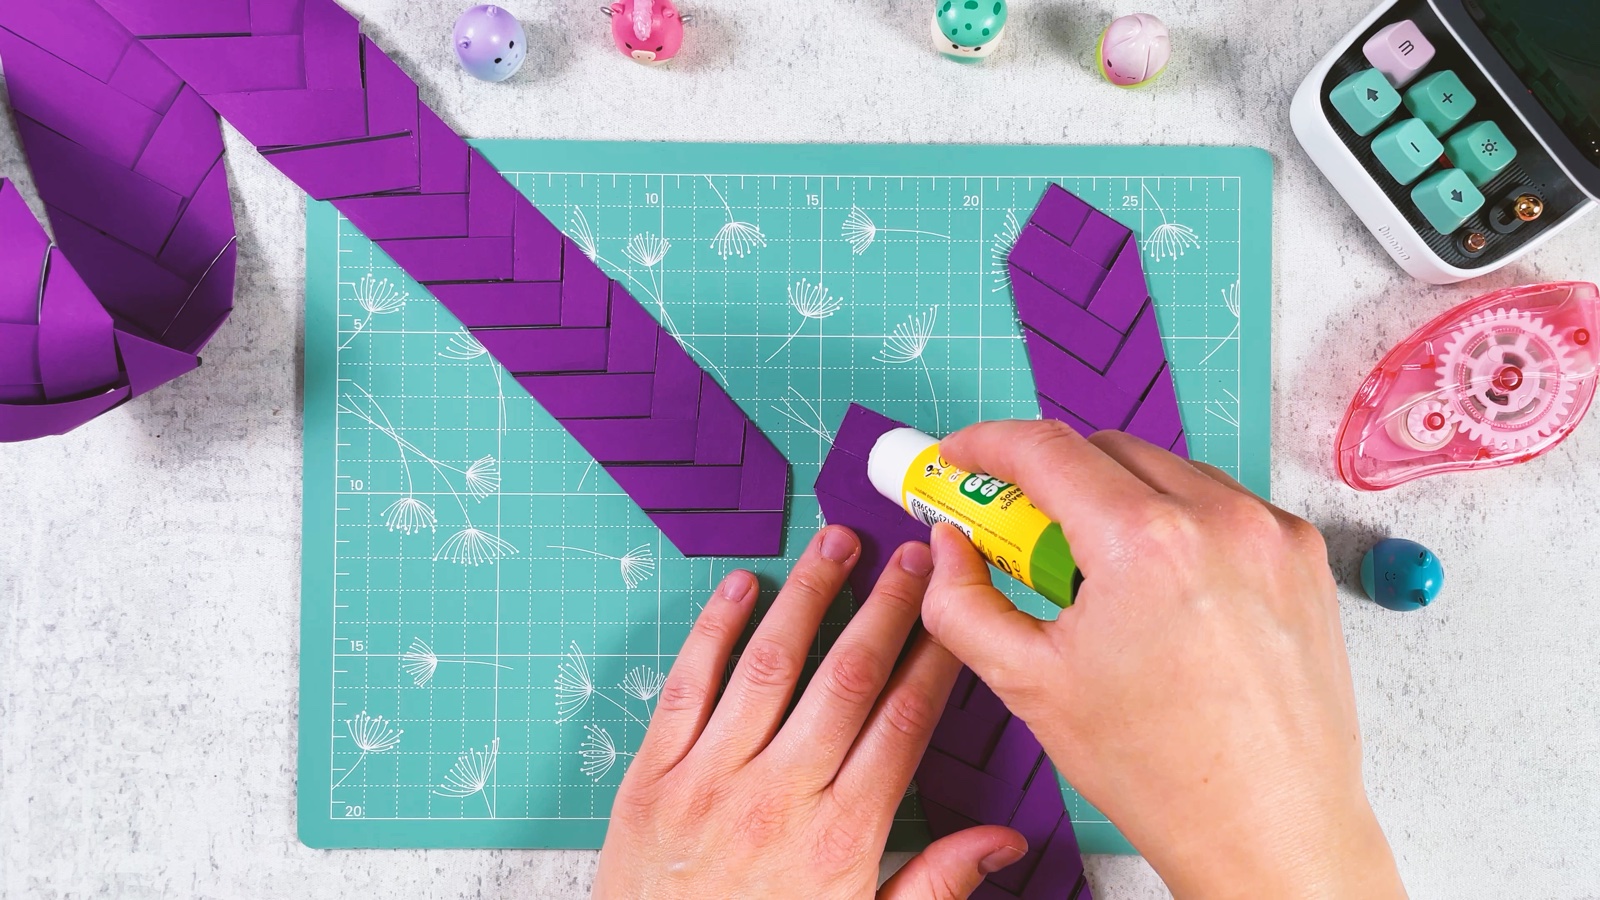
Now we have one long braid, nearly as long as Rumi’s.
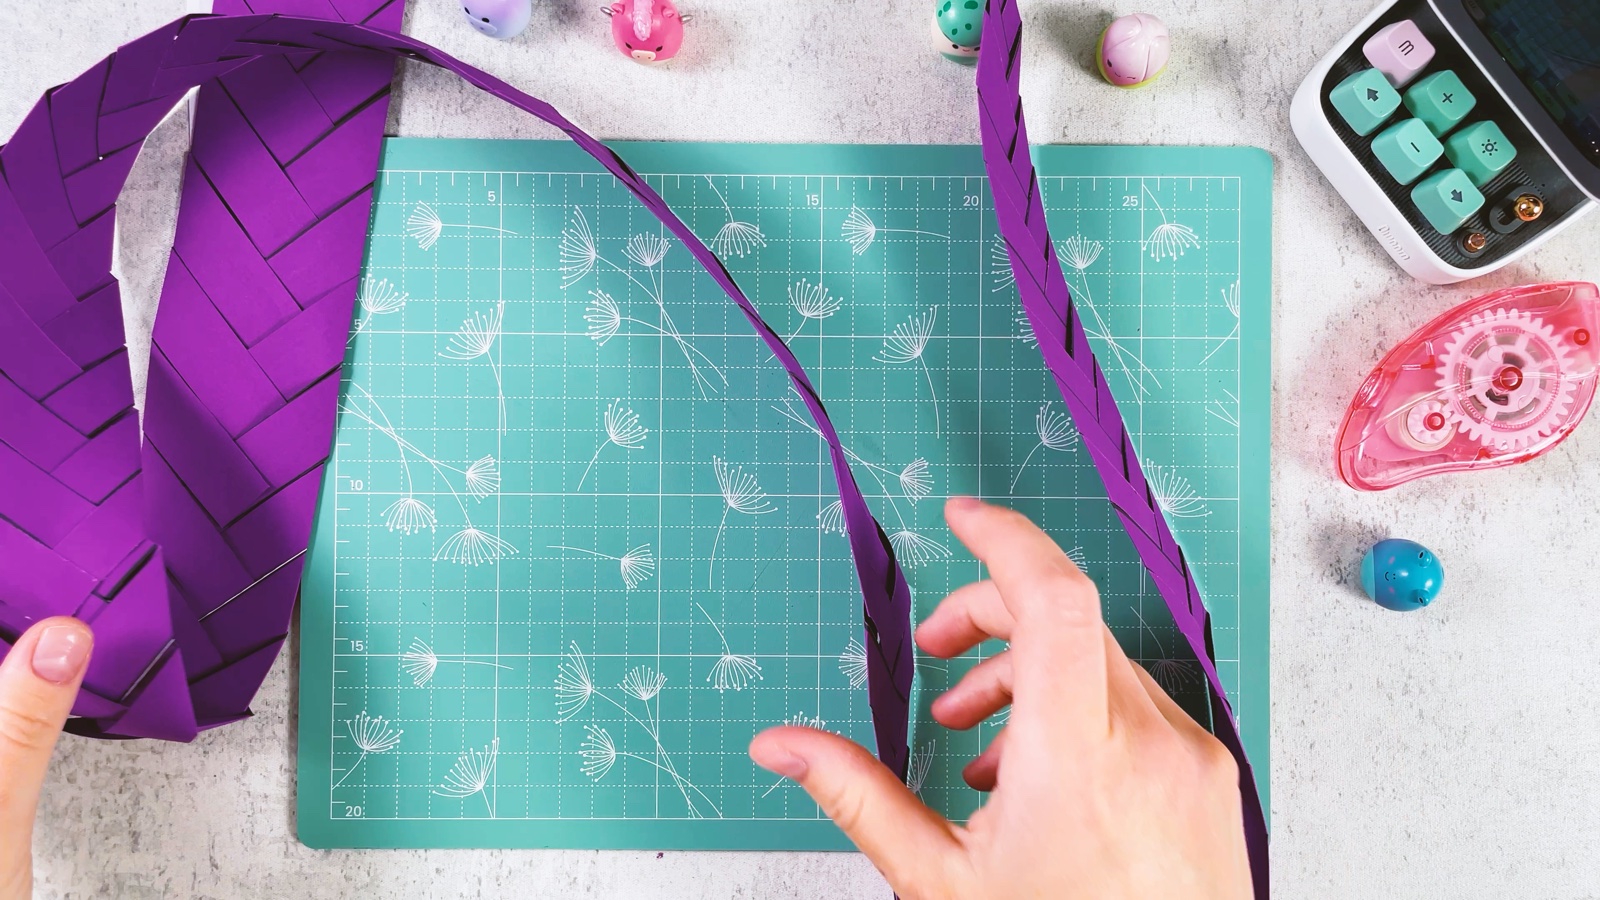
The long braid is ready.
PART 3 OF 3
Putting it together
- 14
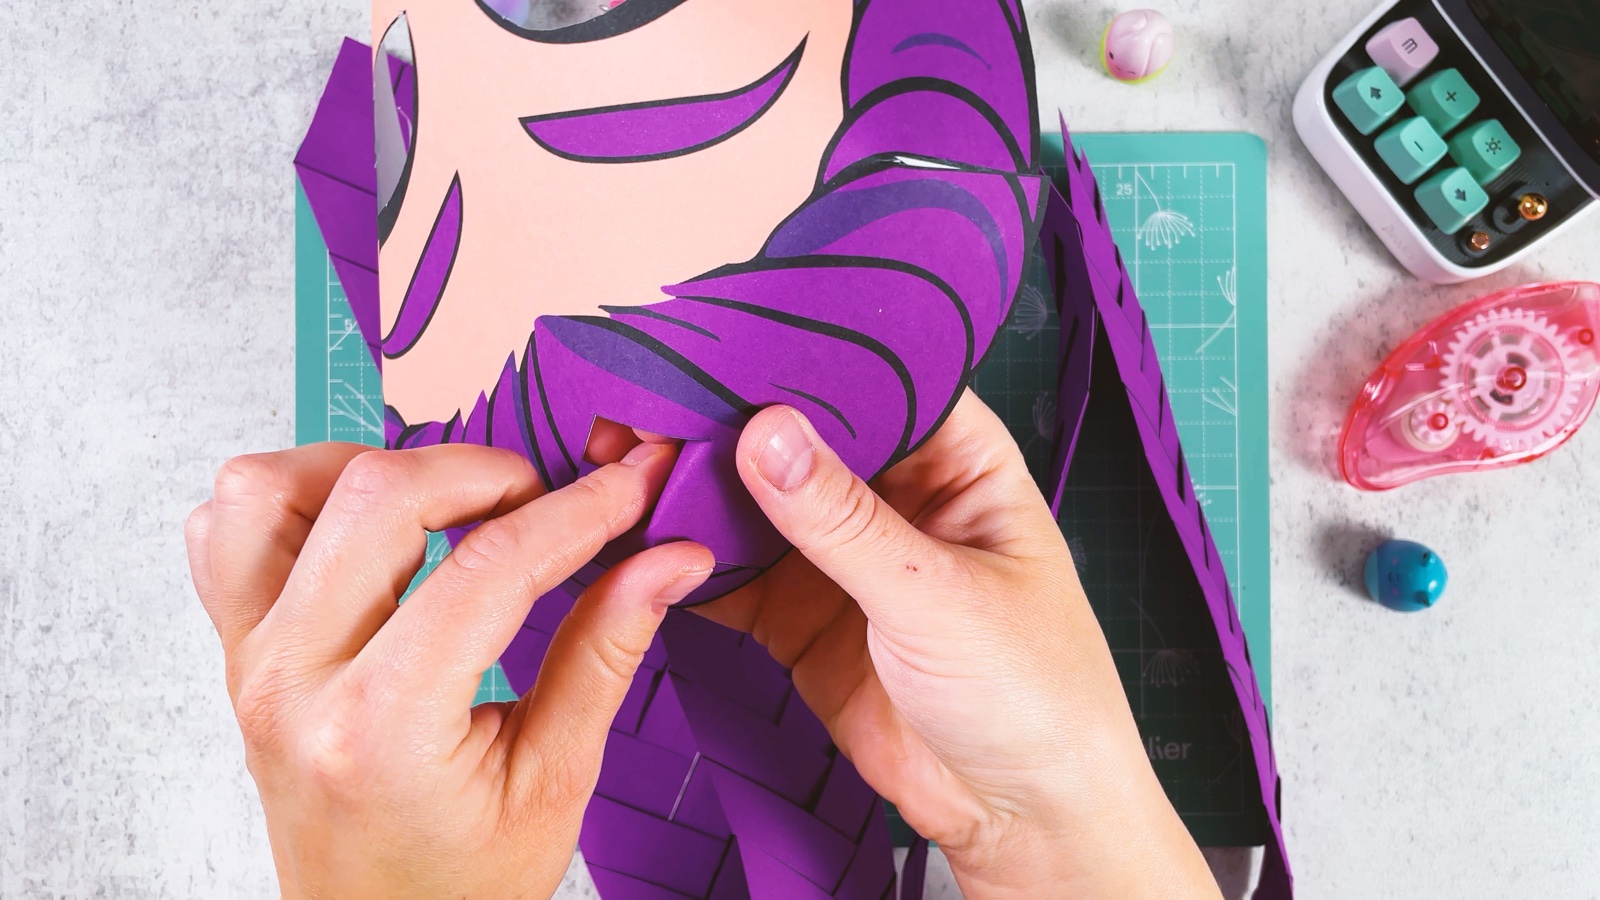
Push the braid into the slit
Take the pointed start of the braid and push it into the V slit at the top of the mask, from the front to the back.
- 15
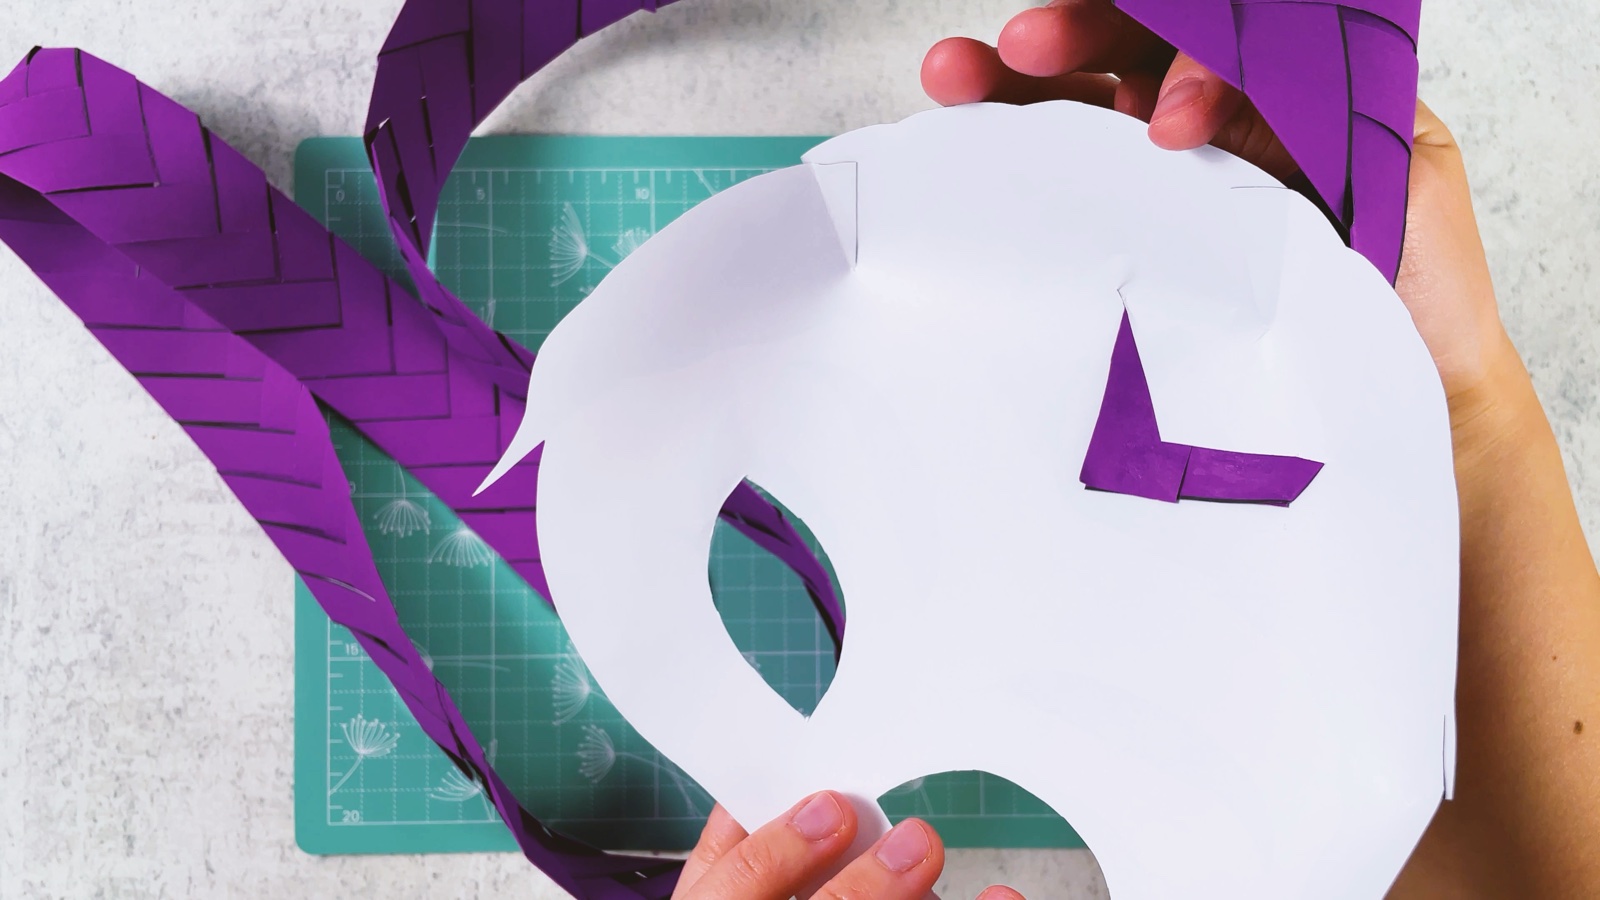
Glue it at the back
Turn the mask over. Put glue on the pointed tip and press it flat onto the white back.
- 16
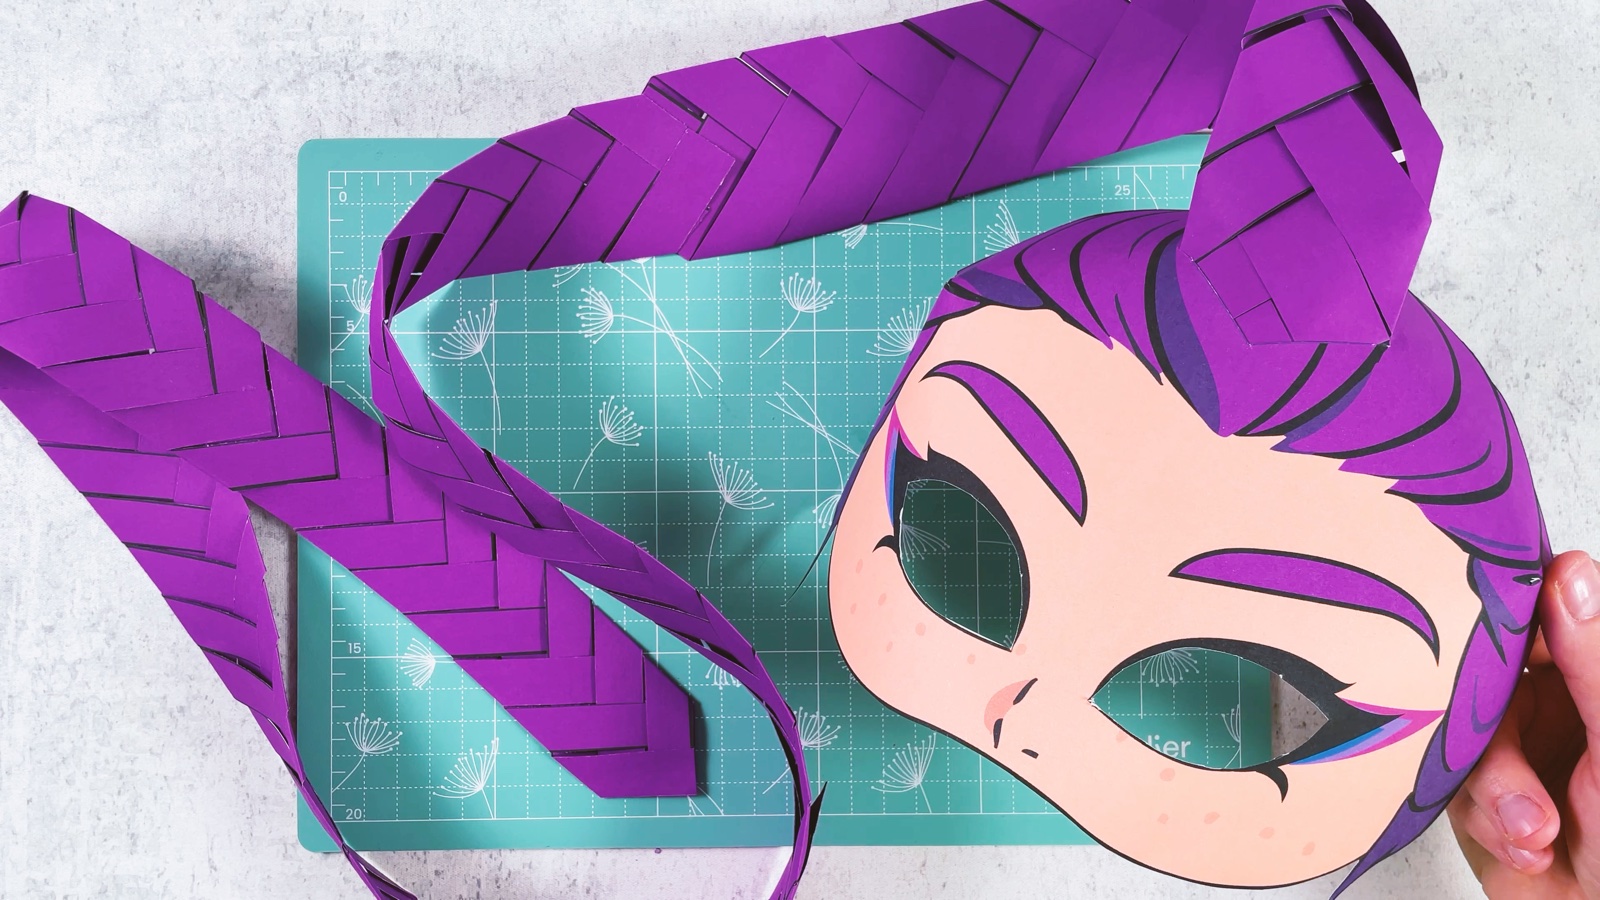
Shape the braid
Turn the mask back to the front. Gently bend the braid so it rises up from the top of the head and falls down the back.
Rumi’s mask is ready.
THREE LITTLE TIPS
Make it easier.
- Use a glue stick, not liquid glue. Liquid glue makes thin paper wavy.
- Press every fold flat. Sharp, flat folds make a neat braid that keeps its shape.
- Want a longer braid? Print the strip pages once more and add more pieces.

A CUBI MINI MOMENT
Which HUNTR/X hunter will you be?
Cubi is wearing Rumi’s mask, and the long braid swishes with every spin. Mini can’t choose between Mira and Zoey. Who will you be?
Make all three masks and put on a tiny HUNTR/X show for the whole family.
Loved making it?
Catch the next make first, or save this one for a rainy day.