Let’s make a real working Pokémon card vending machine from paper! You turn the handle and a Pokémon TCG card comes out, just like a real vending machine.
Inside the machine there is a simple but clever mechanism: a paper roller, three rubber bands, a rotating Poké Ball handle and a slot where the card gets pushed out. The base has a coin slot, and the paper coins are on the template, so you can cut them out and use them while playing.
The template has all parts of the machine, the decorations, Pokémon faces and coins on 4 pages (A4 or US Letter). It is a small paper machine that gives so much joy, especially for Pokémon fans who love collecting cards. Great for a Pokémon birthday, a gift for a collector or creative play at home.
BEFORE WE START
What you need.
Materials
- Printable template
- Yellow paper
- Mint paper× 2
- White paper
- Toilet paper roll
- Rubber bands× 3
- Double-sided foam tape
- Glue stick
Tools
- Scissors
- A printer
- Circle punch
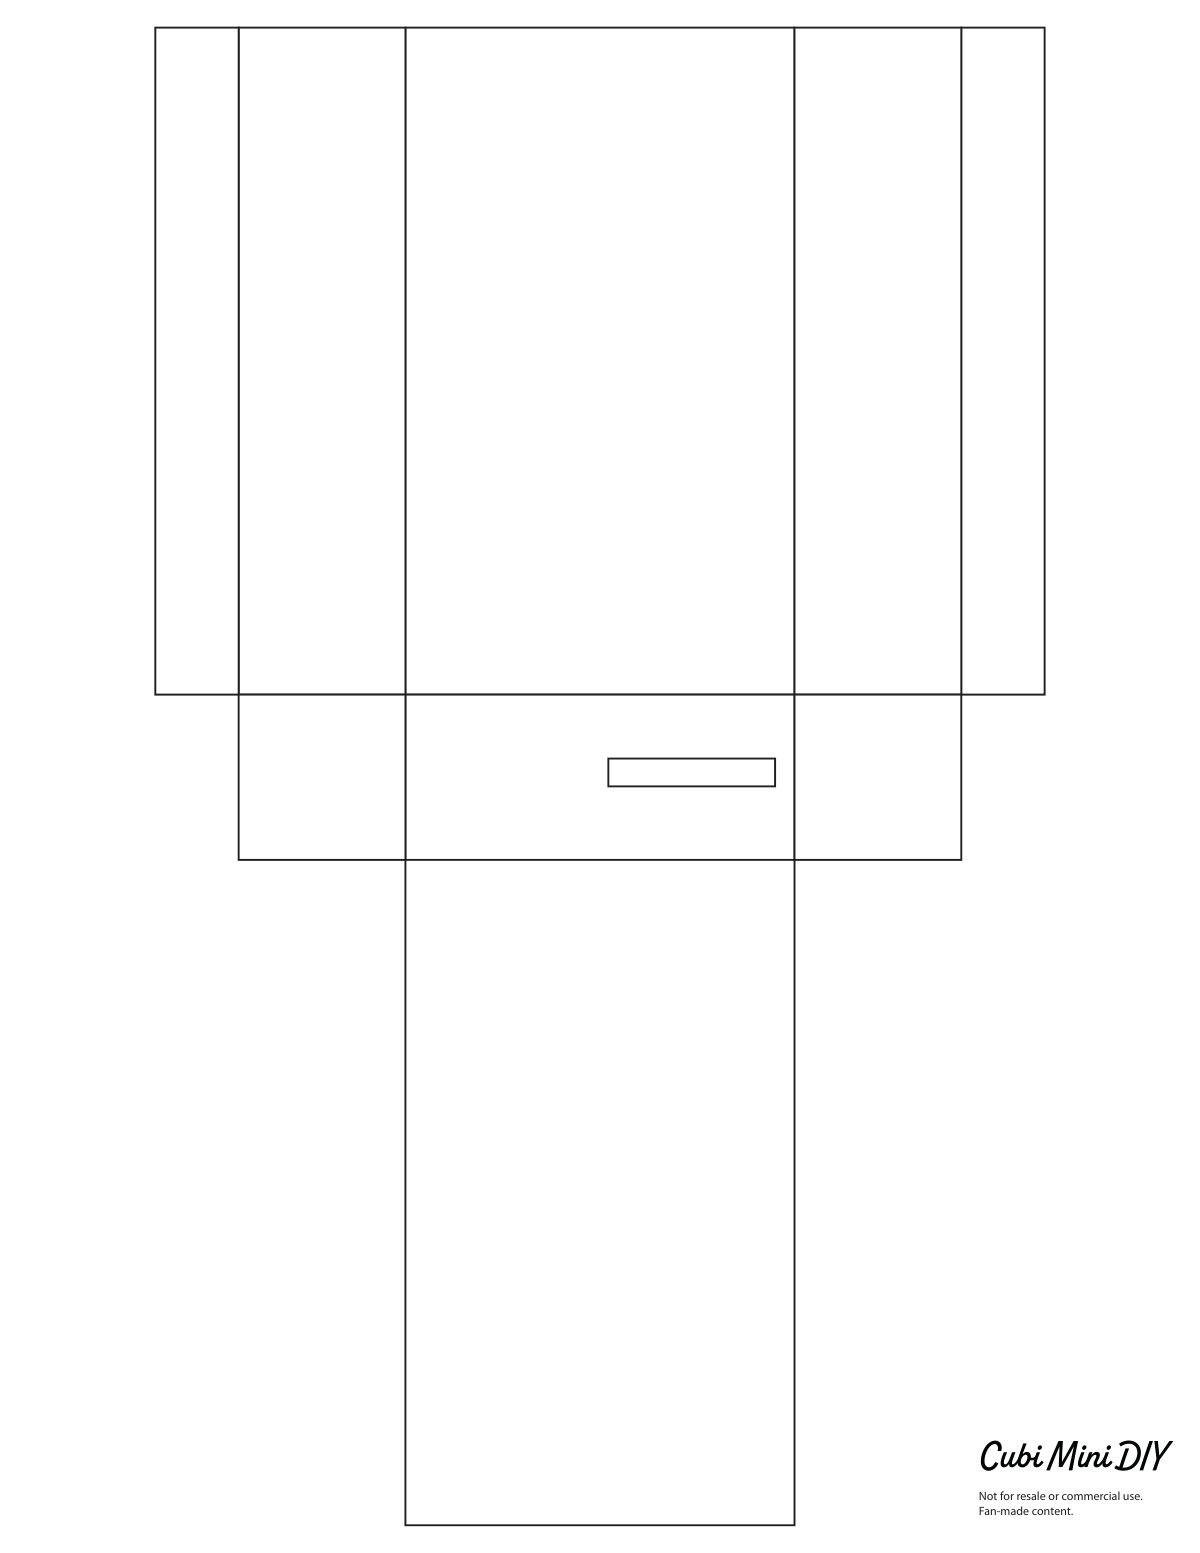
Page 1 on yellow paper for the base, pages 2 and 3 on mint paper for the machine, page 4 on white paper for the Poké Balls, faces and coins.
Get the free template ↓PART 1 OF 4
The base
- 1
Cut out the base
Print page 1 on yellow paper. Cut along the outer outline.
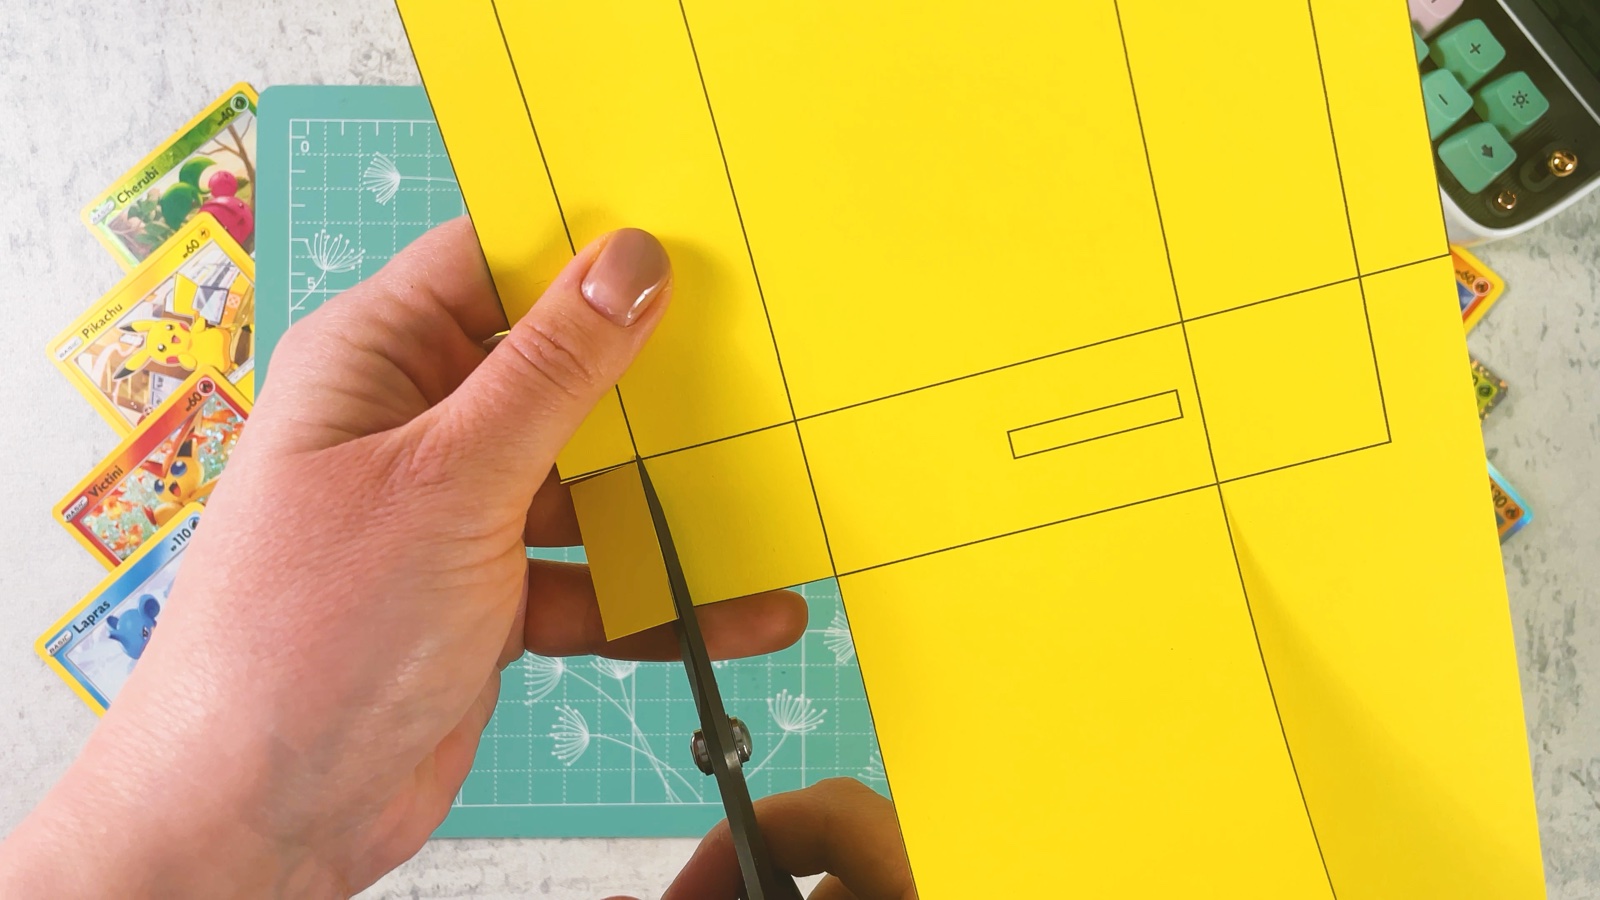
- 2
Cut the short side lines
Cut along the short lines between the side flaps, only up to the fold line. These cuts let the flaps fold in.
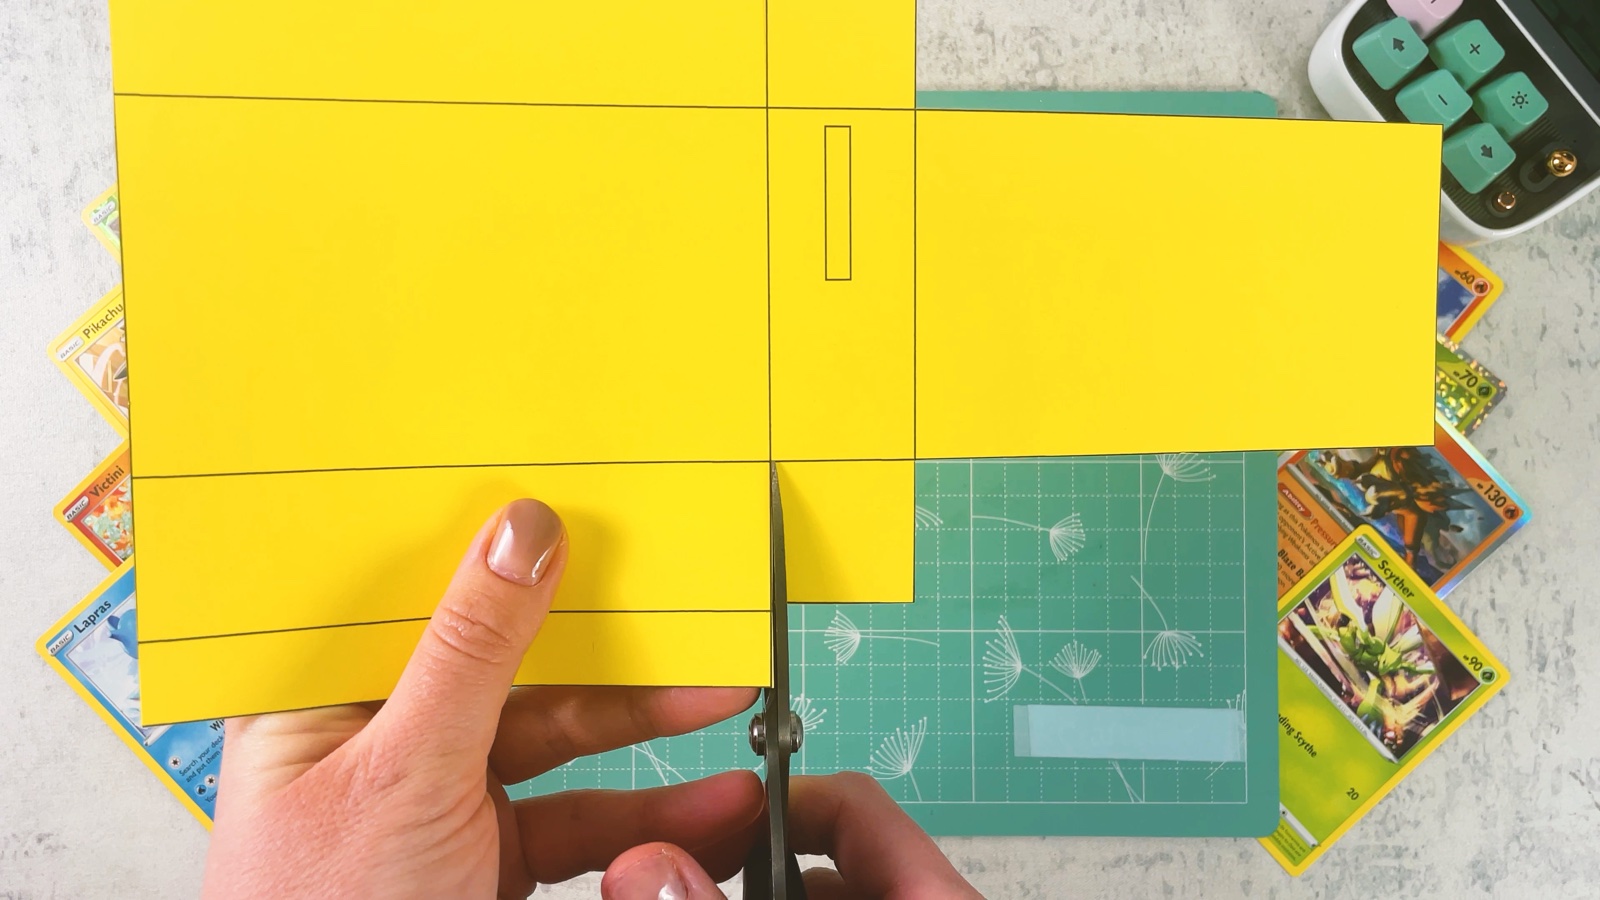
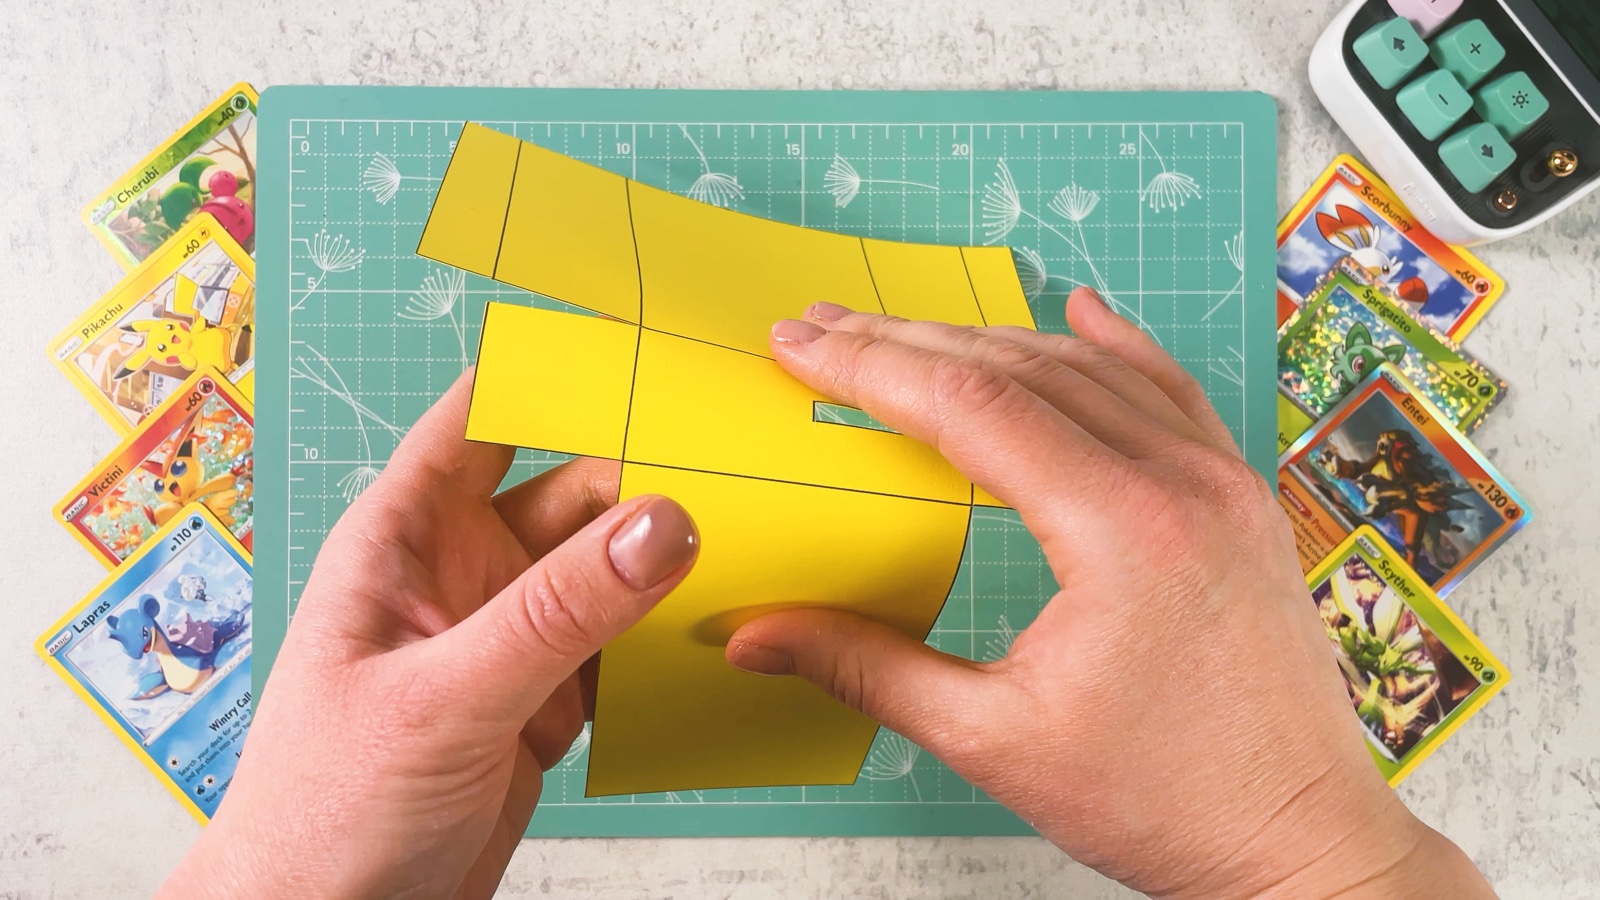
- 3
Fold all the lines
Fold along every line, so the base starts to look like a box.
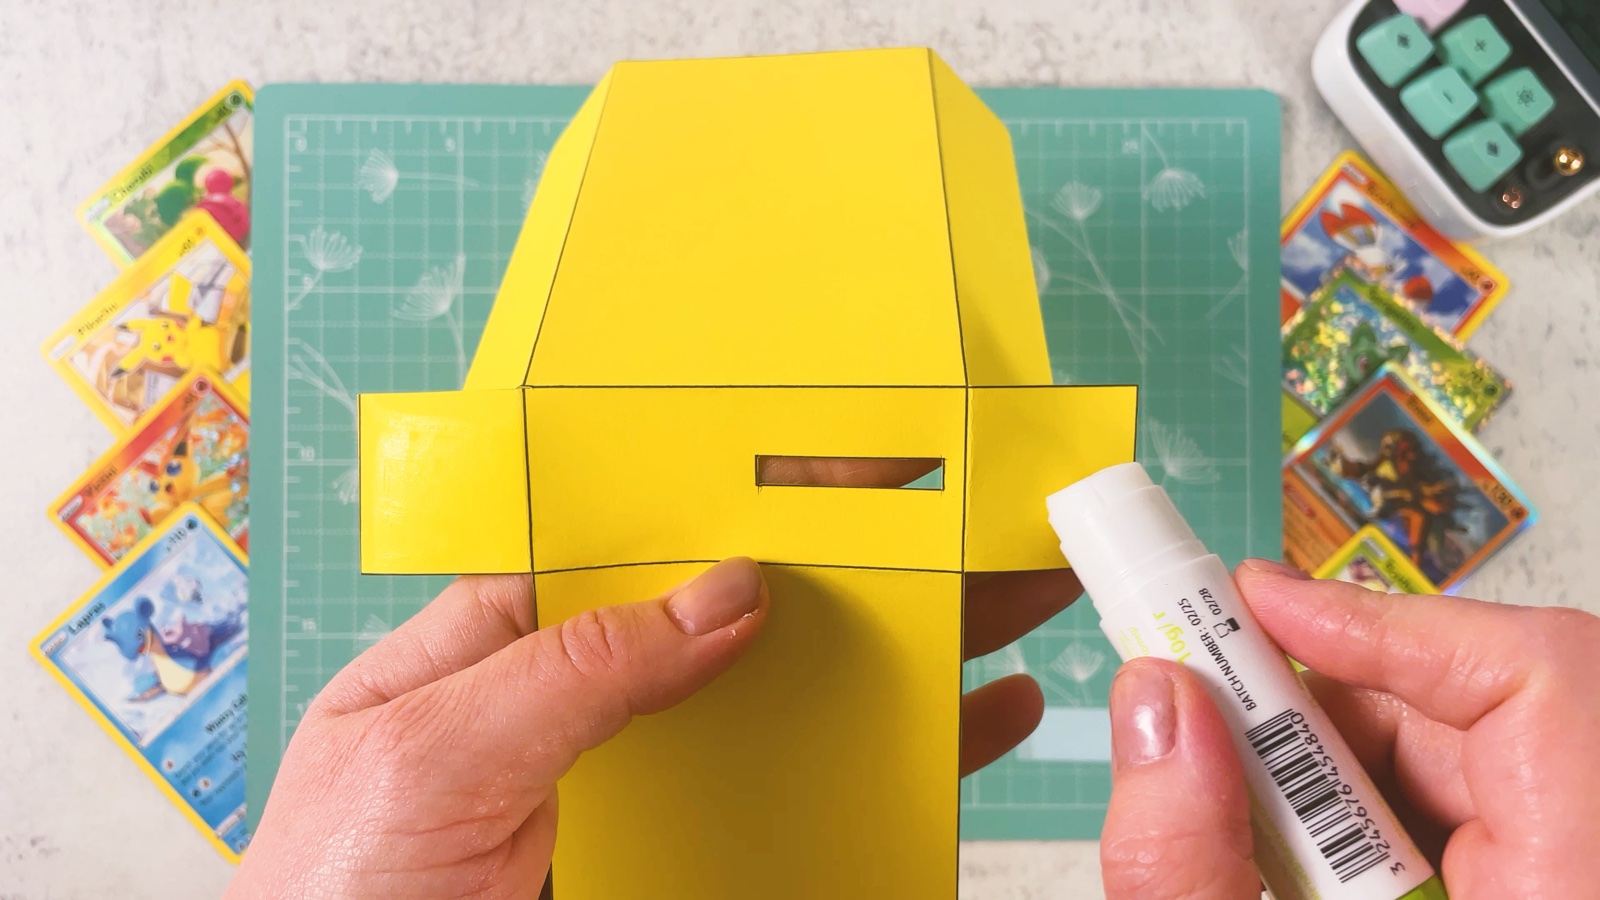
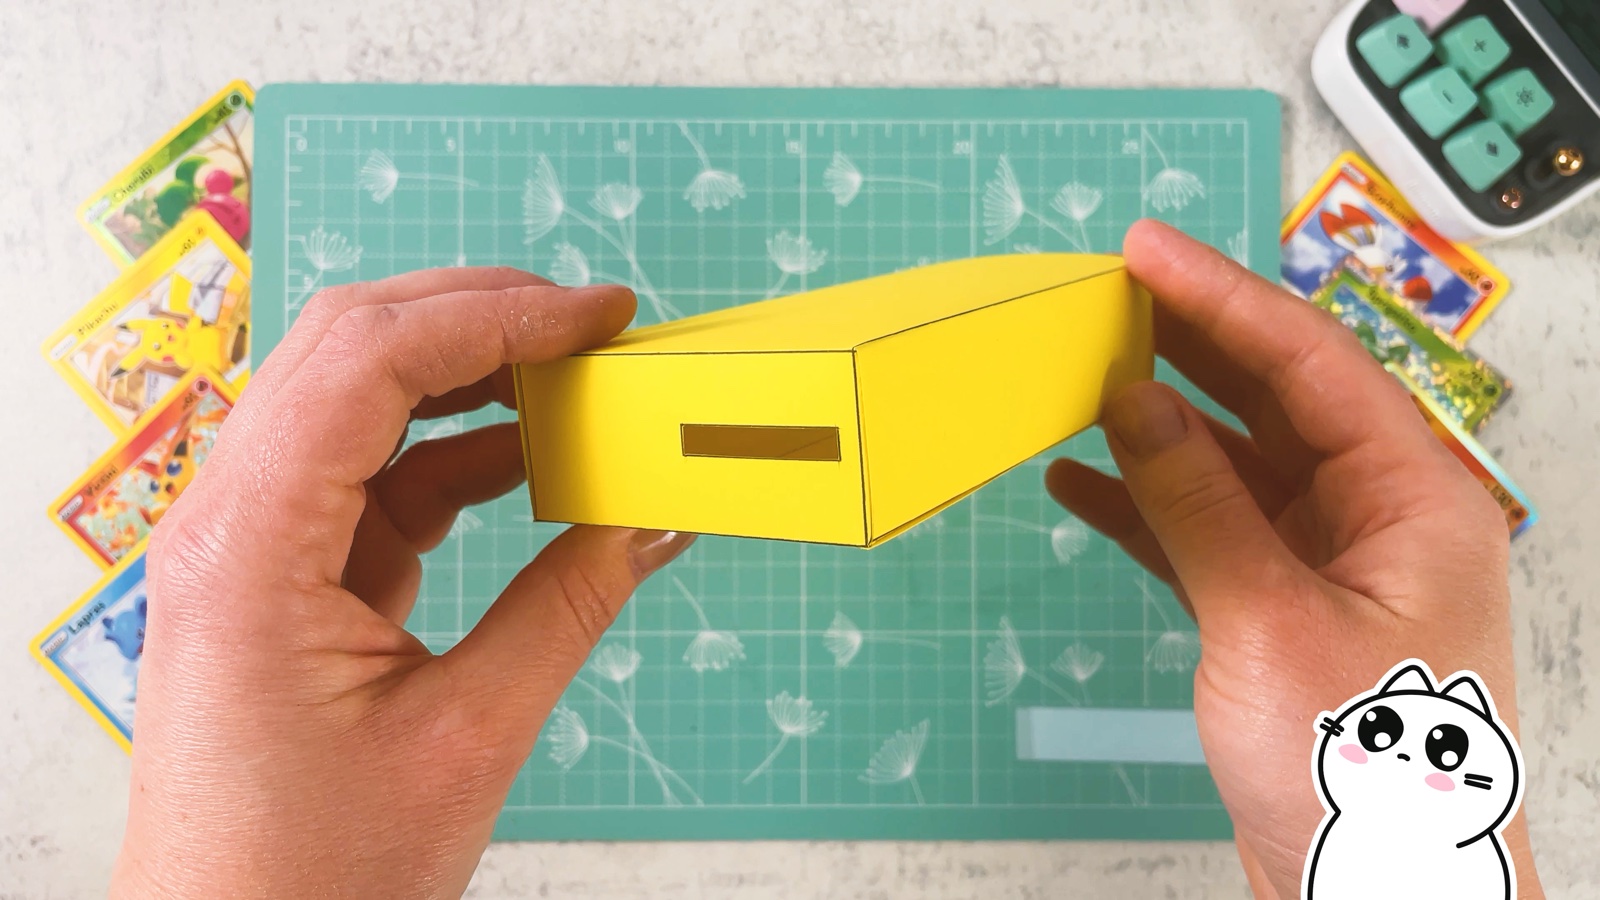
- 4
Glue the box
Put glue on the flaps and close the box. The small slot is the coin slot, so keep it on the front.
PART 2 OF 4
The machine
- 5
Cut out the sides
Print pages 2 and 3 on mint paper. Cut out the long piece with the two circles from page 2.
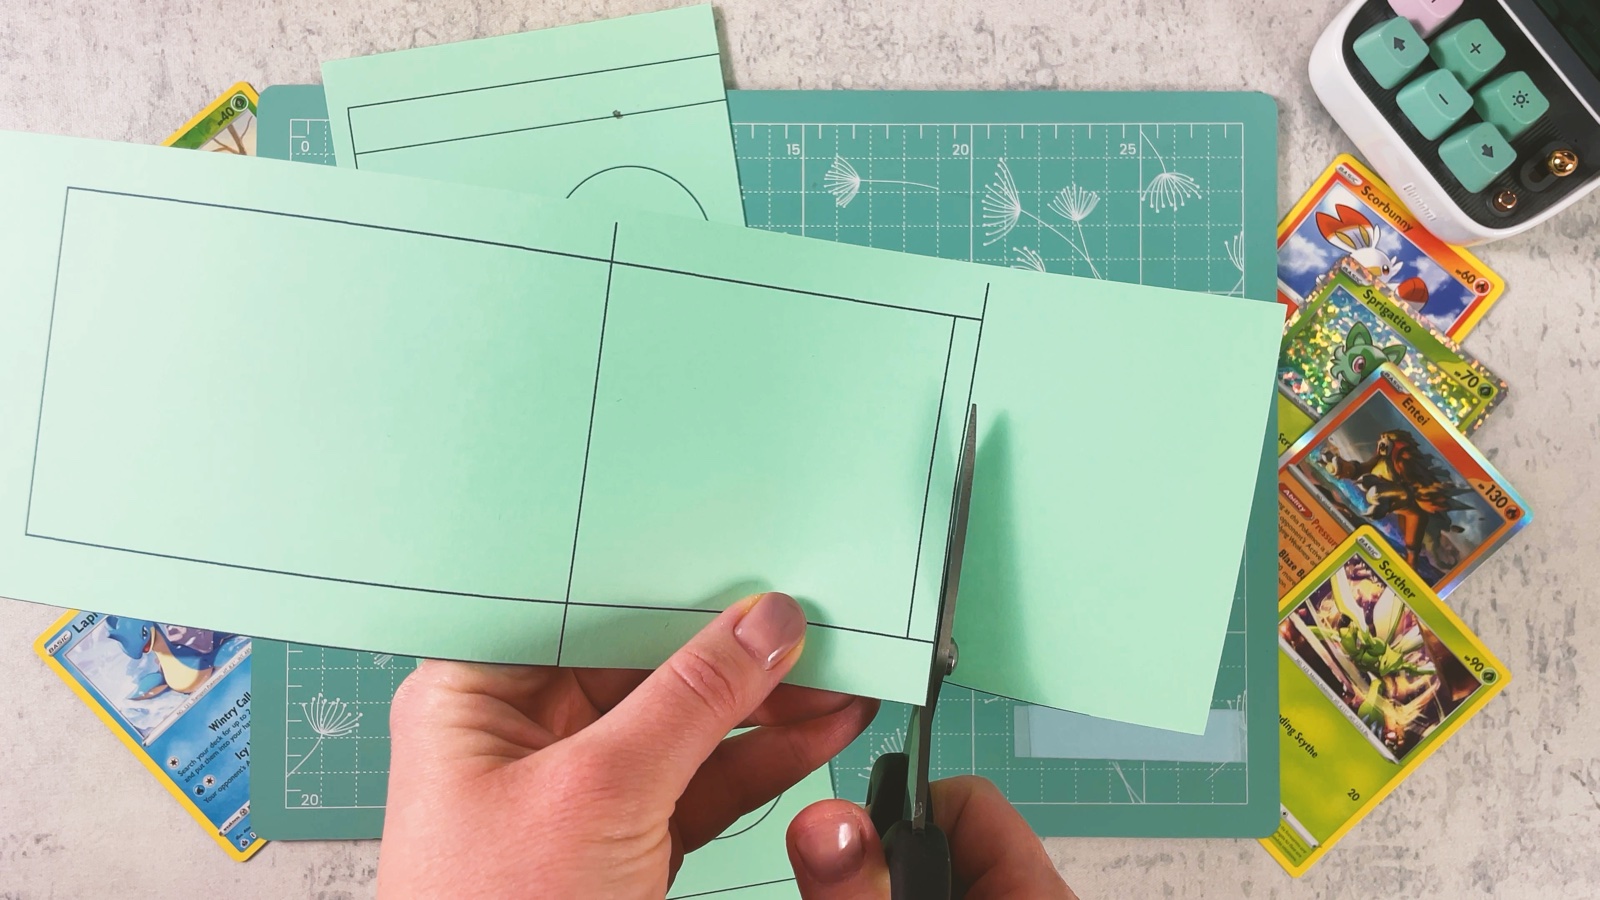
- 6
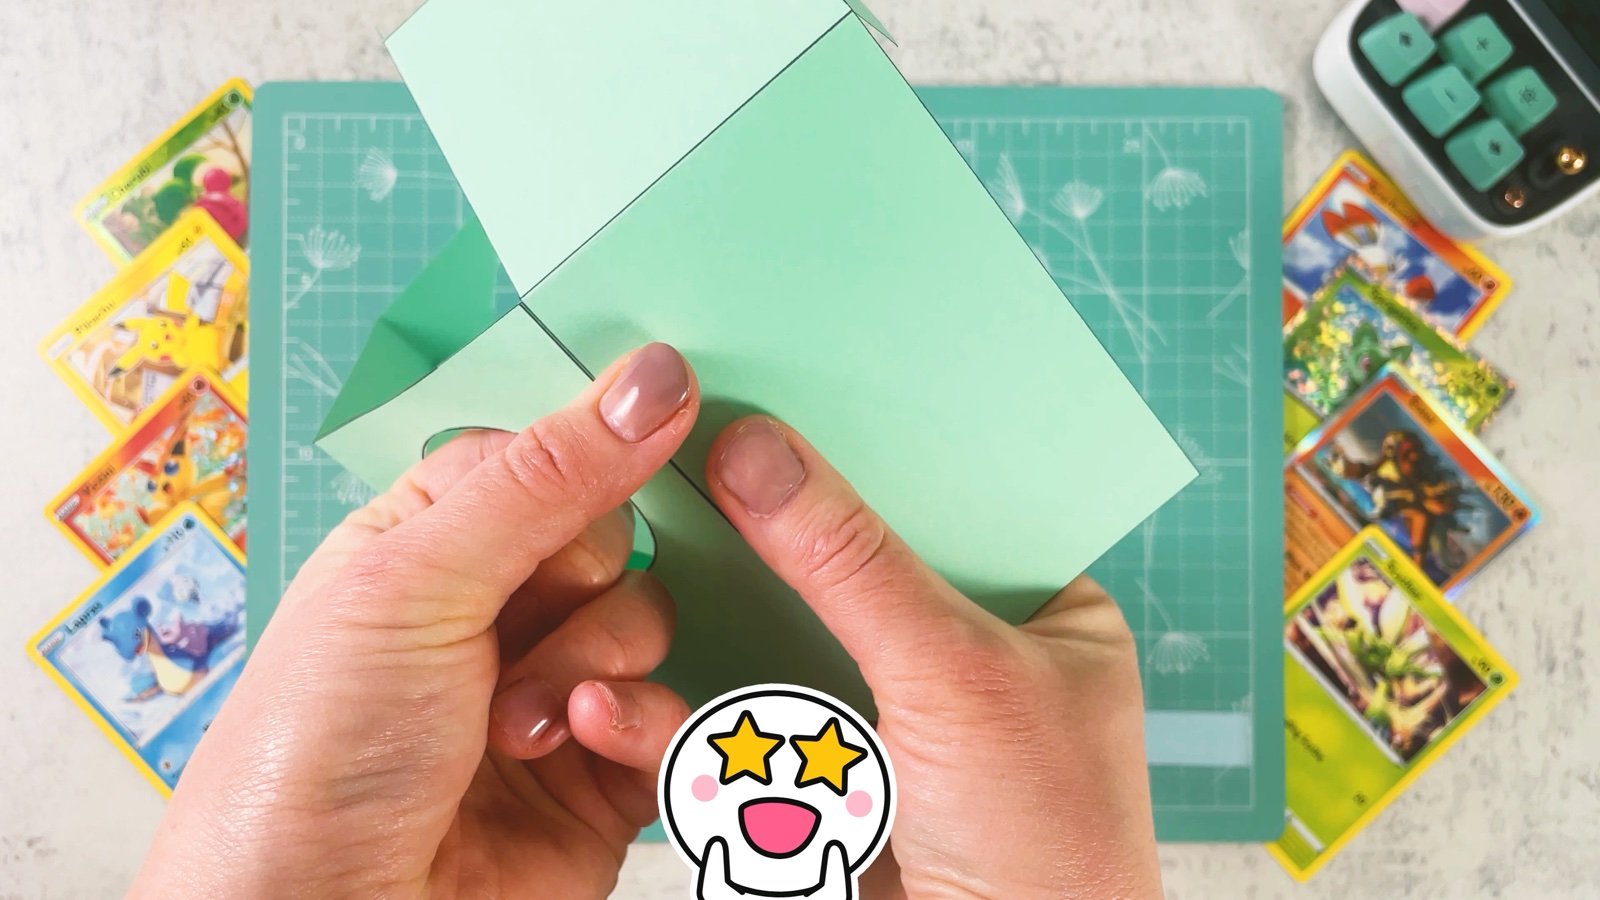
Fold the sides
Fold along the lines between the three panels and the thin edge strips.
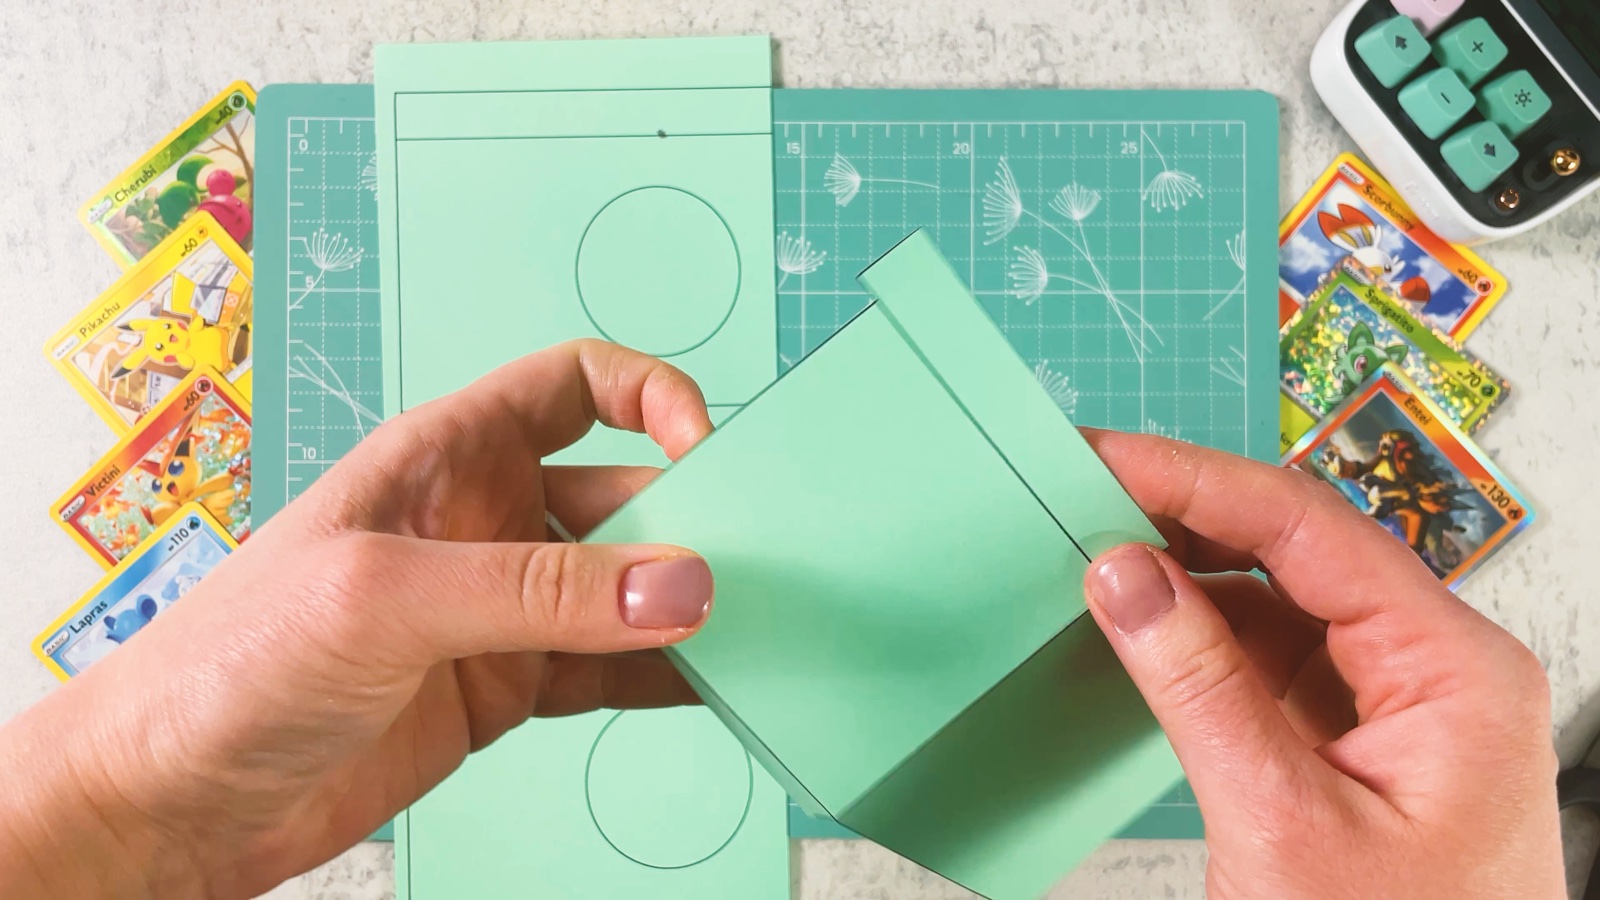
- 7
Cut out the circles
Cut out both circles. This is where the roller goes through, so cut close to the line to keep them round.
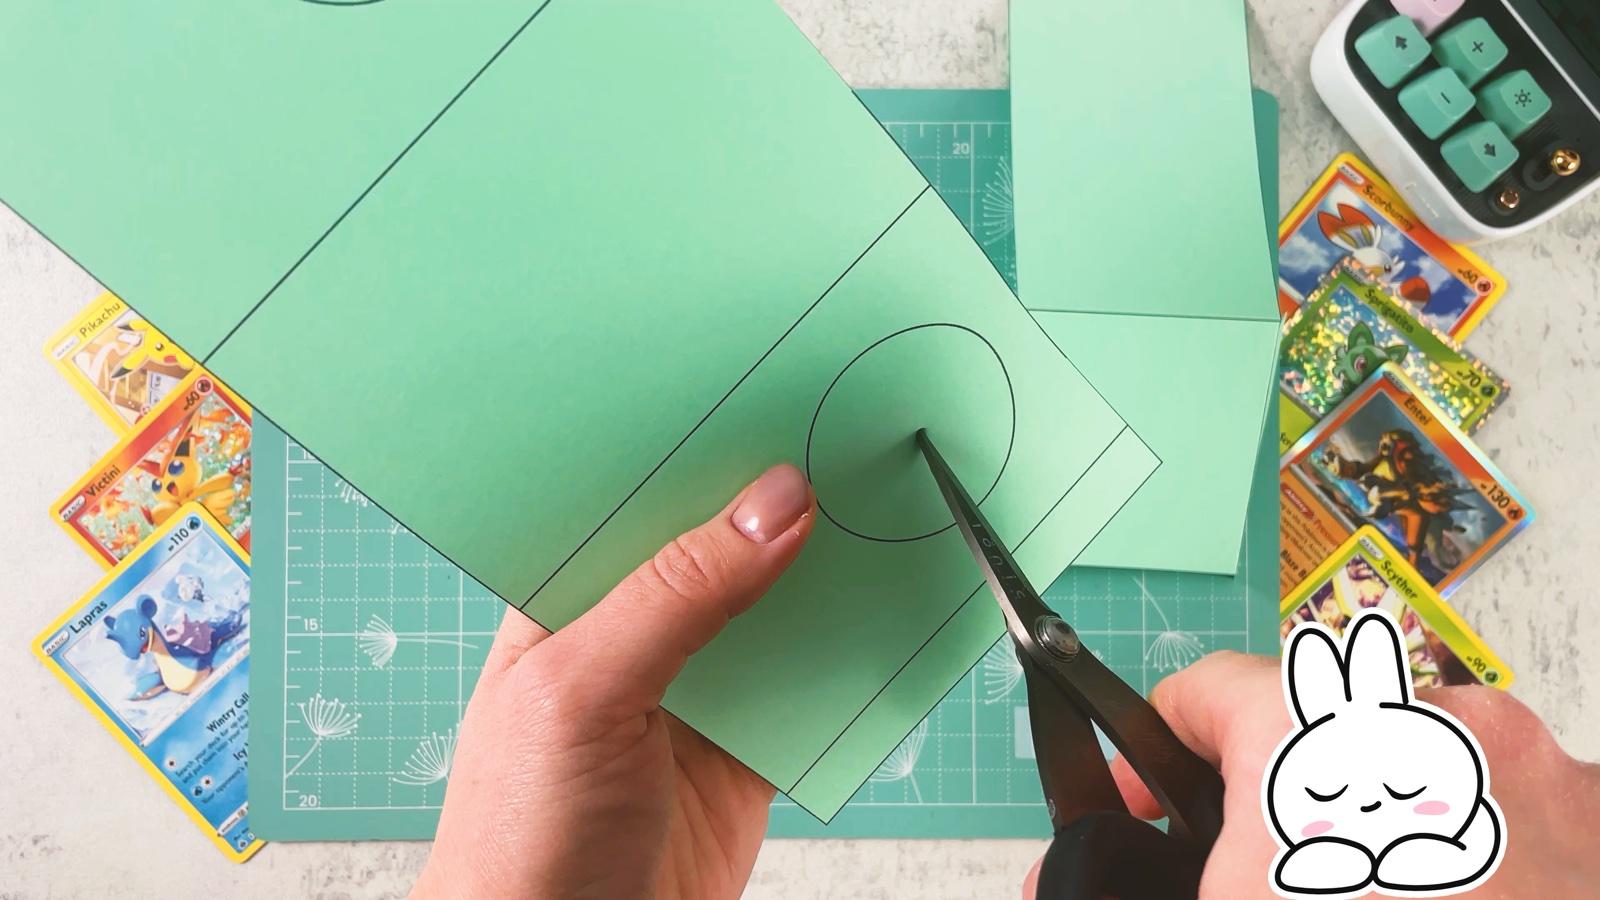
- 8
Shape the sides
Fold the piece into a U shape. The two circles face each other on the left and right sides.
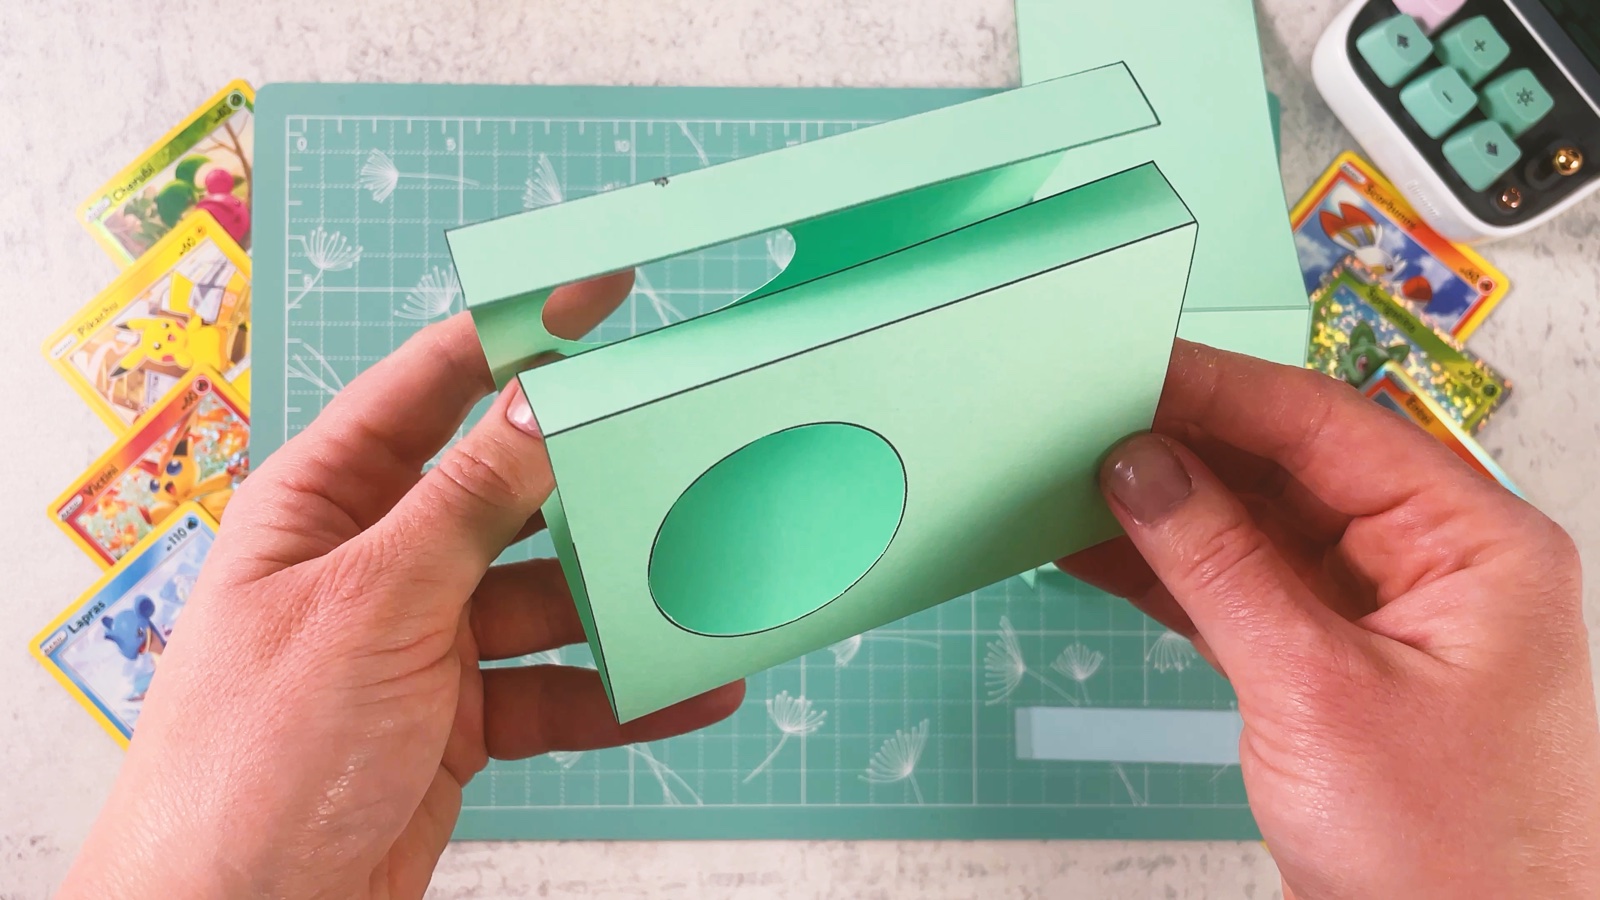
- 9
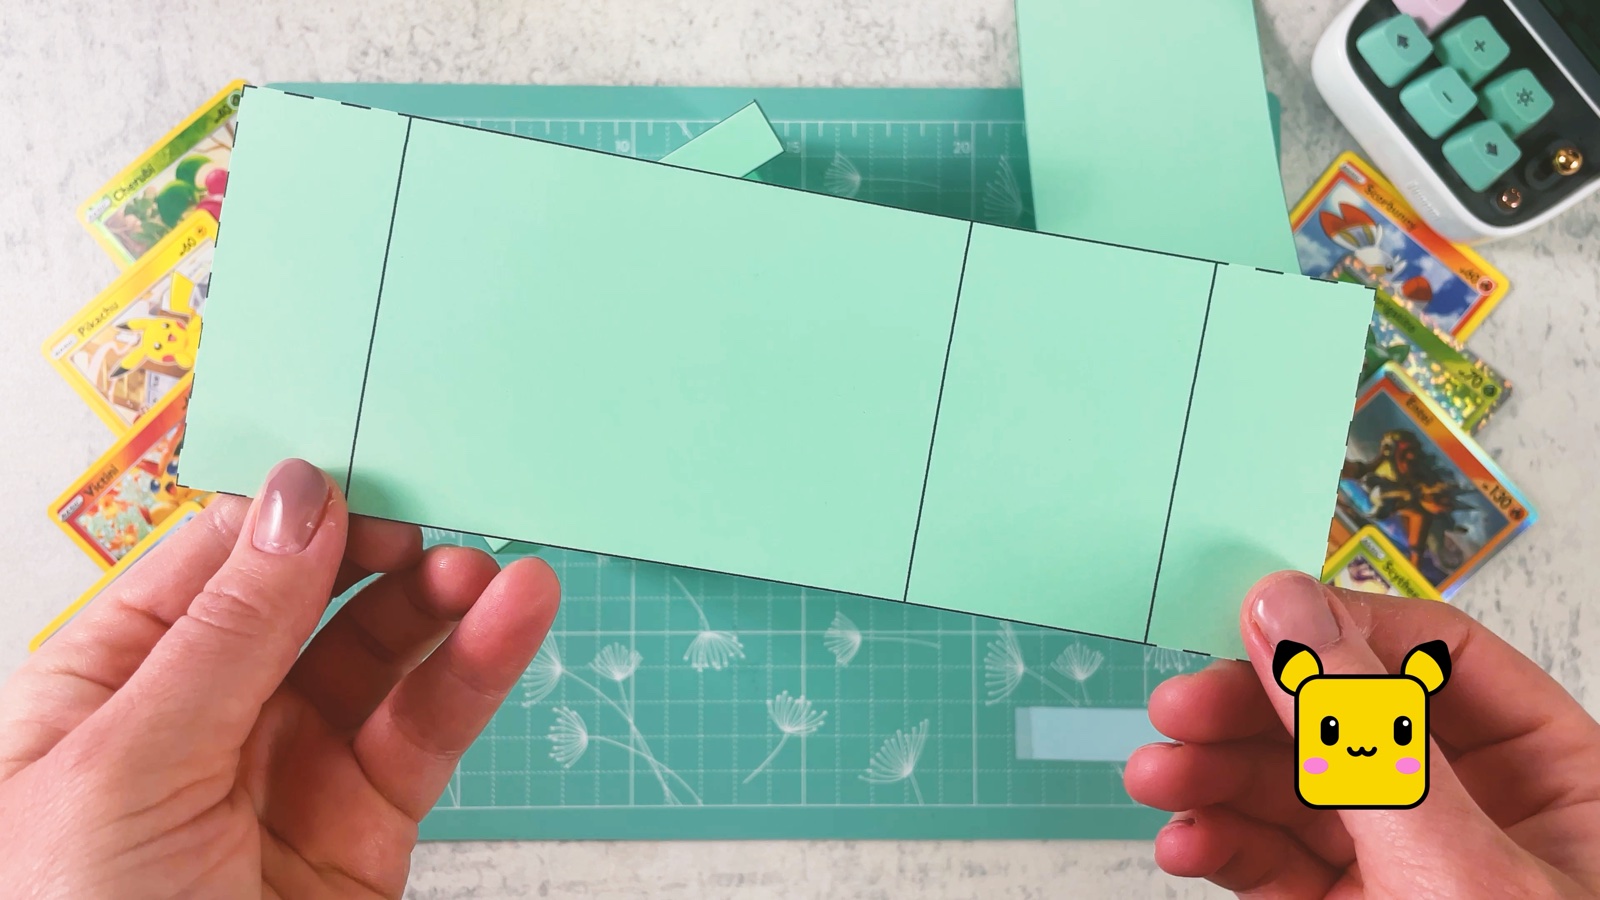
Fold the card tray
Cut out the piece with the dashed edges from page 3. Fold along all the lines. This piece is the tray the cards lie on.
- 10
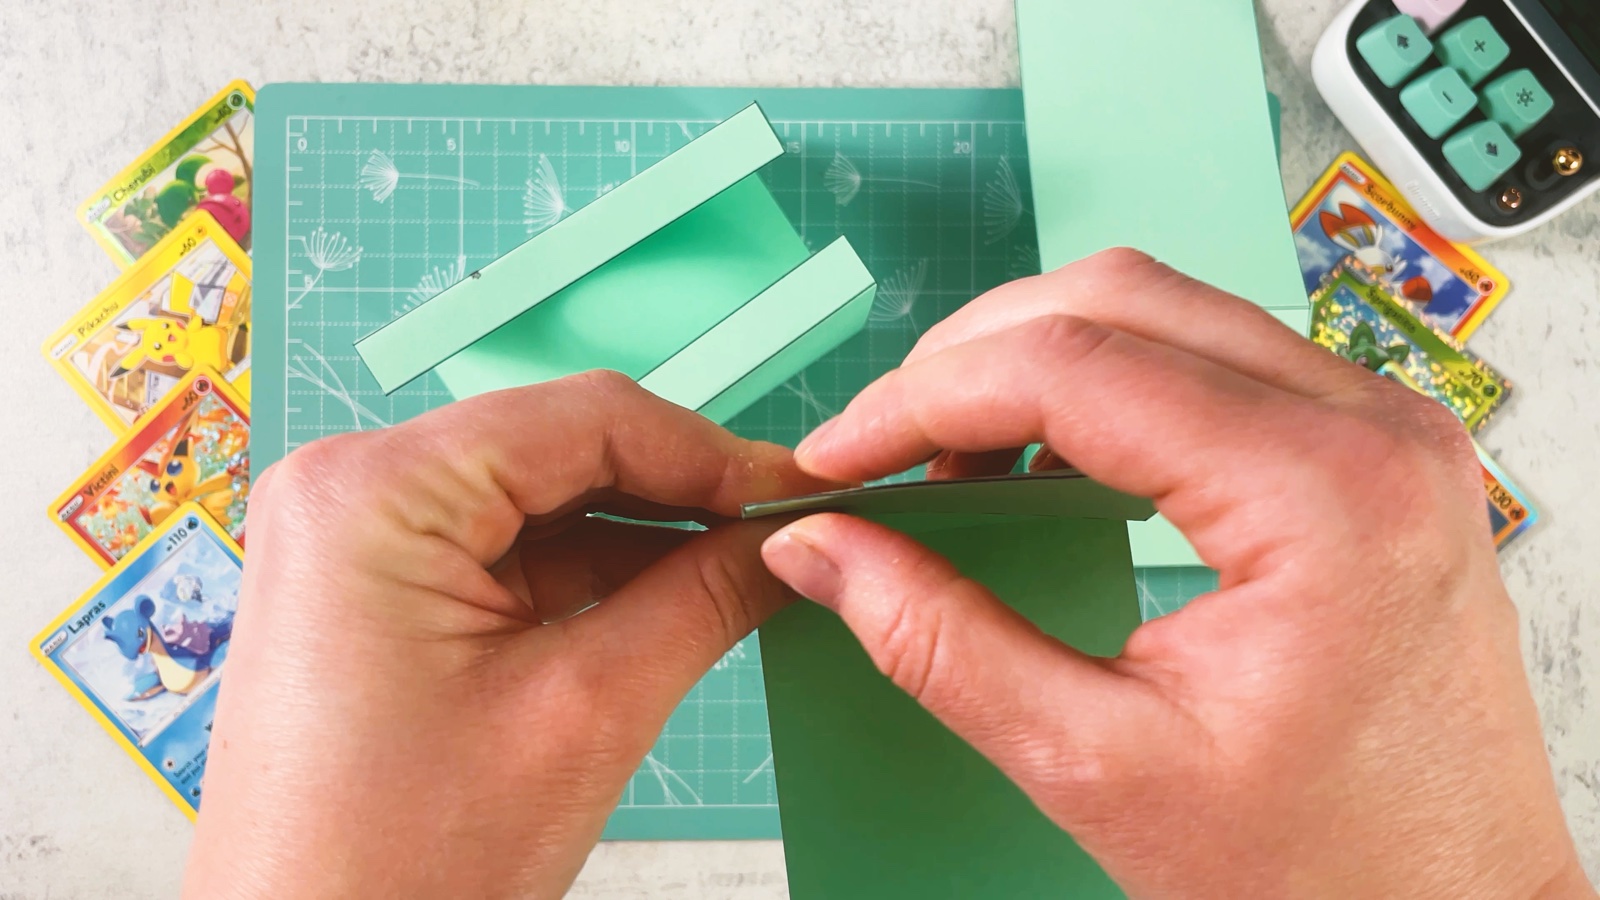
Glue the tray inside
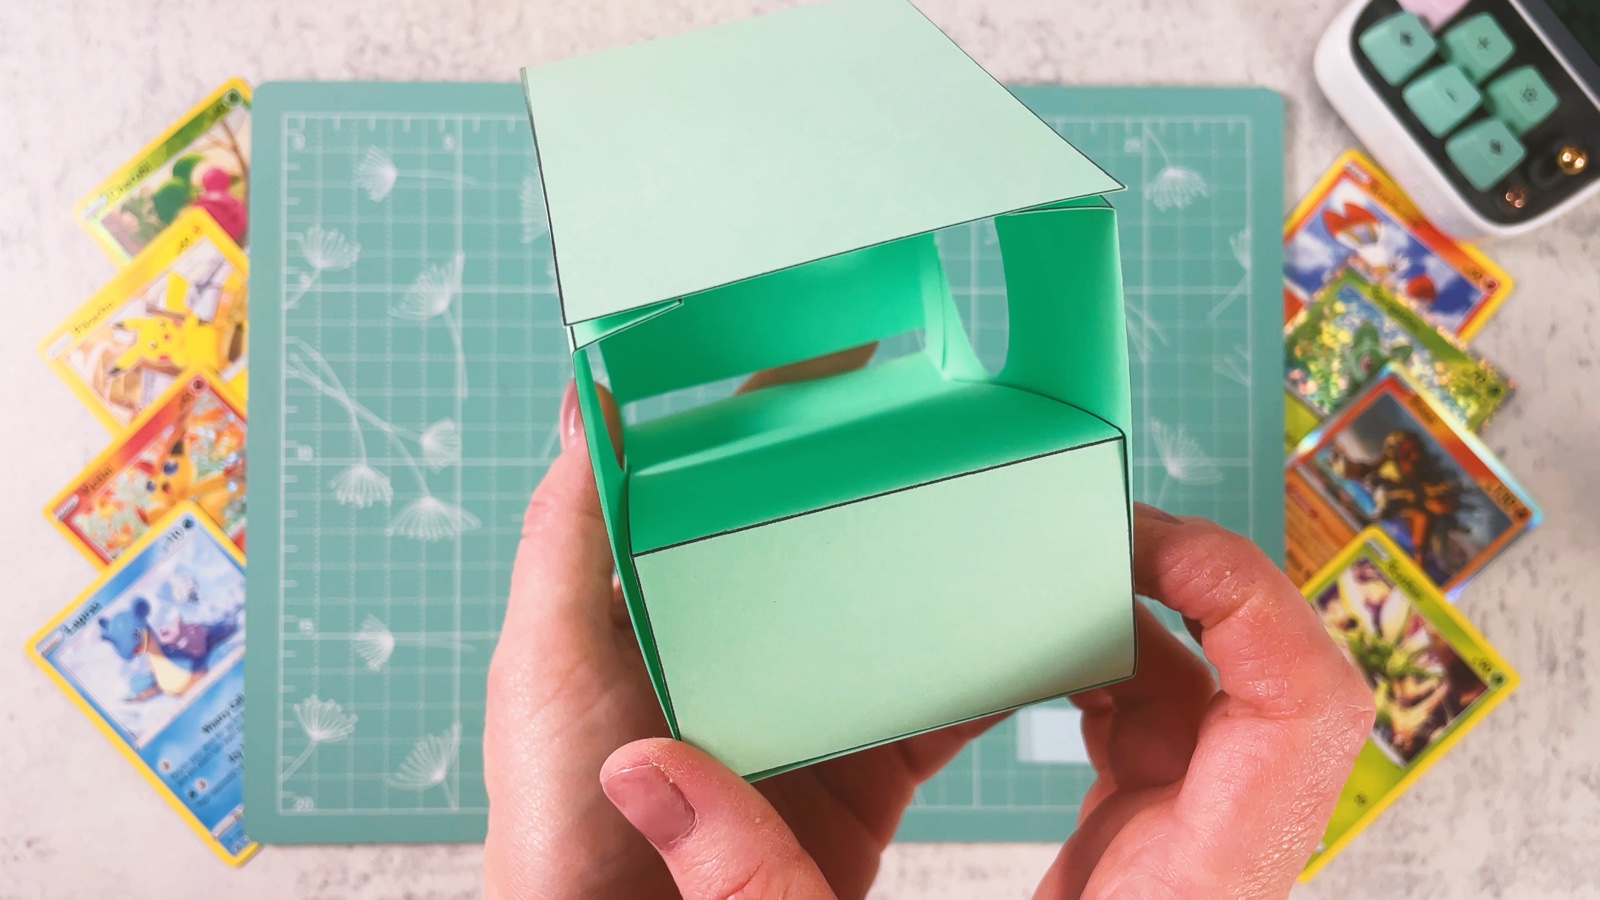
Put glue on the edge strips of the tray and press it inside the sides, below the circles.
- 11
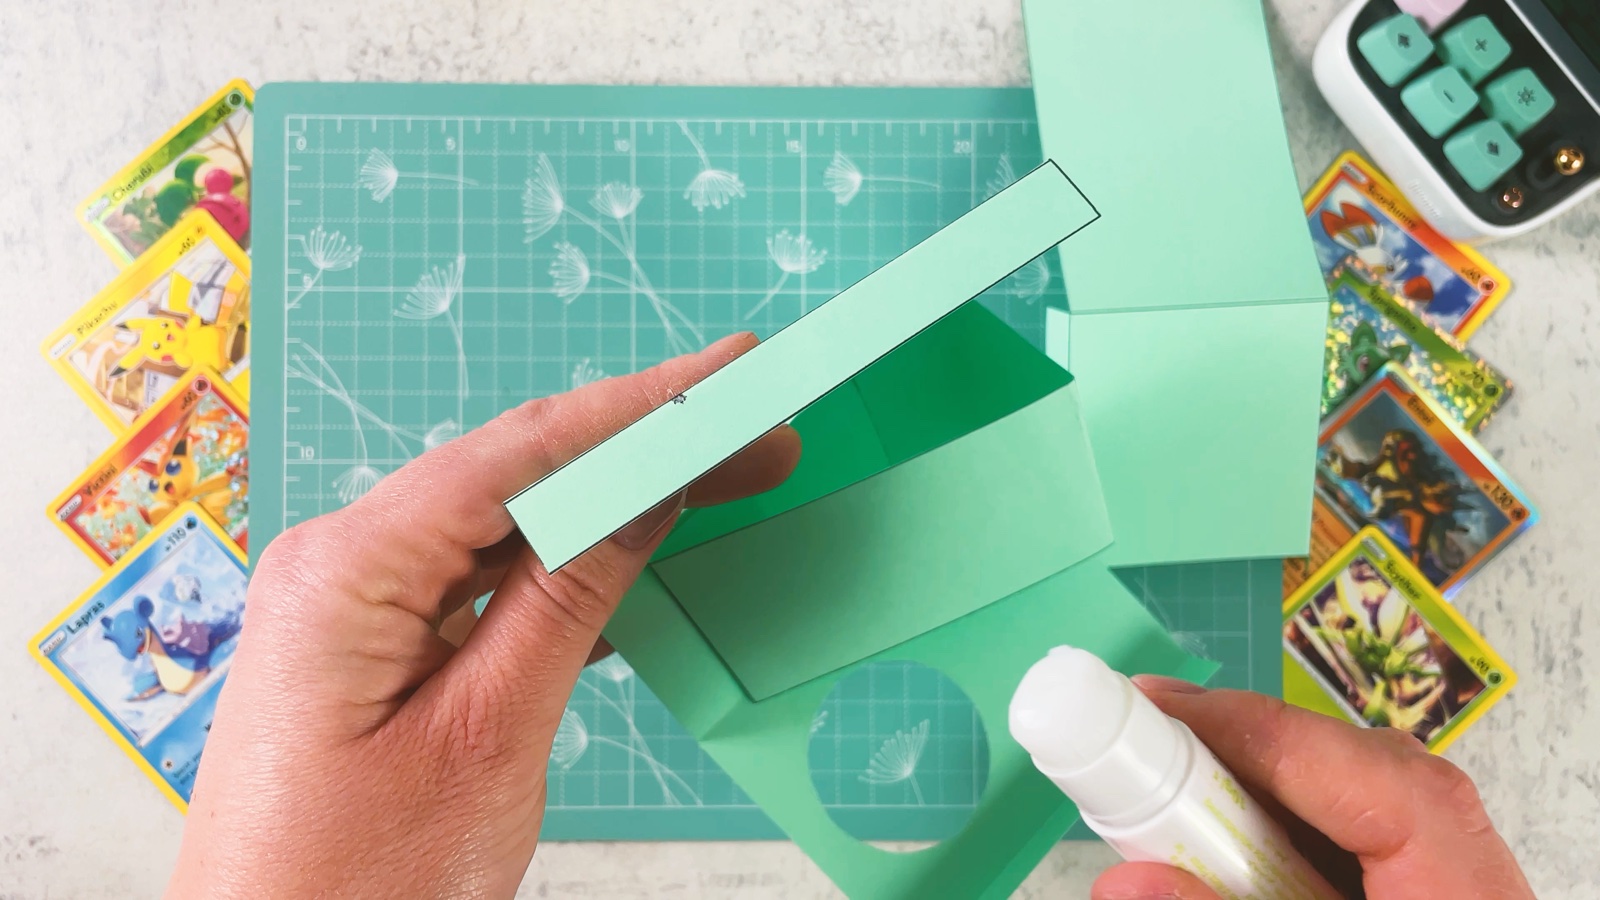
Close the box
Glue the last mint piece around the top and the back to close the box. Leave the front open at the bottom: this gap is where the card comes out.
PART 3 OF 4
The roller
- 12
Add the rubber bands
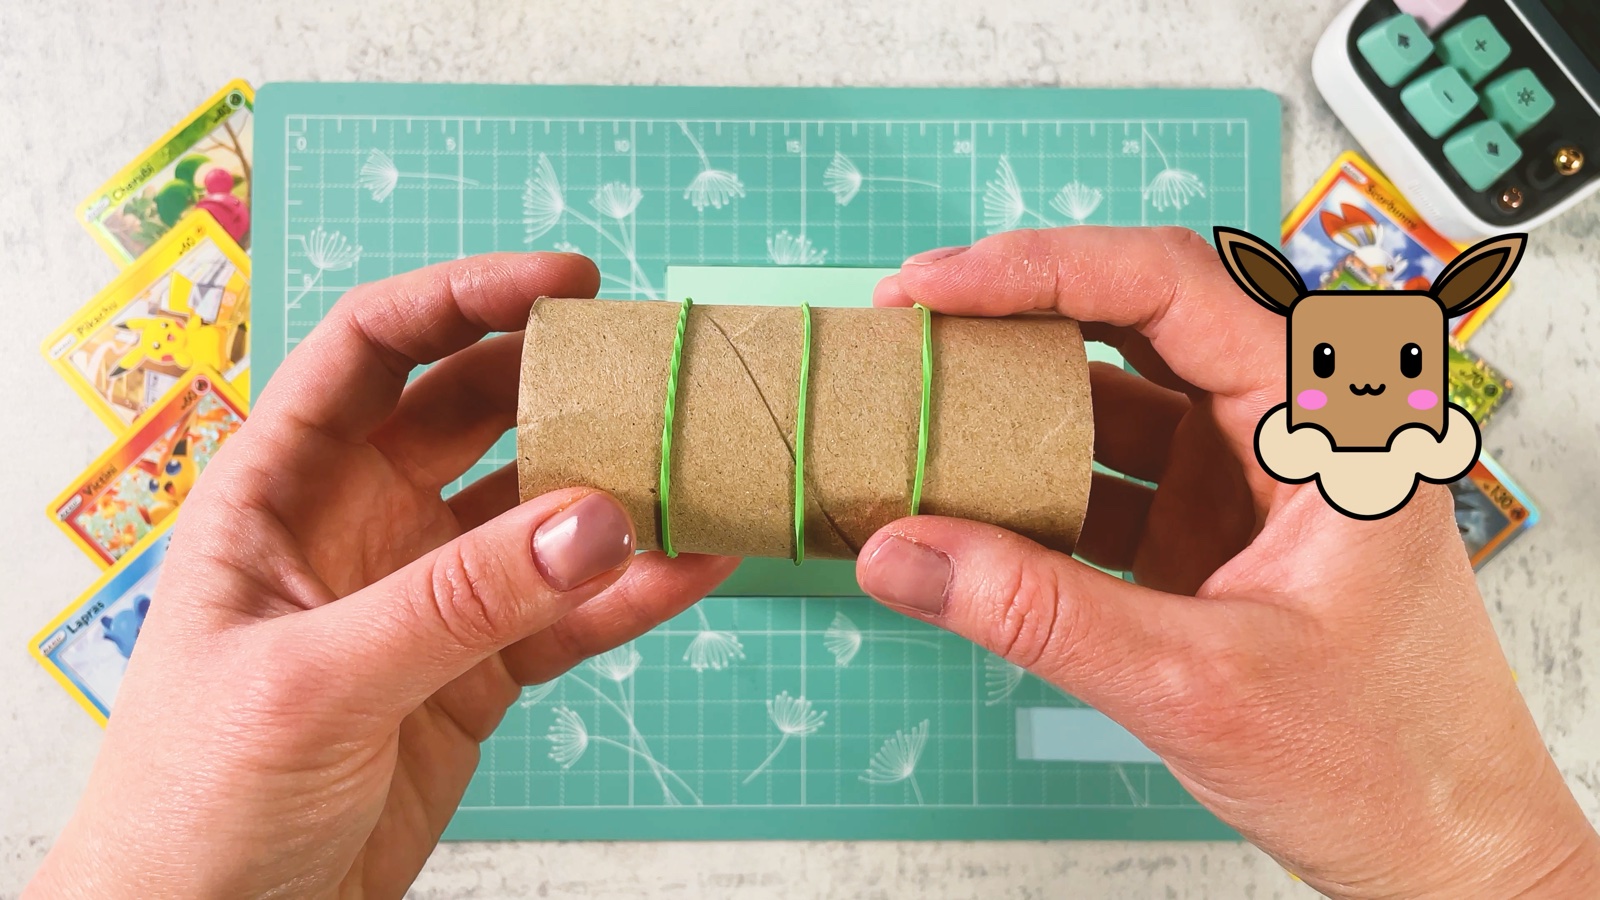
Wrap three rubber bands around a toilet paper roll. Space them out along the roll. The rubber grips the card and pushes it out.
- 13
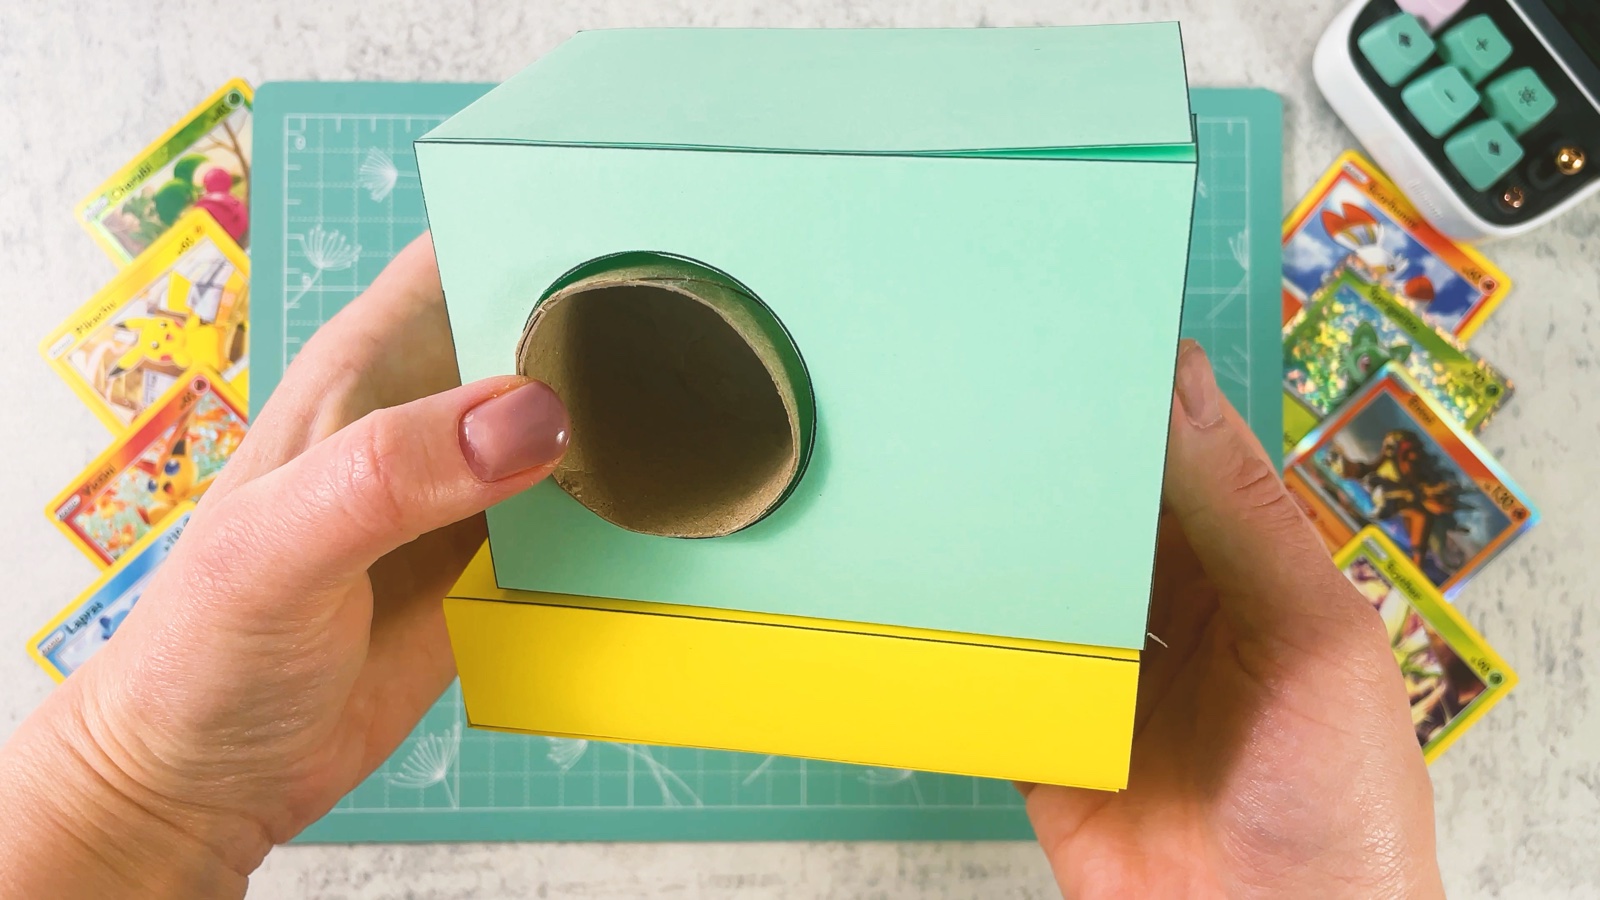
Push the roller through
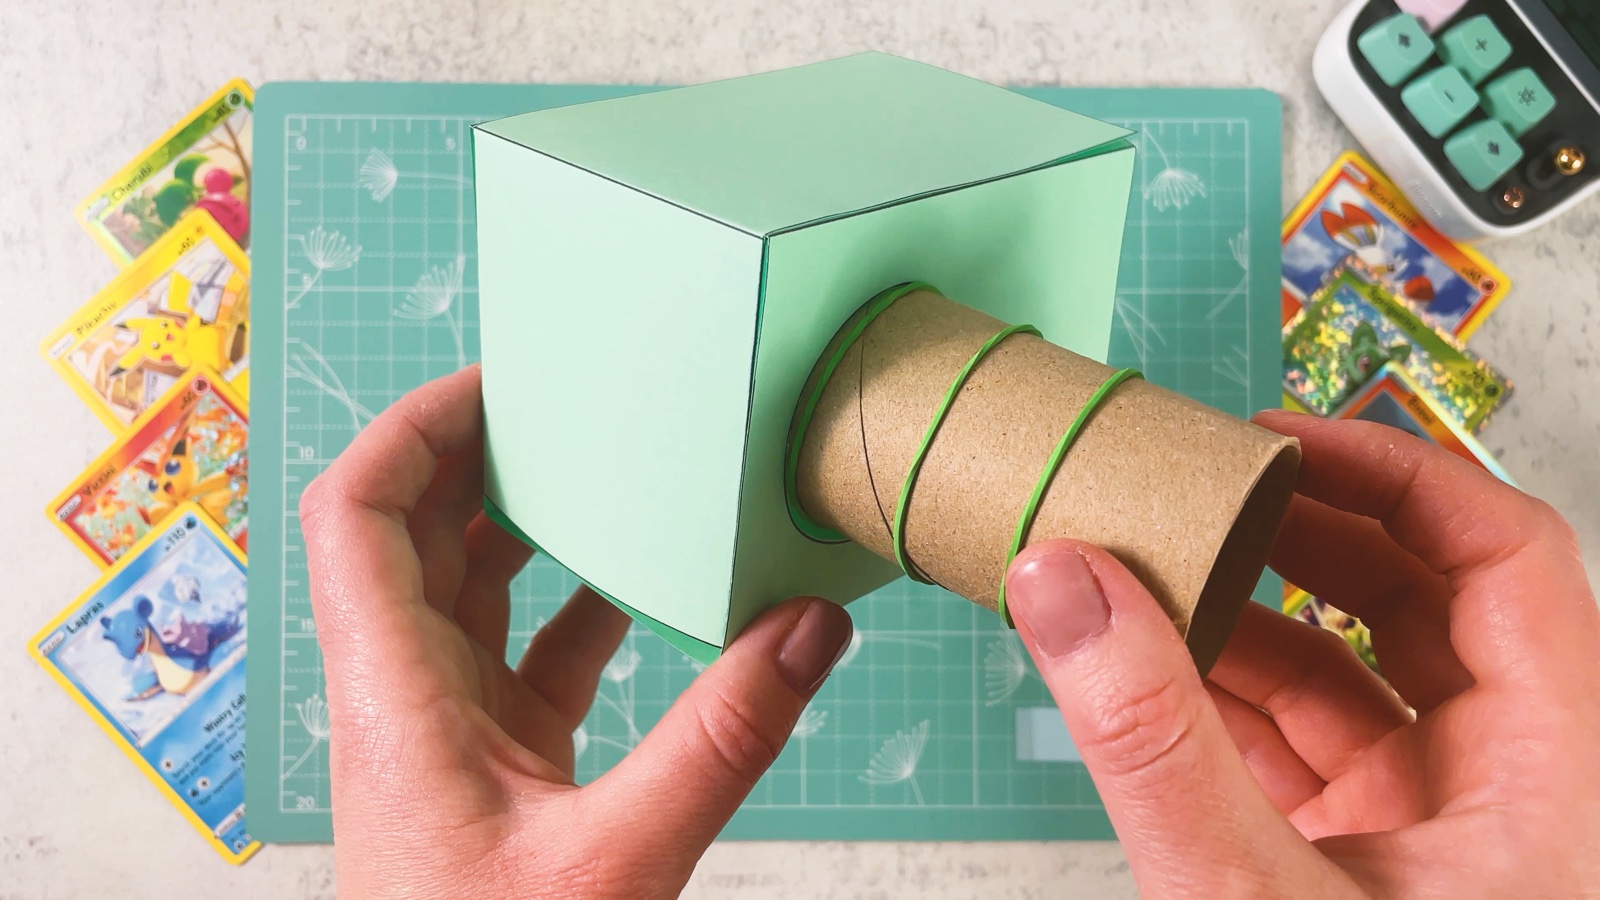
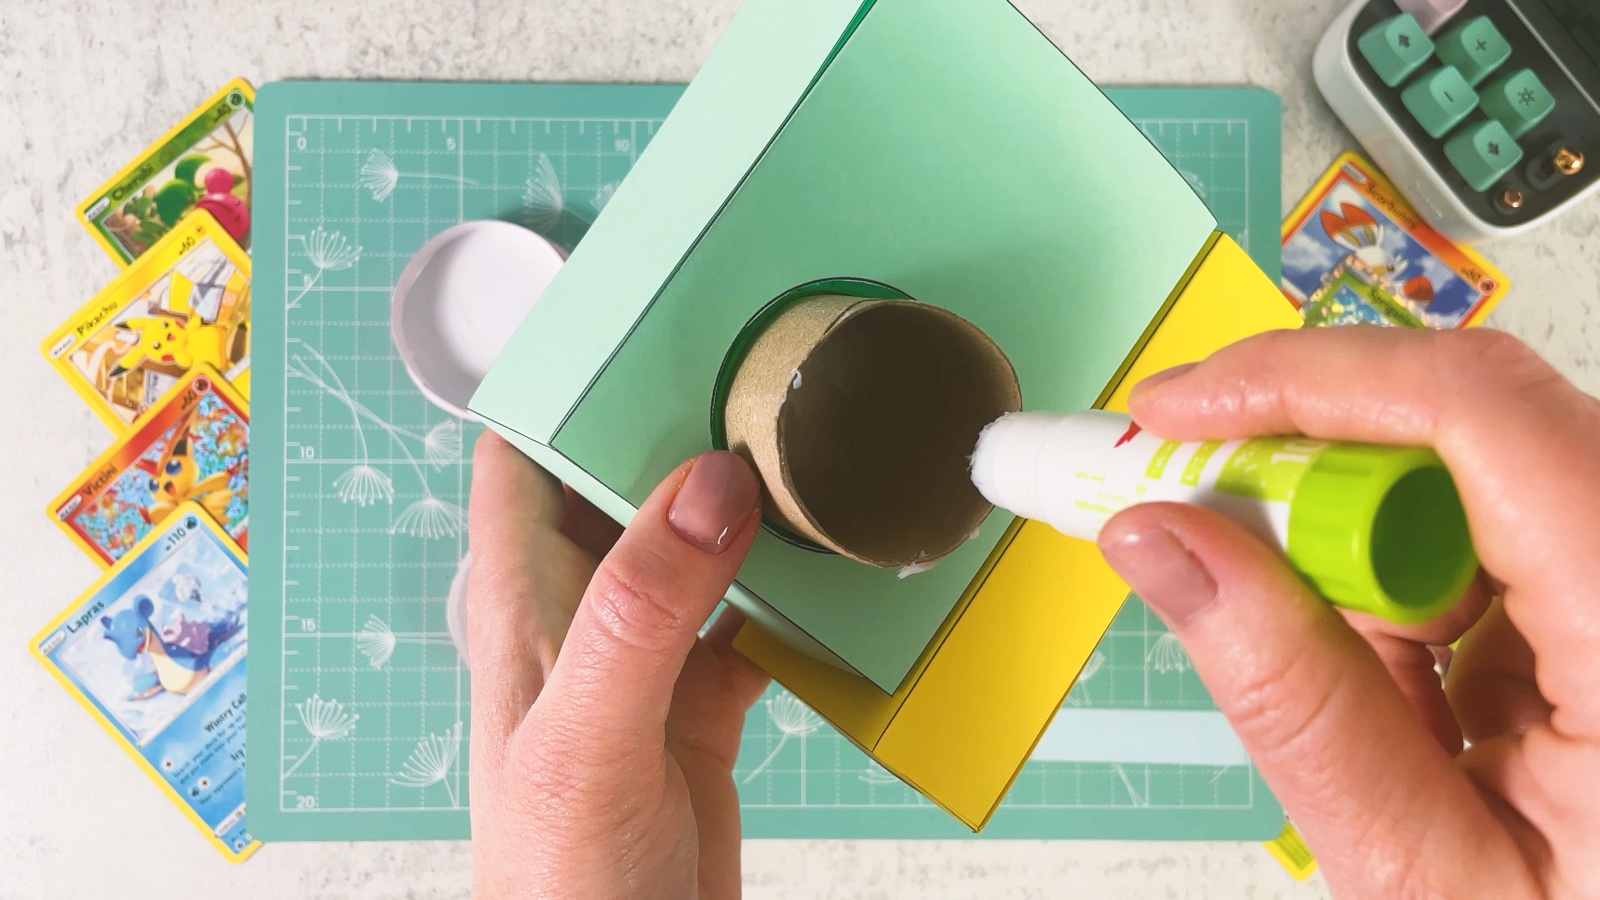
Push the roll through one round hole, across the box and out through the other hole.
- 14
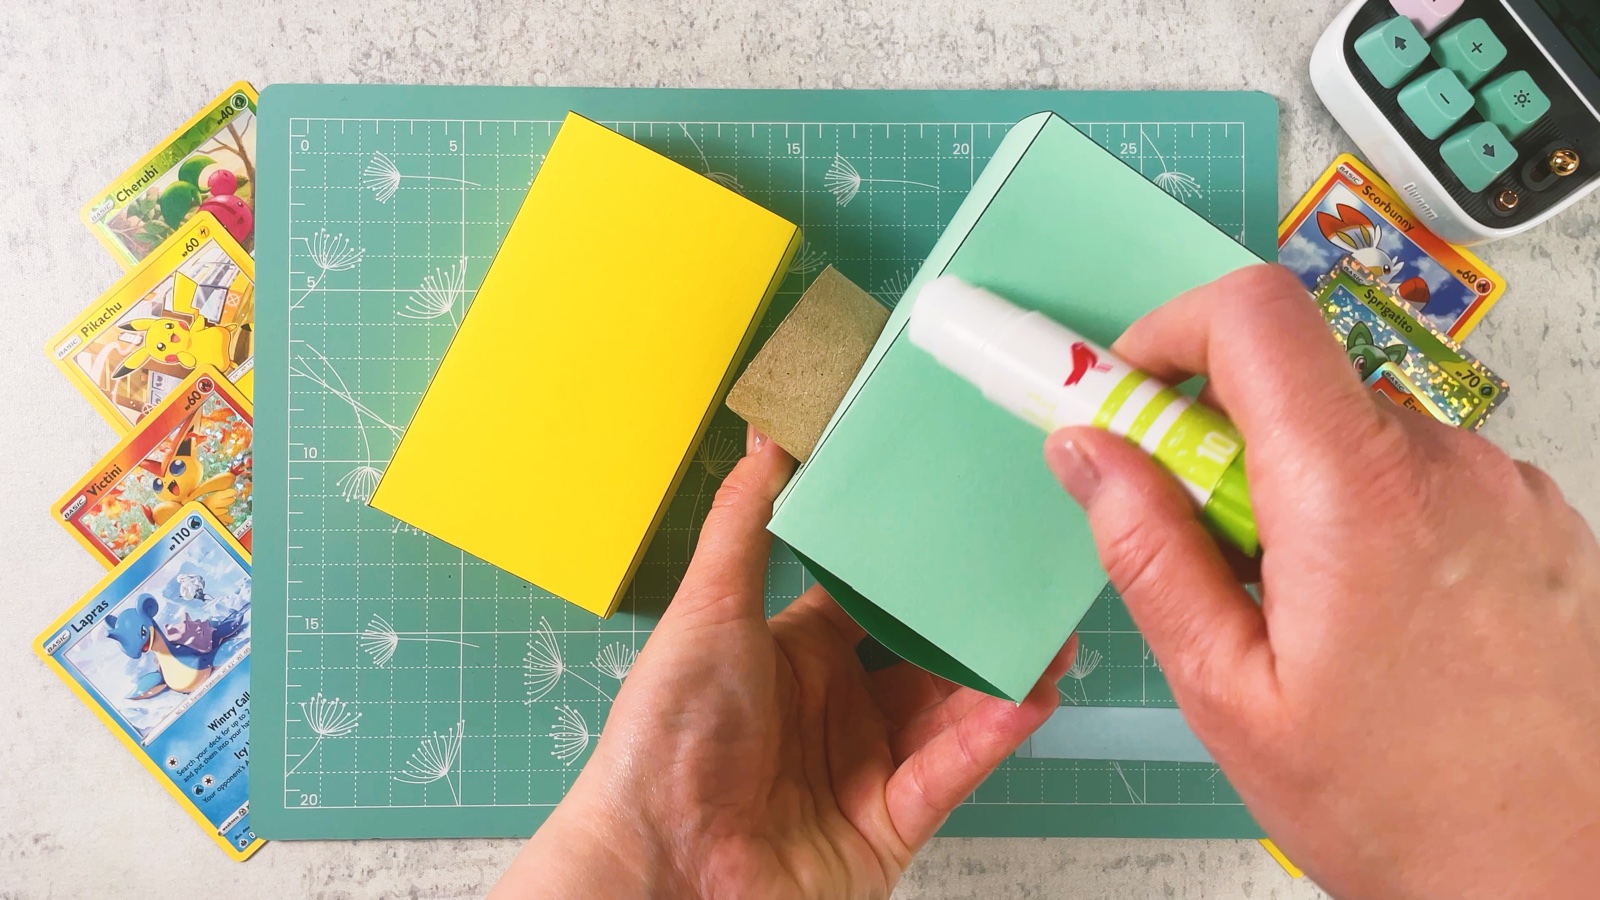
Glue the machine onto the base
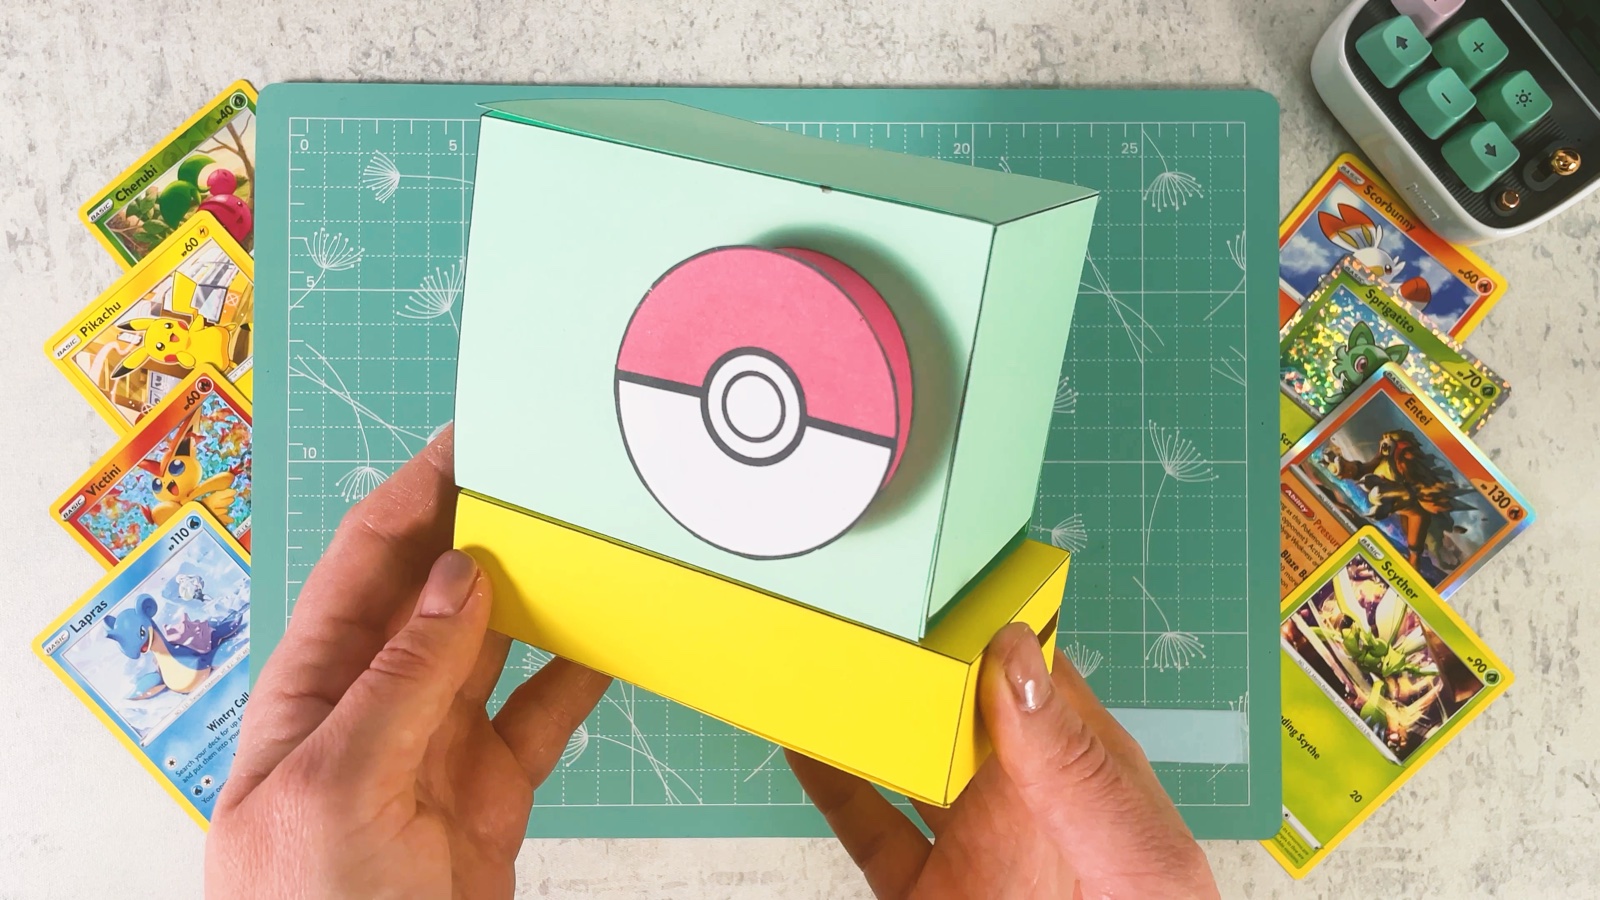
Put glue on top of the yellow base and press the mint box onto it. The card gap and the coin slot both face the front.
PART 4 OF 4
Handles and decorations
- 15
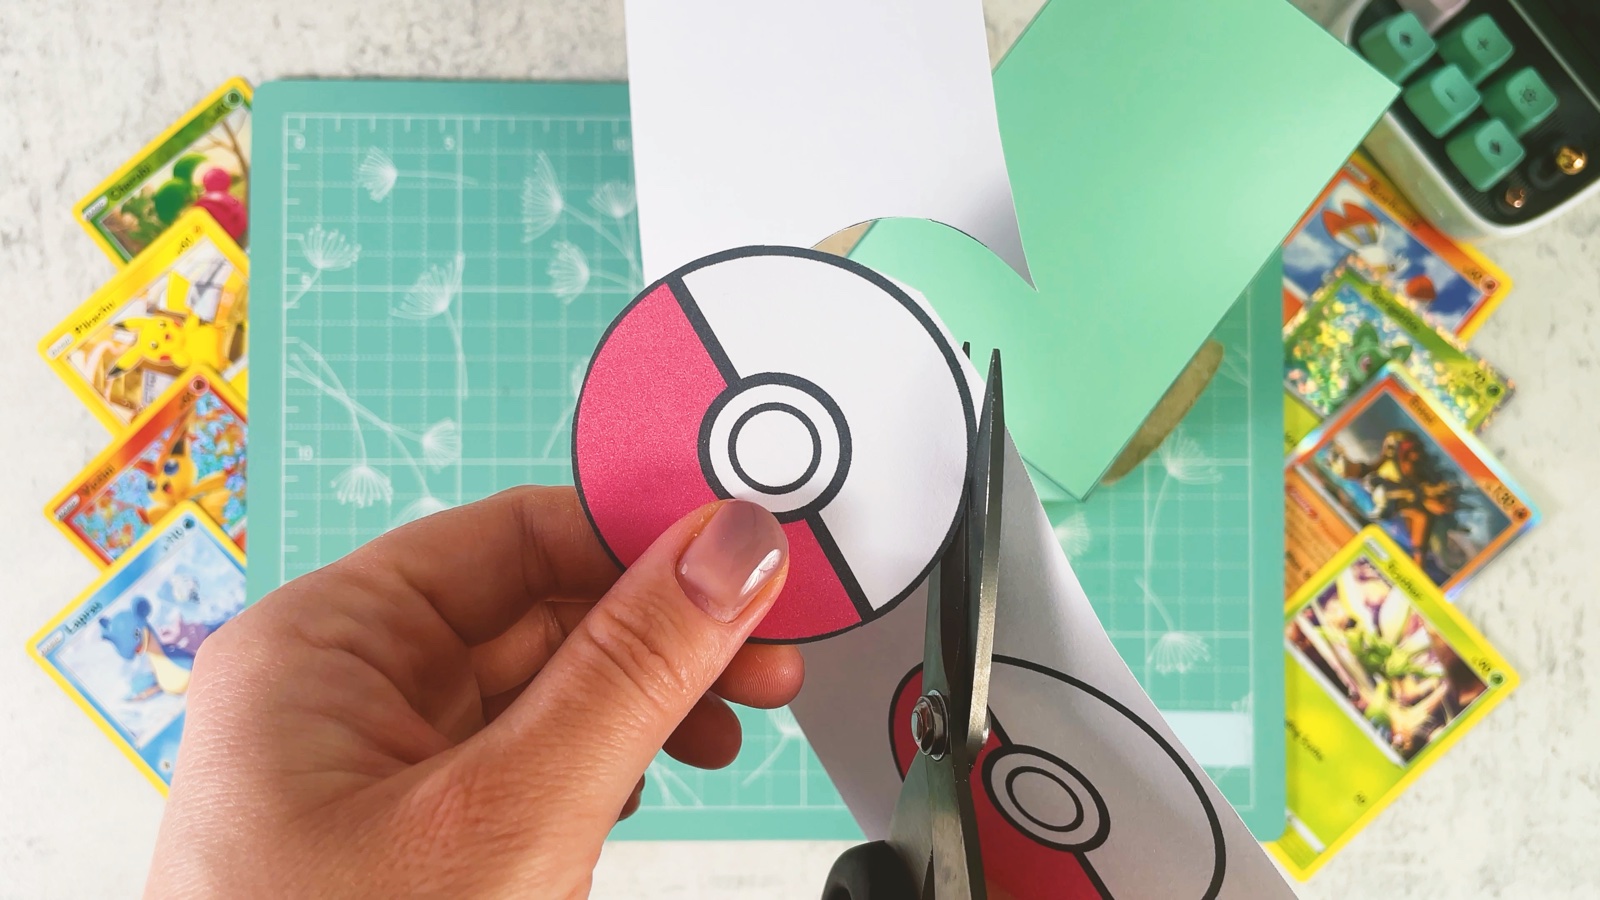
Cut out the Poké Balls
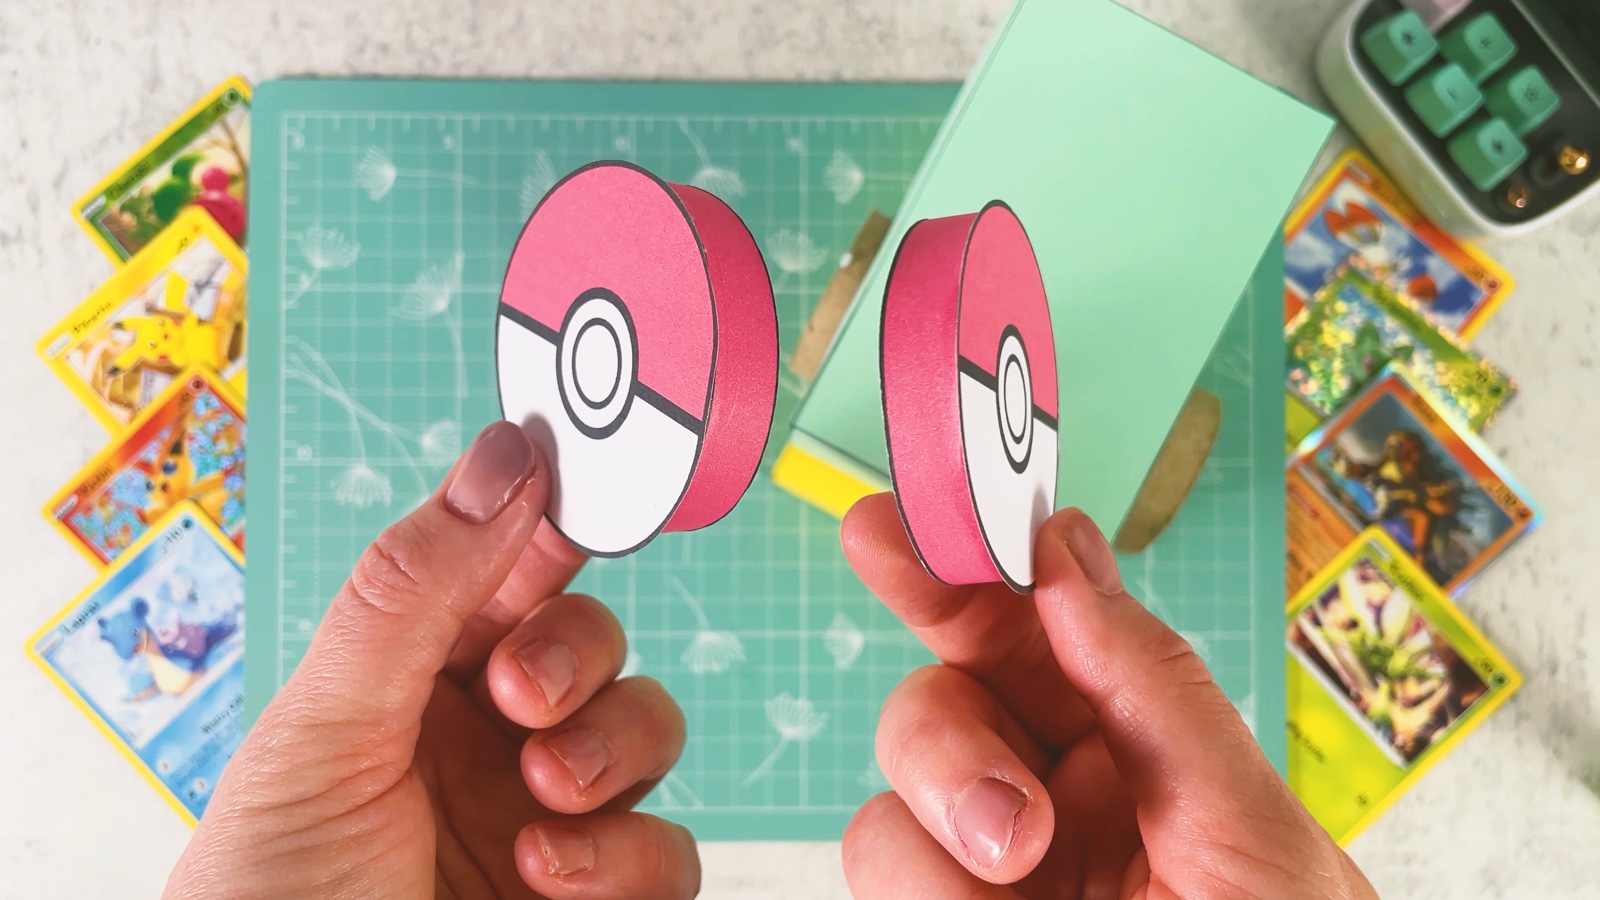
Print page 4 on white paper. Cut out the two Poké Balls and the two red strips.
- 16
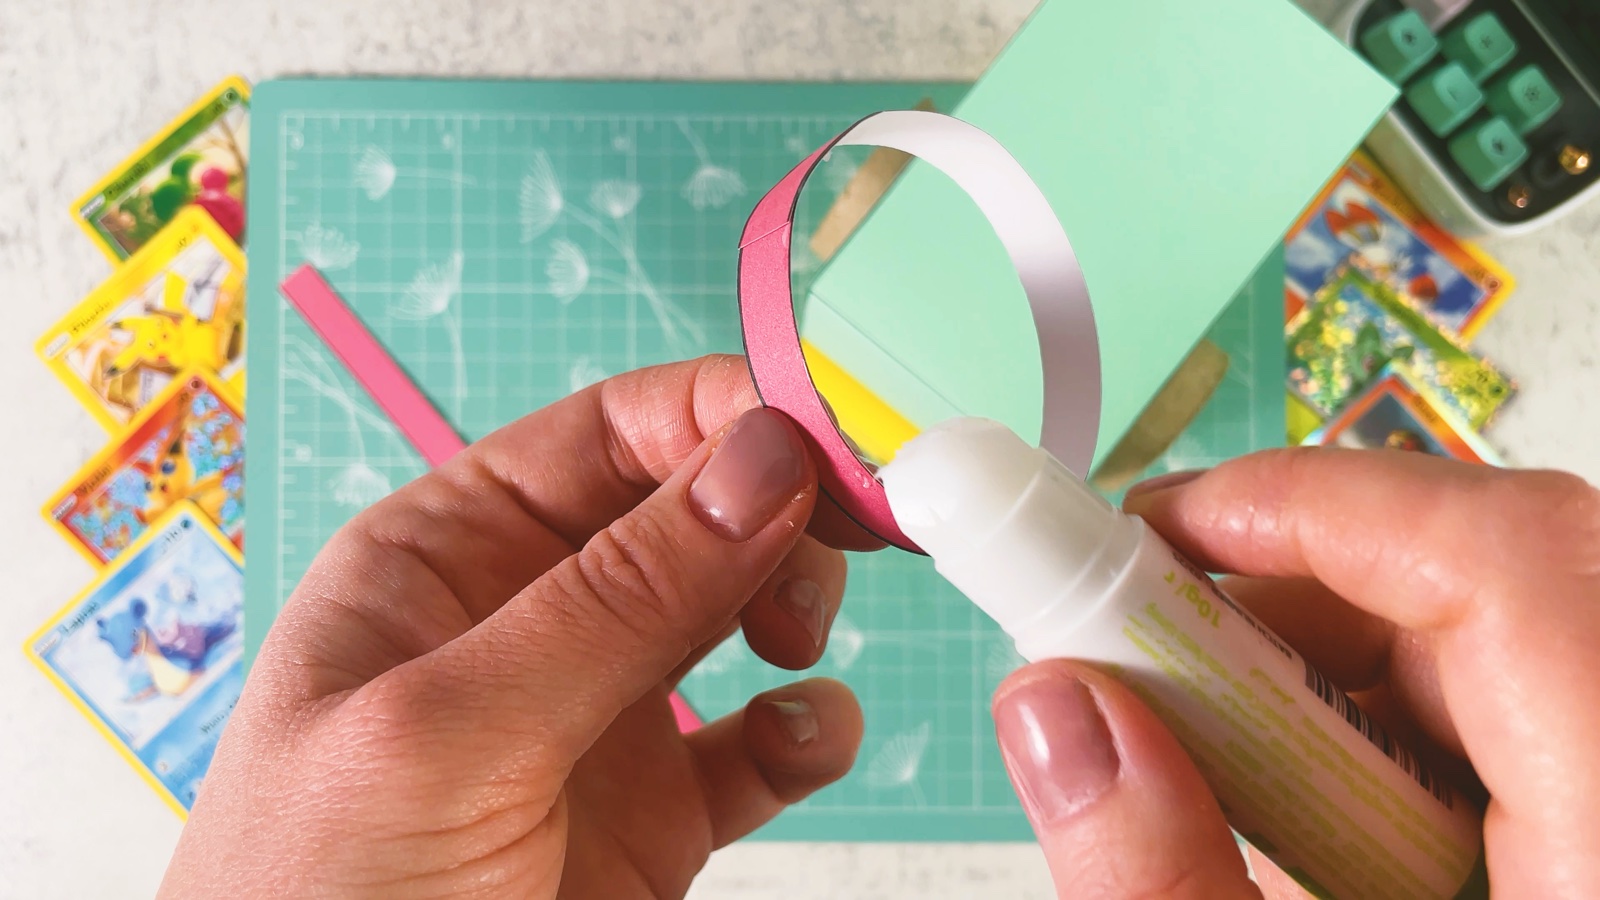
Give them a rim
Glue a red strip around the edge of each Poké Ball, like a lid. Now they look like little round caps.
- 17
Glue on the handles
Put glue on the ends of the roll and press a Poké Ball cap onto each side.
- 18
Add Pikachu
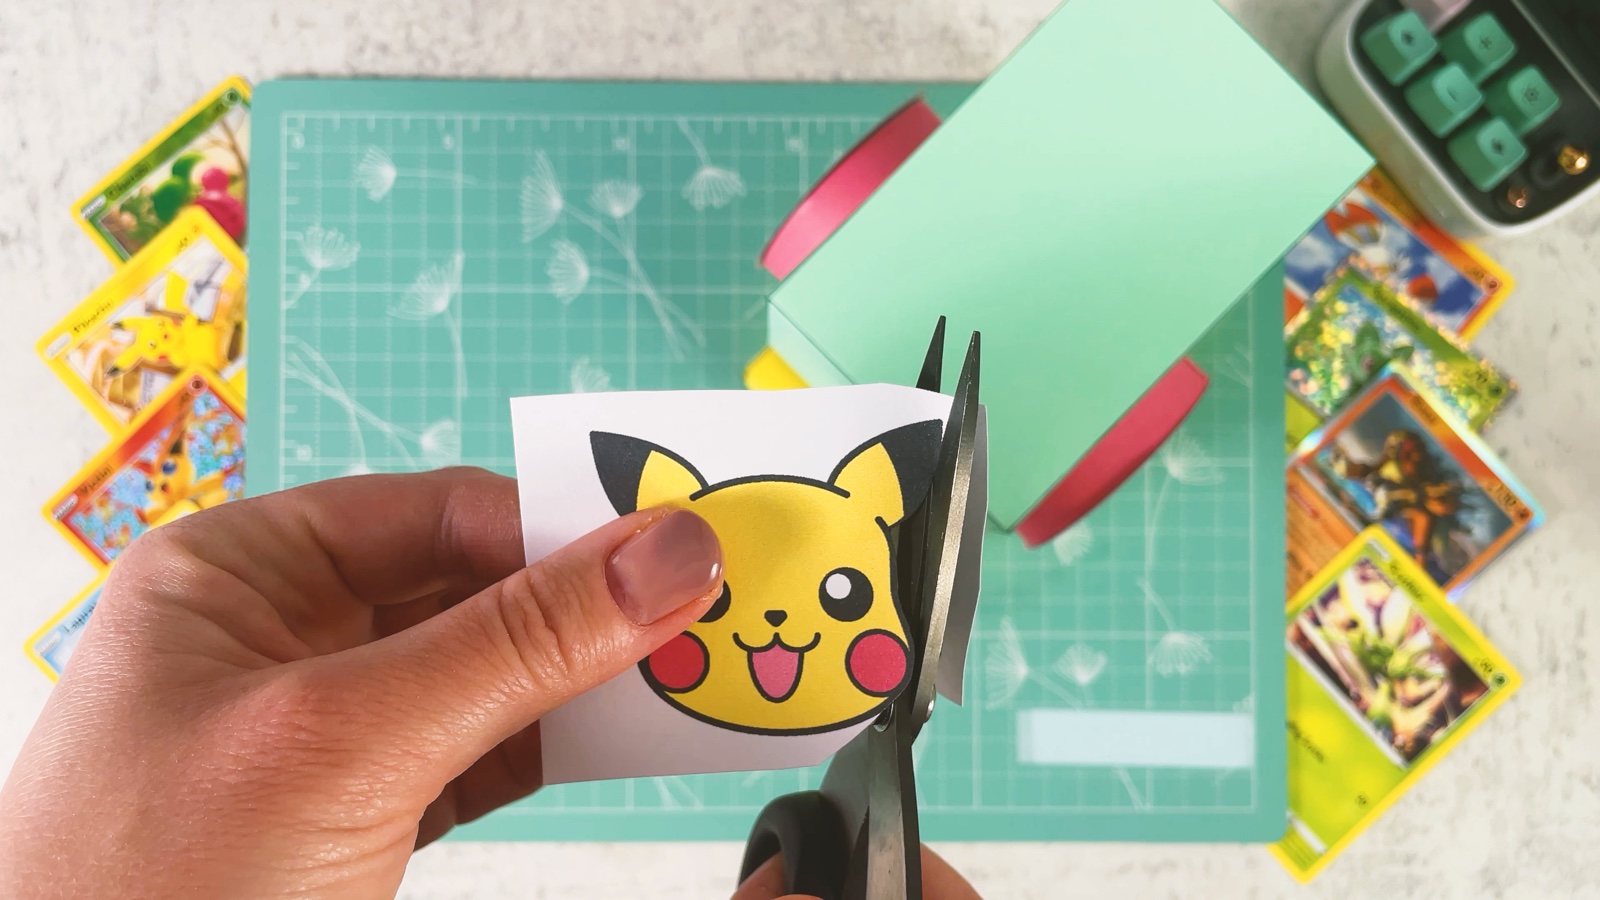
Cut out the Pikachu face. Stick a piece of foam tape on the back and press it onto the front of the machine. You can use Bulbasaur, Charmander or Gengar instead.
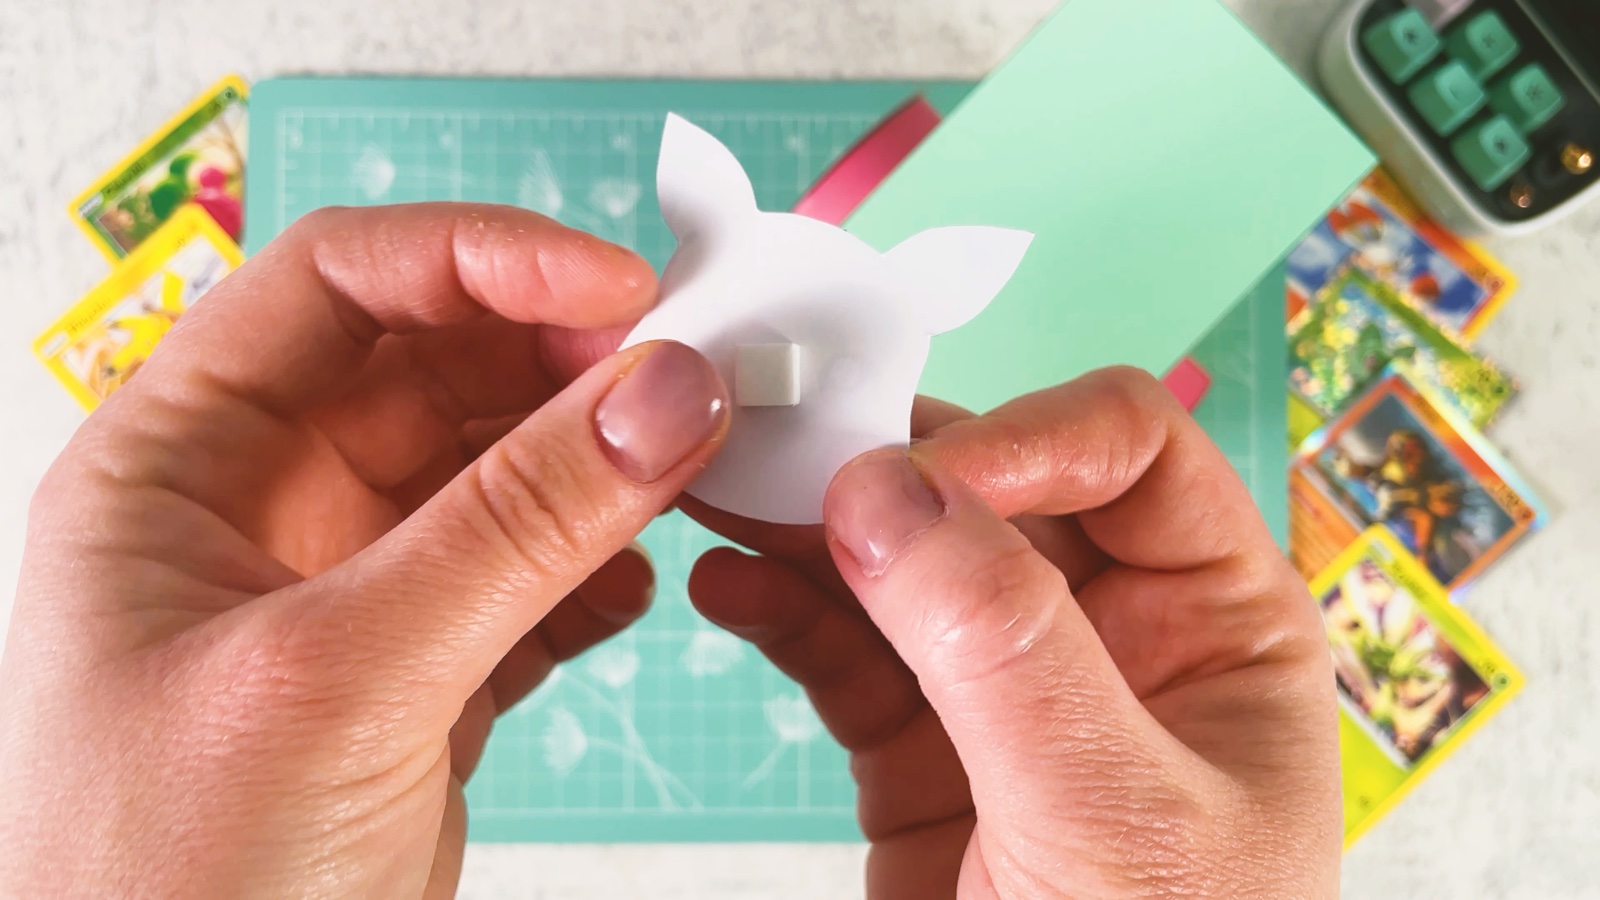
- 19
Make the coins
Punch out the coins with a circle punch, or cut them out with scissors.
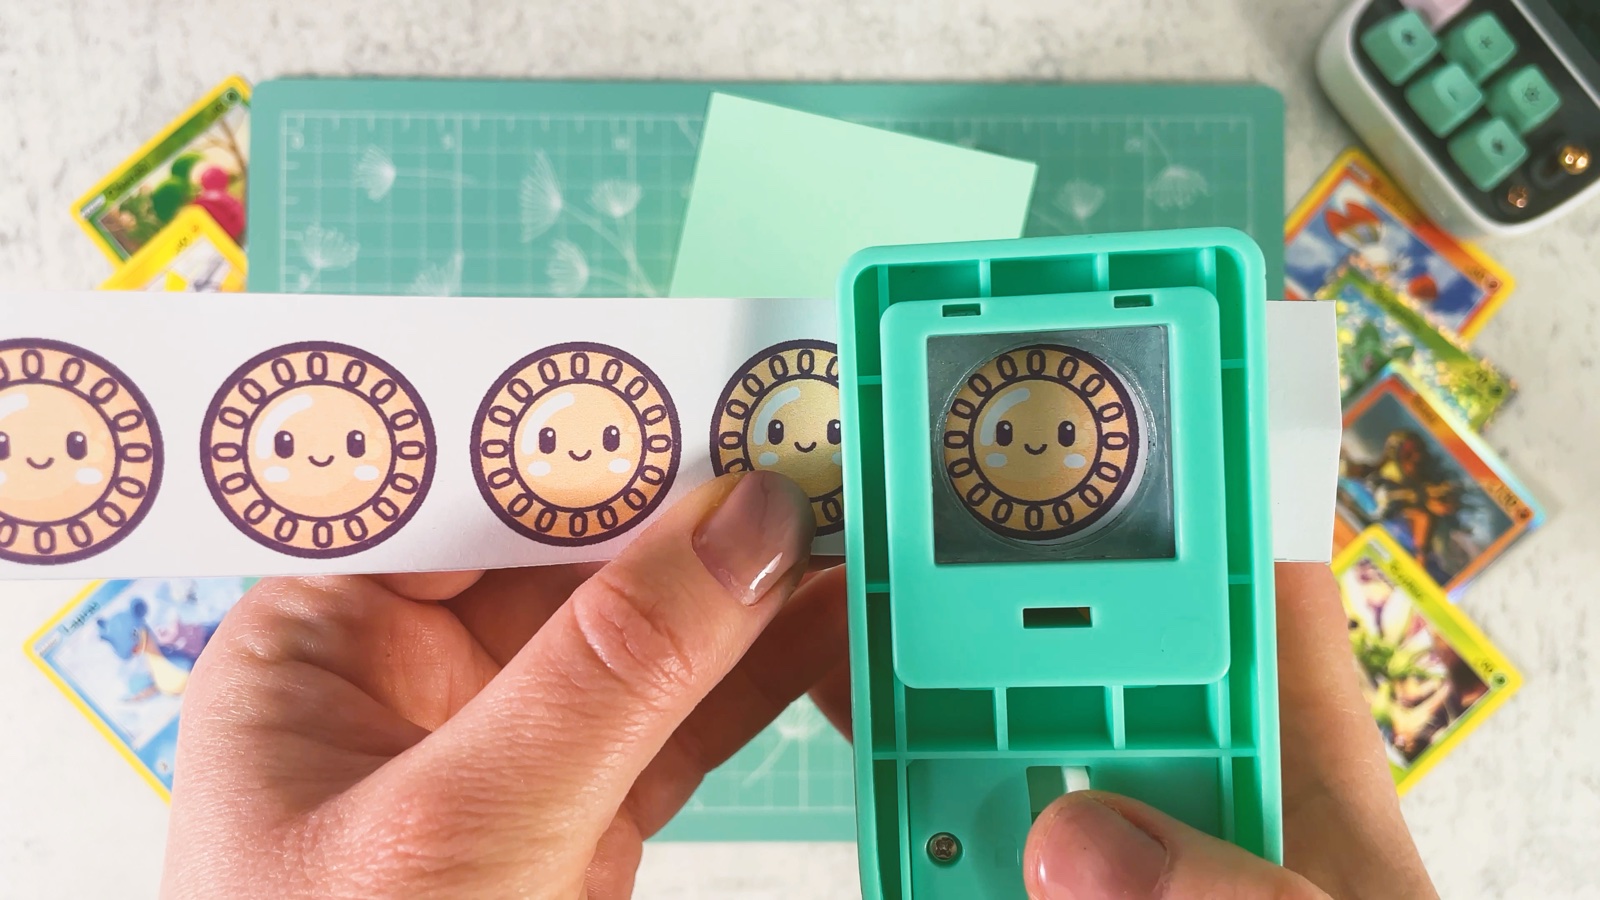
- 20
Load the cards and play
Open the back of the machine and put a small stack of cards on the tray, under the roller.
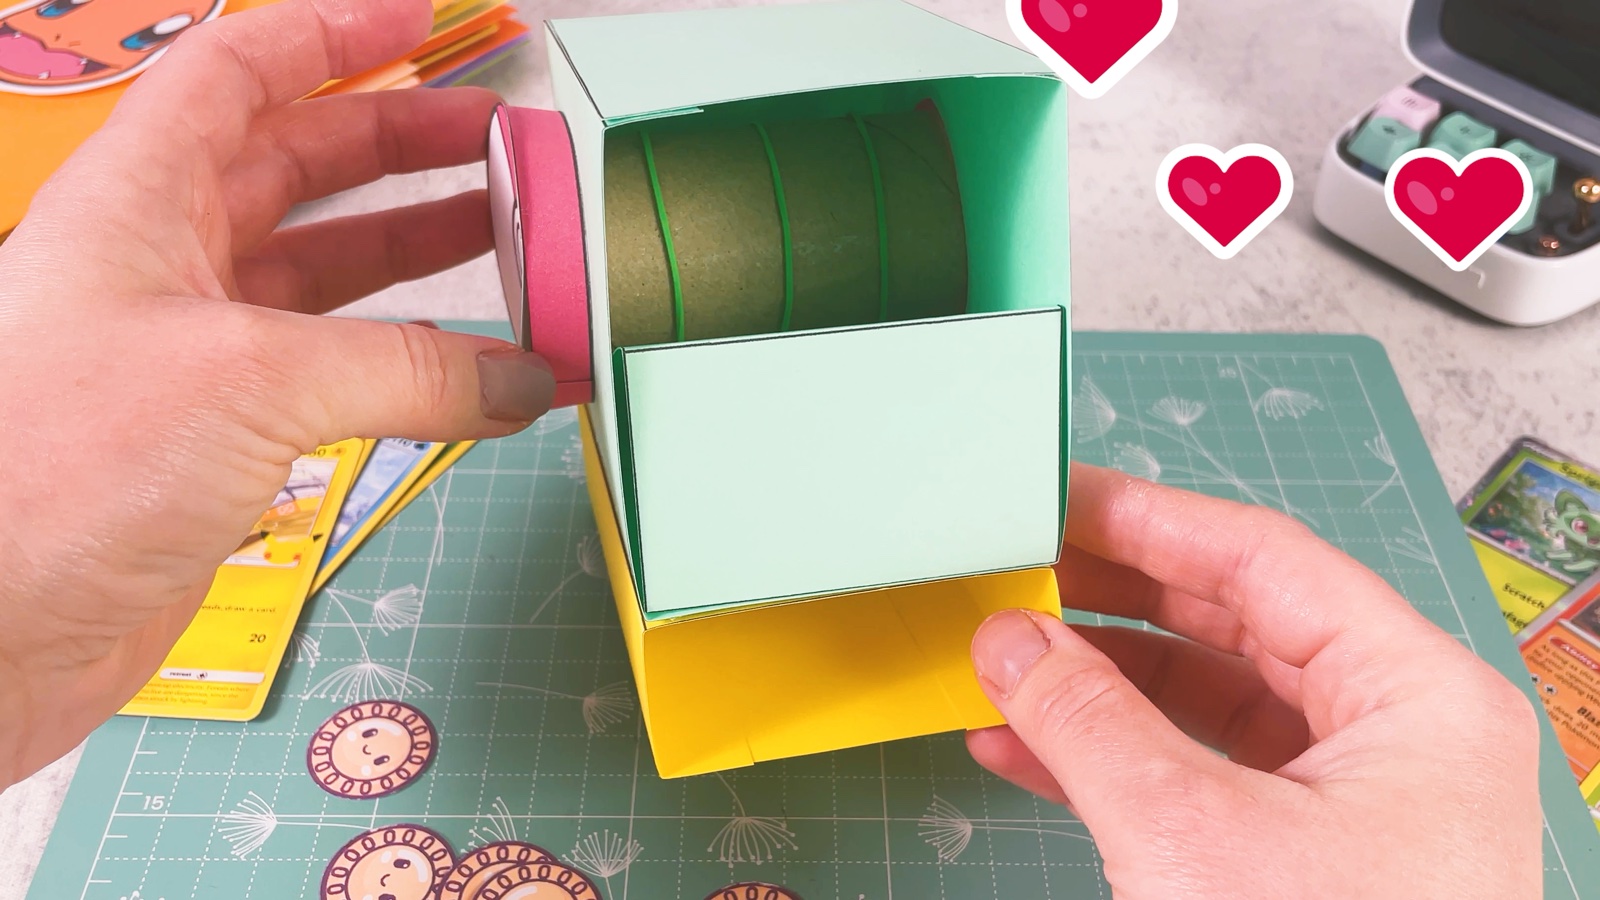
Drop a coin into the slot and turn the Poké Ball handle. The roller pushes a card out through the front gap.
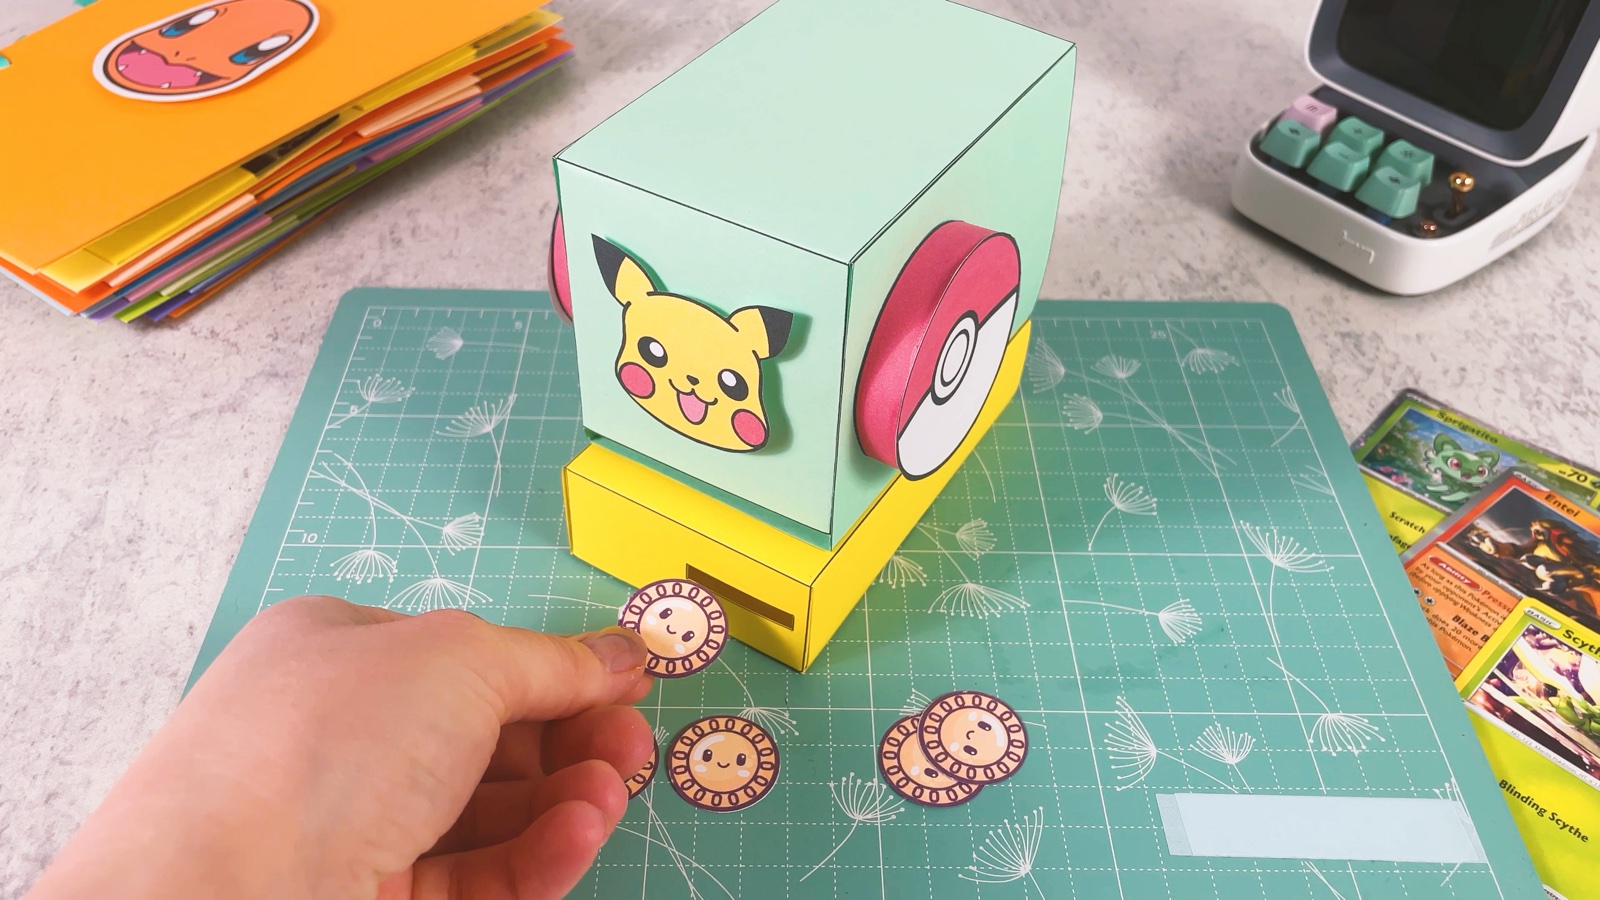
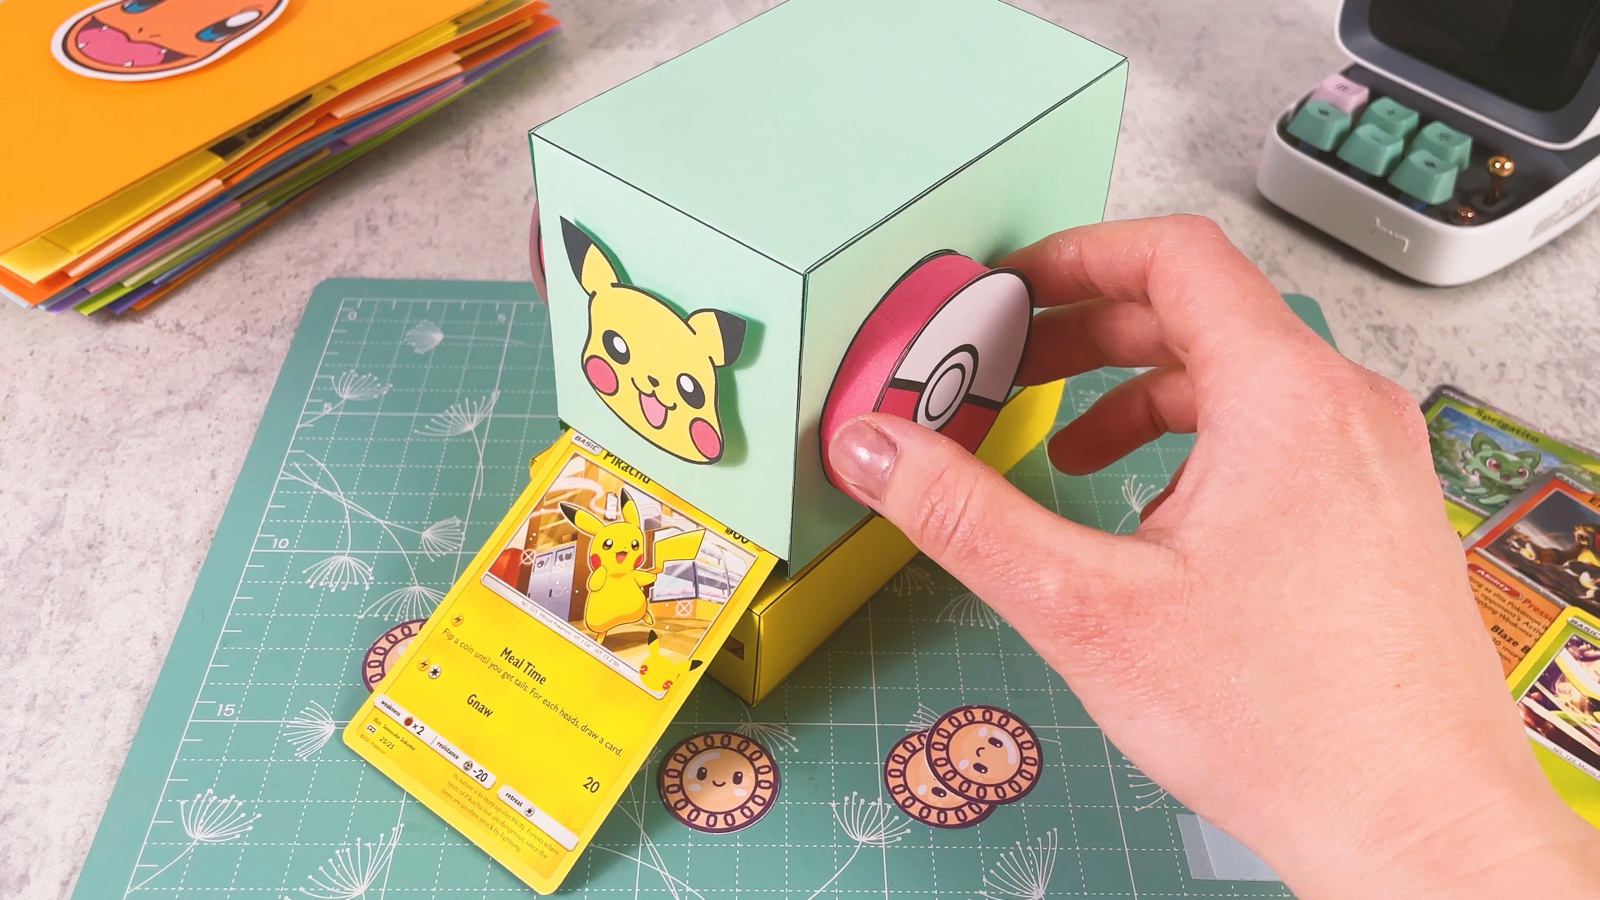
Here it is, your own Pokémon card vending machine.
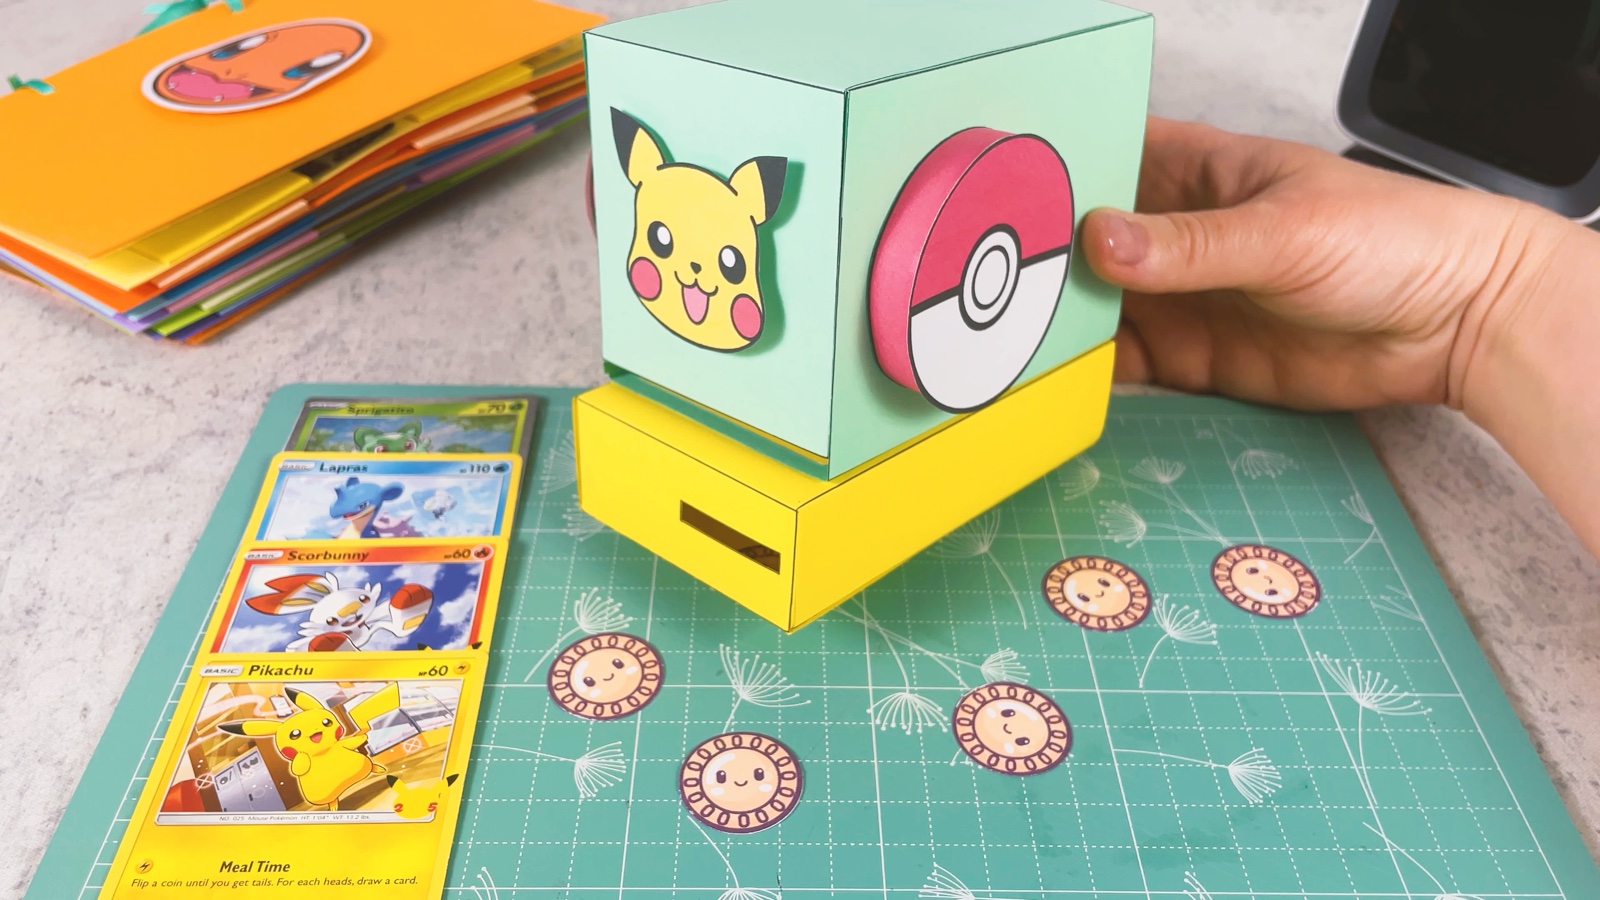
Your Pokémon card machine is ready.
THREE LITTLE TIPS
Make it easier.
- Use a glue stick, not liquid glue. Liquid glue makes the paper wavy and the box gets soft.
- Thicker paper = a stronger machine. Card around 160 g/m² (about 60 lb cardstock) keeps the box straight when you turn the handle.
- Not too many cards at once. A small stack works best. If the roller slips, add one or two cards or tighten the rubber bands.

A CUBI MINI MOMENT
Which card will come out first?
Cubi hid one special card in the machine, just for Mini. Which card would you hide for a friend?
A shiny Pikachu card, with a tiny note on the back: "For Mini."
Loved making it?
Catch the next make first, or save this one for a rainy day.