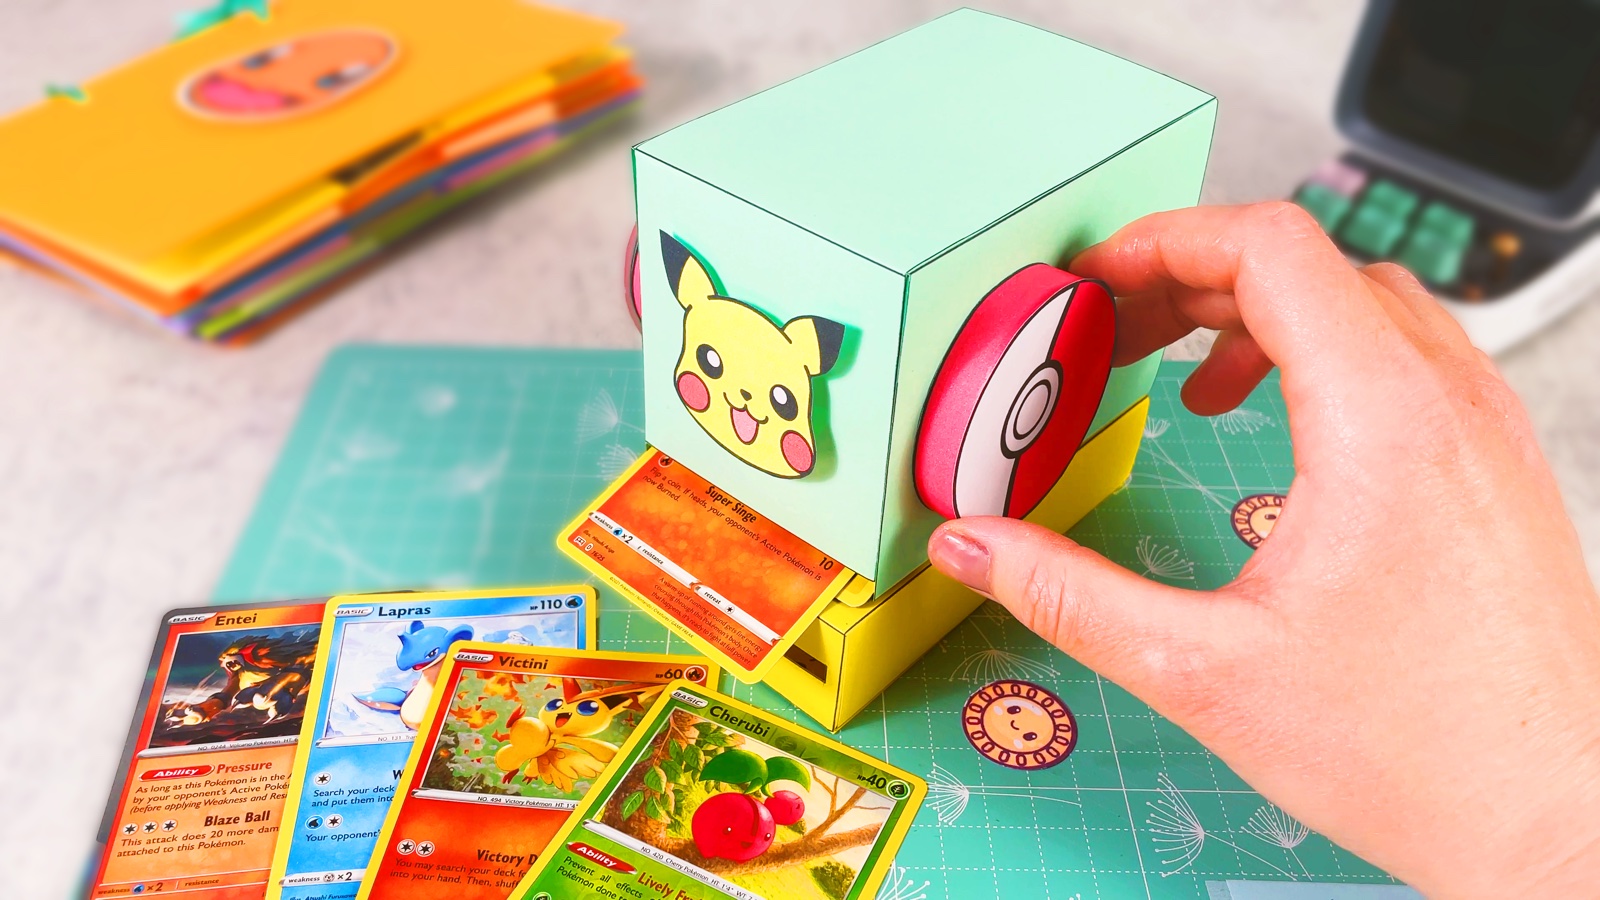
Let’s make our own paper Pokémon TCG binder! It is a book-style binder for Pokémon cards, A5 size (or US half-letter), made from colourful A4 or US Letter paper and a few simple folds.
Every Pokémon type gets its own colour: Electric Pokémon like Pikachu on yellow pages, Fire Pokémon like Charmander on orange, Water on blue, Grass on green, Psychic on purple. Folded paper pockets hold the cards. The main artwork stays fully visible, and the pocket covers only the extra info at the bottom.
Each section starts with a divider page with a type symbol. The cover is stiff cardboard wrapped in coloured paper, with Charmander on the front. Two ribbons hold the pages together, so you can untie them and add new pages when the collection grows. A great way to keep Pokémon cards without plastic sleeves, and a lovely gift for a young collector.
BEFORE WE START
What you need.
Materials
- Coloured A4 or US Letter paper, one colour per Pokémon type
- Lighter paper for the pockets
- Printed Pokémon type symbols
- White paper
- Thin cardboard× 2
- Mint paper for the inside of the cover
- A printed Charmander (or your favourite Pokémon)
- Foam pads
- Ribbon
- Glue tape or glue stick
Tools
- Paper trimmer or scissors
- Scissors
- Hole punch
- Circle punches, two sizes
- A printer
PART 1 OF 5
The pages
- 1
Choose your colours
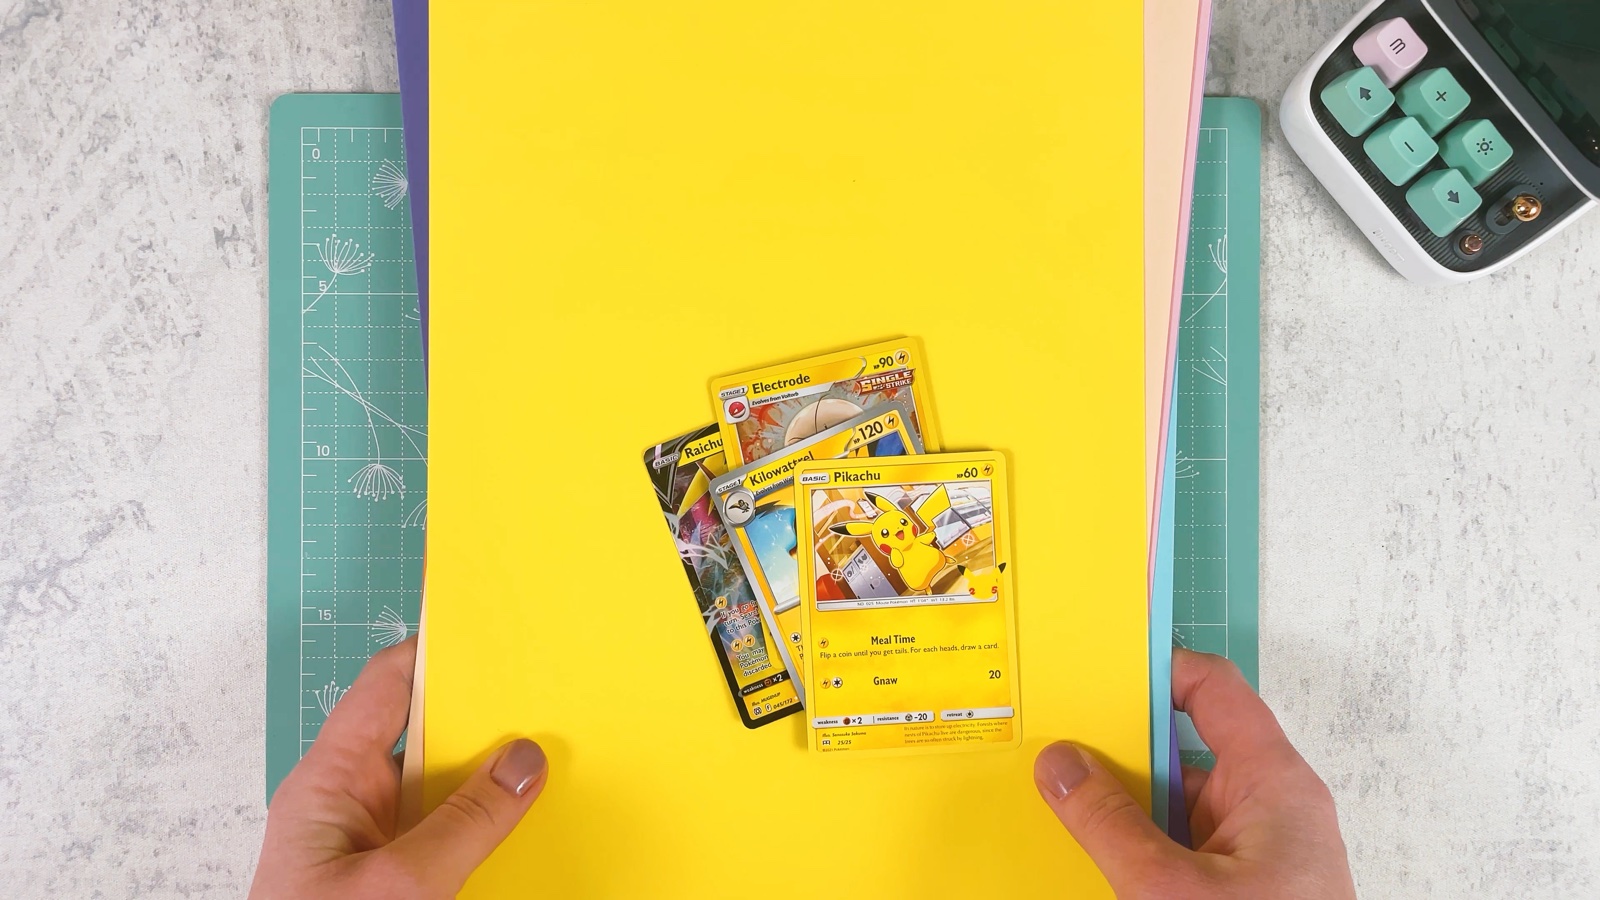
Pick one paper colour for each Pokémon type. Yellow for Electric, orange for Fire, blue for Water, green for Grass, purple for Psychic. Sort your cards into piles by type.
- 2
Cut the pages
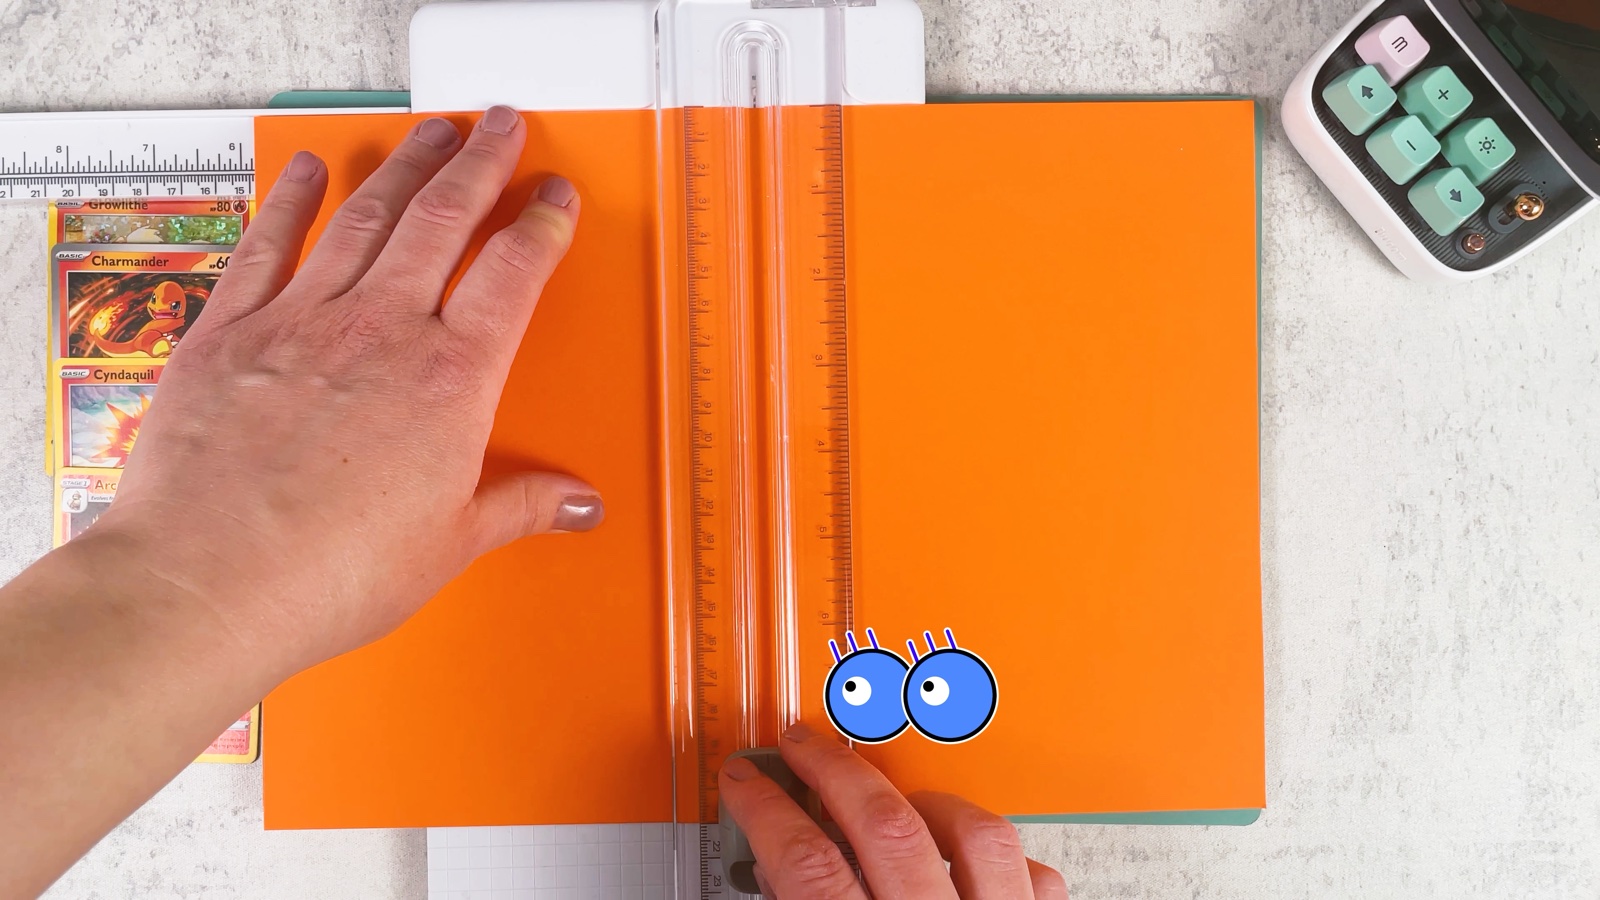
Cut each A4 or US Letter sheet in half to get two A5 (half Letter) pages. A paper trimmer makes the edges nice and straight.
- 3
Punch the holes
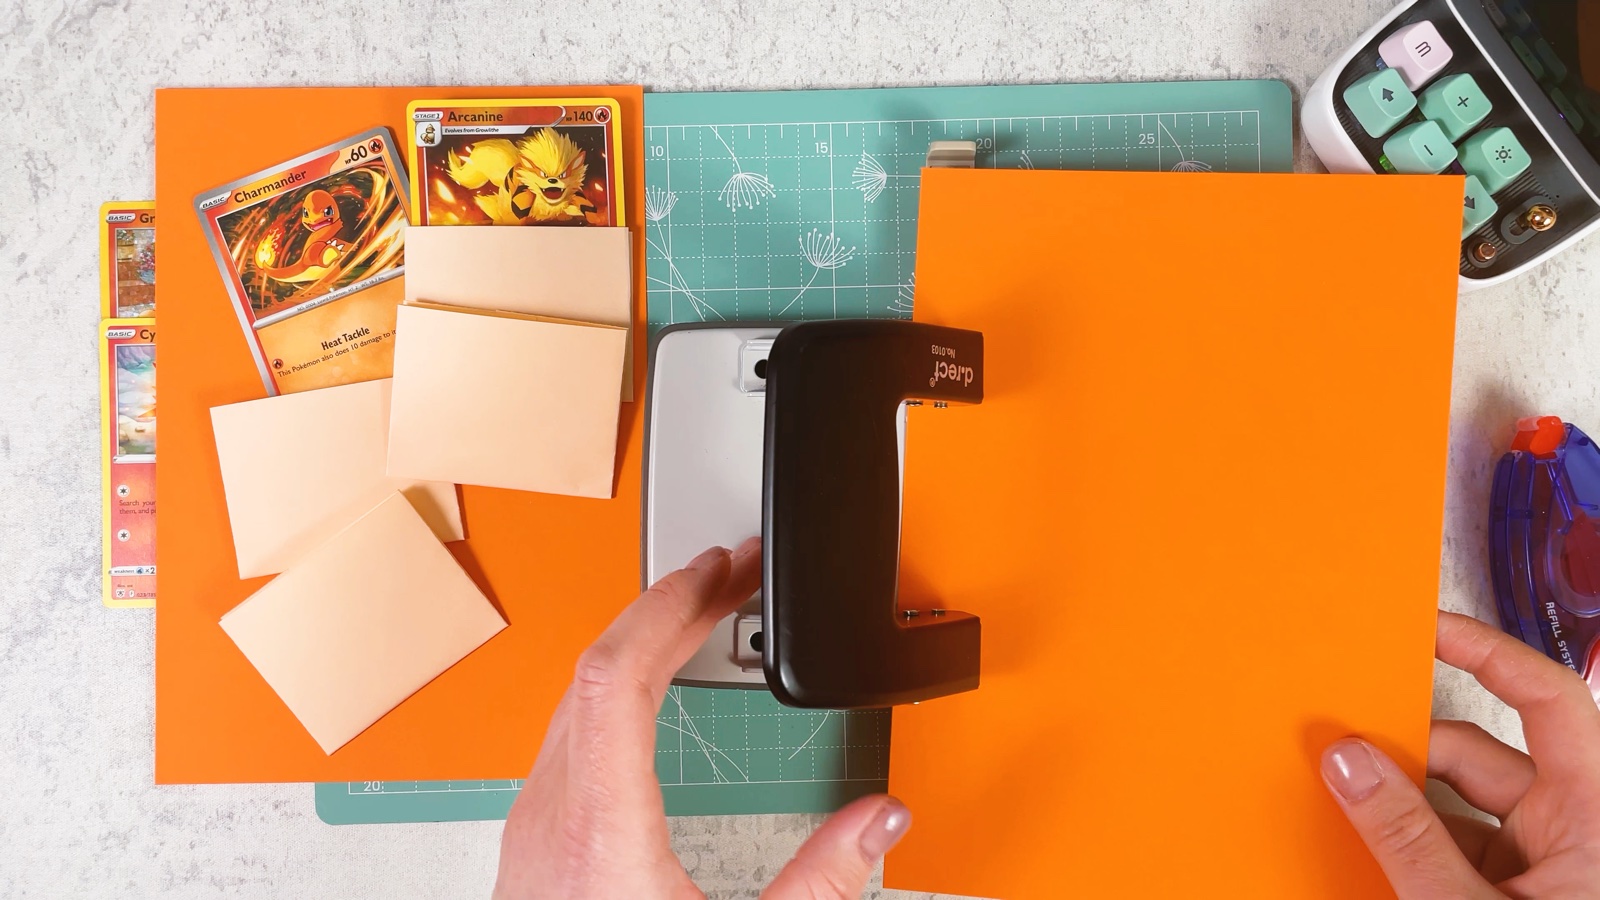
Punch two holes along the left edge of every page, one near the top and one near the bottom. Use the first page as a guide for the others, so all the holes line up.
PART 2 OF 5
The card pockets
- 4
Cut the pocket paper
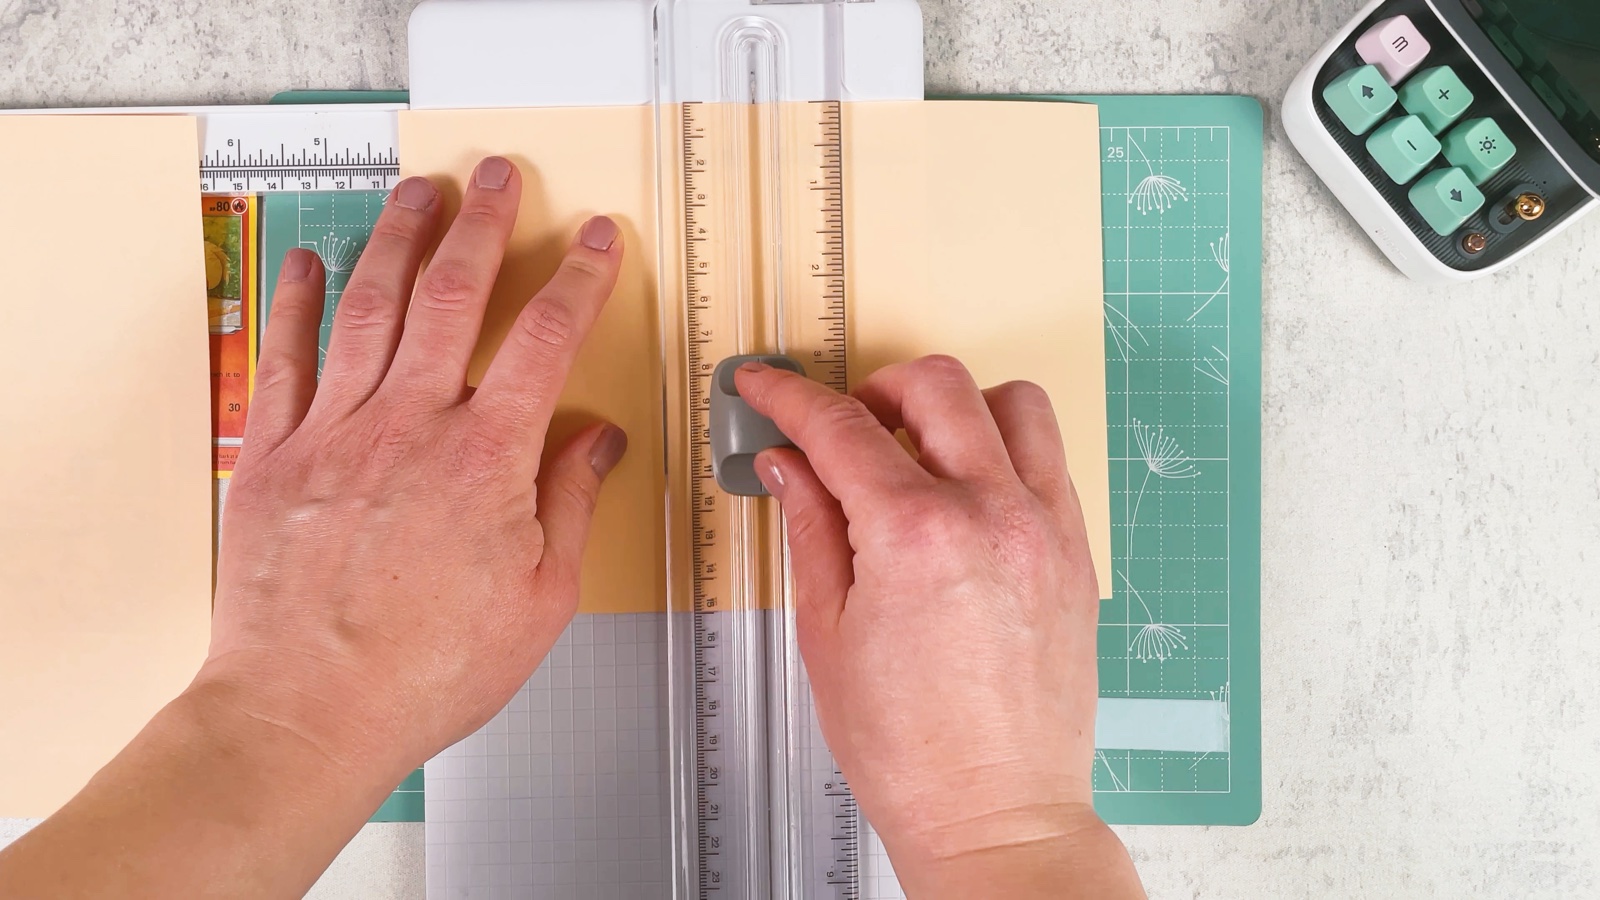
Take the lighter paper and cut it into A6 (quarter Letter) pieces: a sheet in half, and each half in half again. One piece makes one pocket.
- 5
Fold the sides around a card
Lay a card in the middle of a piece, with the long sides of the card going up and down.
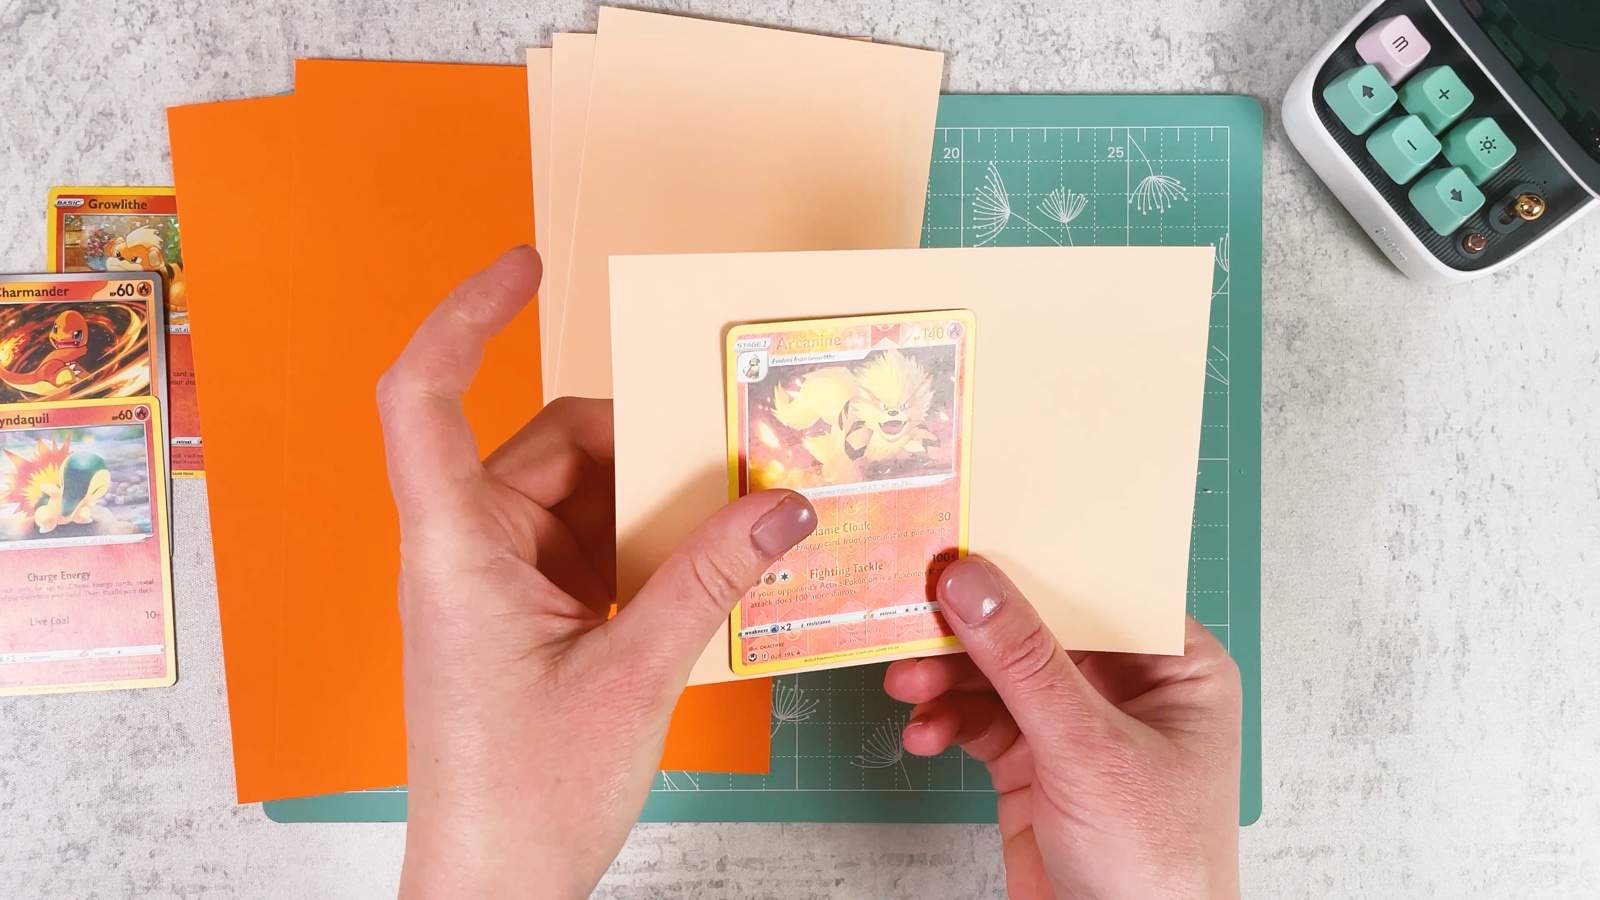
Fold the right side of the paper over the card and press the fold flat.
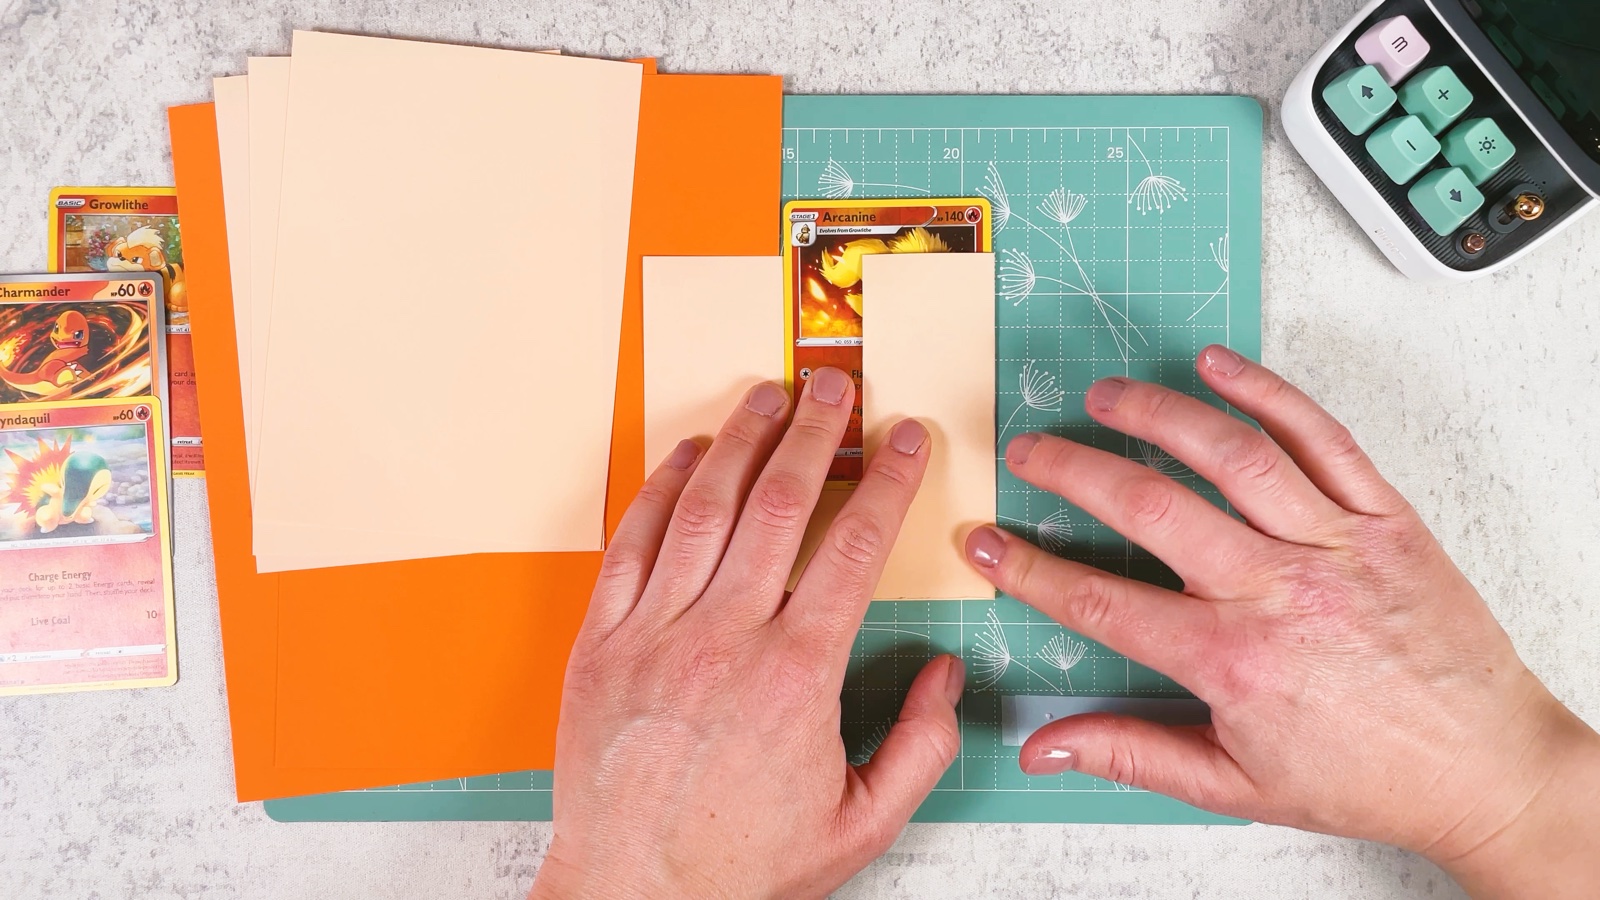
Now fold the left side over the card too. The paper is now just as wide as the card.
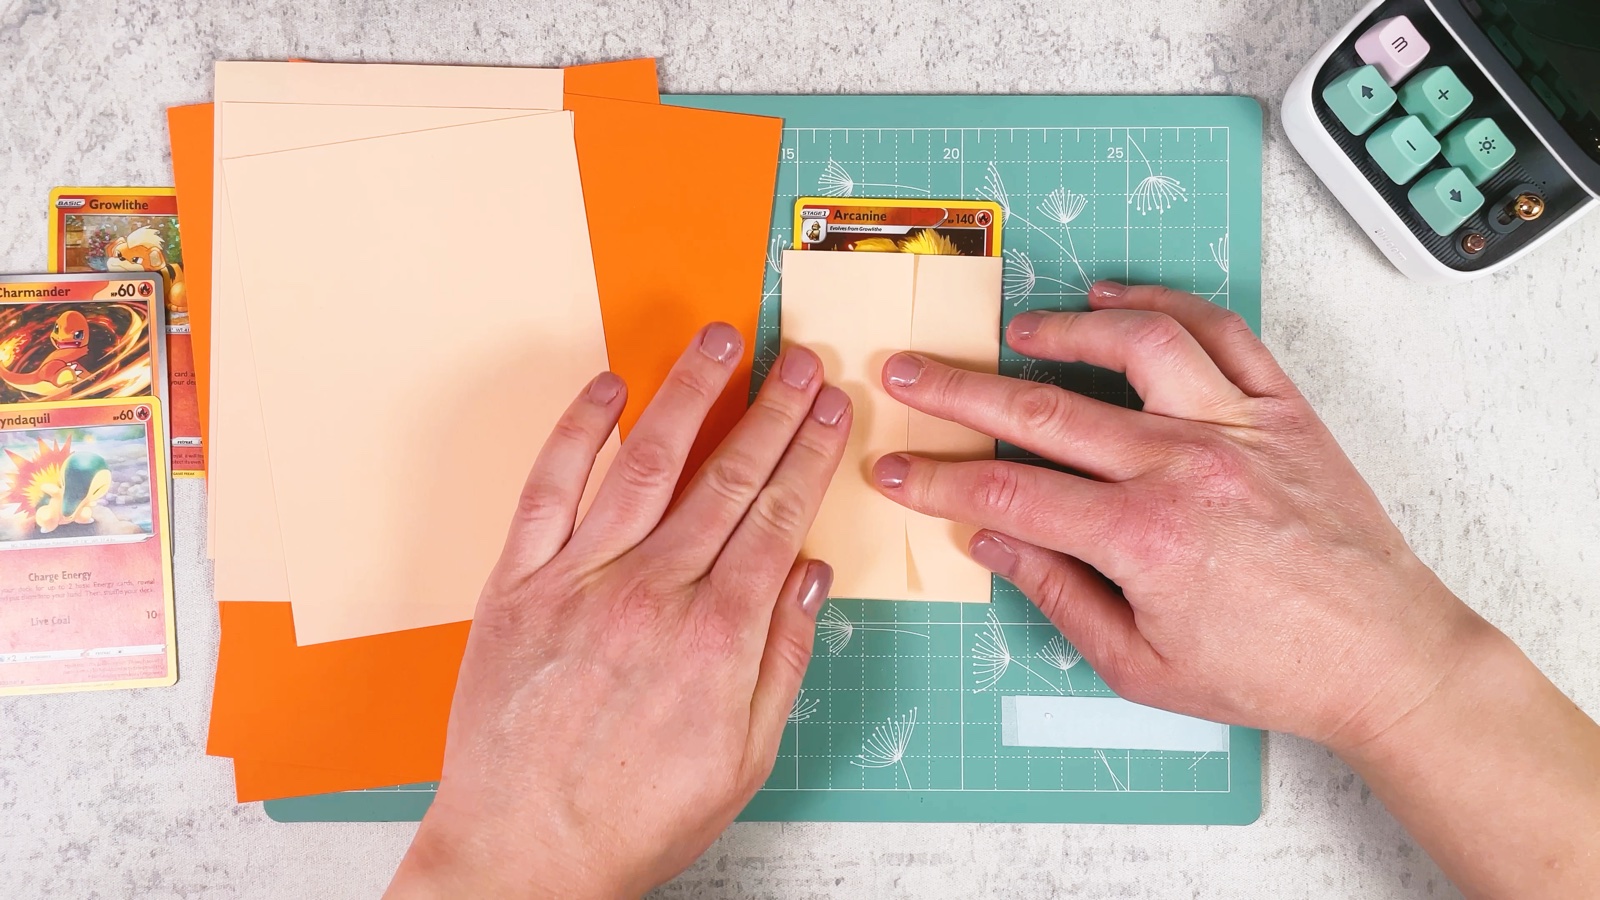
- 6
Take out the card
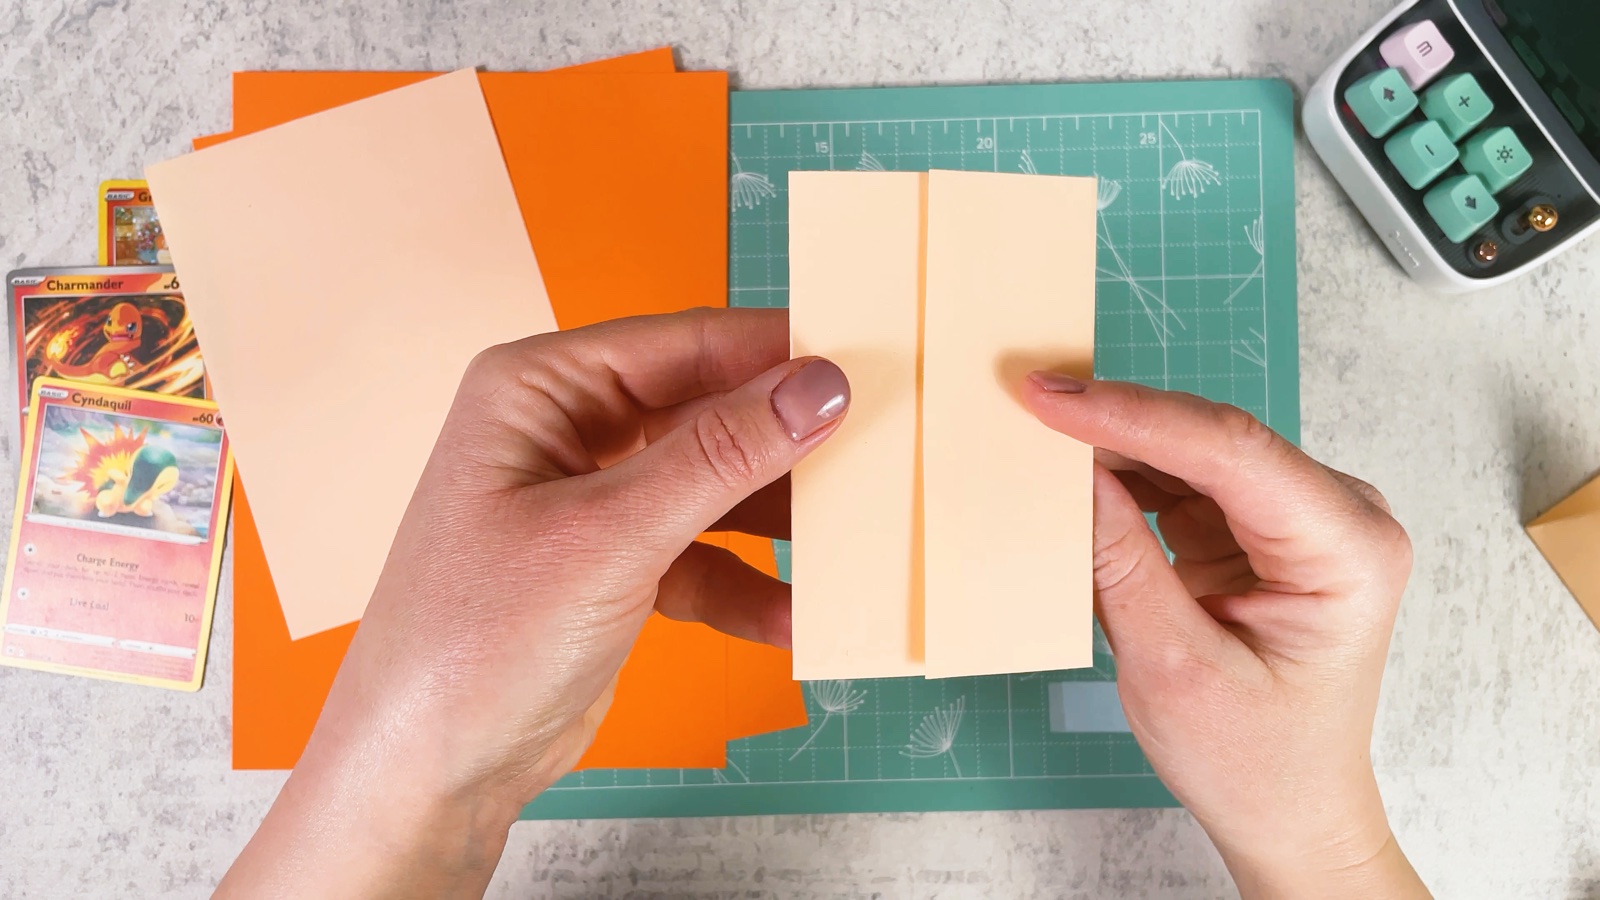
Slide the card out. You now have a long strip with two folded sides meeting in the middle.
- 7
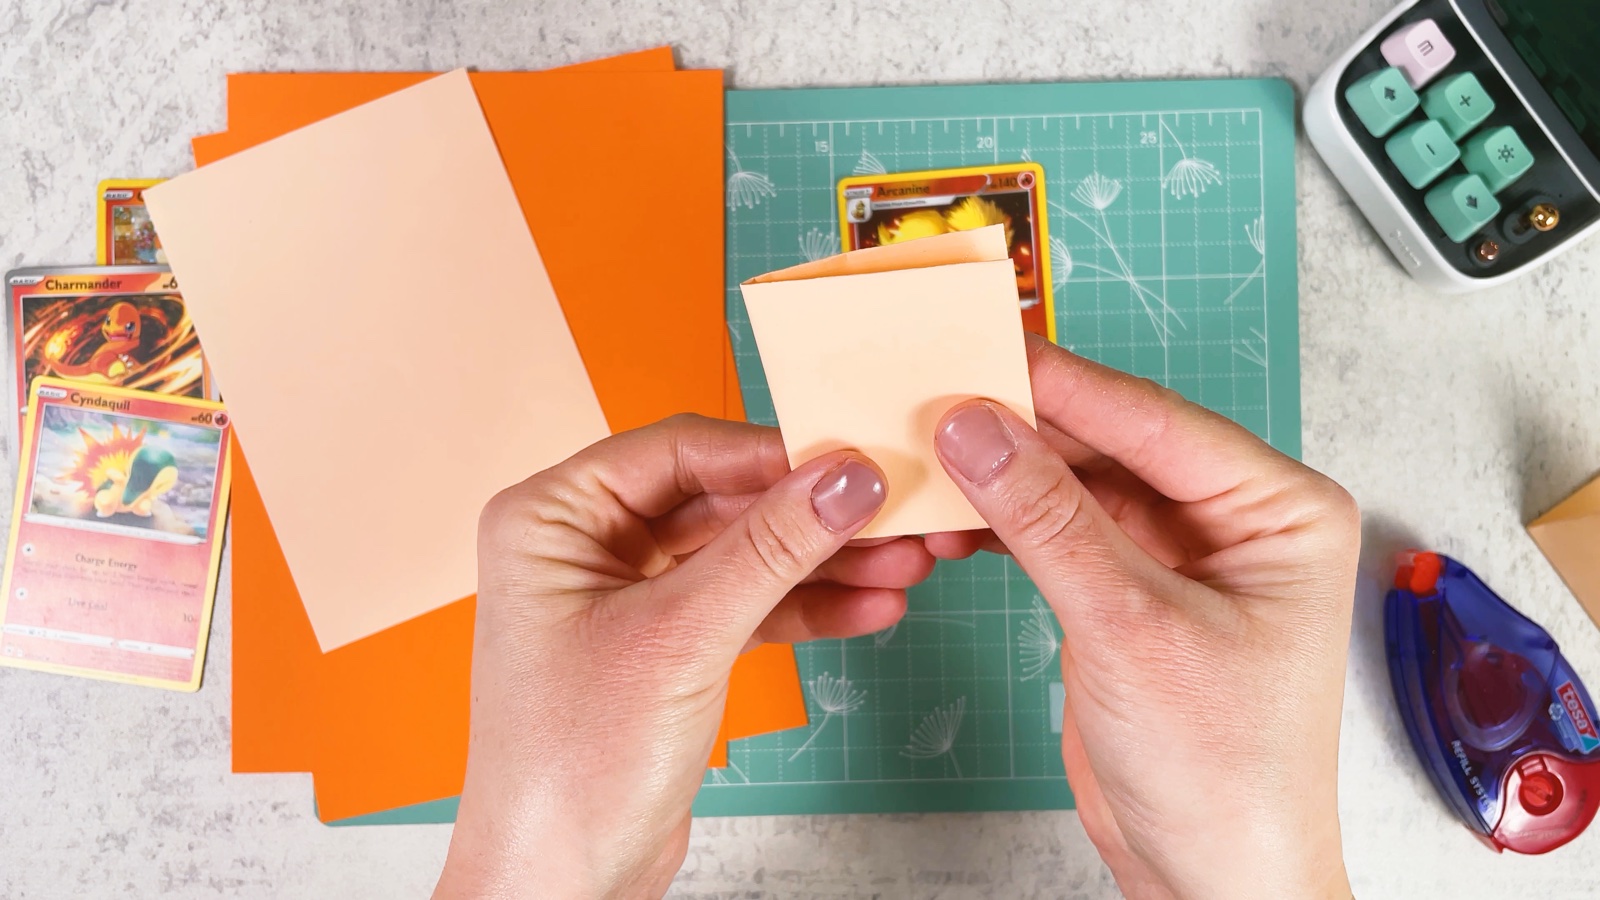
Fold it in half
Fold the strip in half from the bottom up, with the flaps on the inside.
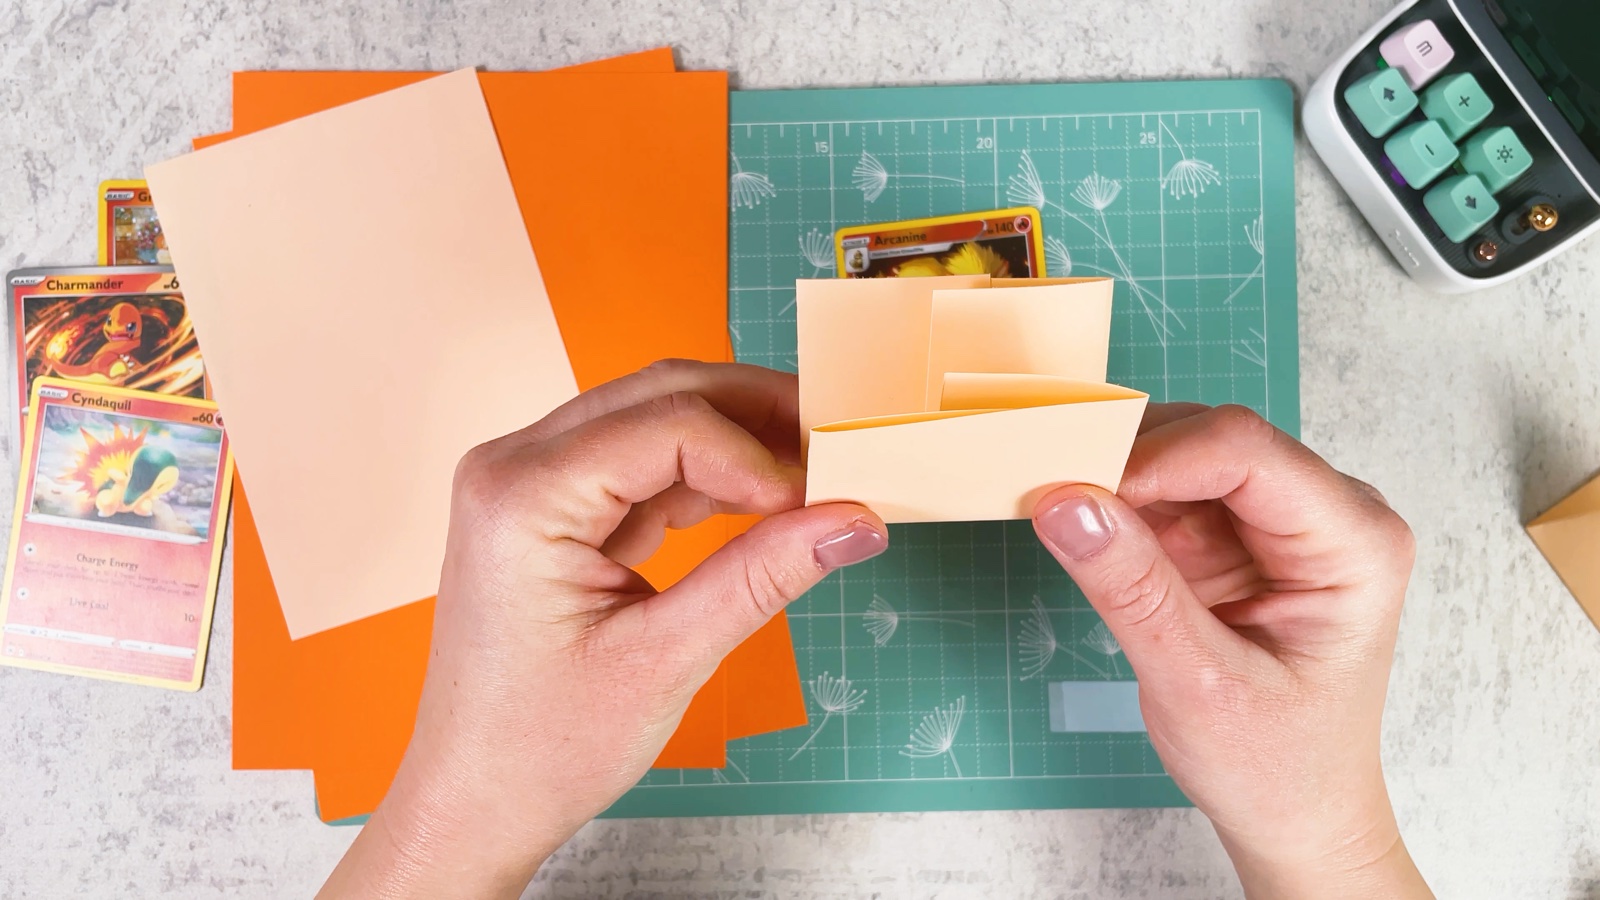
- 8
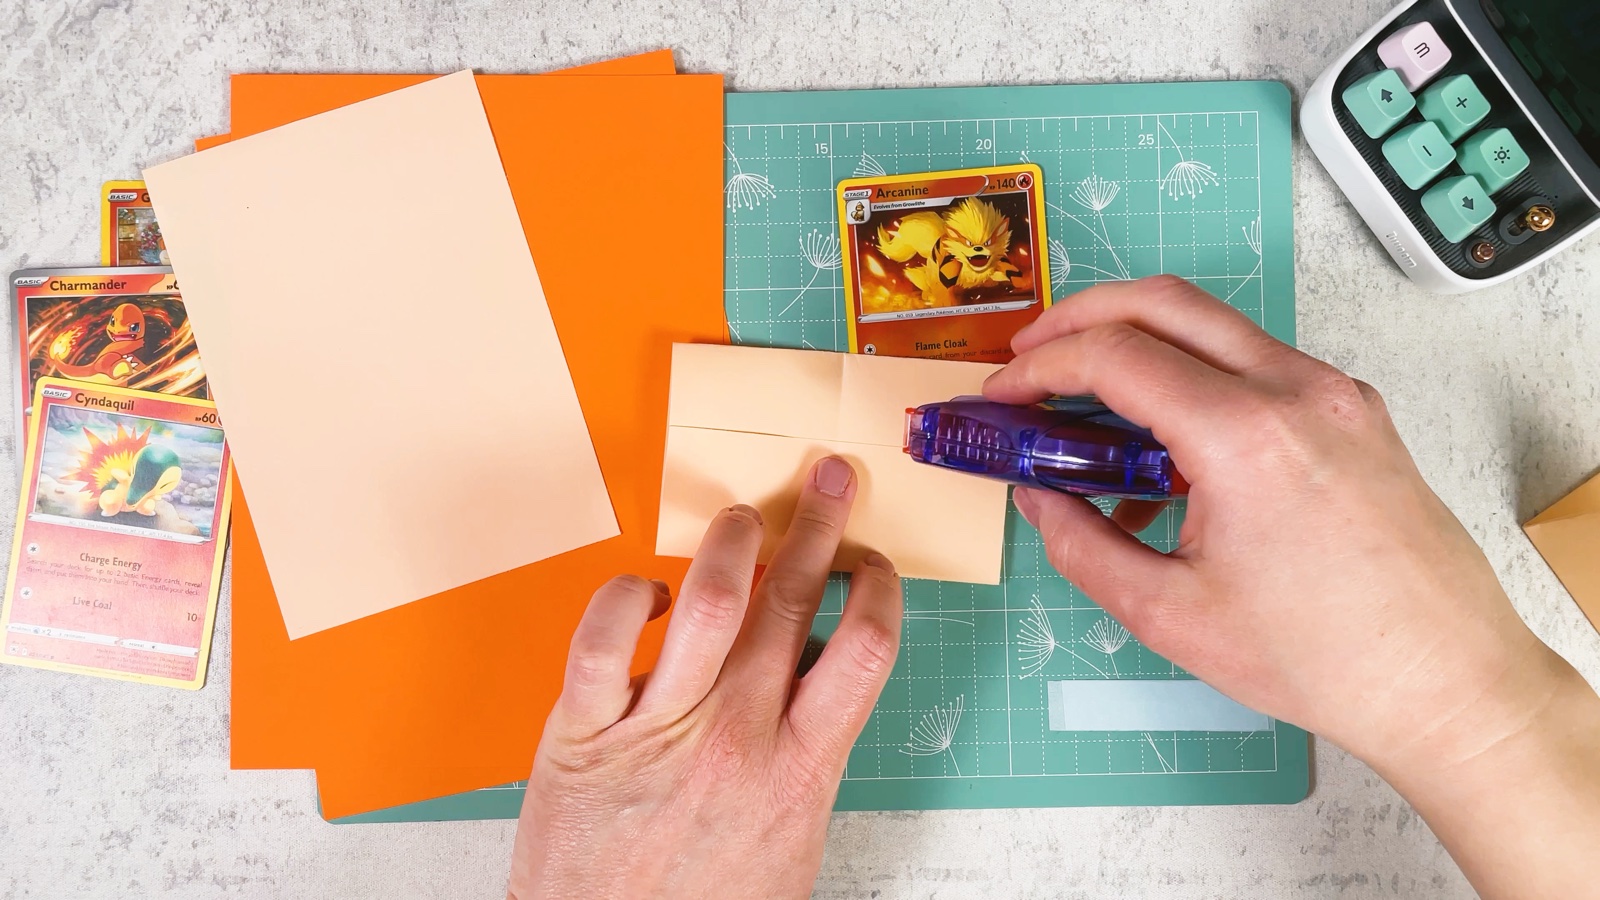
Glue it closed
Unfold it again and put glue on the flaps of the bottom half. Fold it back up and press well, so the sides stick together. Leave the top open.
- 9
Open the pocket
Gently open the top edge with your fingers.
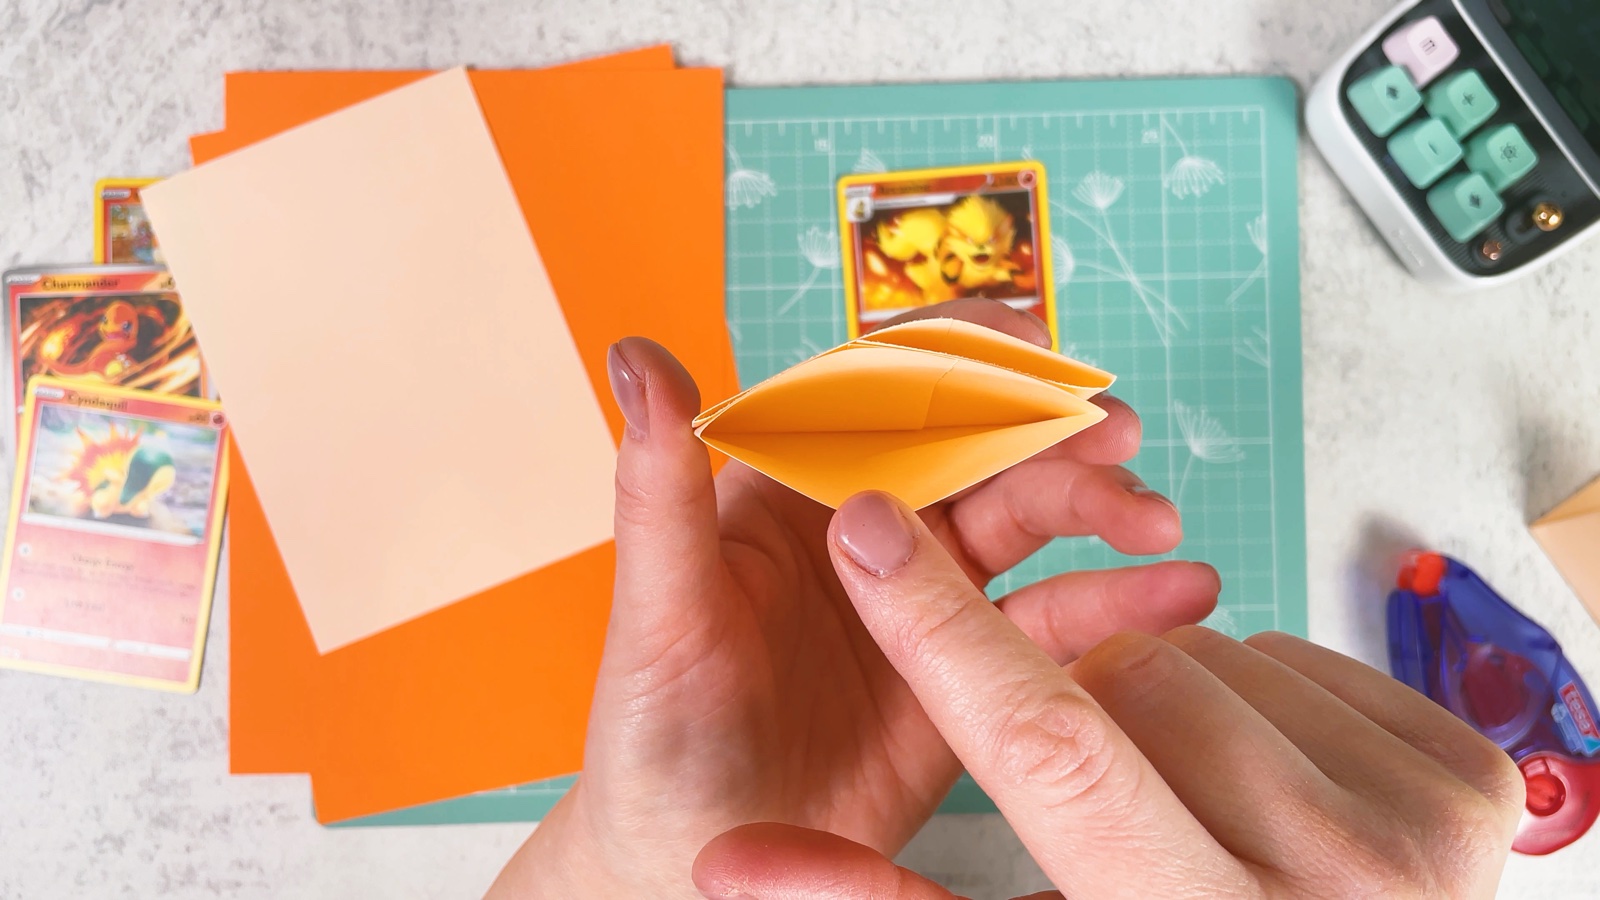
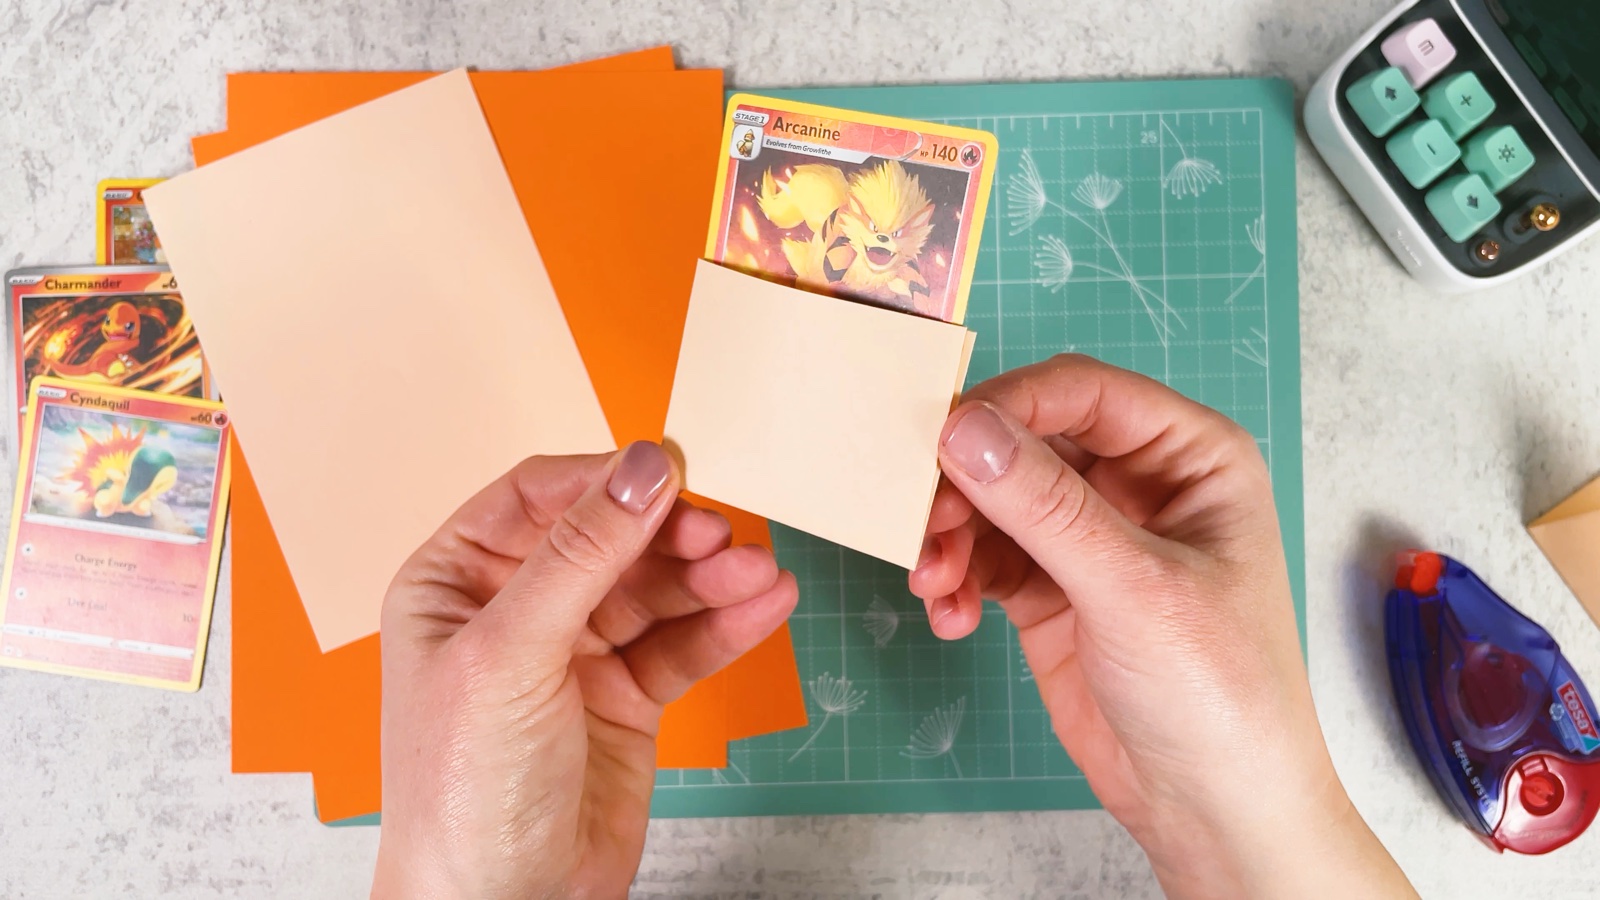
Slide a card in. The picture shows at the top, and the pocket covers only the text at the bottom.
- 10
Glue the pockets on the page
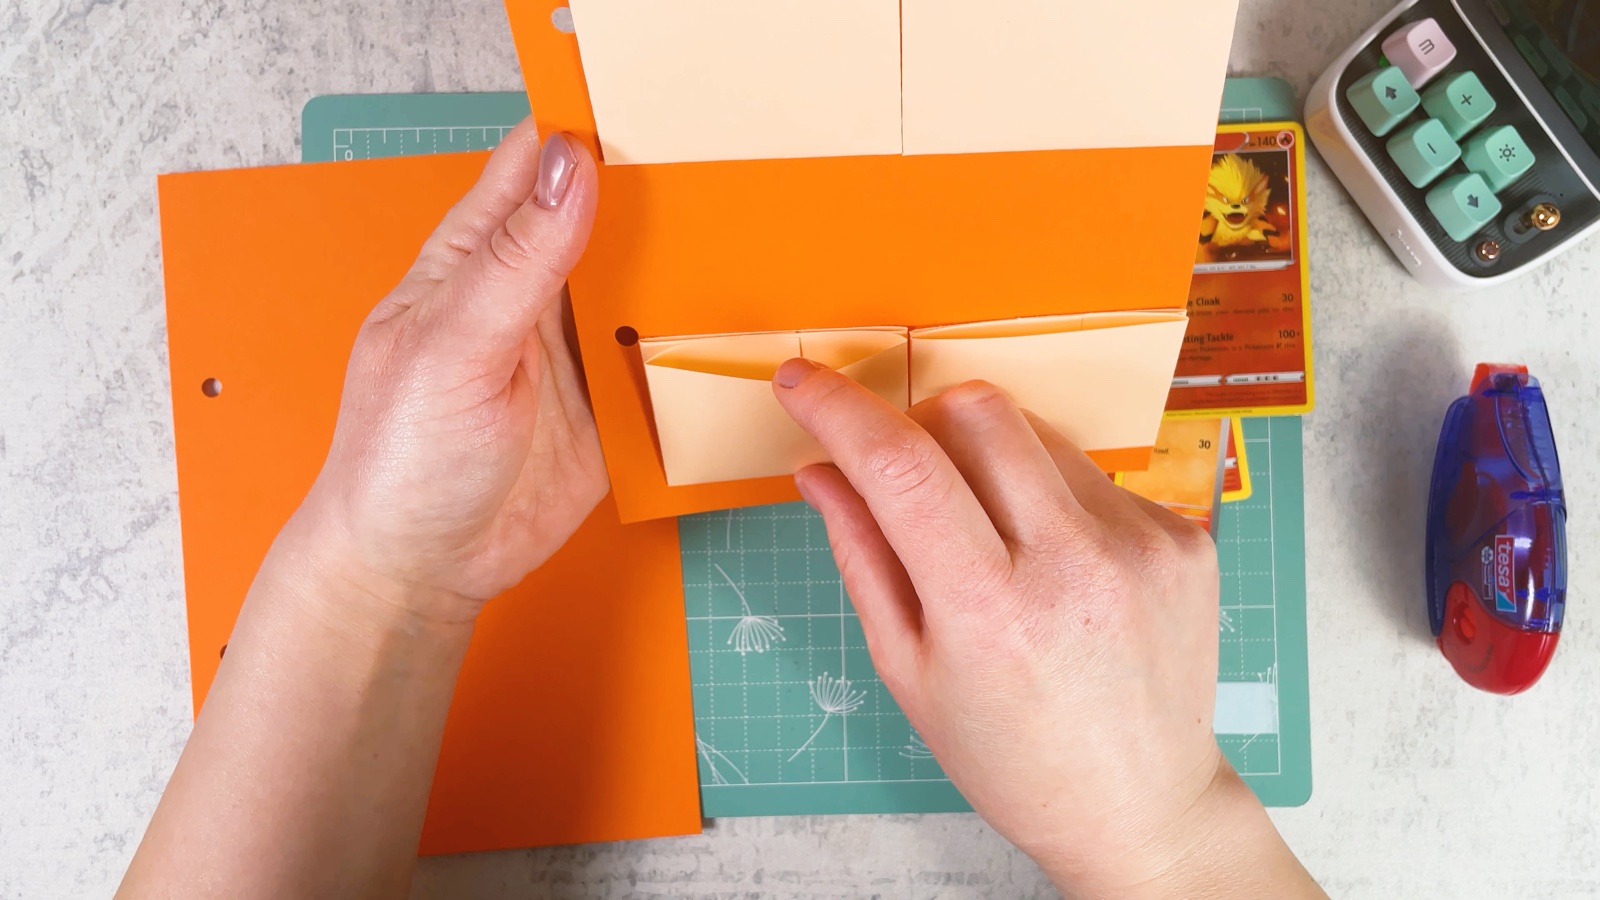
Glue four pockets onto one page, two at the top and two at the bottom. Leave a little space on the left for the holes.
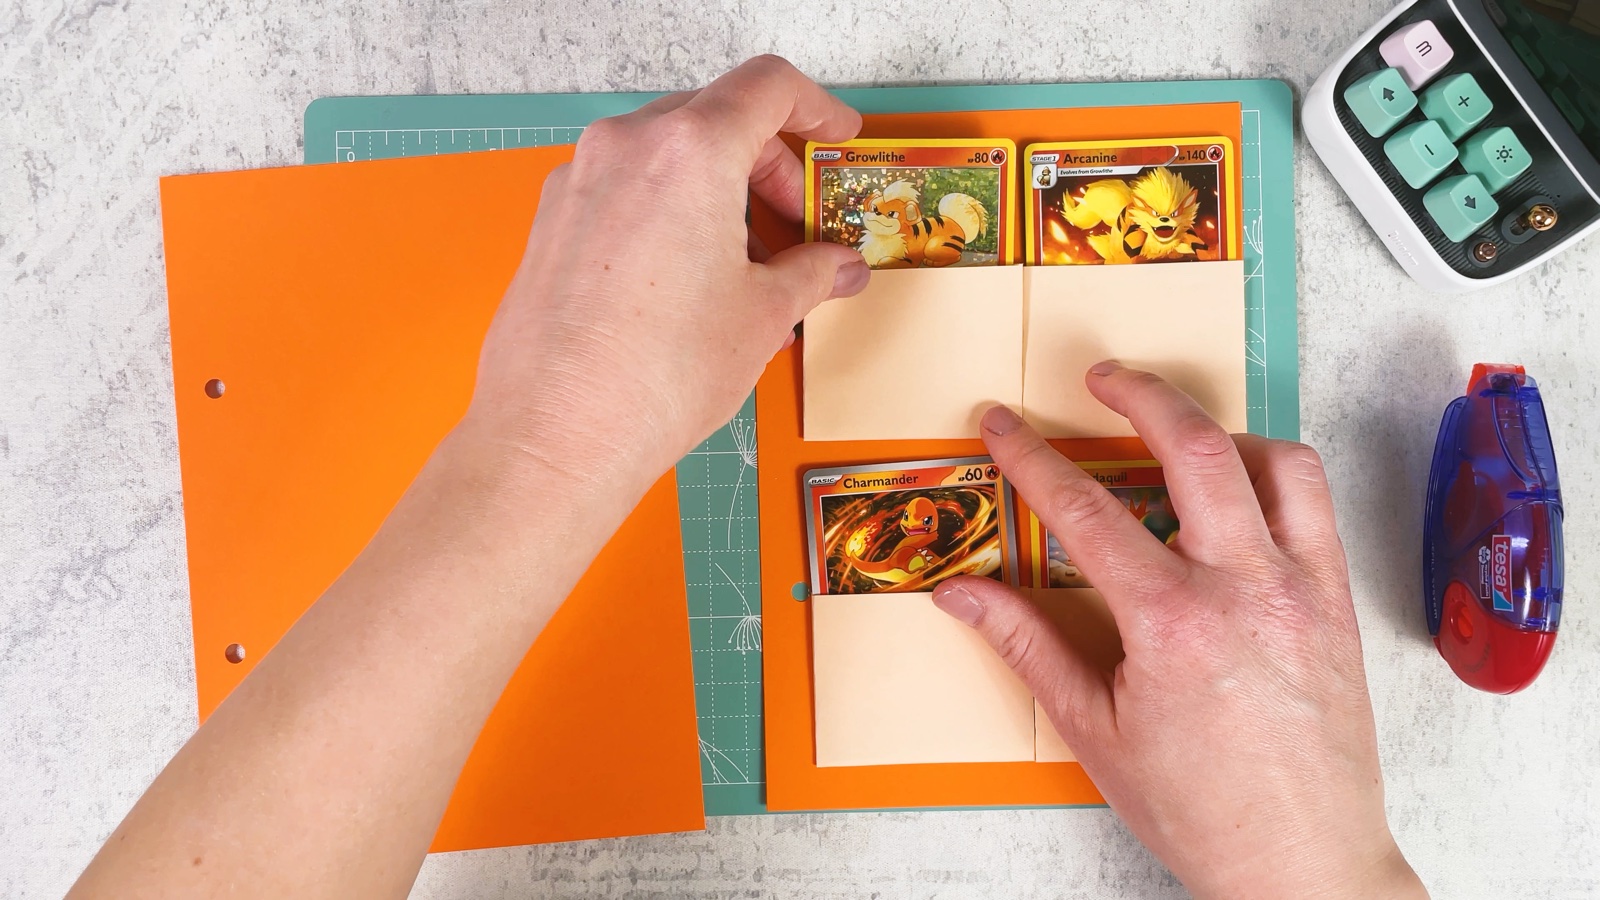
Turn the page over and glue four more pockets on the back. Now one page holds eight cards.
PART 3 OF 5
The type dividers
- 11
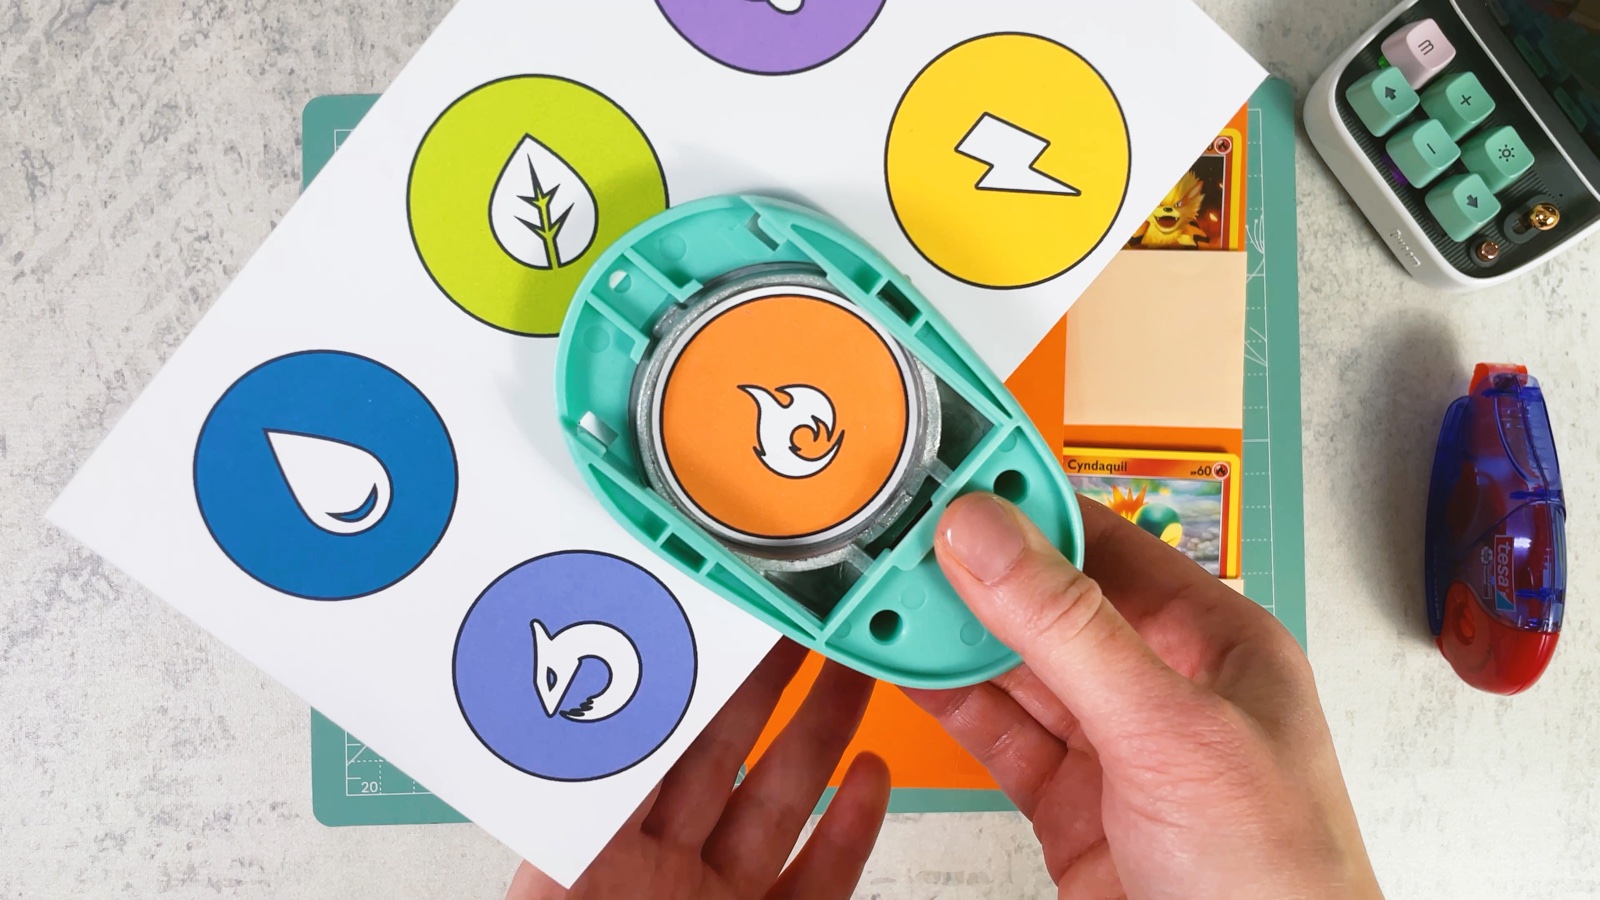
Punch the type symbol
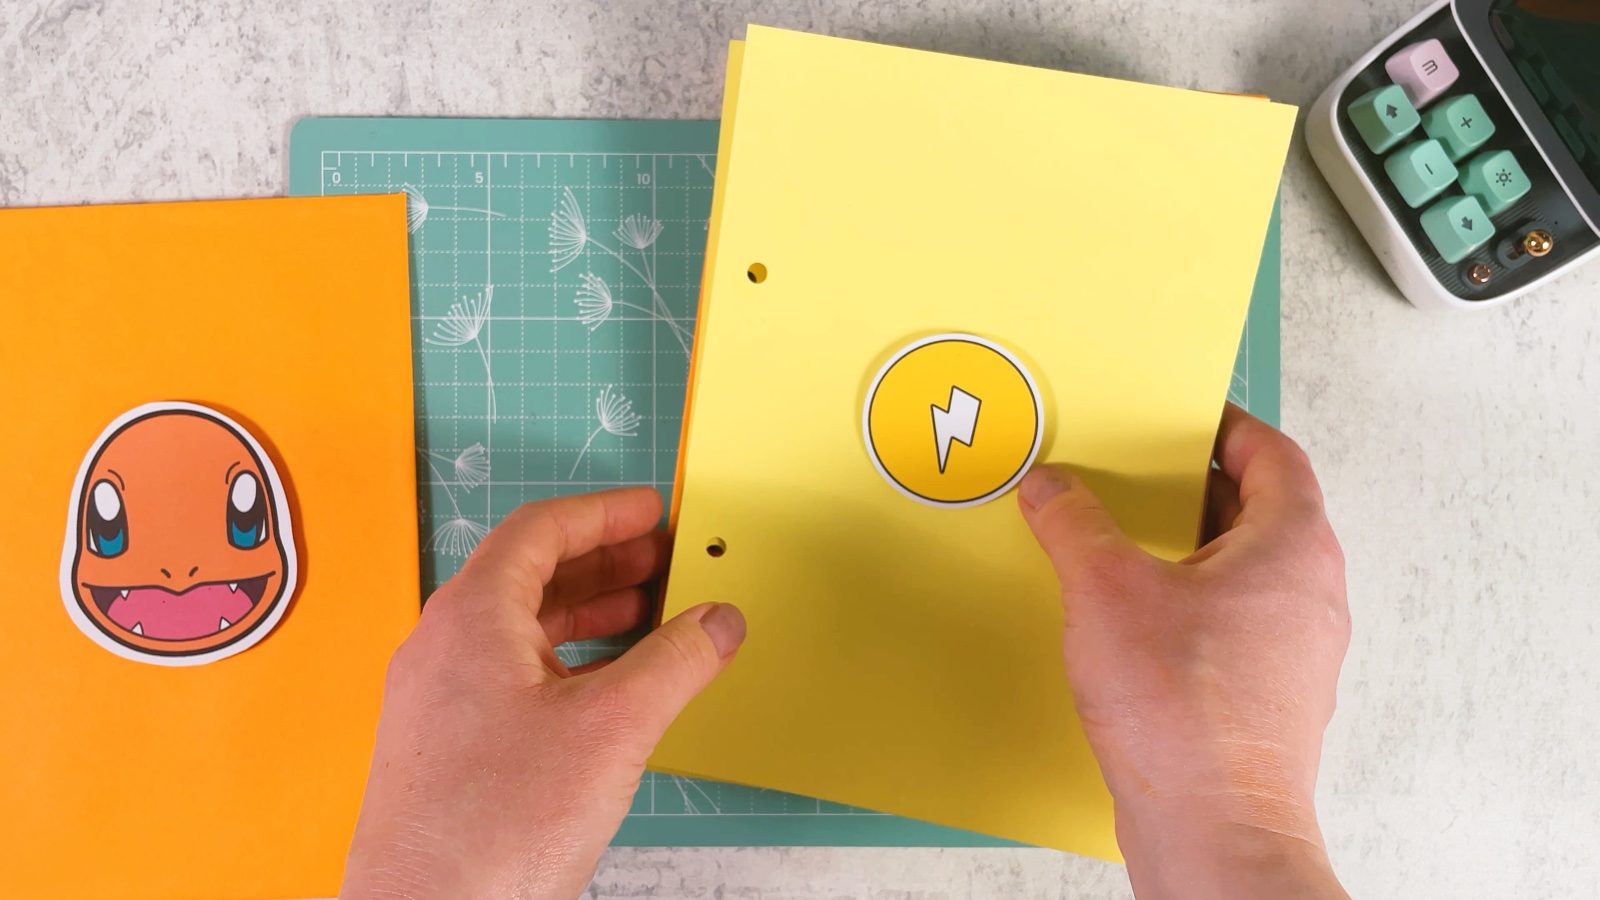
Print the Pokémon type symbols and punch out the one you need with a circle punch. You can also draw your own.
- 12
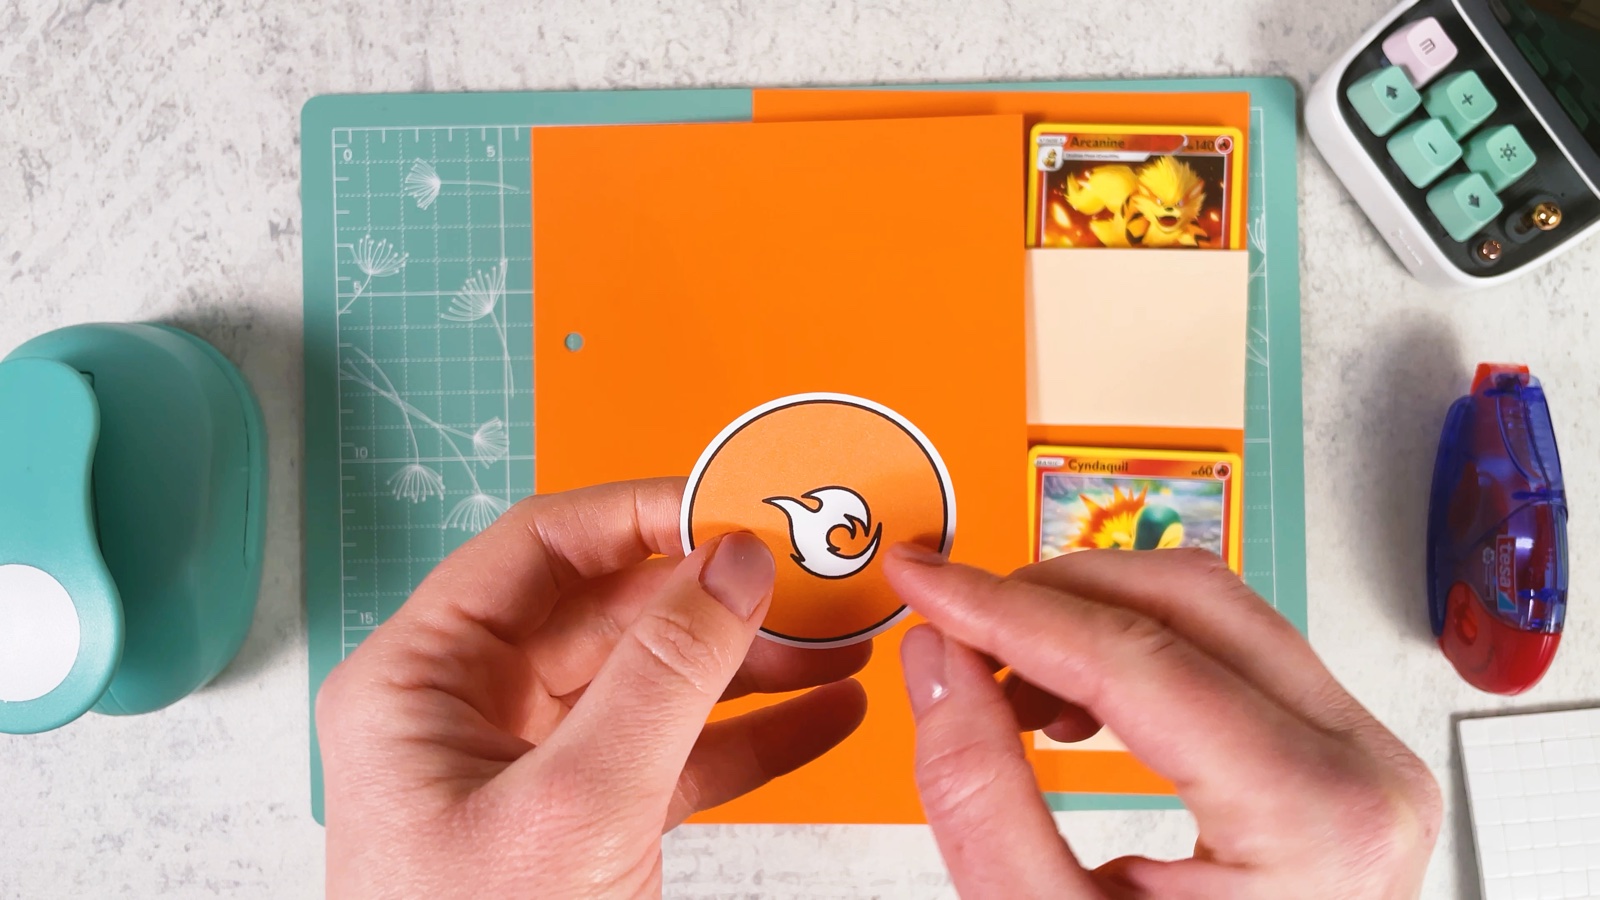
Add a white edge
Punch a bigger circle from white paper and glue the symbol in the middle. The white ring makes it stand out.
- 13
Make the divider page
Put a foam pad on the back of the circle and stick it in the middle of a plain page in the same colour. This page opens the section.
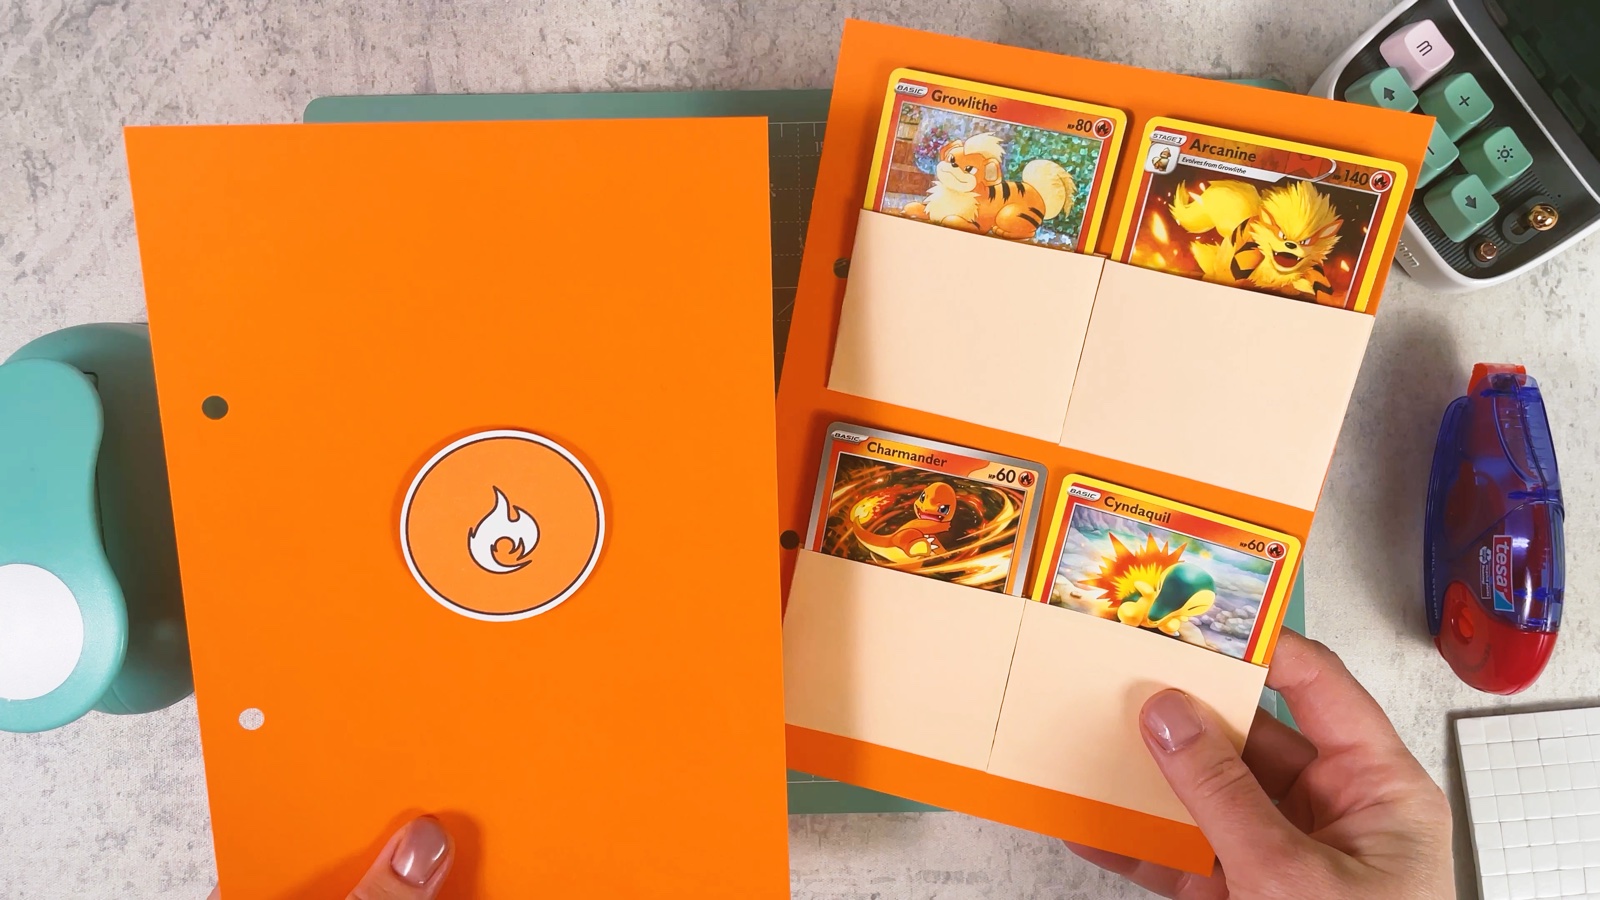
- 14
Make every section
Repeat for every type: a divider page, then pages with pockets in the same colour.
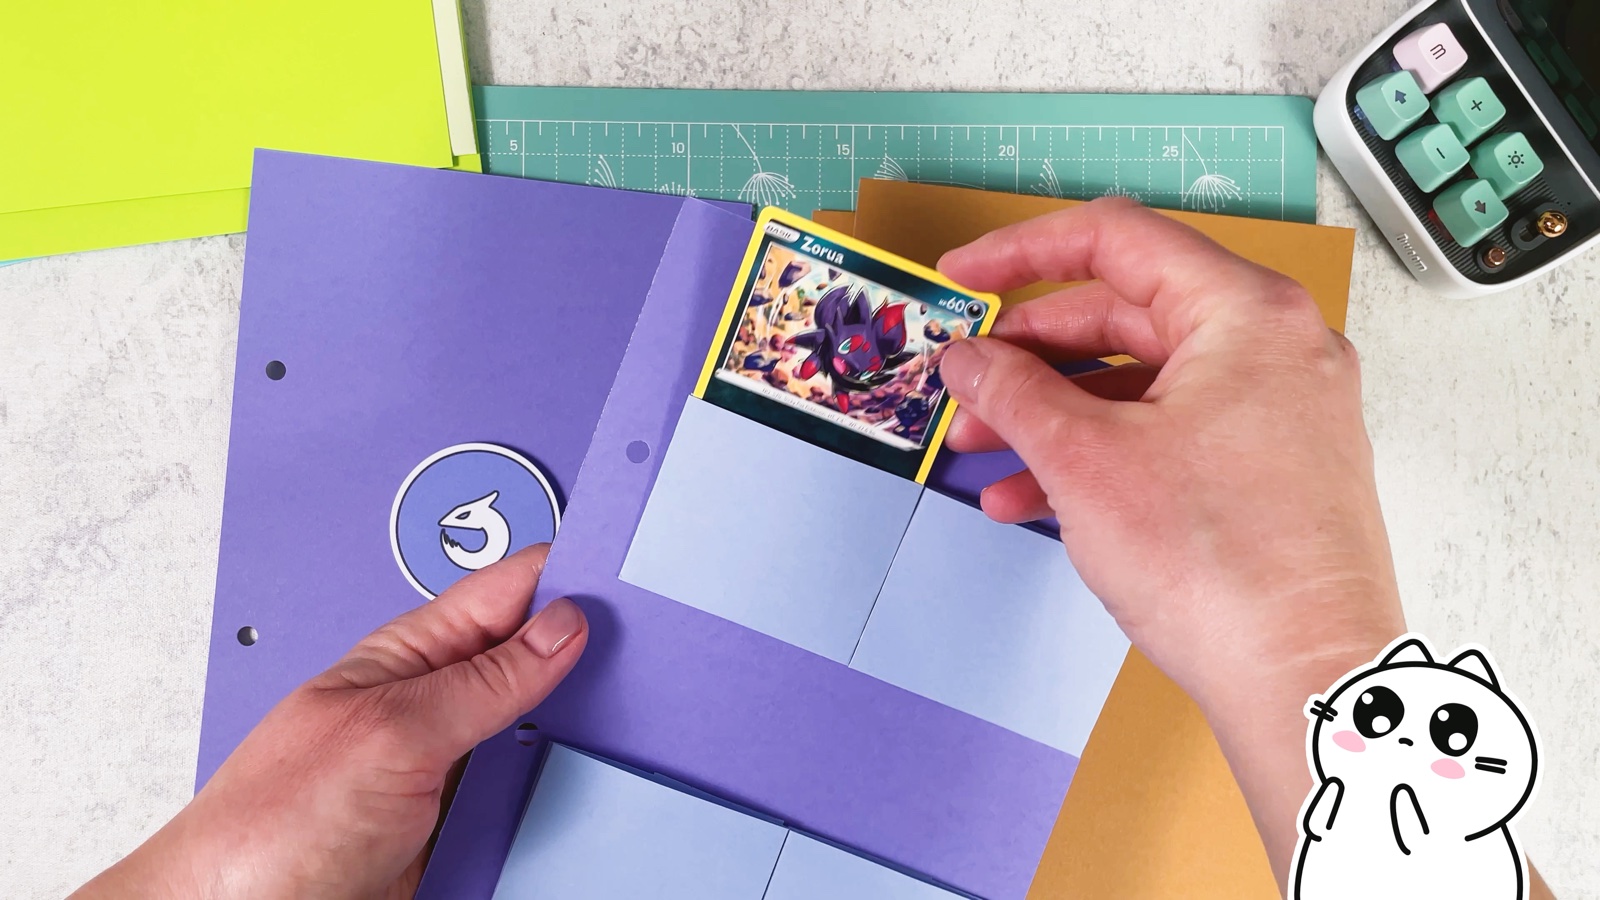
Stack the sections together. Add more colours any time your collection grows.
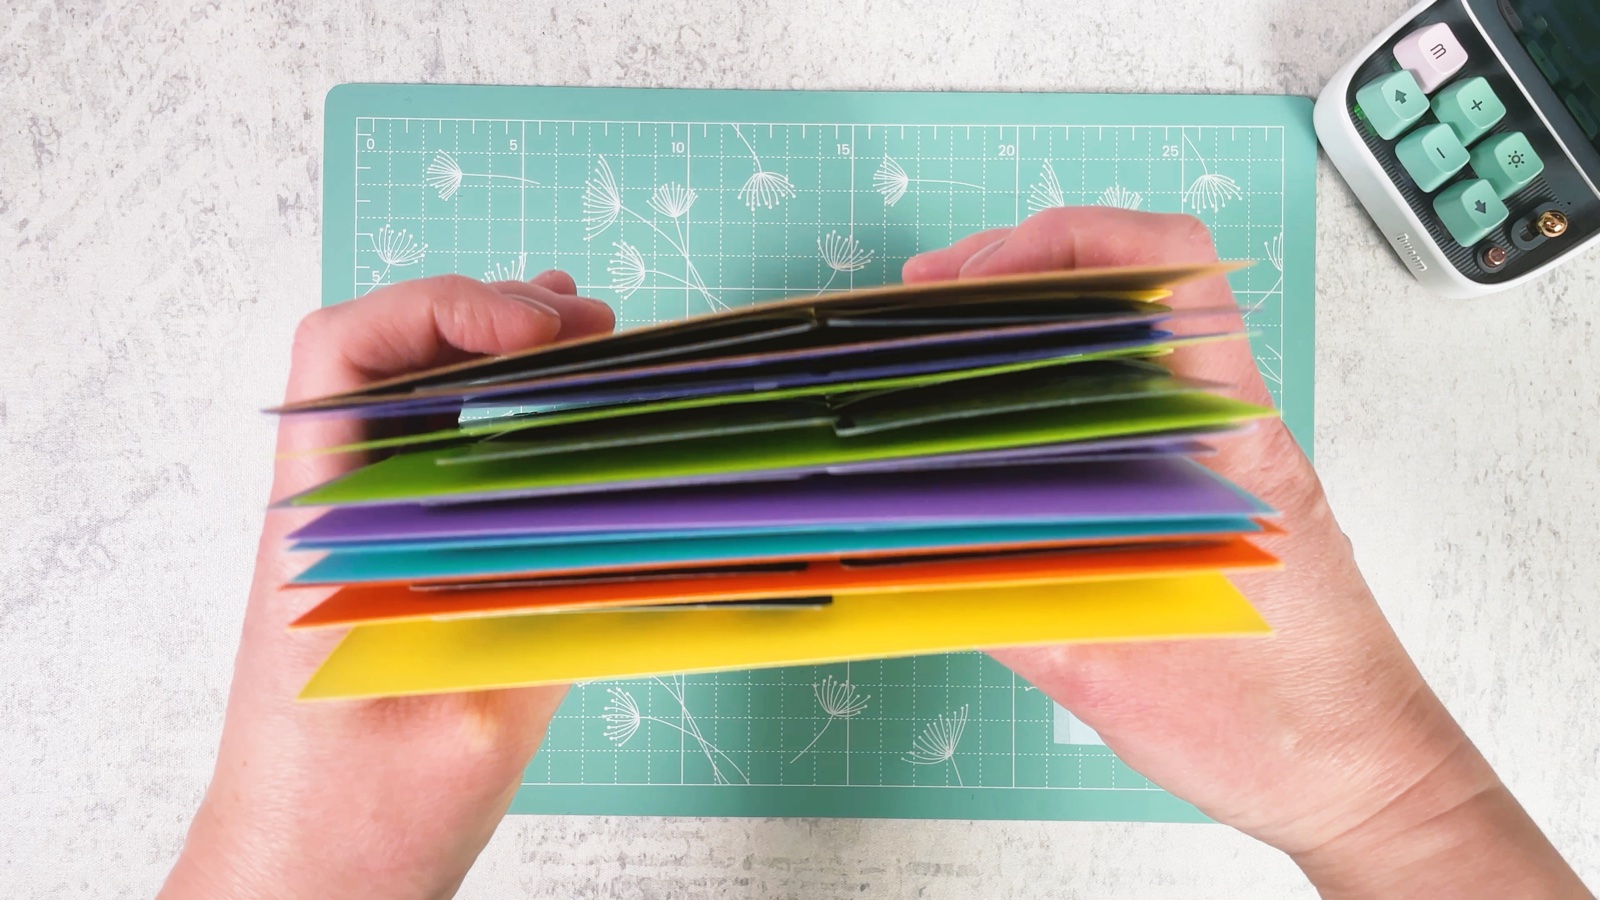
PART 4 OF 5
The cover
- 15
Wrap the cardboard
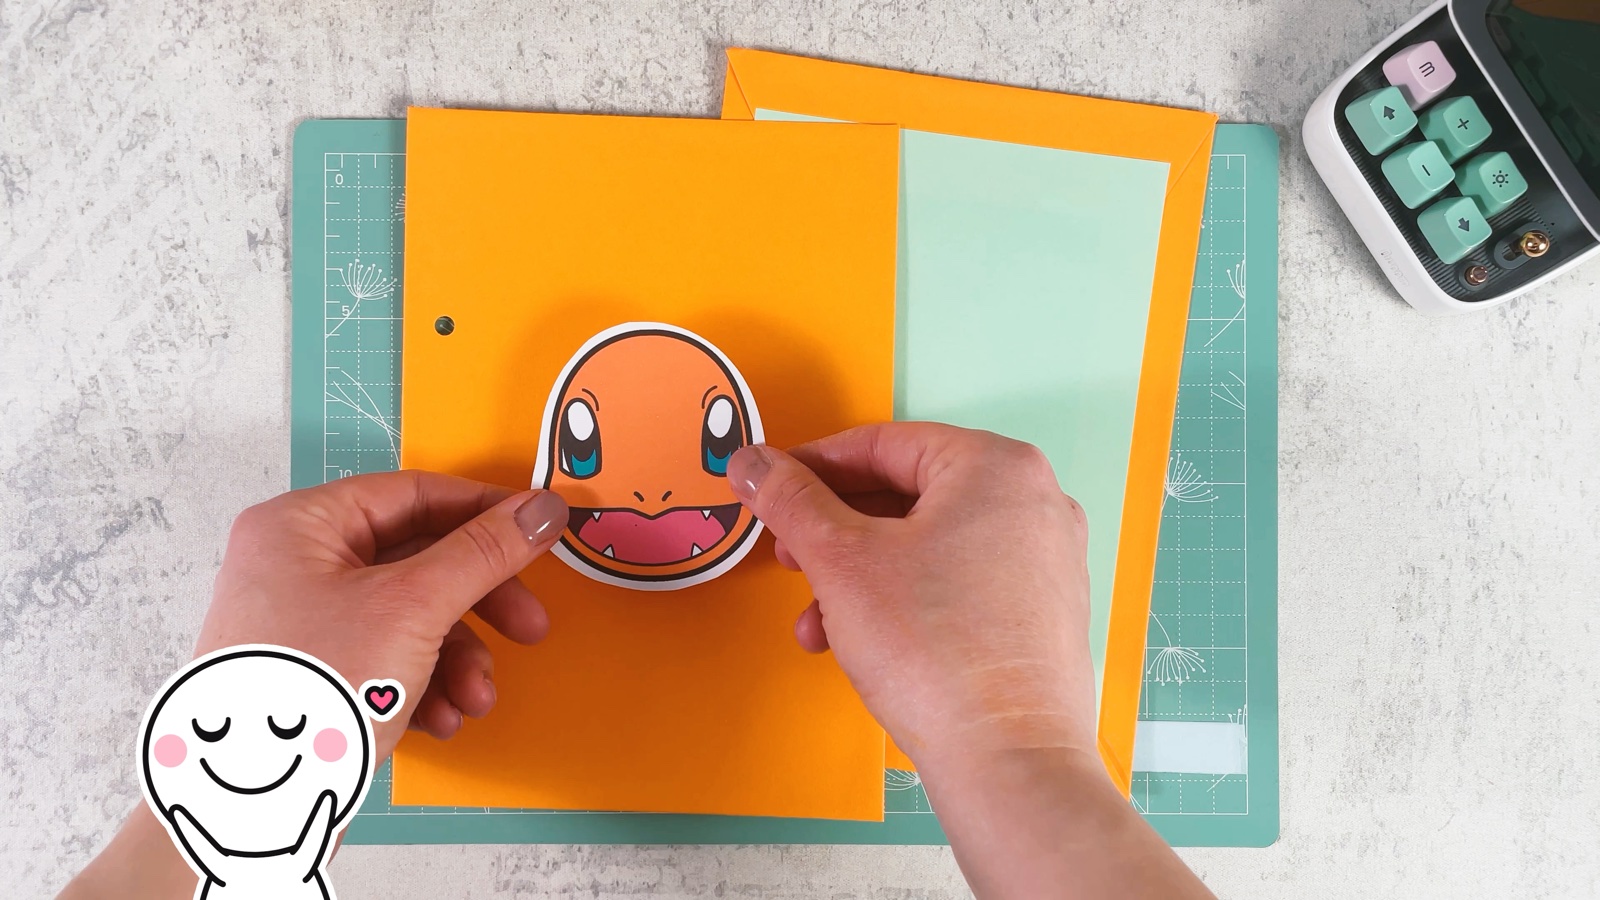
Put glue on a piece of cardboard, a little smaller than your pages, and press it onto a bigger sheet of coloured paper.
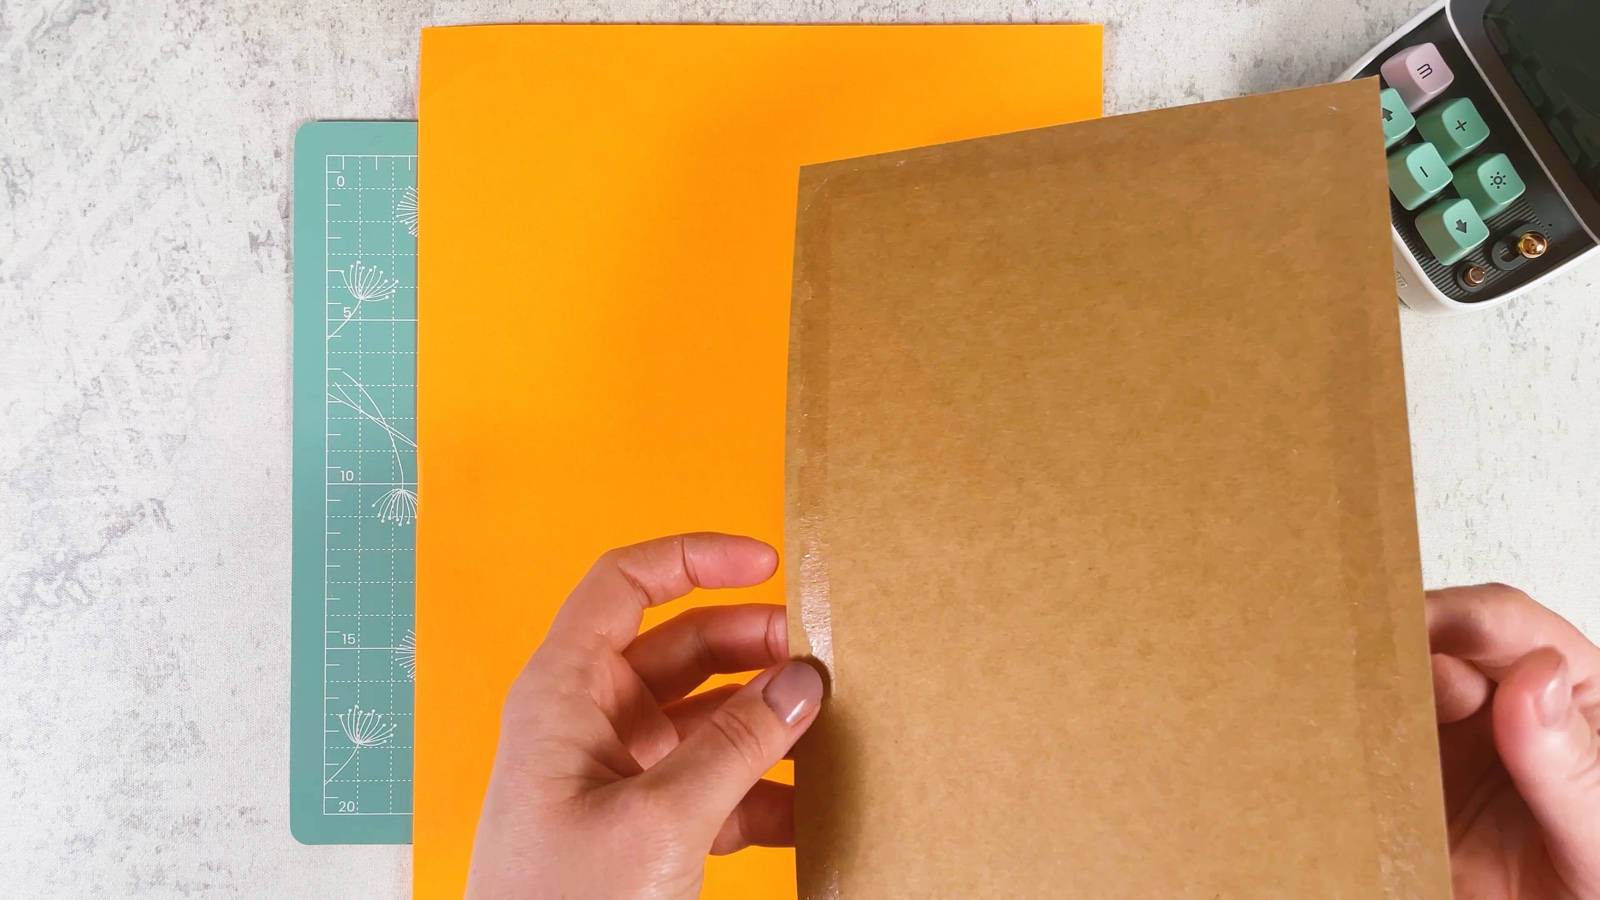
- 16
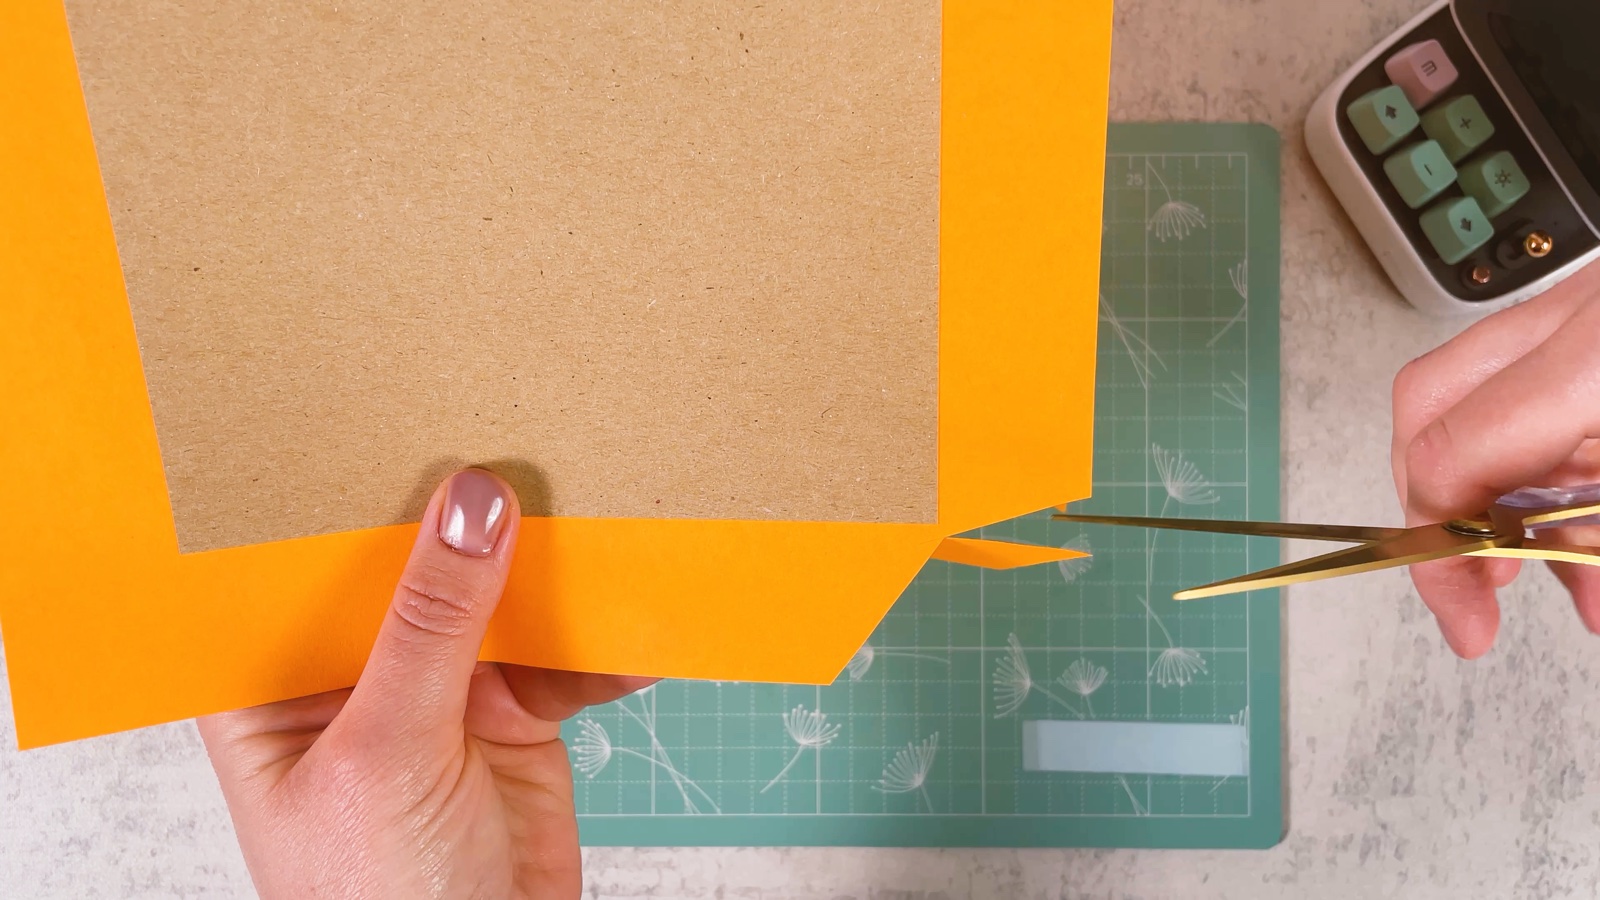
Cut the corners
Cut off each corner of the paper at an angle, close to the corner of the cardboard. This keeps the folded corners flat.
- 17
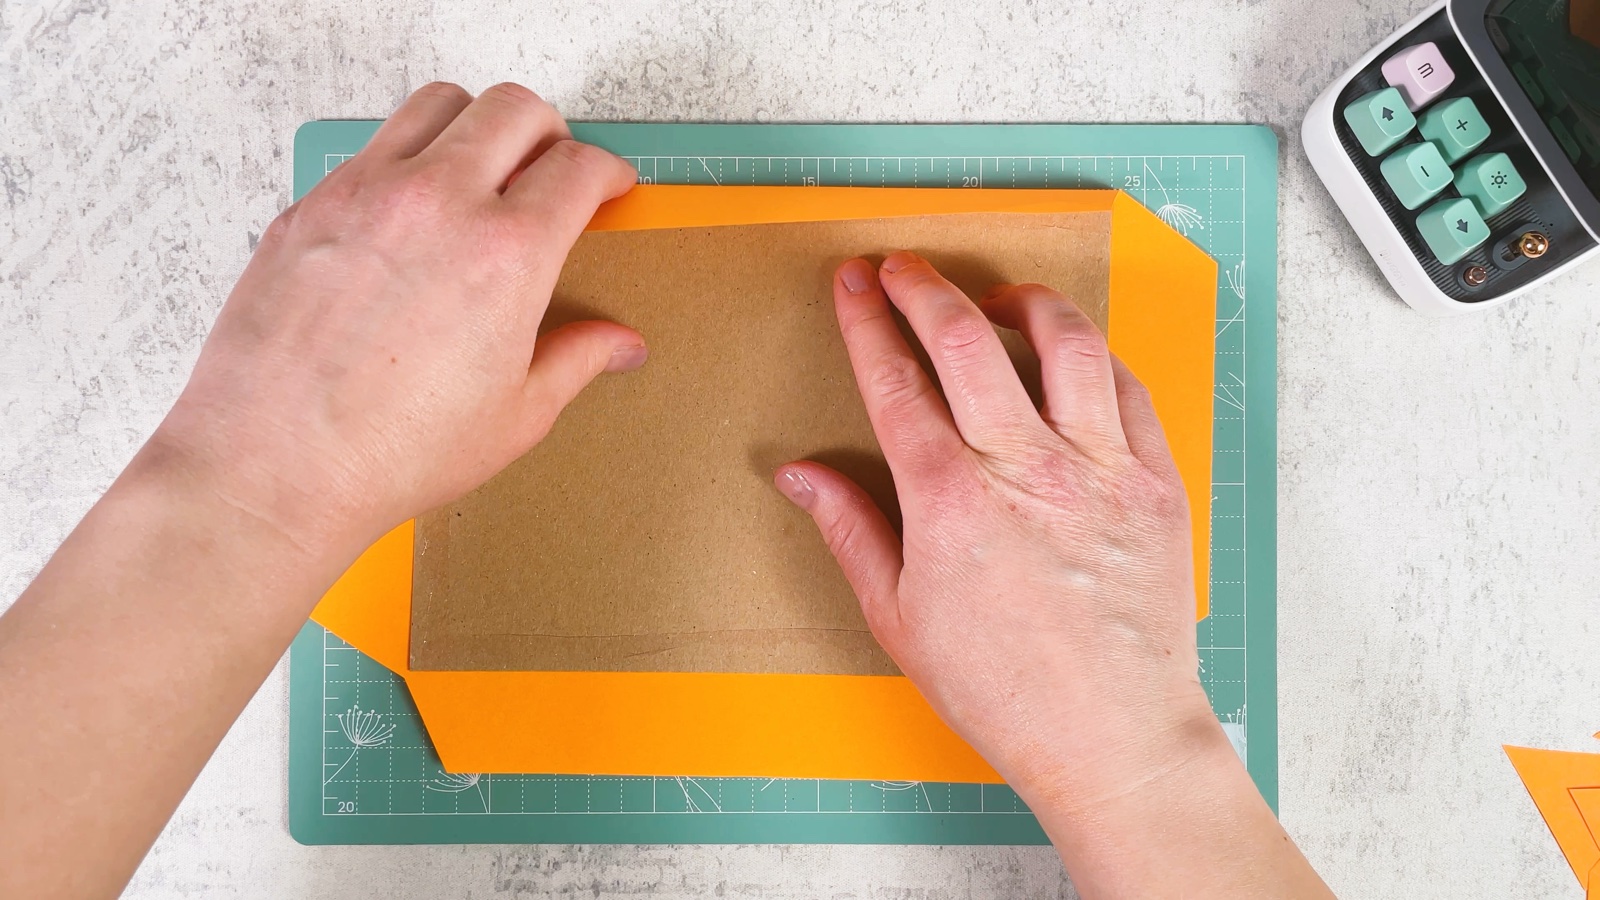
Fold the edges
Put glue on the paper edges and fold them over the cardboard, one side at a time. Make a second cover the same way.
- 18
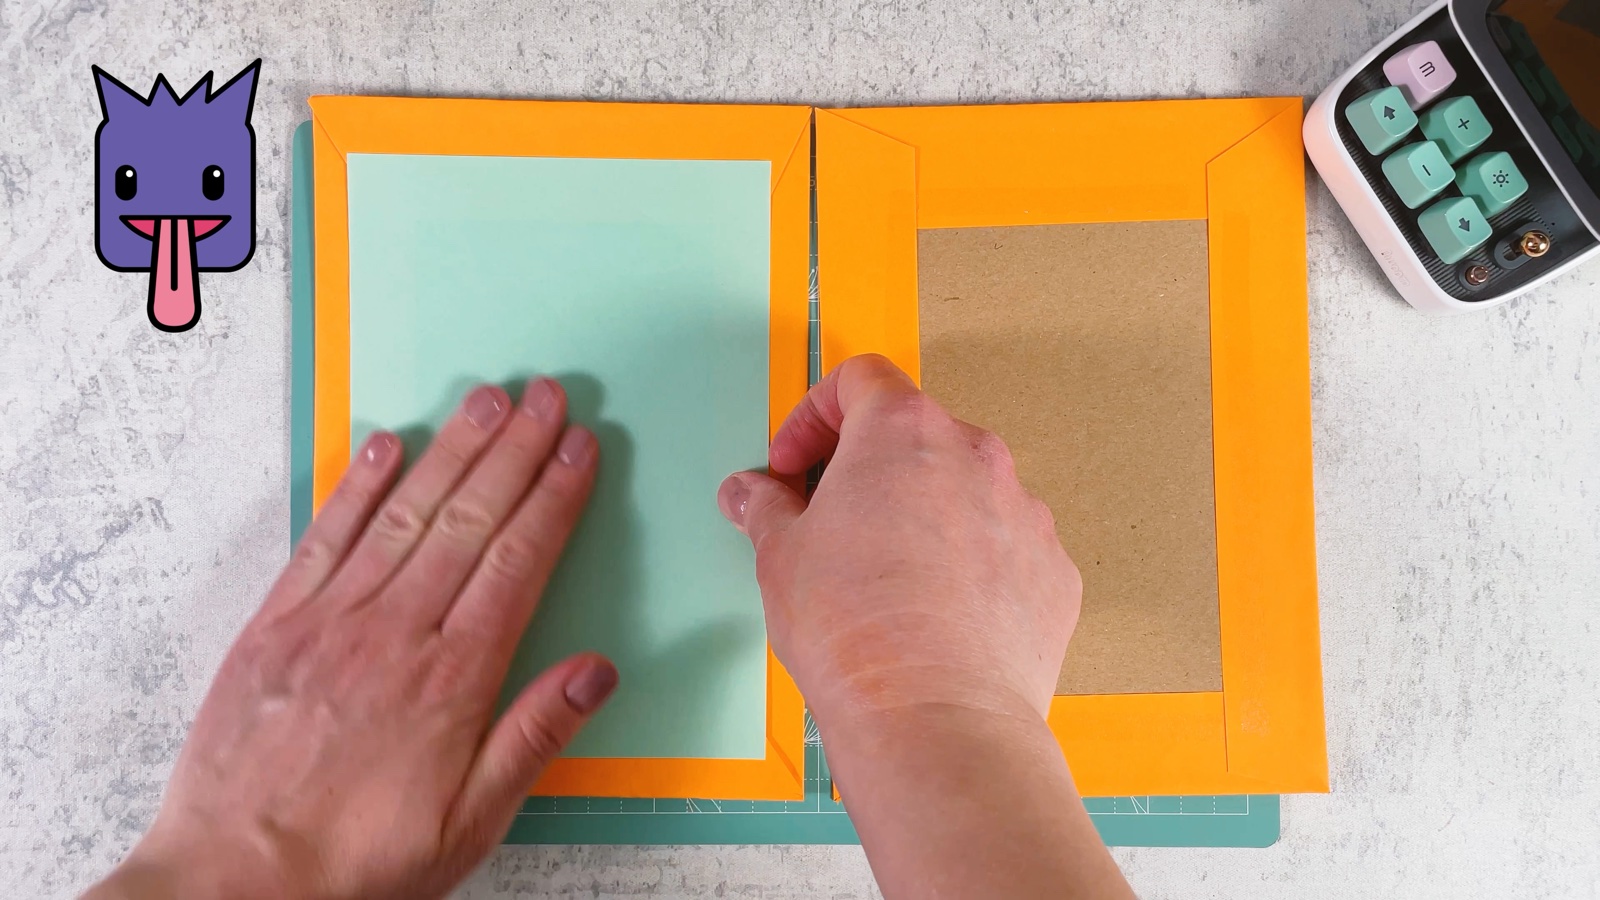
Add the inside paper
Glue a sheet of mint paper inside each cover to hide the folded edges, just like in a real book.
- 19
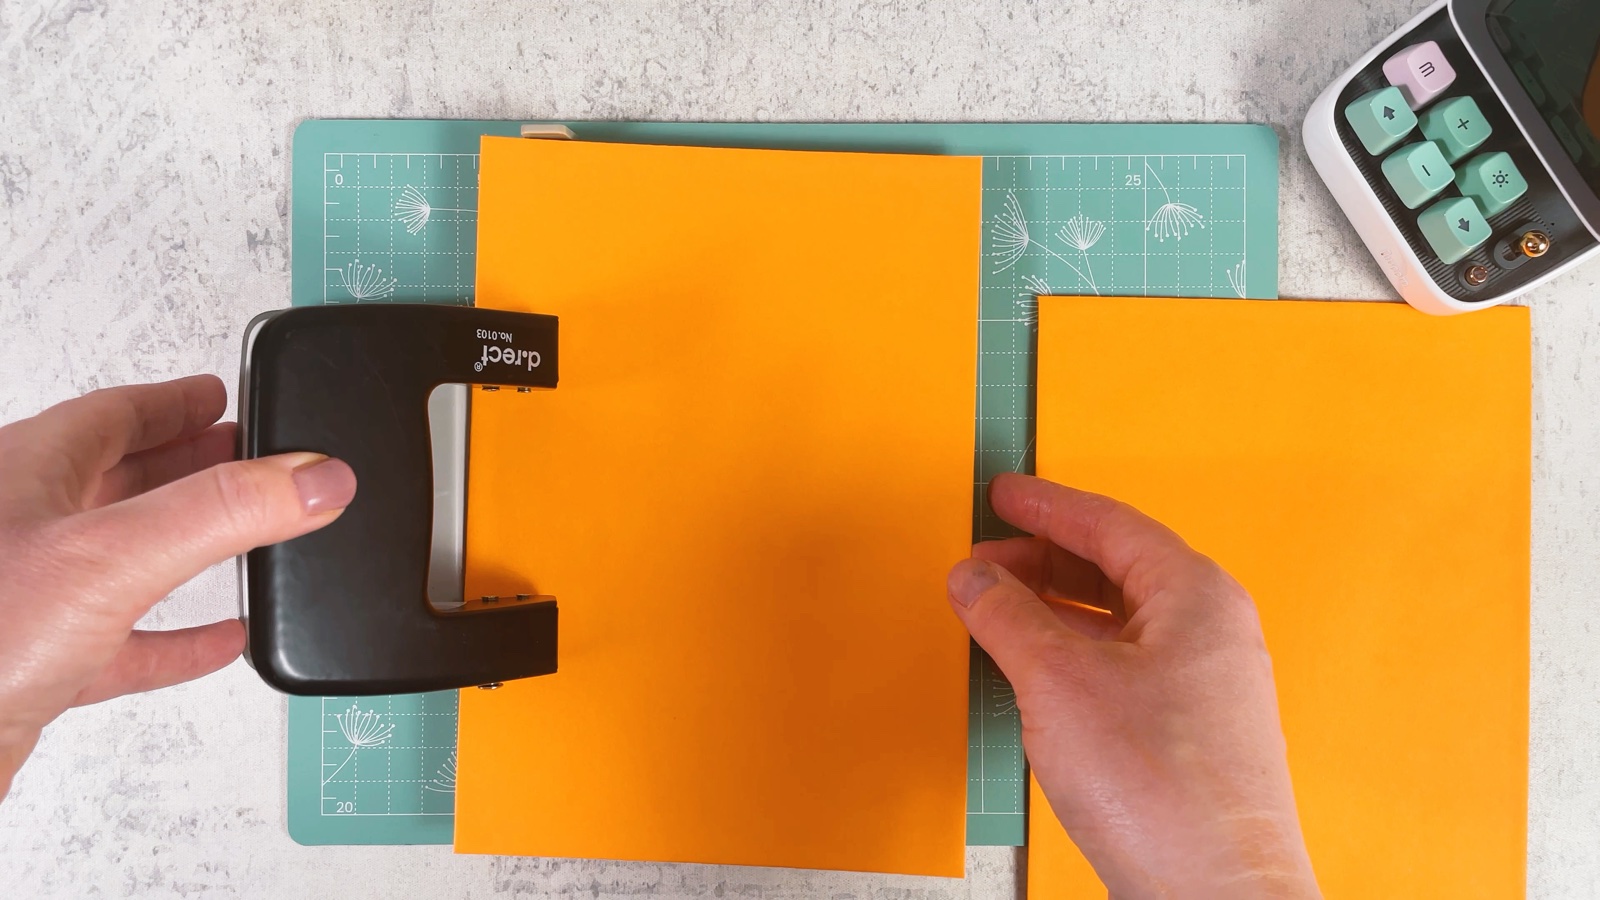
Punch the covers
Punch holes in both covers, in the same places as on the pages.
- 20
Decorate the front
Stick Charmander (or your favourite Pokémon) on the front cover with a foam pad. It looks a little 3D.
PART 5 OF 5
Putting it together
- 21
Stack the pages
Put the back cover down, then all the sections, then the front cover on top. Check that all the holes line up.
- 22
Tie the ribbons
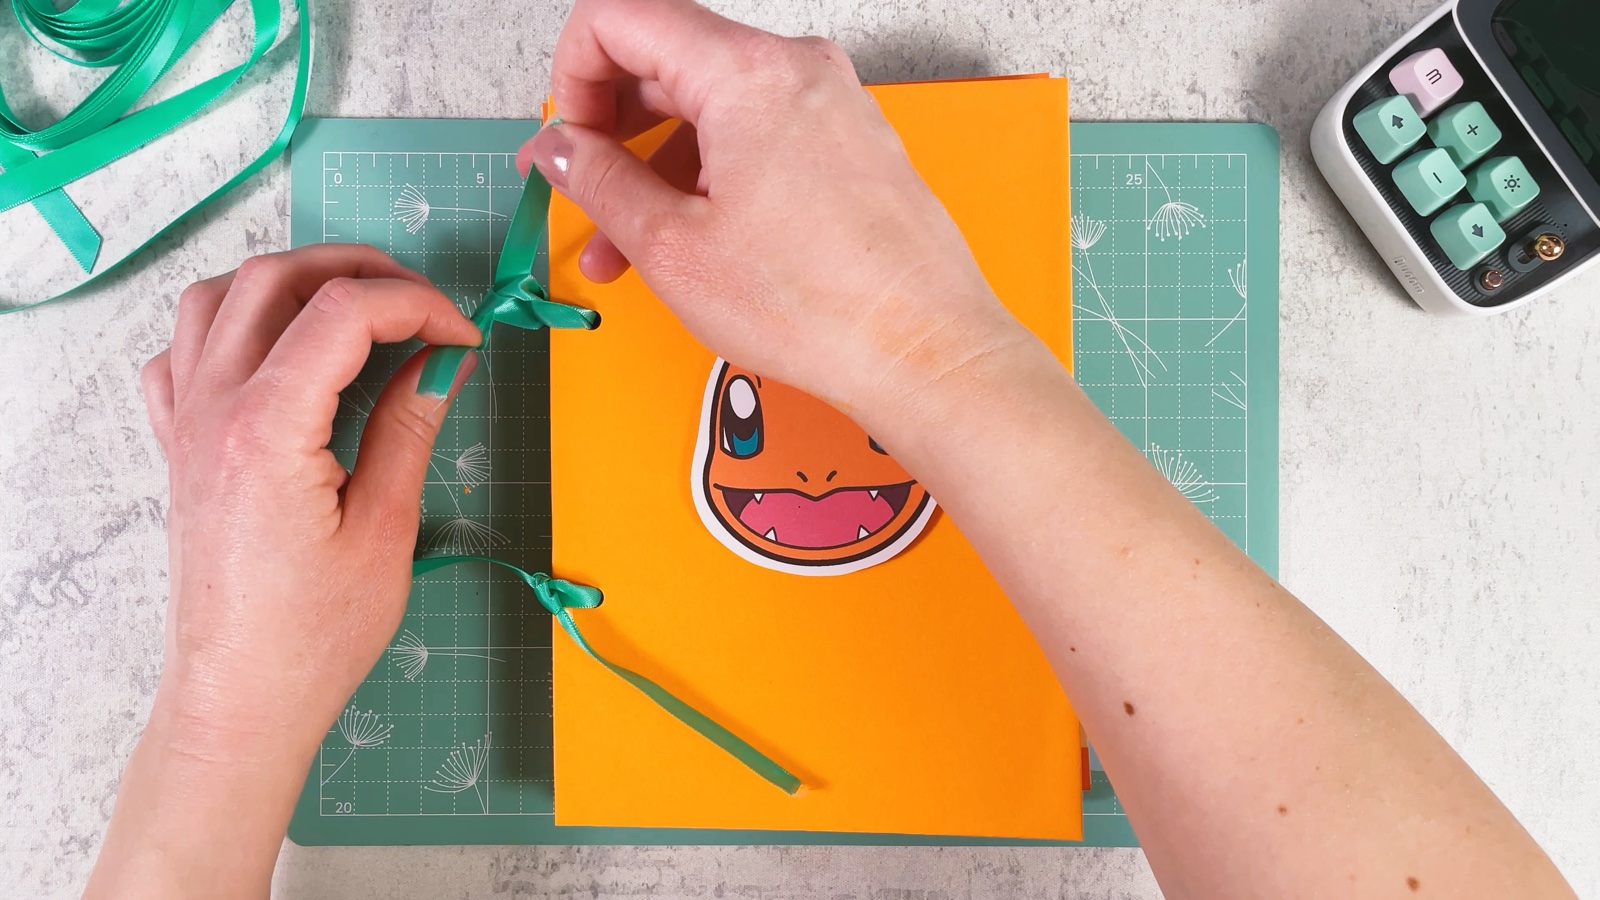
Push a ribbon through the top holes of all the pages and both covers. Do the same with a second ribbon at the bottom.
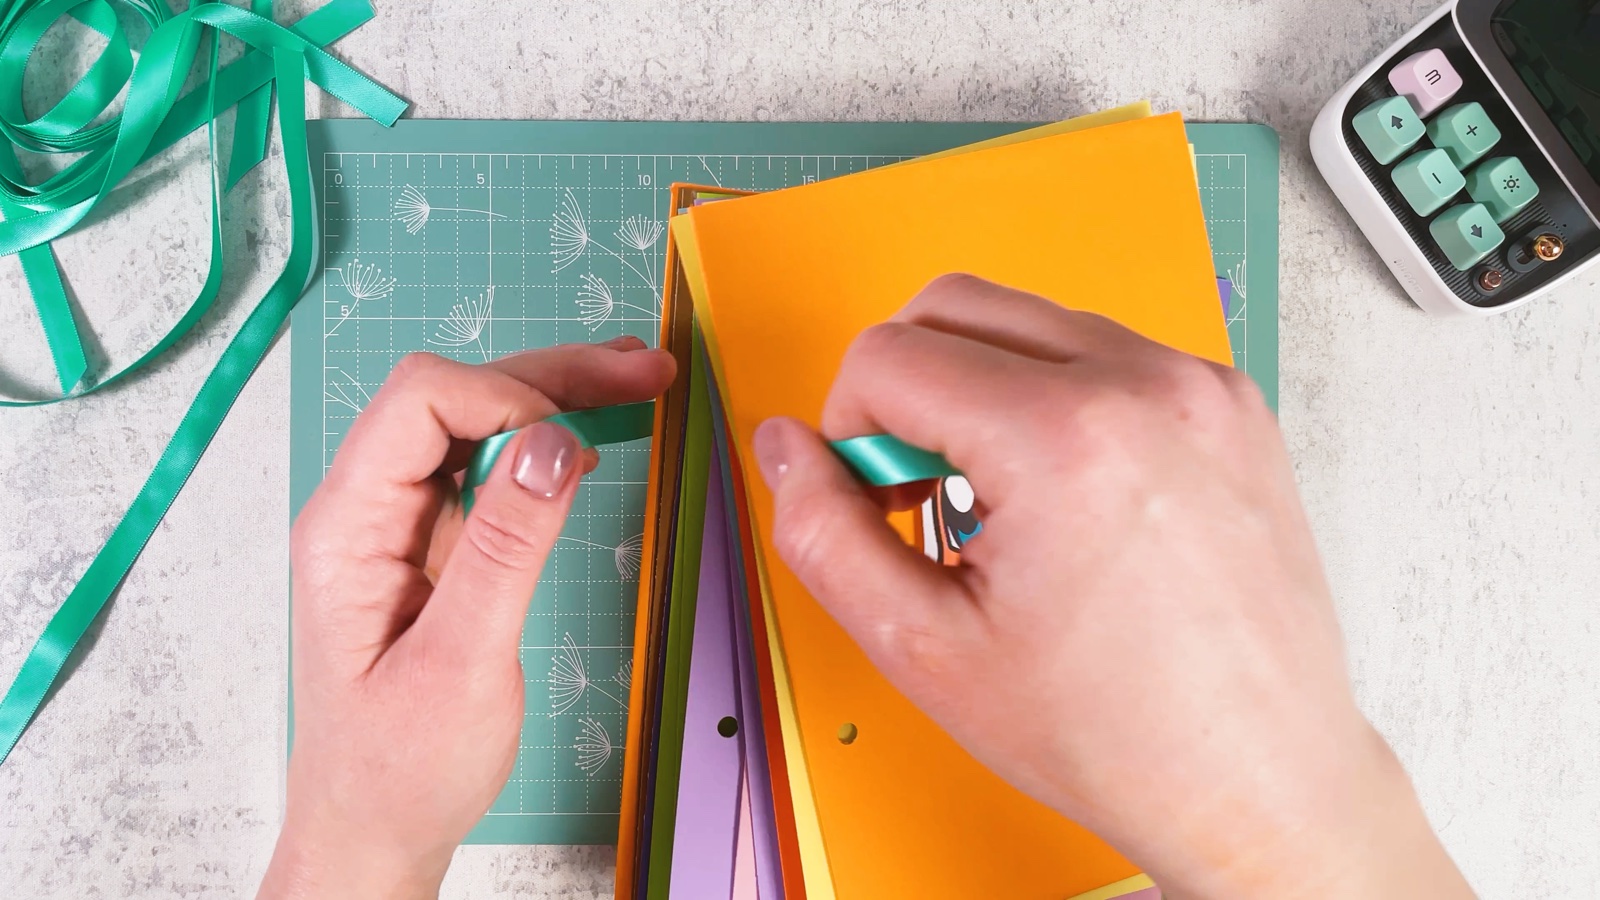
Tie each ribbon into a bow. To add more pages later, just untie the bows.
- 23
Fill it up
Open the binder and slide your cards into the pockets, each type in its own colour. Close the binder, and Charmander keeps the whole collection safe on the cover.
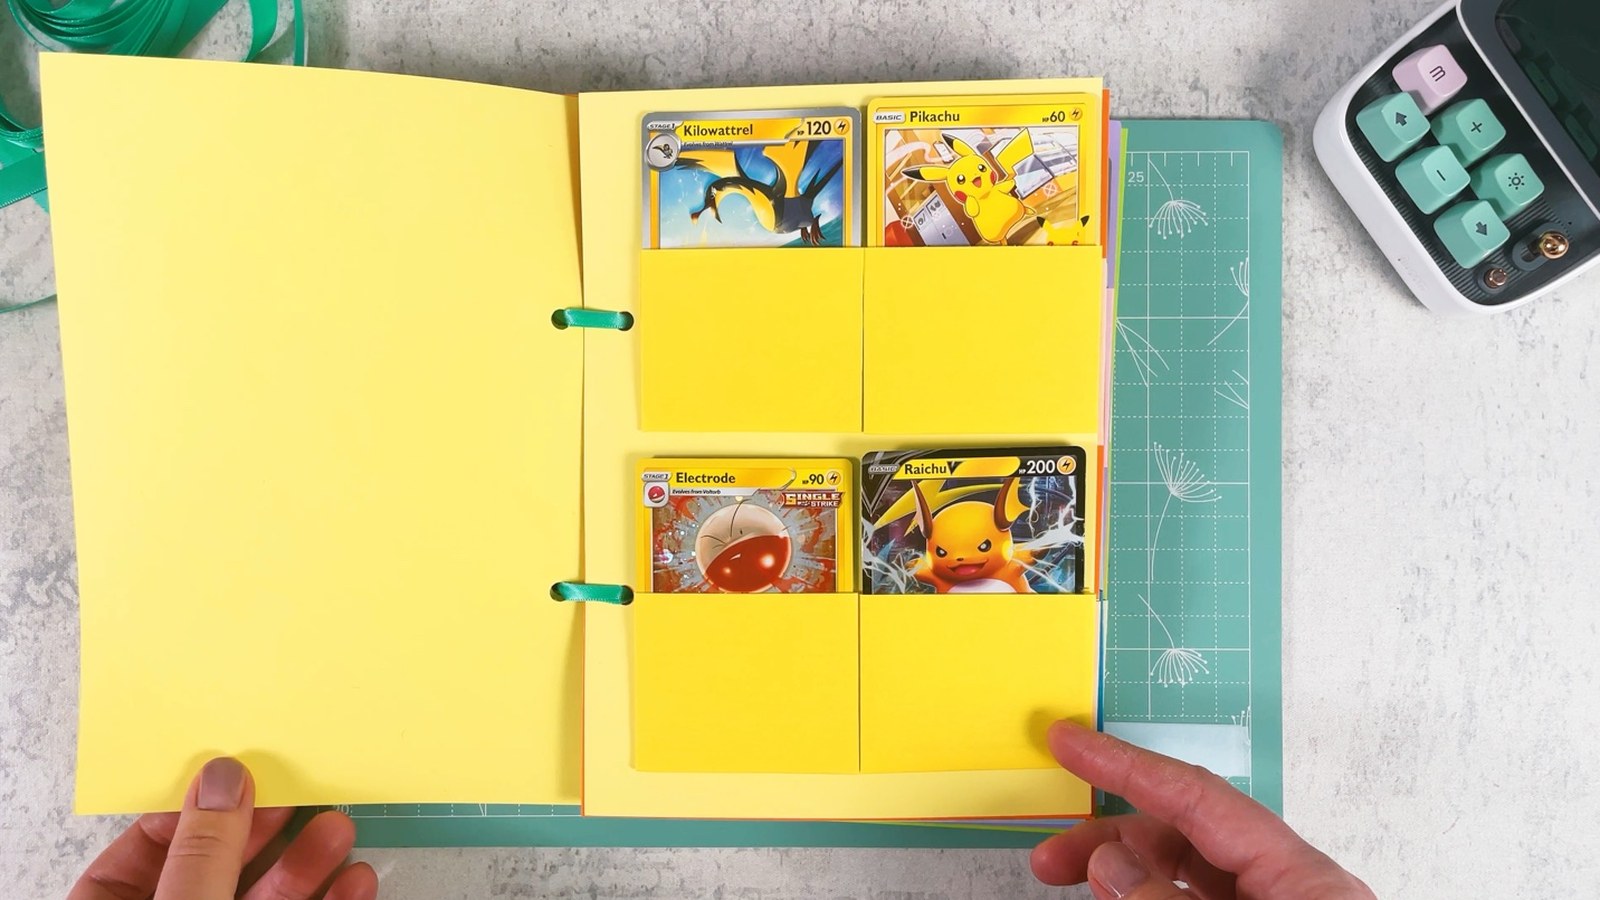
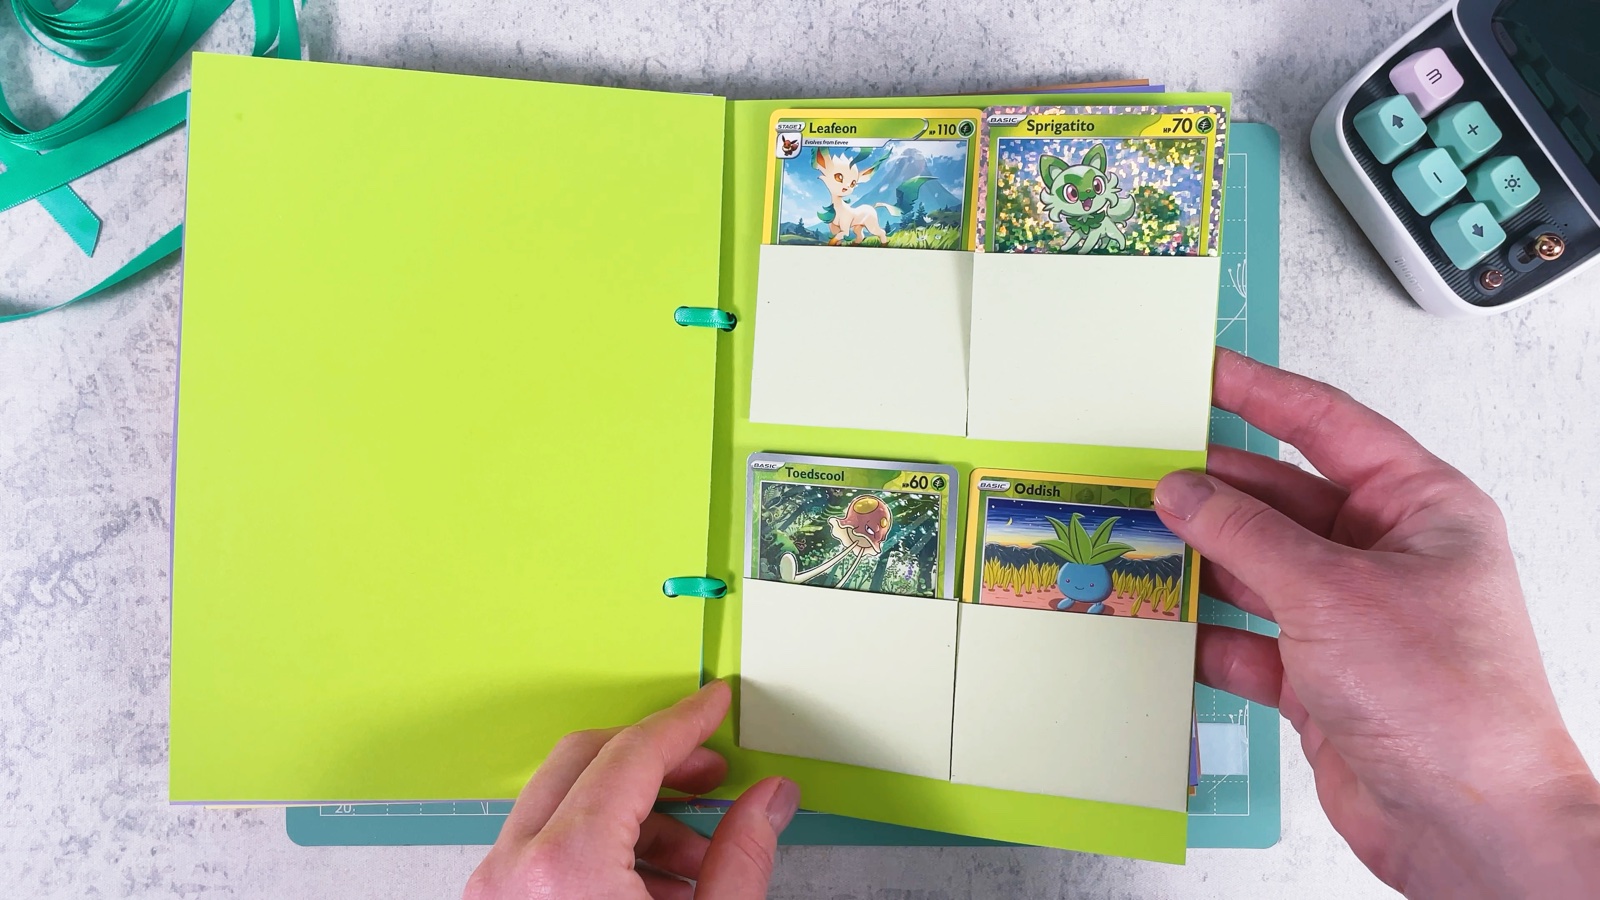
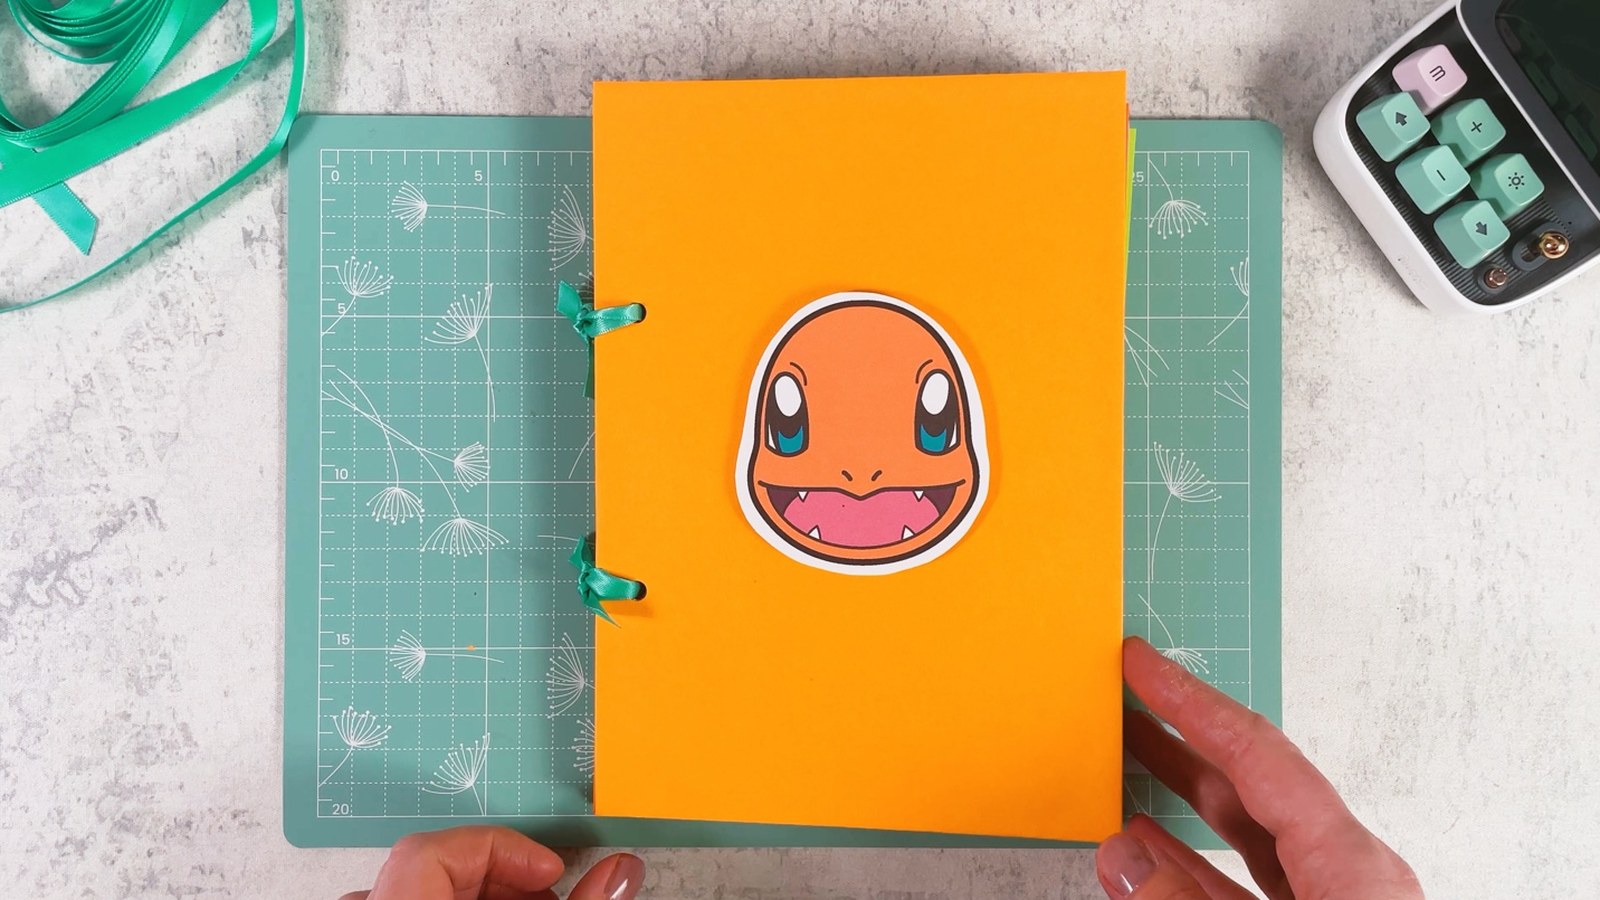
Your Pokémon card binder is ready.
THREE LITTLE TIPS
Make it easier.
- Use glue tape or a glue stick, not liquid glue. Liquid glue makes the paper wavy.
- Make the pockets a little loose. A card should slide in and out easily, without bending.
- Don’t overfill it. Many pages make the binder thick. Start with a few sections and add more later.

A CUBI MINI MOMENT
Which card gets the first pocket?
Cubi saved the very first pocket for Mini’s favourite card. Which card goes first in your binder?
Eevee, because Mini wants to collect all of its evolutions.
Loved making it?
Catch the next make first, or save this one for a rainy day.