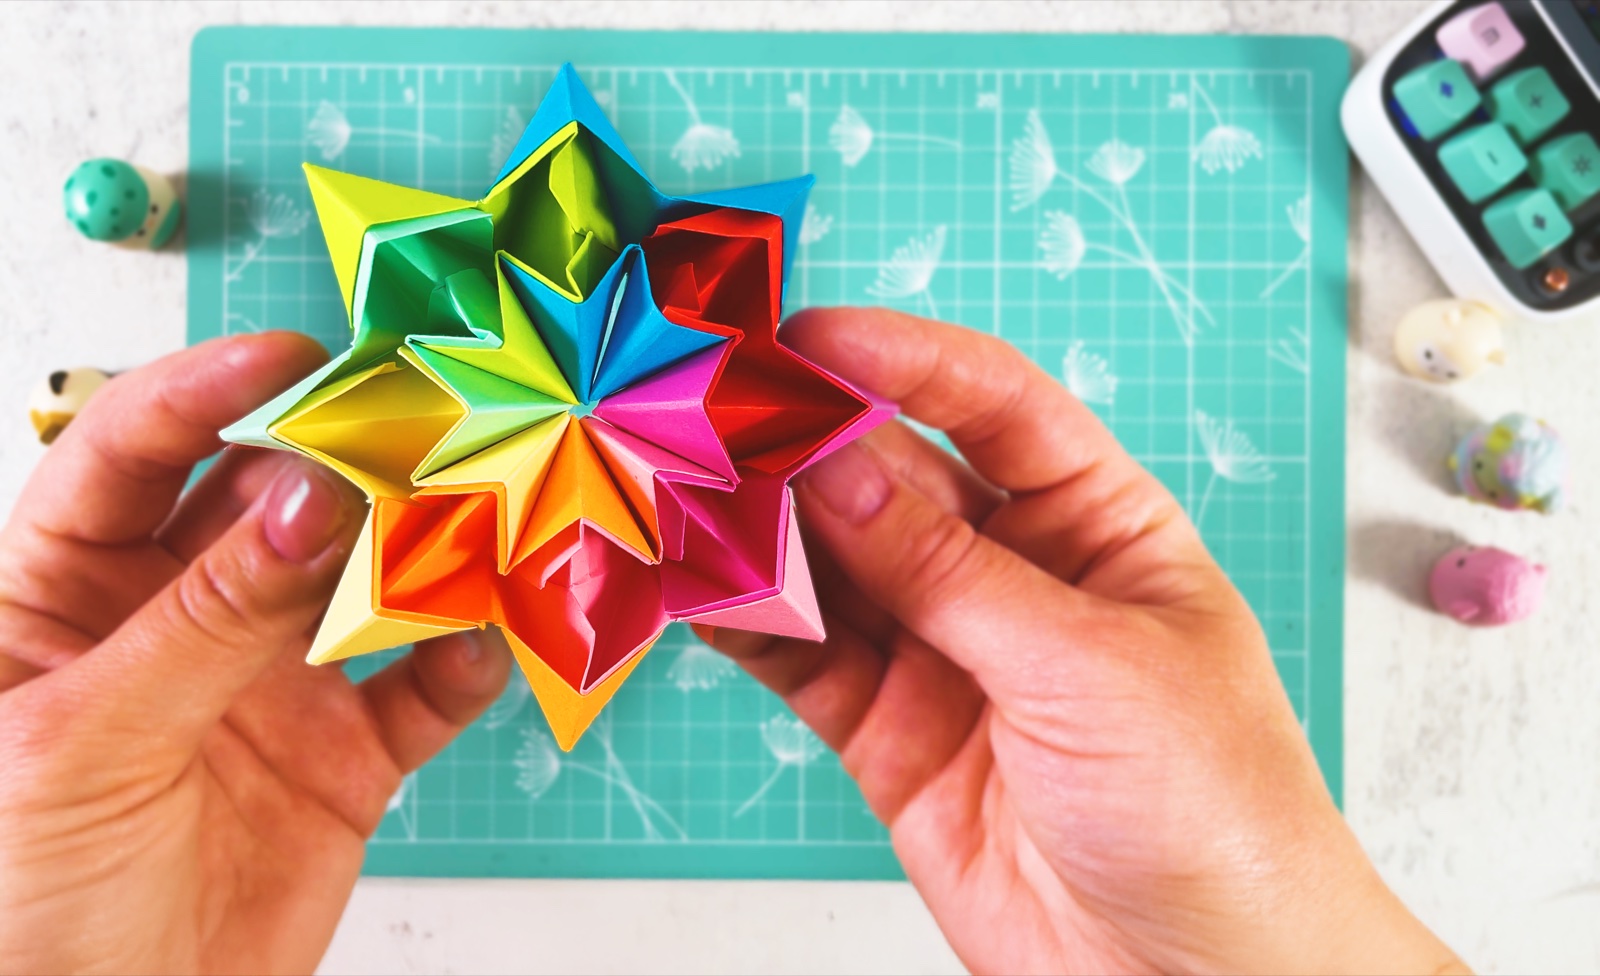
Let’s make a super fun paper spinner that transforms right in your hands! This simple DIY project creates a magical shape that changes from a spiral into a ball and back again when you spin and move it.
It’s surprisingly easy to make and gives a beautiful visual effect, especially when you use colourful paper strips. As it spins, the colours blend and create mesmerising patterns. It can be stretched, flattened and reshaped, so it is a fun way to explore motion and 3D forms.
Perfect as a quick creative activity or a handmade toy that actually does something cool. Make it your own by trying different colour combinations: each version creates a completely different effect!
BEFORE WE START
What you need.
Materials
- Thin paper strips in different colours× 12
- Orange paper
- Pink paper
- Wooden skewer
- Plasticine or air-dry clay
- Glue stick
Tools
- Scissors
- Circle punch
- Hole punch
- Paper trimmer or ruler
STEP BY STEP
Let’s make it.
- 1
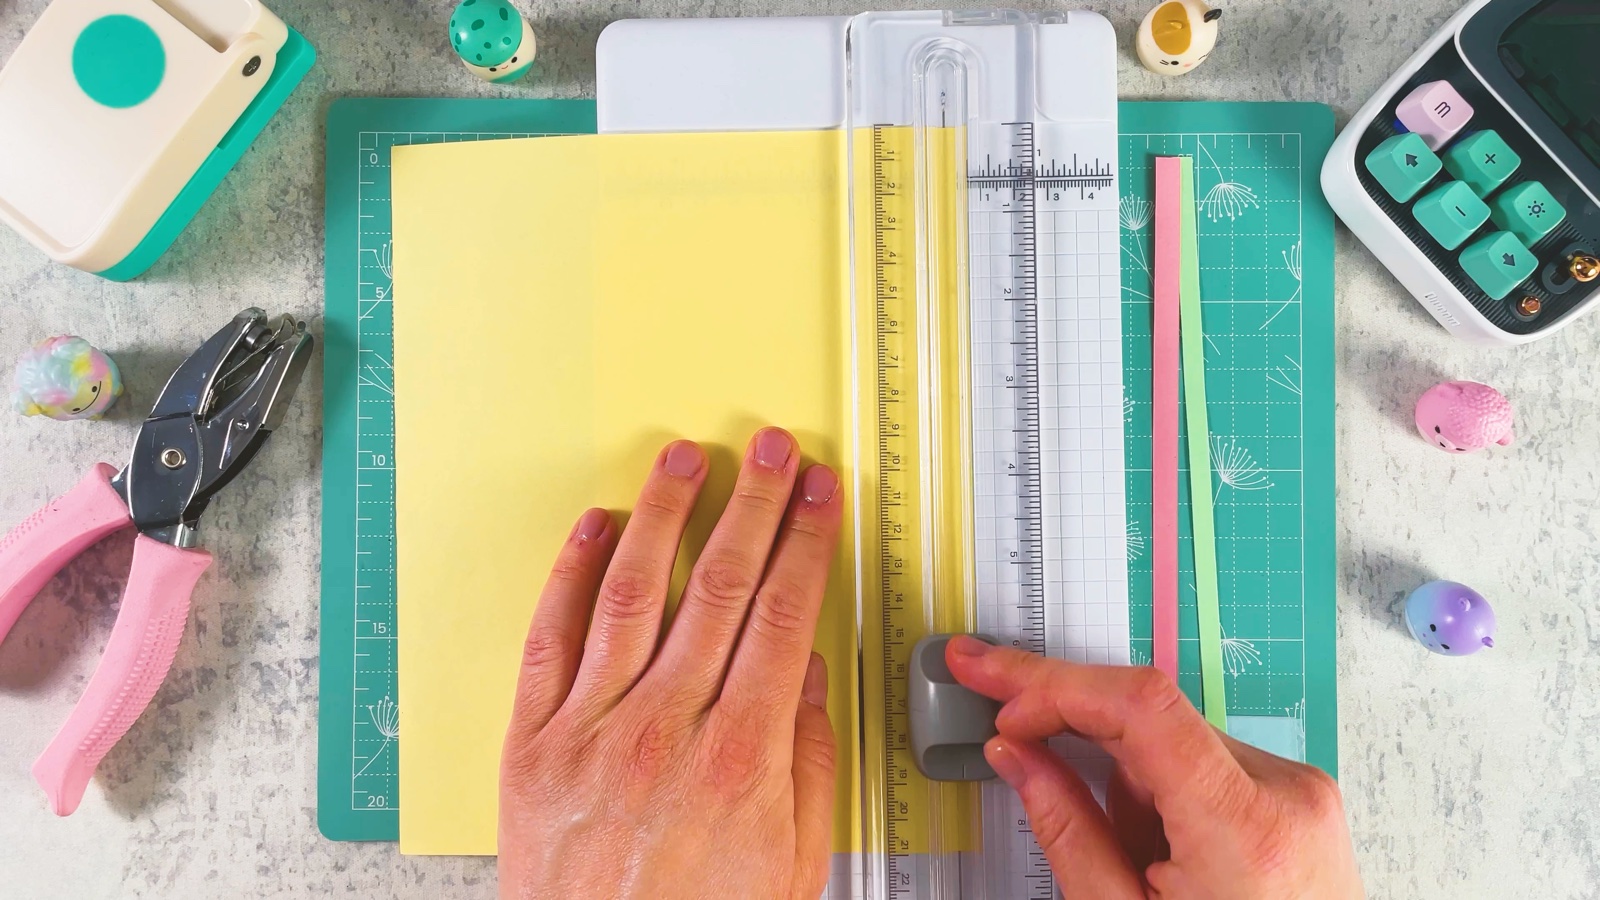
Cut 12 thin strips
Cut 12 thin paper strips, all the same length. Different colours work best, because they blend together when the spinner turns. We use a paper trimmer, but a ruler and scissors work too.
- 2
Punch the circles
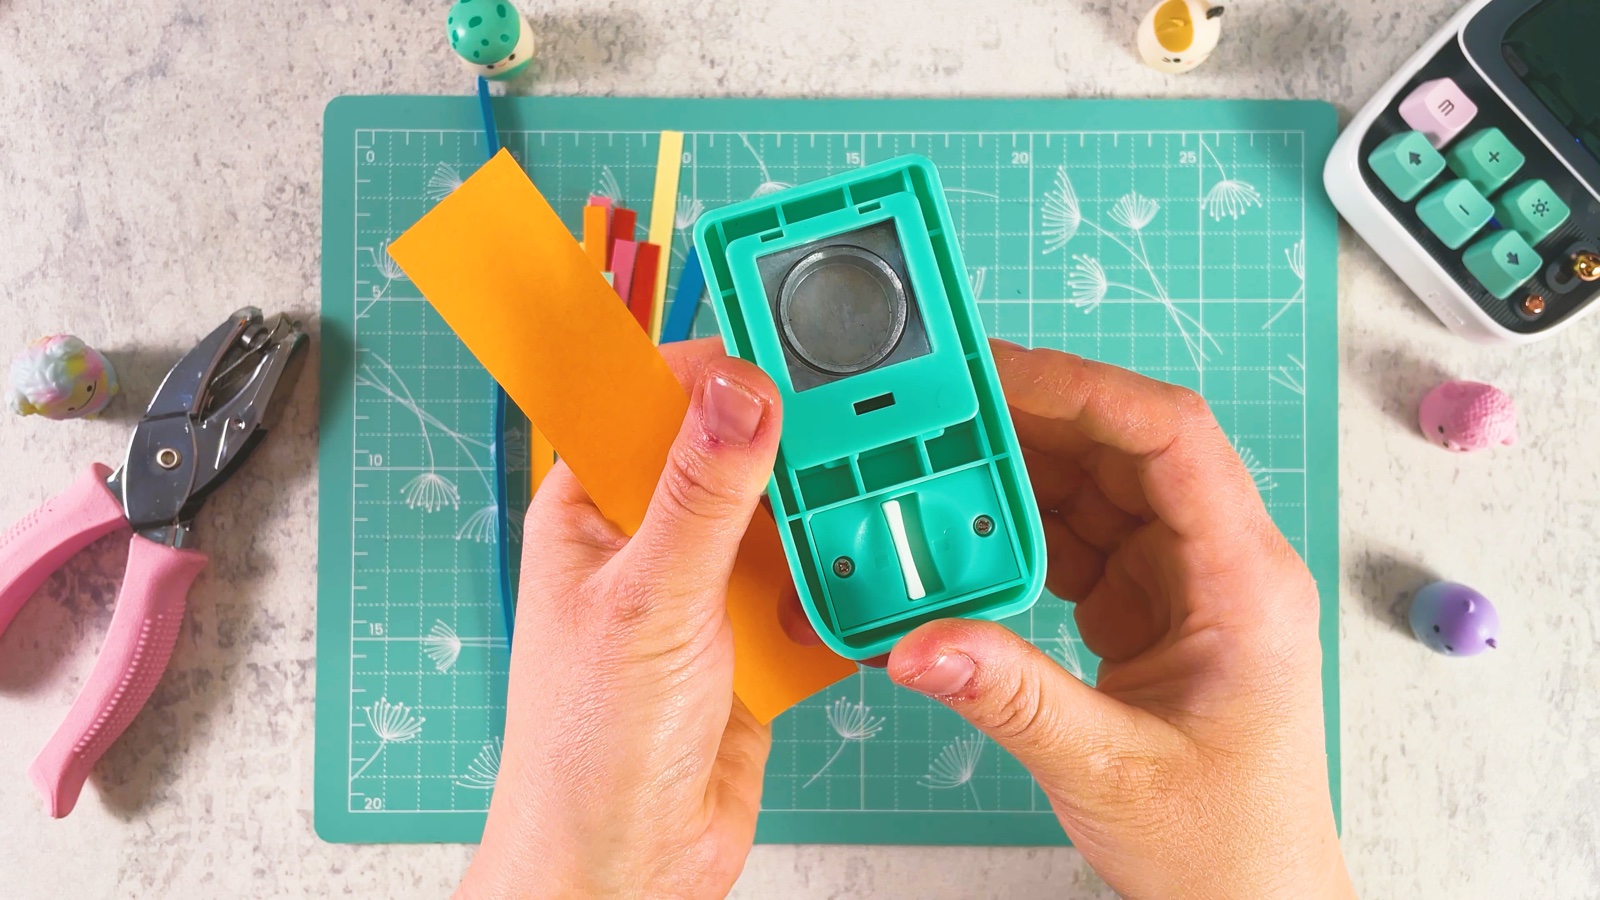
Punch small circles from orange paper with a circle punch. You need 4 circles: two for the top, one for the bottom and one more to close the bottom at the end.
- 3
Punch a hole in each circle
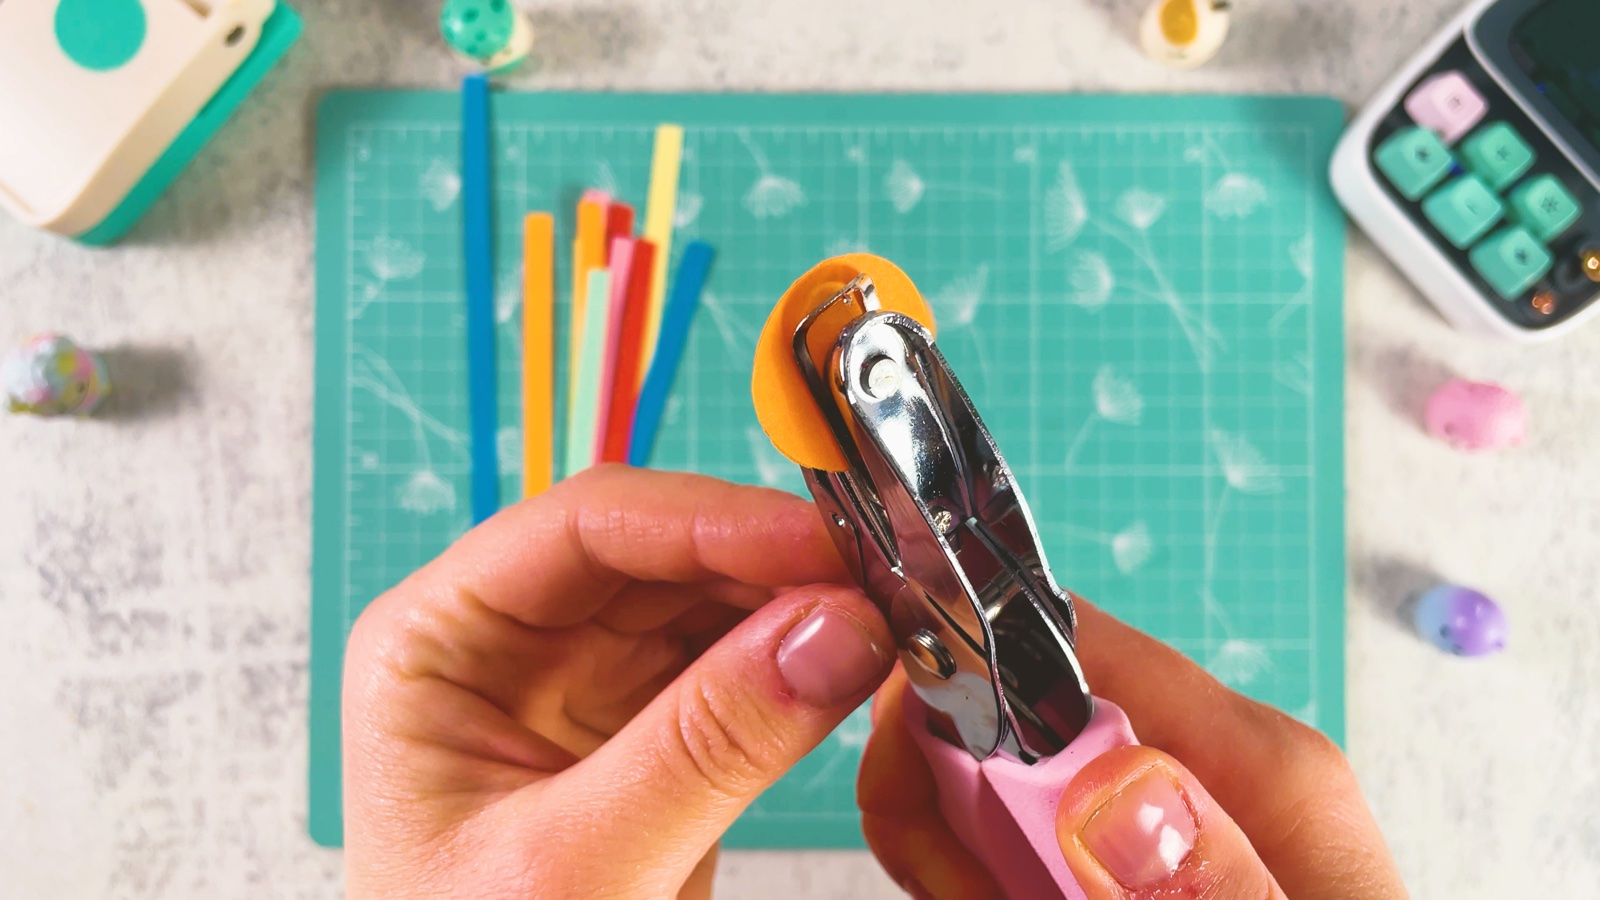
Punch a hole right in the middle of every circle. The skewer will go through these holes later.
- 4
Glue the strips into a star
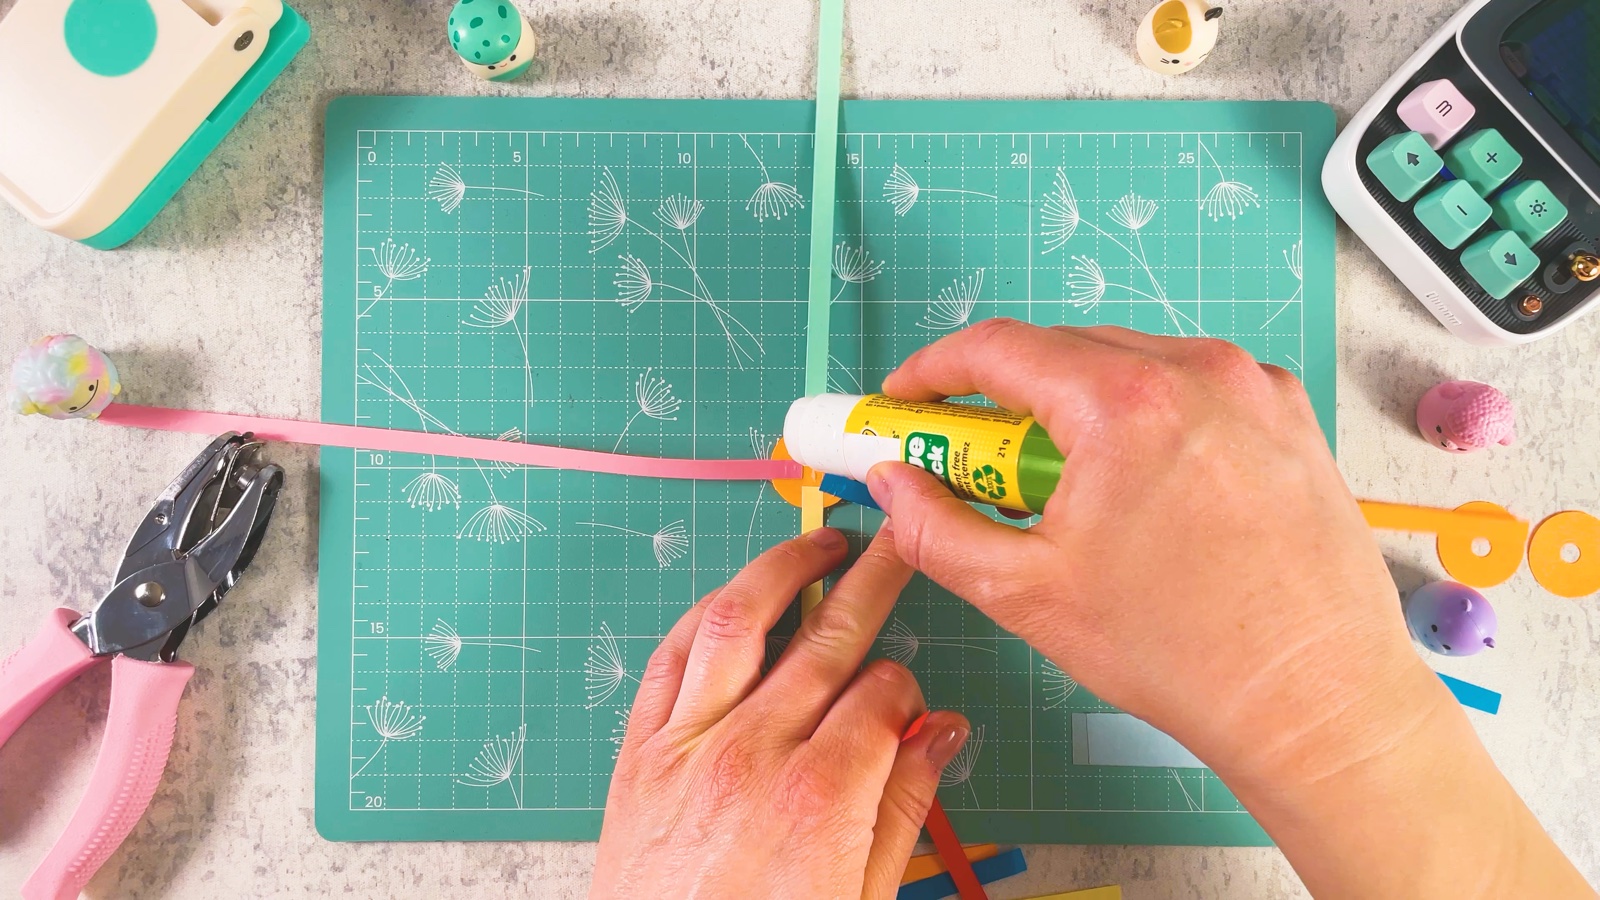
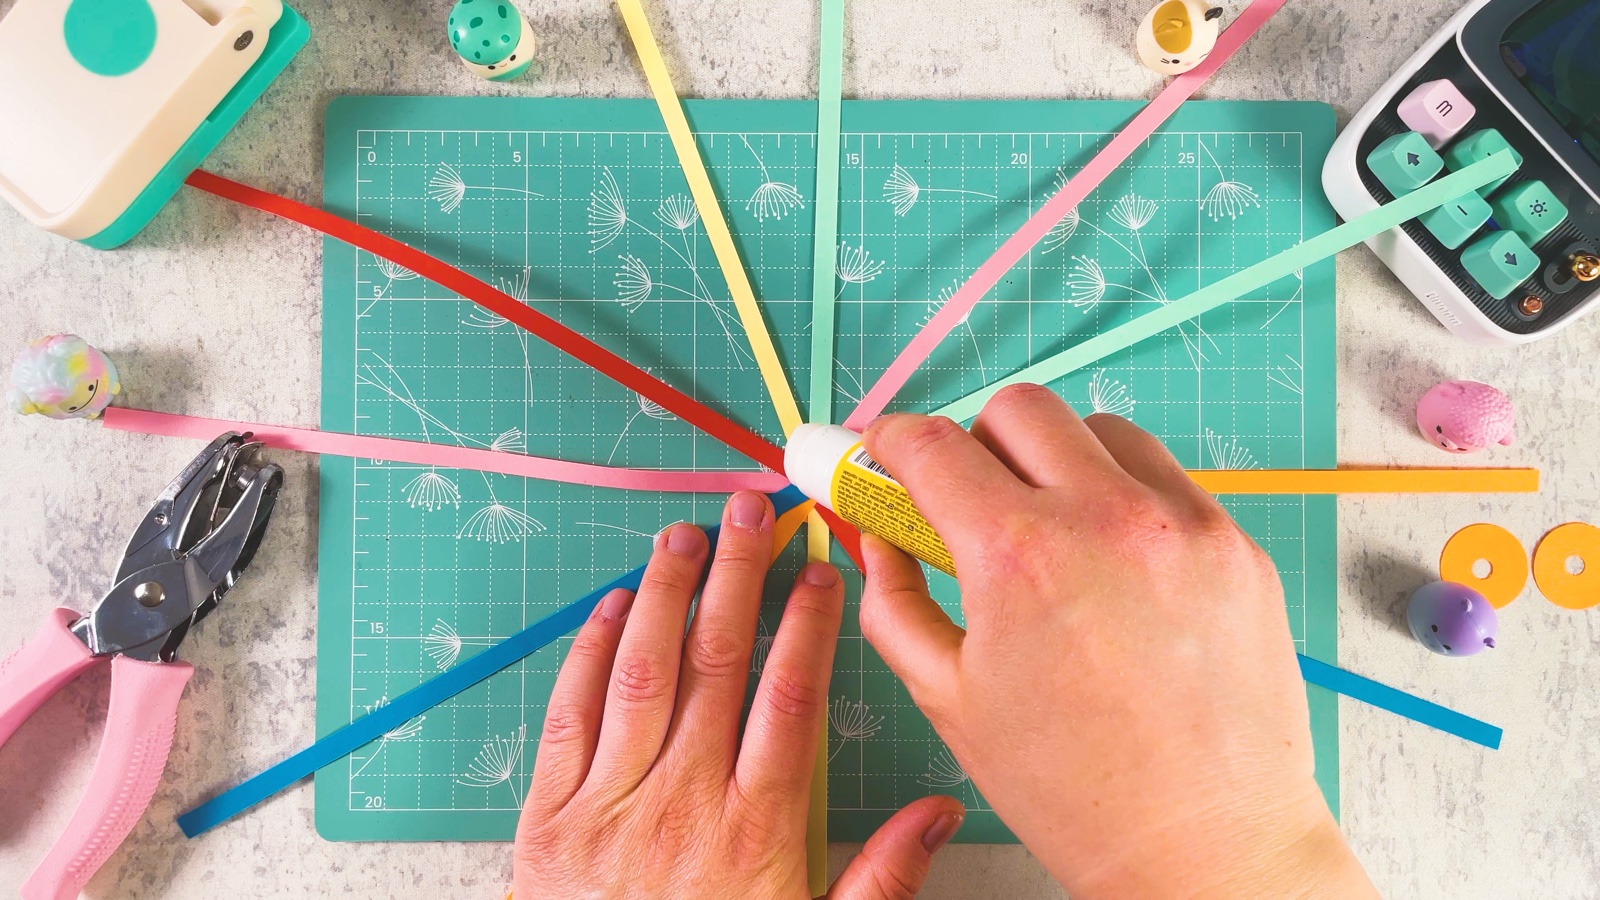
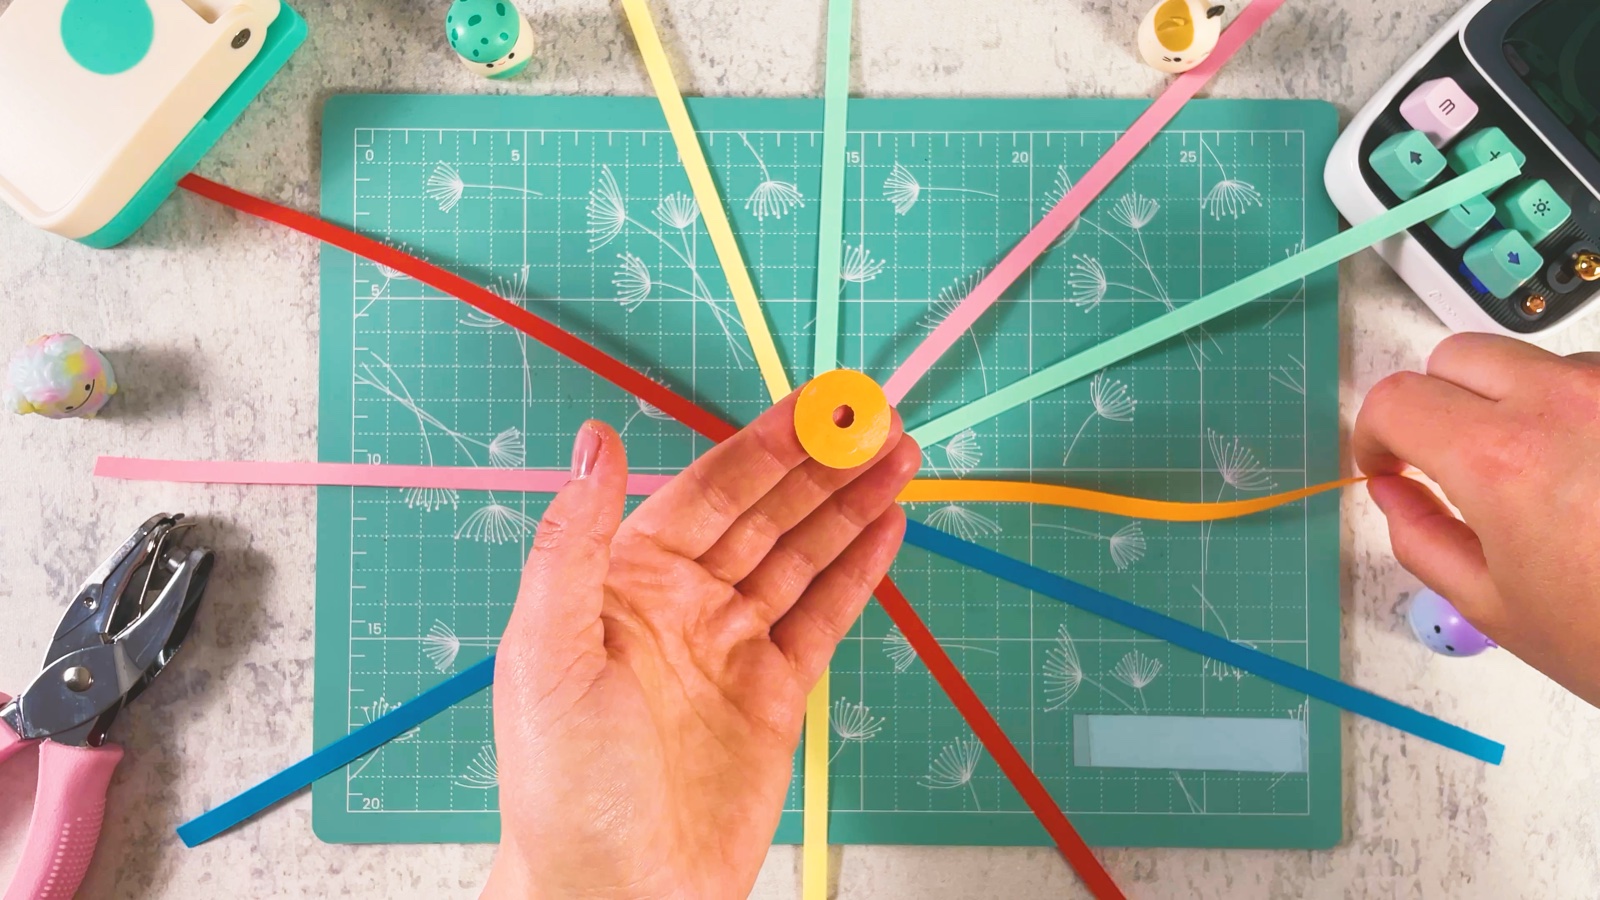
Put glue on one circle and lay the middle of the first strip on it. Add a little glue, then lay the next strip across it. Keep going until all 12 strips cross in the middle and spread out evenly, like a big star.
- 5
Glue a circle on top
Put glue on a second circle and press it on top of the middle. Line up the holes. Now the strips are held between two circles.
- 6
Bring the ends together
Lift the end of one strip and bend it over to the middle. Do the same with the next strip, and the next.
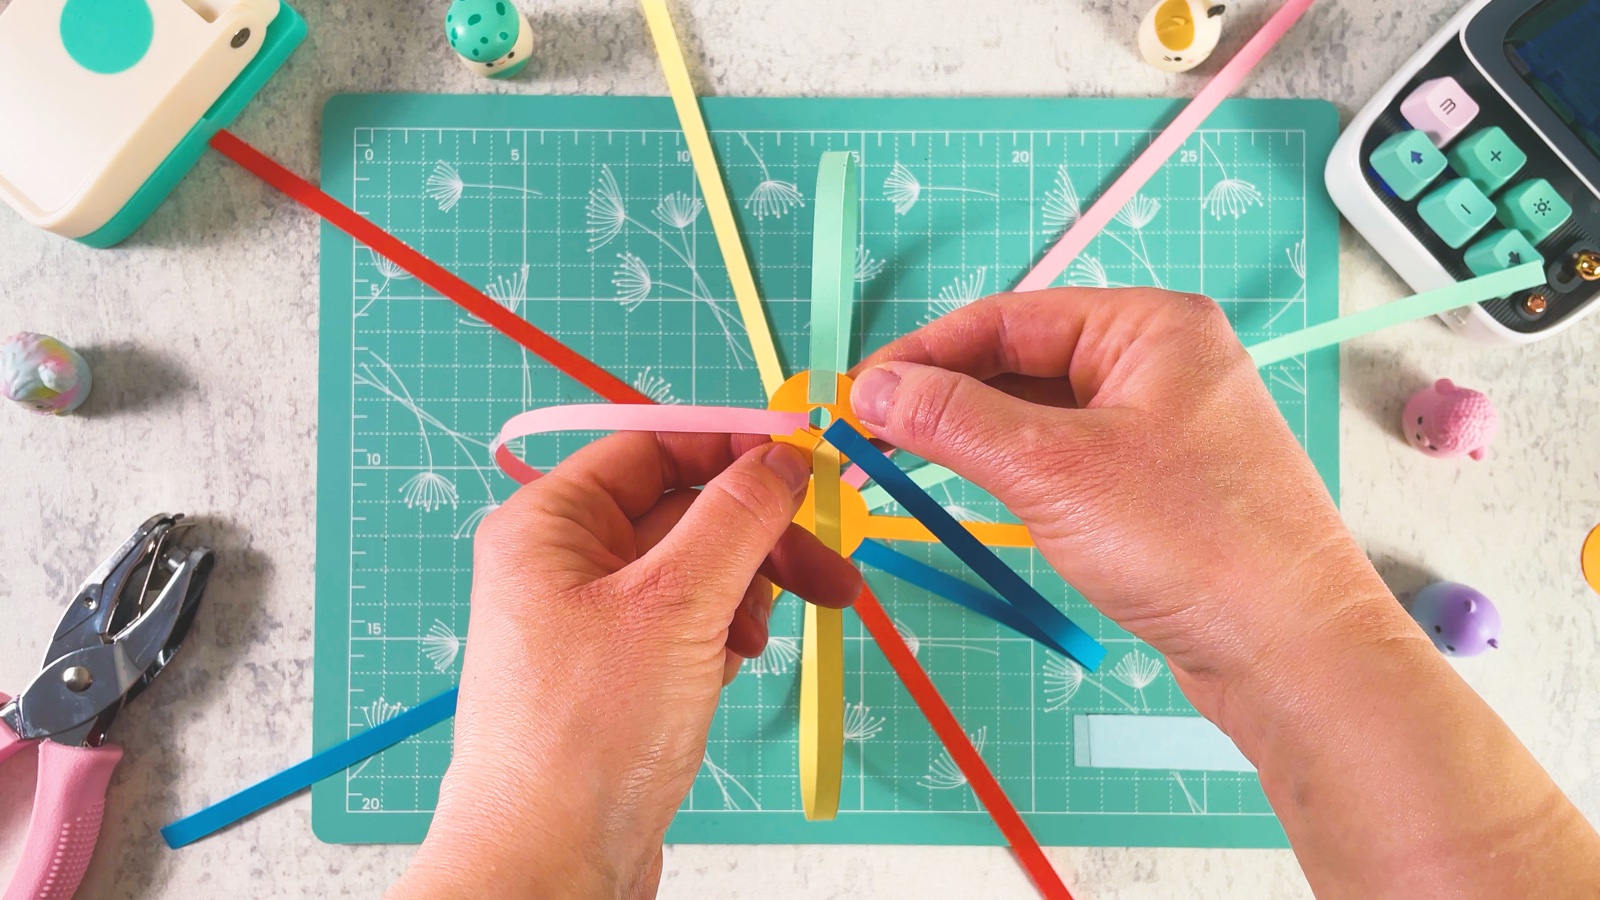
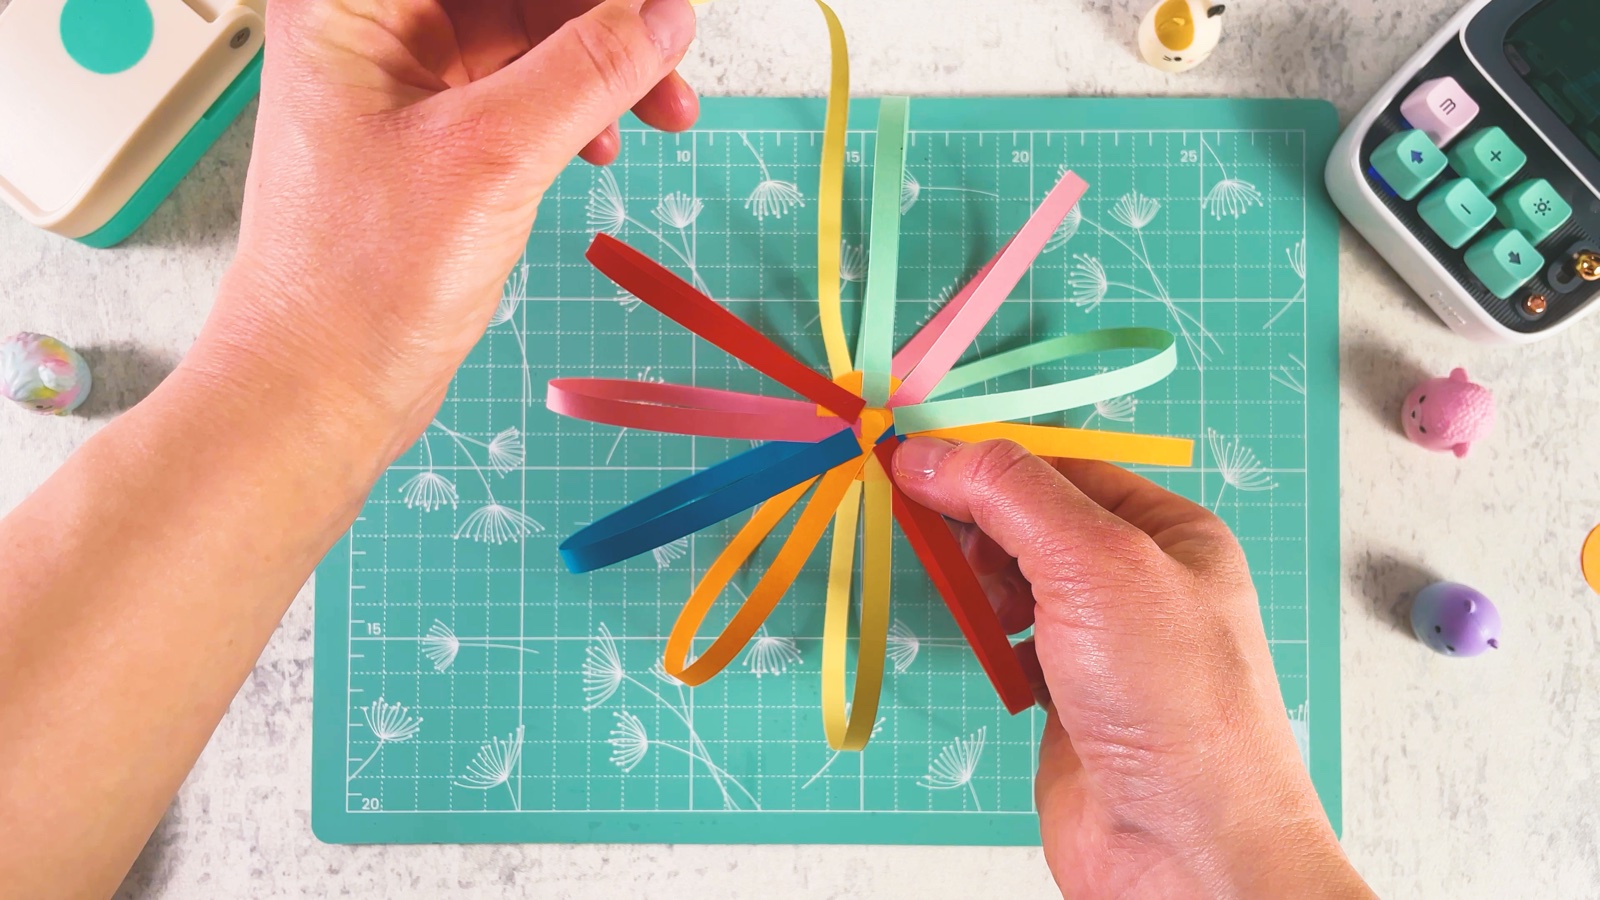
Hold all the ends together in one bundle. The strips curve into loops and start to look like a ball.
- 7
Glue the third circle on the ends
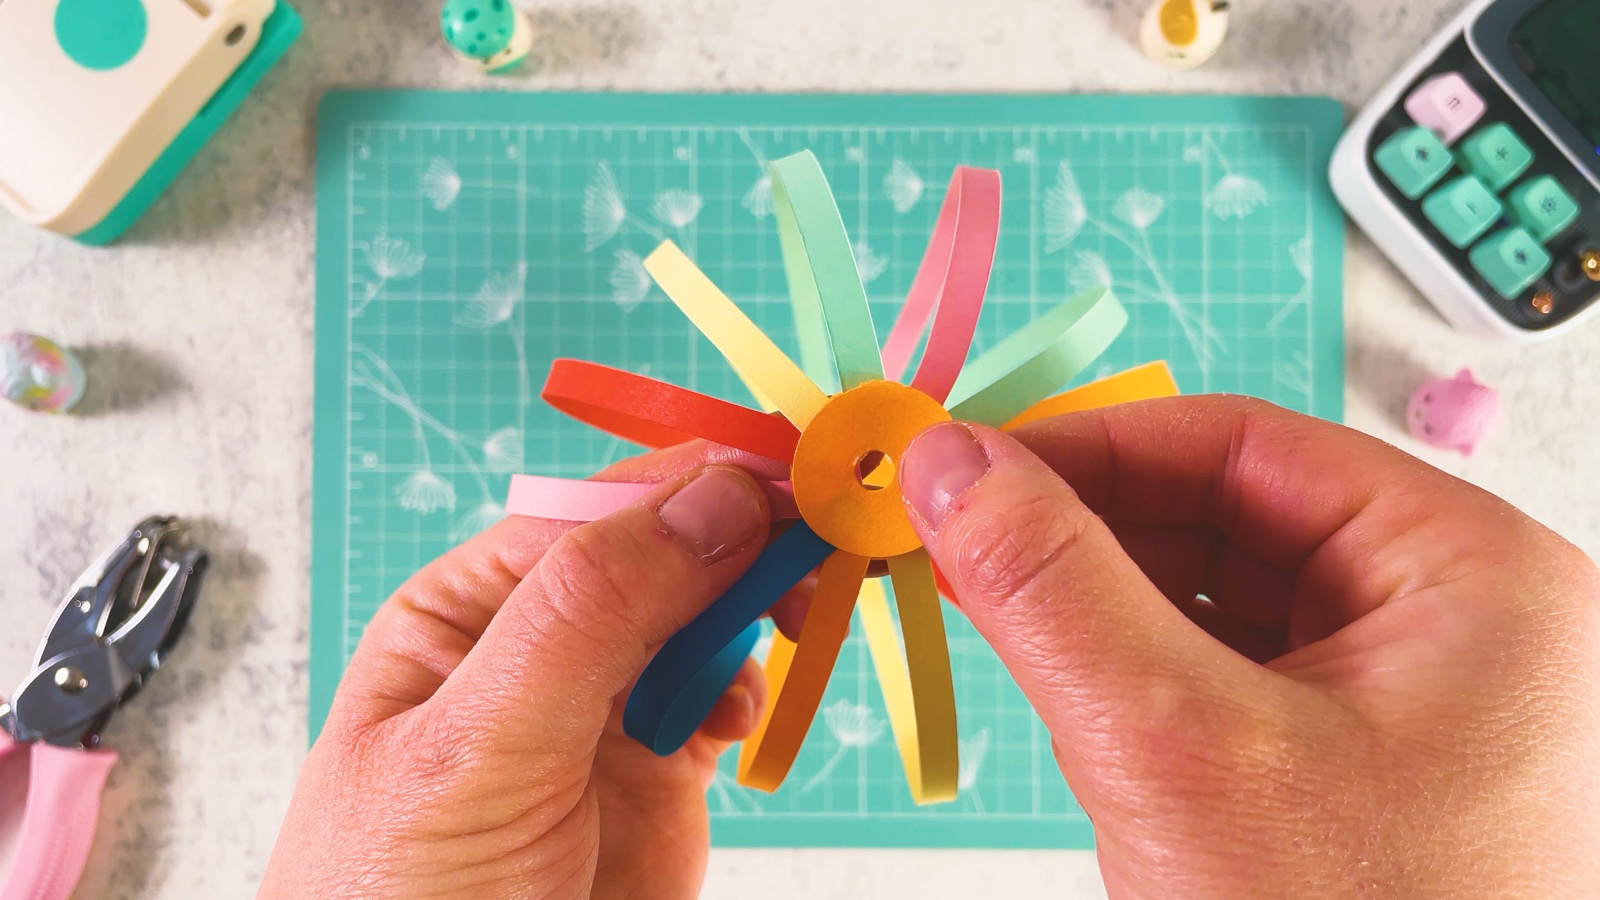
Put glue on the third circle and press it onto the bundle of ends. Hold it for a few seconds so the ends stay in place.
- 8
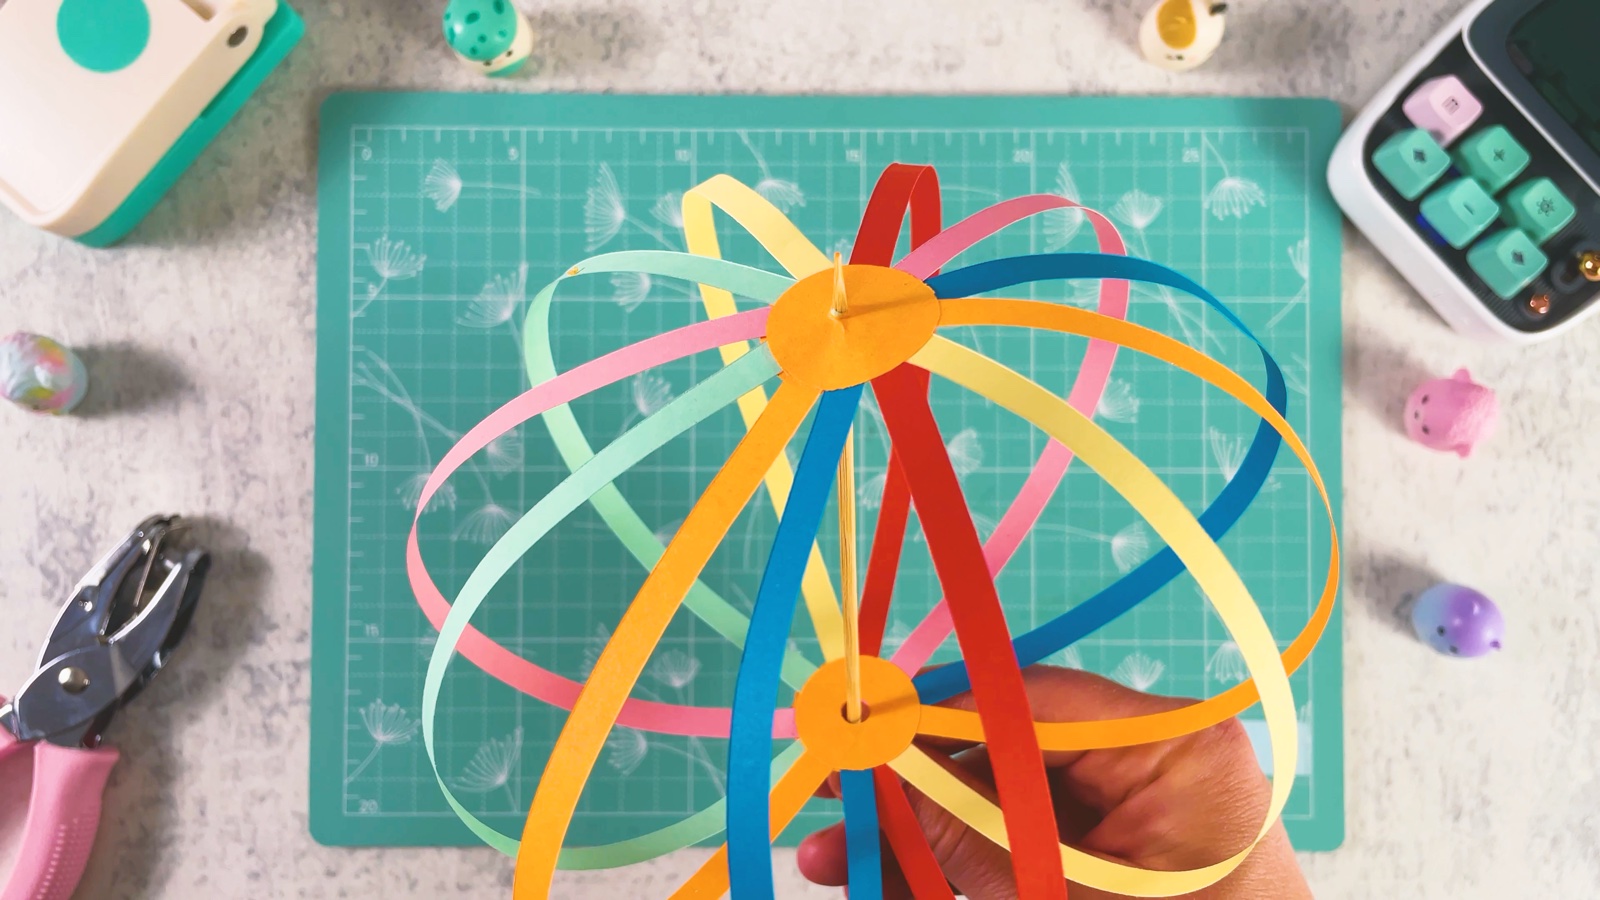
Push the skewer through
Gently shape the loops into a round ball. Push the wooden skewer through the holes in both circles, from one side of the ball to the other.
- 9
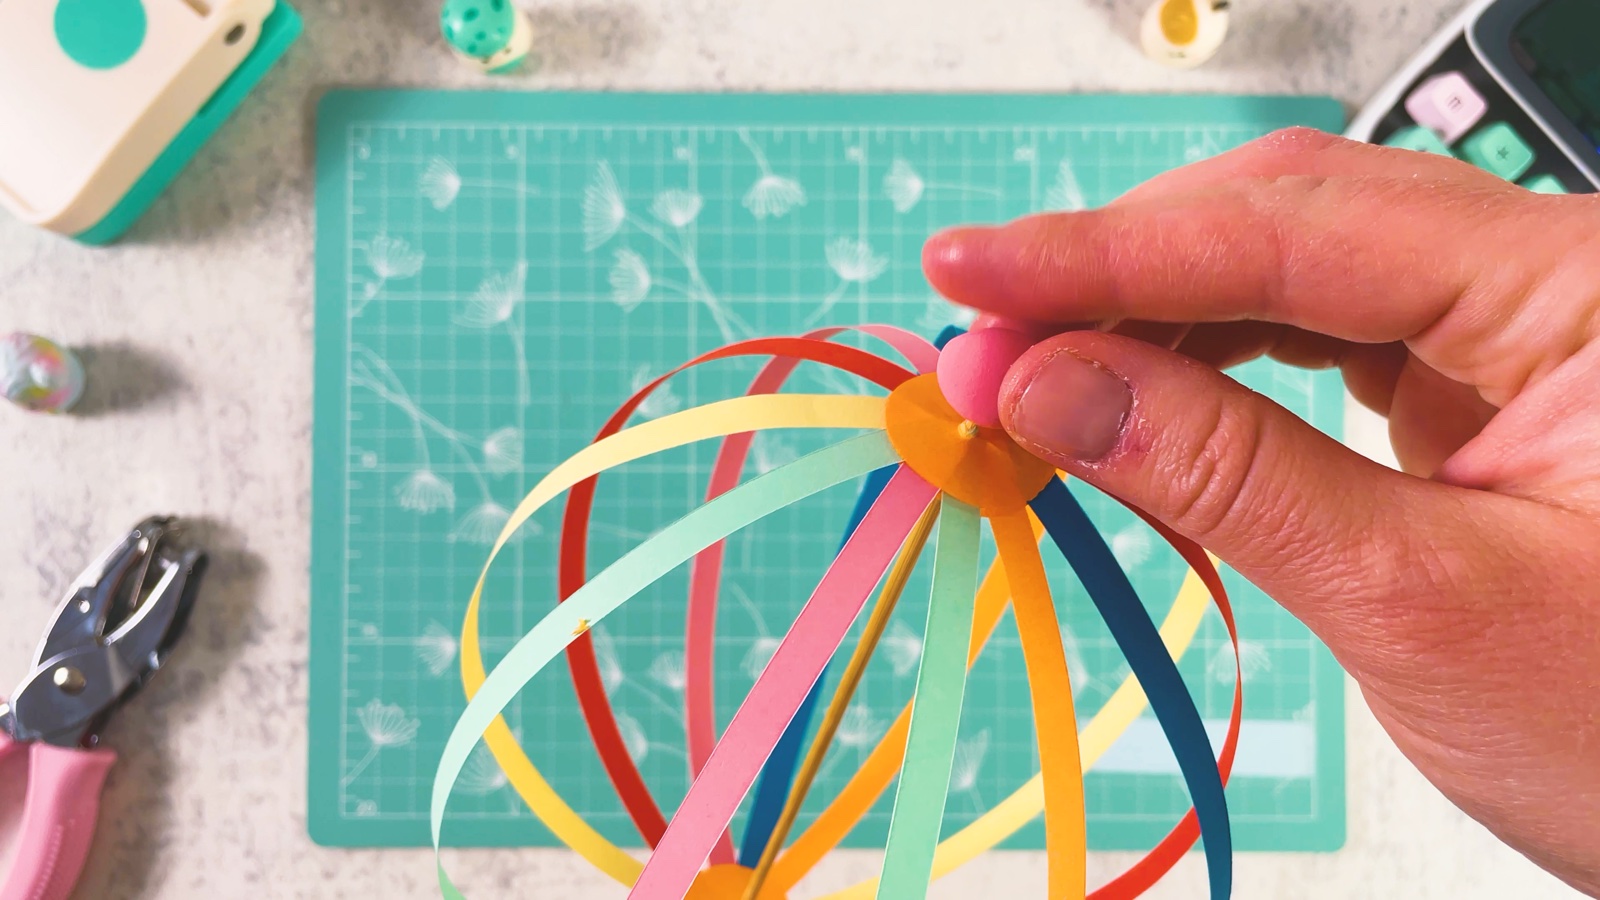
Add a clay ball on top
Roll a small ball of plasticine or air-dry clay. Press it onto the tip of the skewer, right on top of the circle. It holds the top of the ball in place and covers the sharp tip.
- 10
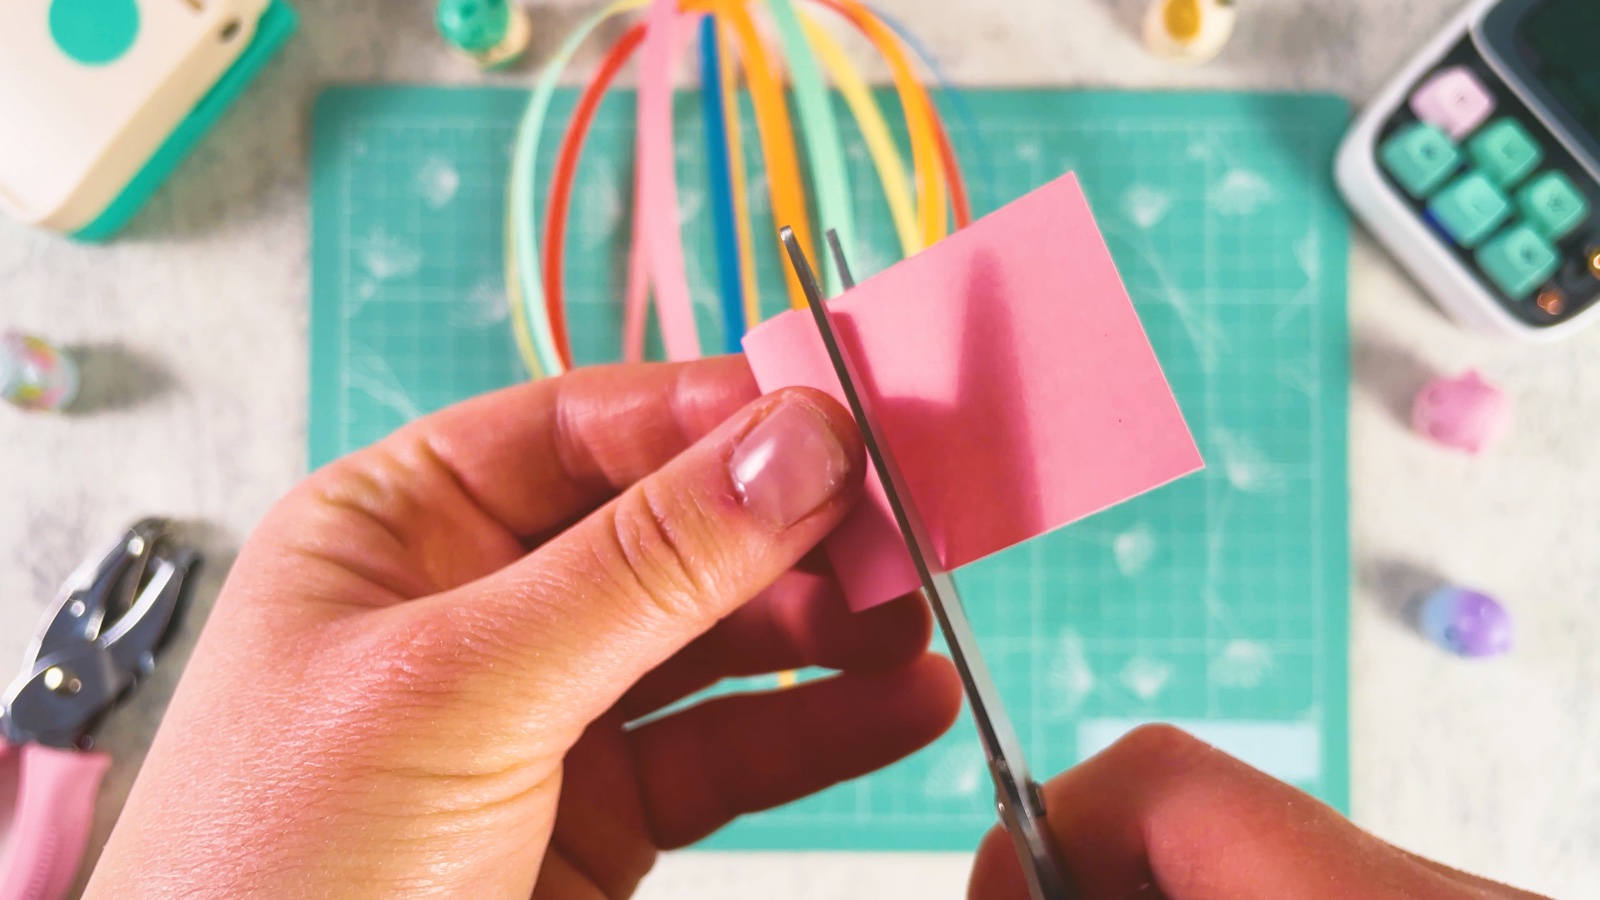
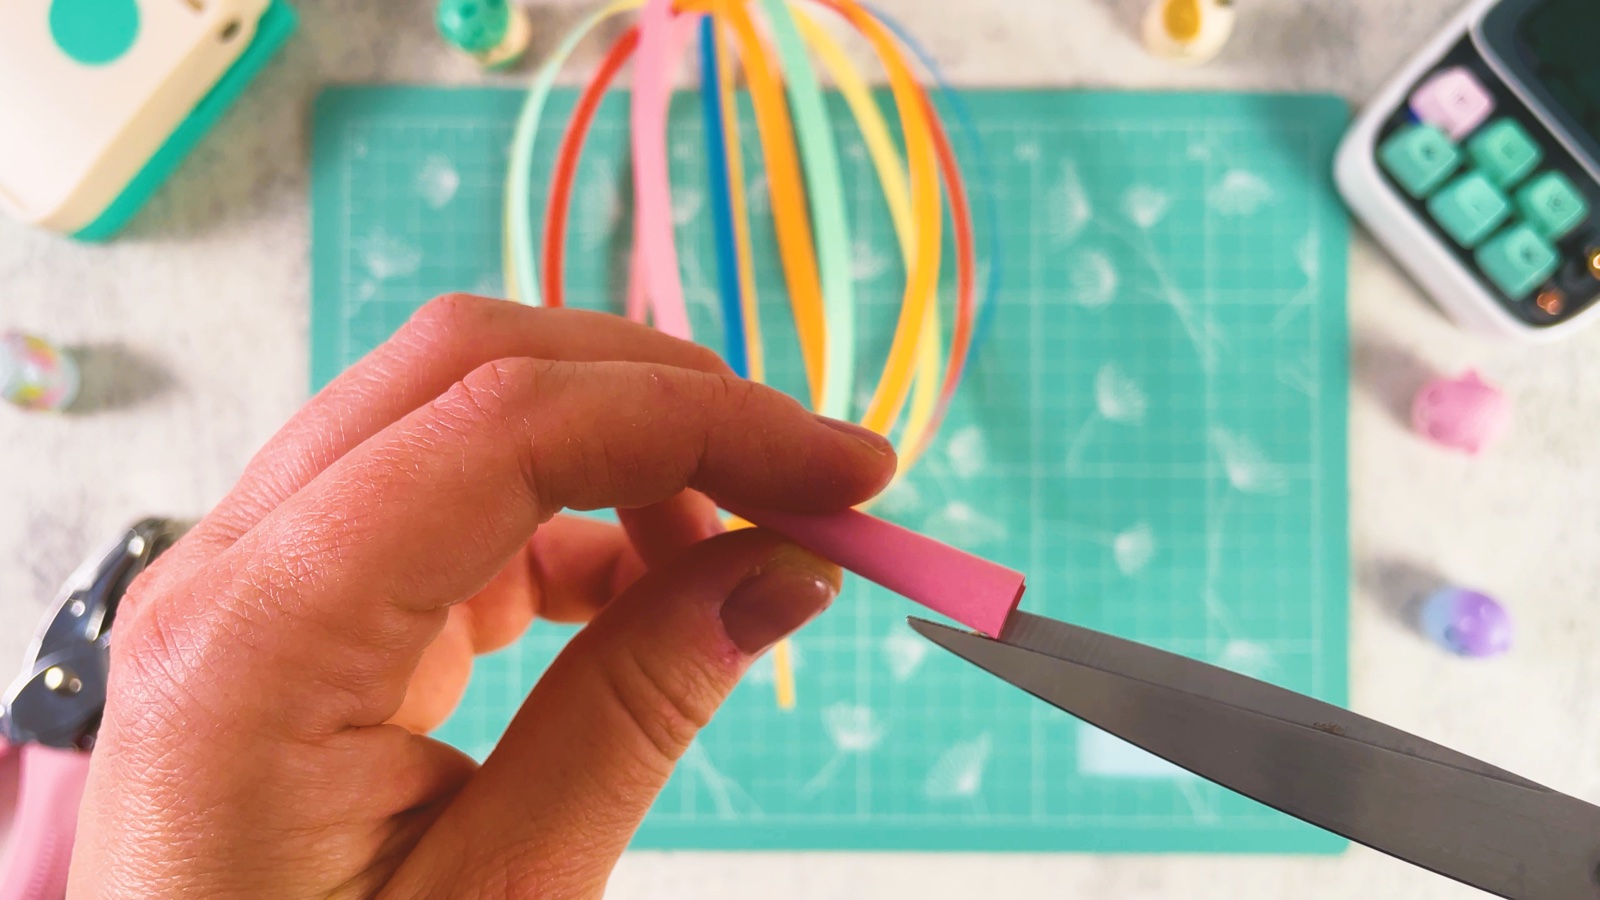
Roll a paper tube
Cut a small piece of pink paper. Roll it around the skewer to make a thin tube and glue the end. The tube should turn and slide easily on the skewer, so don't roll it too tight.
- 11
Glue the tube to the bottom
Slide the tube onto the skewer from below and push it up to the bottom circle. Glue the top of the tube to the circle. Don't glue the tube to the skewer.
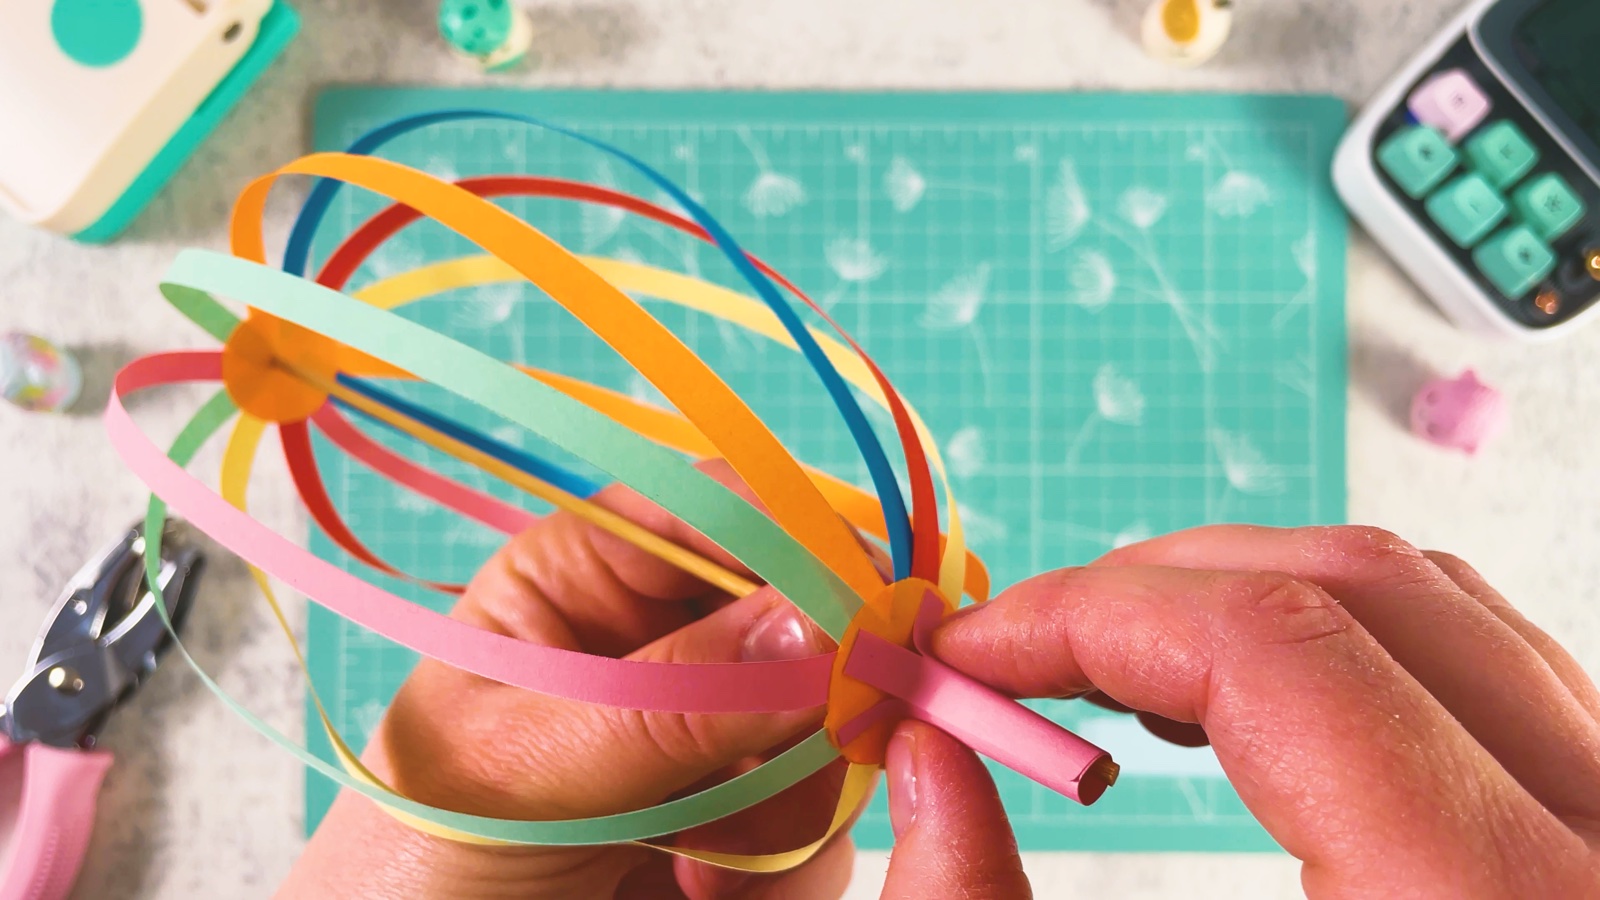
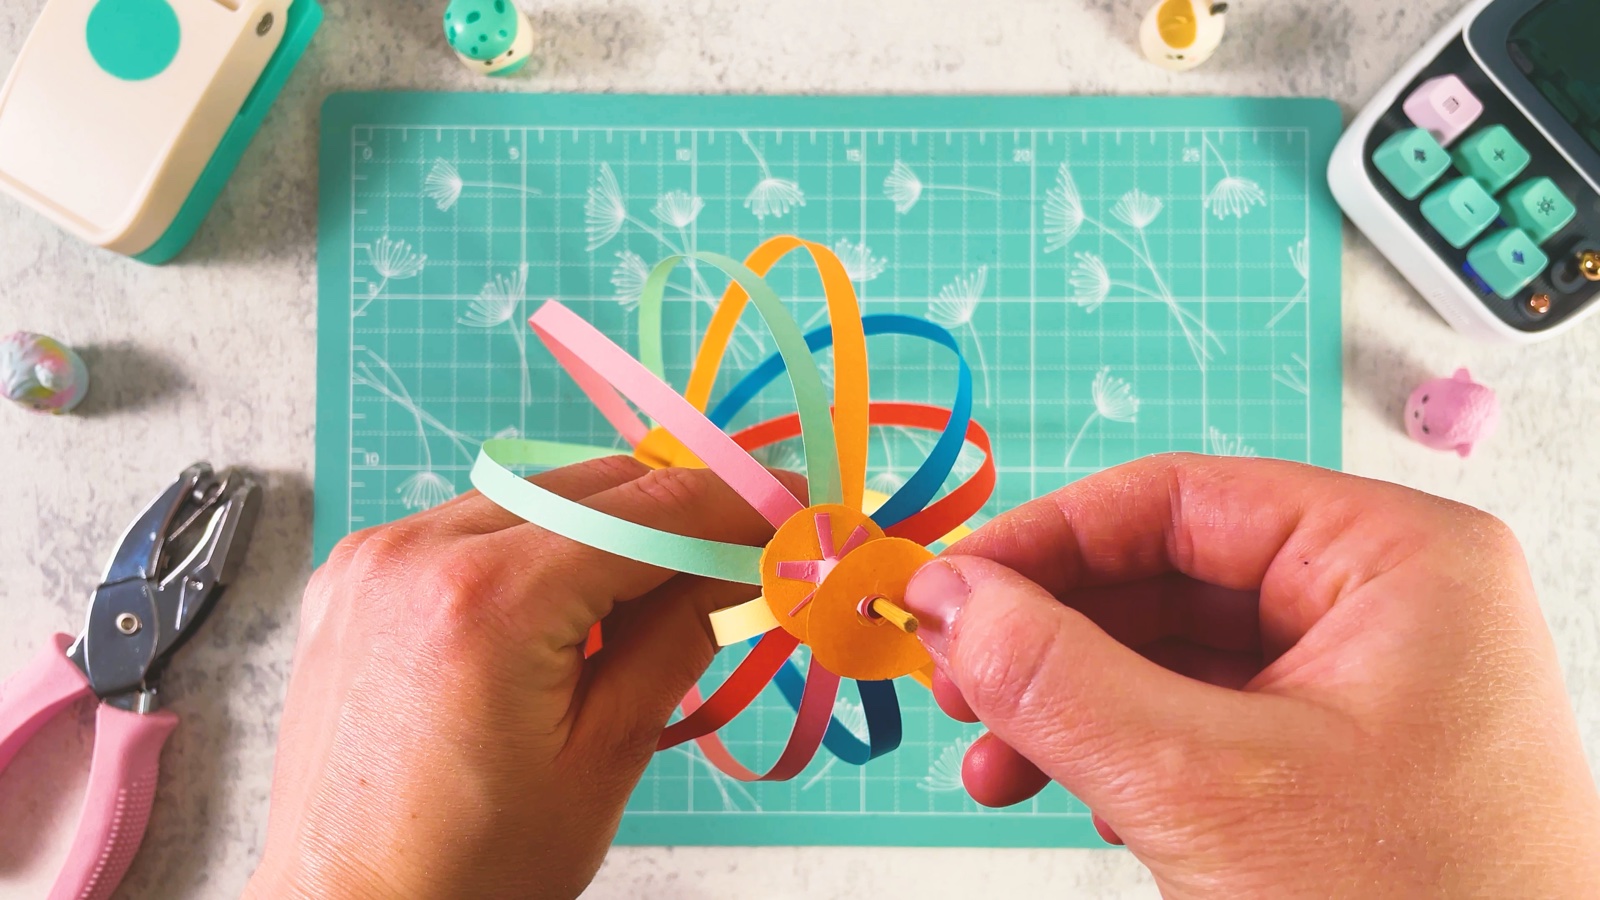
- 12
Close the bottom
Take the last circle with a hole in the middle. Put glue on it, slide it onto the tube and press it onto the bottom of the ball. It holds the tube firmly in place.
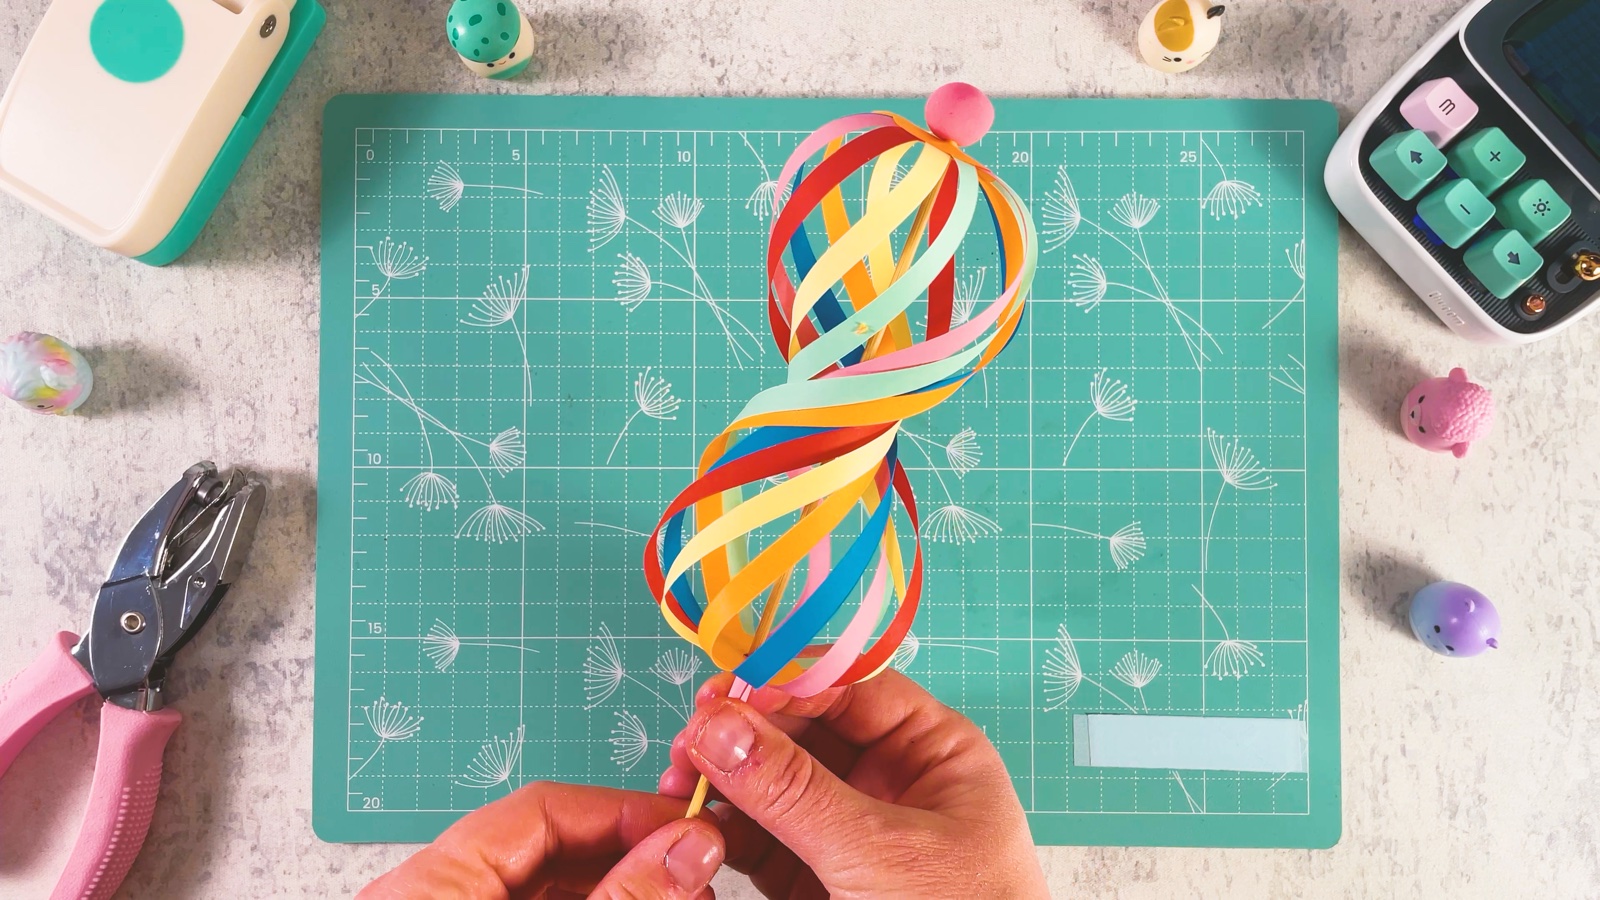
- 13
Twist and play
Hold the tube in one hand and the skewer in the other. Turn the skewer and the ball twists into a spiral. Turn it back, or push and pull, and it becomes a ball again. Watch how the colours blend.
Try stretching it long, then flattening it. Every move makes a new shape.
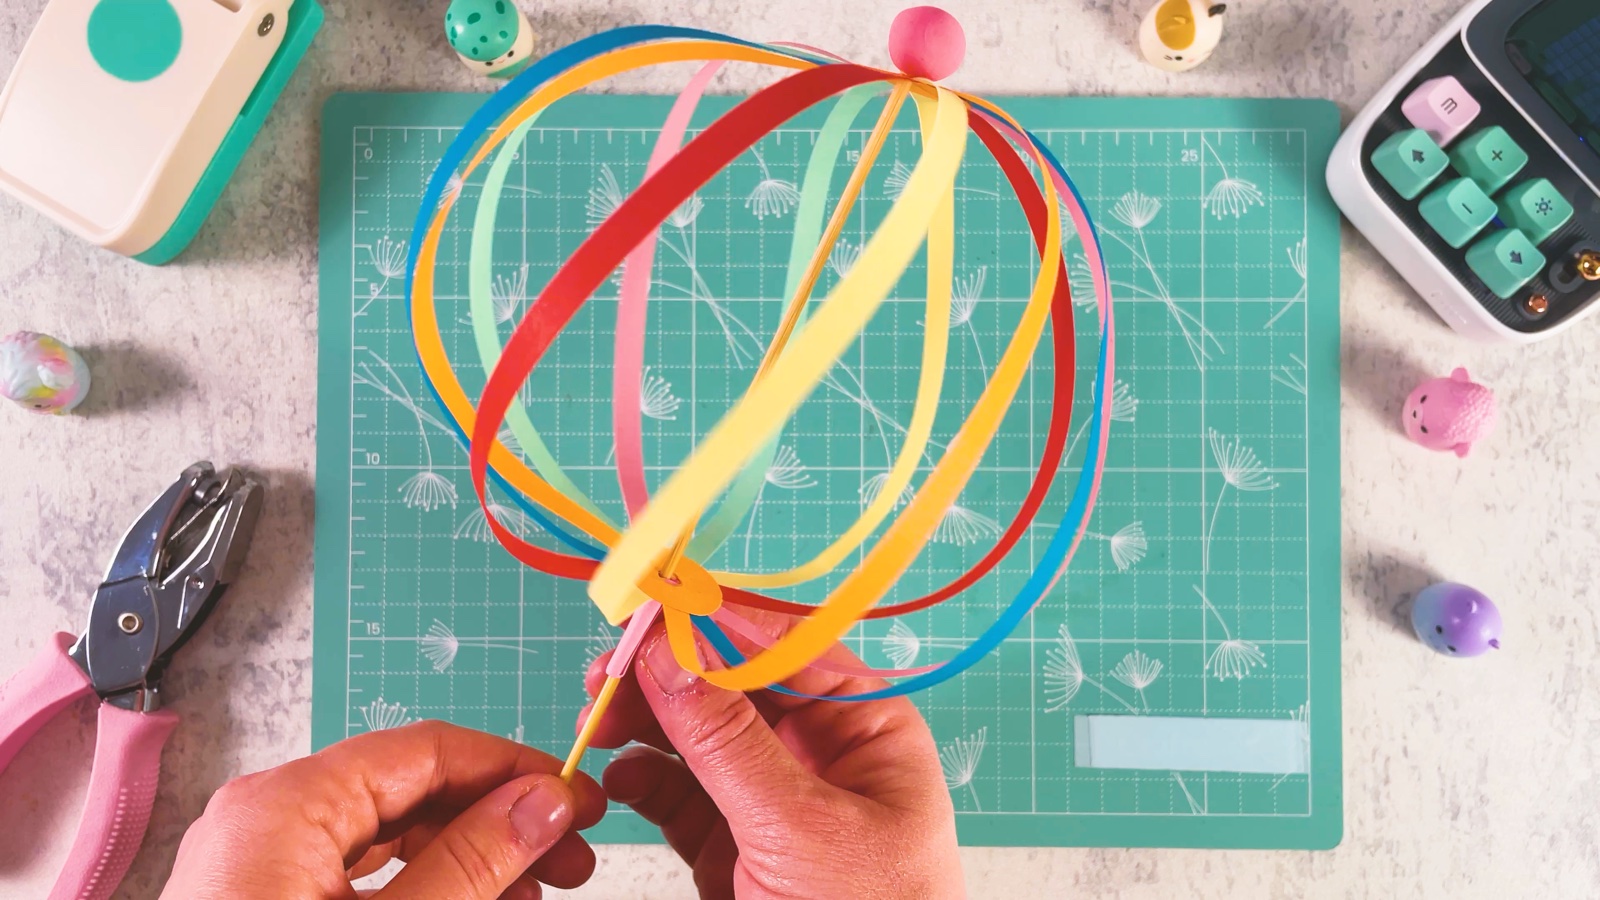
Your paper spinner is ready.
THREE LITTLE TIPS
Make it easier.
- Mix bright colours. Strong colours side by side blend best when the spinner turns.
- Keep the tube loose. If the tube is tight on the skewer, the ball can’t twist.
- Use a glue stick, not liquid glue. Liquid glue makes thin strips wavy.

A CUBI MINI MOMENT
Which colours will you spin?
Cubi made a spinner in all the colours of the rainbow, and Mini can’t stop twisting it. Which colours will you mix in yours?
Only yellow and mint, so it spins like a lemon ice cream.
Loved making it?
Catch the next make first, or save this one for a rainy day.