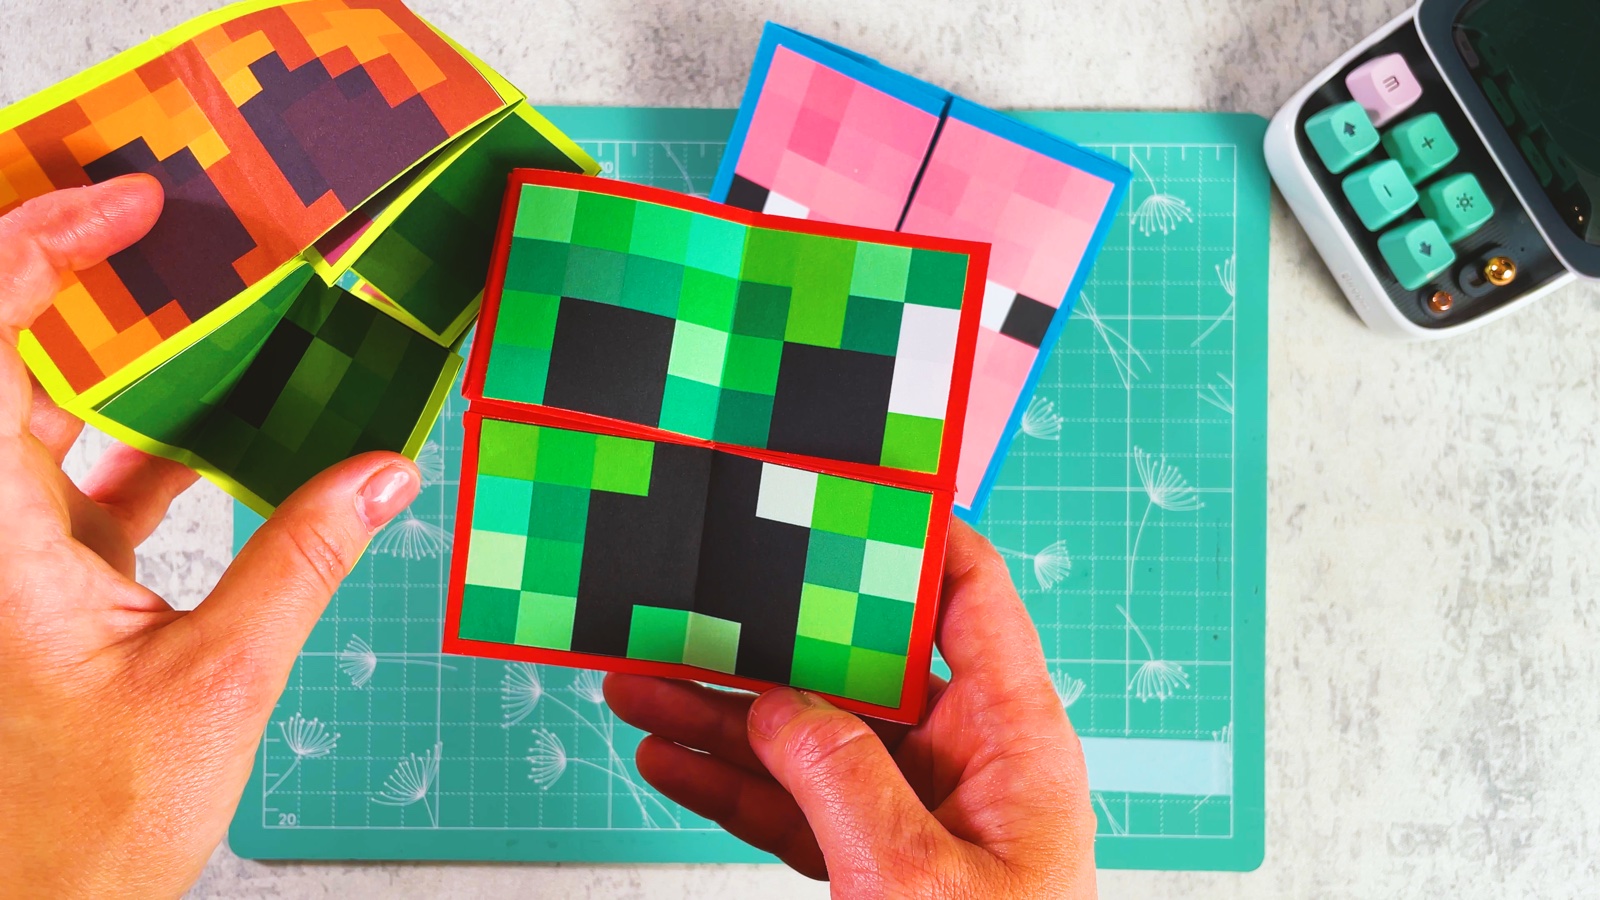
Let’s make a super satisfying origami infinity paper star toy from paper! In this tutorial, we fold 8 colourful paper squares into cute origami pieces and connect them together without using any glue at all. The result is an amazing transforming paper fidget toy that changes shape right in your hands.
This relaxing paper craft is so fun to play with. You can push, flip and transform the colourful star again and again into different shapes. The rainbow colours make it extra magical, hypnotising and satisfying to watch!
It is a calming and creative activity that can help you relax, focus and take a little break from screens and devices. Perfect for cosy crafting time, stress relief and quiet creative fun. No glue. No tape. Just folding magic!
BEFORE WE START
What you need.
Materials
- Square paper in bright colours× 8
Tools
- Your hands and a little patience
STEP BY STEP
Let’s make it.
- 1
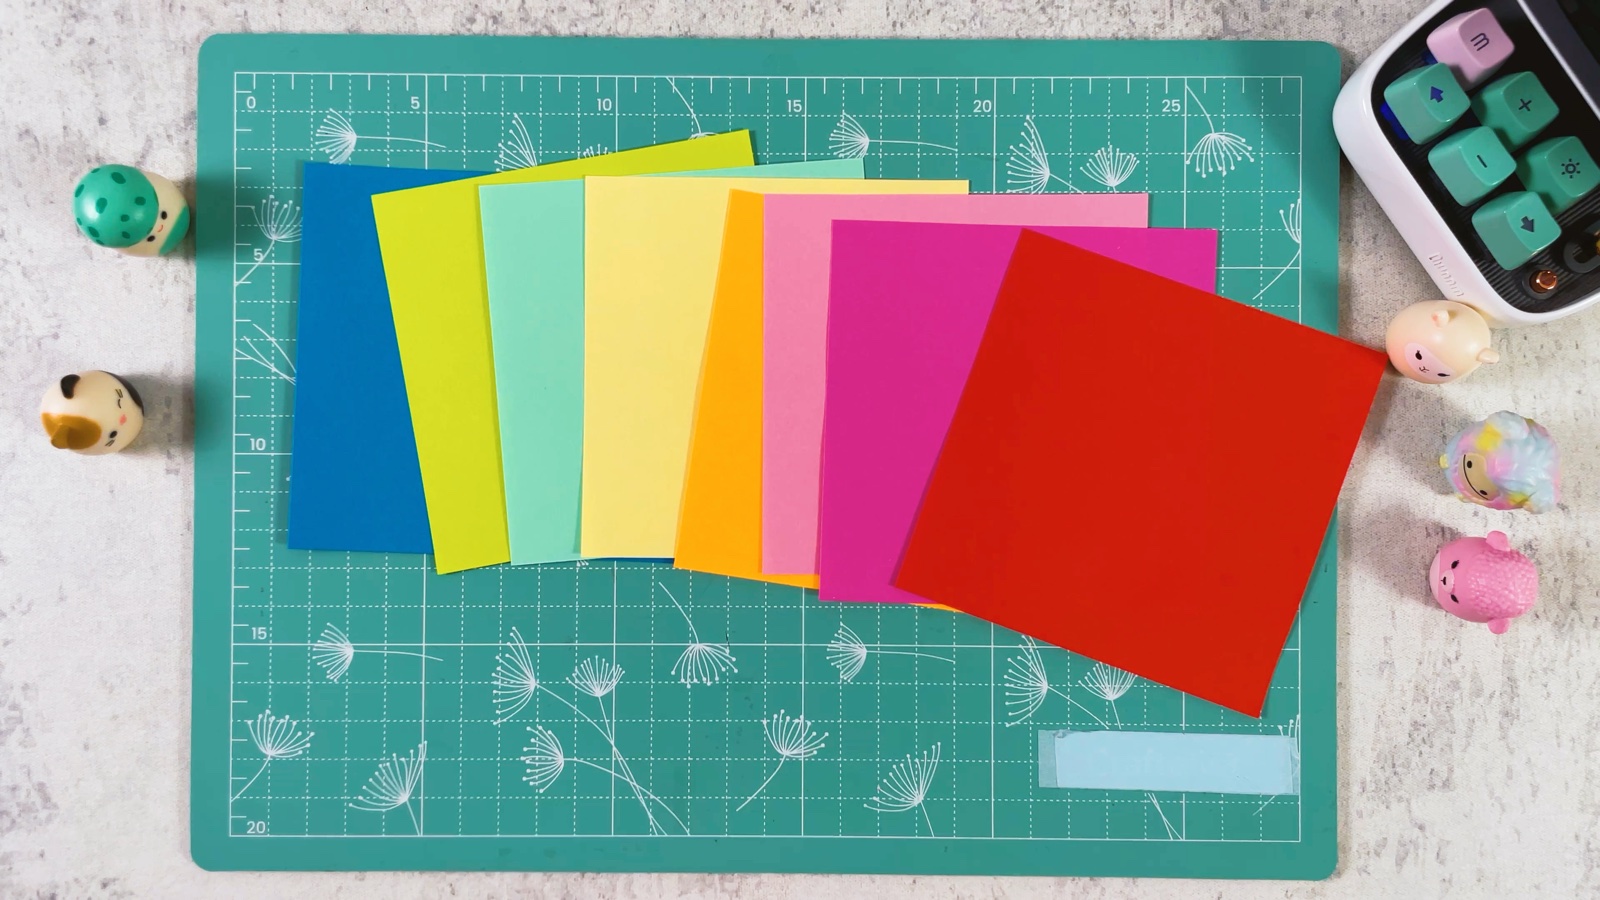
Choose 8 squares
Take 8 square pieces of paper, all the same size. Bright, colourful paper gives the best effect. Lay them out in rainbow order, so you know which colour comes next.
- 2
Fold both diagonals
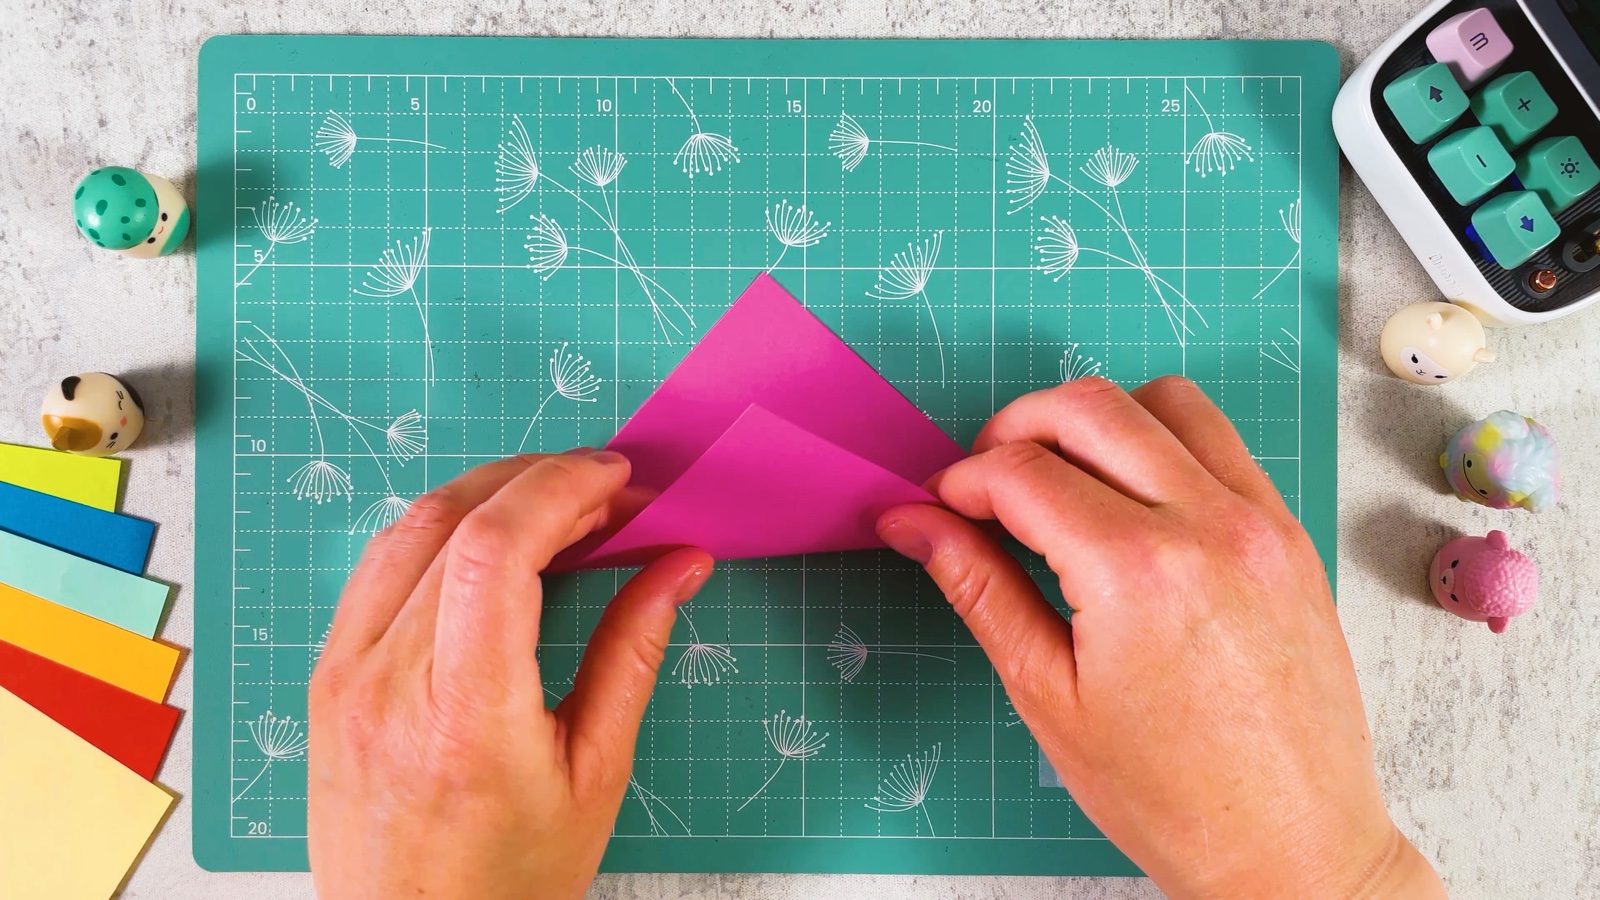
Start with the pink square. Fold it in half corner to corner to make a triangle, press the fold and open it. Then fold the other two corners together and open it again. Now there is an X of folds across the square.
- 3
Fold the corners to the centre
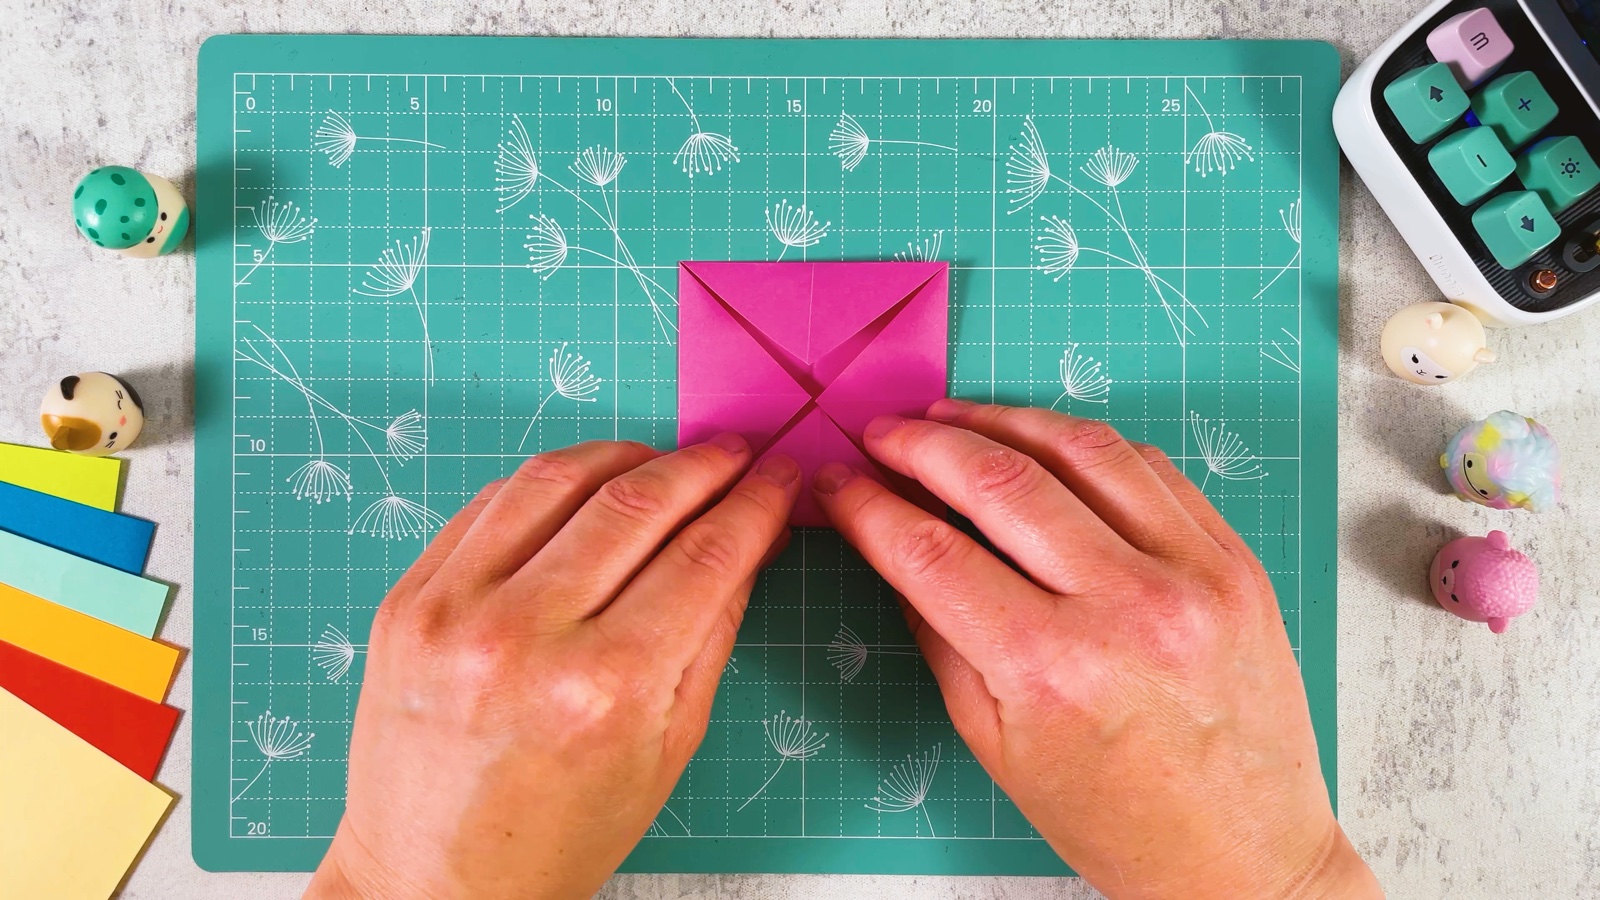
Fold all four corners into the middle, so their tips meet where the folds cross. Press each fold flat, then open the corners again.
- 4
Fold a band on each side
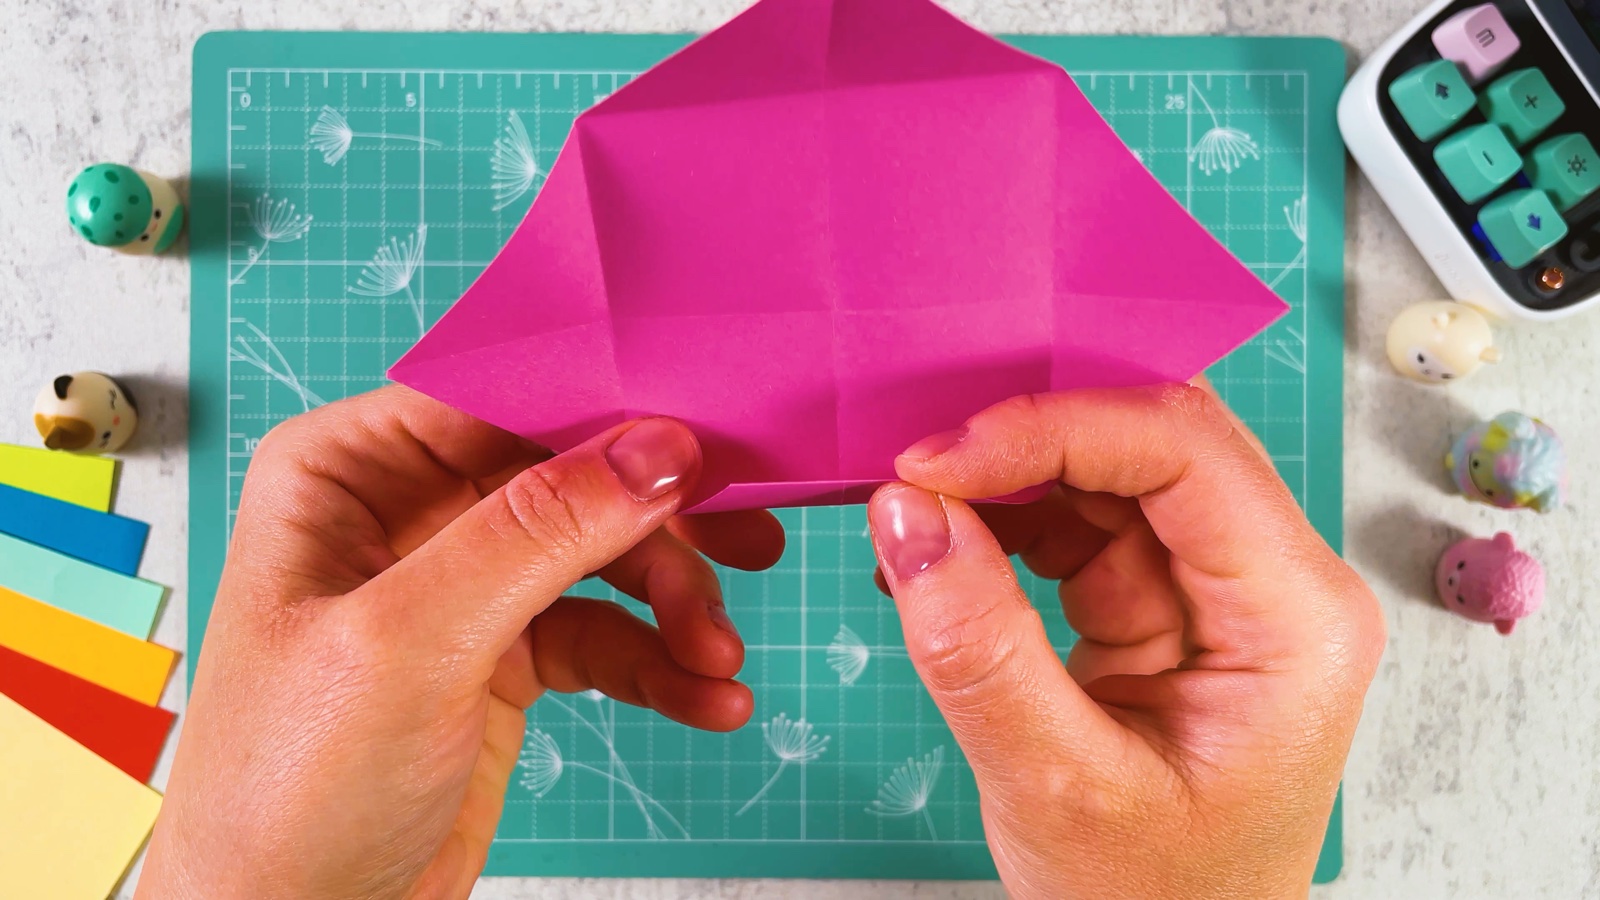
Fold one corner up to the fold line you just made, then fold it over once more along that line. You get a narrow band along the edge. Do the same on all four sides.
- 5
Check the frame
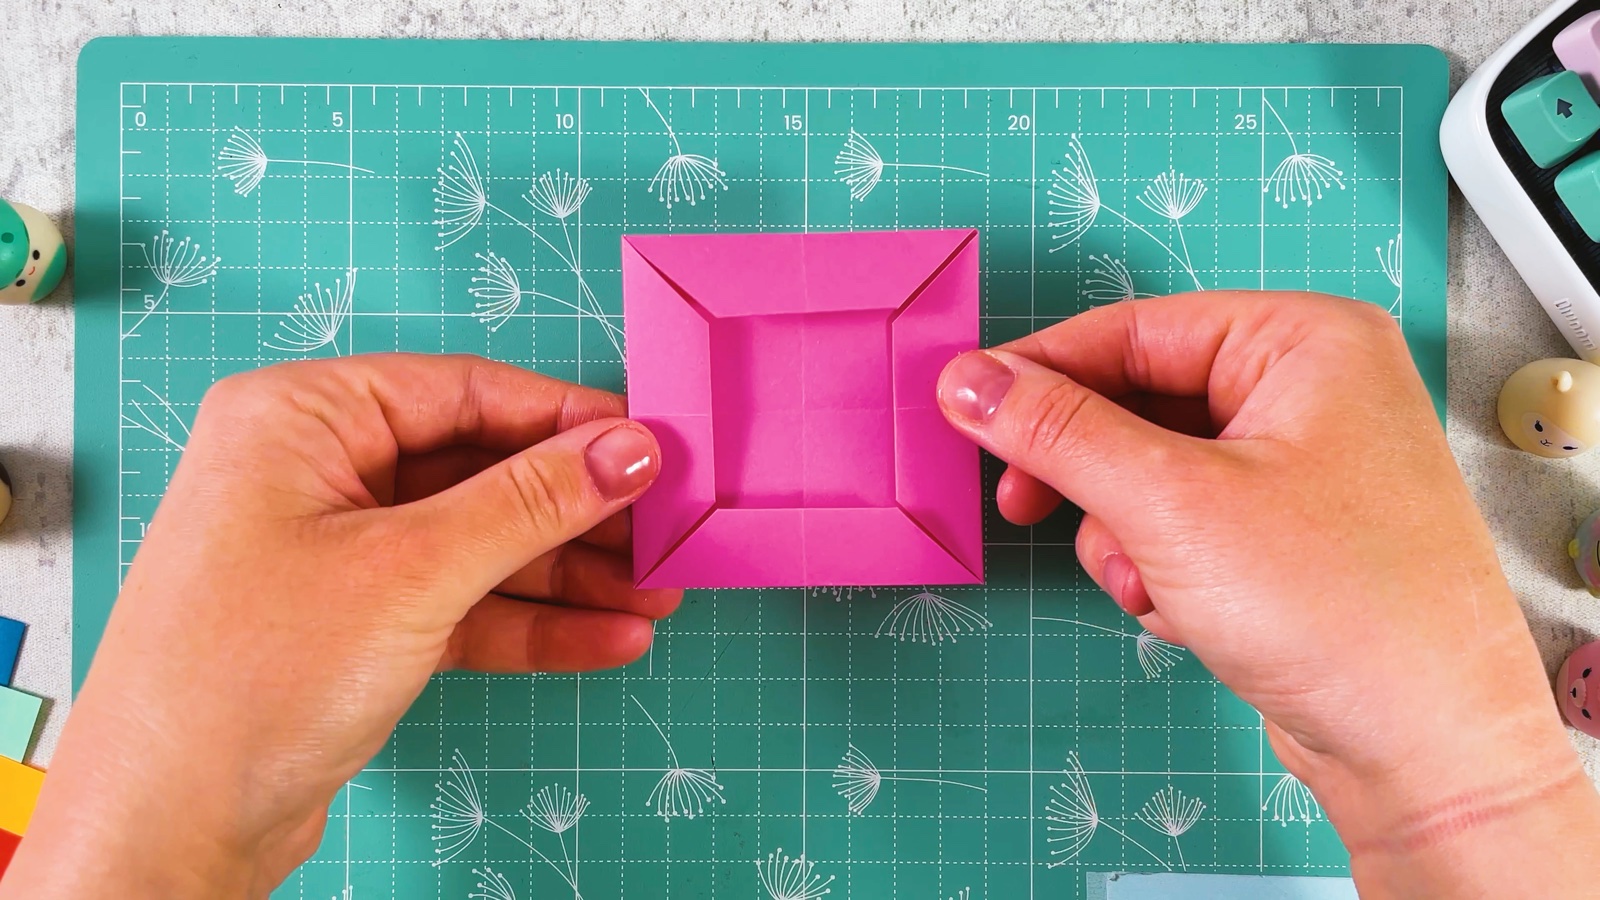
With all four bands folded, the square looks like a little picture frame. Press all the edges firmly, then open the bands again.
- 6
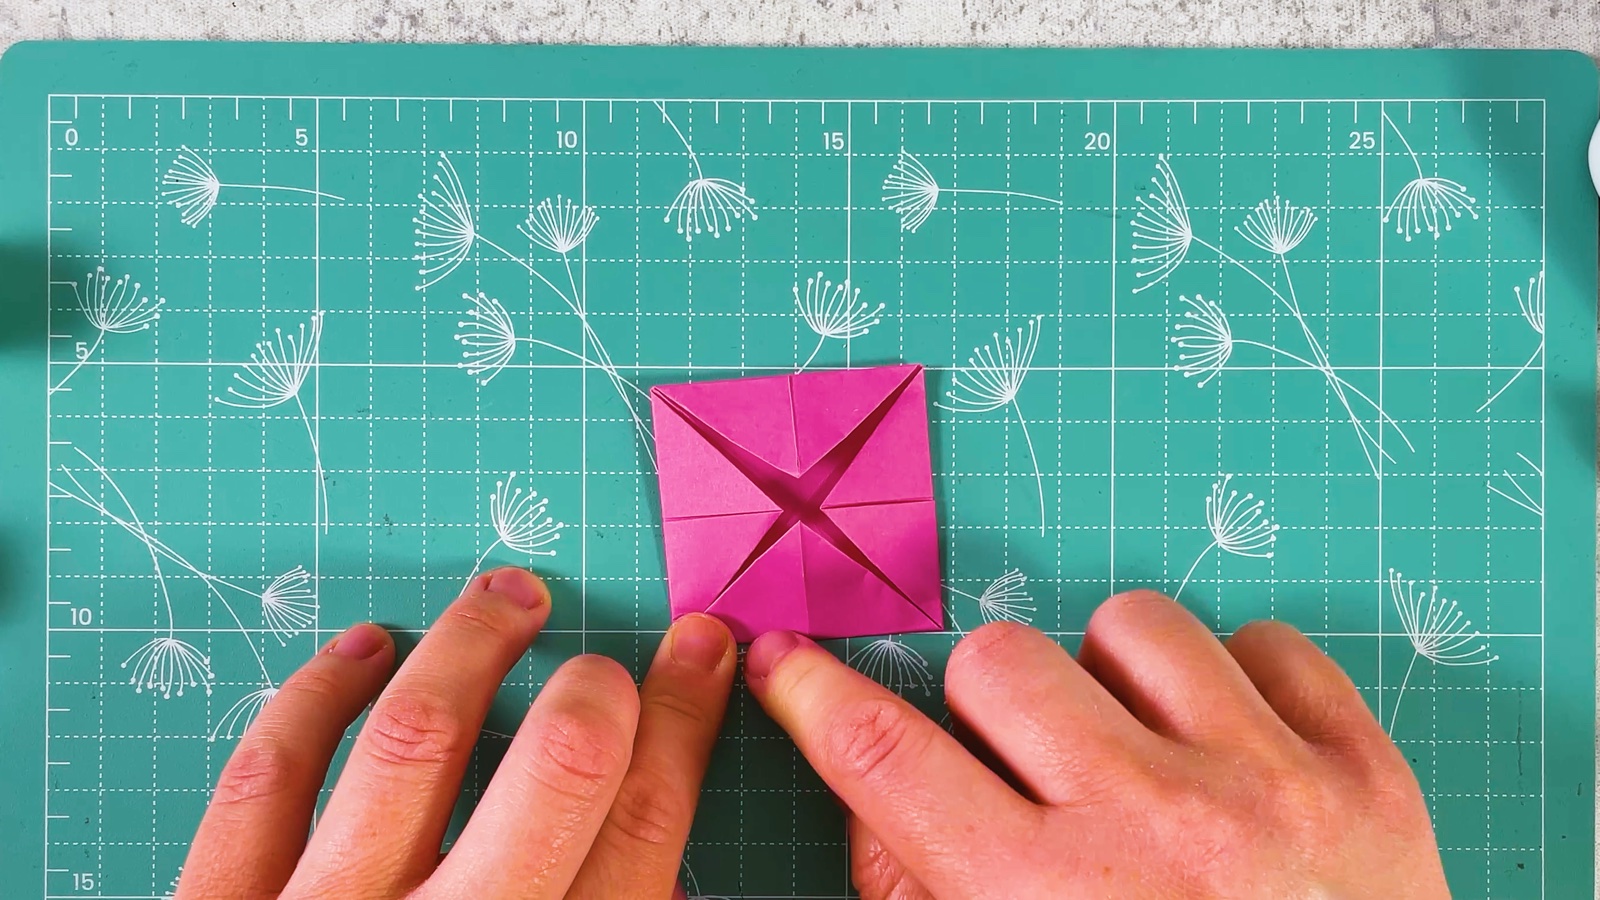
Turn over and fold the corners in
Turn the paper over. Fold all four corners into the centre again, so the tips meet in the middle.
- 7
Shape the points
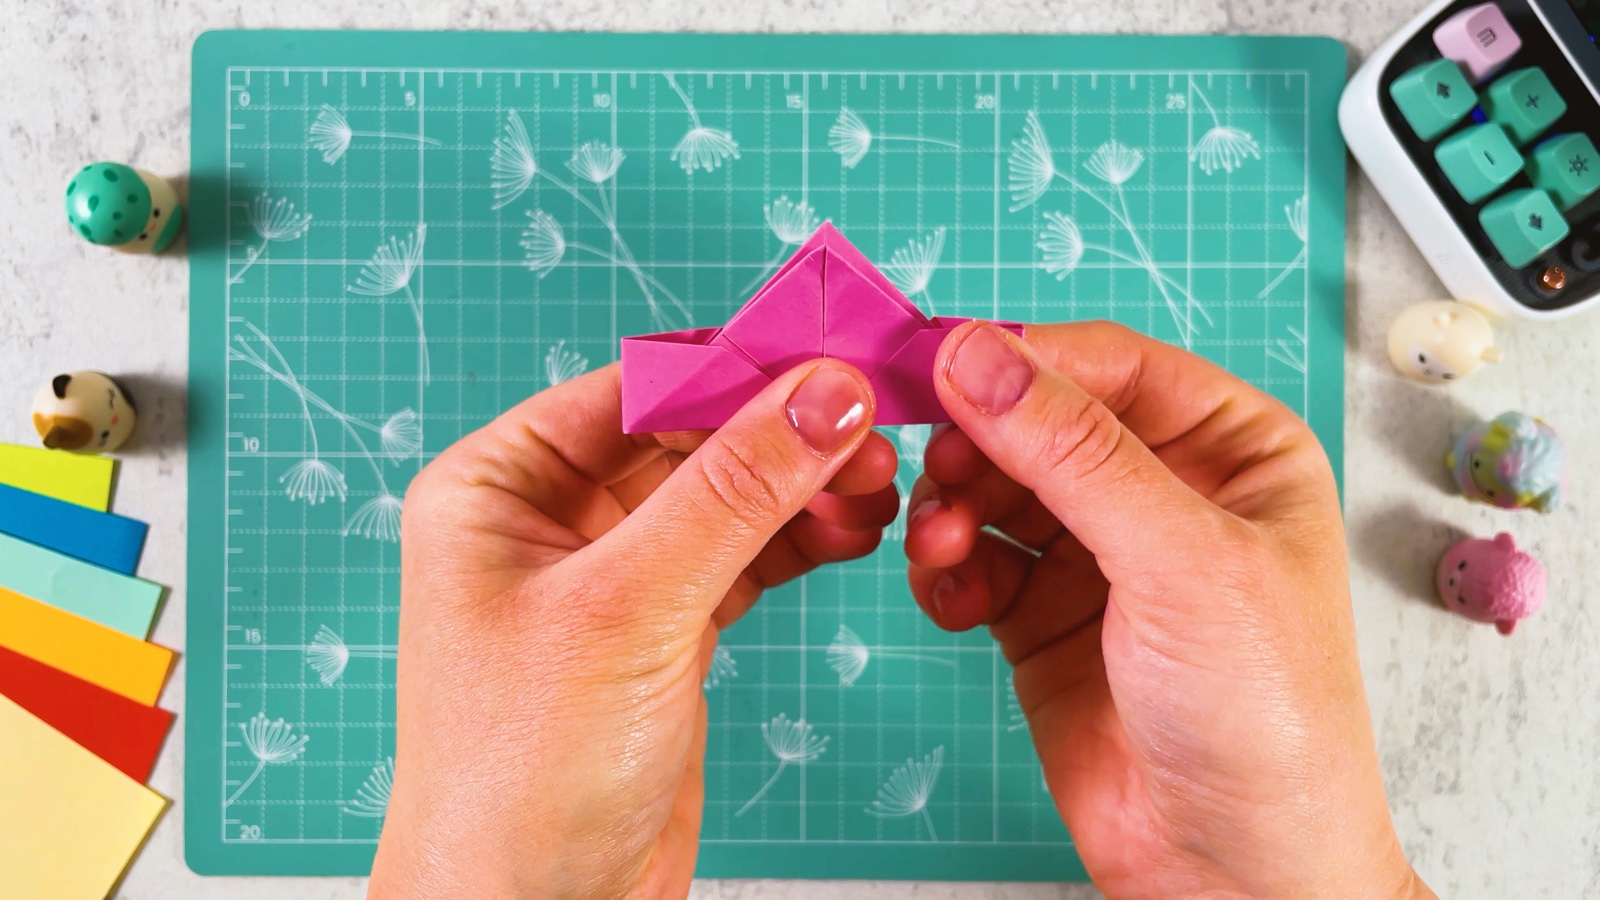
Hold the square in both hands and gently push the sides in along the folds. The paper pops up into a shape with a point in the middle and a flat wing on each side.
- 8
Fold it into a heart
Fold the shape in half so the two wings come together into a V. Press it flat. Now the piece looks like a little heart, with a pocket on one side and a tab on the other.
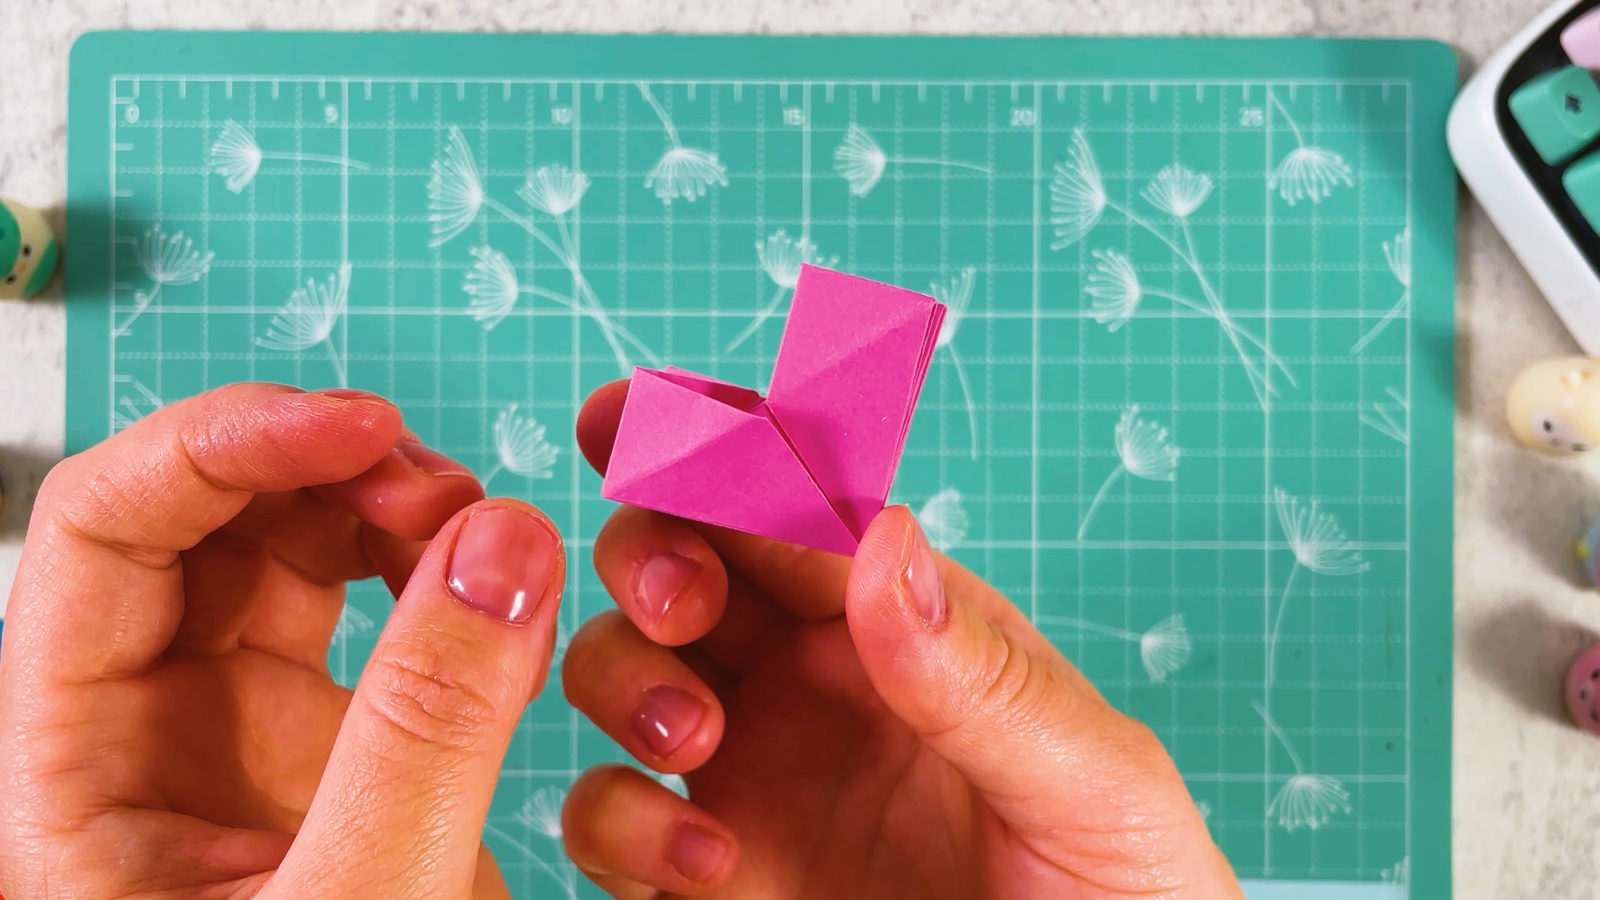
Your first piece is ready.
- 9
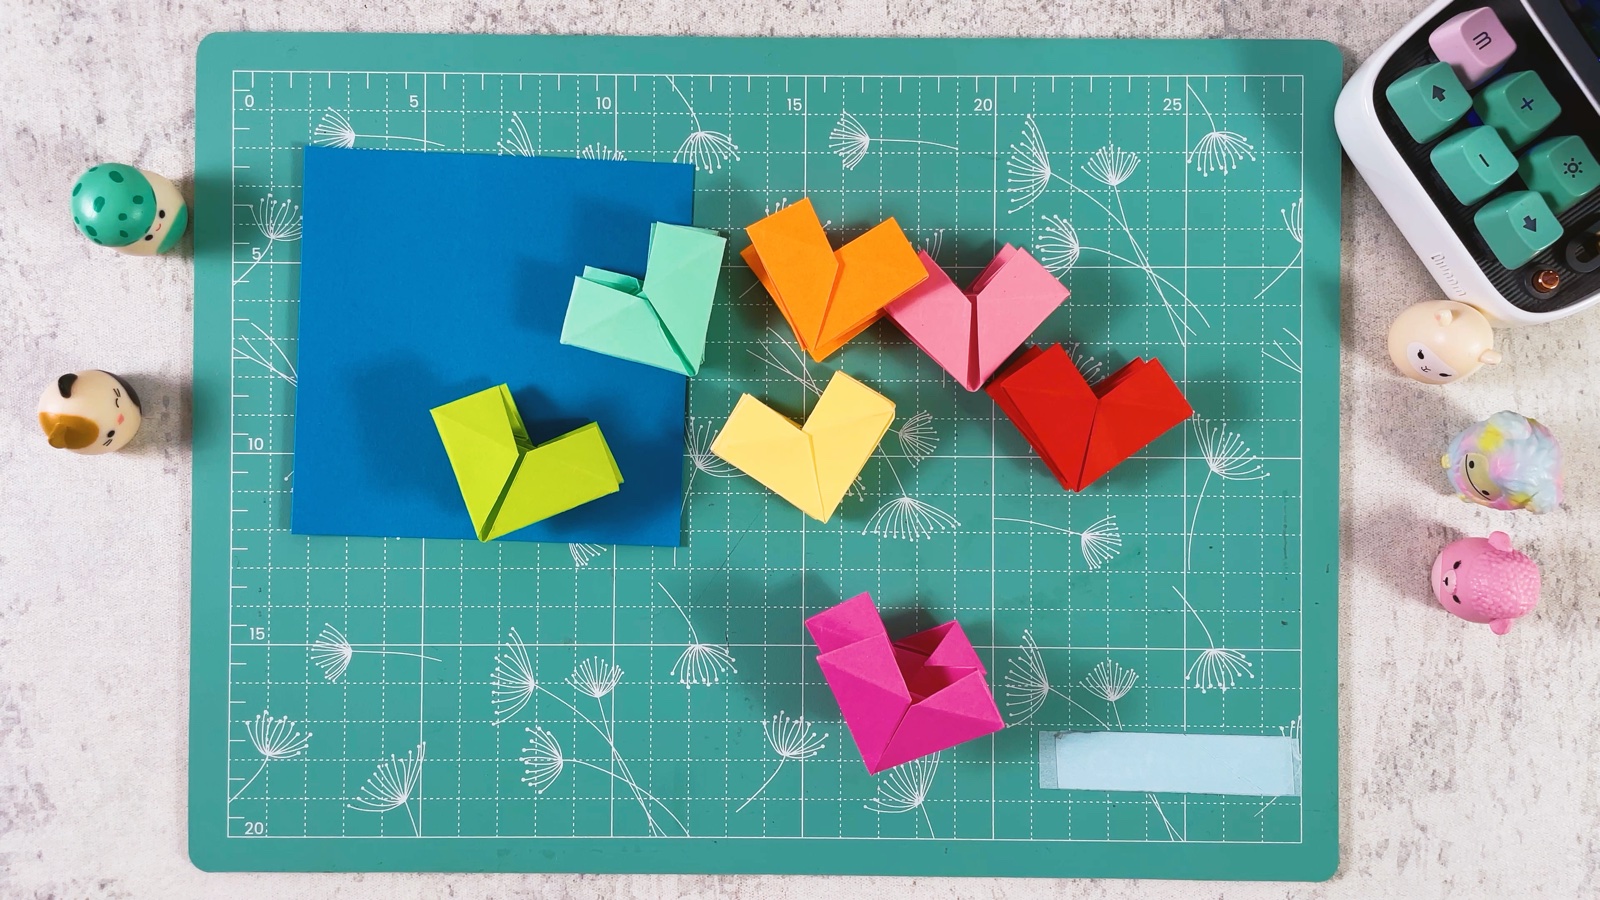
Make 7 more
Fold the other 7 squares the same way. Lay the hearts out in rainbow order.
- 10
Join two pieces
Take the blue heart and the green heart. Slide the tab of one into the pocket of the other and push gently until they hold together. No glue needed.

- 11
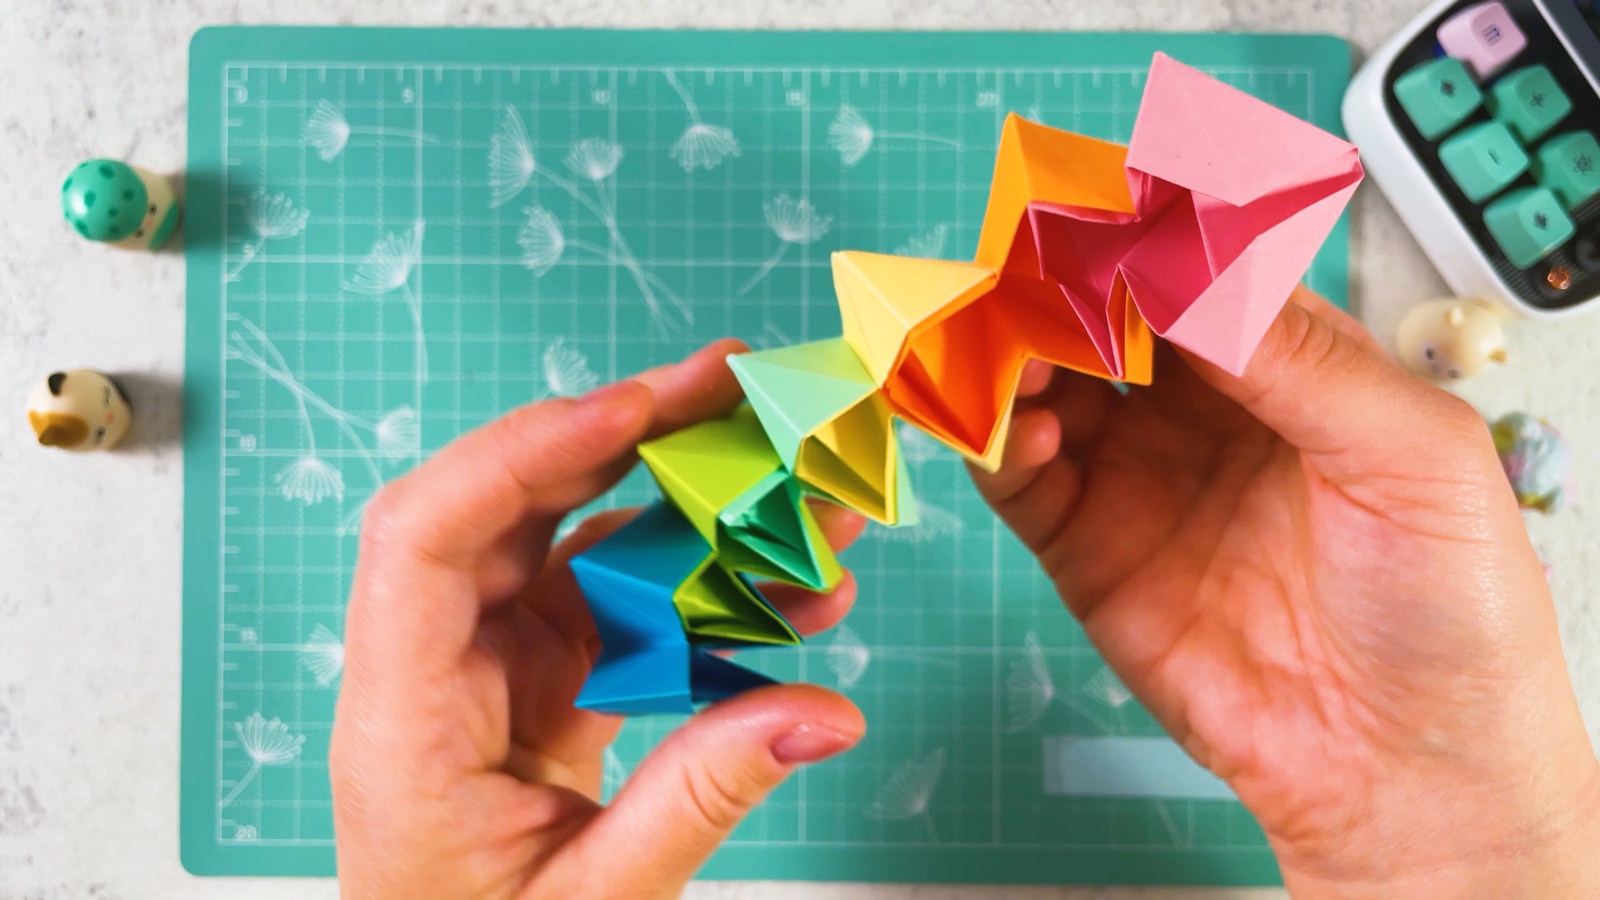
Build the rainbow chain
Add the next colour in the same way, and the next, until all 8 pieces are joined in one long rainbow chain.
- 12
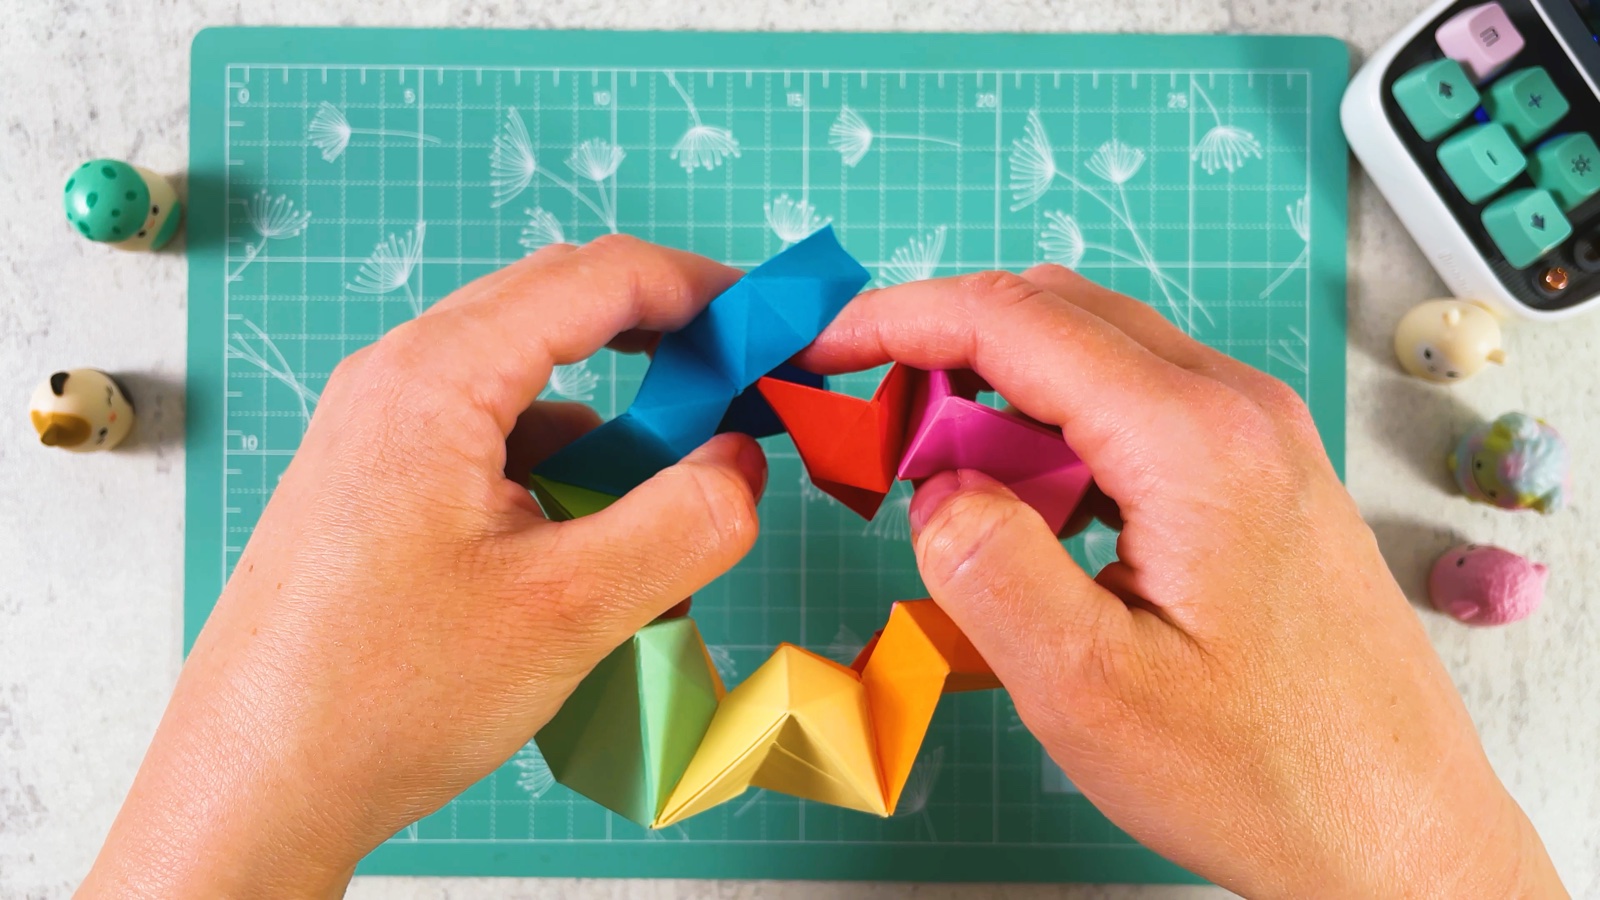
Close the ring
Bend the chain round until the first and the last piece meet. Join them the same way, so the chain becomes a ring.
- 13
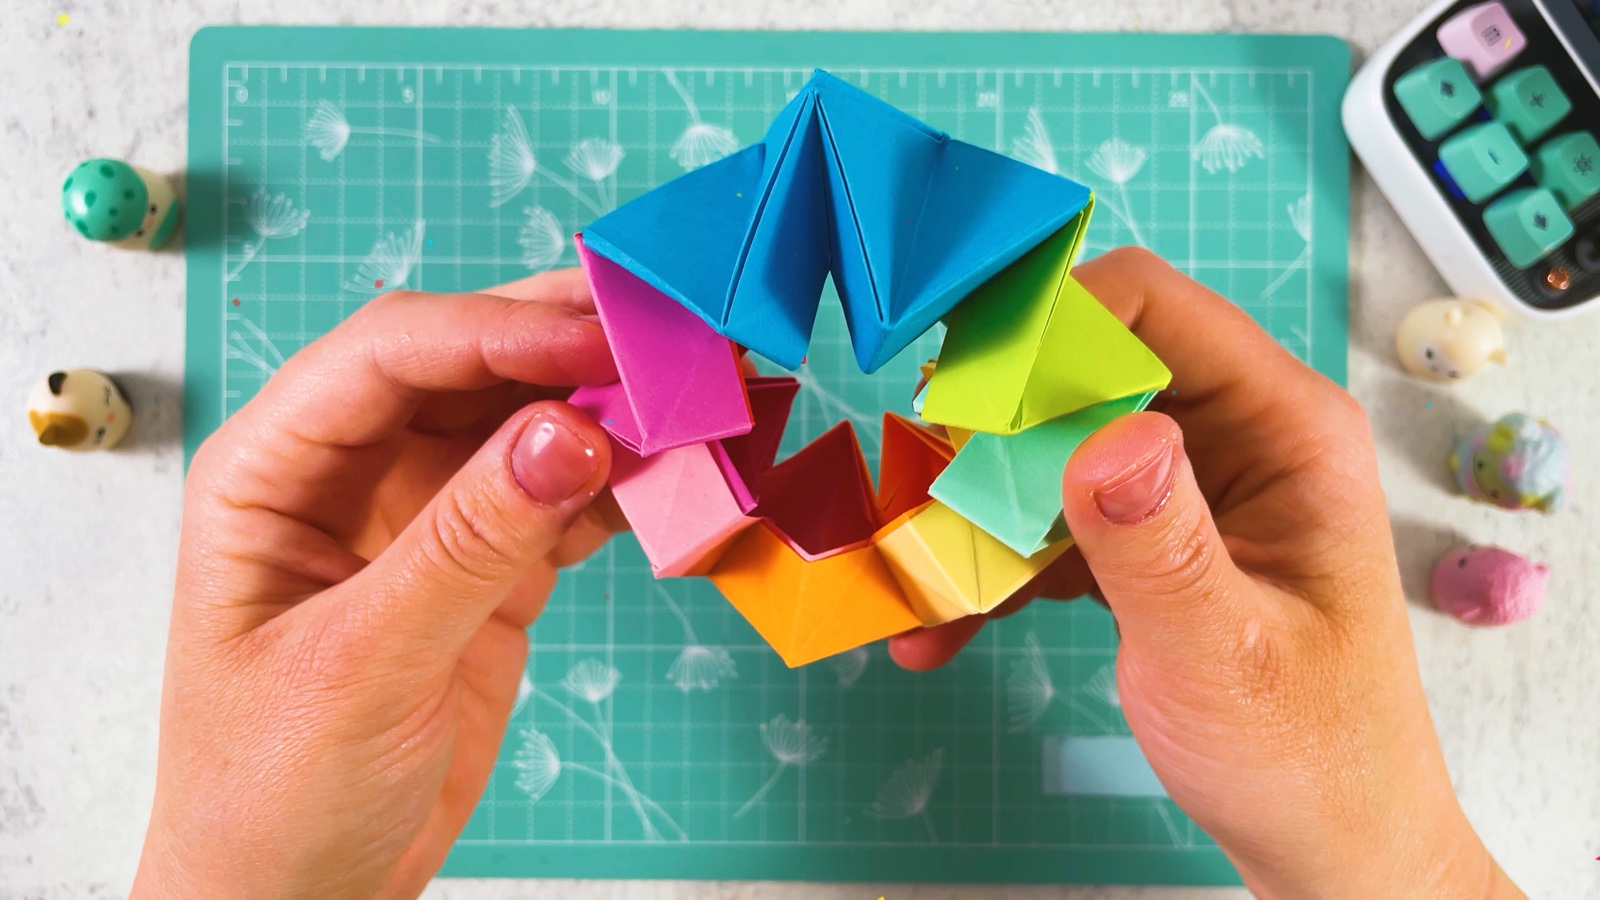
Push, flip and transform
Now play! Hold the ring and push the middle through. It opens into a round shape with a star inside.
Keep pushing and flipping, and it turns into a big rainbow star with eight points. Then flip it back and start again.
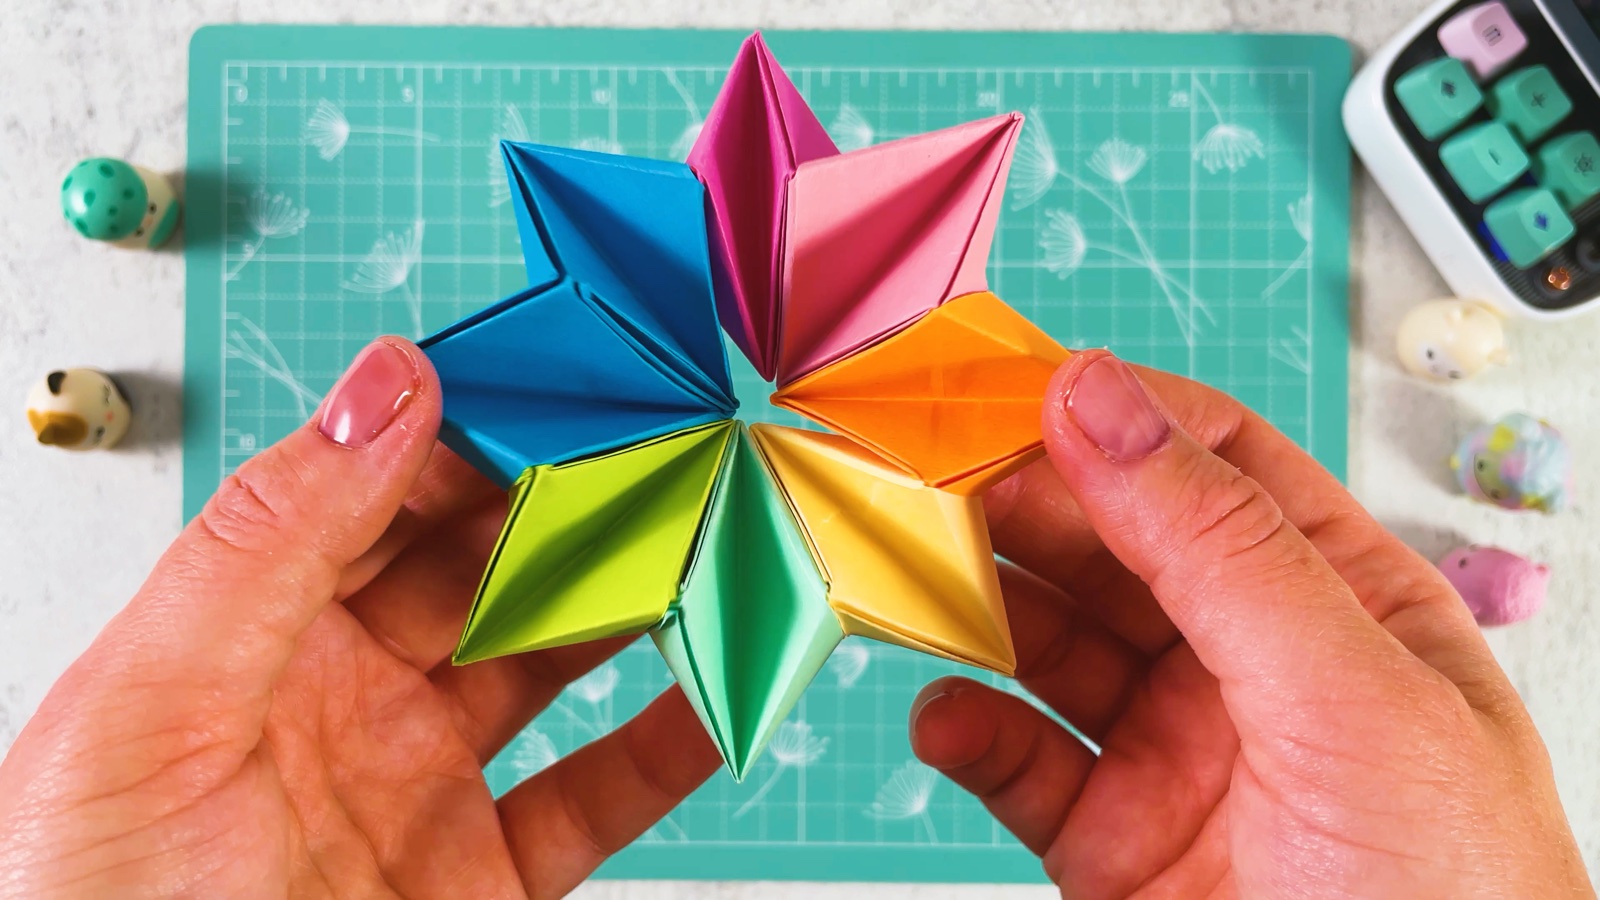
Every push gives a new shape. Try a round flower with a little star in the middle, or a deep crown with the points standing up.
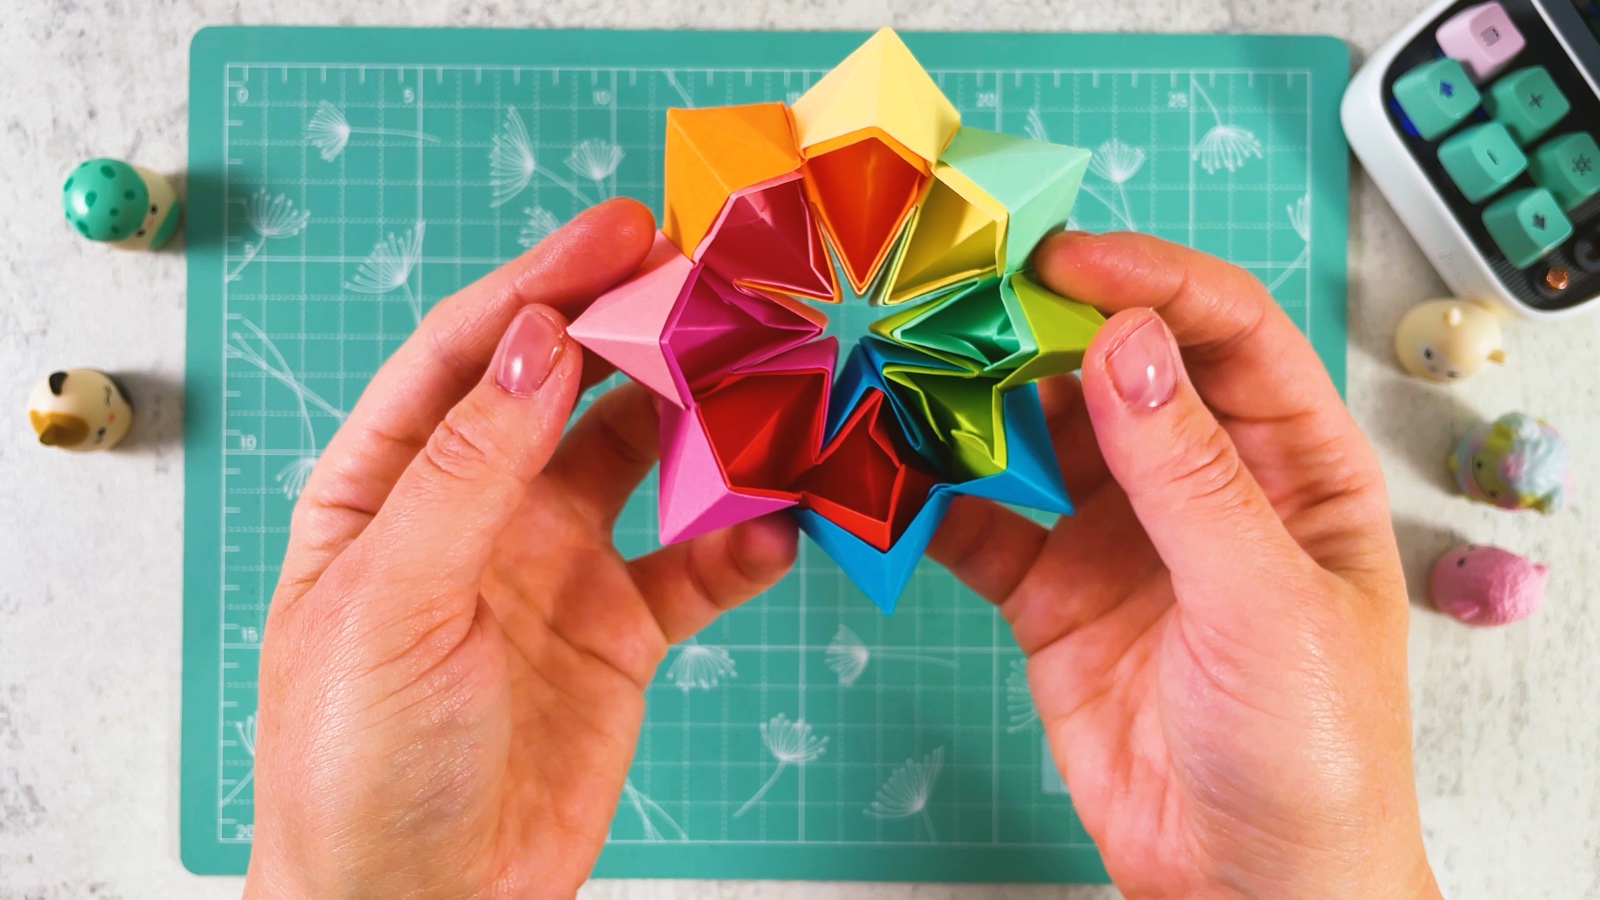
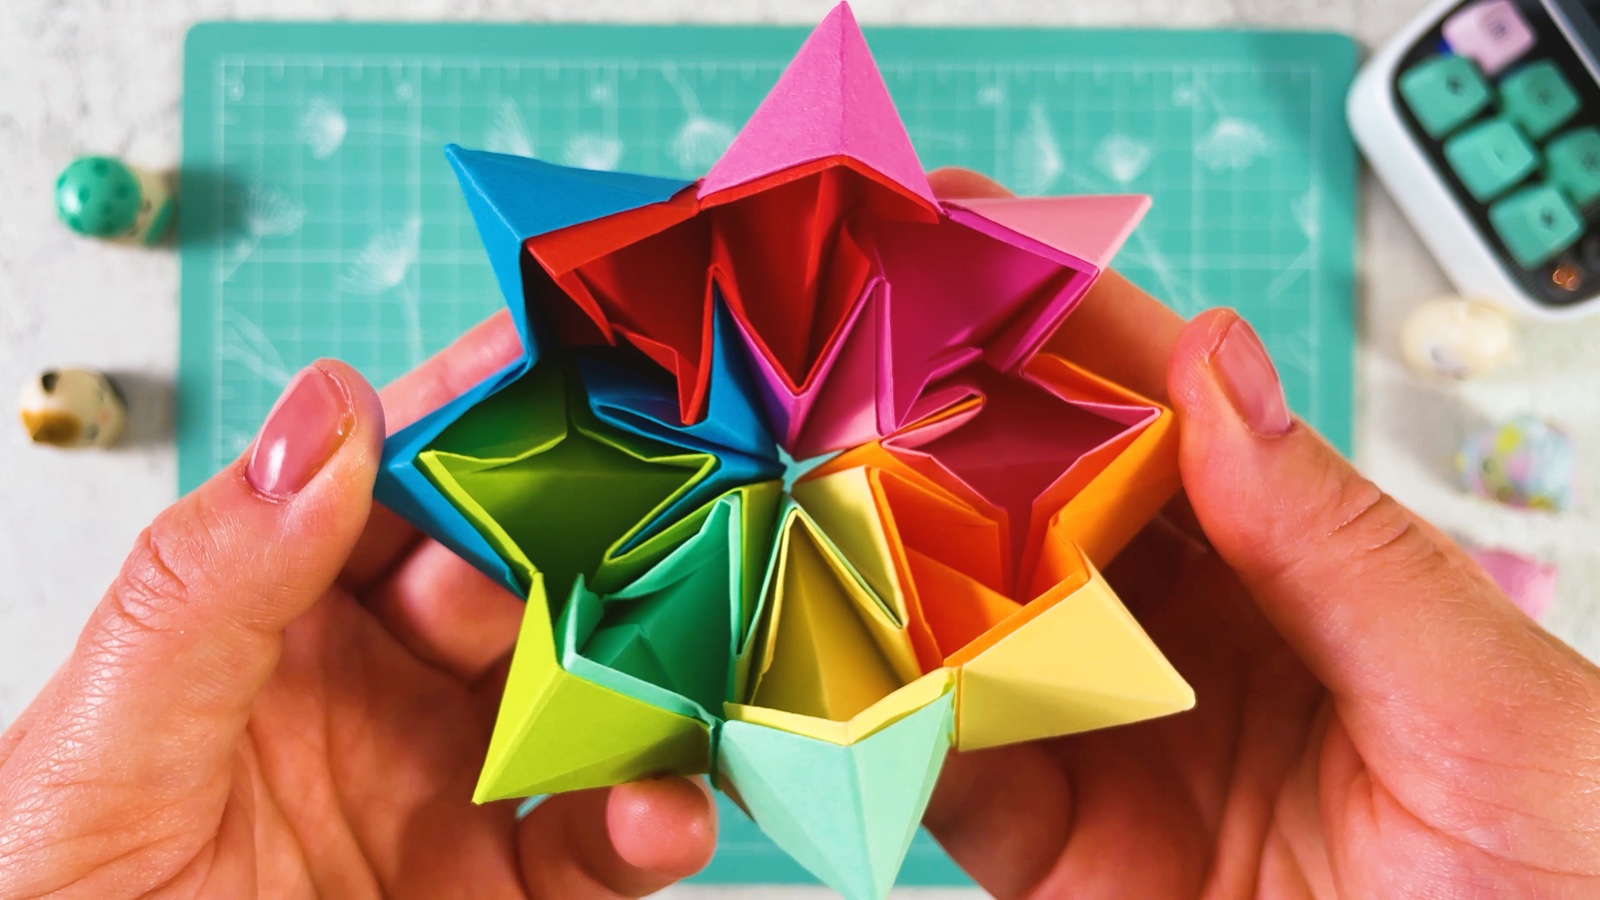
Your infinity star is ready.
THREE LITTLE TIPS
Make it easier.
- Sharp folds make it flip better. Run your fingernail along every fold. The pieces lock together and move much more smoothly.
- Use thin paper. Origami paper or sticky-note-weight paper works best. Thick paper is hard to fold through all the layers.
- All squares the same size. If one square is bigger, its piece will not fit snugly into the next one.

A CUBI MINI MOMENT
How many shapes can you find?
Cubi flips the star again and again, and Mini counts every new shape. How many will you find in yours?
Seven! A ring, a star, a flower and four that still need names.
Loved making it?
Catch the next make first, or save this one for a rainy day.