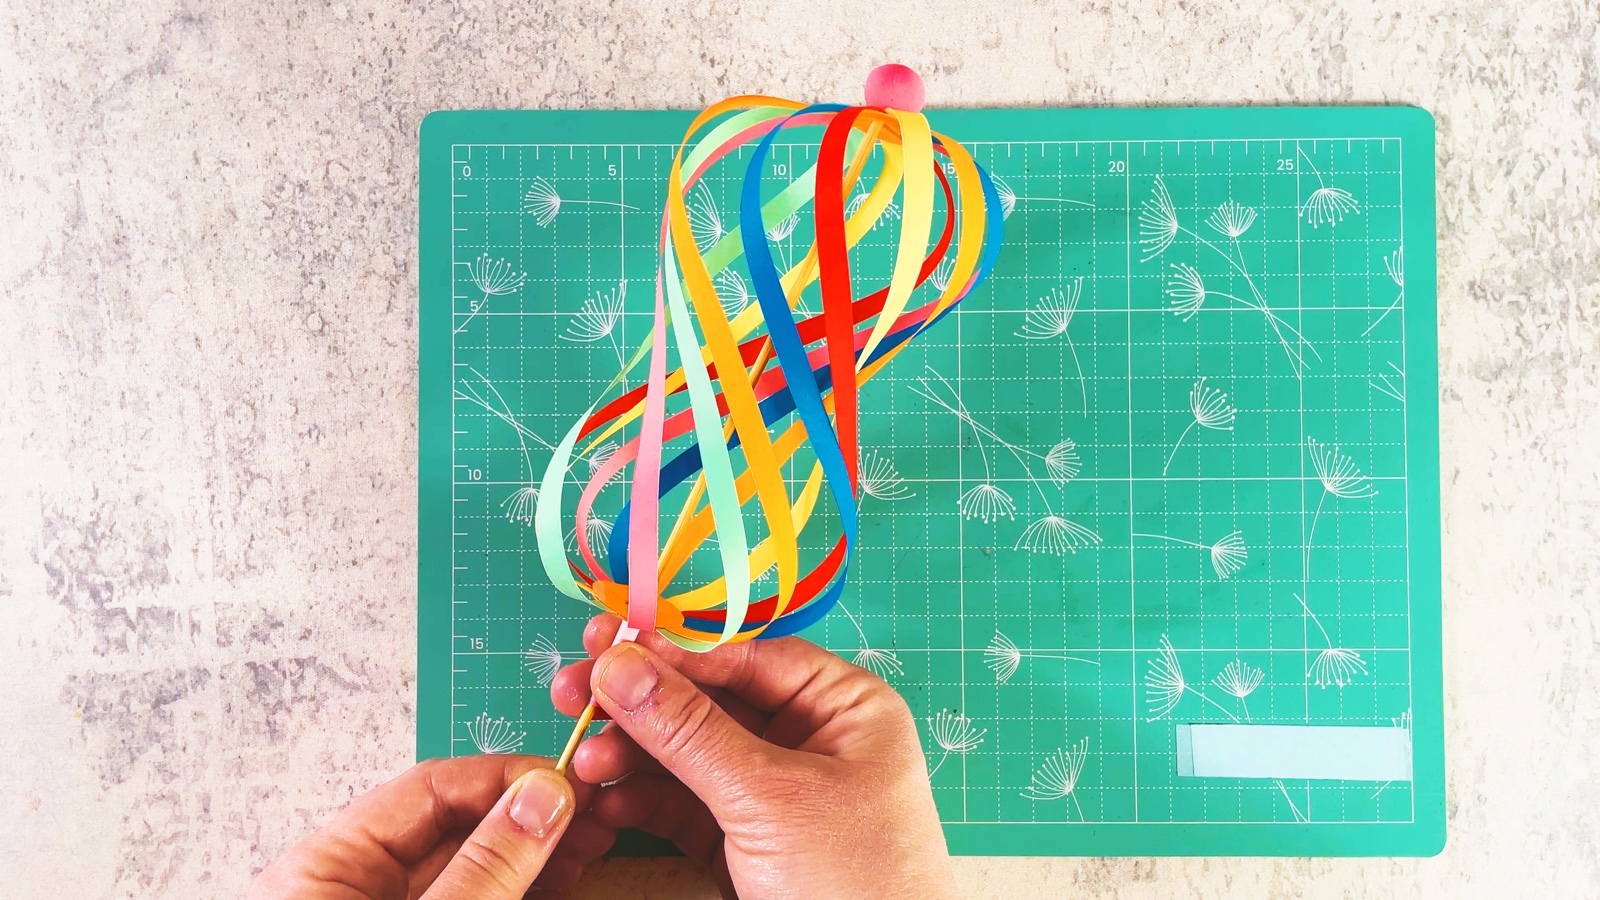
Let’s make a colourful paper pinwheel that actually spins beautifully! This DIY is super simple, quick, and so satisfying to play with. Just a few easy steps and you’ll have a bright, spinning pinwheel that works like magic!
Perfect for a fun craft moment or a cute decoration you can actually use. It’s simple, relaxing, and the final effect is surprisingly fun to use. Try different colour combinations and make your own spinning collection! It is a sweet spring and summer craft for a windy day, a garden party or a birthday.
BEFORE WE START
What you need.
Materials
- Coloured paper× 4
- Orange paper
- Toothpick
- Paper straw
- Fast-drying clay
- Glue stick
Tools
- Scissors
- Circle punch (optional)
- Paper trimmer (optional)
STEP BY STEP
Let’s make it.
- 1
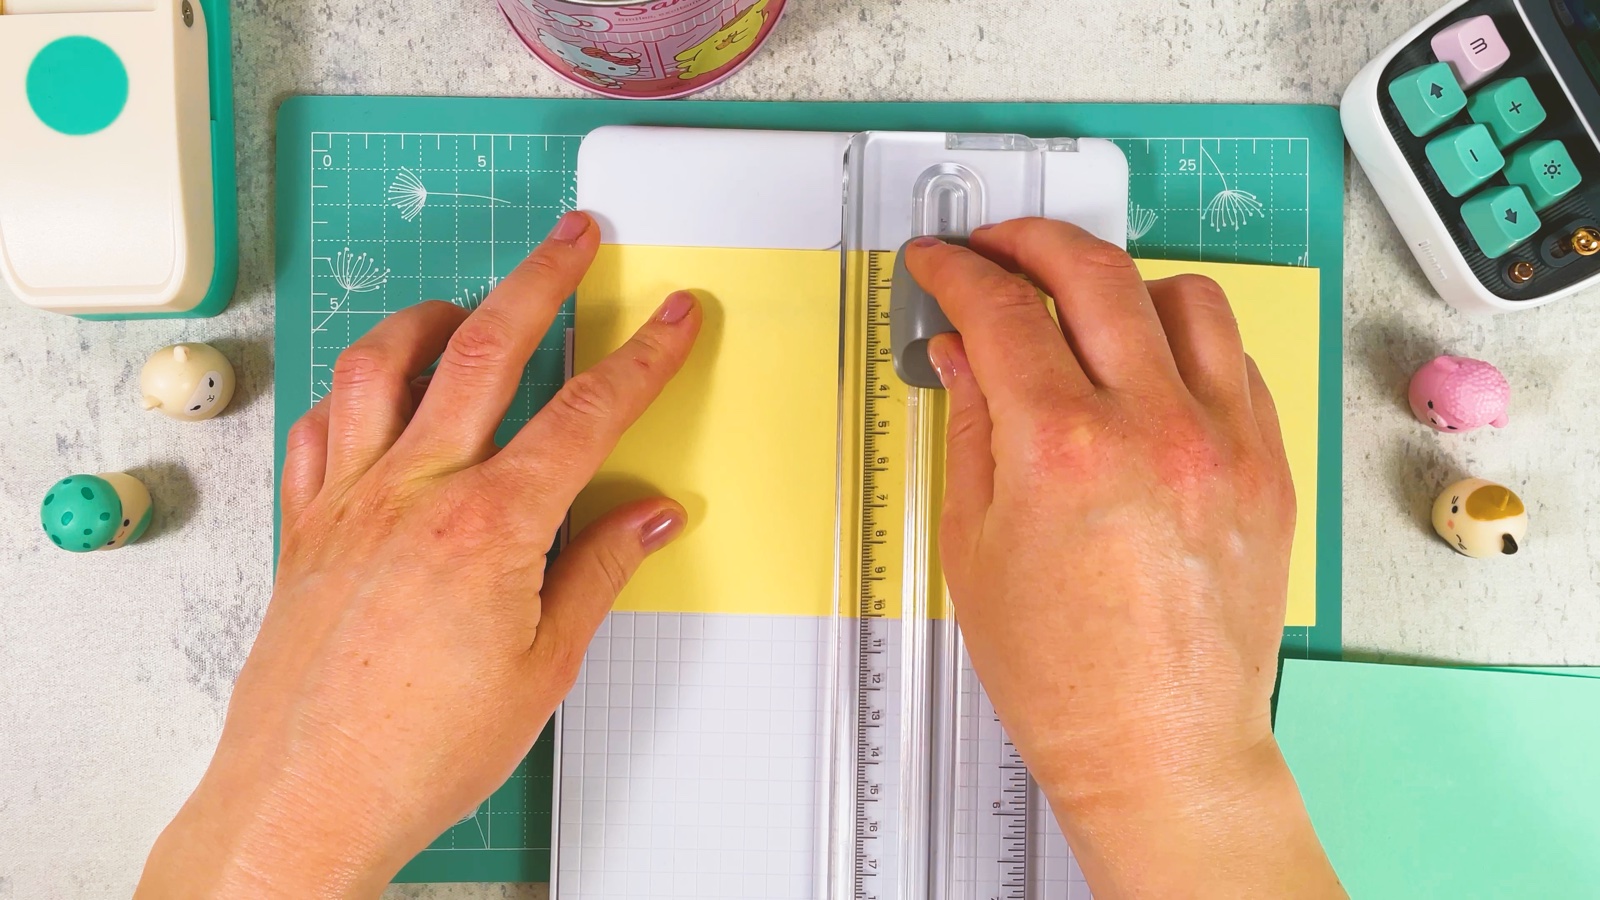
Cut four squares
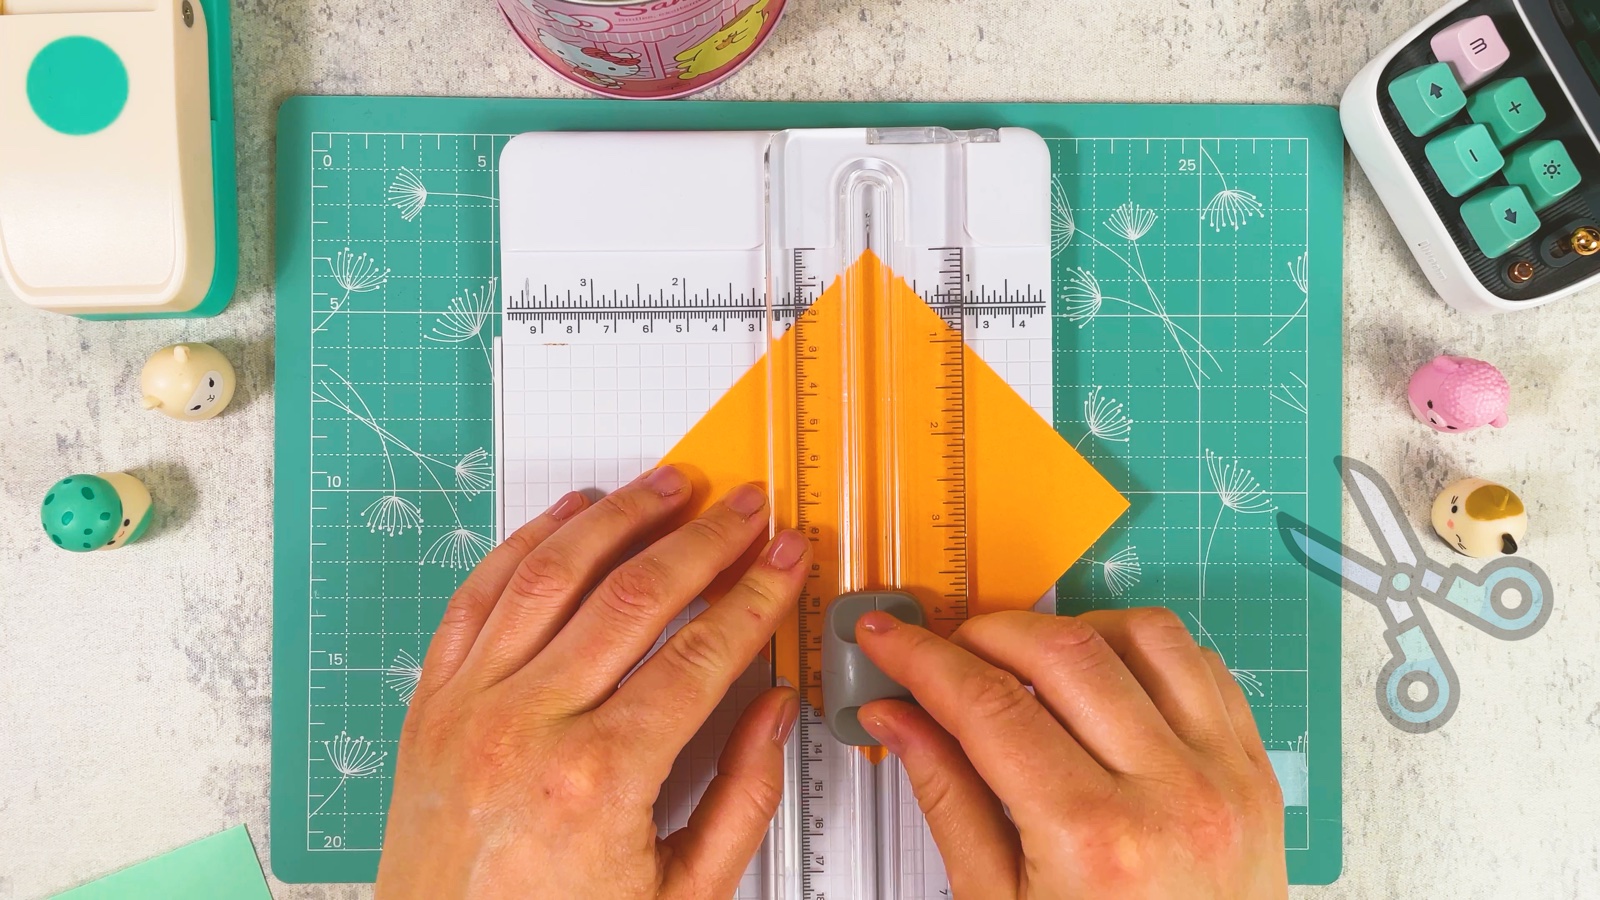
Take four sheets of paper in four colours. Cut one square from each sheet. Make all four squares the same size.
- 2
Cut them into triangles
Cut each square in half from corner to corner. Now you have eight triangles, two in each colour.
- 3
Punch two circles
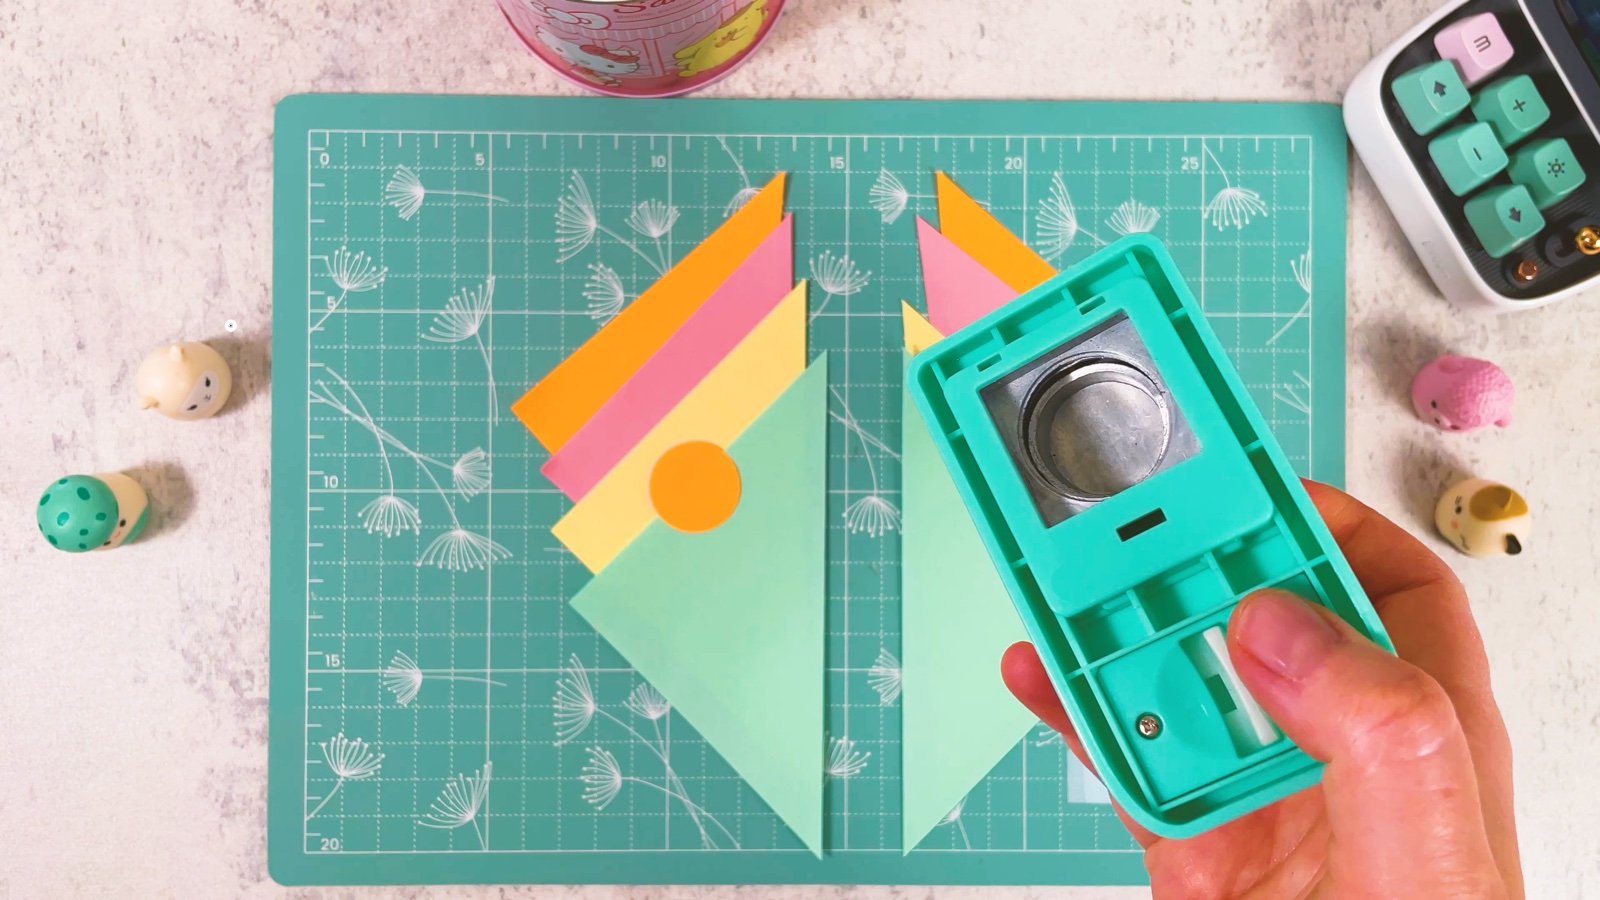
Punch two circles from orange paper. No circle punch? Draw around a coin and cut the circles out. One circle holds the triangles together, the other covers the middle at the end.
- 4
Glue the first triangle
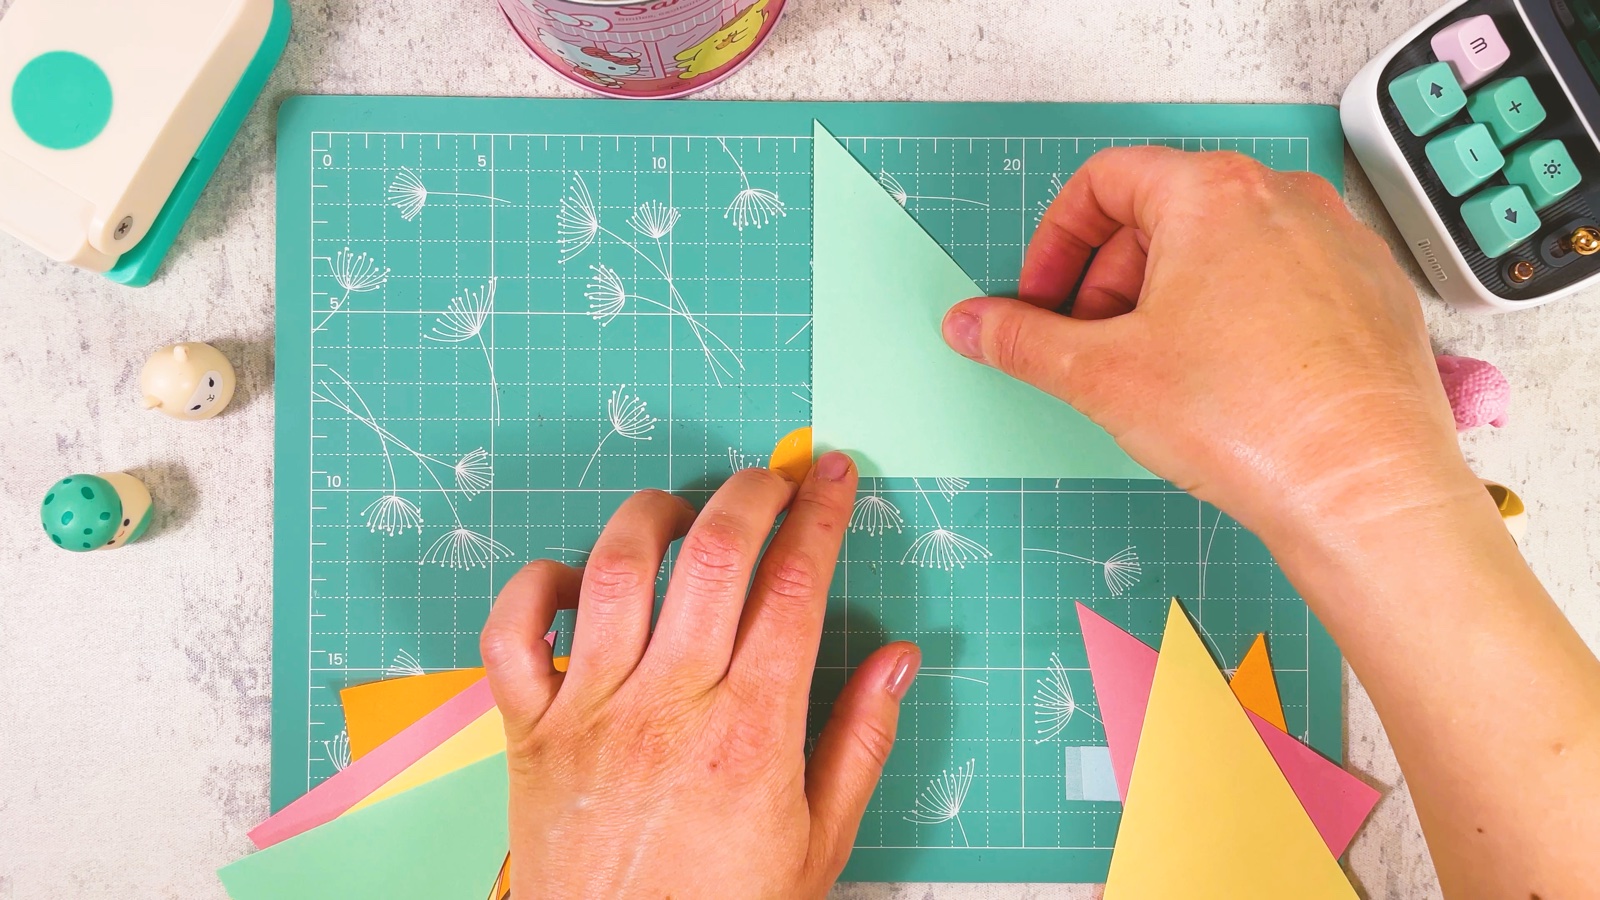
Put glue on one circle. Lay the first triangle on it, with its square corner in the middle of the circle.
- 5
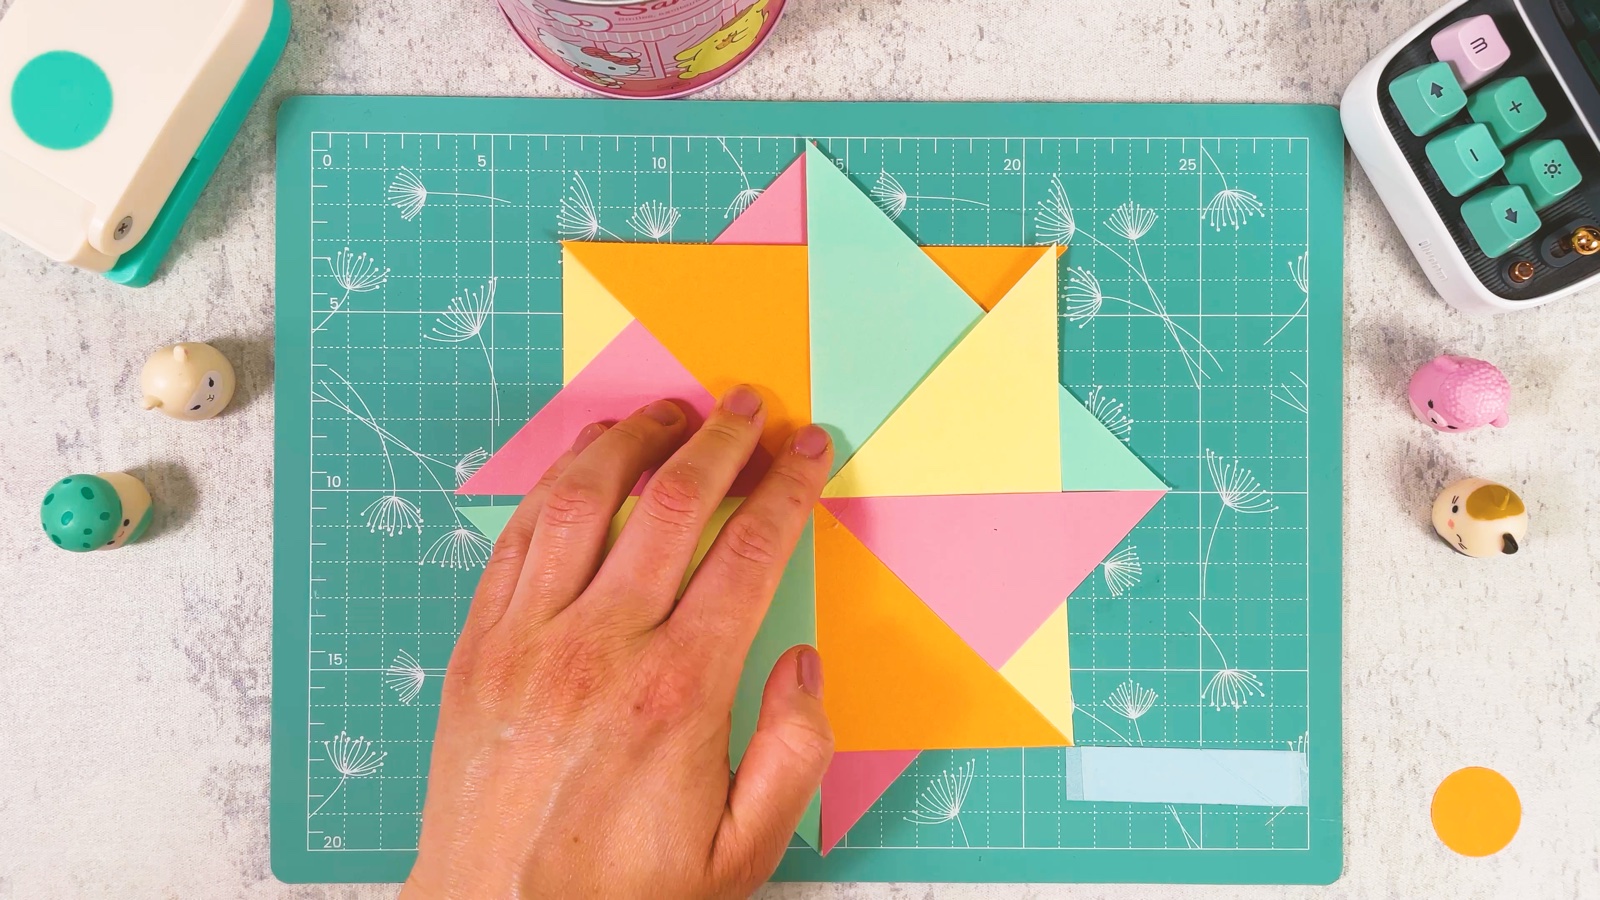
Add the other triangles
Glue the next triangle next to the first one, so they overlap a little.
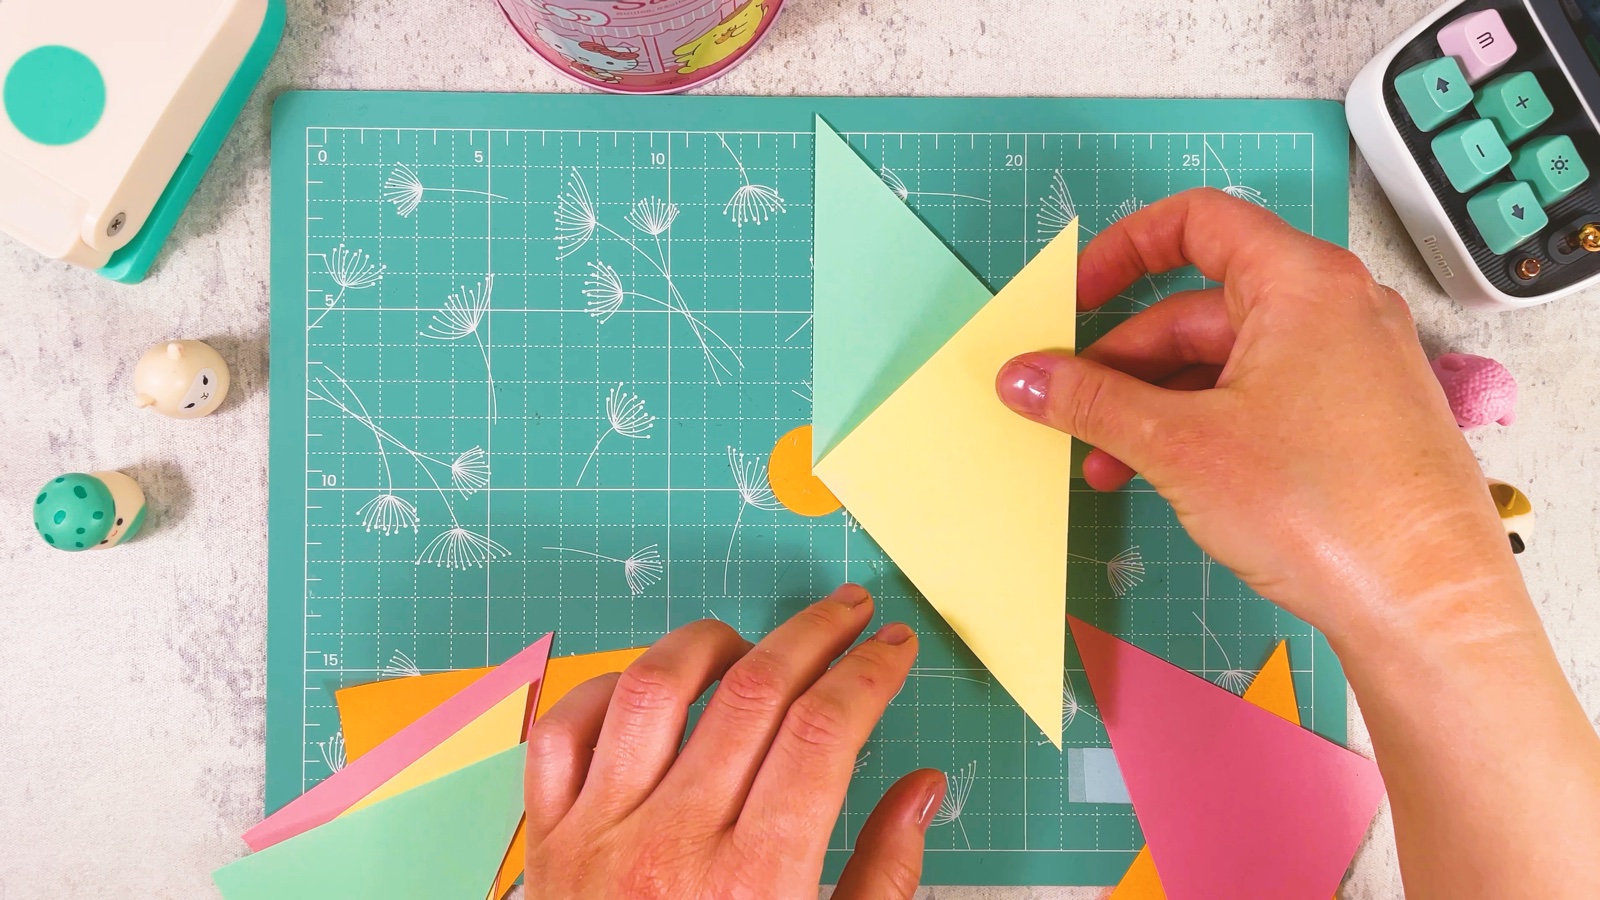
Keep going round until all eight triangles are on and the circle is full. Mix the colours so two of the same colour never sit side by side.
- 6
Curl the points to the middle
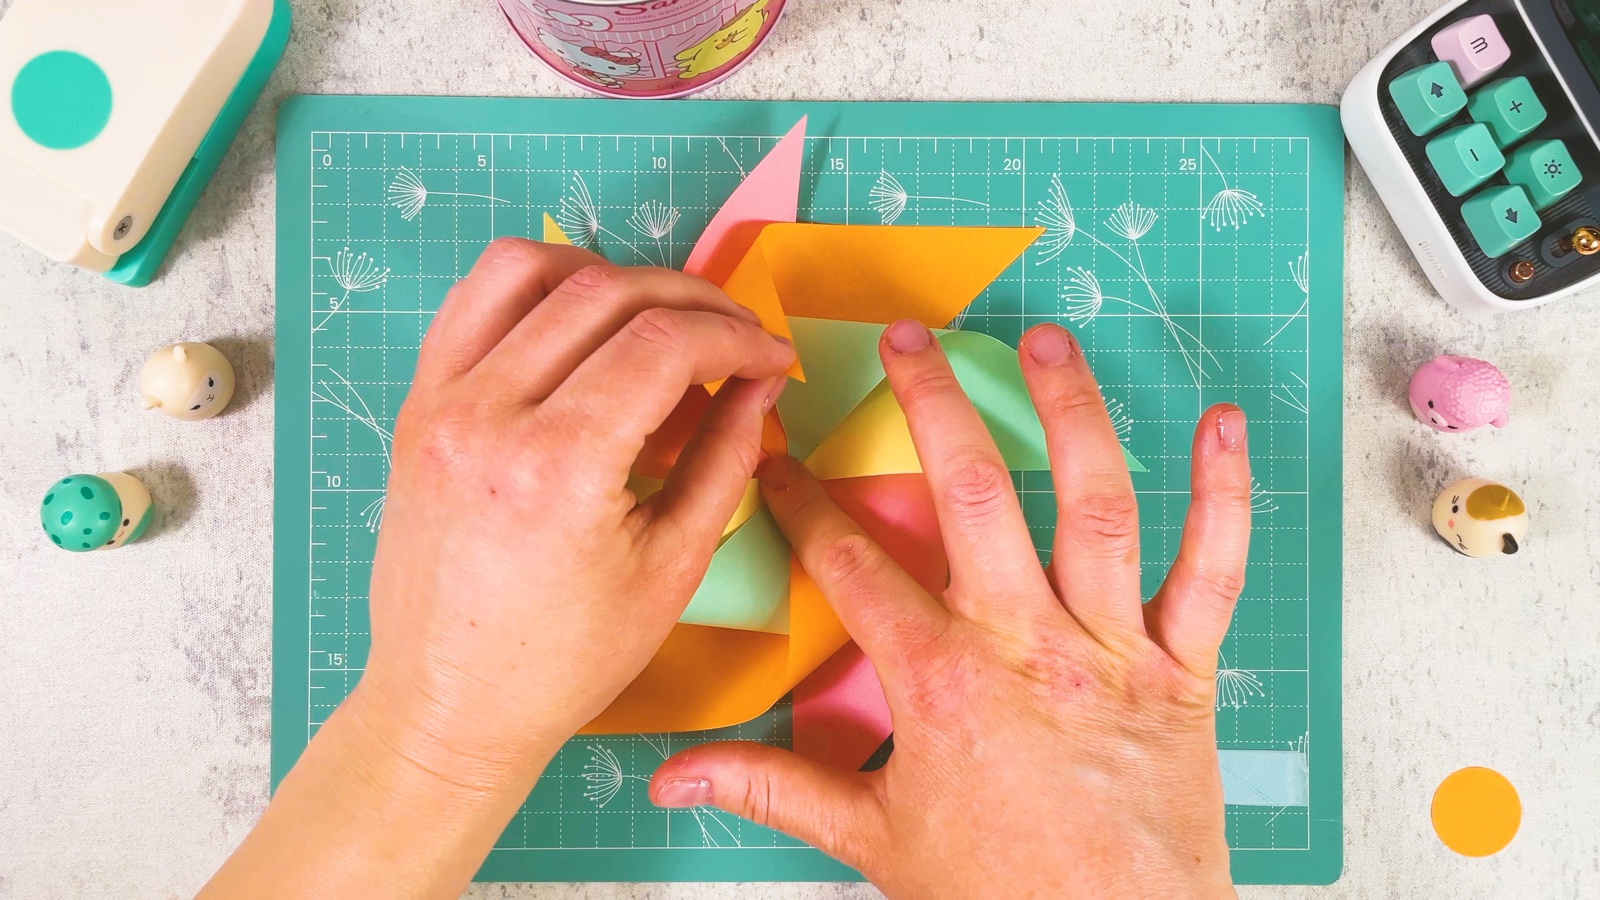
Take the long point of one triangle and bend it gently to the middle. Don’t fold it flat: the round curve is what catches the wind.
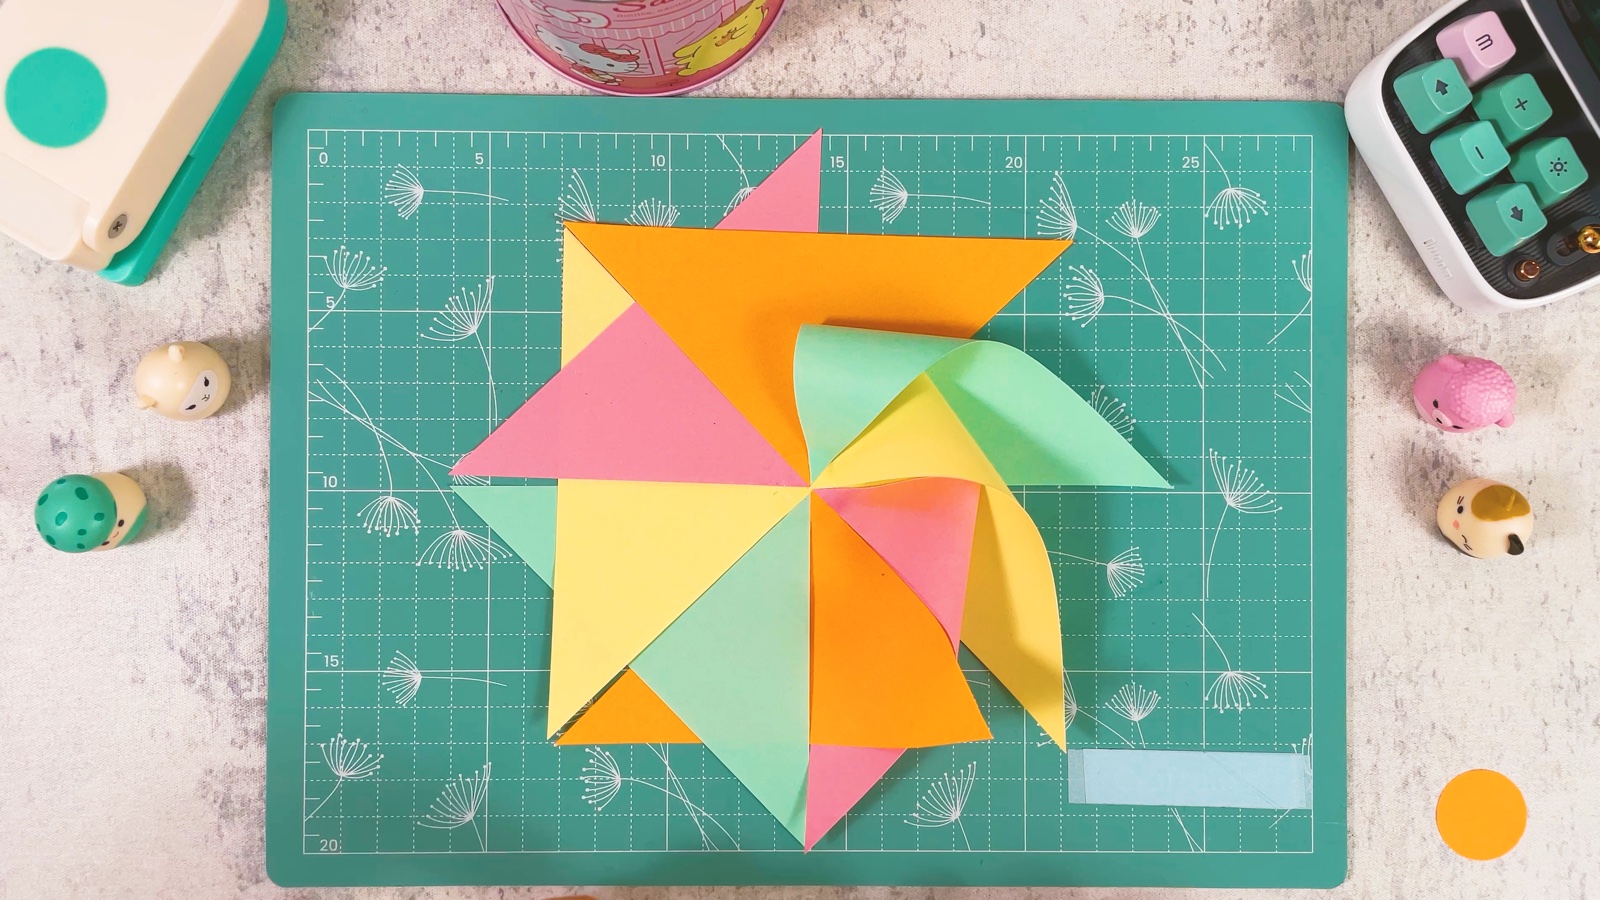
Put a little glue in the middle and press the point down. Do the same with every triangle, always curling in the same direction.
- 7
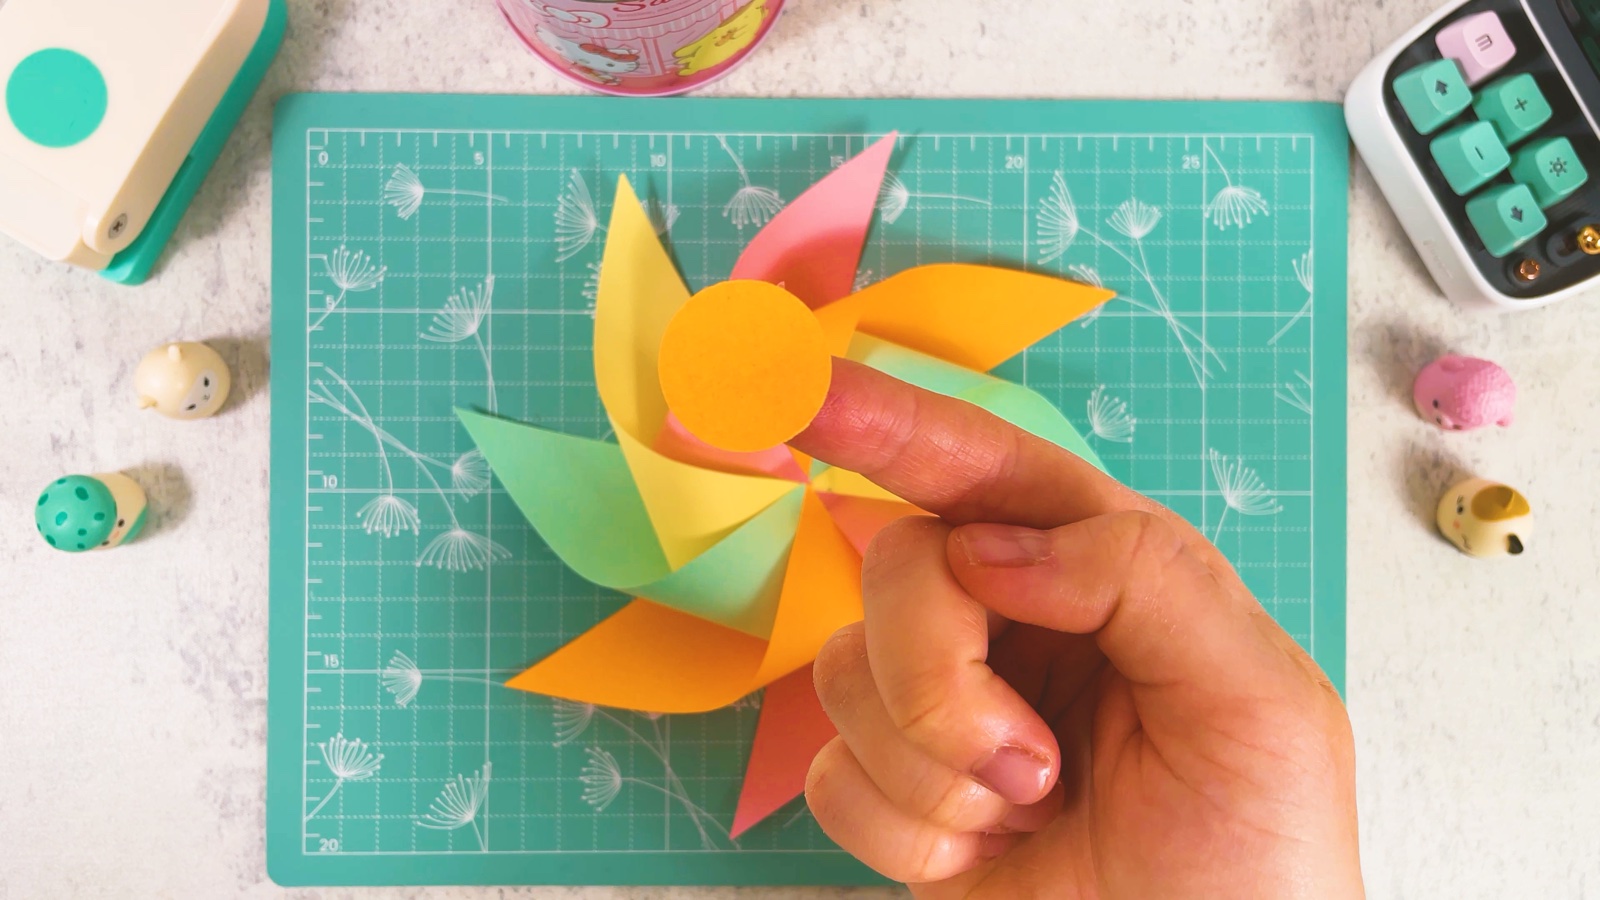
Glue on the second circle
Glue the second orange circle on top. It covers all the points in the middle and holds them in place.
- 8
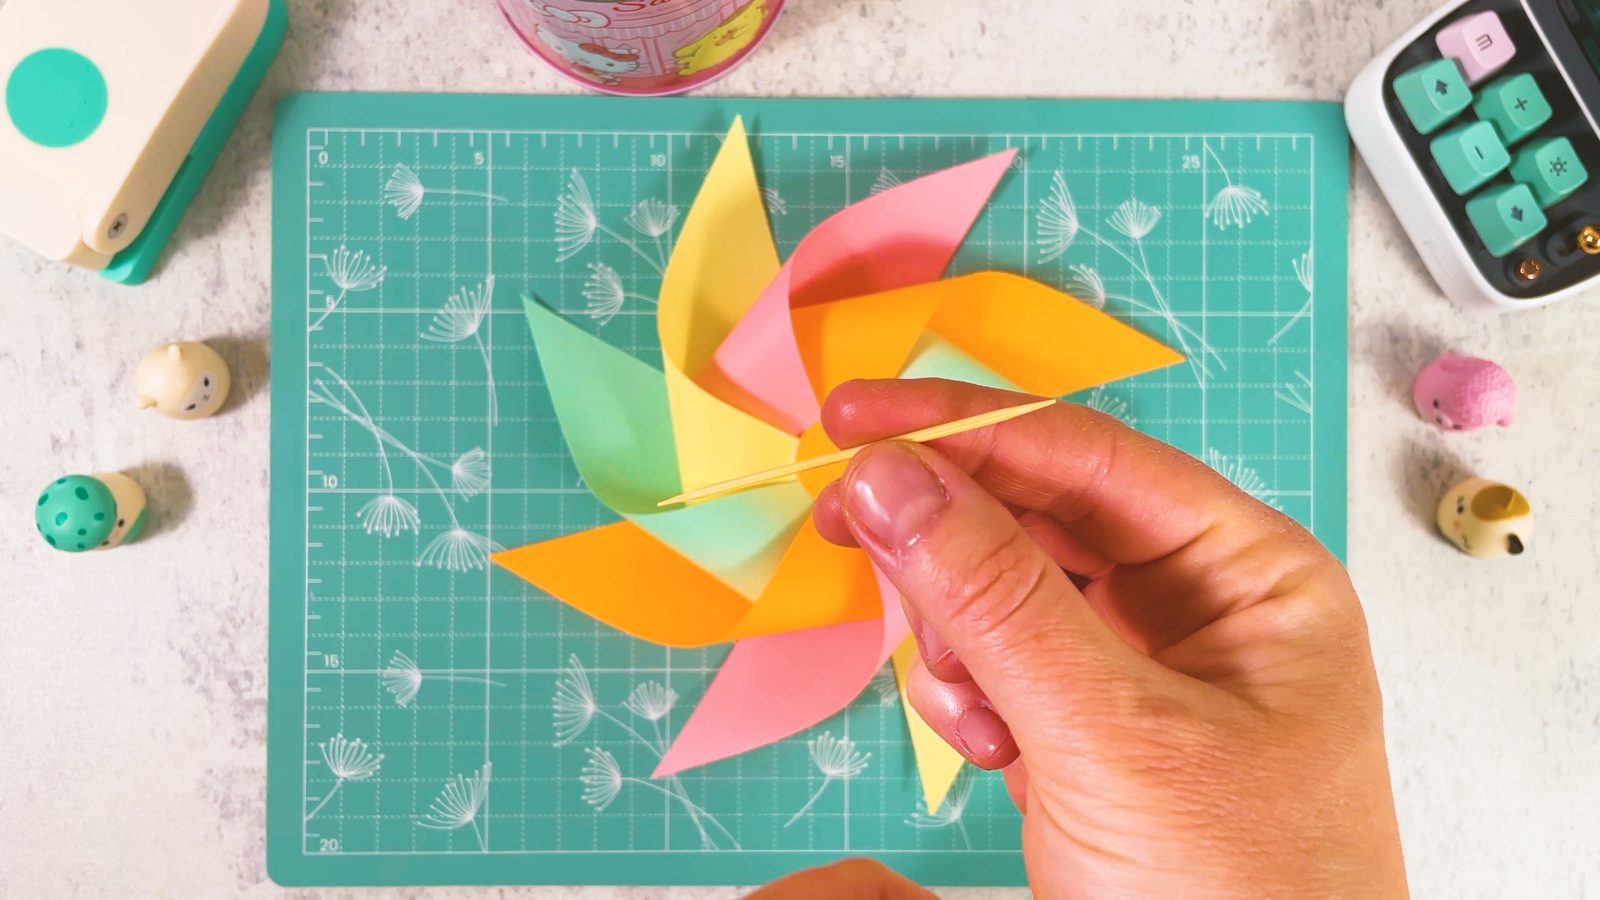
Push the toothpick through
Push a toothpick straight through the middle of the pinwheel, through all the layers.
- 9
Add a clay ball
Roll a small ball of fast-drying clay between your hands.
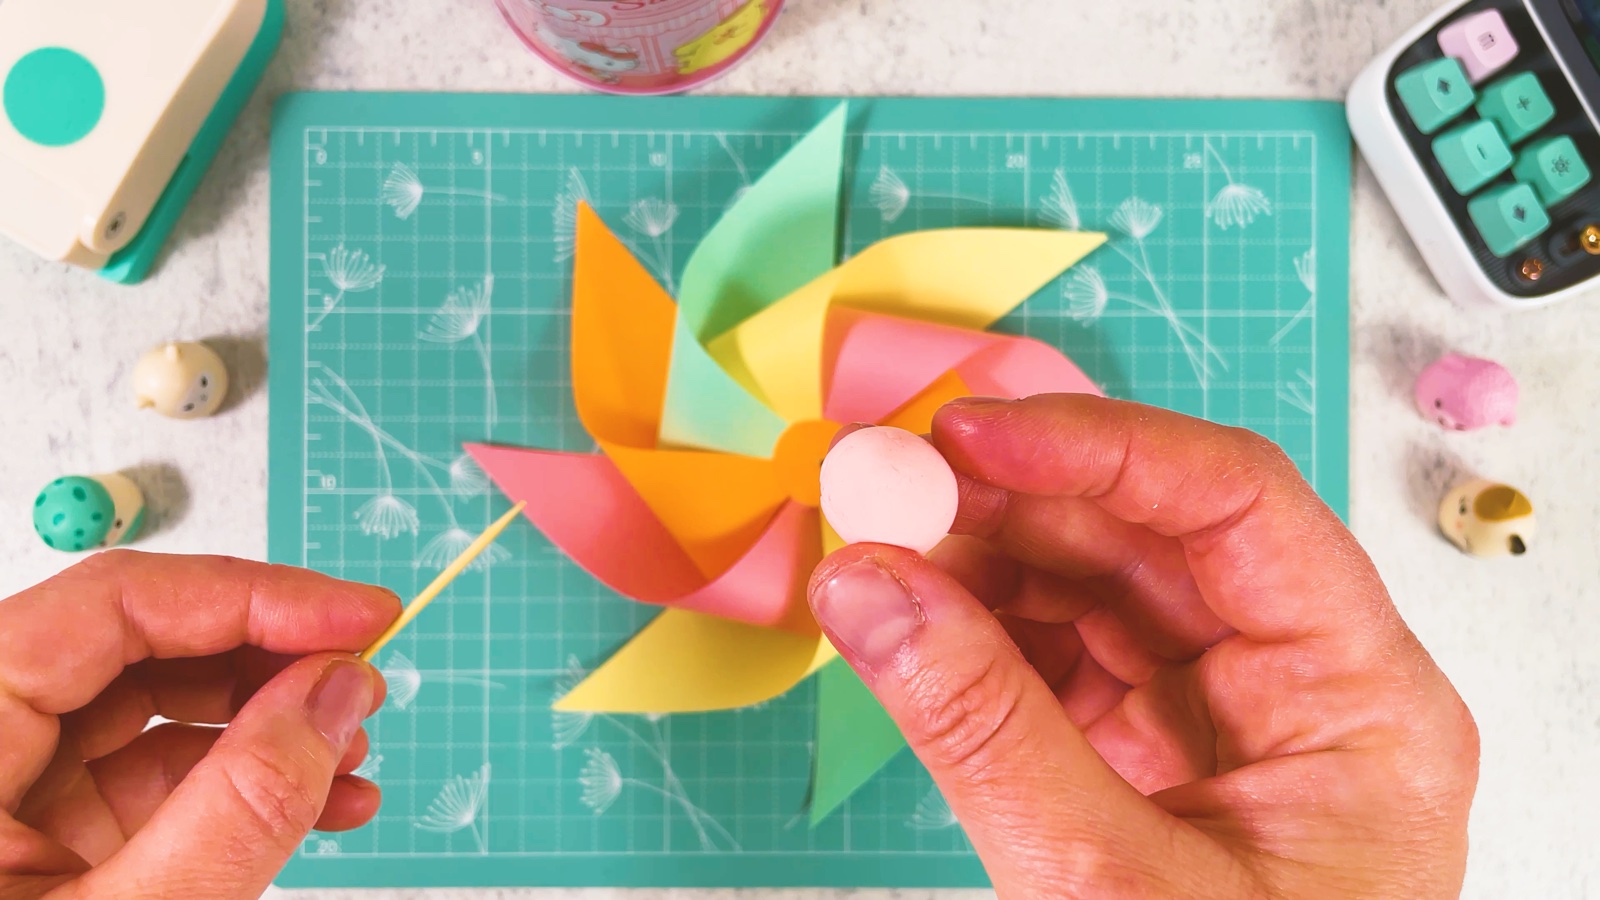
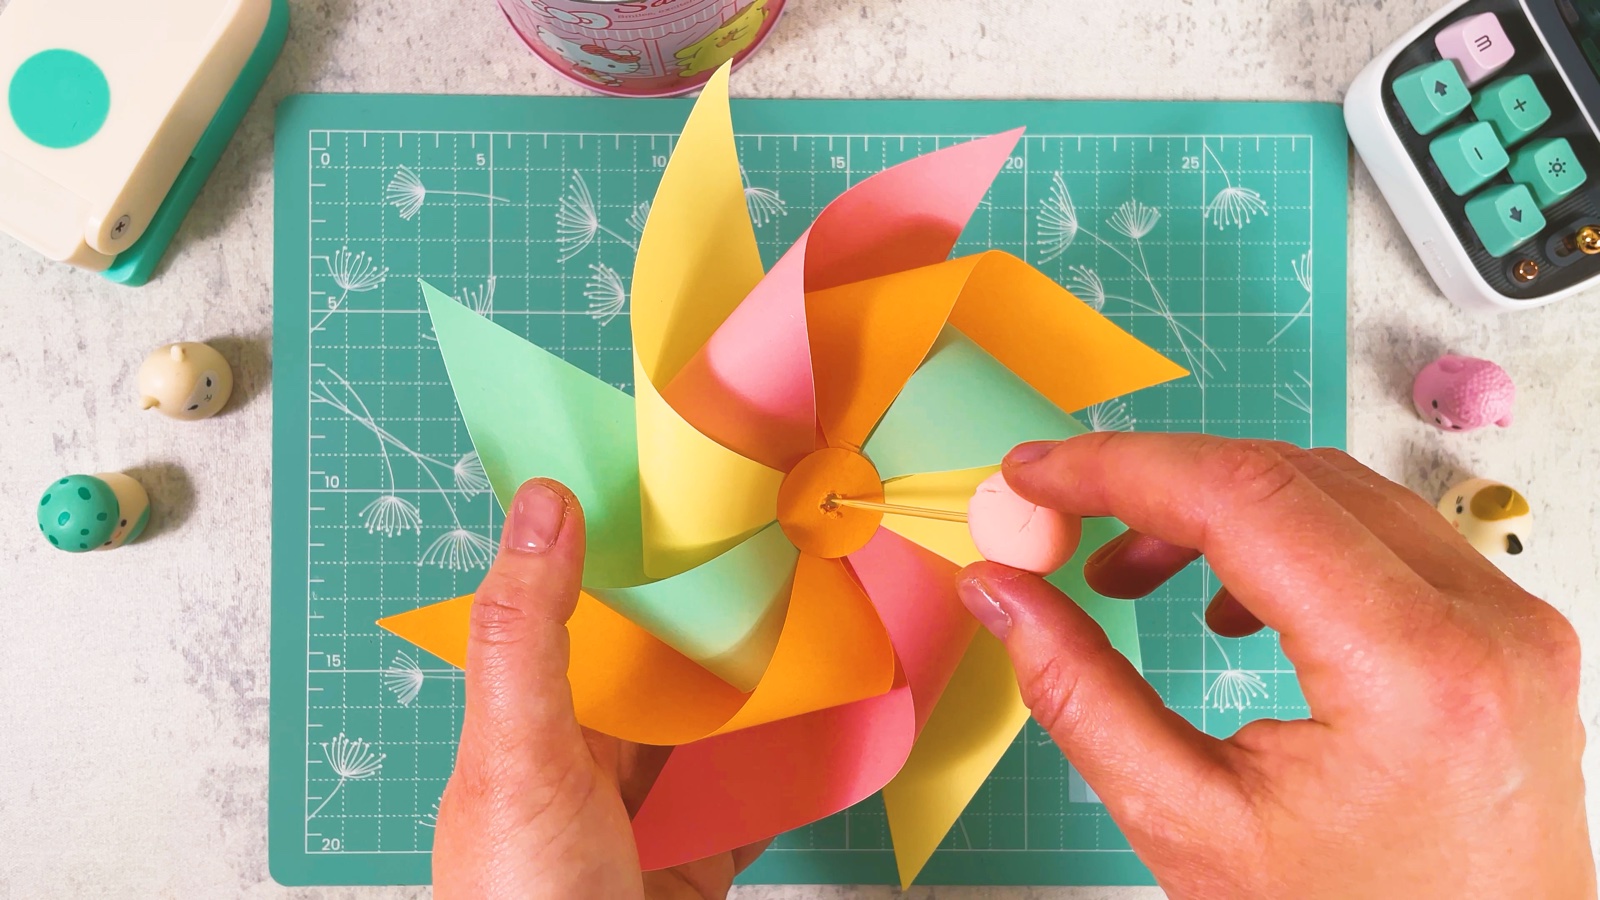
Press the ball onto the tip of the toothpick at the front. It keeps the pinwheel from sliding off.
- 10
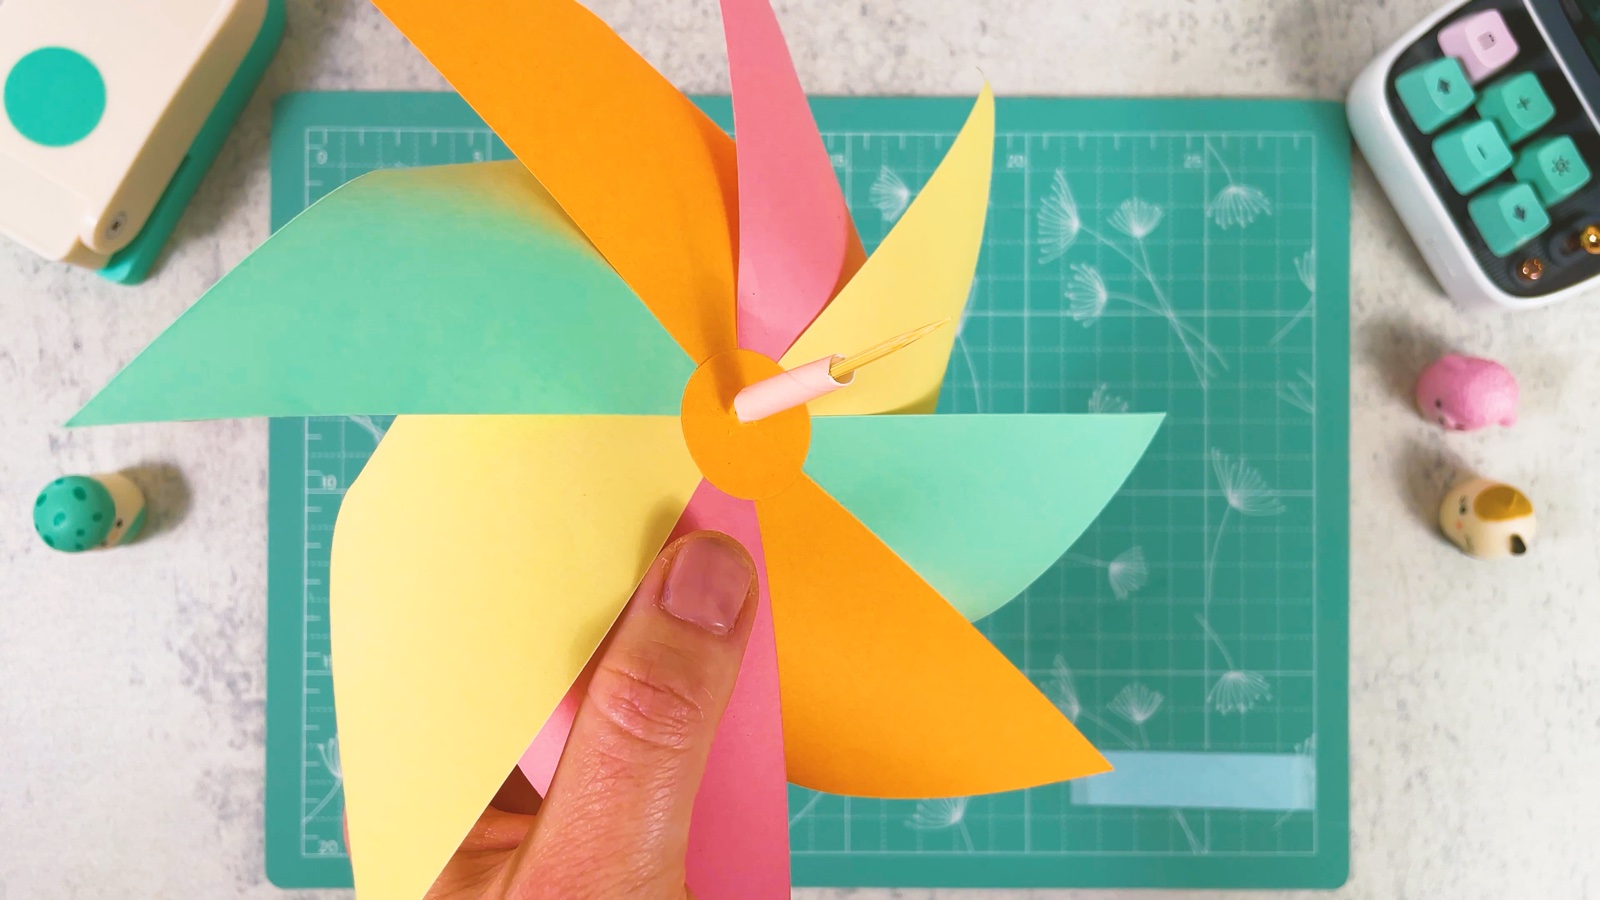
Add a little straw piece
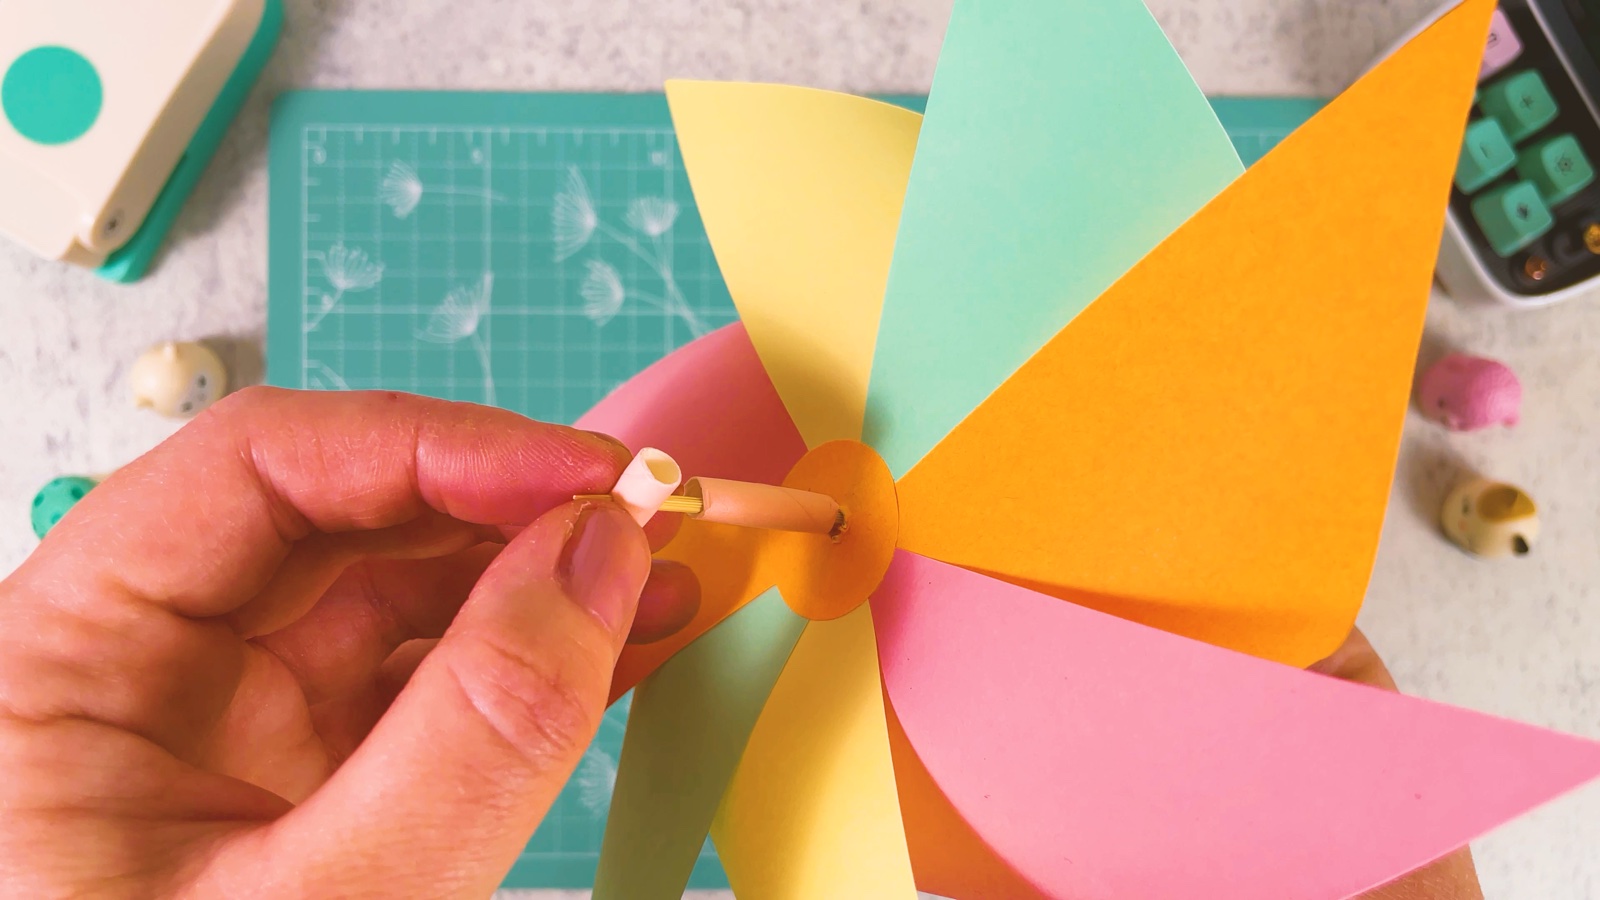
Cut a short piece of paper straw and slide it onto the toothpick at the back of the pinwheel. This little gap lets the pinwheel spin freely.
- 11
Add the straw handle
Take a long paper straw. Push the end of the toothpick through it near the top, from one side to the other.
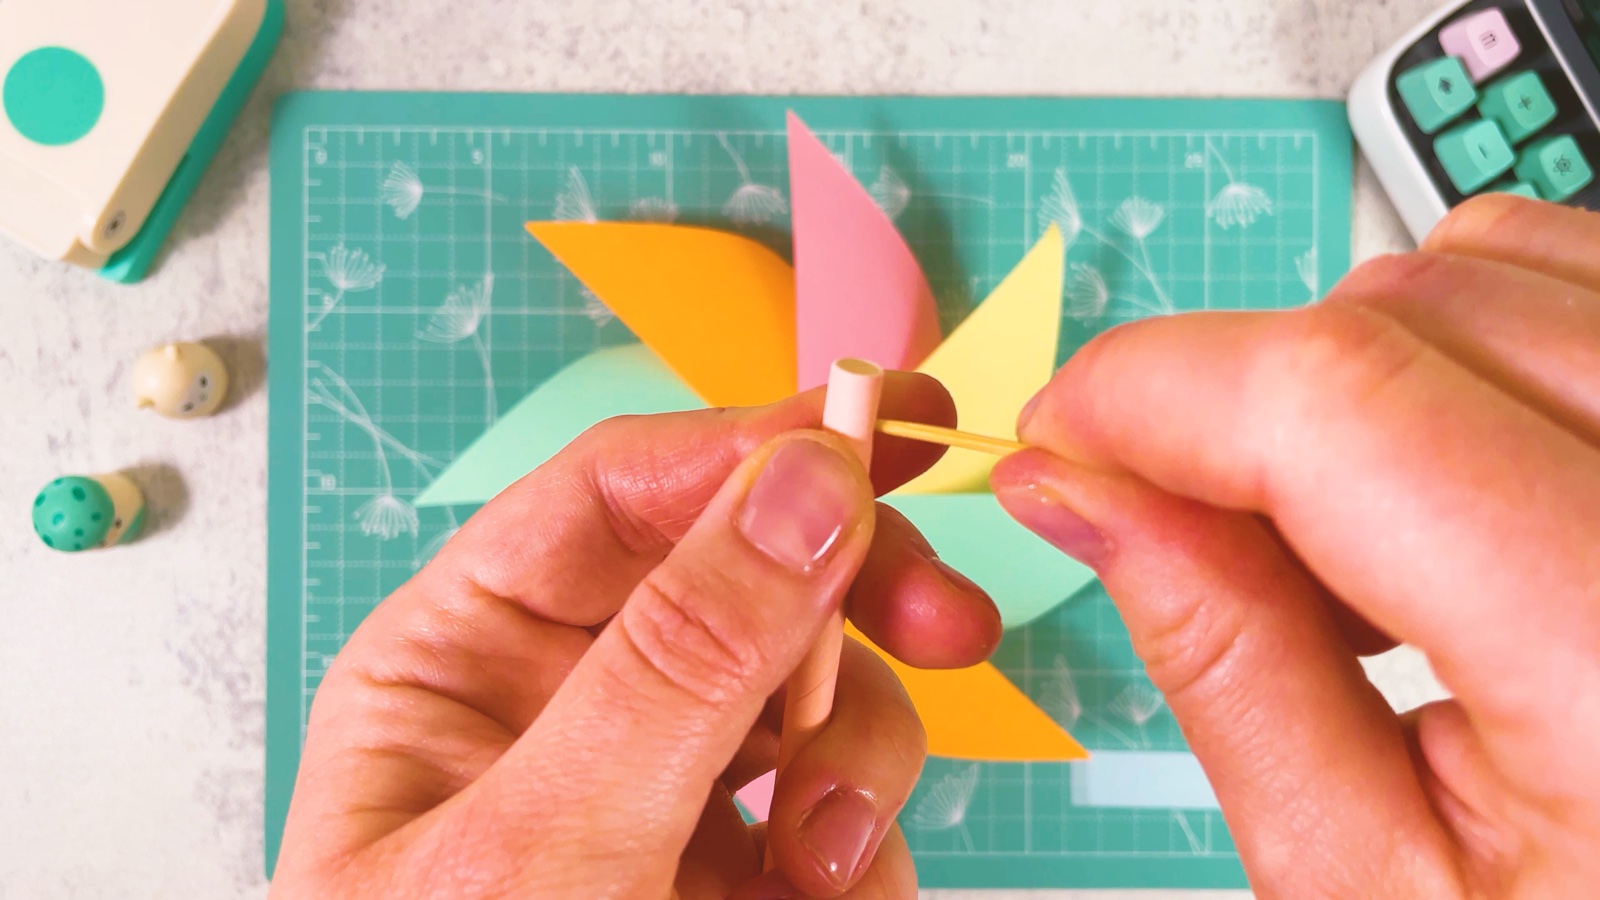
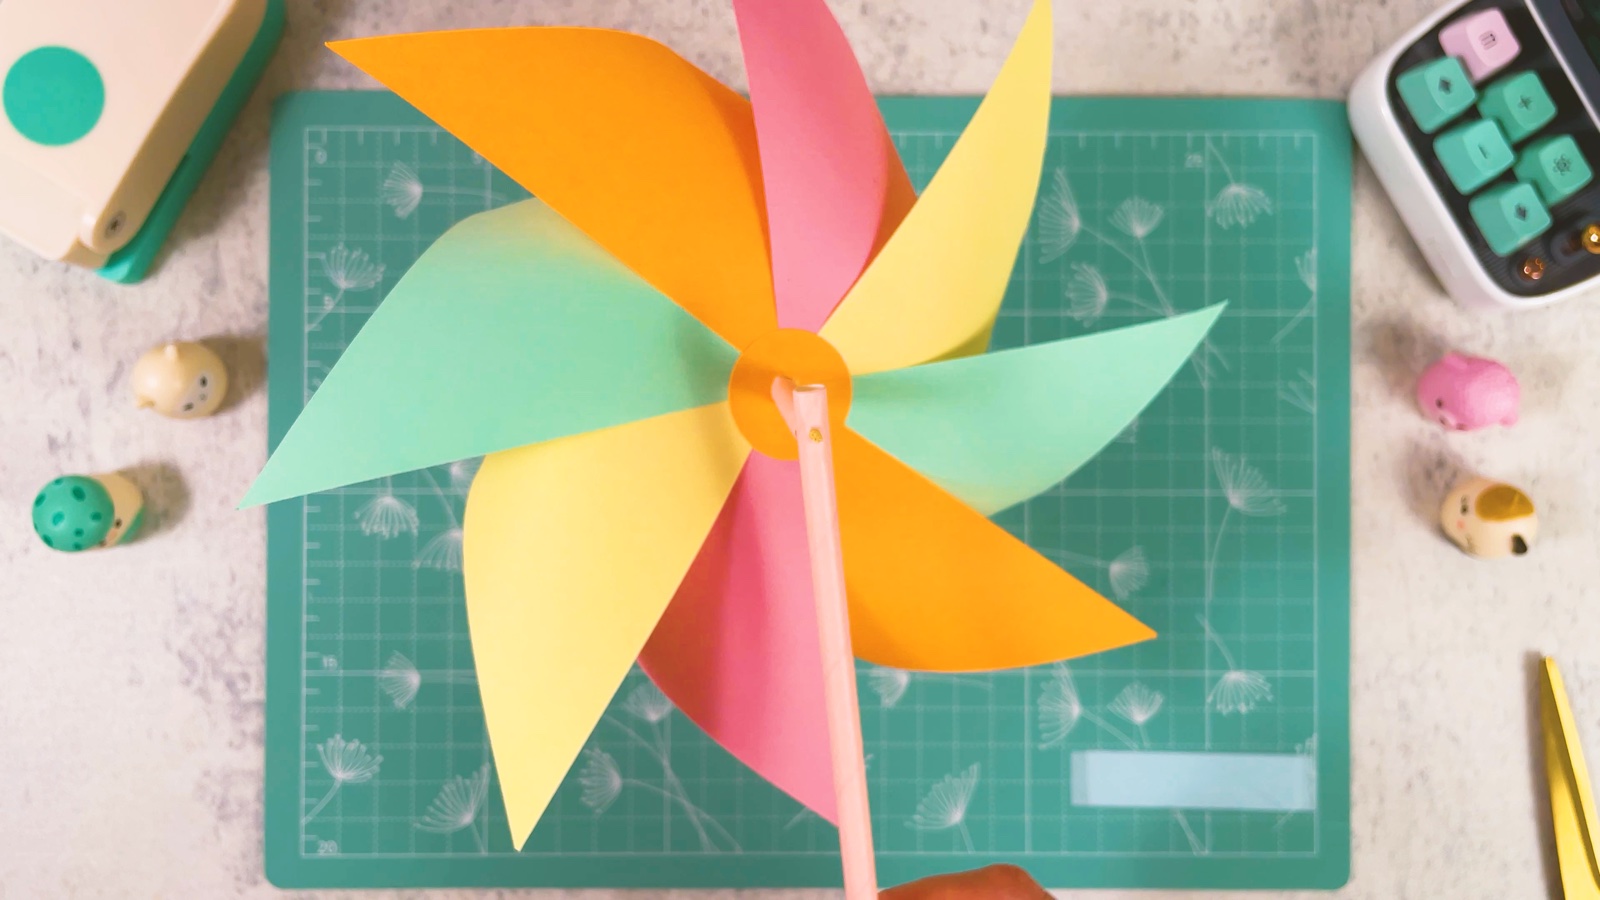
Snip off the extra toothpick with scissors. Don’t press the pinwheel tight against the straw: it needs a little space to move.
- 12
Blow and watch it spin
Hold the straw, blow on the blades or take the pinwheel outside on a windy day.
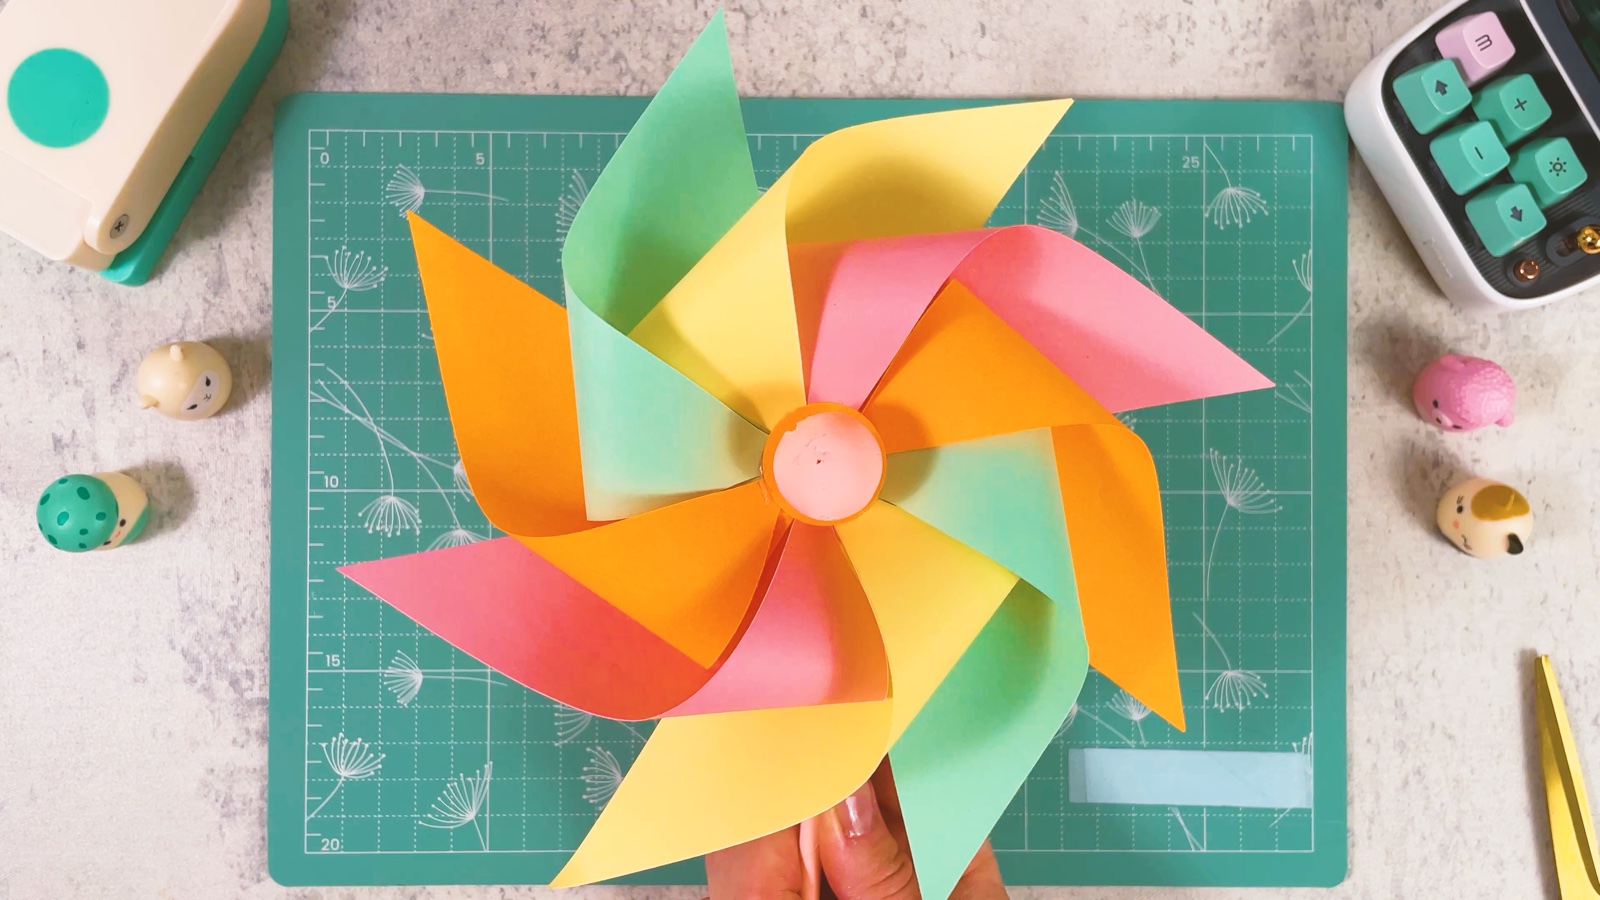
Your paper pinwheel is ready.
THREE LITTLE TIPS
Make it easier.
- Keep the middle loose. If the pinwheel won’t spin, the middle is too tight. Give it a little more space on the toothpick.
- Slightly thicker paper spins better. Thin paper bends in the wind; a bit thicker paper keeps the blades in shape.
- Check the blades. If it still won’t spin, look at the curls. They should all be the same size and go in the same direction.

A CUBI MINI MOMENT
Where will your pinwheel spin?
Cubi is taking the pinwheel to the window to catch the breeze. Where will you take yours?
Into Mini’s flower pot on the balcony, so it spins all day.
Loved making it?
Catch the next make first, or save this one for a rainy day.