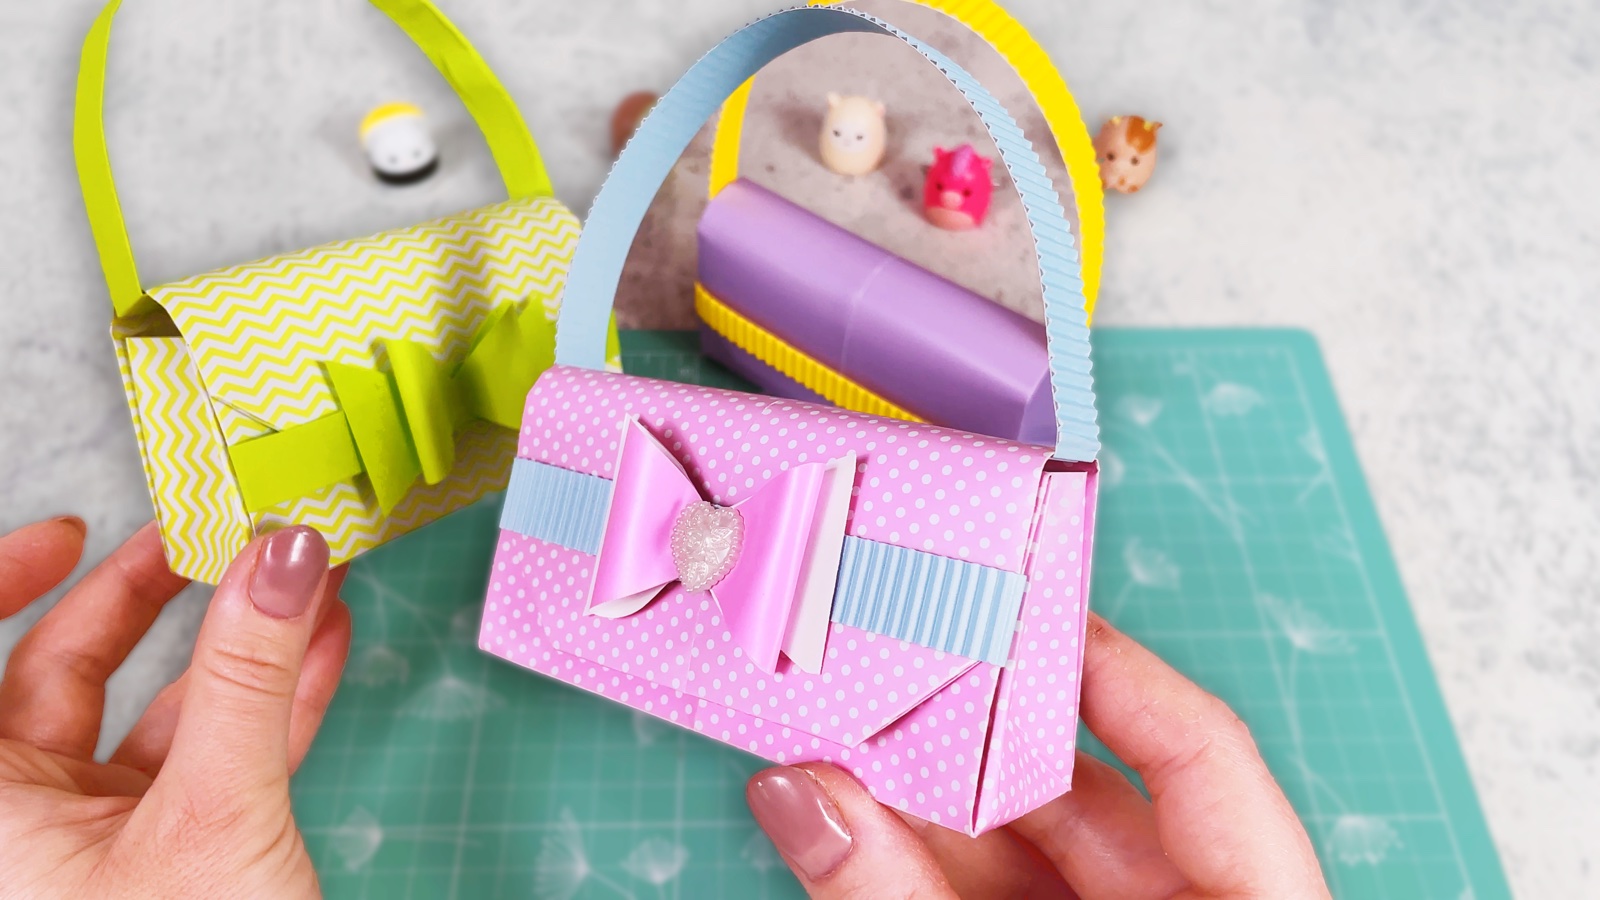
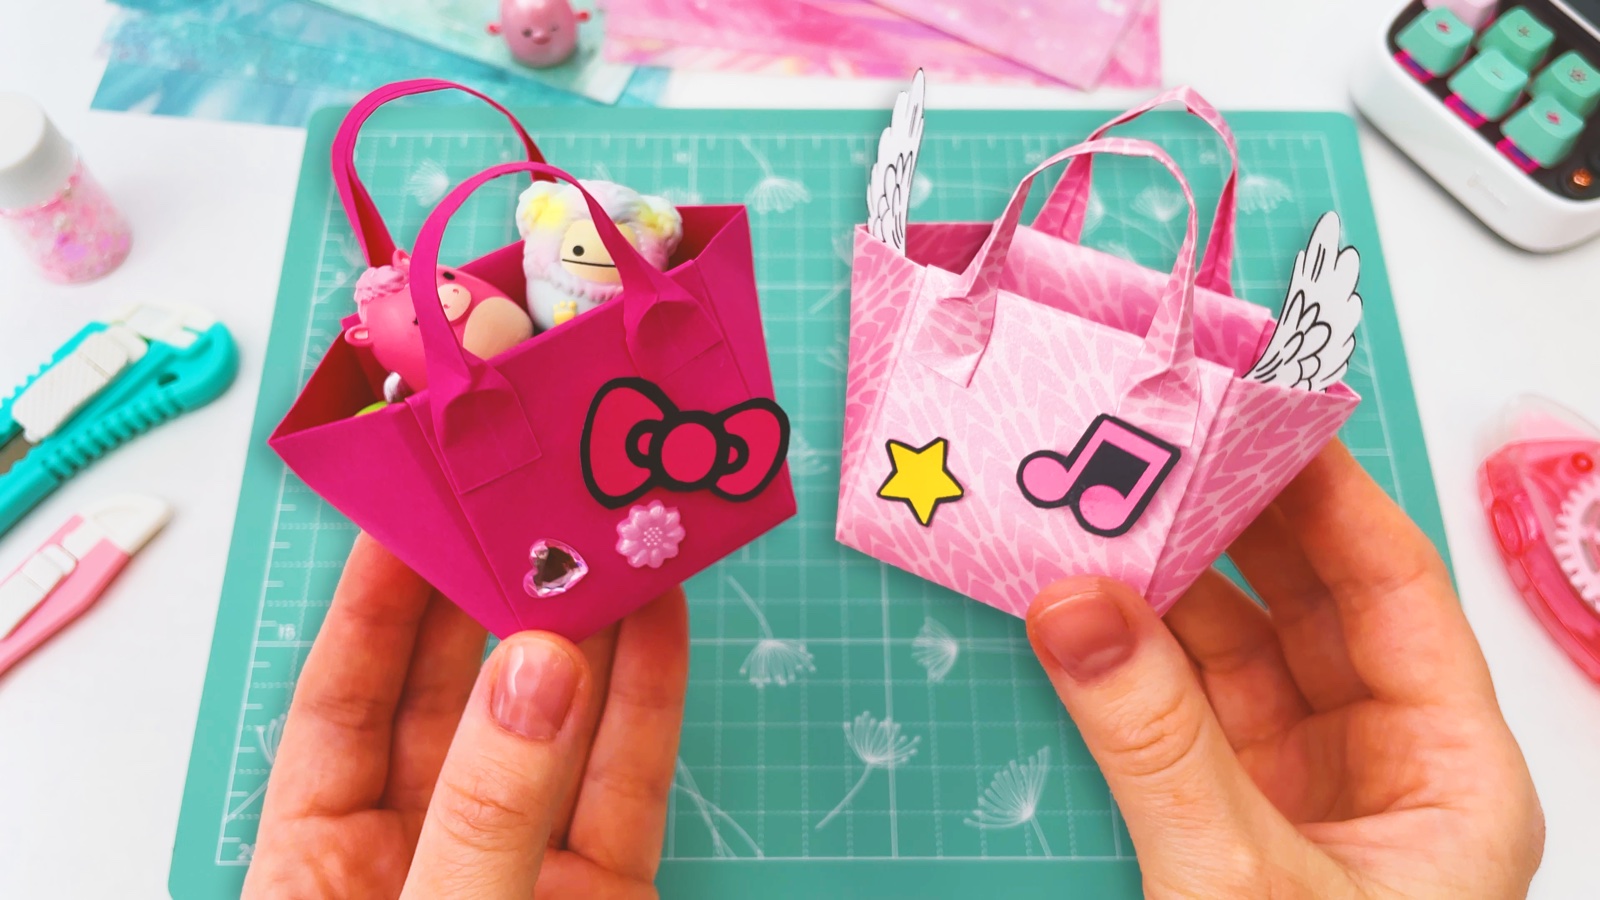
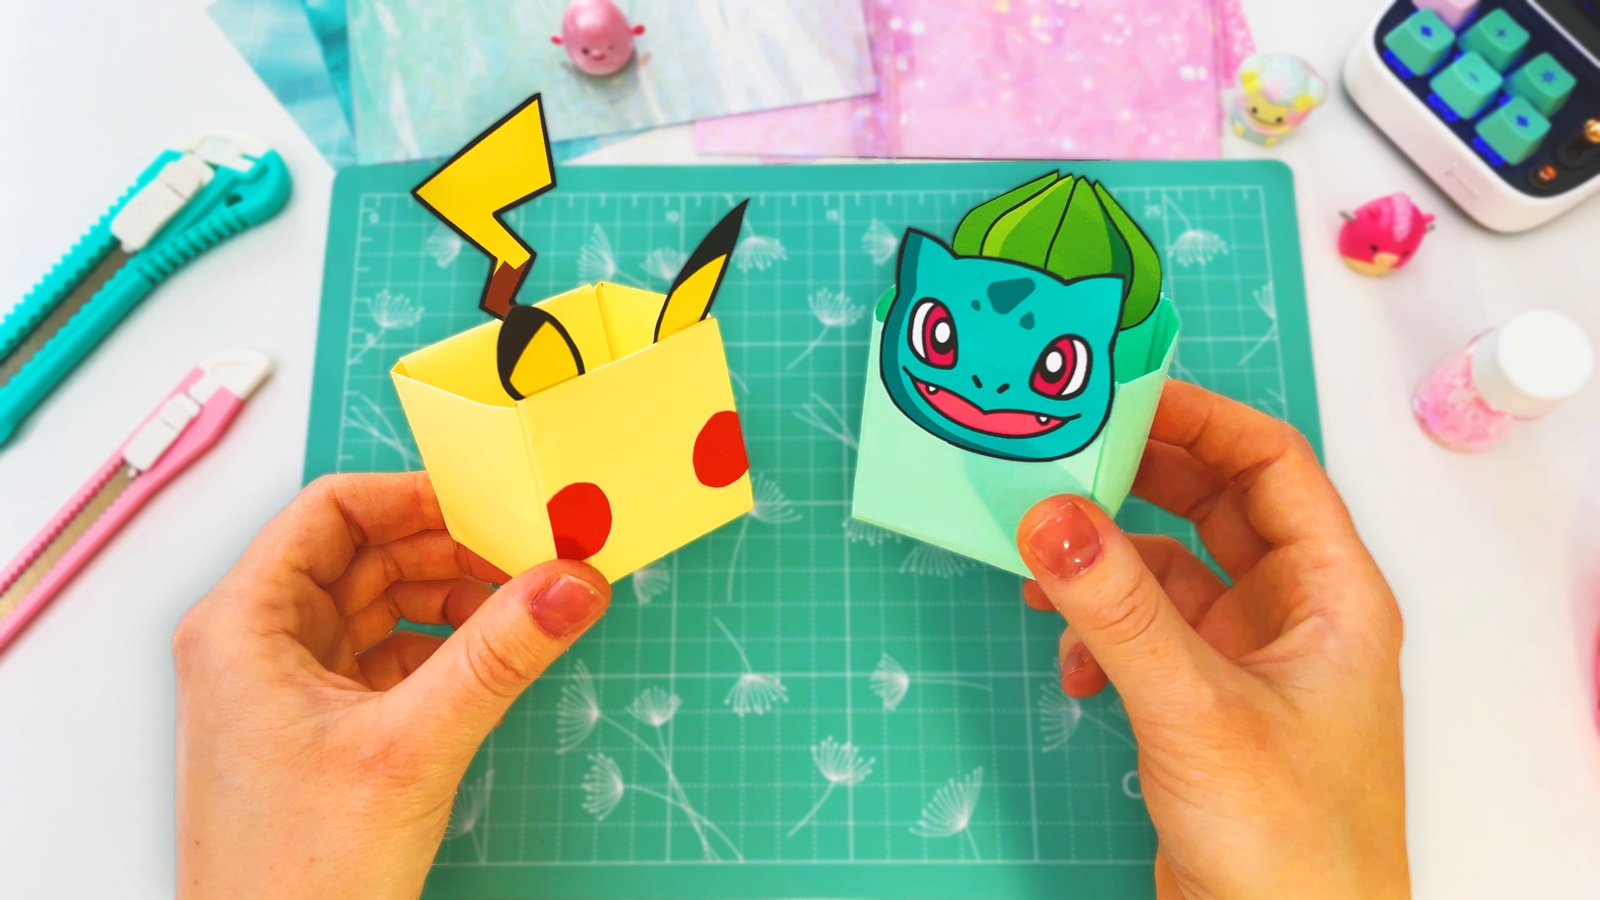
Let’s make a paper pencil case using only paper. No glue, no tape, just folding. The case is sturdier than it looks and roomy enough for our pens, markers and cute stationery.
Ours has a cloudy pastel design for extra kawaii vibes, but we can decorate it in any style we like. It is a fun back to school DIY, a little gift for a friend or a desk organiser for crayons.
BEFORE WE START
What you need.
Materials
- Patterned paper
- Stickers or flower gems (optional)
Tools
- Ruler
- Pencil
STEP BY STEP
Let’s make it.
- 1
Choose your paper
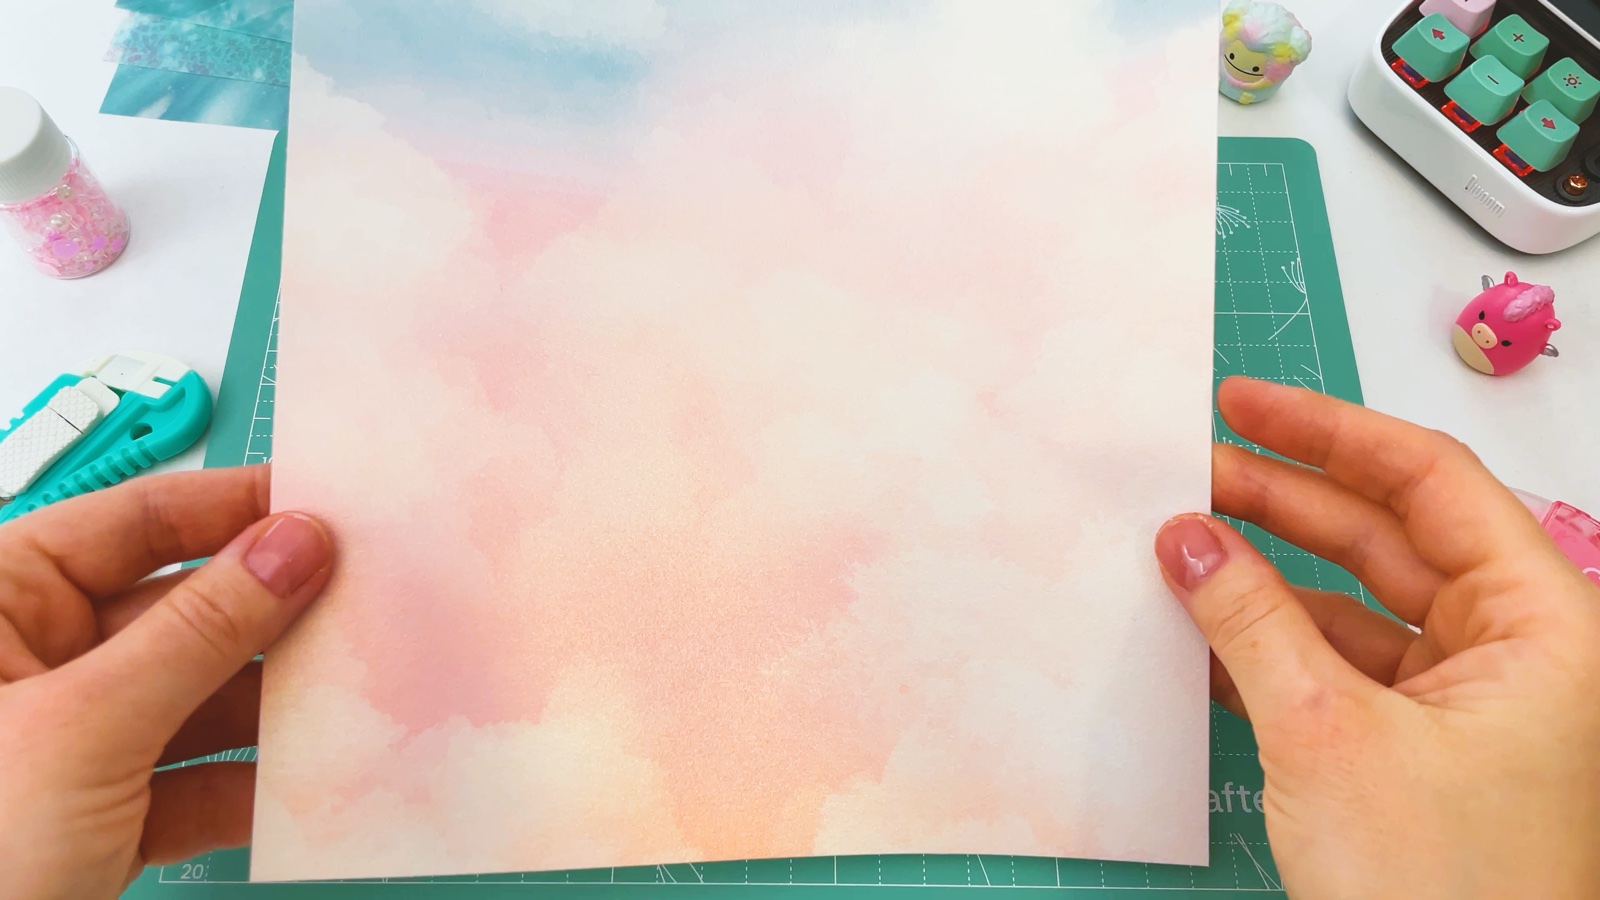
Take one sheet of patterned paper. Thin paper, about 80–120 g/m² (about 20–32 lb bond), folds best. The pattern side will be on the outside of the case.
- 2
Mark three equal parts
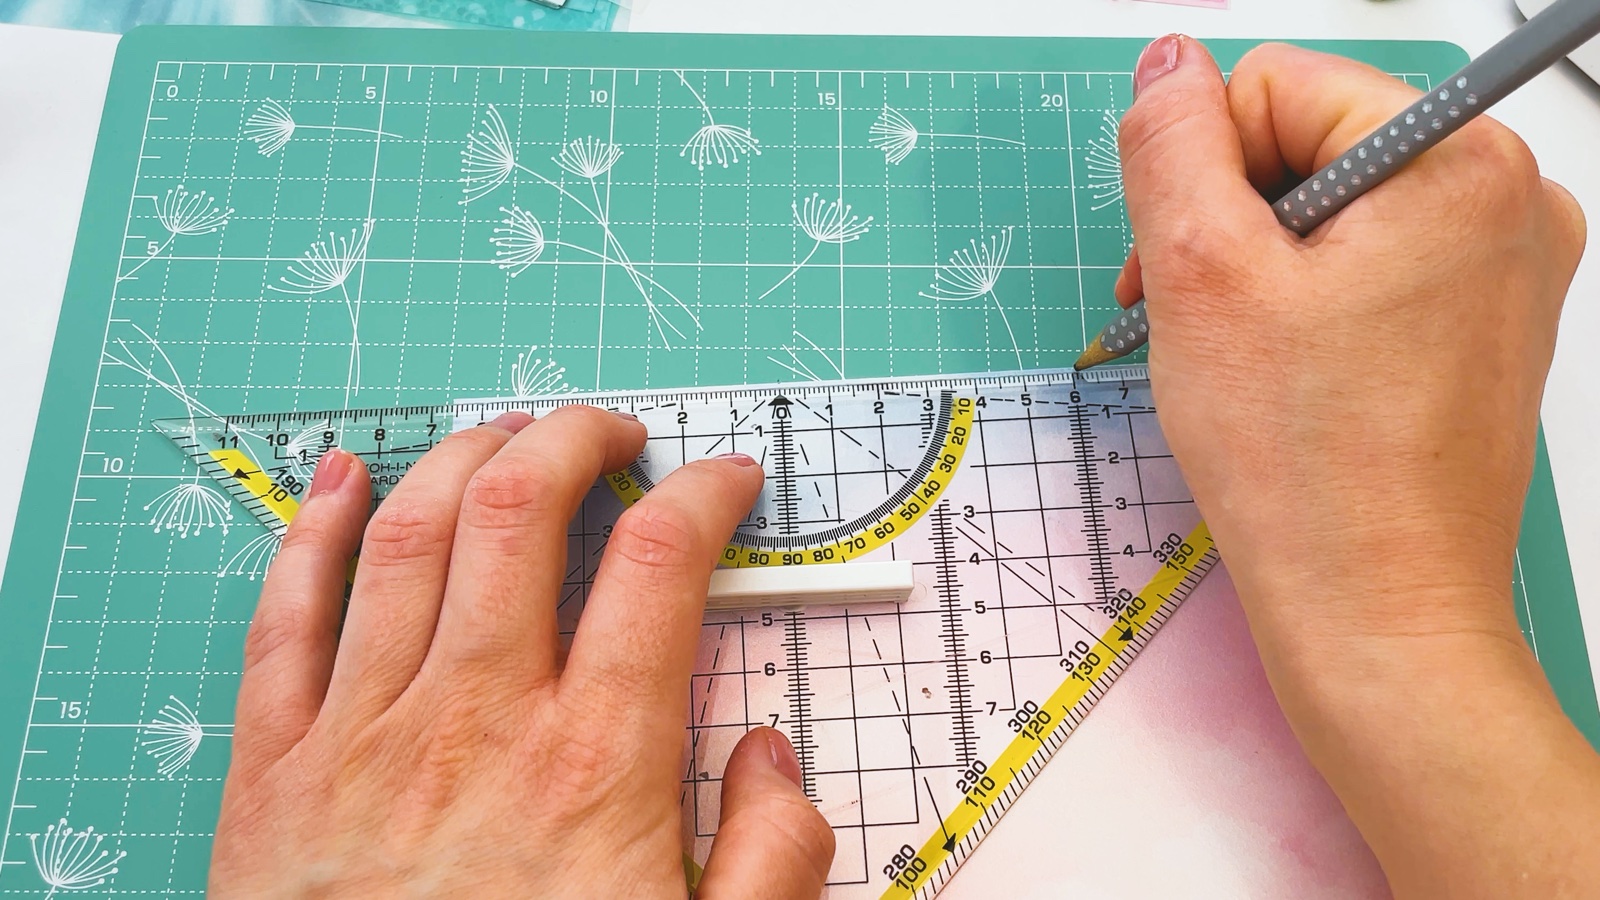
Measure the width of the paper with a ruler. Make small pencil marks to split it into three equal strips.
- 3
Fold into thirds
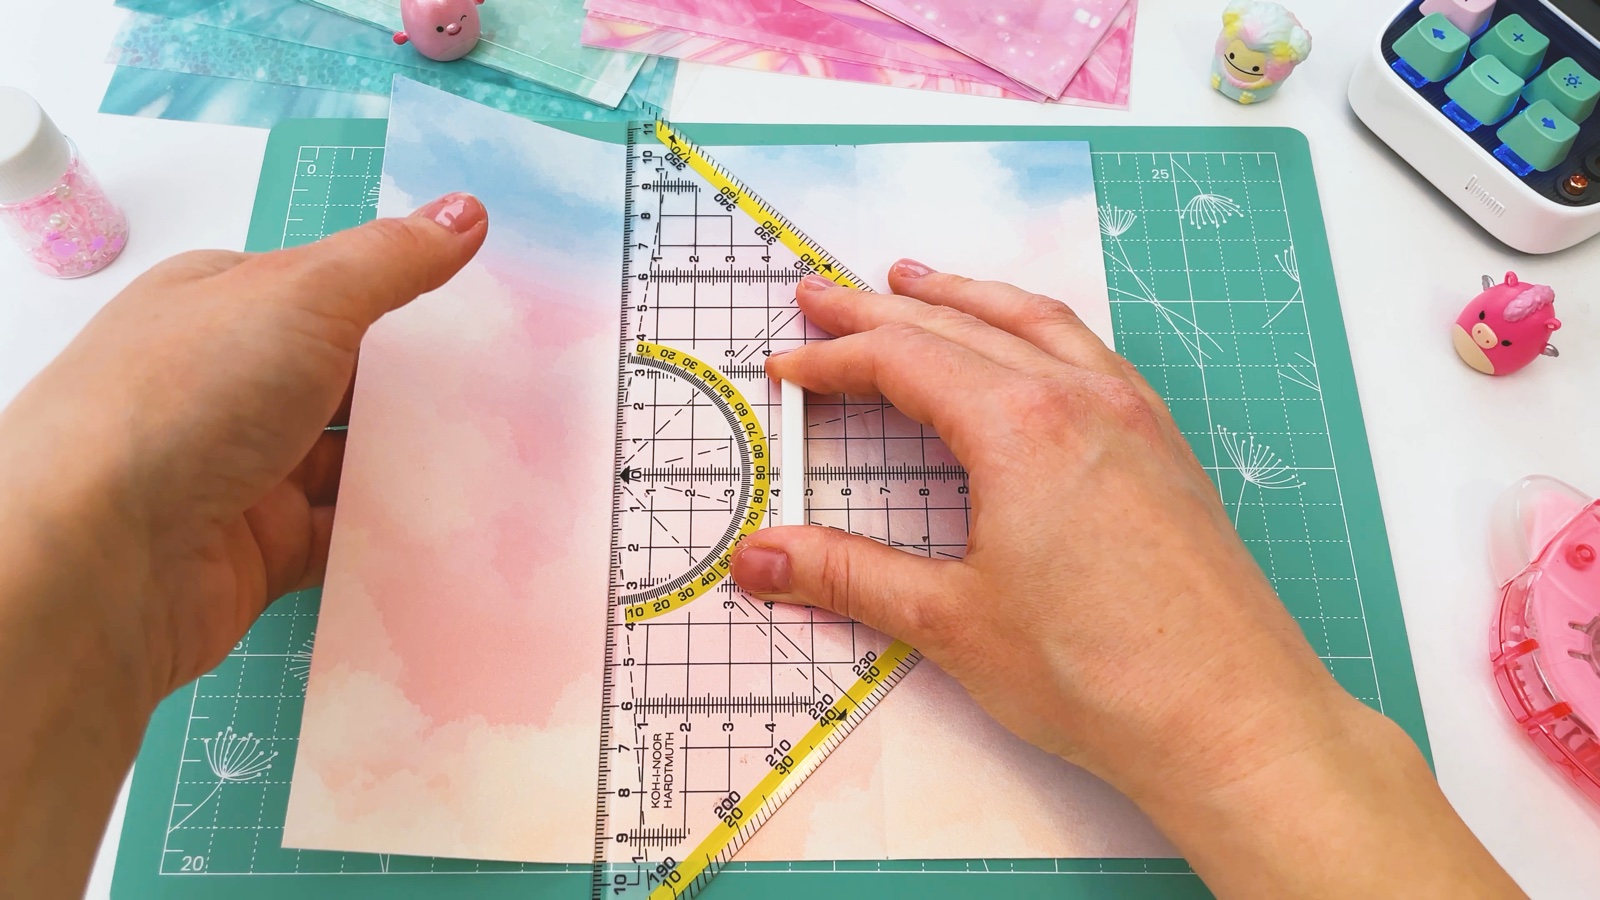
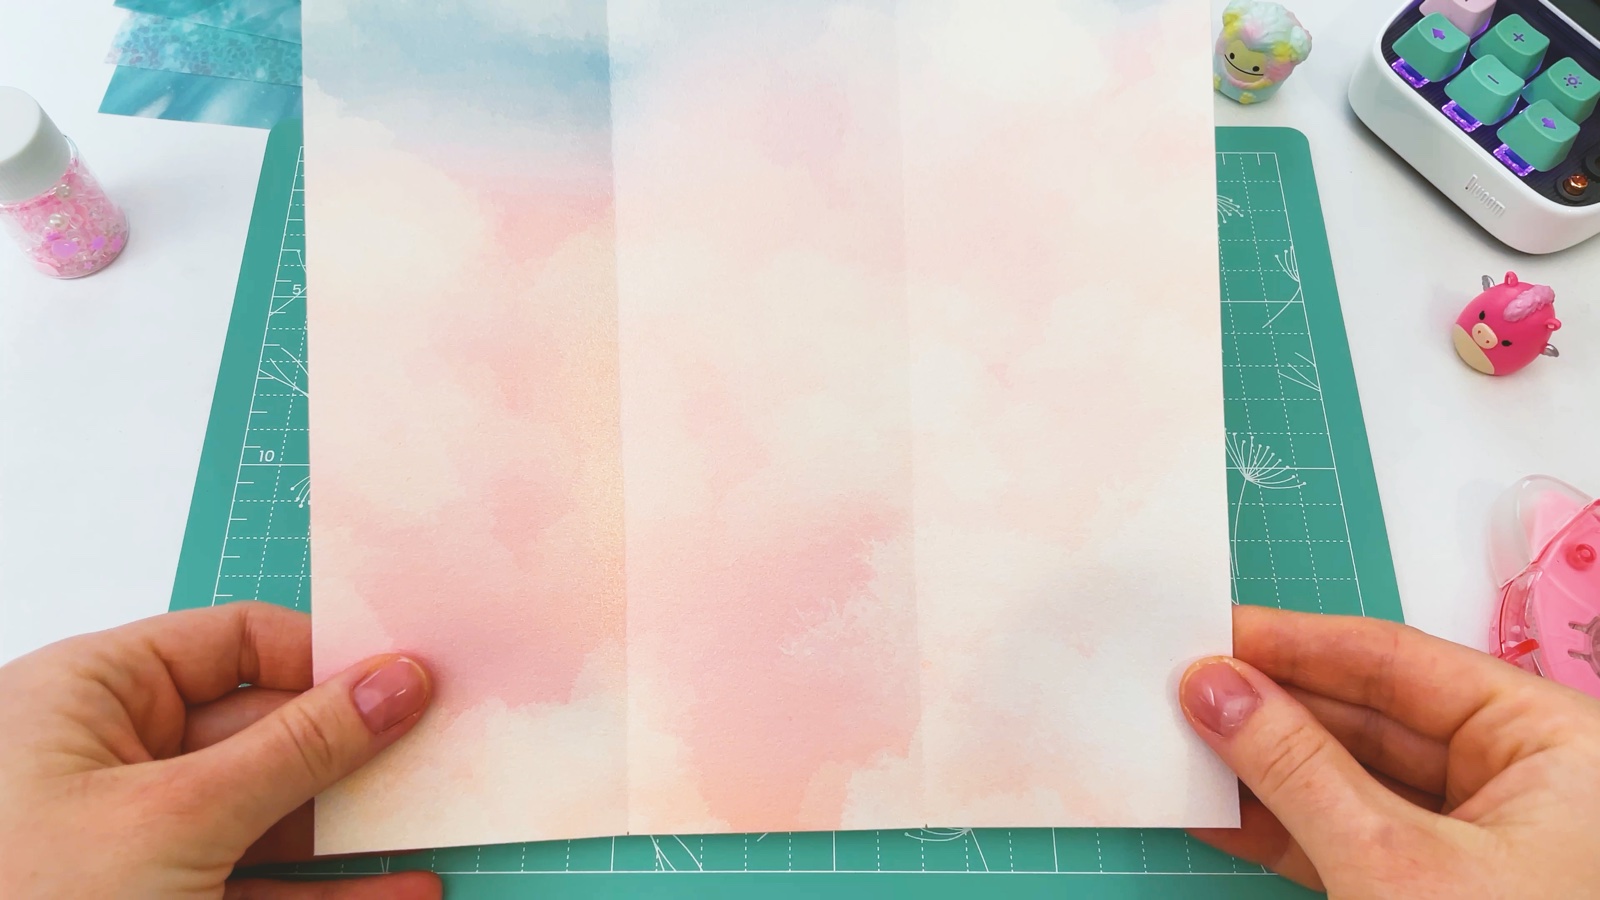
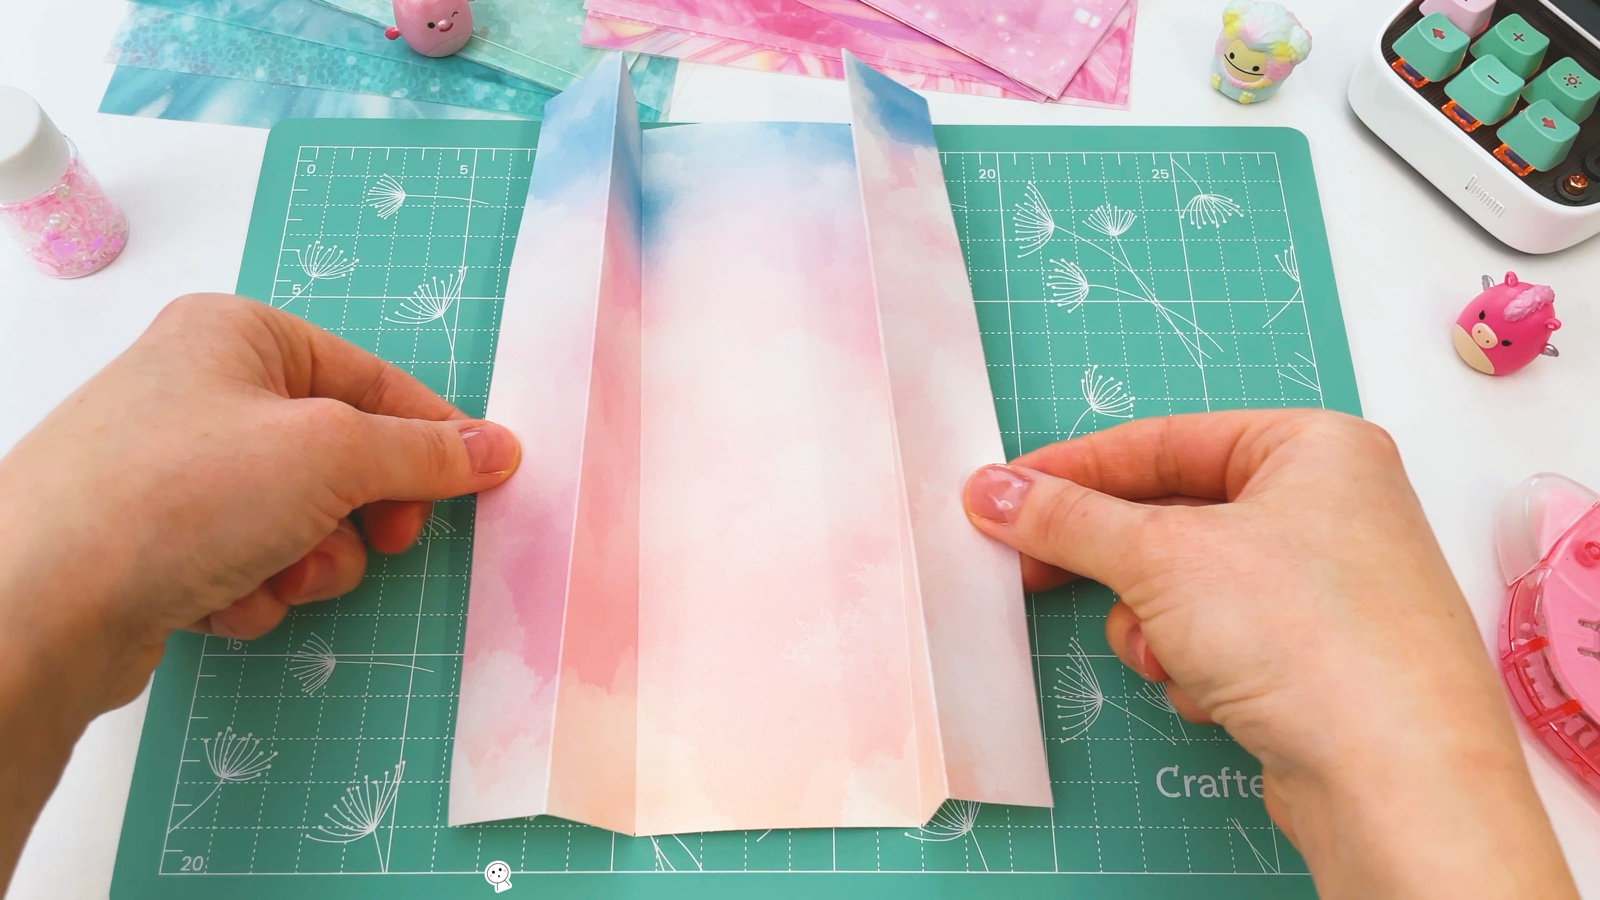
Lay the ruler along the marks and fold the paper over its edge. Press the fold flat. Do the same at the other marks, then open the paper. Now it has two straight creases.
- 4
Fold the edges to the creases
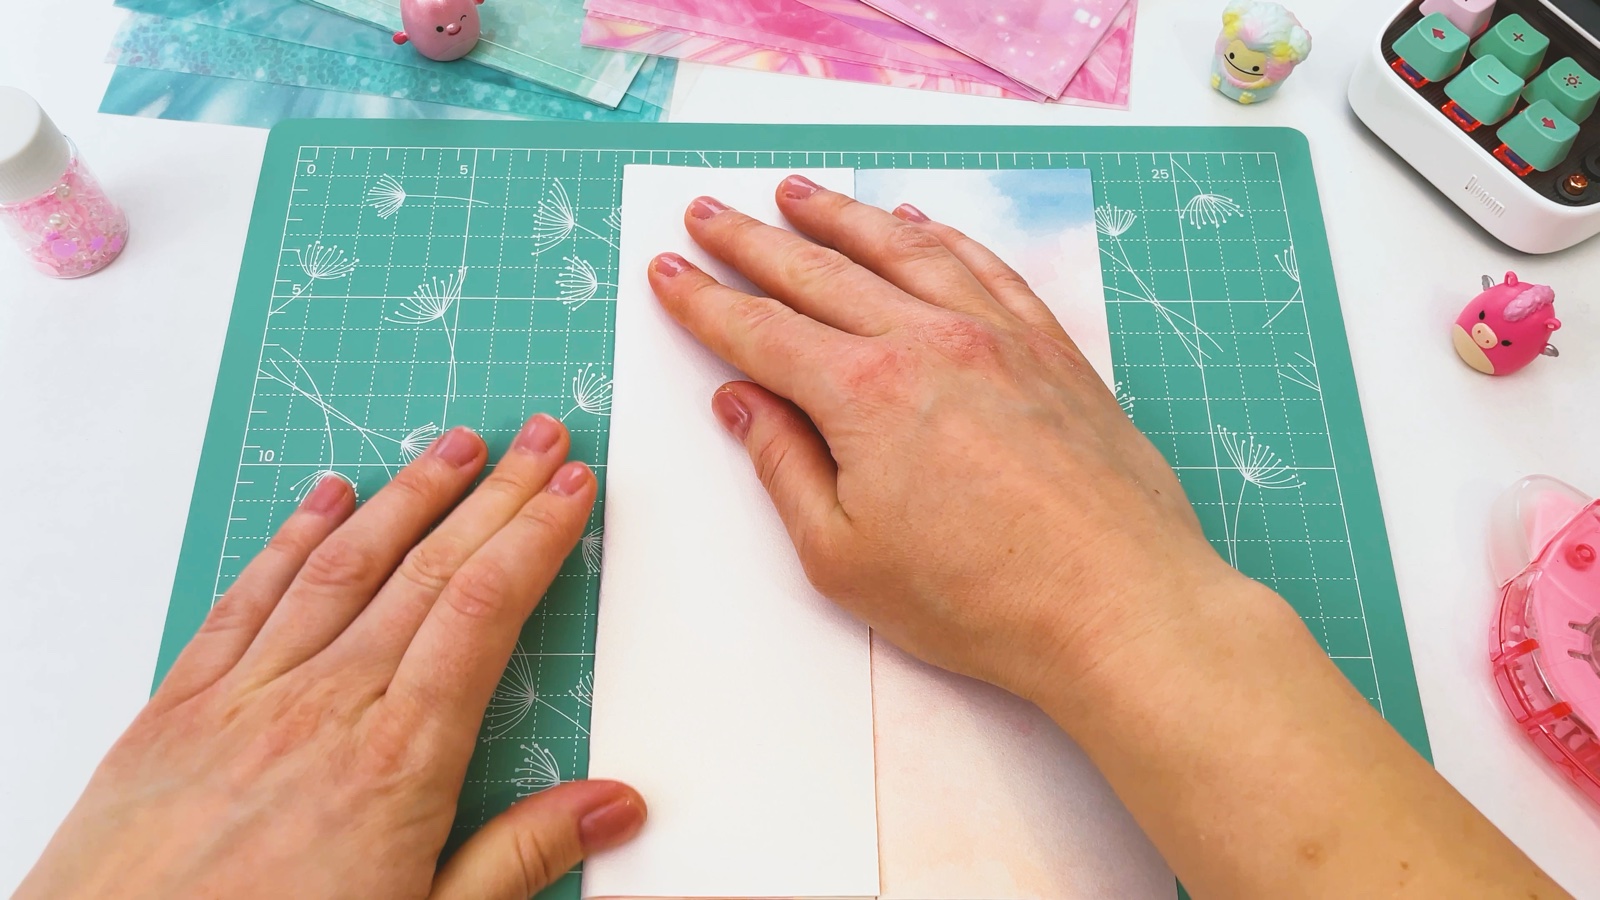
Fold the left edge in to the nearest crease and press it flat. Do the same on the right side. These folds make more creases for the next step.
- 5
Fold a narrow strip
Keep folding along the creases until the paper is a narrow strip. Press it well.
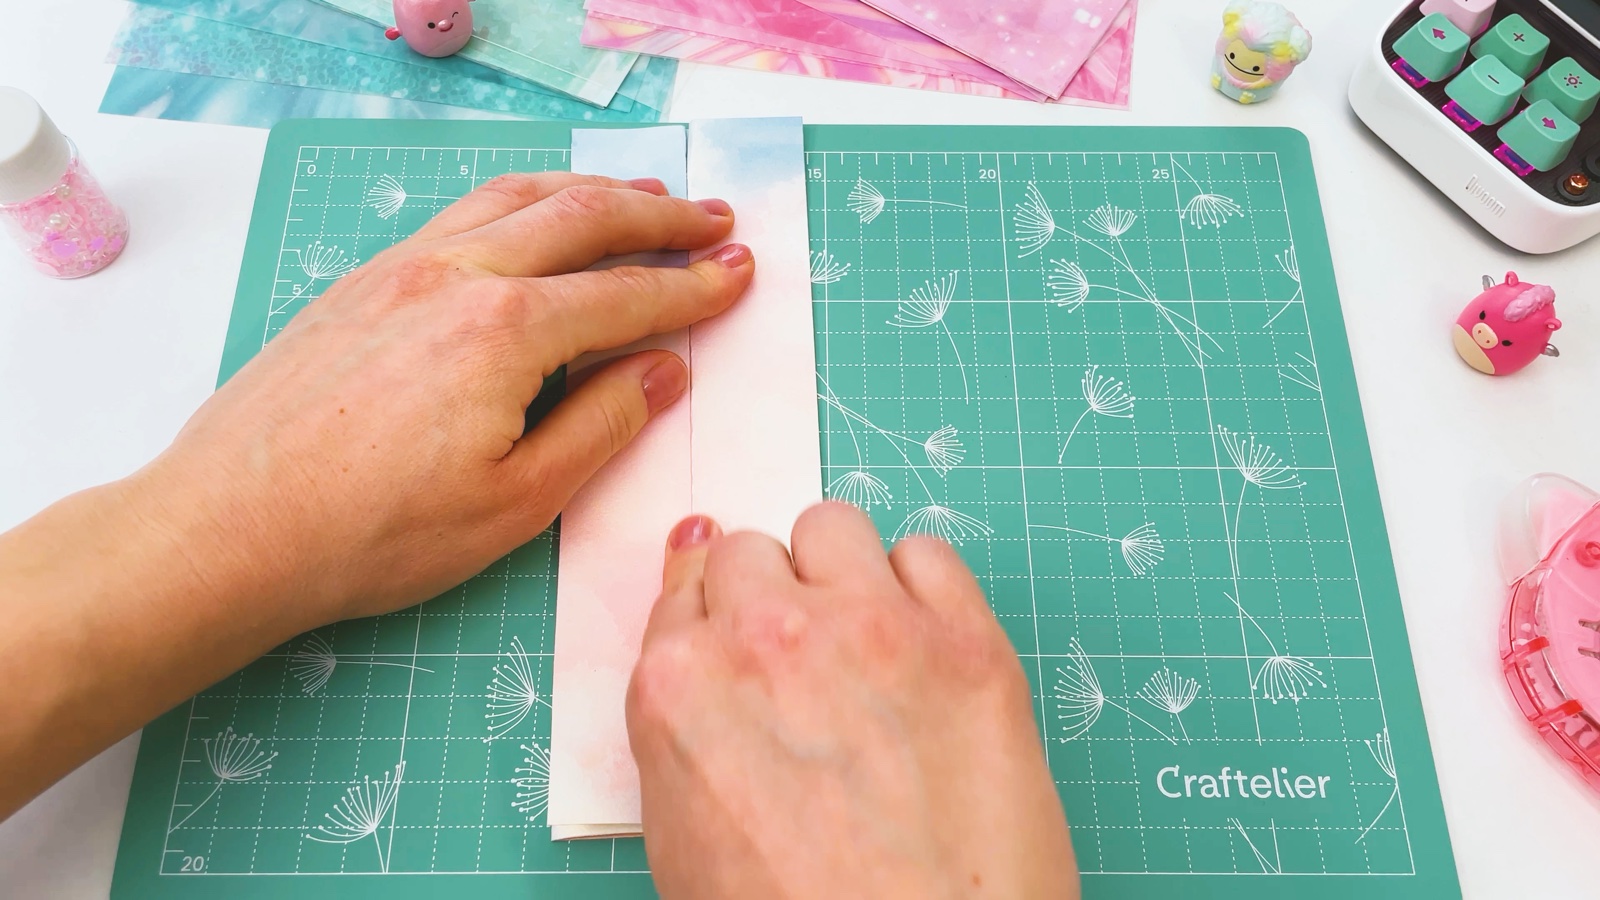
Then open the paper again. All the creases stay in it and help the paper fold neatly later.
- 6
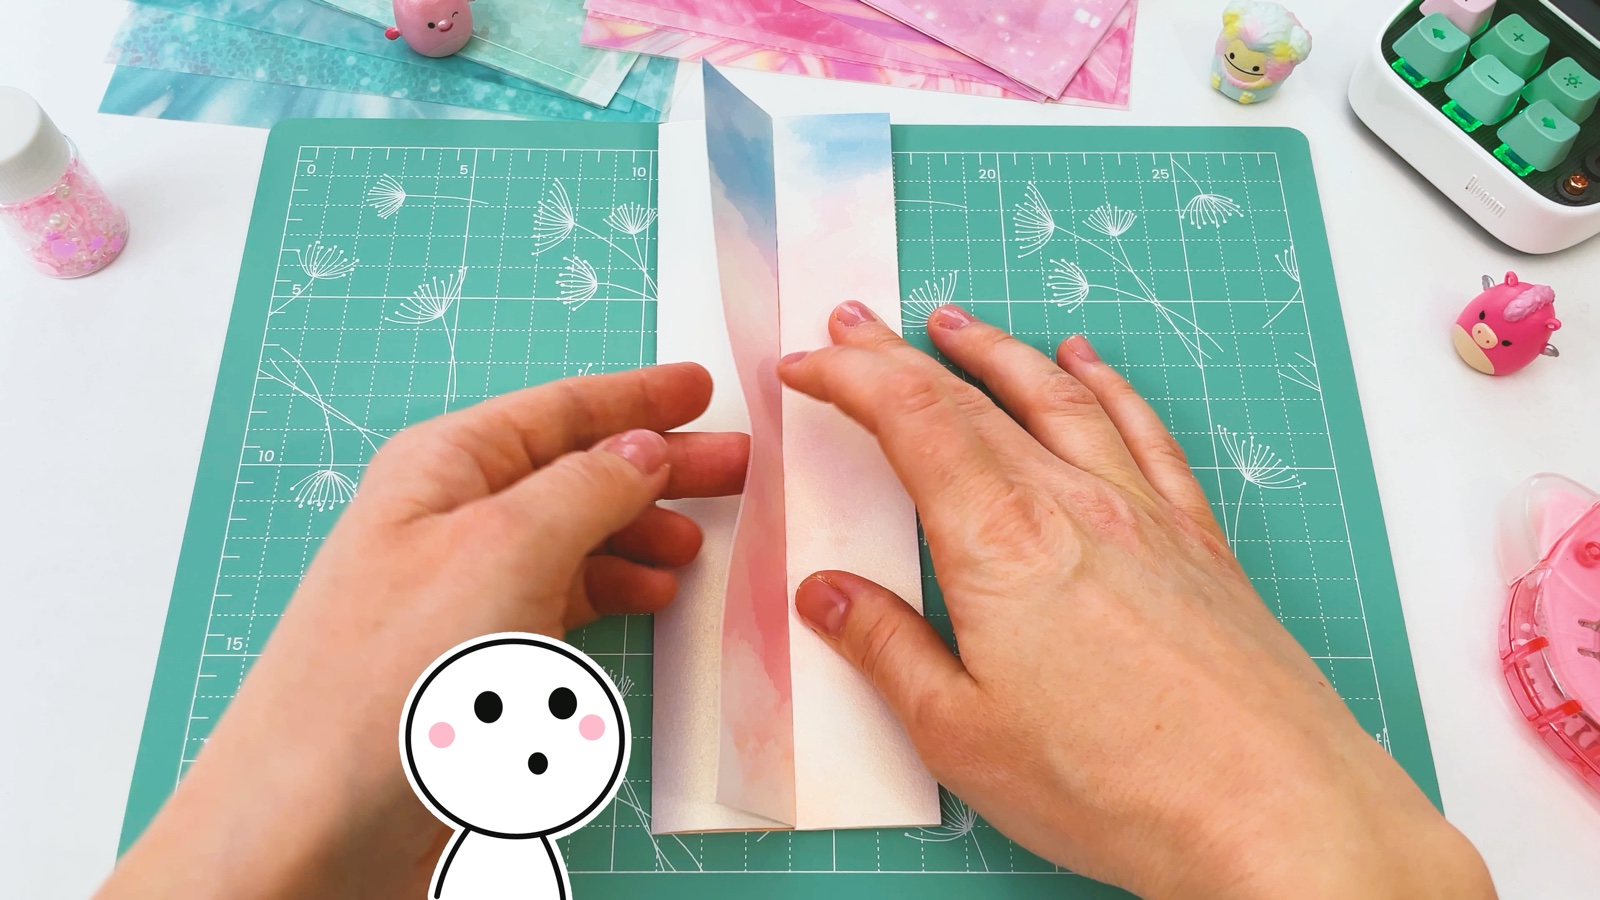
Fold the sides to the middle
Fold the left and the right side in so that they meet in the middle.
- 7
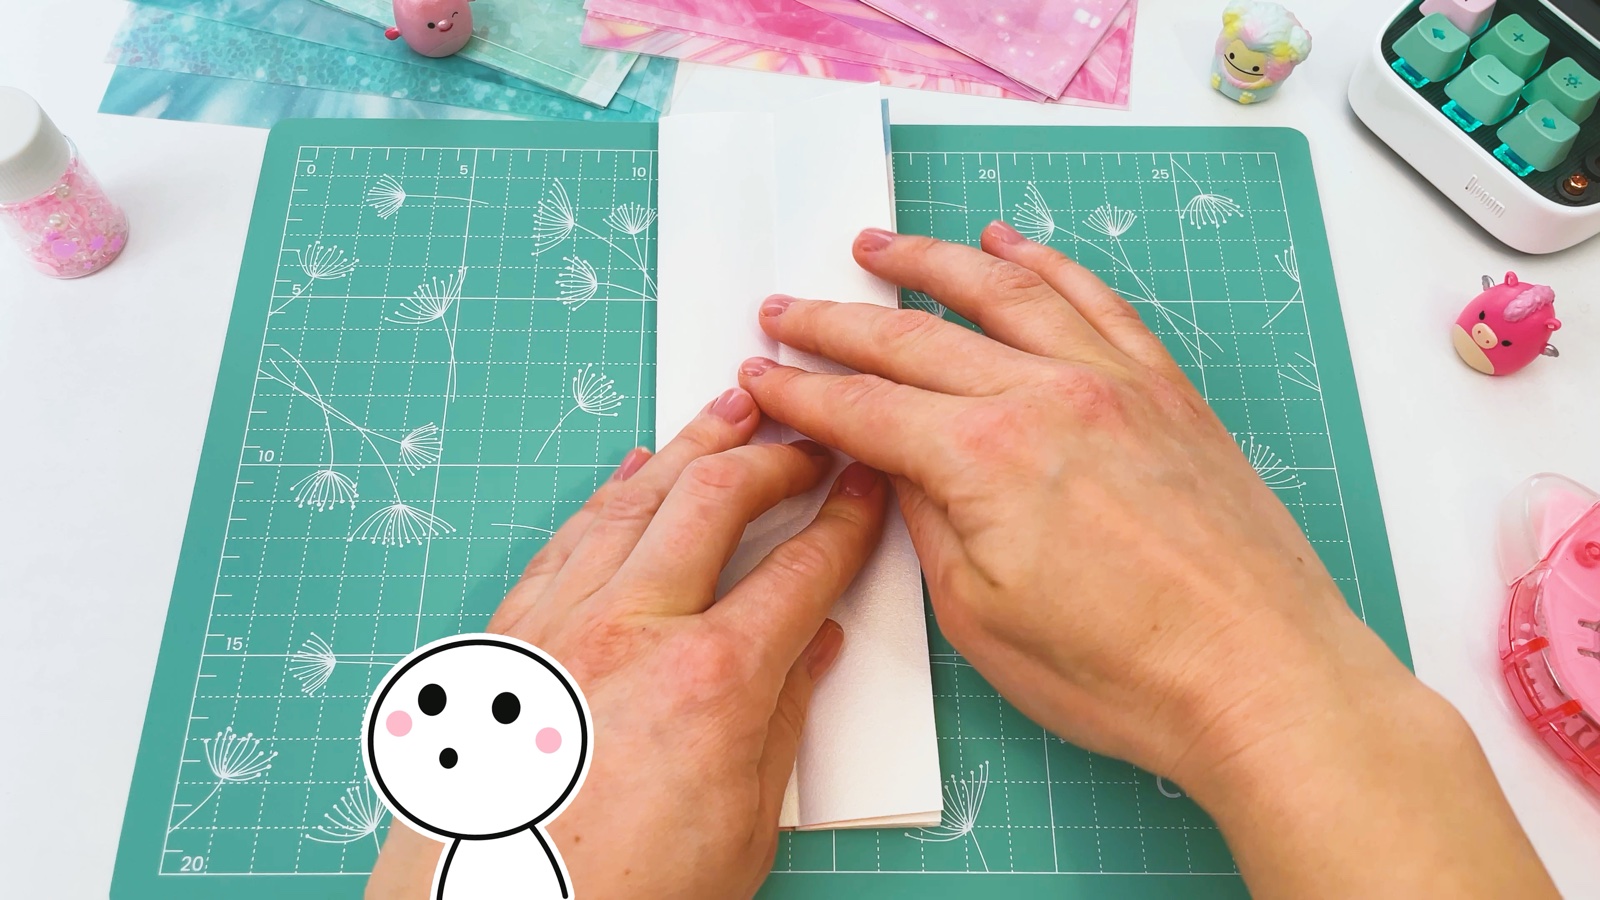
Fold it in half
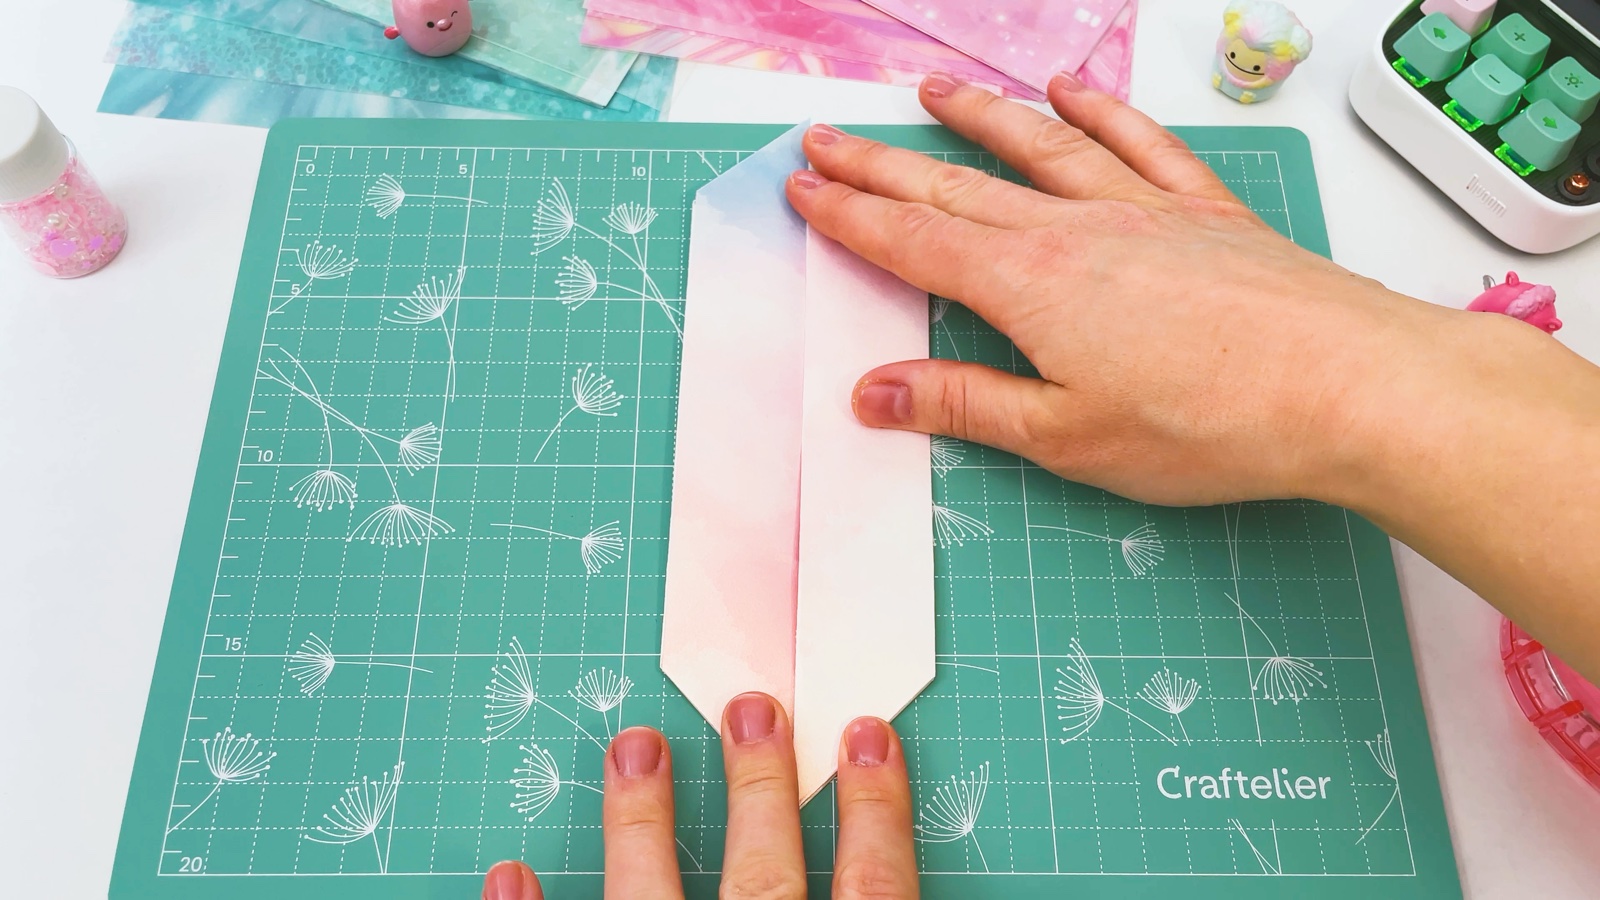
Fold the paper in half along its length and press the fold flat. Now it is one long, narrow strip.
- 8
Fold the top corners
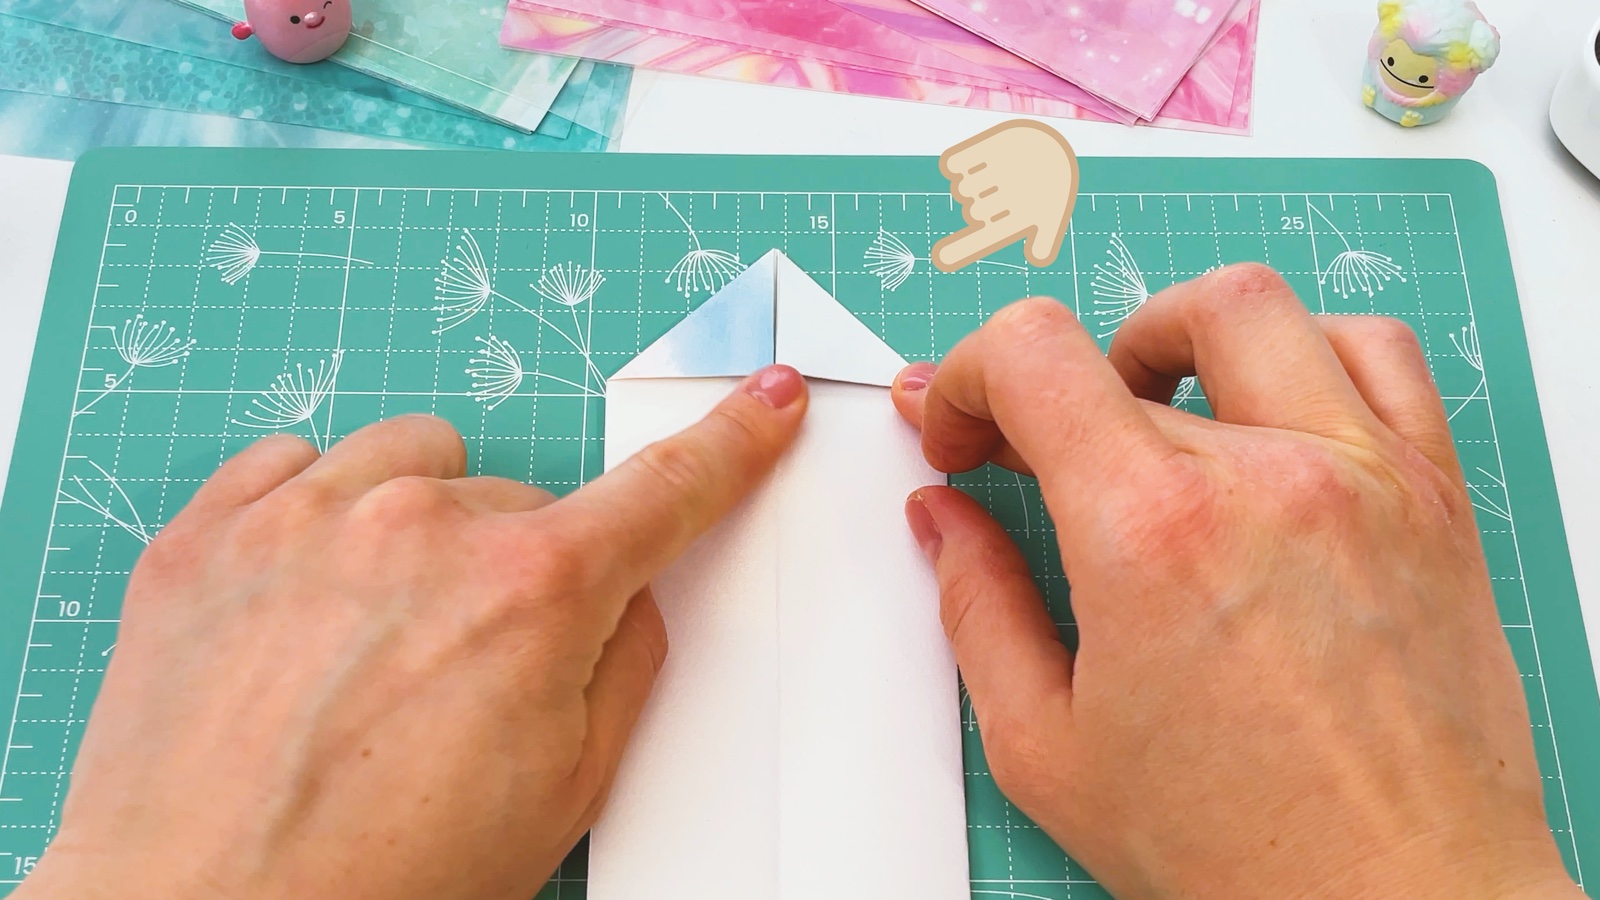
At the top end, fold the two corners down into small triangles. Press them flat.
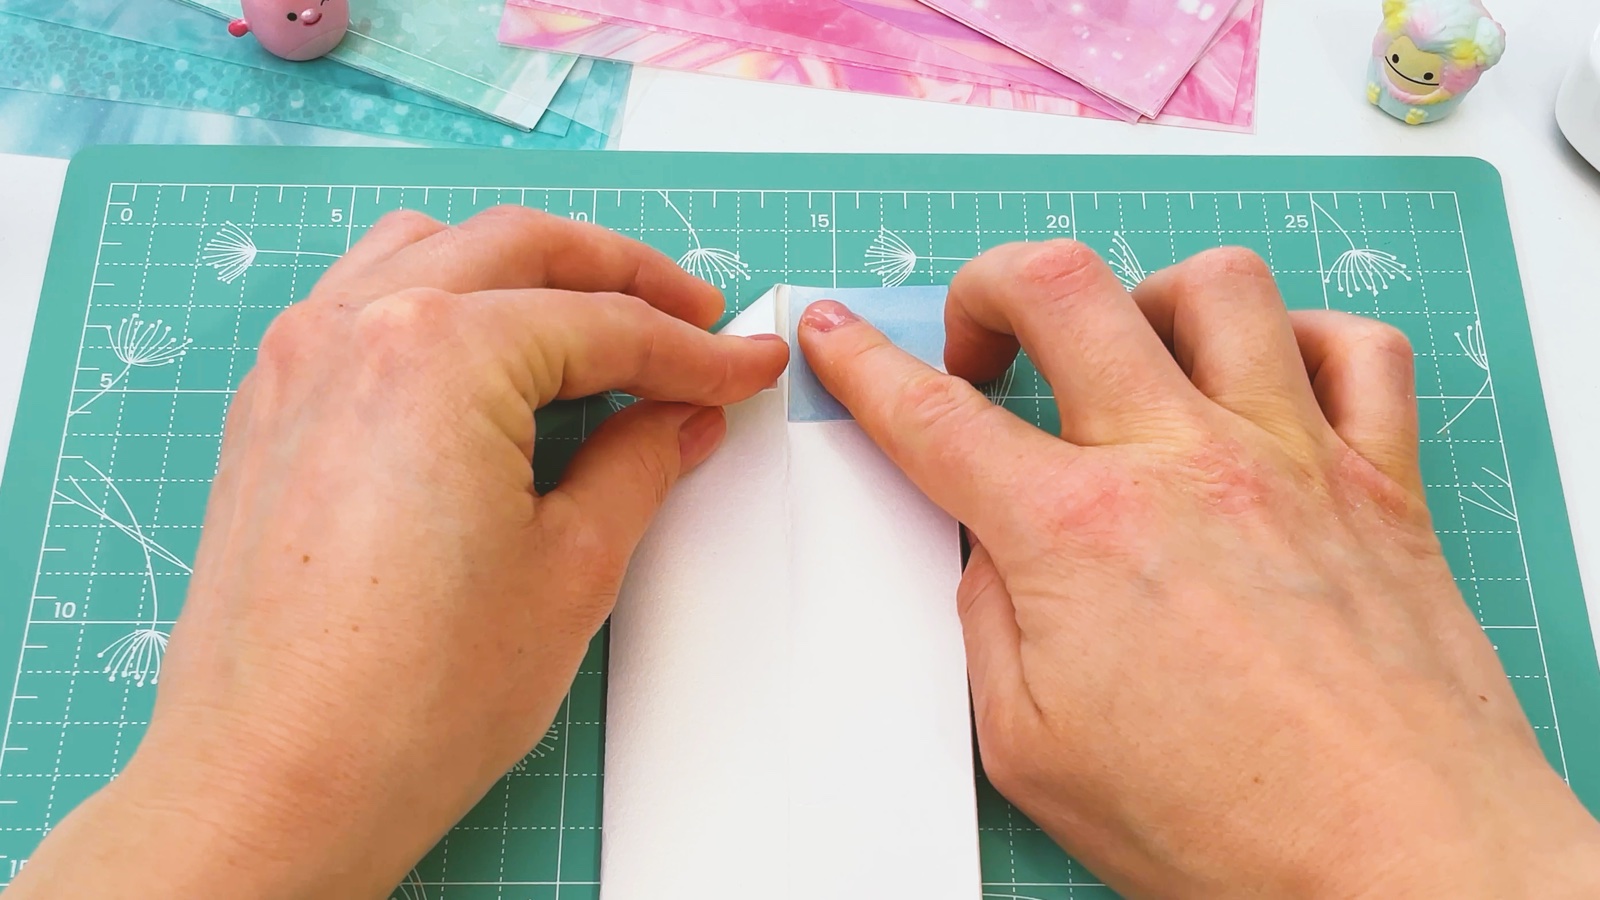
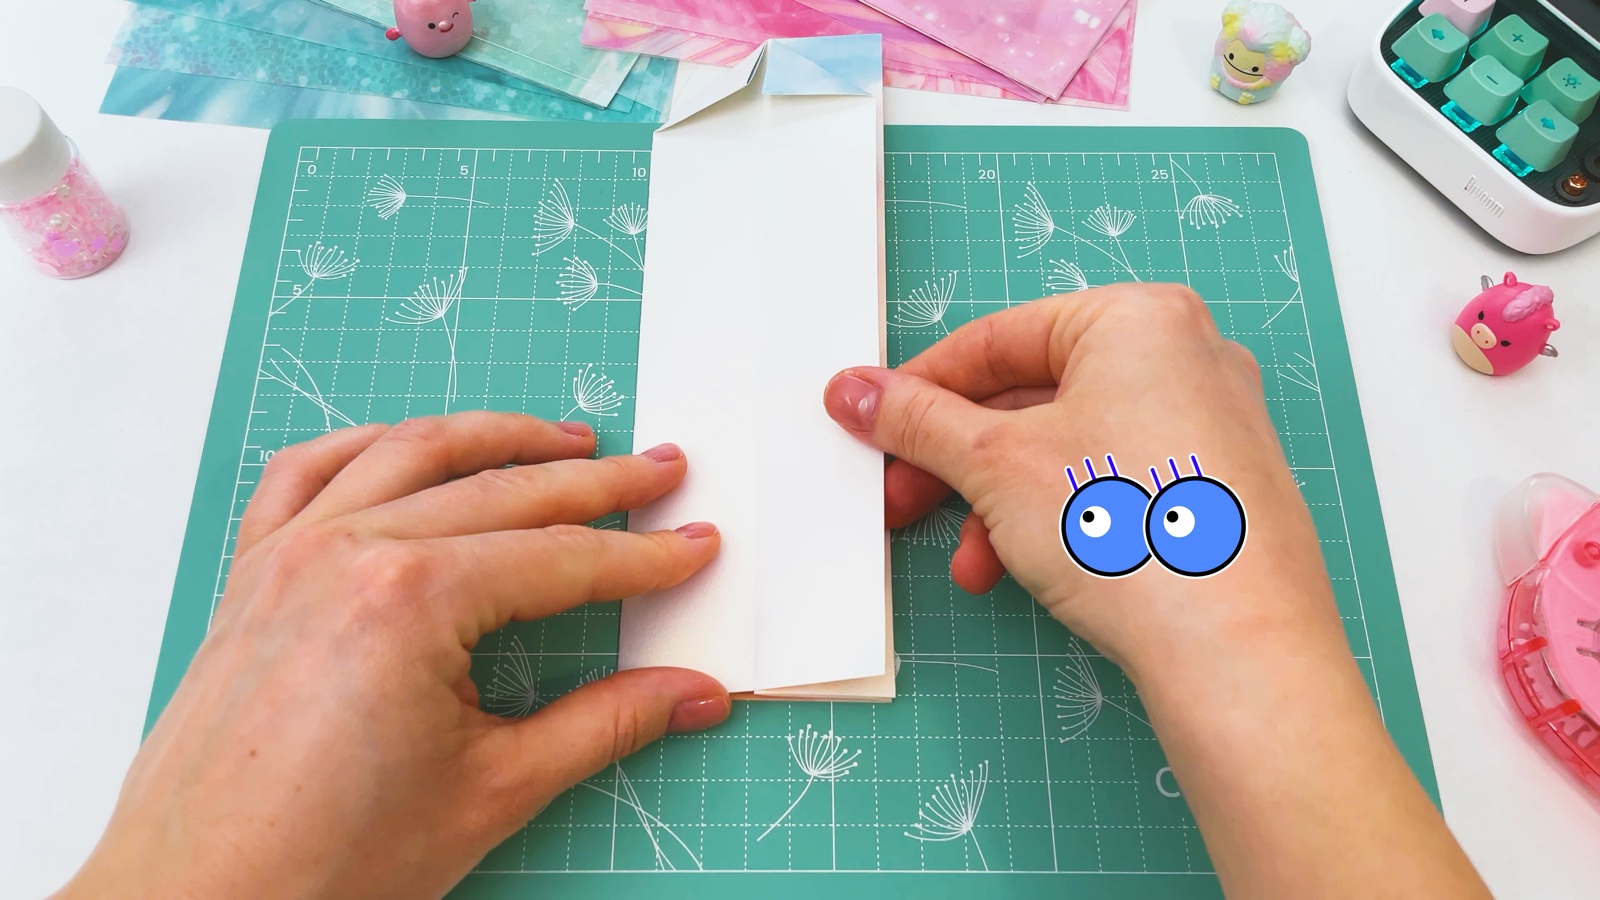
- 9
Fold the bottom corners
Turn the strip around and fold the two corners at the bottom end the same way.
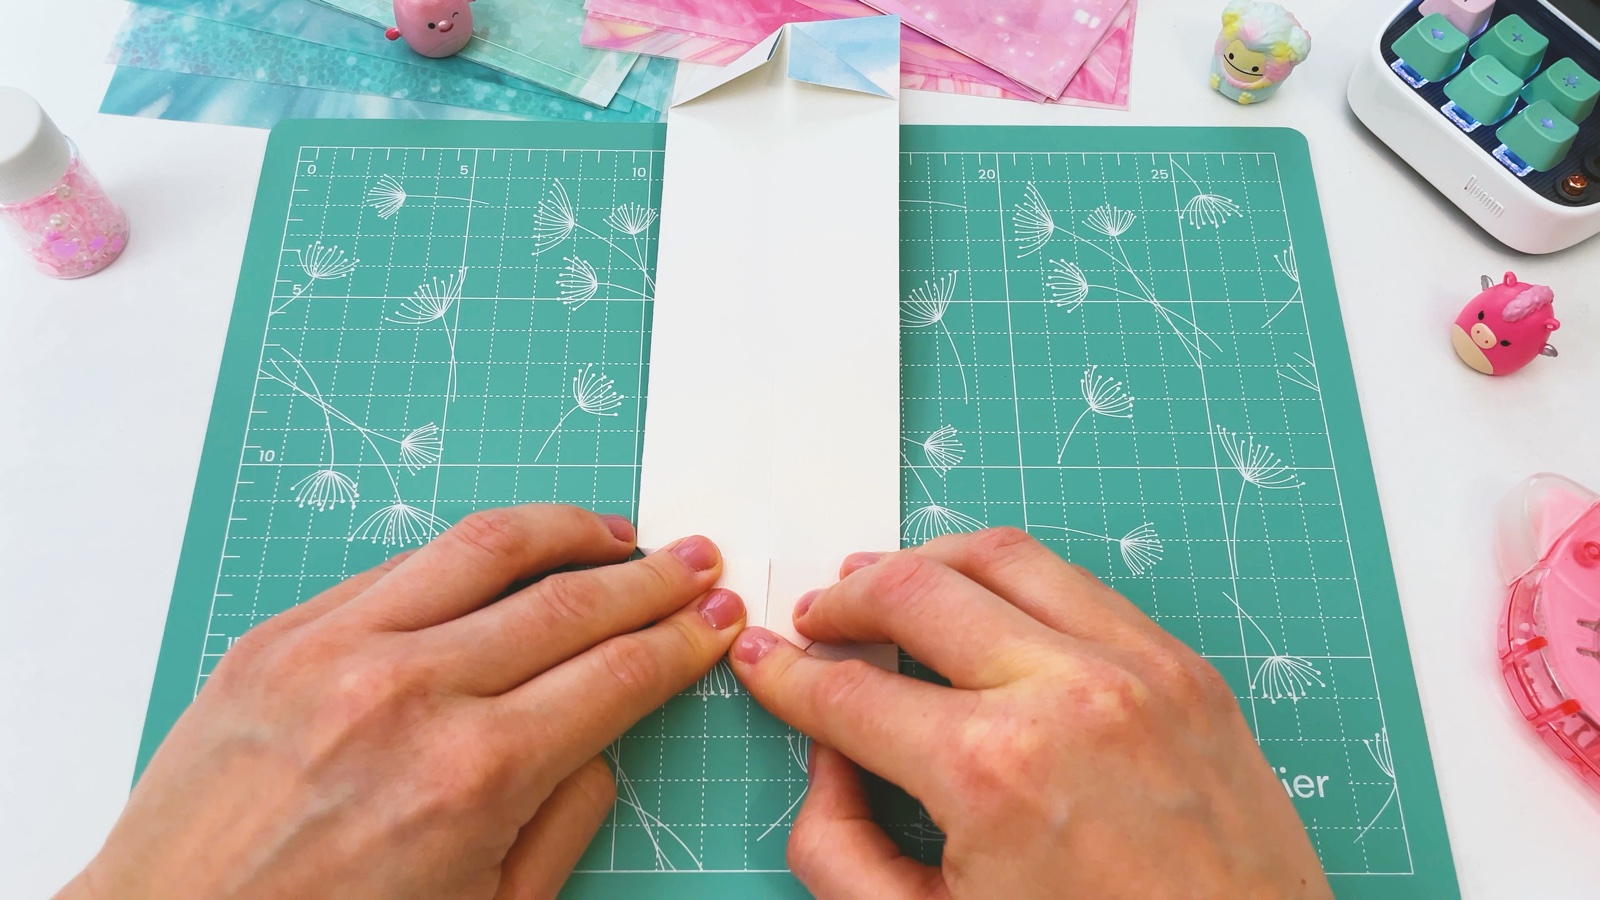
- 10
Repeat on the other side
Turn the strip over and open the top layer on this side.
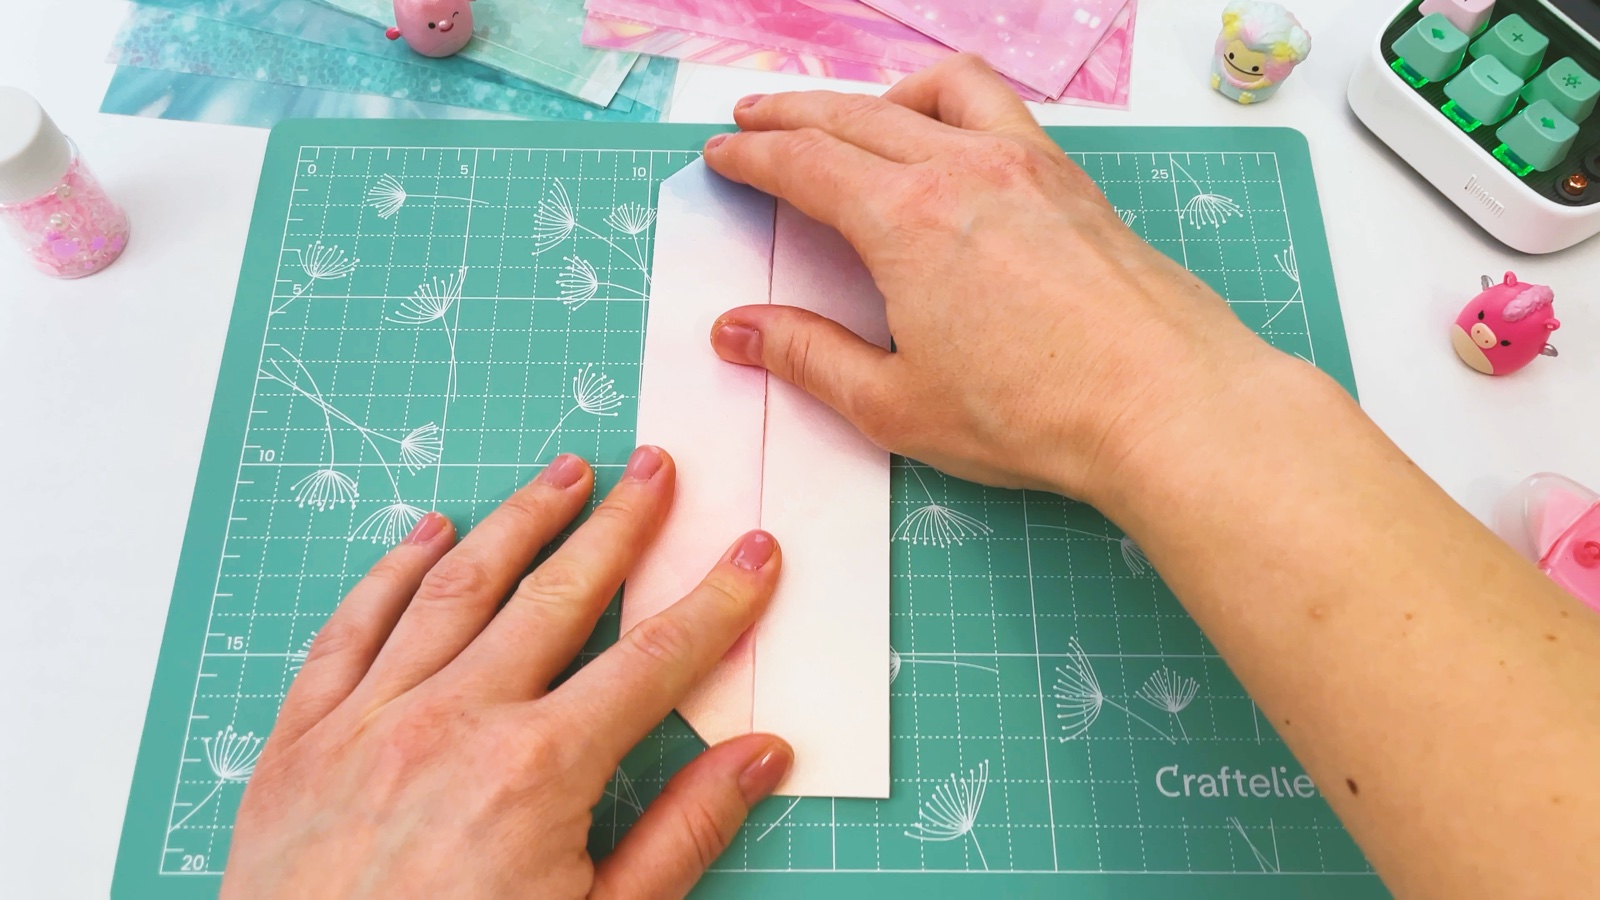
Fold the corners at both ends into triangles, just like before. Now both ends of the strip are pointed.
- 11
Open the case
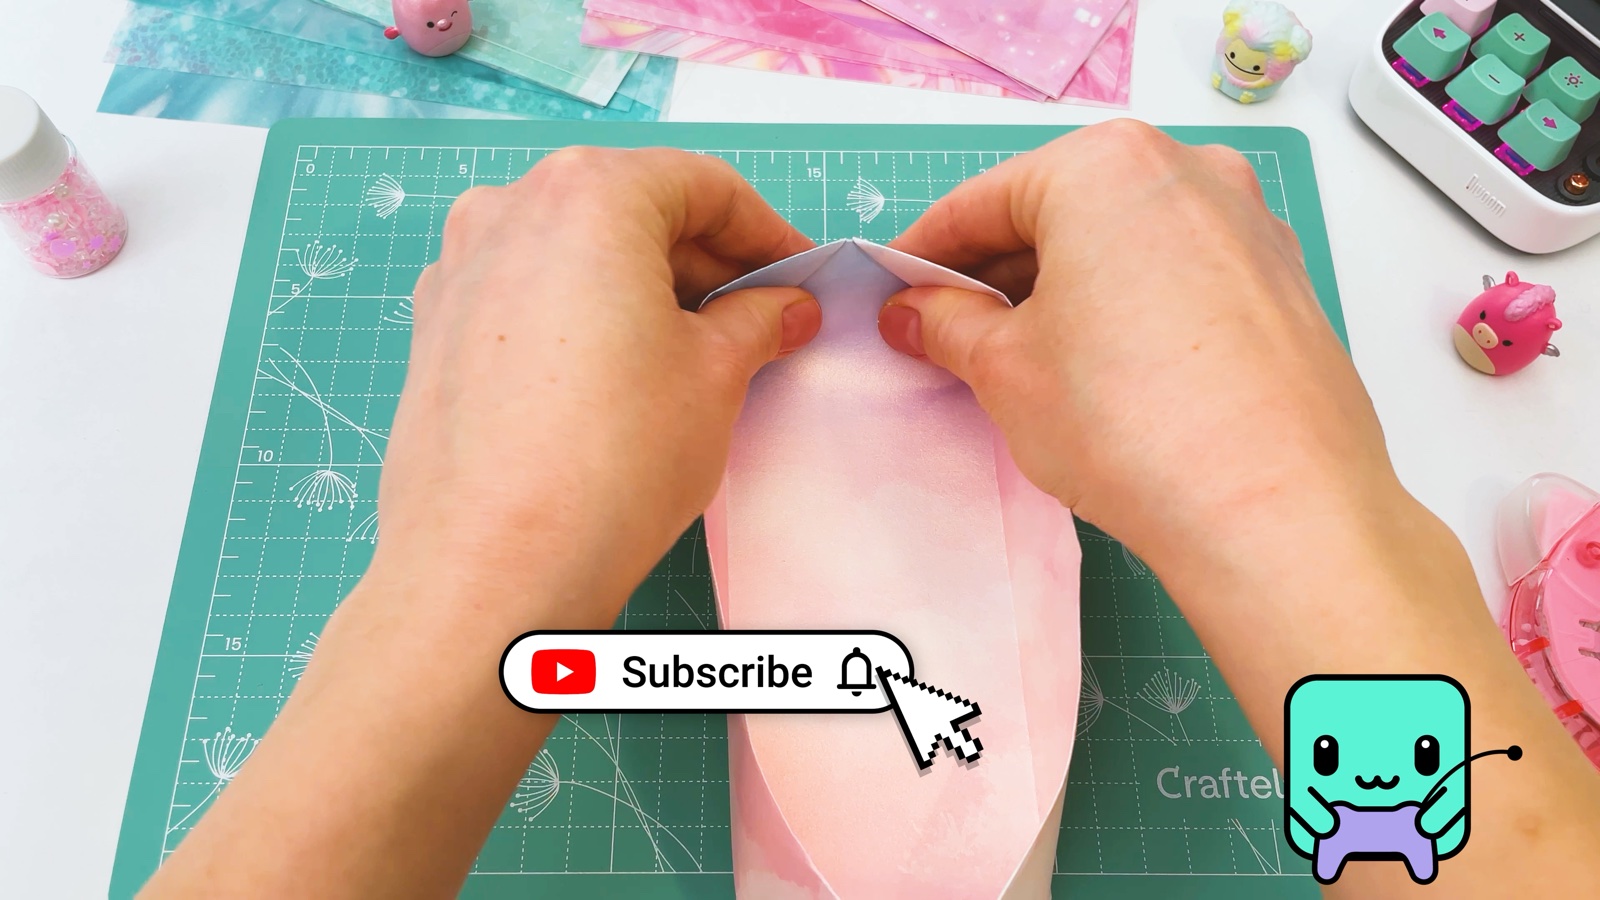
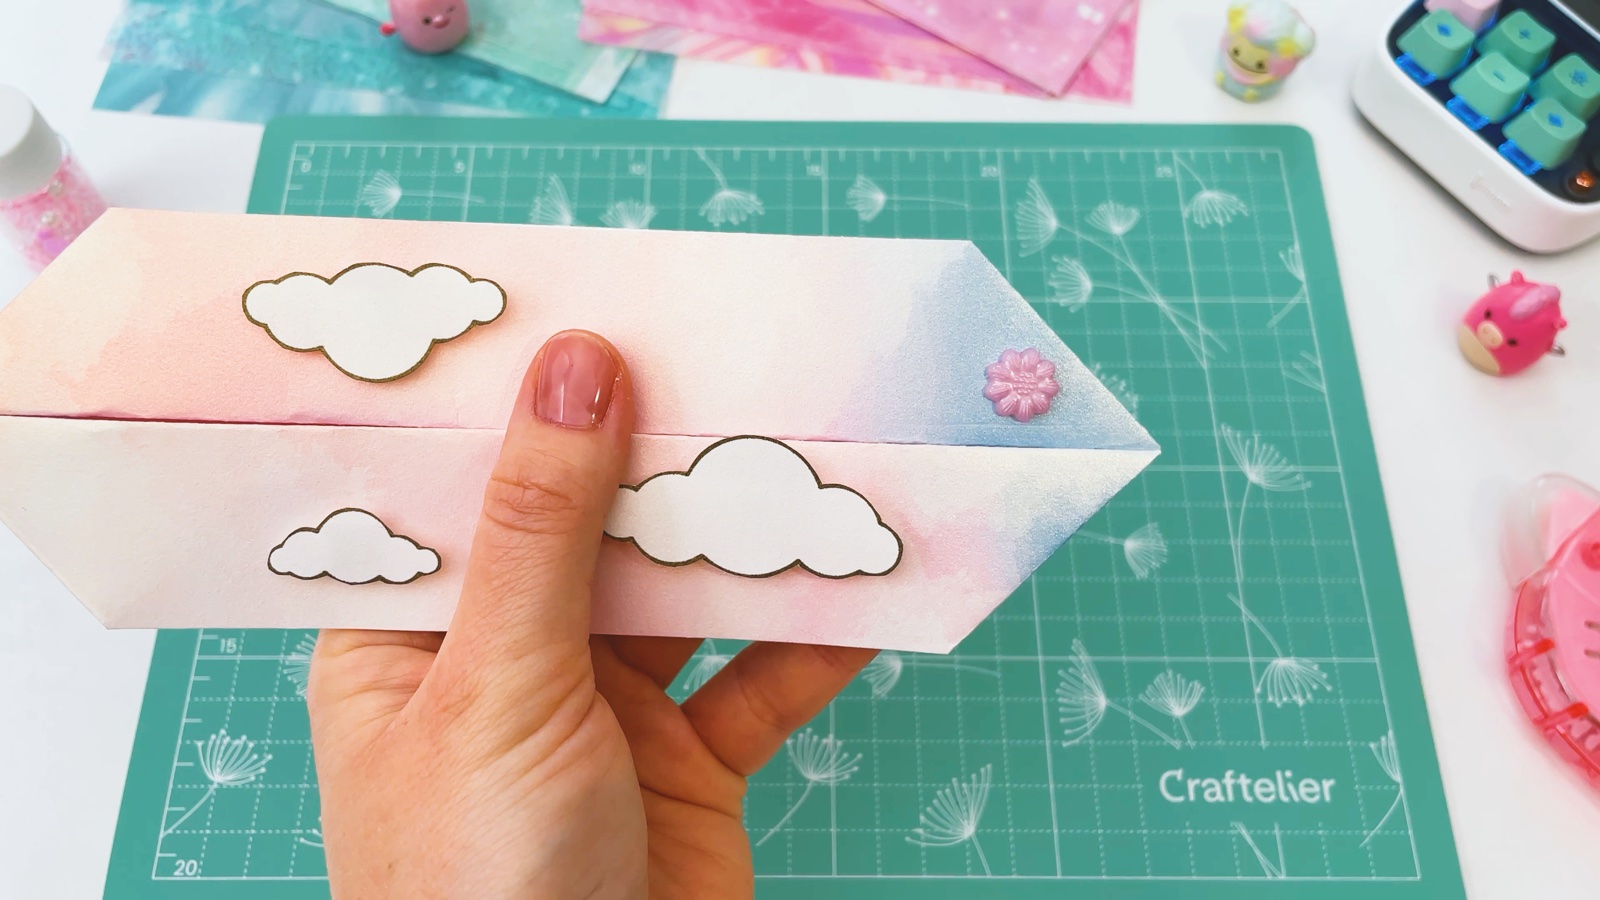
Hold the strip in both hands and gently pull the middle apart. The paper opens into a long case with pointed ends. Push the bottom flat from the inside.
- 12
Decorate it
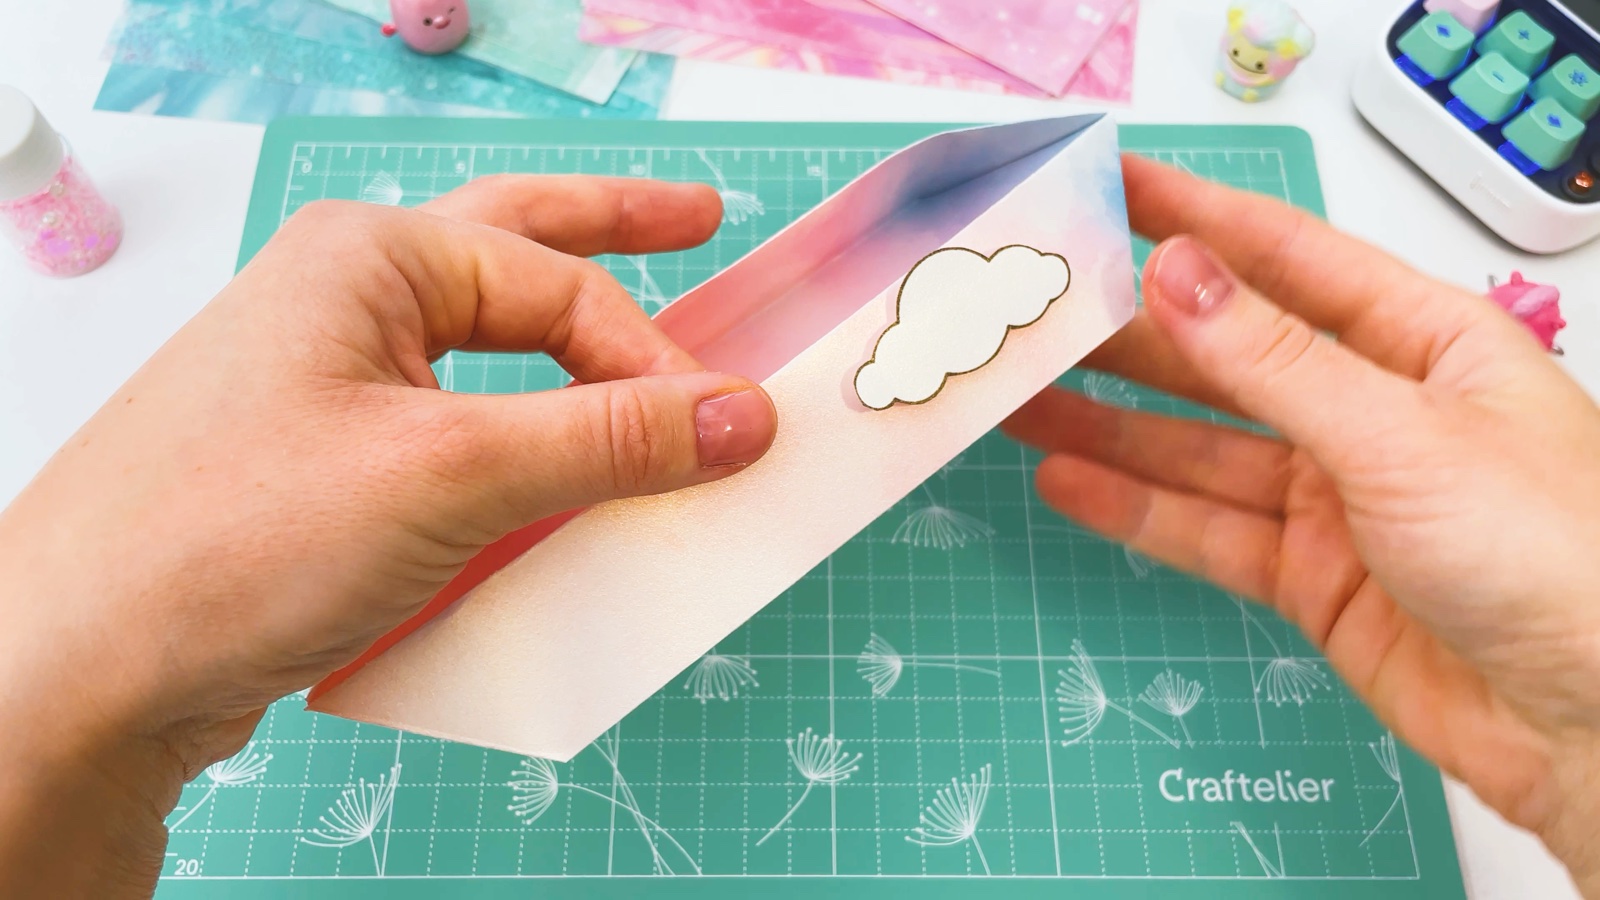
Now the fun part. Add stickers to the sides. We used white clouds and little pink flower gems.
- 13
Fill it up
Open the case and put your pens and markers inside.
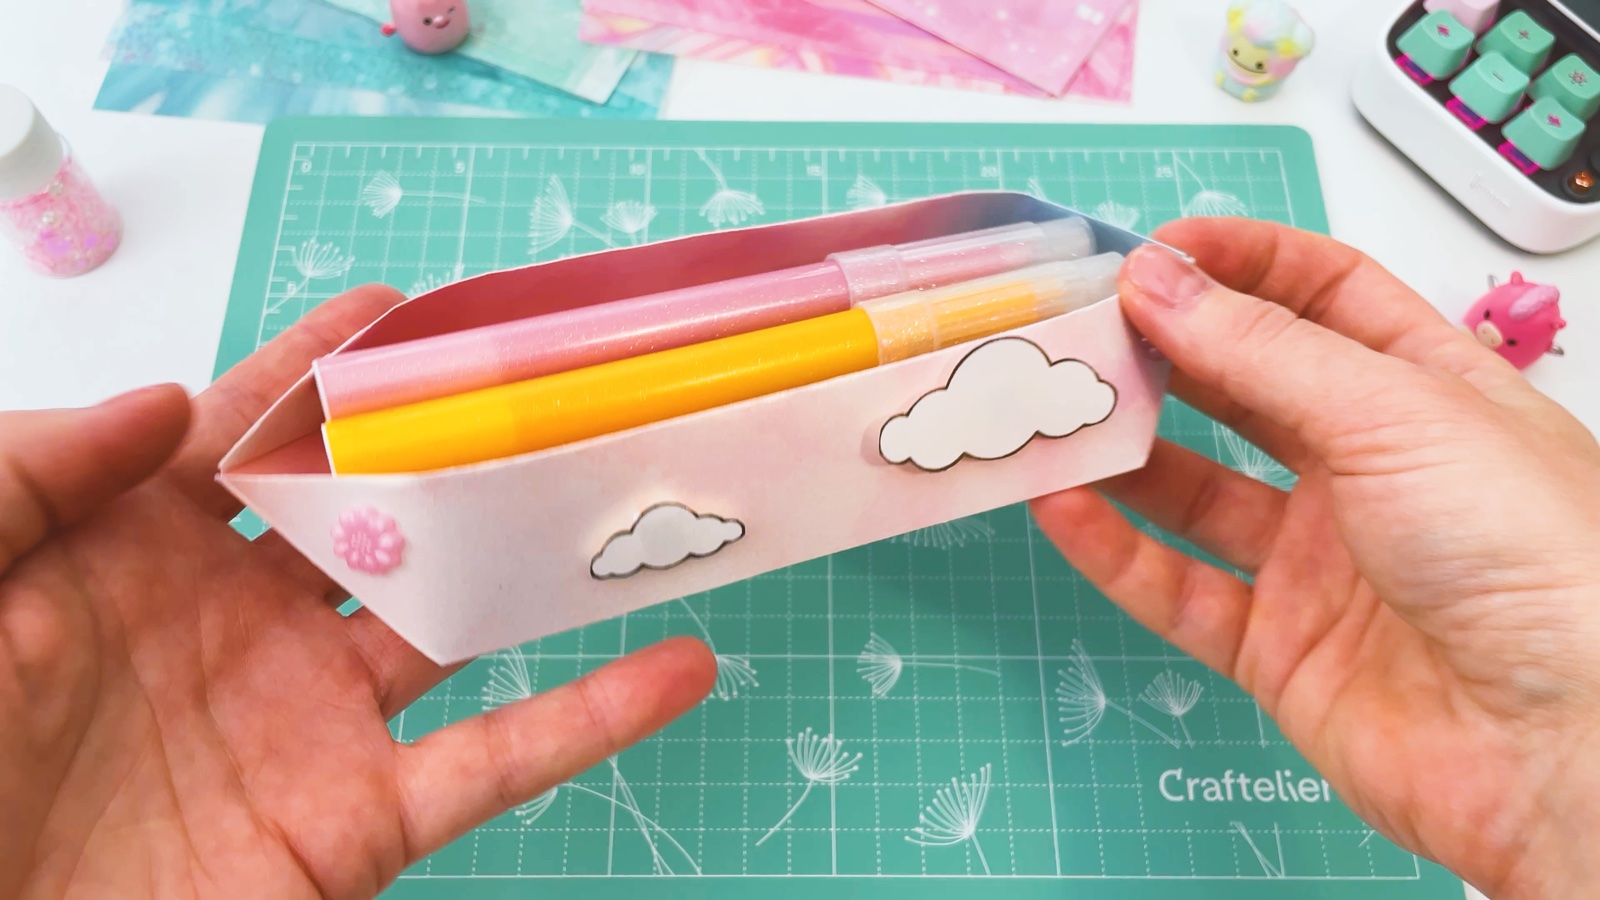
Press the top edges together to close it, and open it again whenever you need a pen.
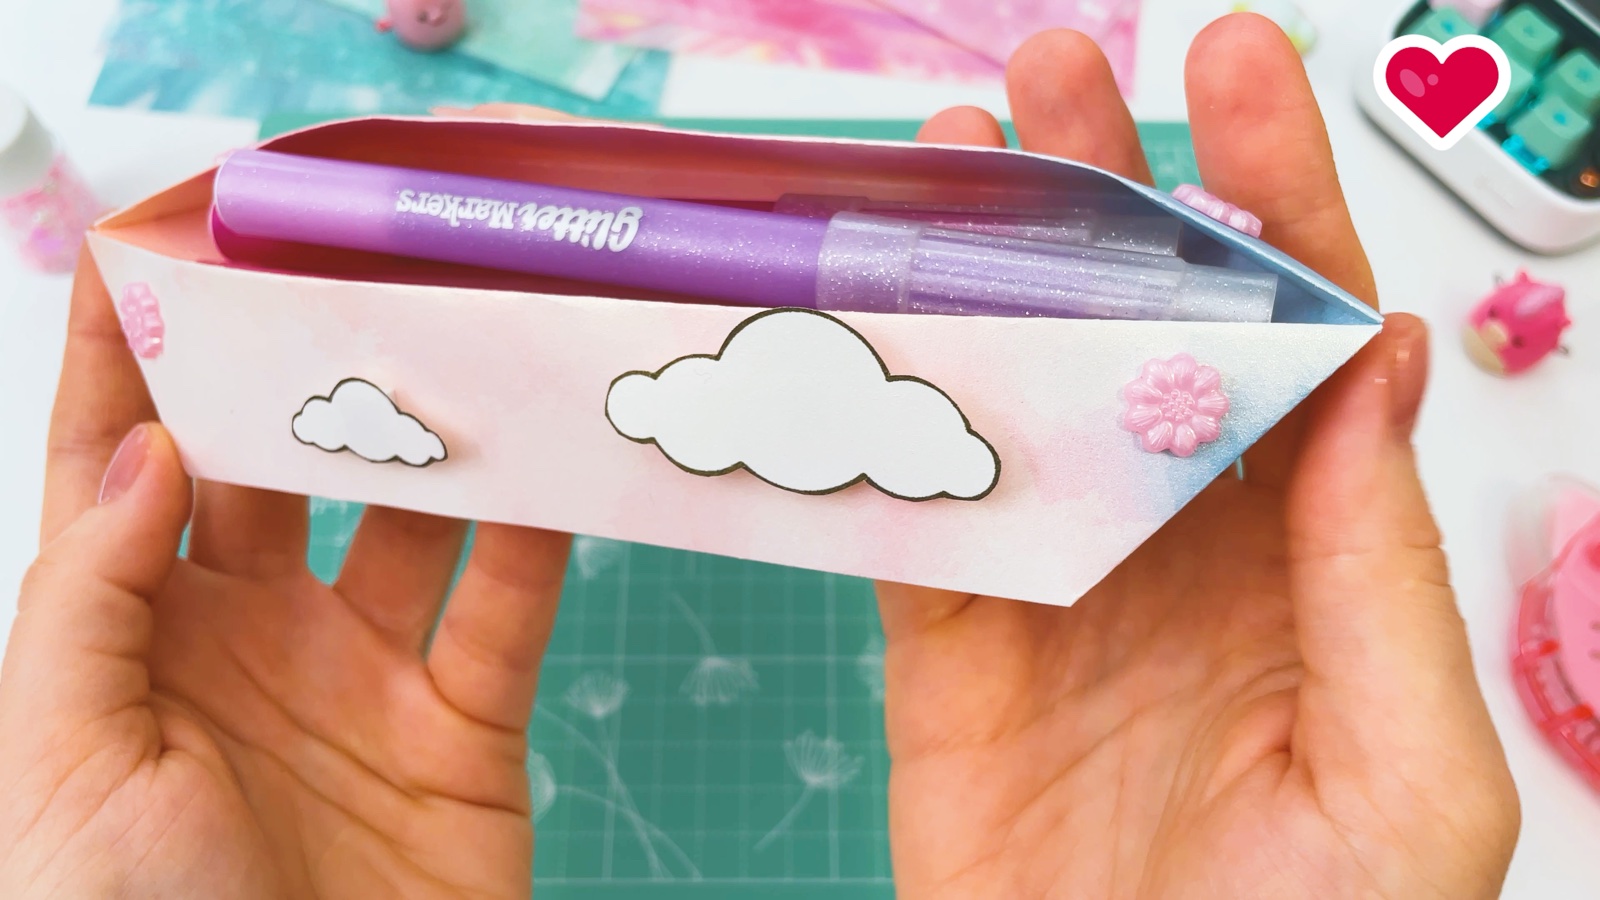
Your cloudy pencil case is ready.
THREE LITTLE TIPS
Make it easier.
- Sharp creases make a strong case. Press every fold with your nail. The case keeps its shape better when the creases are clear.
- Thin paper folds best. Card is too stiff for the corners. Patterned paper of about 80–120 g/m² (about 20–32 lb bond) works well.
- Decorate with stickers. Stickers keep it a no-glue make. Try stars, hearts or your name.

A CUBI MINI MOMENT
What will you keep in your pencil case?
Cubi folded a cloudy pencil case for Mini and left one spot for something special. What will go in yours?
Mini’s favourite yellow crayon, the tiny one that is almost gone.
Loved making it?
Catch the next make first, or save this one for a rainy day.