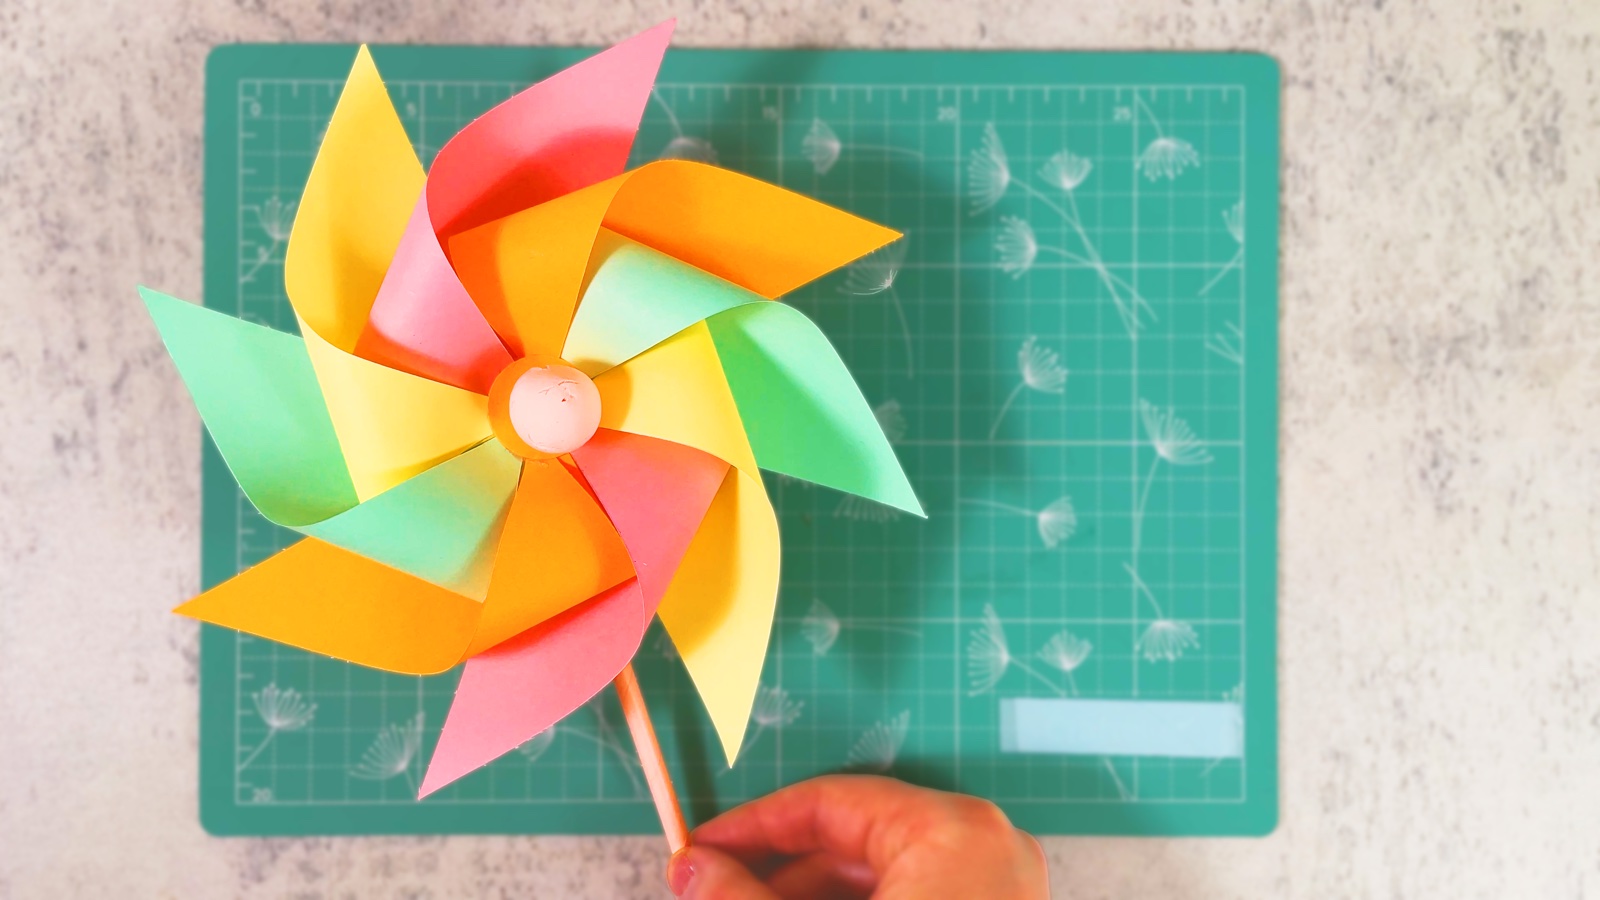
Let’s make an adorable handheld paper fan, perfect for summer days or just for decoration! Using just two sheets of coloured paper, glue and scissors, we fold and assemble a beautiful fan. Then we add a handmade paper tassel and decorate it with crystal stickers, pearls or any shiny elements you love.
The paper tassel makes it extra cute and swingy, a perfect detail for this pastel fan. It is lovely to hold and truly refreshing on hot days. Great for fans of cute paper crafts and kawaii-style decor, and a sweet little gift for a summer birthday or a sleepover.
BEFORE WE START
What you need.
Materials
- Coloured paper× 2
- Glue tape or a glue stick
- Sparkly stickers, gems or pearls (optional)
Tools
- Scissors
- Paper trimmer (optional)
PART 1 OF 4
The fan
- 1
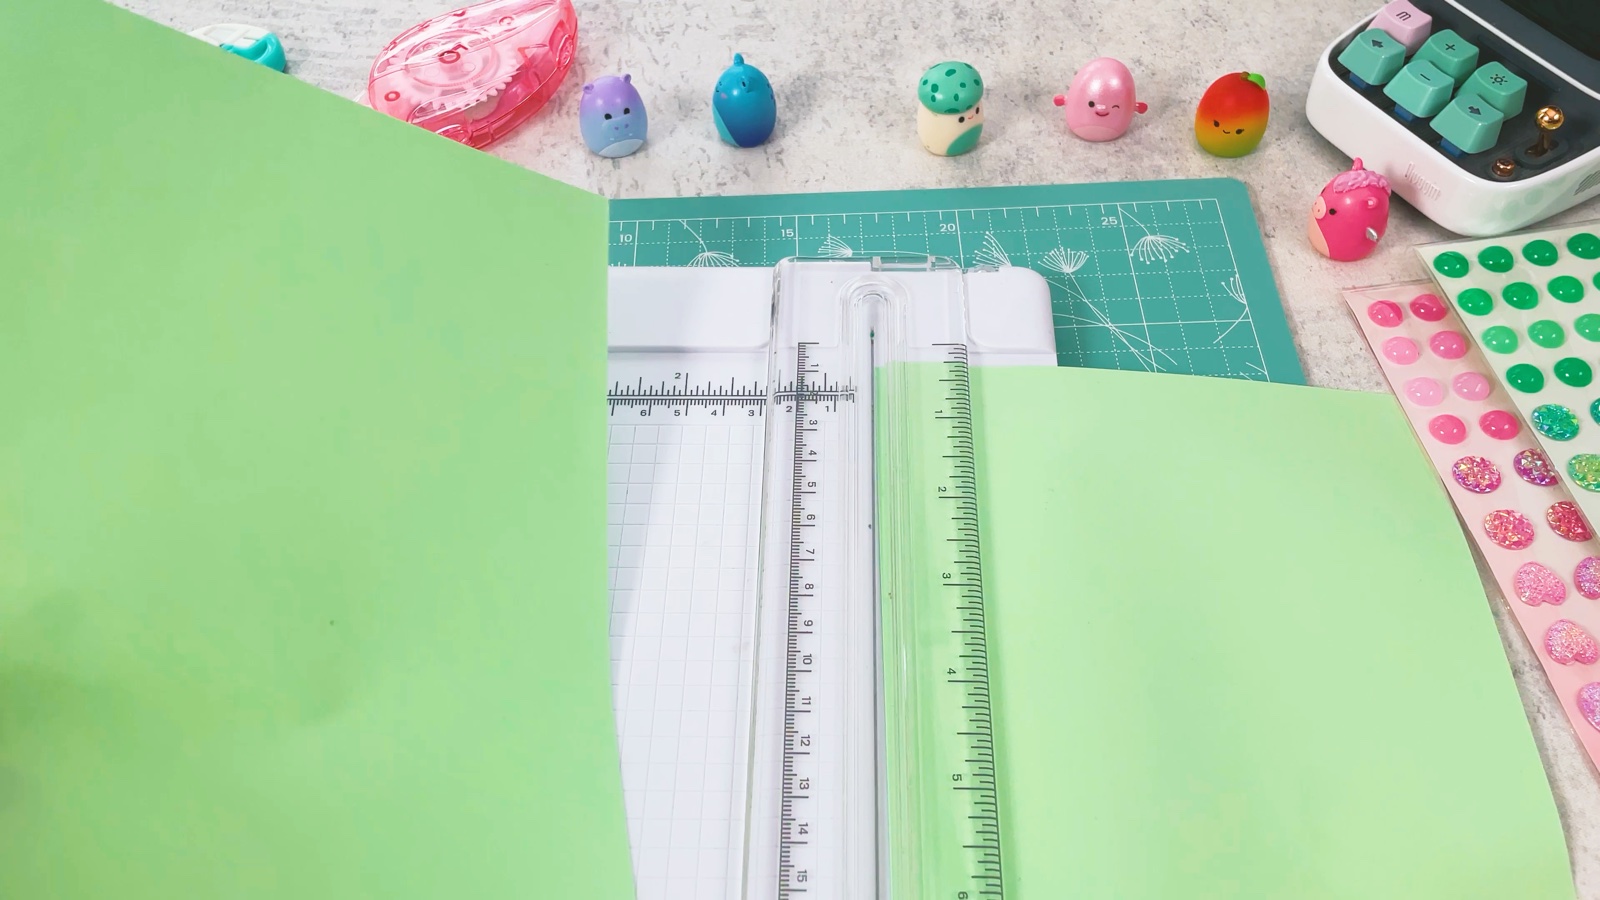
Cut the paper in half
Take one sheet of A4 or US Letter paper in your fan colour. Fold it in half and cut along the fold. You now have two equal pieces, one for each half of the fan.
- 2
Fold an accordion
Fold a thin strip along the long edge of one piece. Turn the paper over and fold the next strip the same width. Keep folding back and forth until you reach the end.
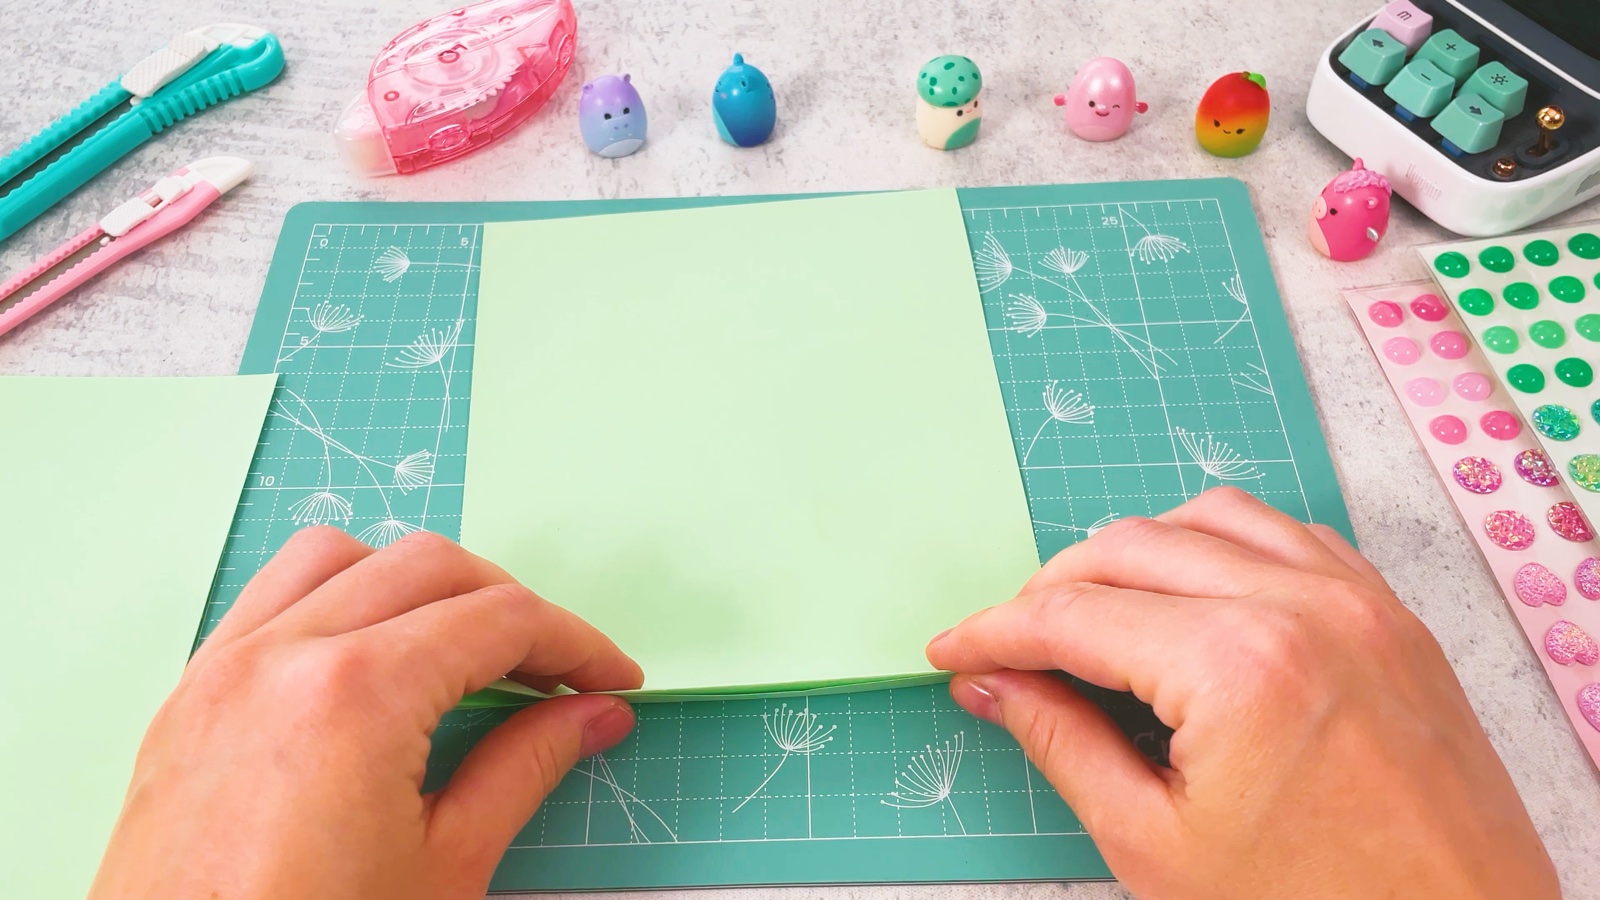
Press every fold firmly. The sharper the folds, the neater the fan.
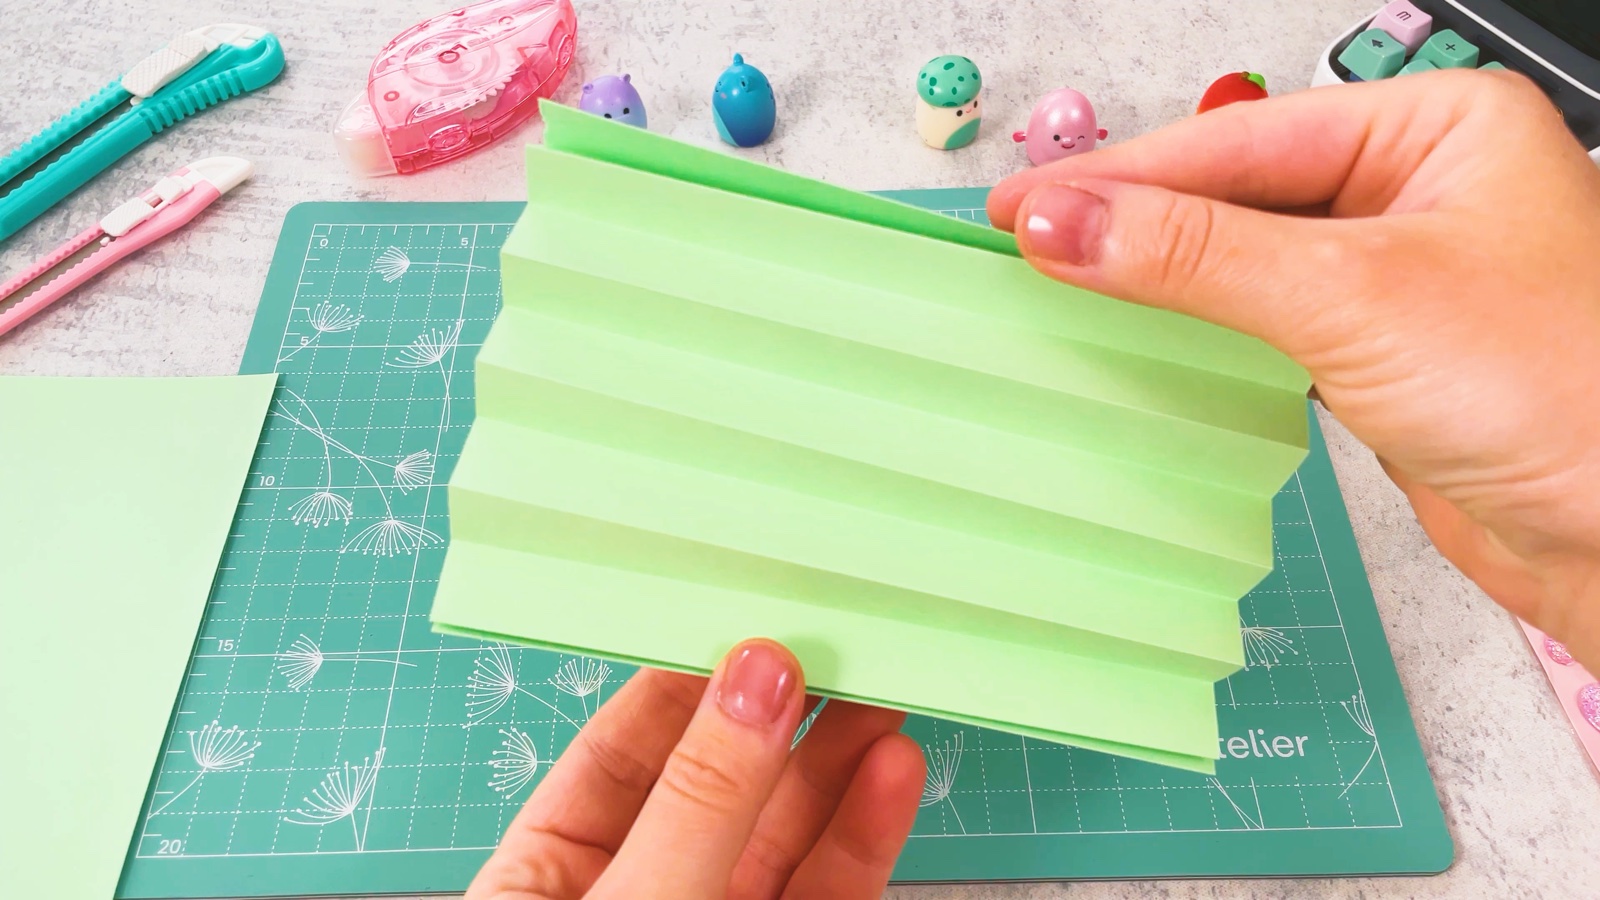
- 3
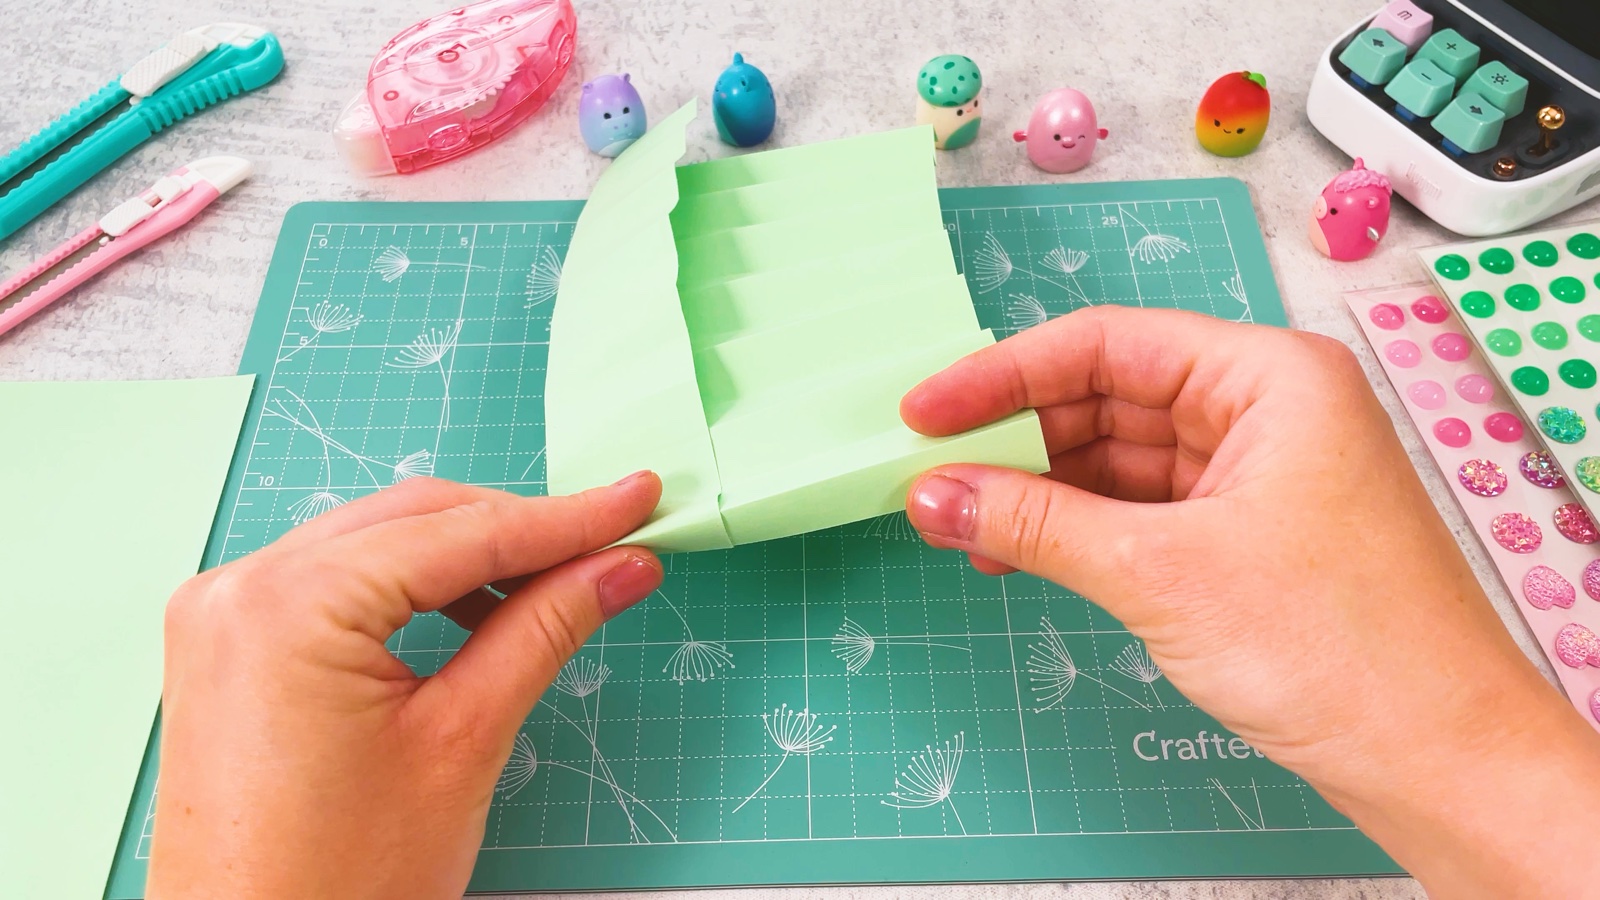
Fold it in half
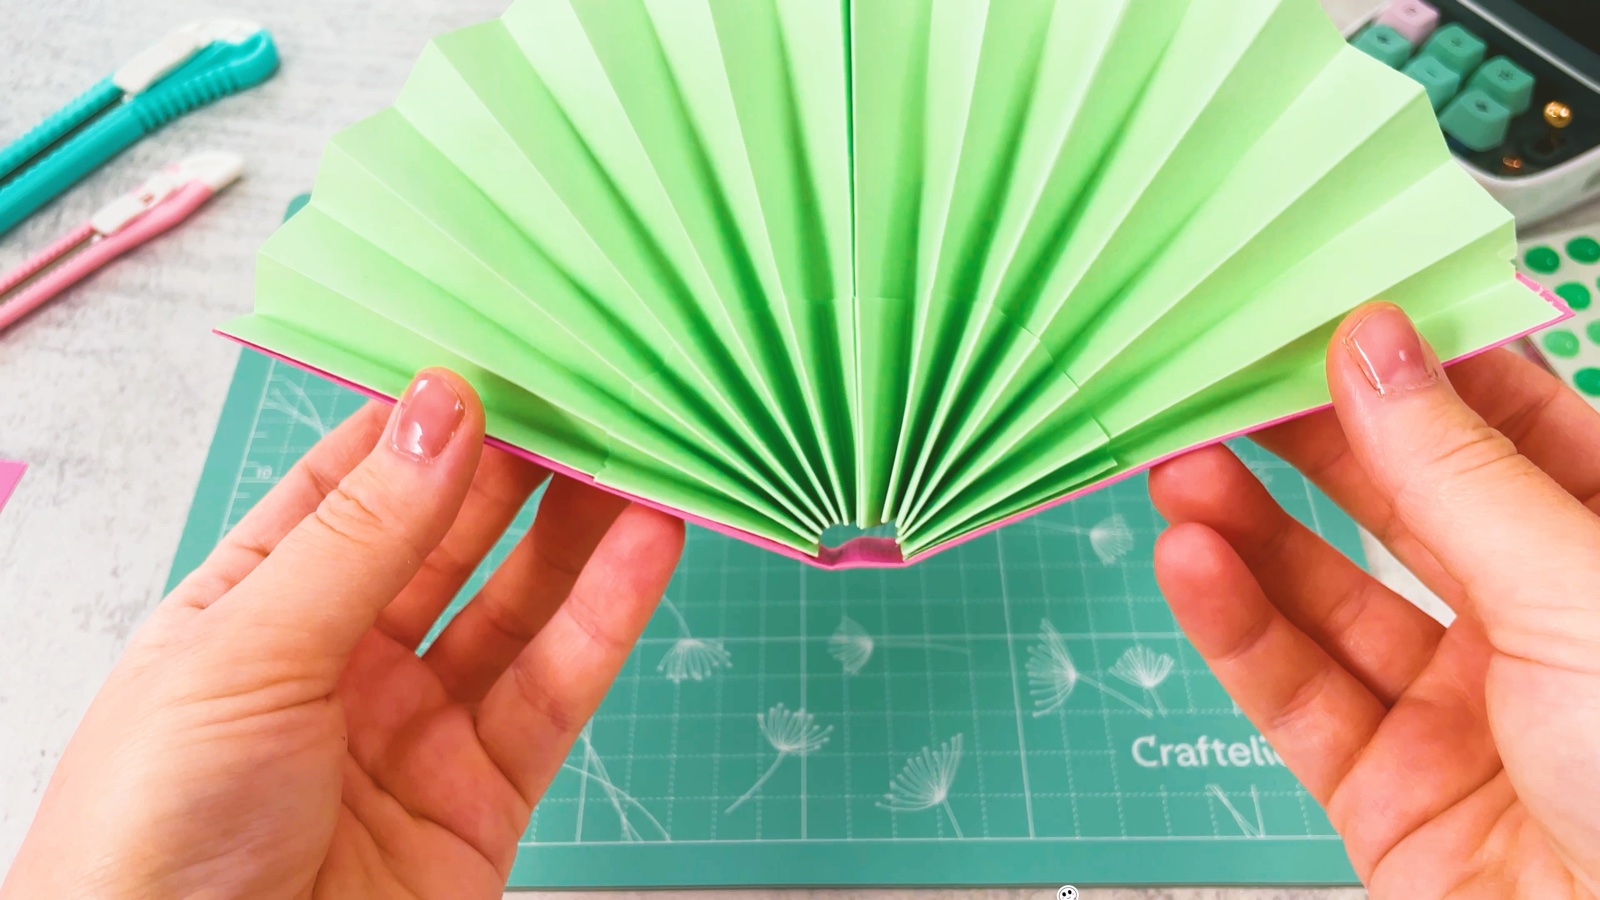
Squeeze the accordion together and fold it in half across the pleats. When you open the top, it spreads into half a fan.
- 4
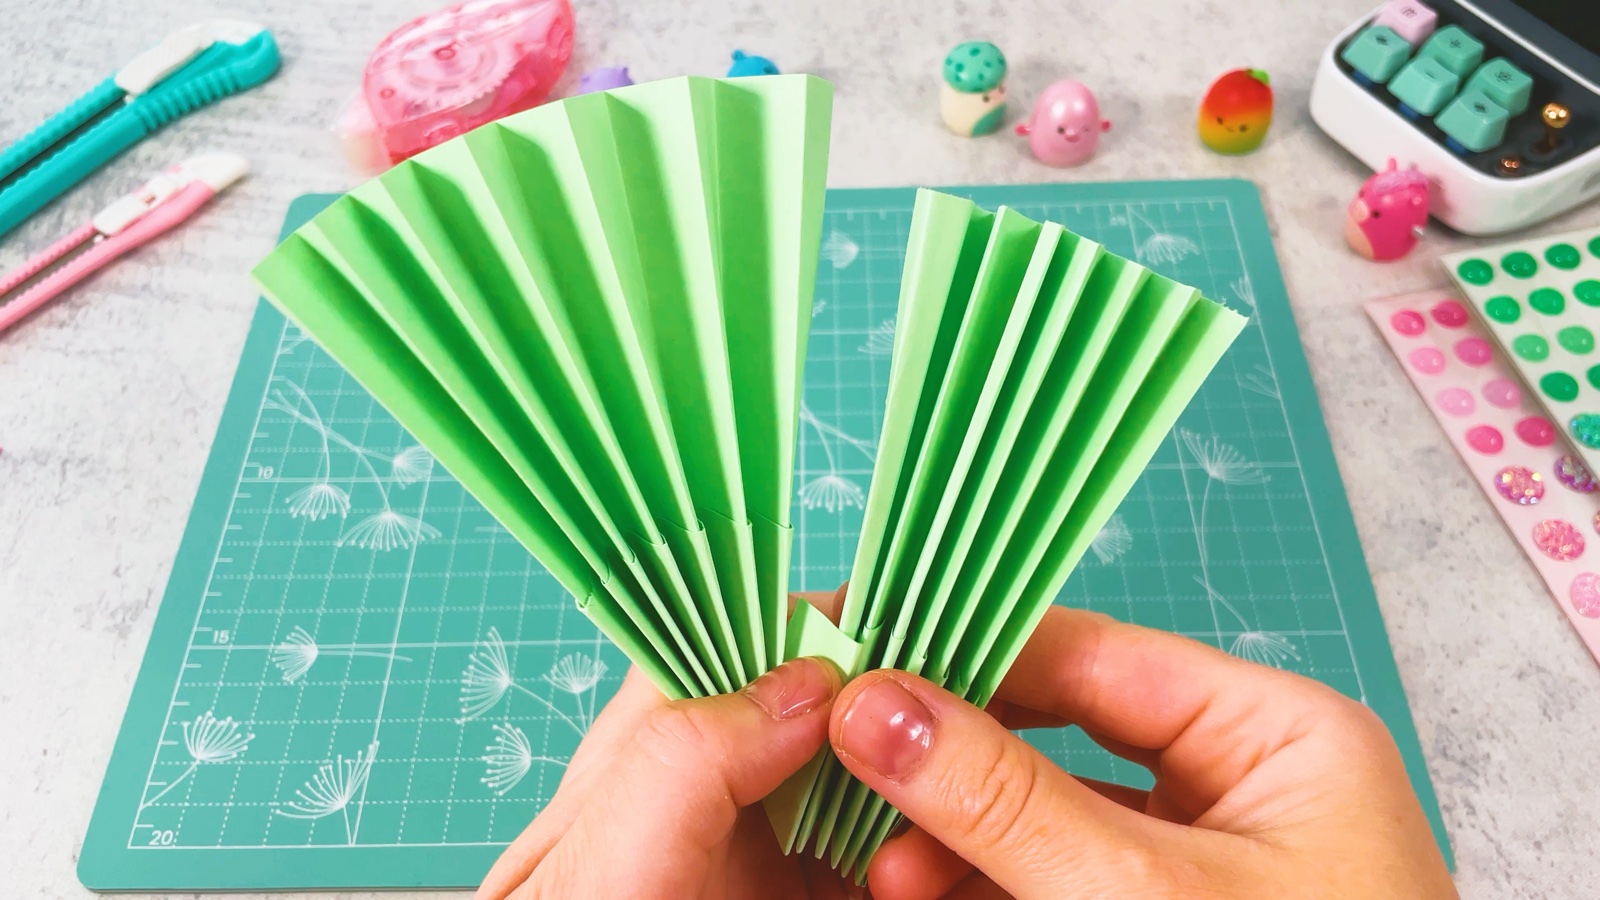
Make the second half
Fold the second piece of paper the same way. Now you have two fan halves.
- 5
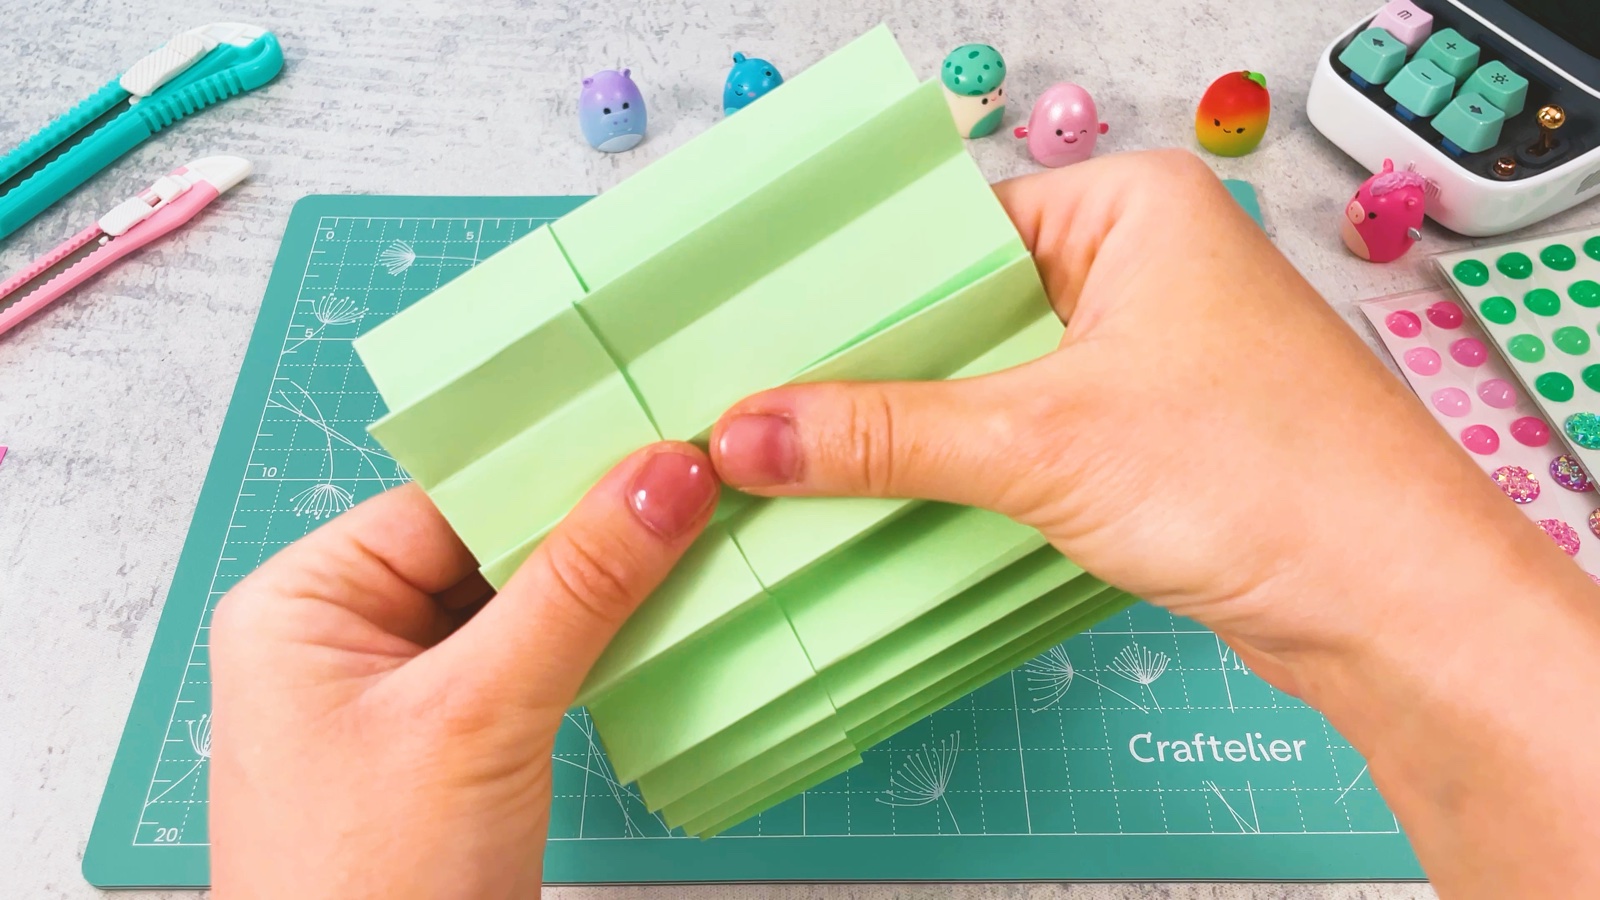
Glue the halves together
Put glue on the inner edges of each half, where the folded halves meet.
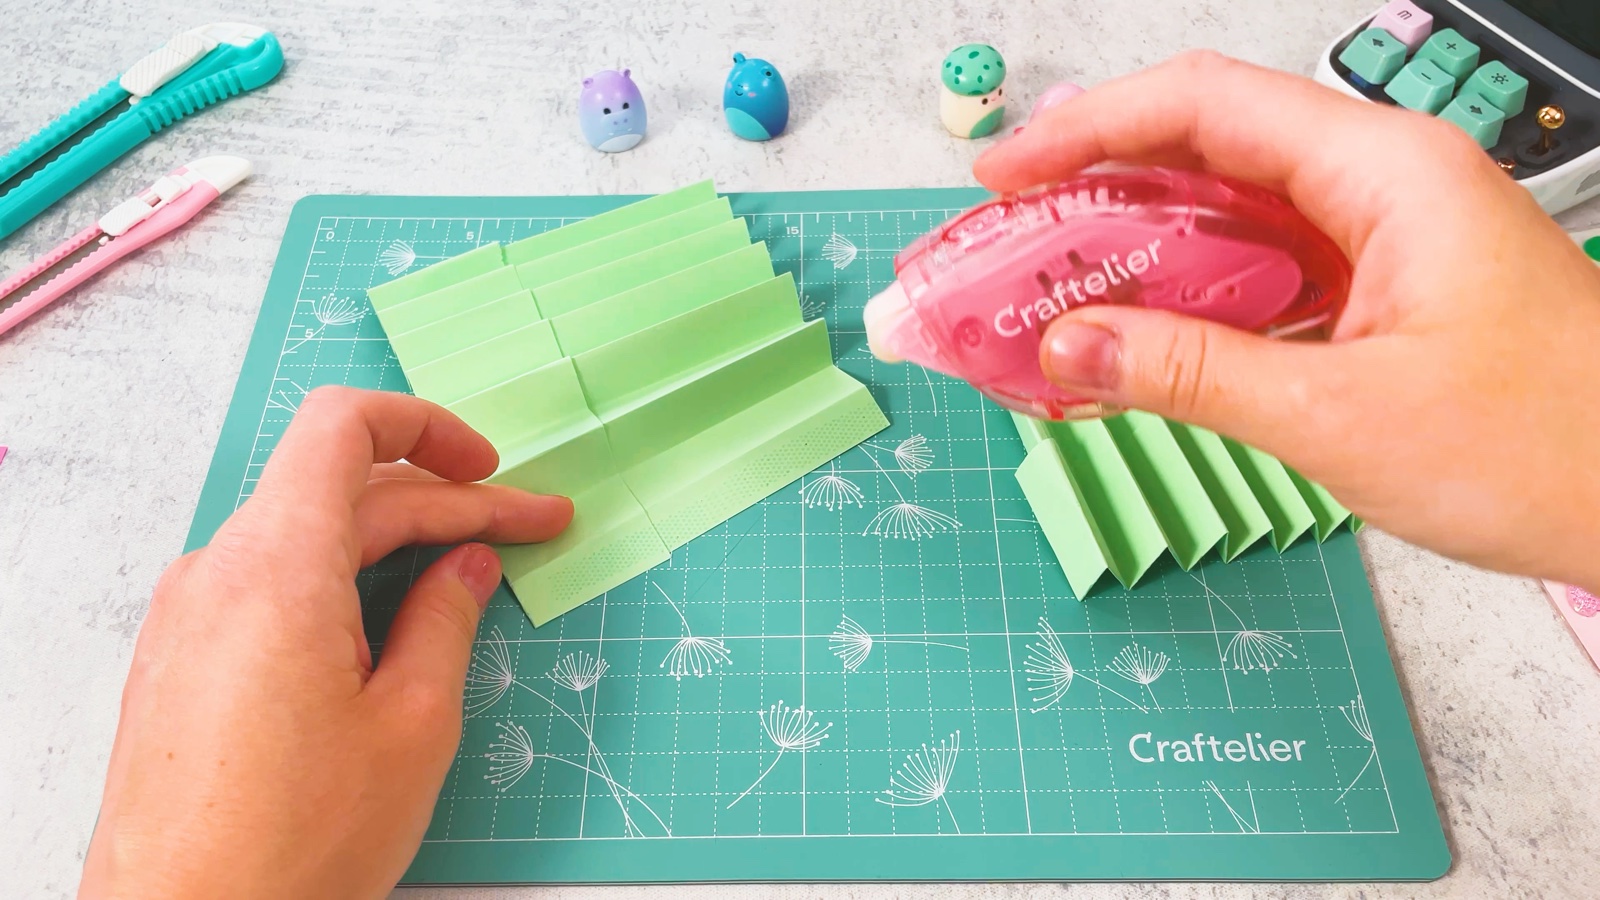
Press the two halves together so they make one round fan.
PART 2 OF 4
The handle
- 6
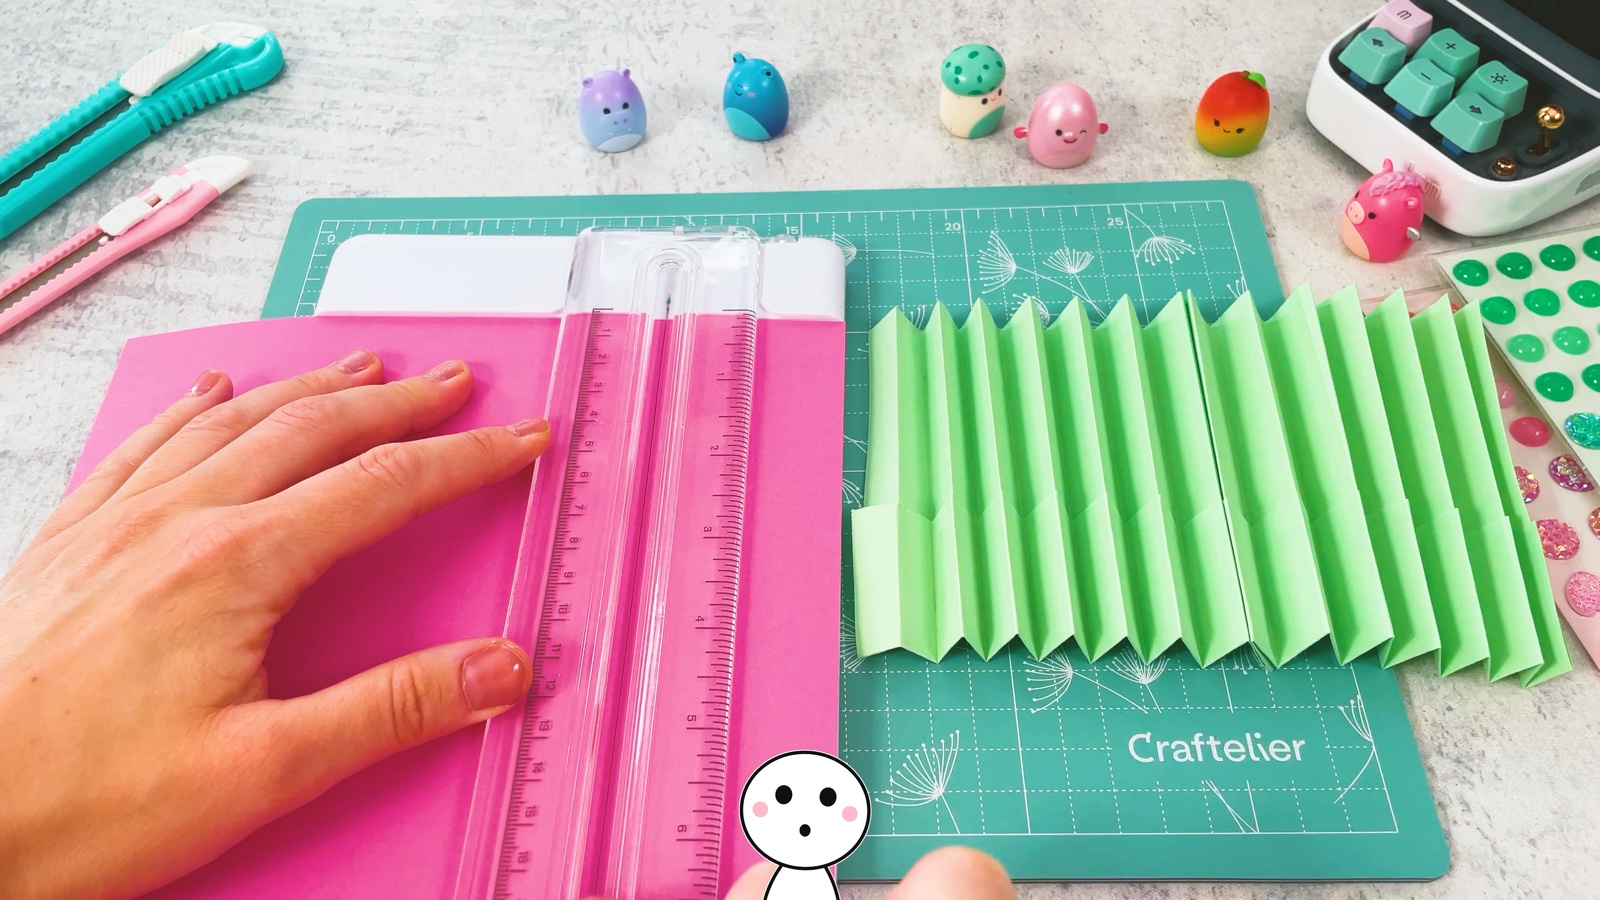
Cut a long pink strip
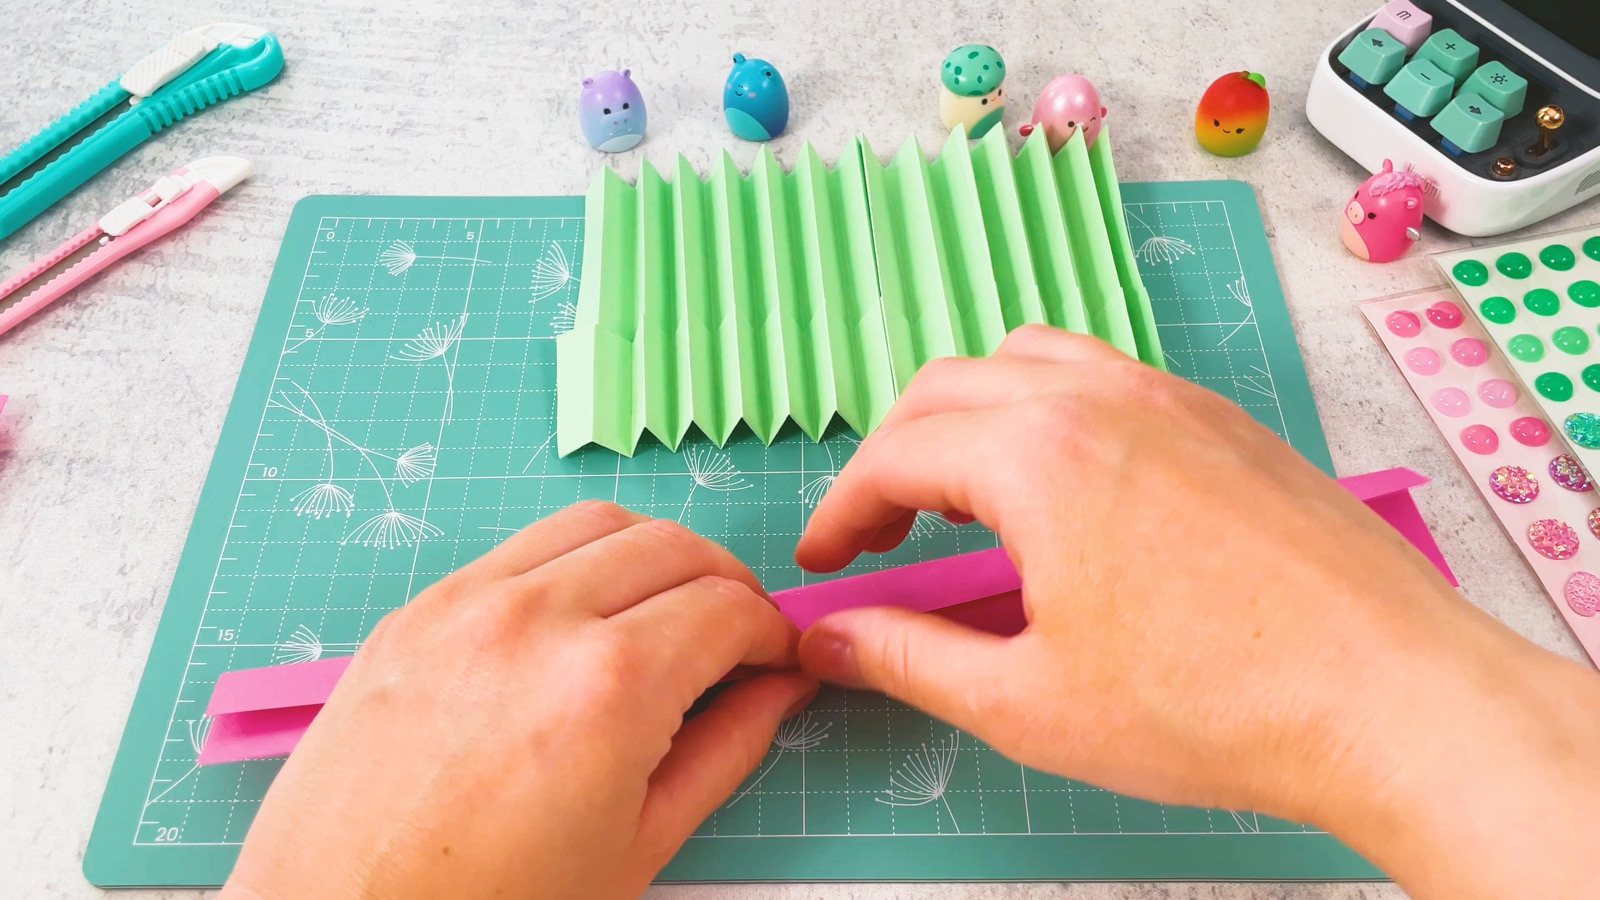
Cut a long strip from the second colour of paper. Fold it in half lengthwise so it becomes narrow and strong.
- 7
Glue the strip around the fan
Close the fan. Put glue on the strip and wrap it around the outside of the closed fan: up one side, around the bottom and up the other side. Cut off what is left over.
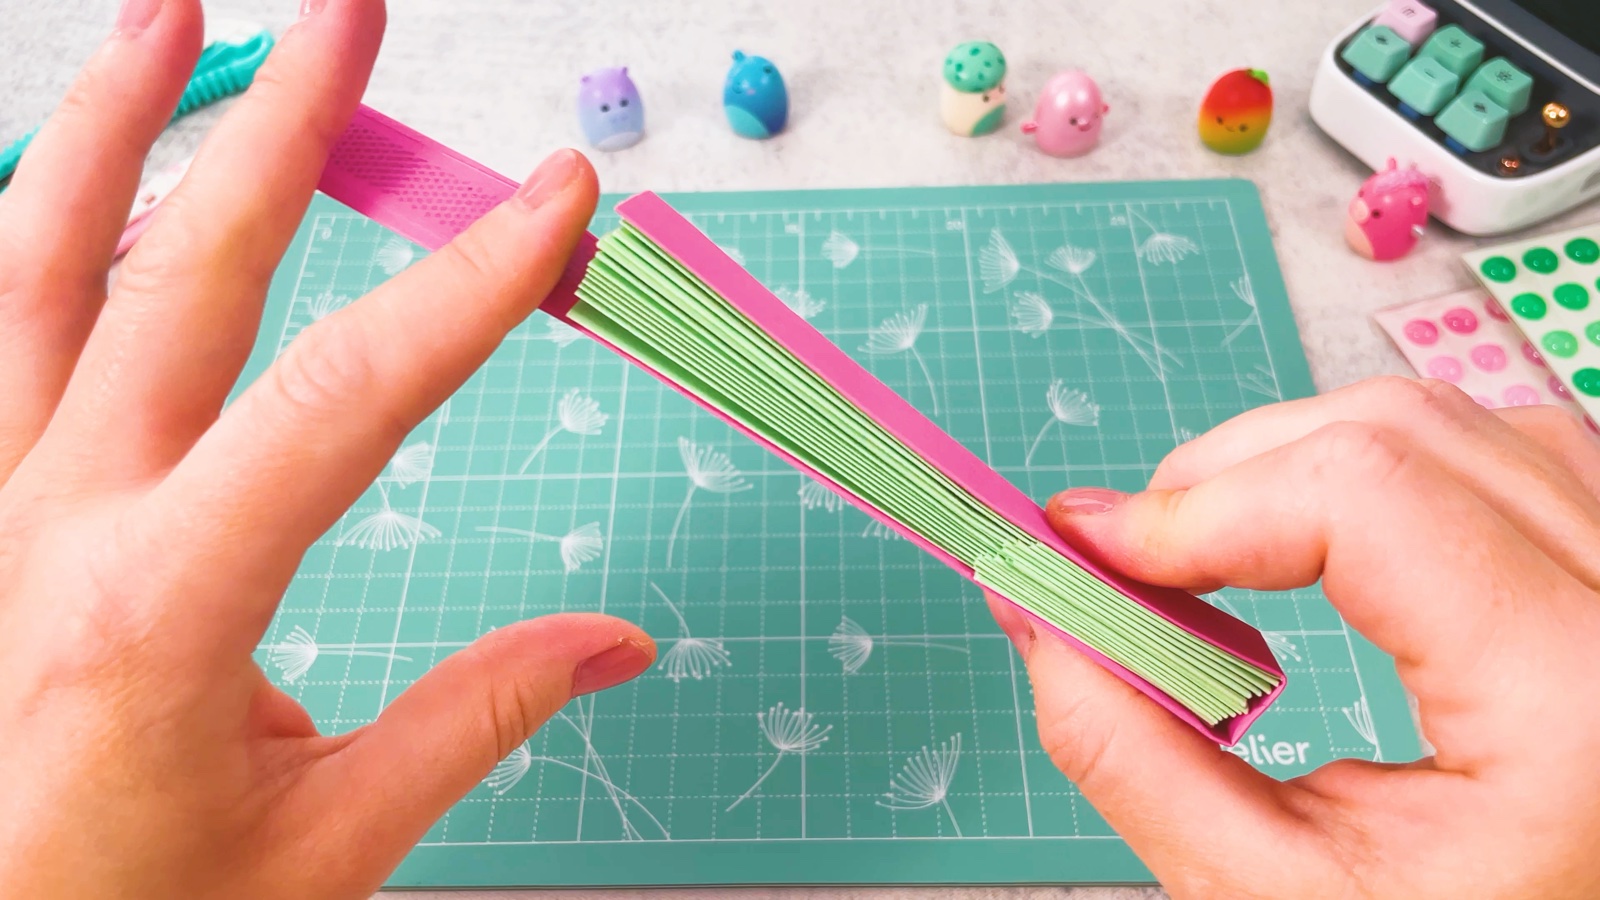
Open the fan. The pink strip turns into two sticks, one on each side, just like on a real fan.
PART 3 OF 4
The tassel
- 8
Cut the fringe
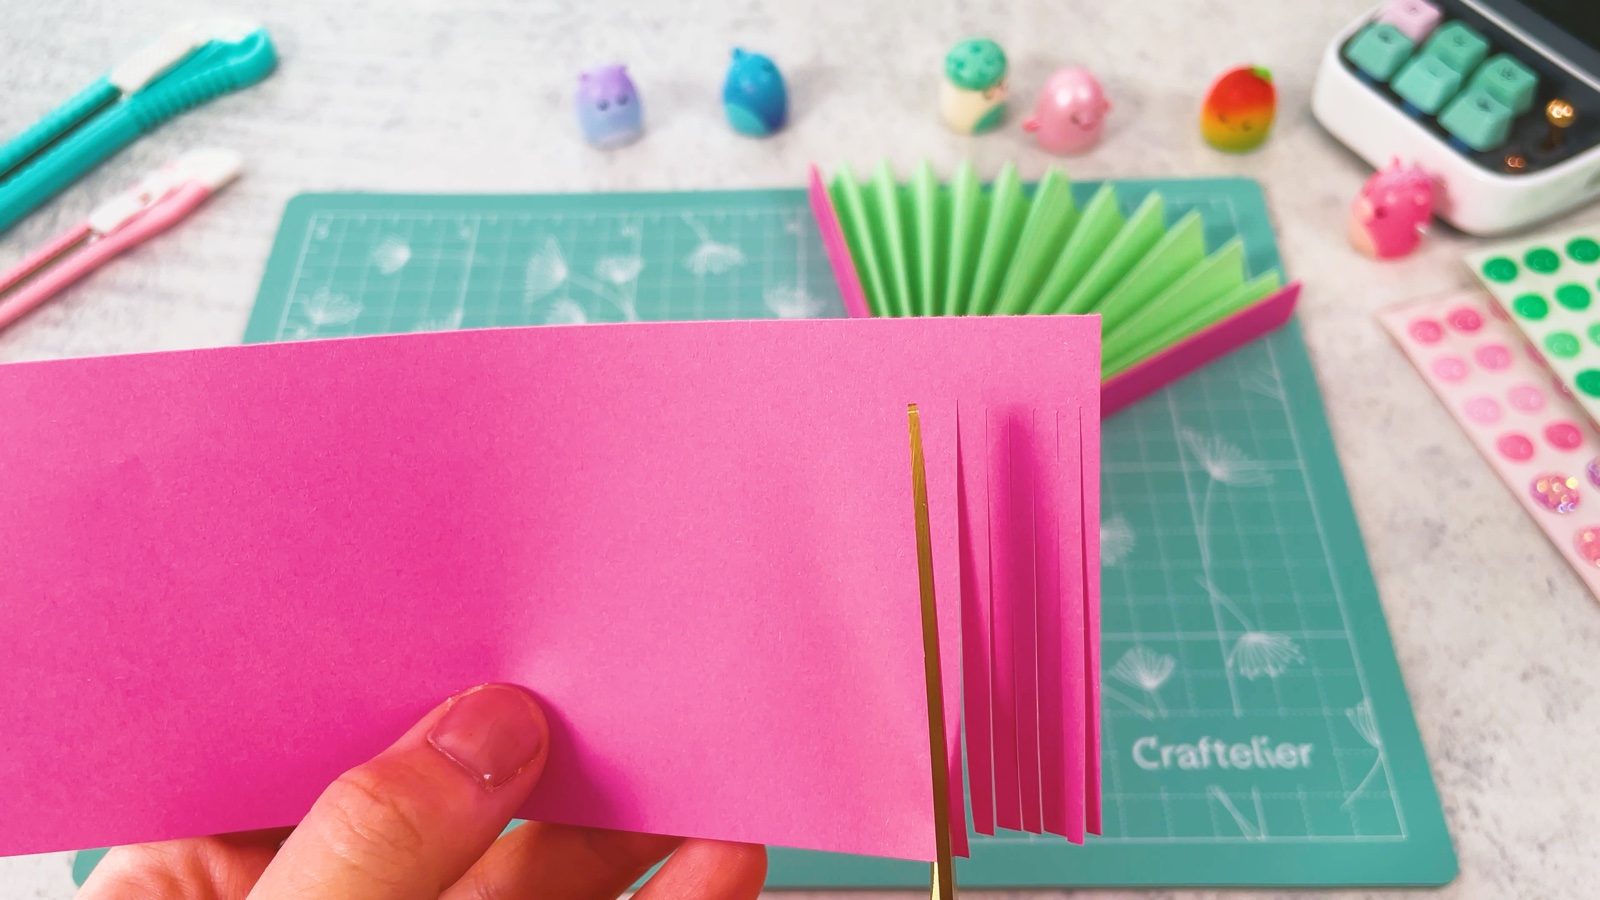
Cut a rectangle of pink paper. Make many thin cuts along one long side. Stop before you reach the other edge so the rectangle stays in one piece.
- 9
Add a cord
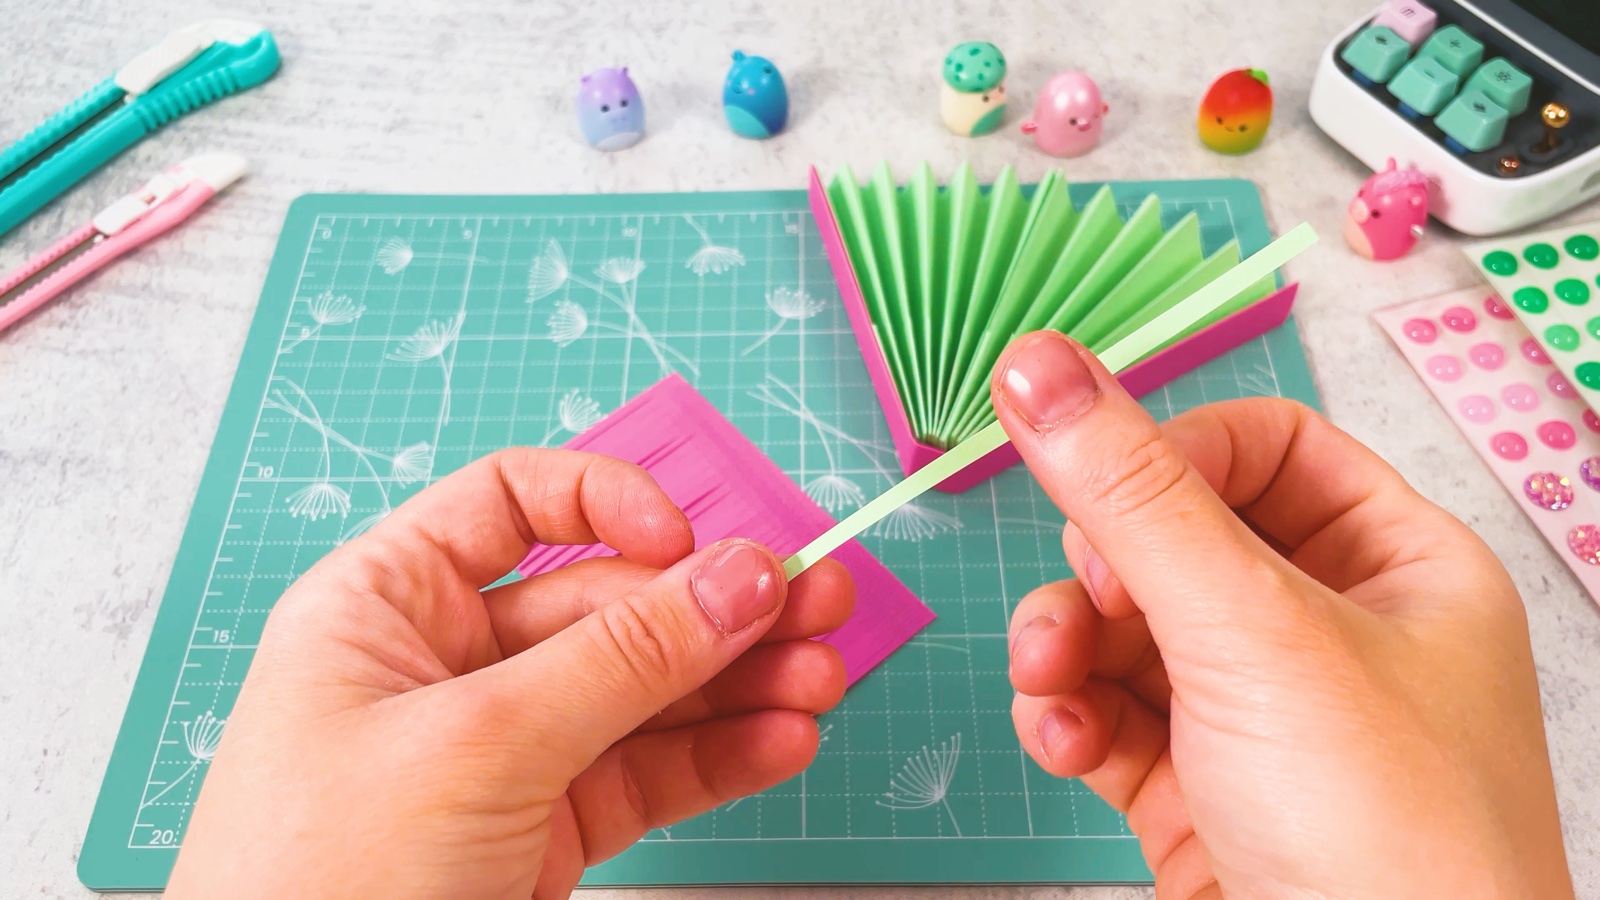
Cut a very thin strip from the green paper. This is the cord. Glue one end of it to the uncut edge of the fringe.
- 10
Hang it and roll it up
Pass the cord around the bottom of the fan, between the two pink sticks, and bring it back to the fringe.
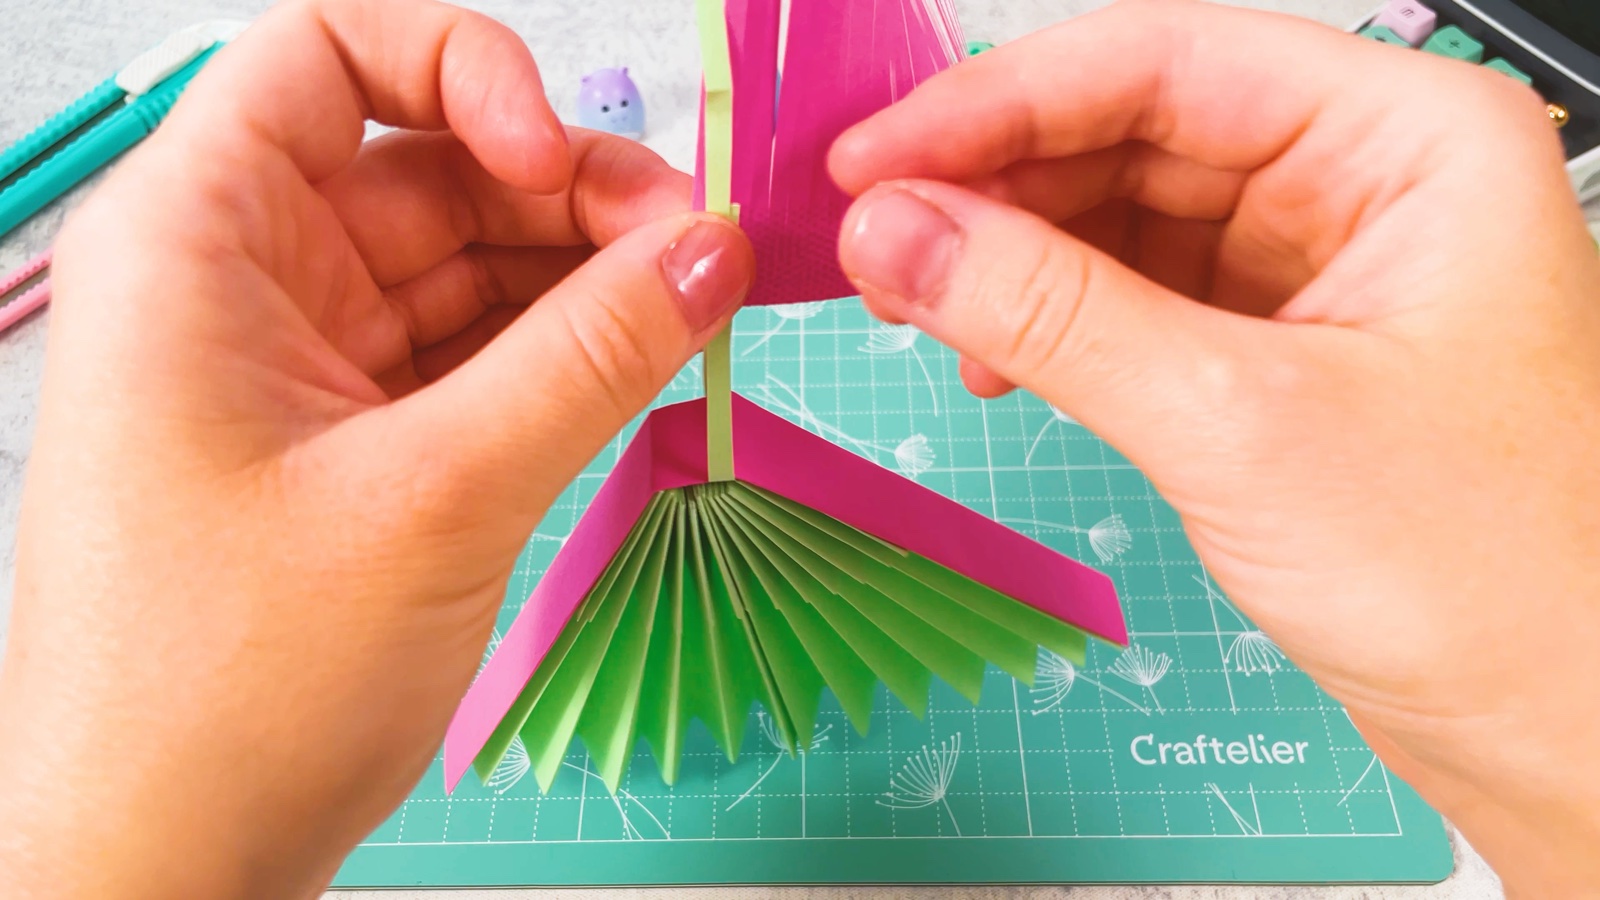
Put a little glue on the uncut edge of the fringe and start rolling it tightly around the cord.
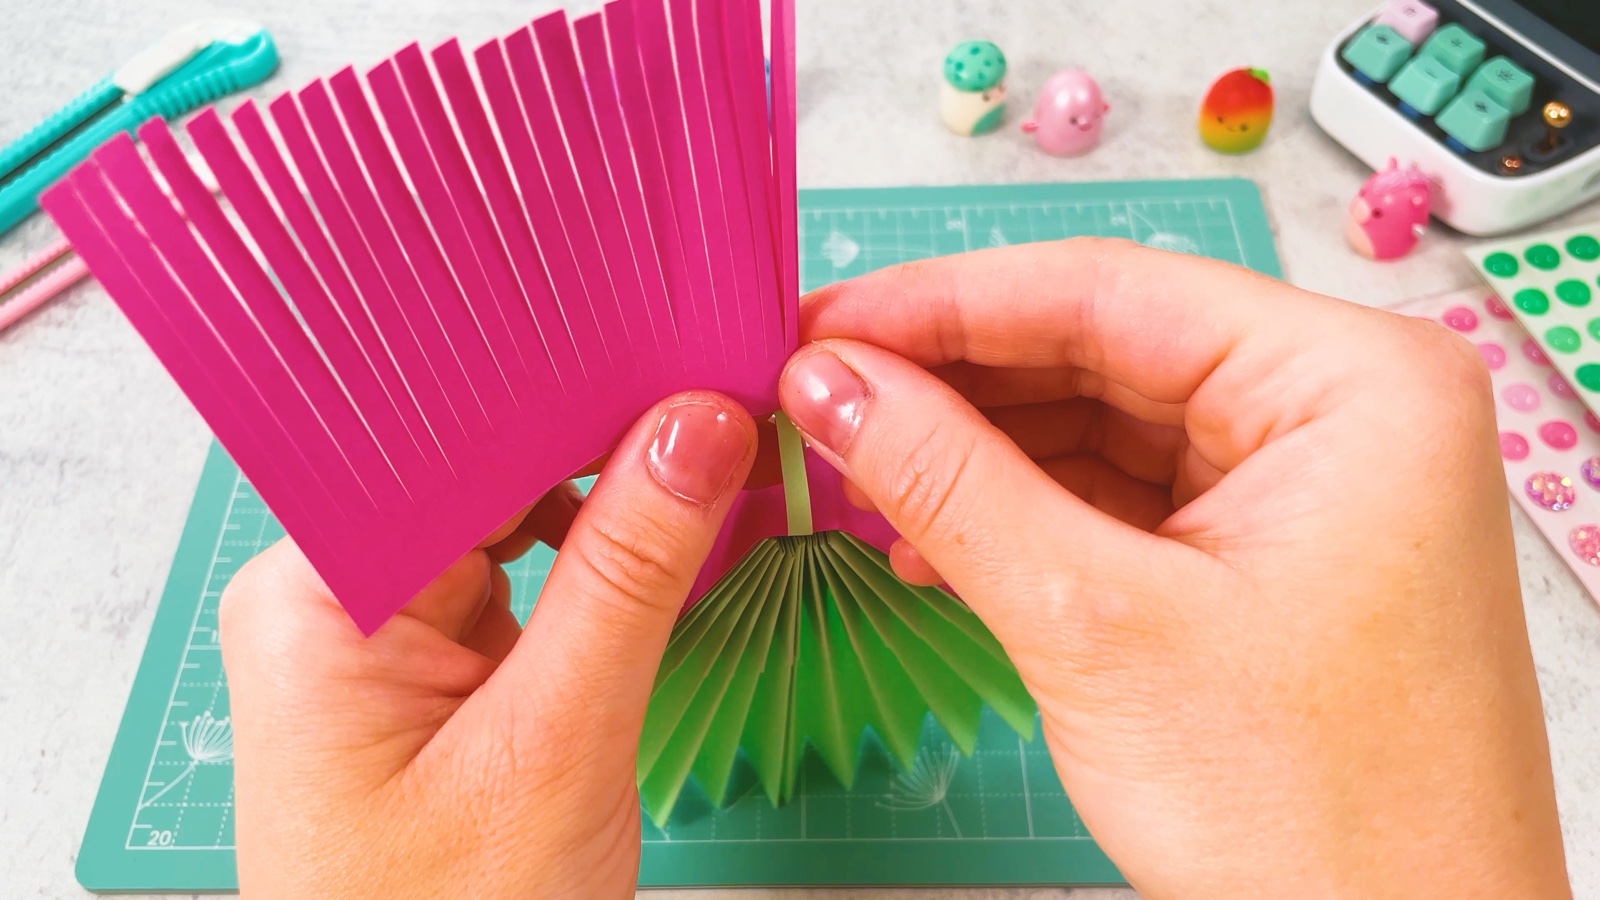
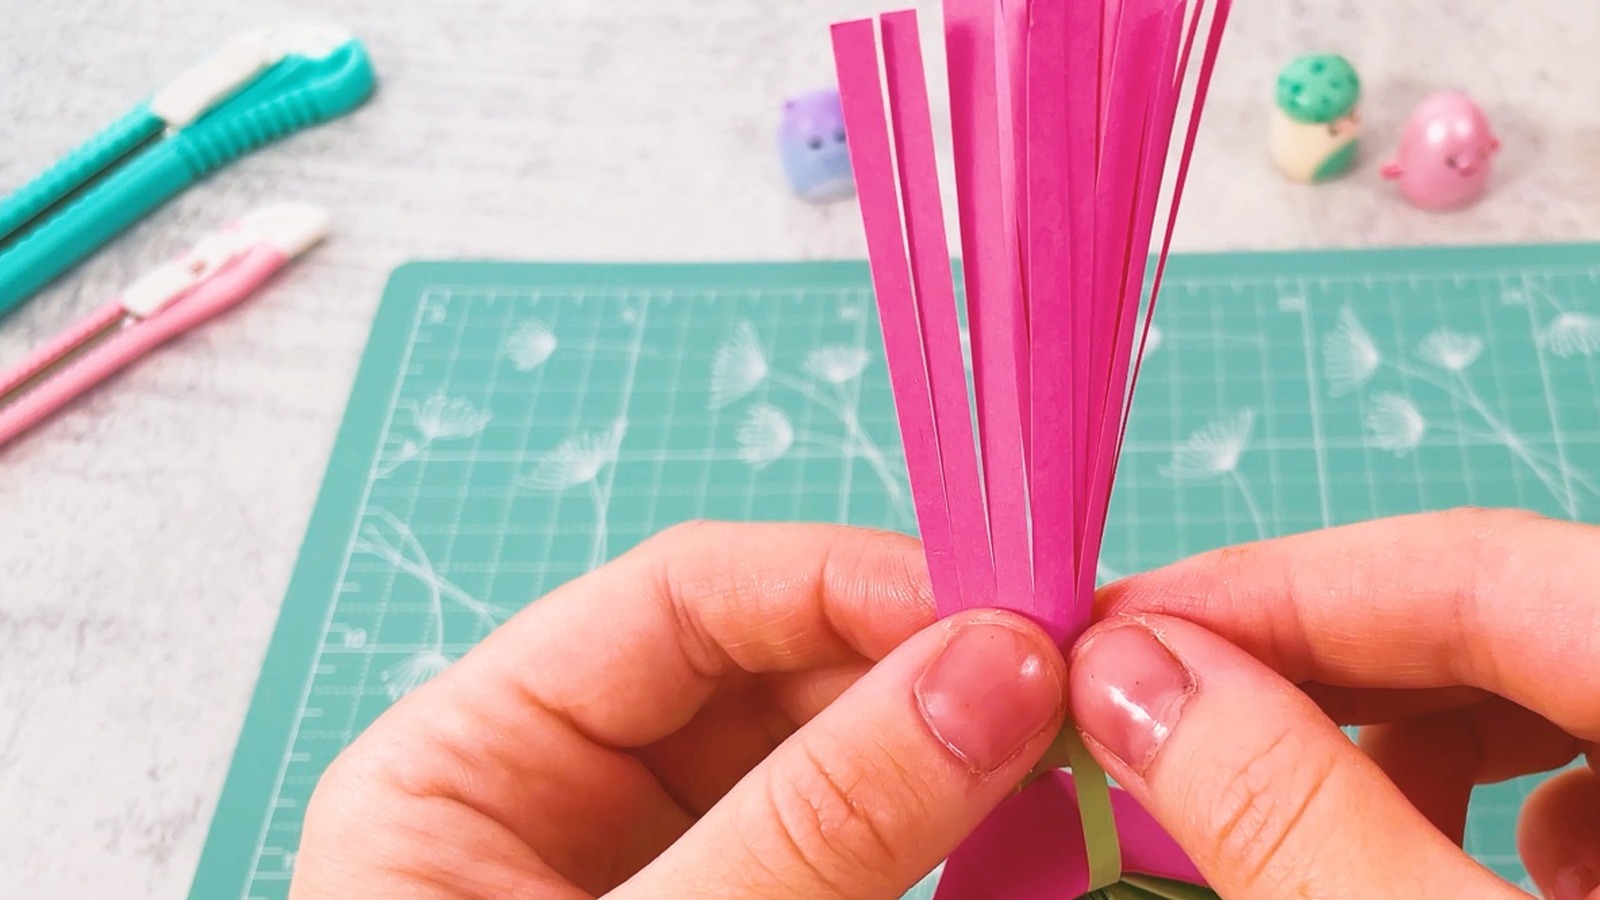
Keep rolling to the end, adding glue as you go. Hold it for a few seconds so it stays closed.
PART 4 OF 4
The finishing touches
- 11
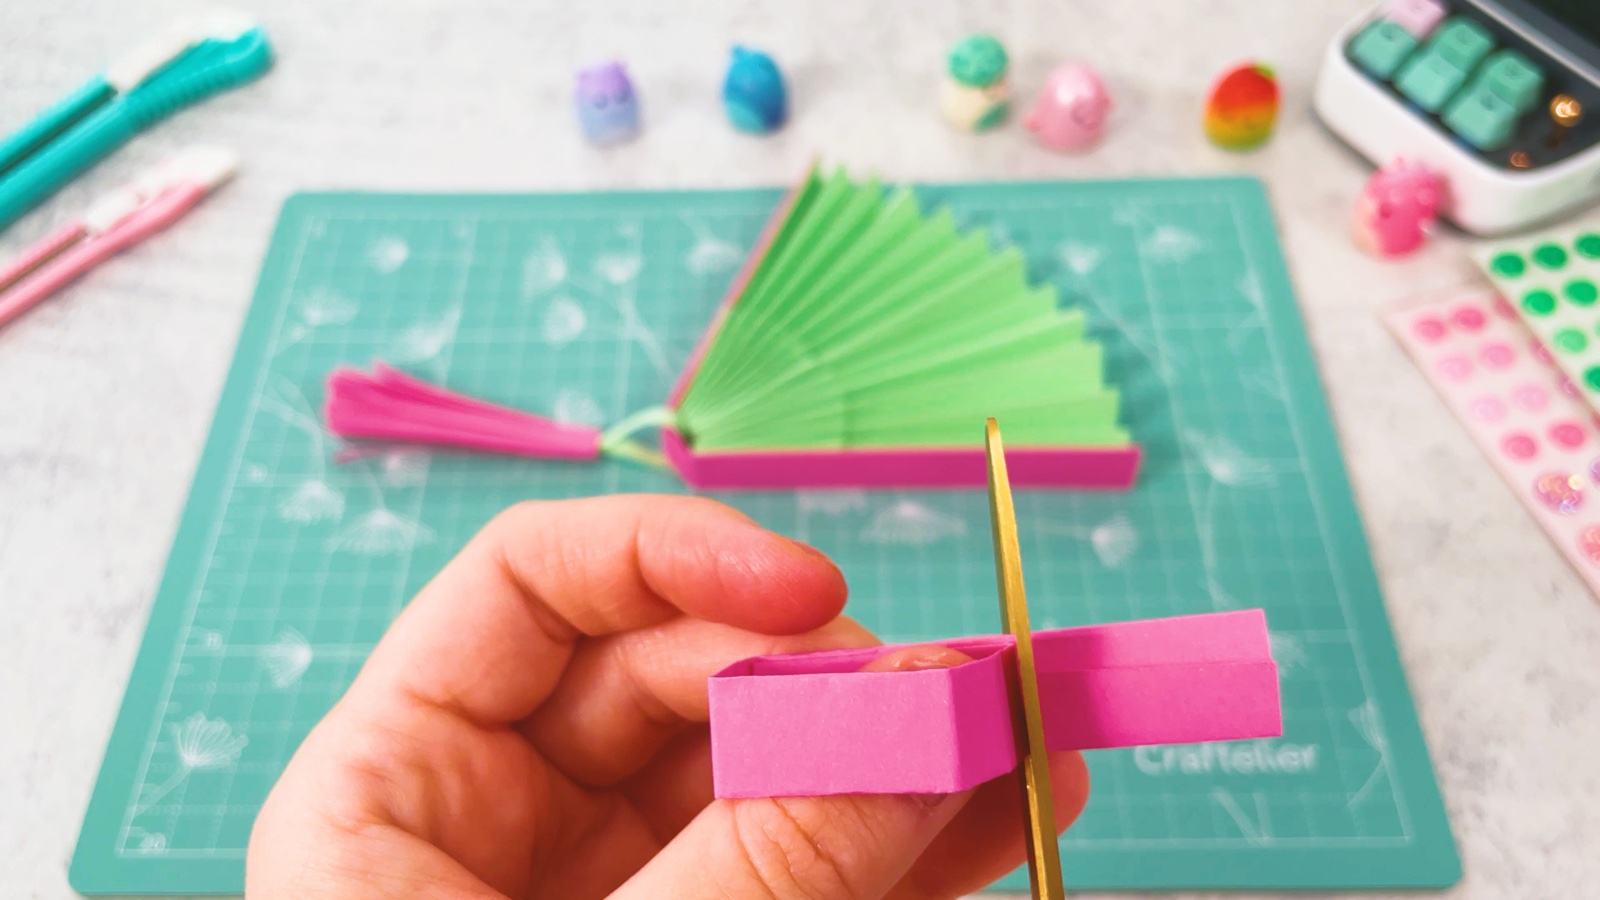
Make a little band
Cut a short, narrow pink strip and fold it in half lengthwise.
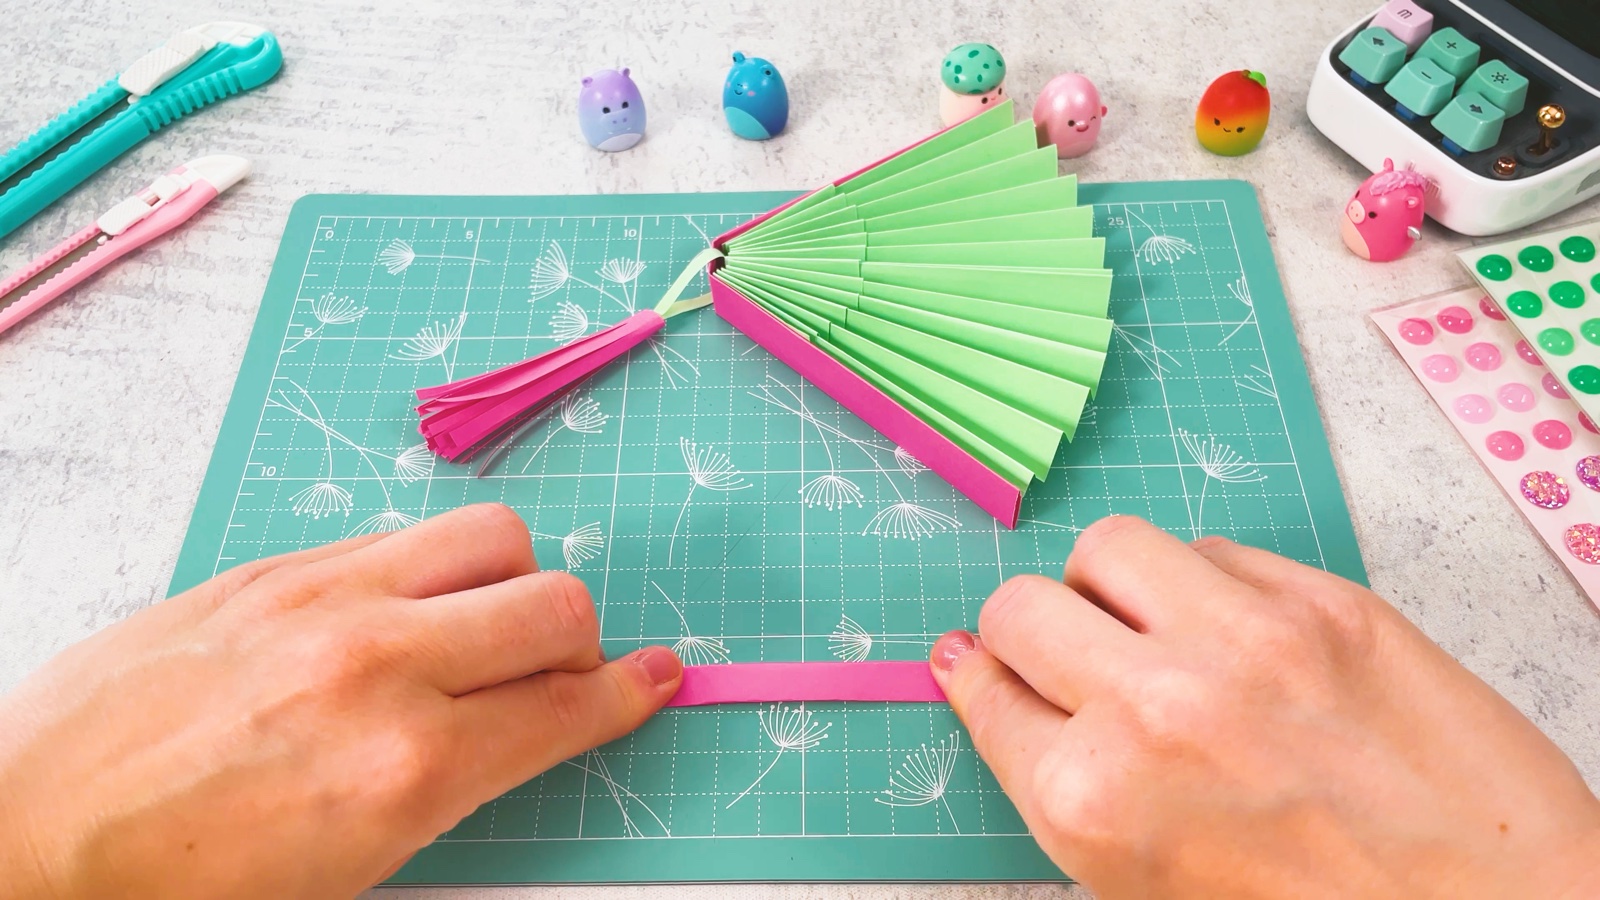
Wrap it around the closed fan to measure, glue the ends into a ring and cut off the extra.
- 12
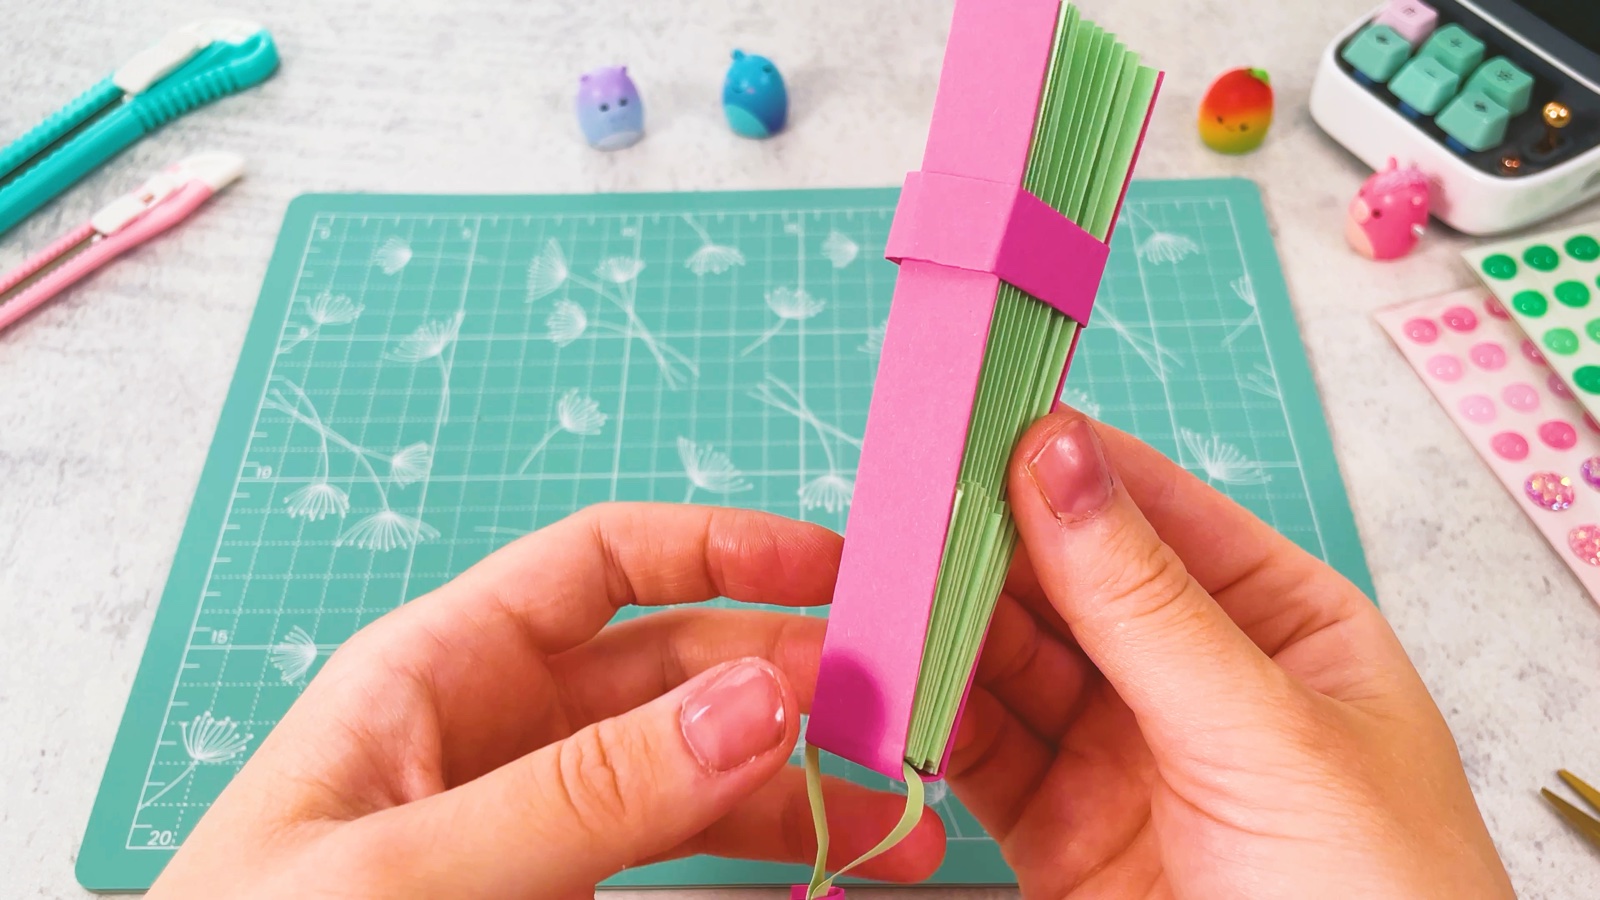
Slide the band on
Close the fan and slide the band over it. The band keeps the fan shut when you are not using it.
- 13
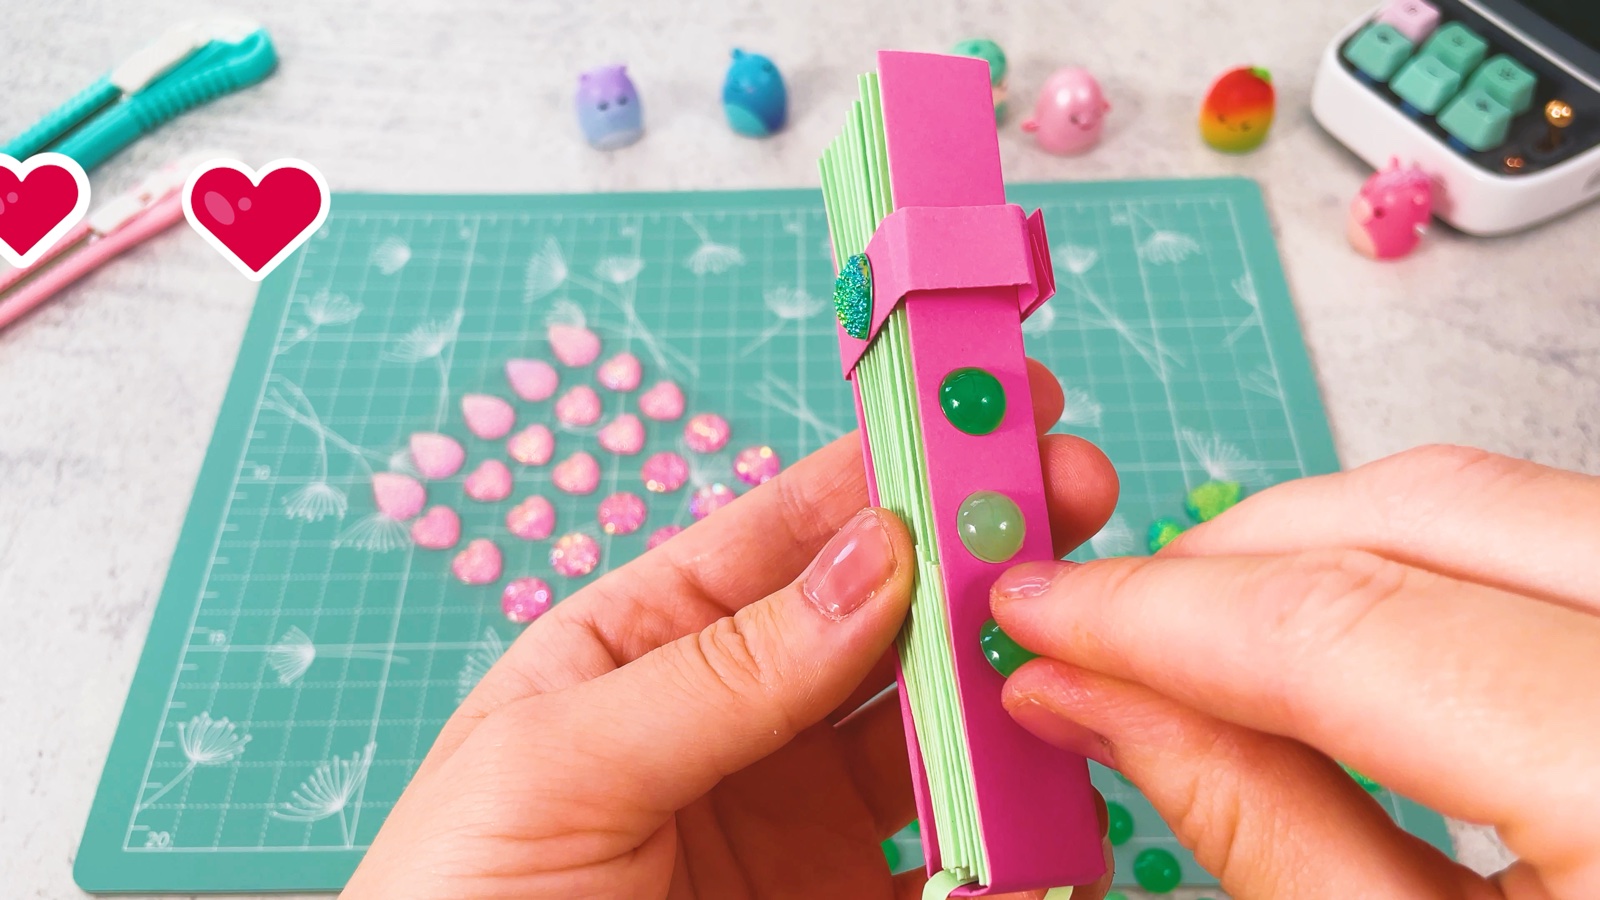
Add some sparkle
Decorate the band and the pink sticks with crystal stickers, pearls or any shiny bits you love.
- 14
Open it up
Slide the band off, open the fan wide and give it a wave.
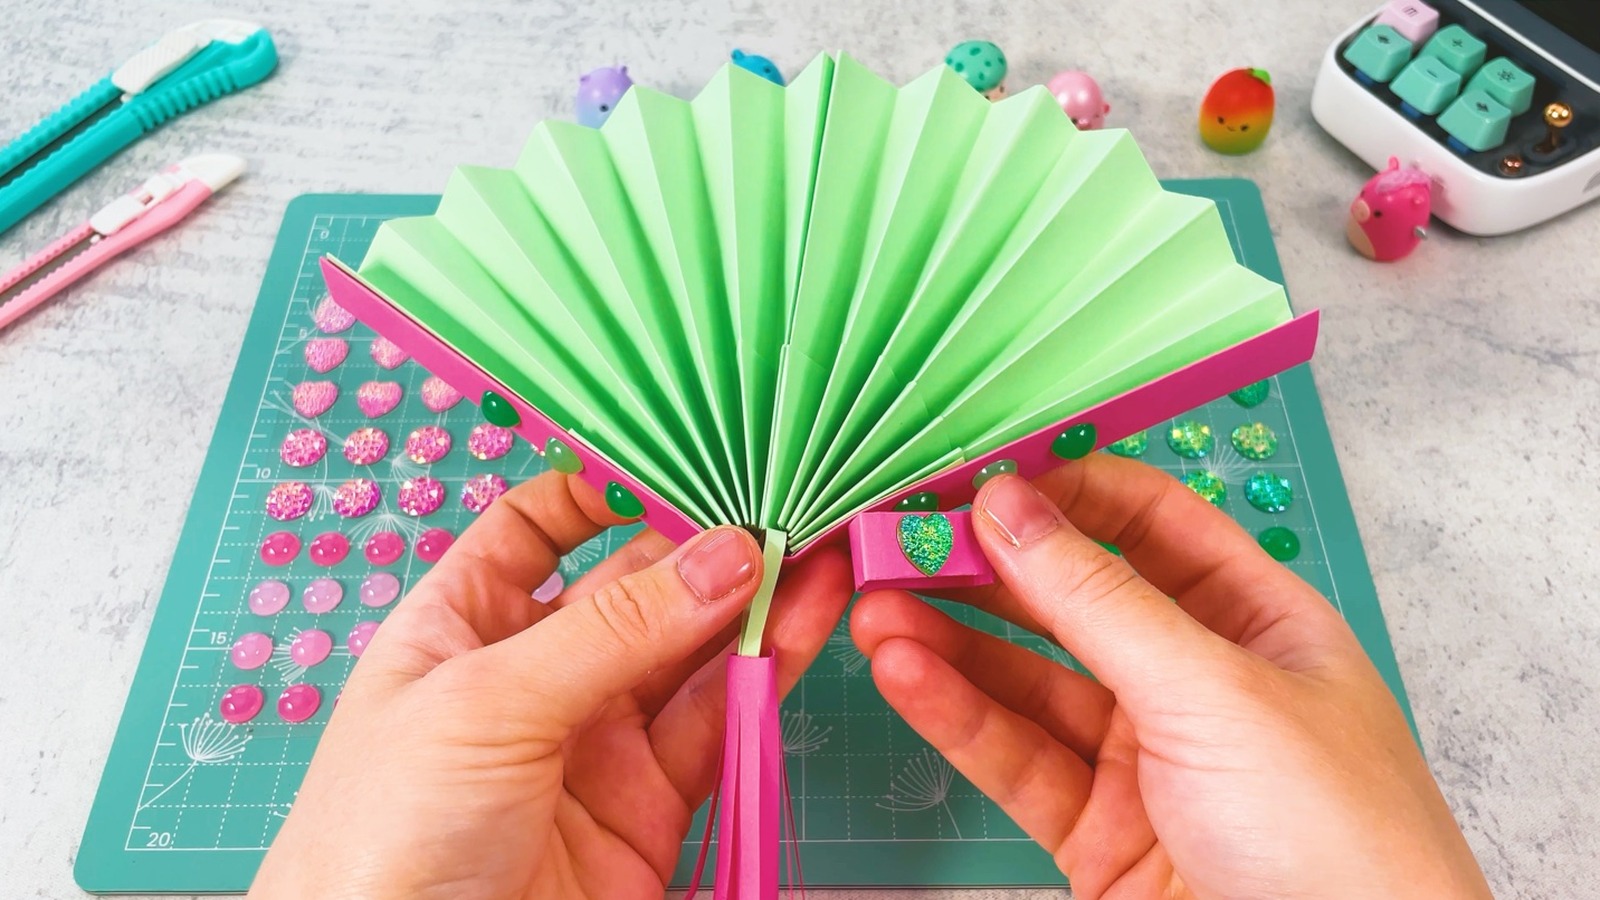
When you are done, close it and slide the band back on.
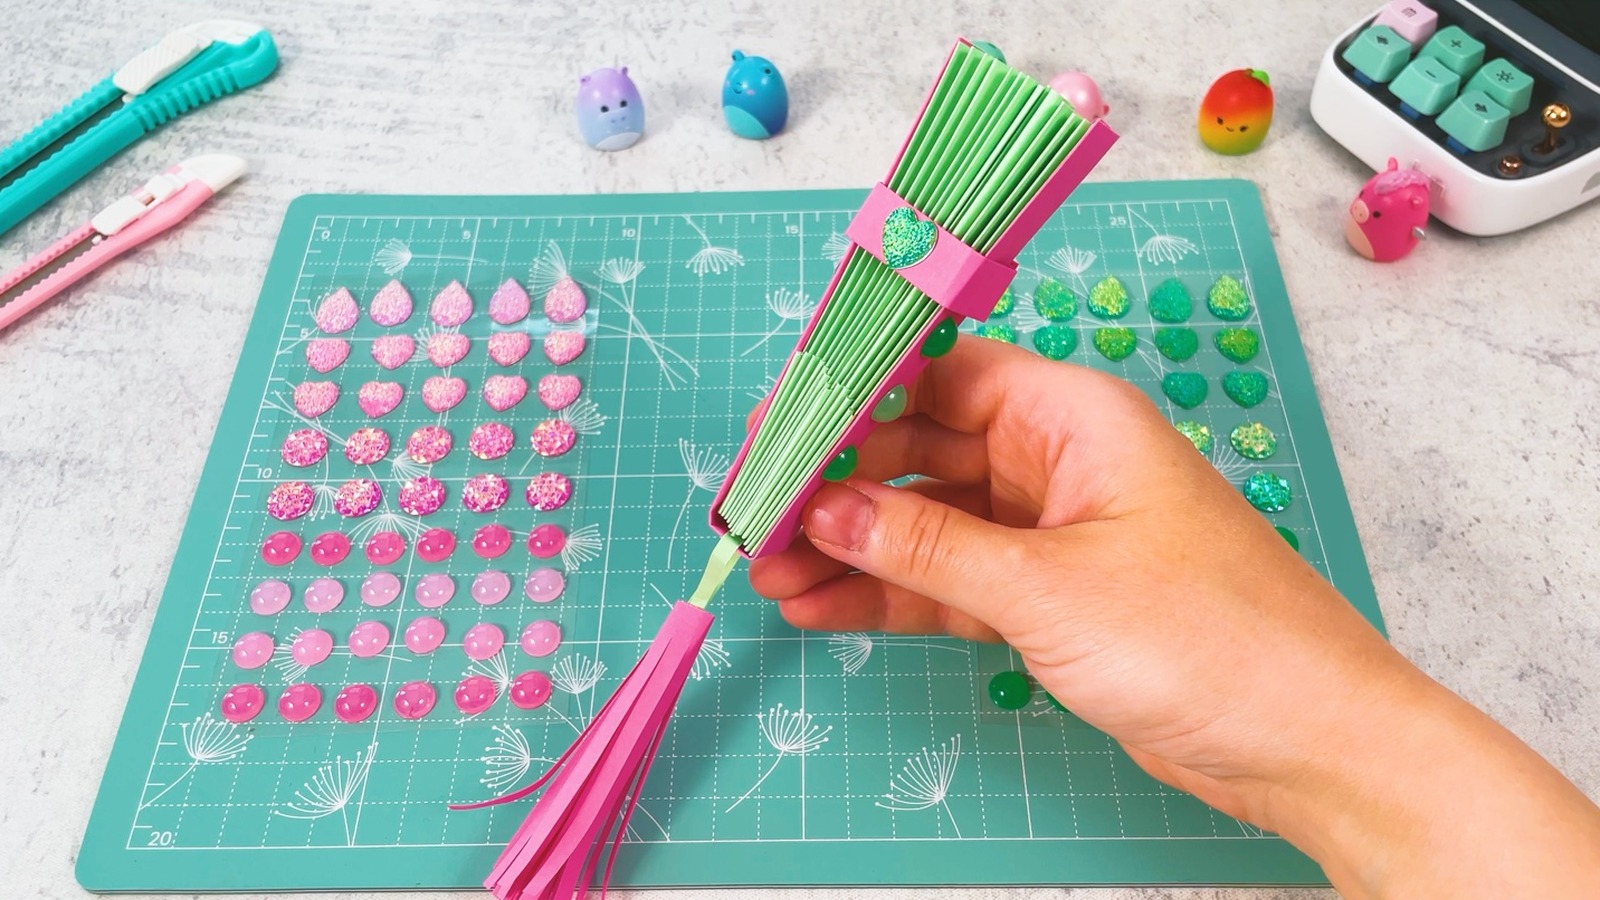
Your sparkly paper fan is ready.
THREE LITTLE TIPS
Make it easier.
- Keep the pleats even. If all the strips are the same width, the fan opens into a neat, round shape.
- Glue tape is the cleanest. Liquid glue makes thin paper wavy. Glue tape or a glue stick keeps the pleats crisp.
- Cut the fringe thin. The thinner the cuts, the softer and fuller the tassel looks.

A CUBI MINI MOMENT
Who will you cool down?
On hot days Cubi waves the fan for Mini during their afternoon nap. Who will you fan first?
A second, tiny fan in Mini’s favourite yellow, so they can fan each other.
Loved making it?
Catch the next make first, or save this one for a rainy day.