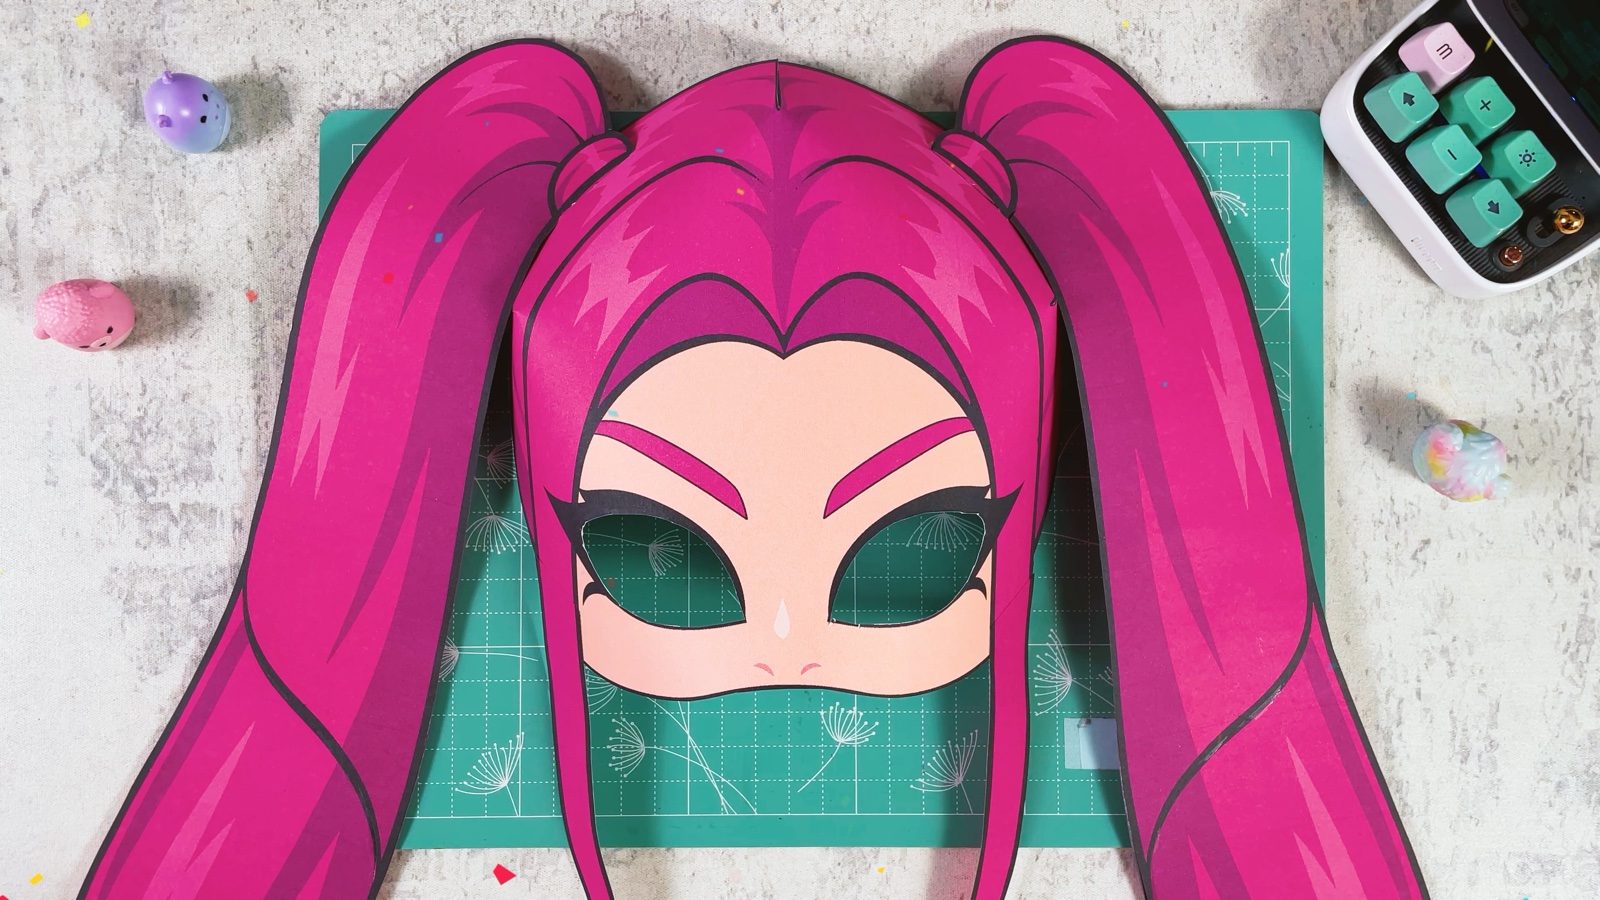
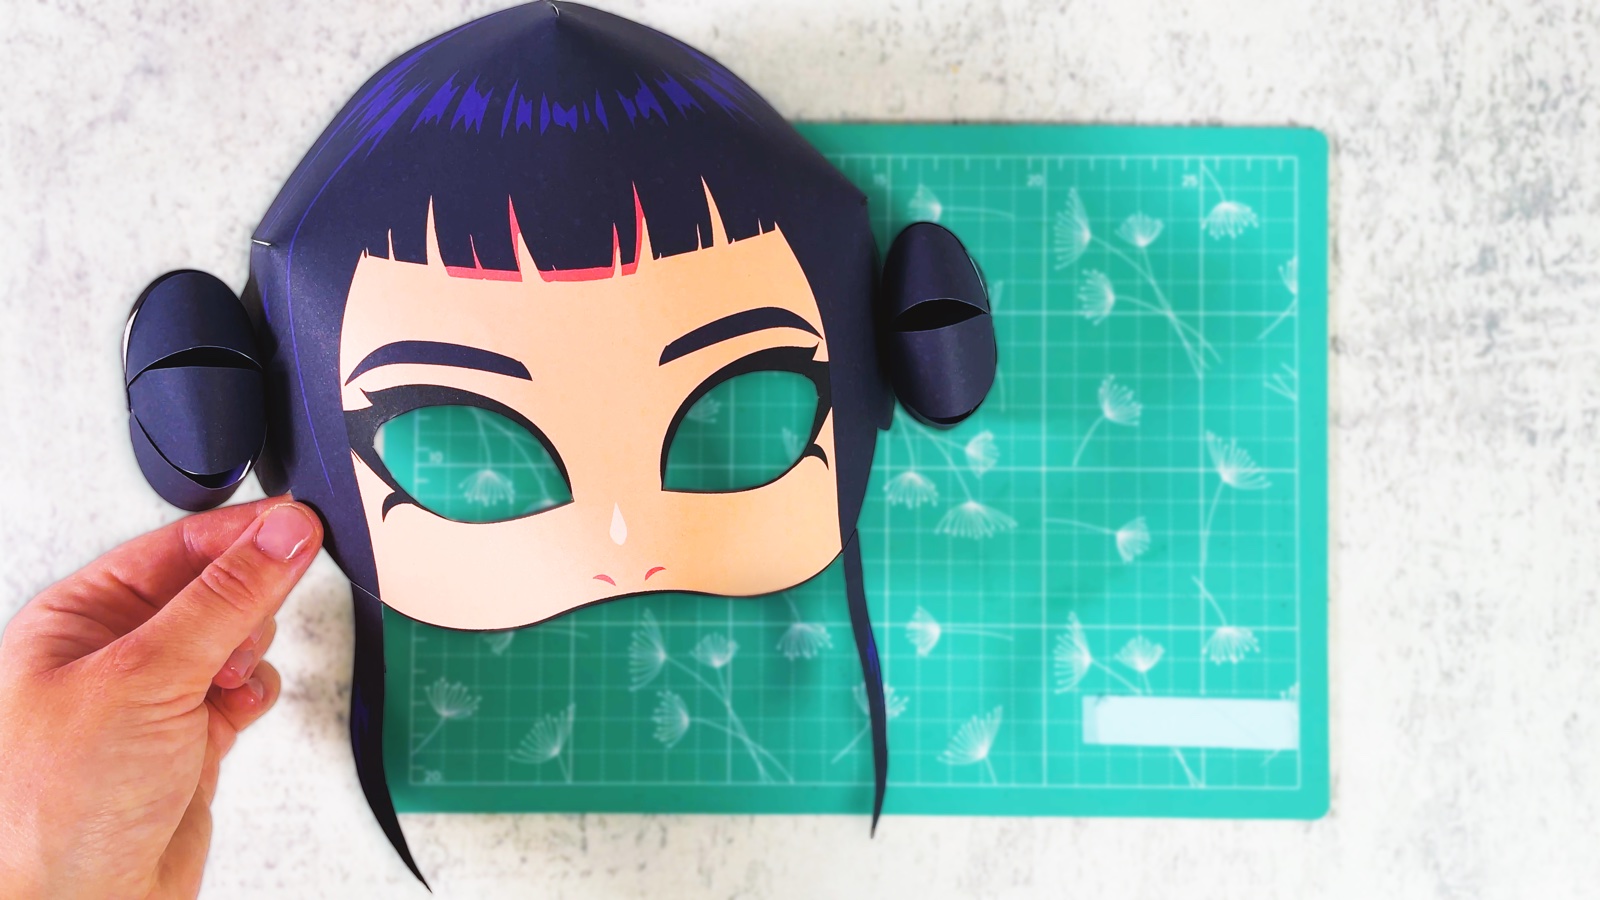
Let’s make a My Melody mask, a cute paper mask inspired by the world of Sanrio (My Melody, Kuromi and Hello Kitty)! All we need are 3 printed pages, paper, scissors and glue. That’s all!
The mask has My Melody’s famous bunny ear, a sweet witch hat and a little collar, all ready to print and put together in a few minutes. It is perfect for a last-minute Halloween costume, a carnival party or a school party. Let’s make Halloween kawaii and creative, even at the last minute!
BEFORE WE START
What you need.
Materials
- Printable template
- Paper
- Glue stick
Tools
- Scissors
- A printer
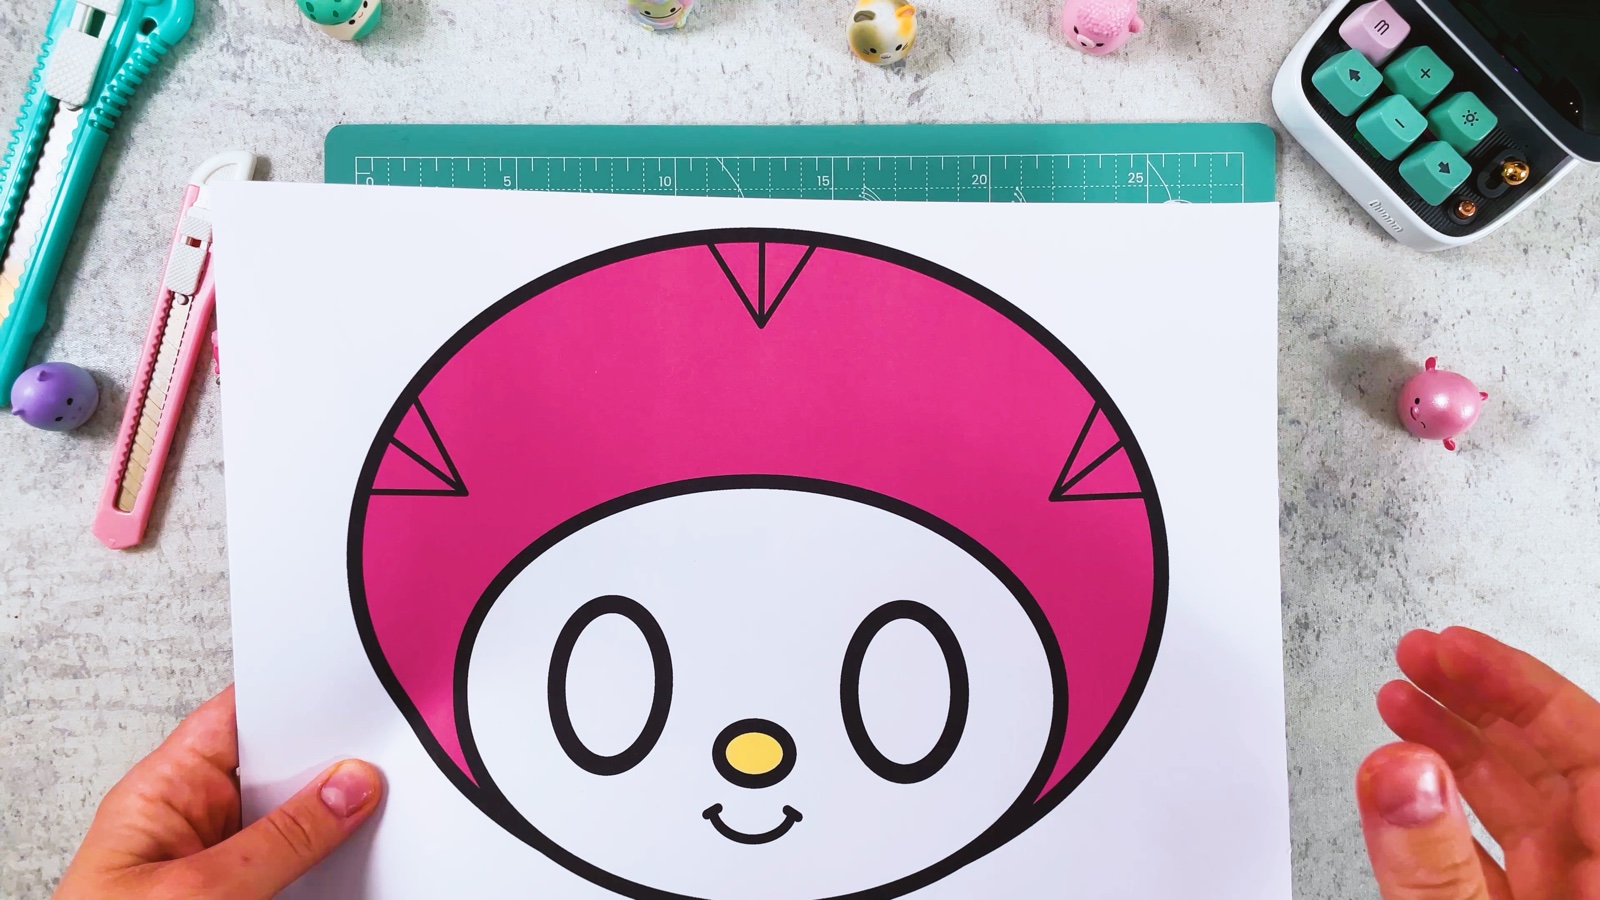
Page 1 is the face, page 2 is the witch hat with the ear and the bow, page 3 is the collar. Print on A4 (on US Letter, choose “Fit to page”).
Get the free template ↓STEP BY STEP
Let’s make it.
- 1
Print the template
Print all three pages on one side only: the face, the witch hat and the collar.
- 2
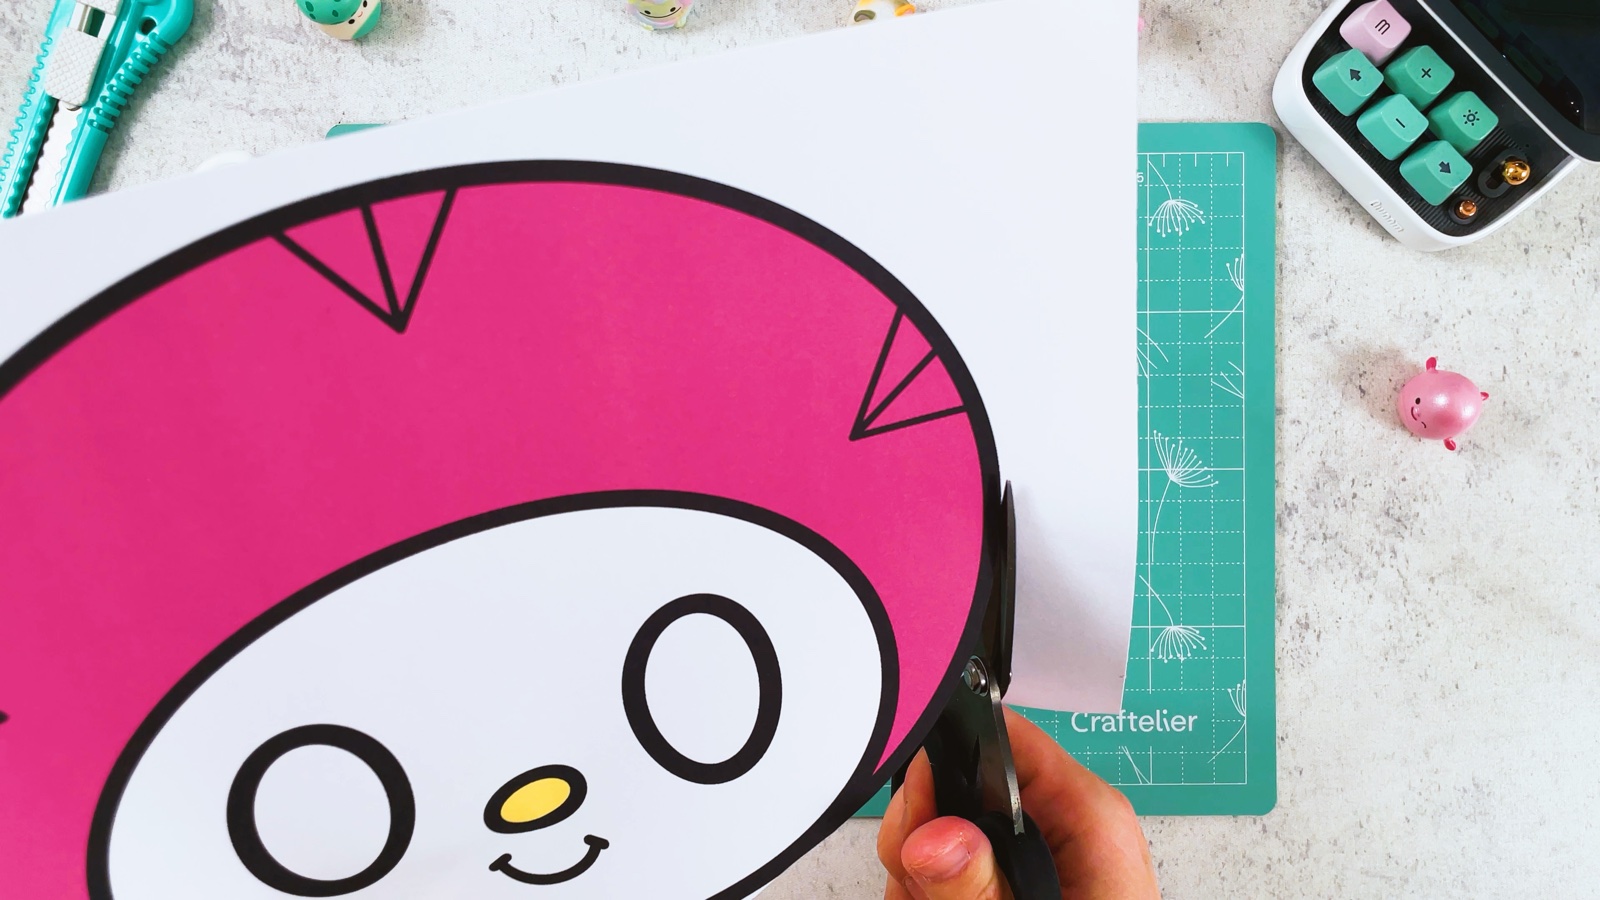
Cut out the mask
Cut out the face along the outer black outline.
- 3
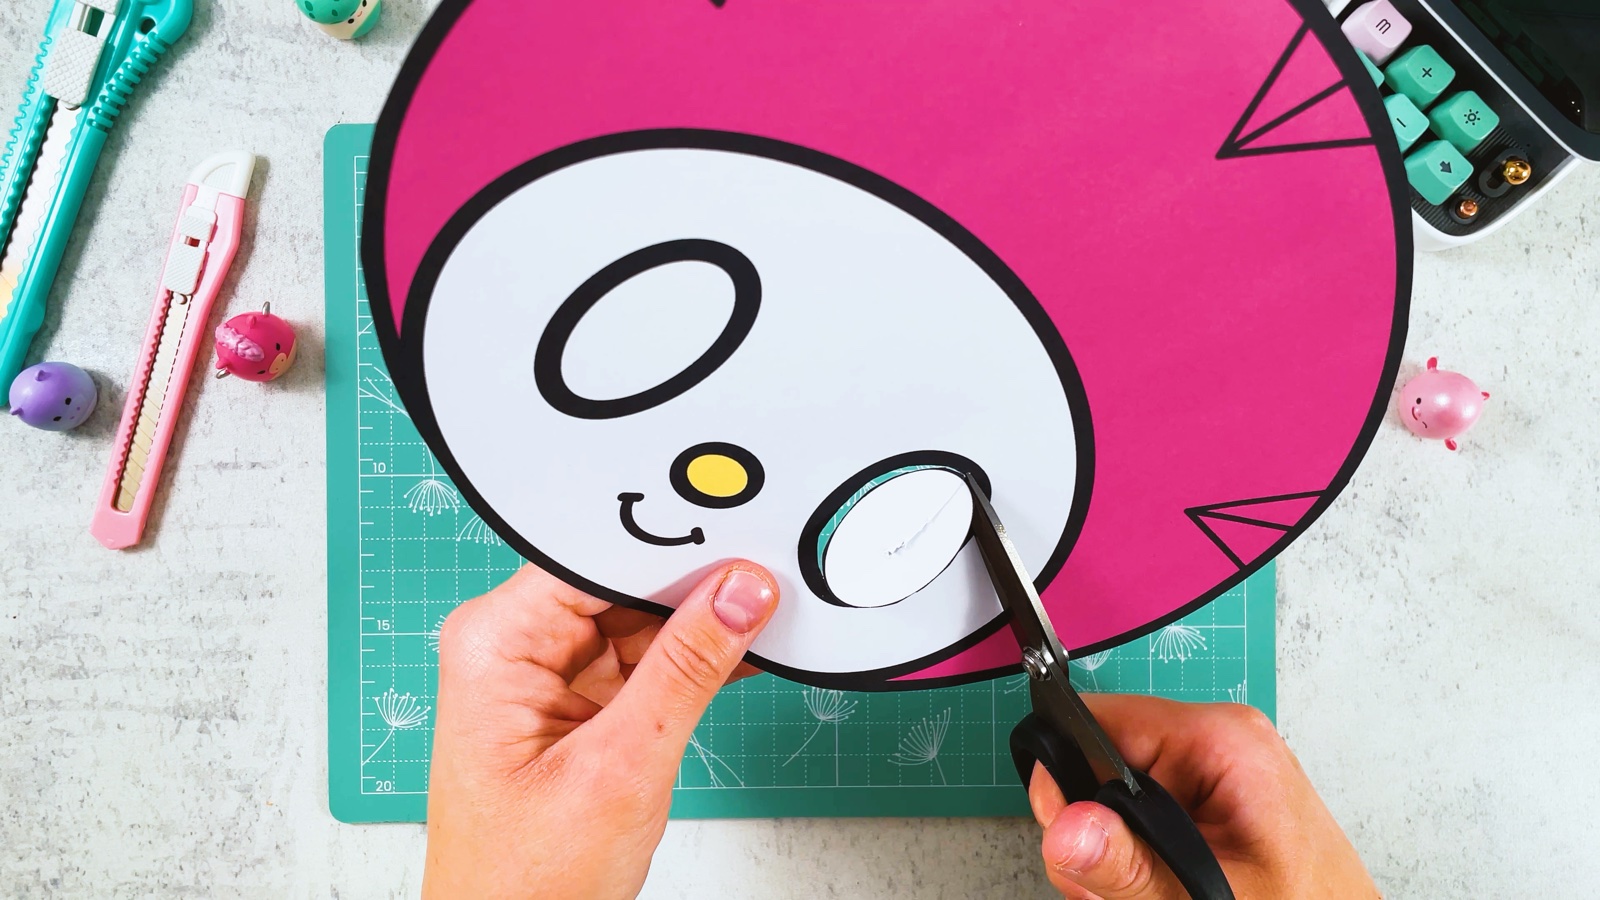
Cut out the eyes
Cut out the two oval eyes, inside the black lines.
- 4
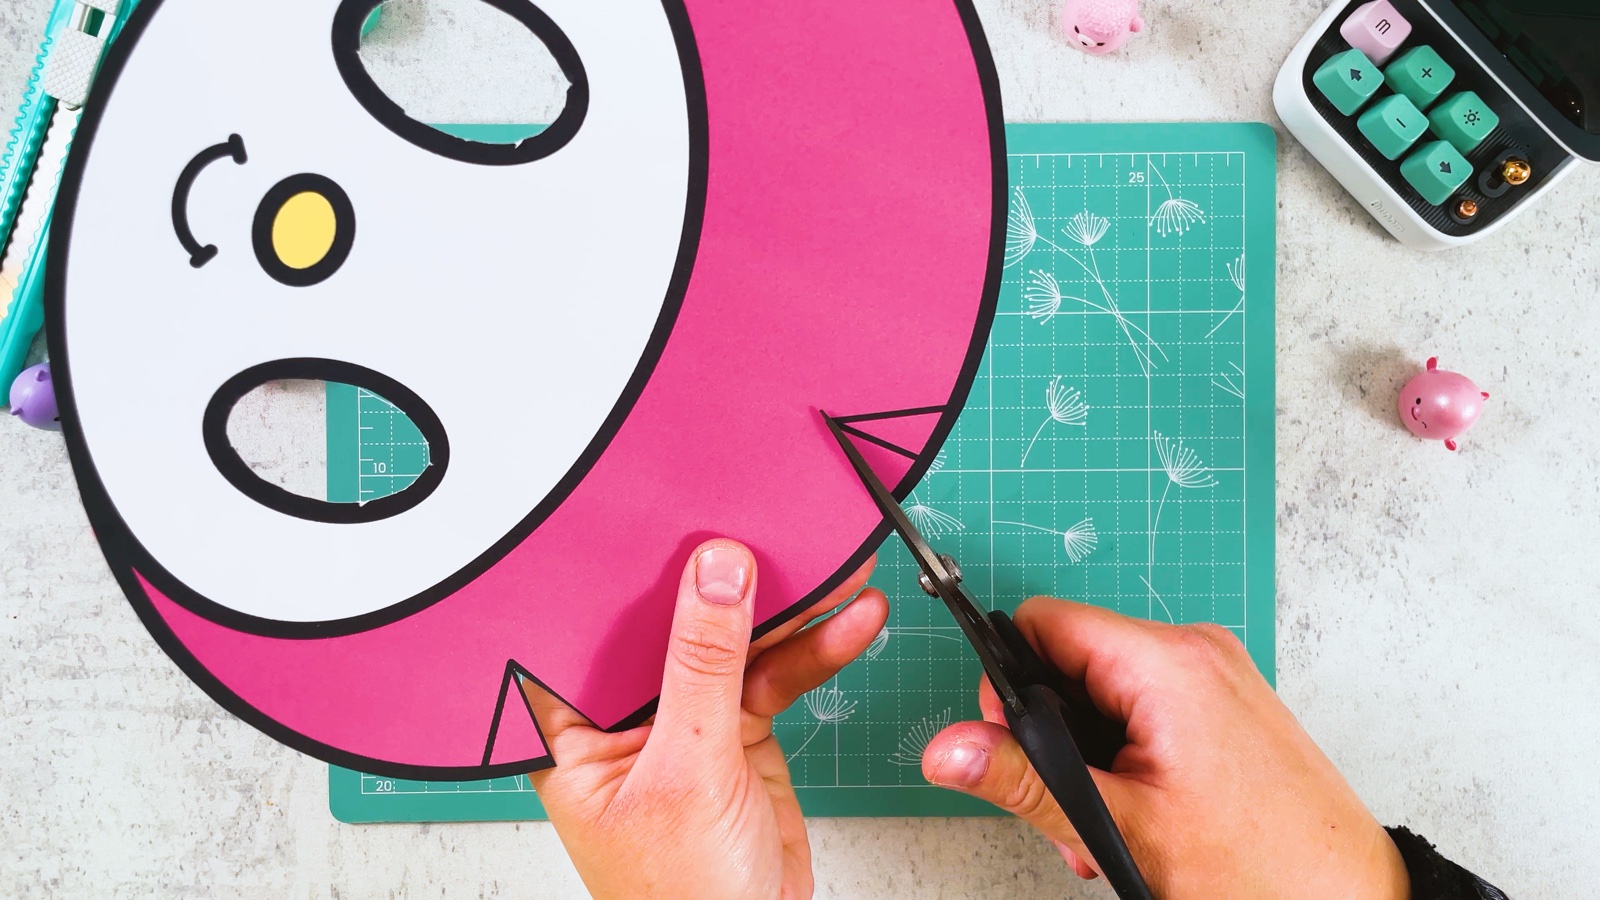
Snip the triangles
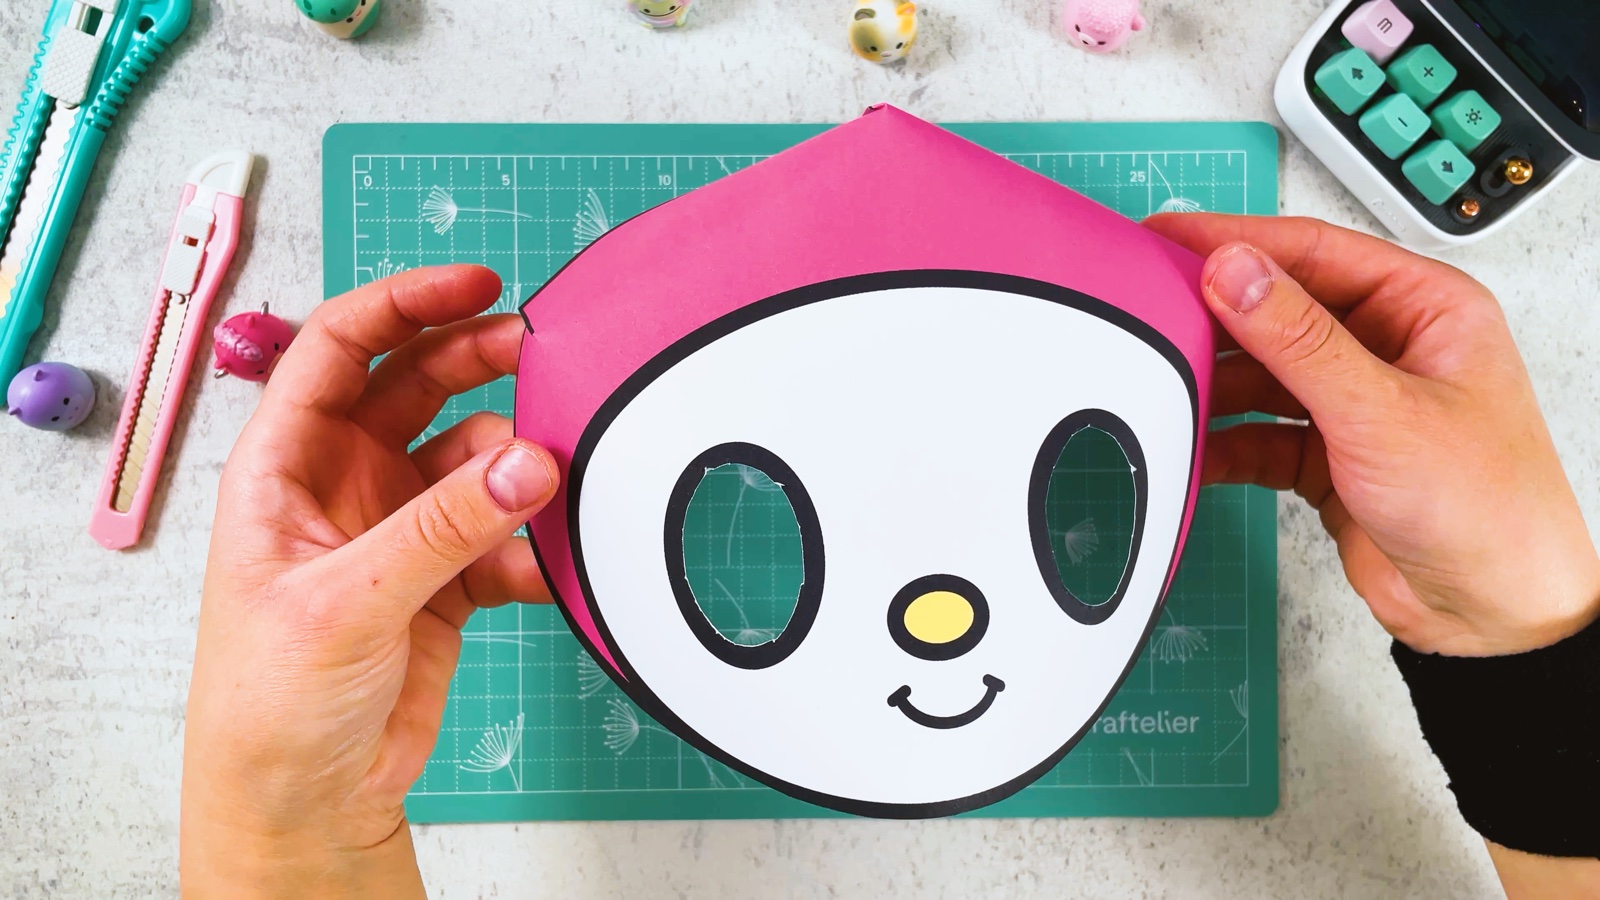
There are three triangles in the pink hood: one at the top and one on each side. Each has a line in the middle. Cut along that middle line, up to the tip of the triangle.
- 5
Glue the triangles
Put glue on one half of a triangle. Slide the other half over it until the two outer lines meet, and press.
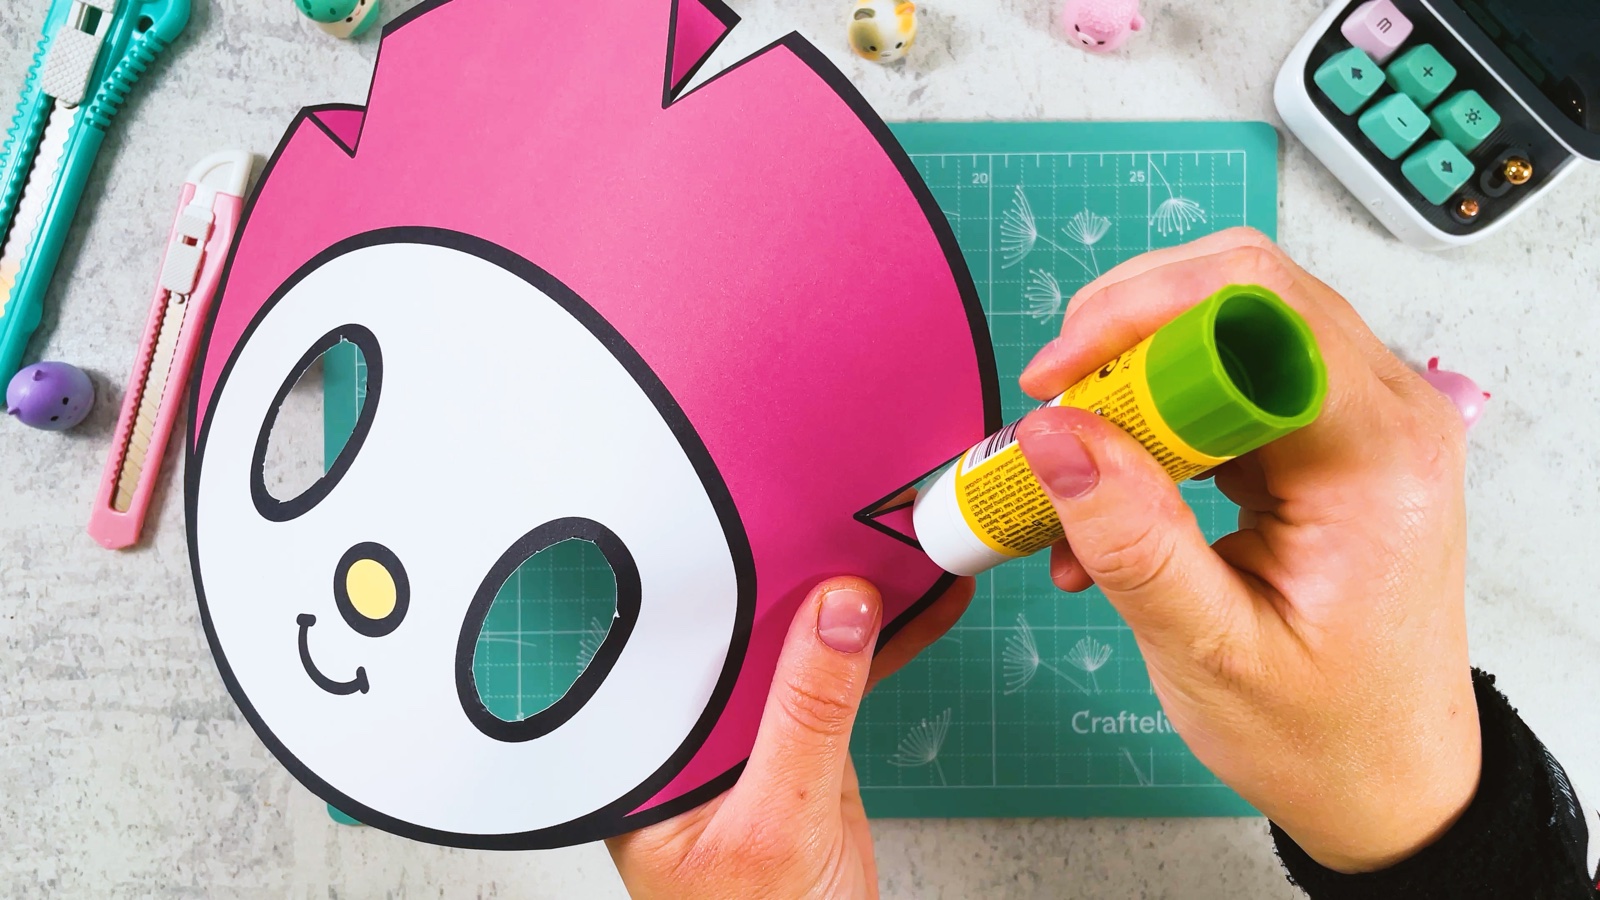
Do the same with all three. Now the mask is round, like a real head.
- 6
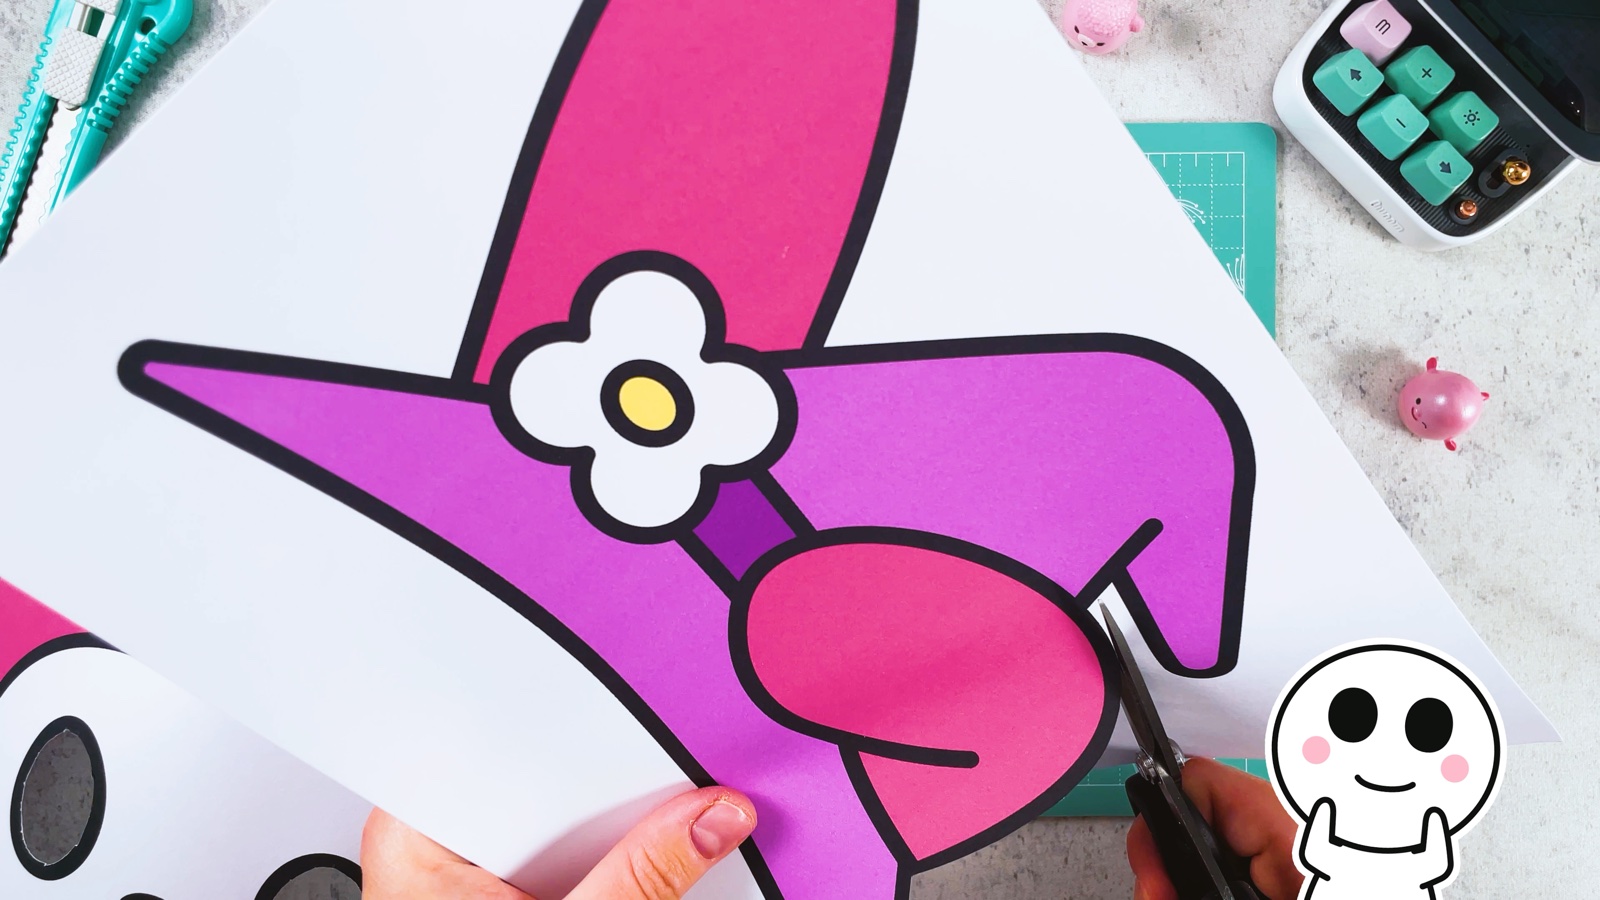
Cut out the witch hat
Cut out the hat along the black outline, together with the pink ear and the bow.
- 7
Glue on the hat
Put glue on the top of the pink hood.
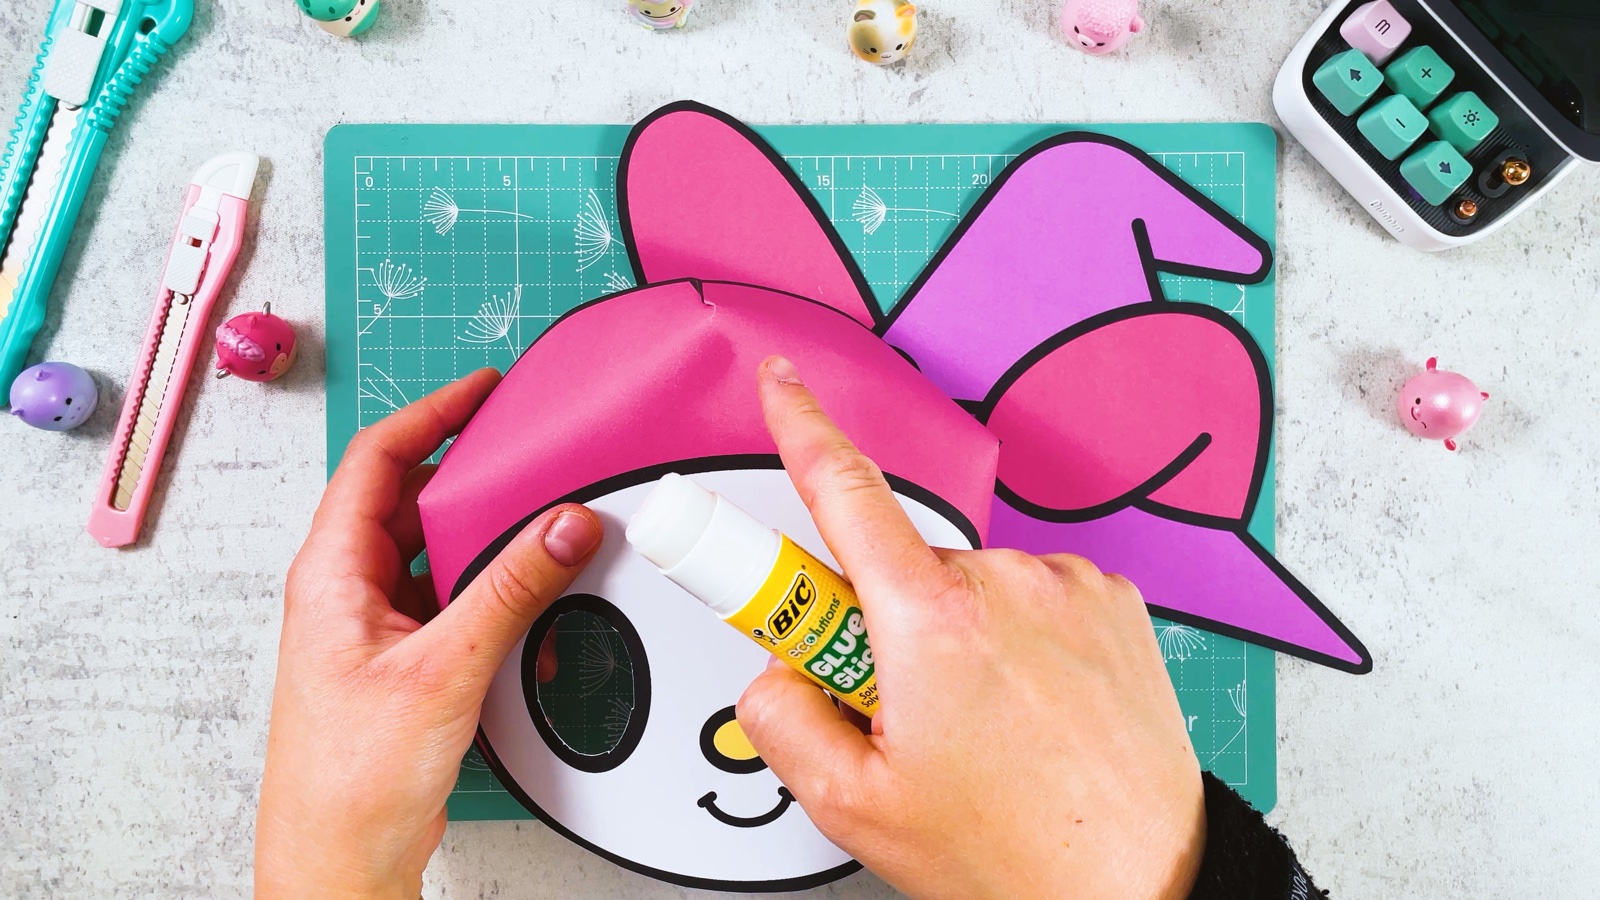
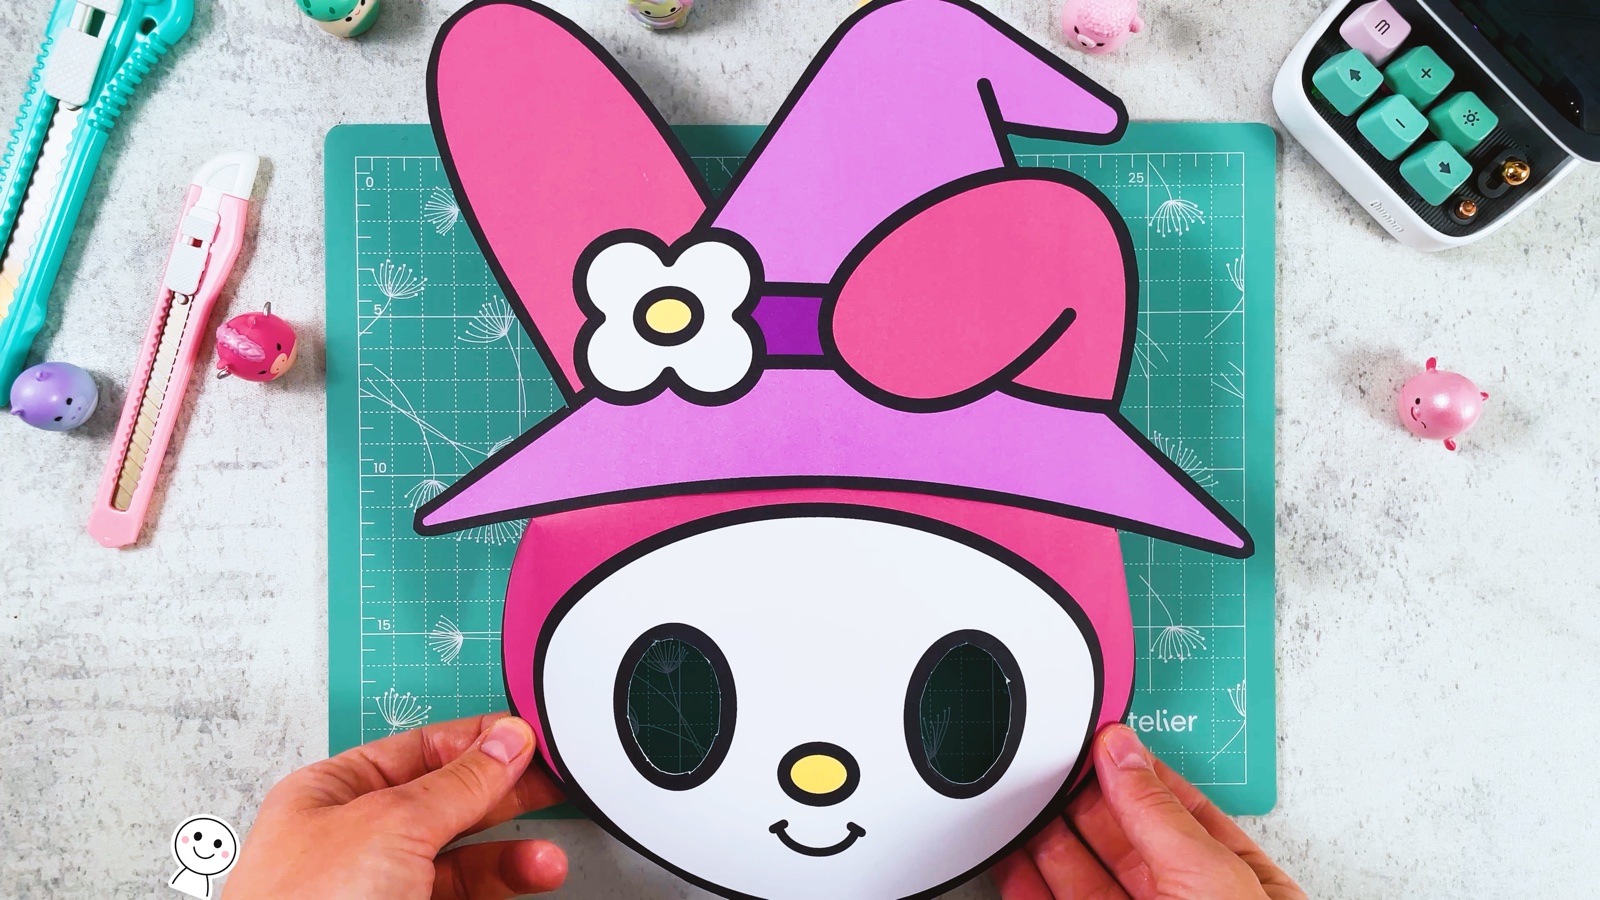
Lay the hat over it, so the brim sits just above the face. Press with both hands for a few seconds.
- 8
Cut out the collar
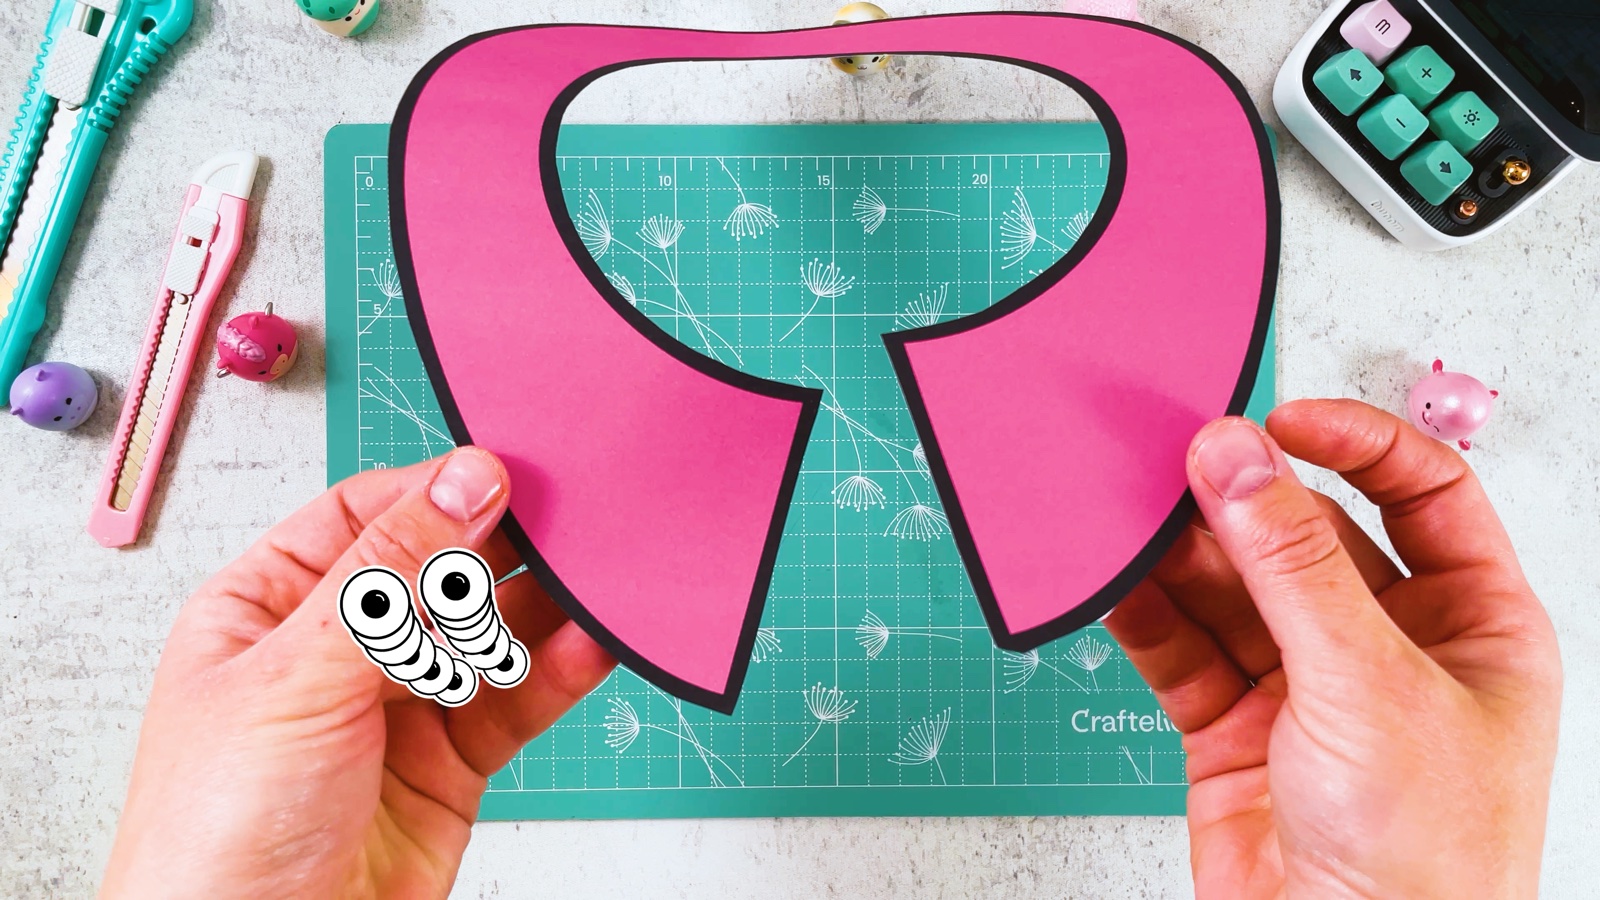
Cut out the collar along the outer black outline. Then cut along the short line into the middle and cut out the white circle.
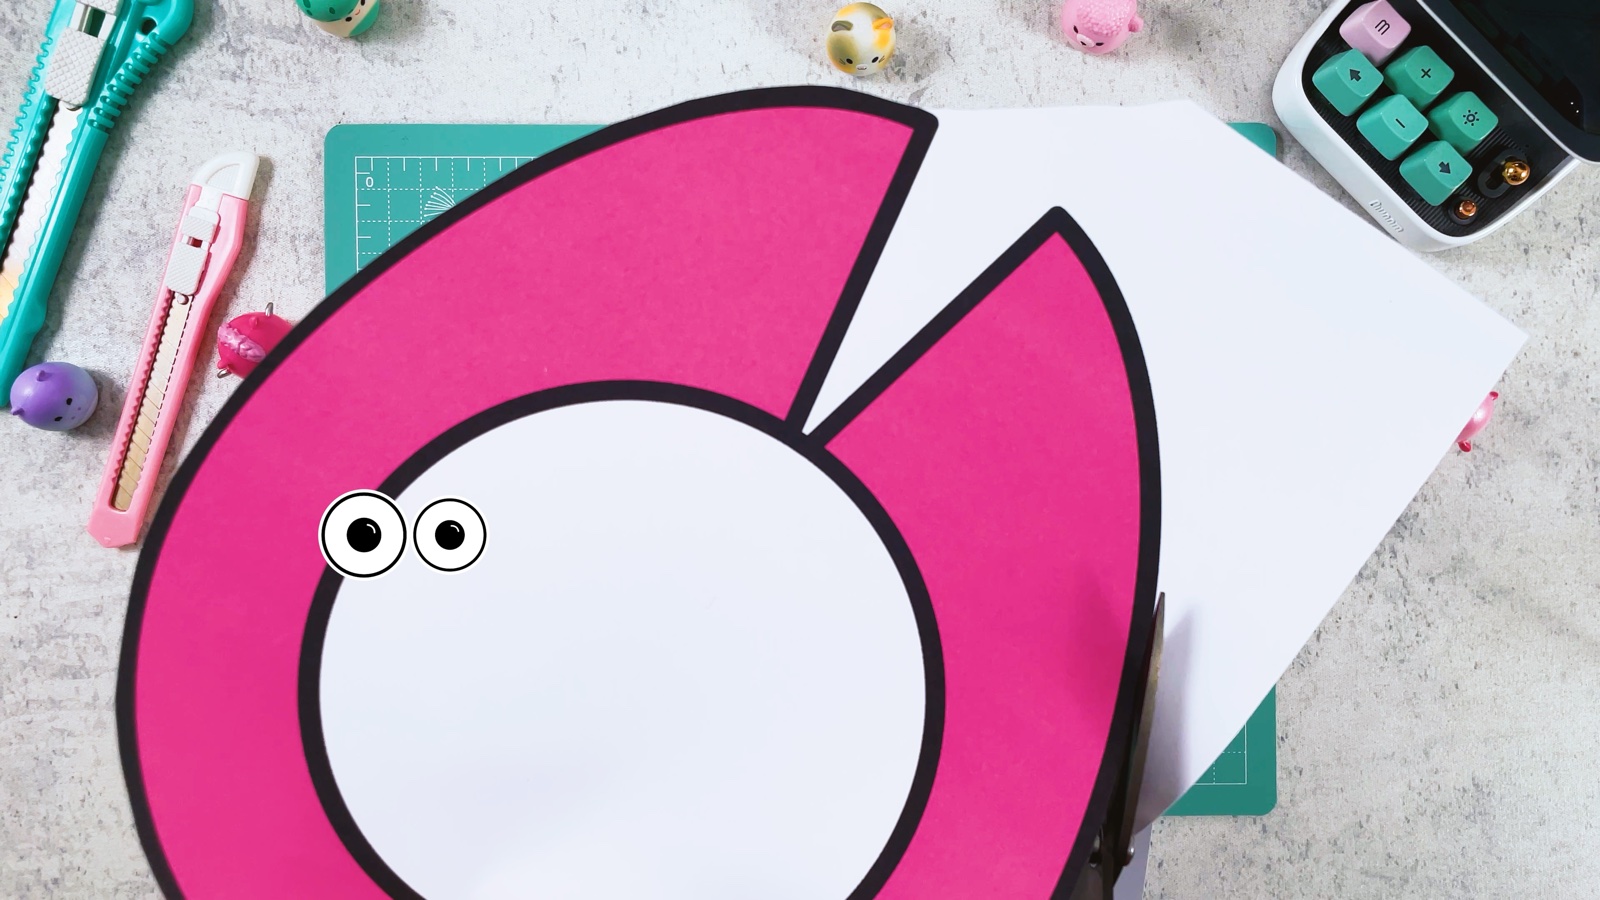
The collar opens at the cut, so it goes around the neck.
- 9
Try it on
Put the collar around the neck and hold the mask up to the face.
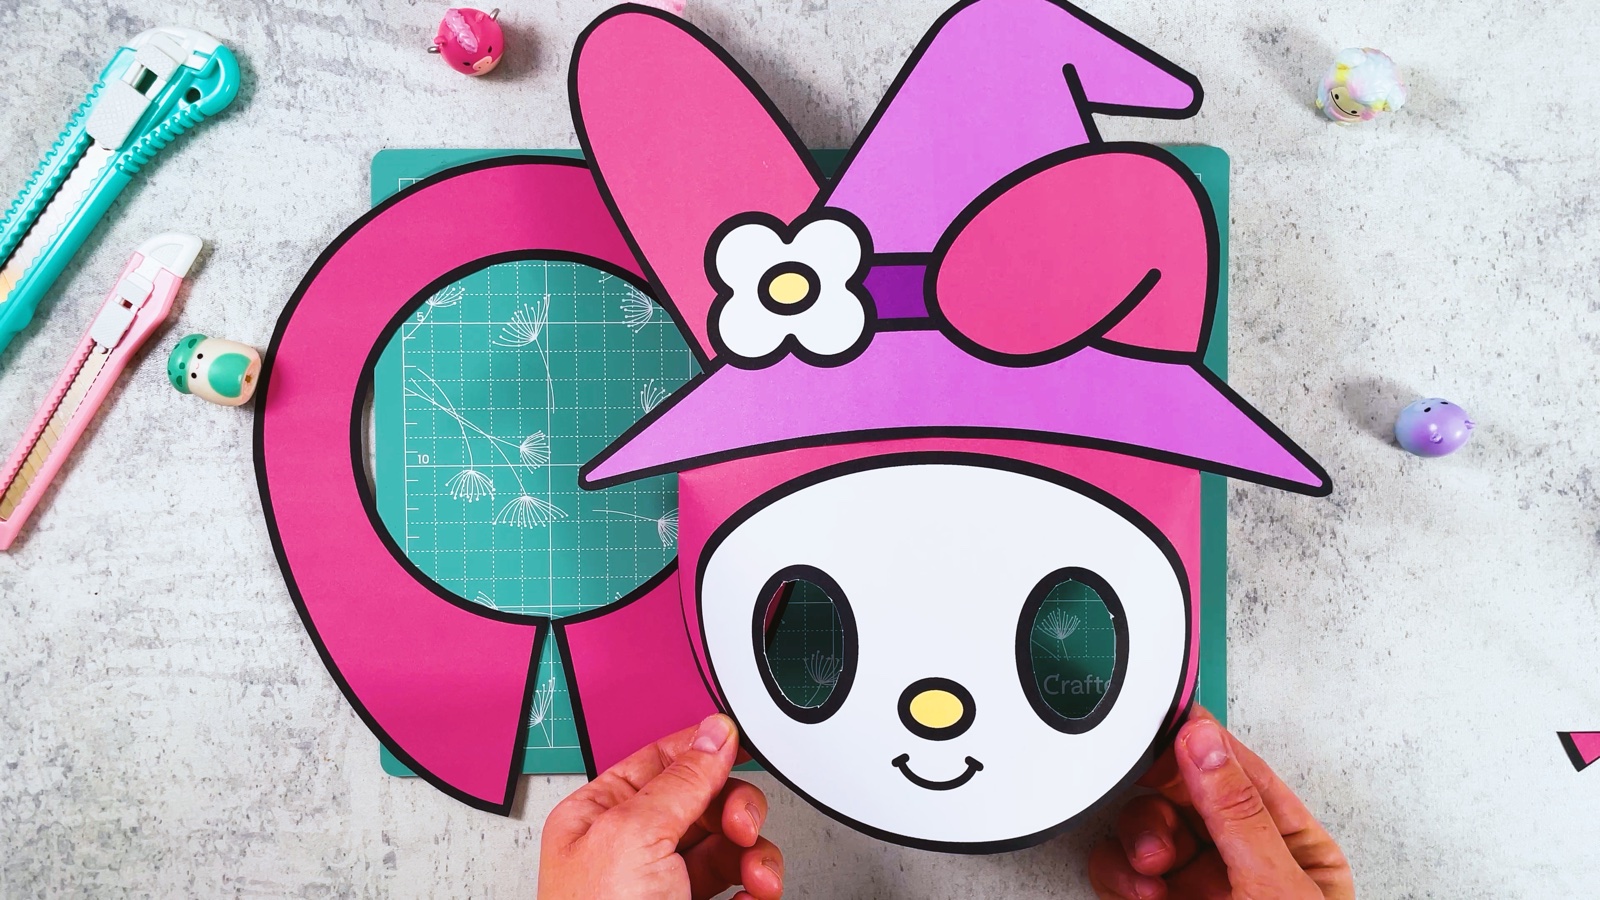
My Melody’s mask is ready.
TWO LITTLE TIPS
Make it easier.
- Use a glue stick, not liquid glue. Liquid glue makes thin paper wavy.
- Hold each glued part for a few seconds. Especially the triangles, so the mask stays round.

A CUBI MINI MOMENT
Who will go trick-or-treating with you?
Cubi wants Mini to come along on Halloween night, in a costume that matches. Who will walk next to you?
A tiny Kuromi mask for Mini, so My Melody has her best friend with her.
Loved making it?
Catch the next make first, or save this one for a rainy day.