How to make a paper mask for Halloween? Let’s make a super cute Kuromi Halloween costume, all from paper! We will make a full Kuromi paper costume set step by step. It is perfect for Halloween or cosplay. Easy, quick and fun.
The set has a Kuromi mask with cut-out eyes, her iconic spiky neck collar, bat wings for a spooky touch and a tail shaped like an arrow. It is just paper and glue, and all the printable templates are ready to download. Fans of Sanrio characters like Hello Kitty and My Melody will love this kawaii Halloween idea too. A fun and simple paper project for Halloween parties, cosplay or cute dress-up play!
BEFORE WE START
What you need.
Materials
- Printable template
- Paper
- Glue stick
- Paper clip
Tools
- Scissors
- A printer
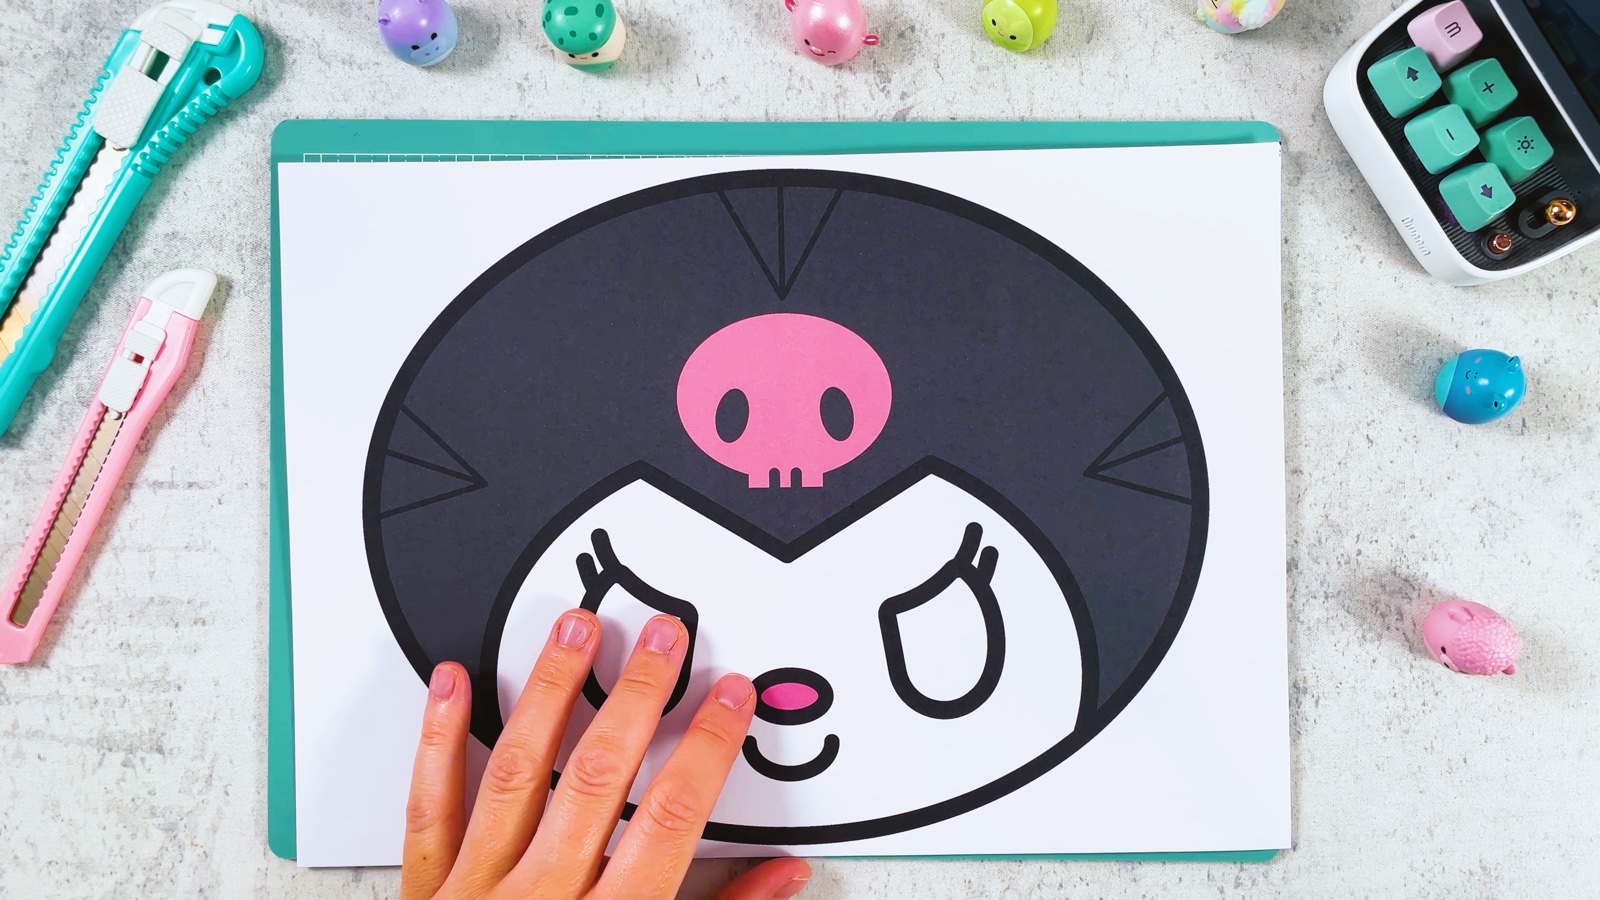
Page 1 is the mask, page 2 the ears and the tail, pages 3 and 4 the two halves of the collar, page 5 the wings. Page 6 is a small flat mask. Print on A4 (on US Letter, choose “Fit to page”).
Get the free template ↓PART 1 OF 2
The mask
- 1
Print the template
Print all six pages on one side only: the mask, the ears with the tail, the two collar halves, the wings and the small mask.
- 2
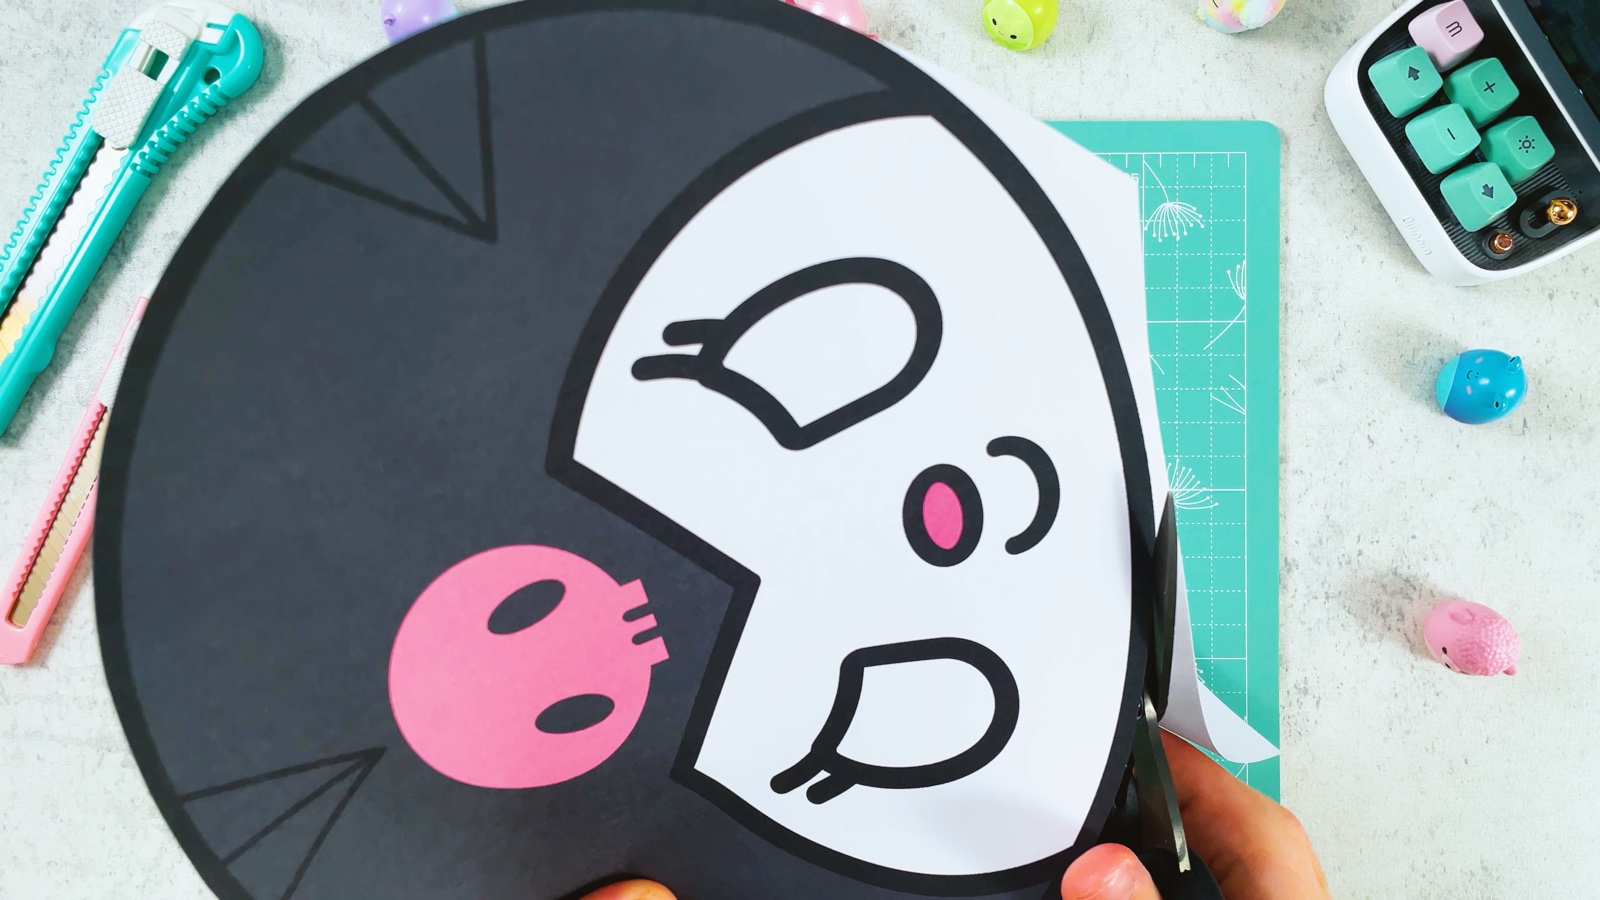
Cut out the mask
Cut out the face along the outer black outline.
- 3
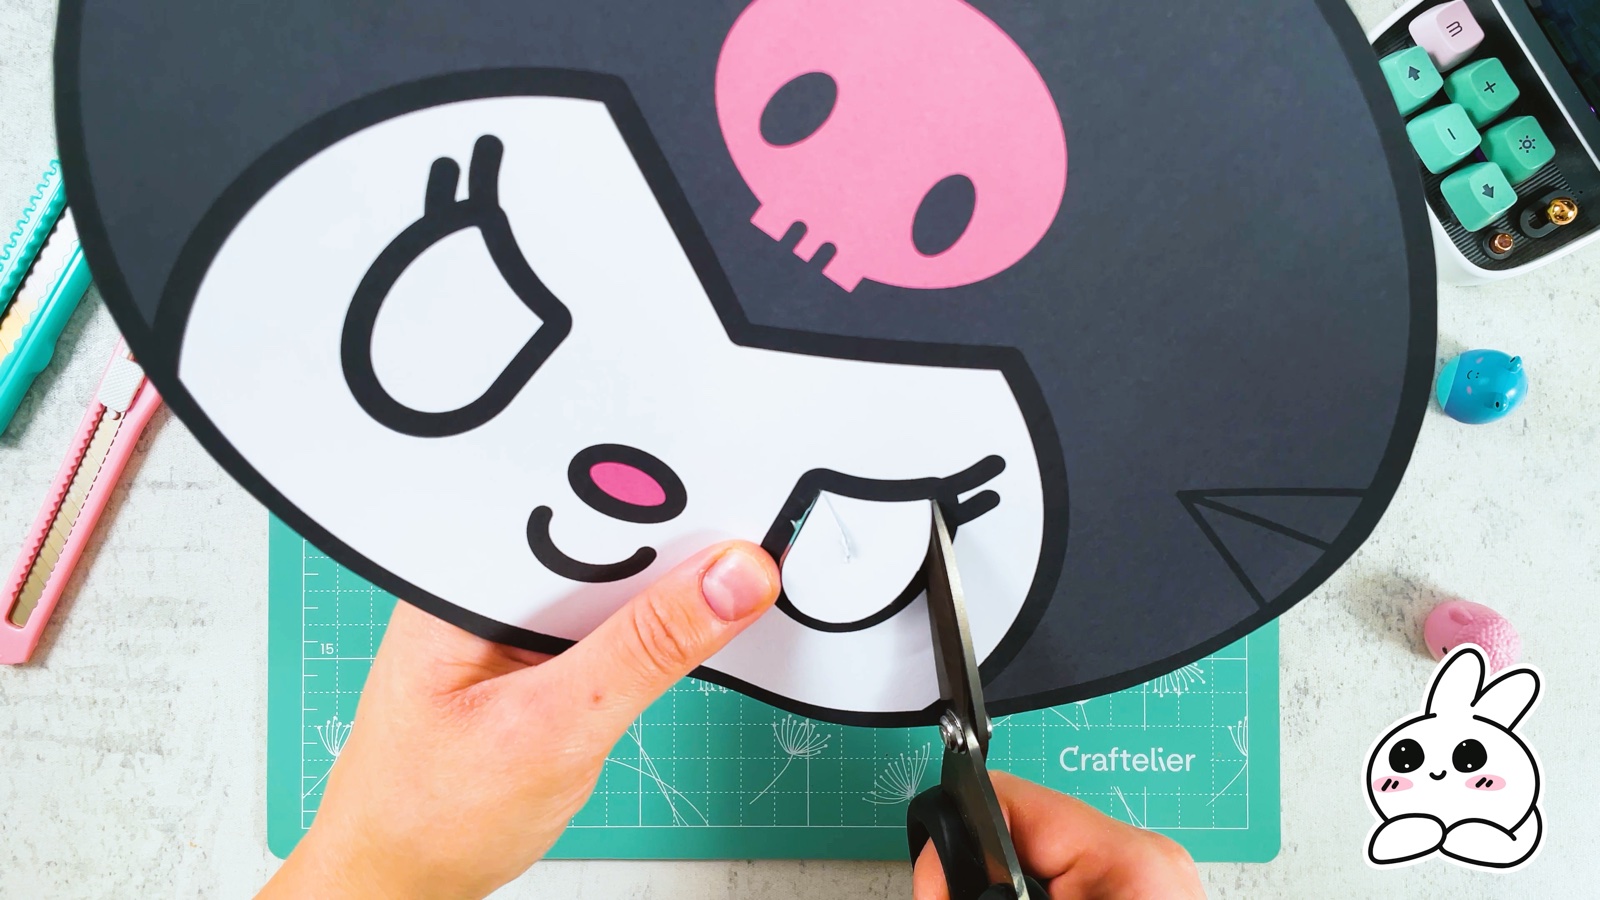
Cut out the eyes
Cut out the two eyes, inside the black lines.
- 4
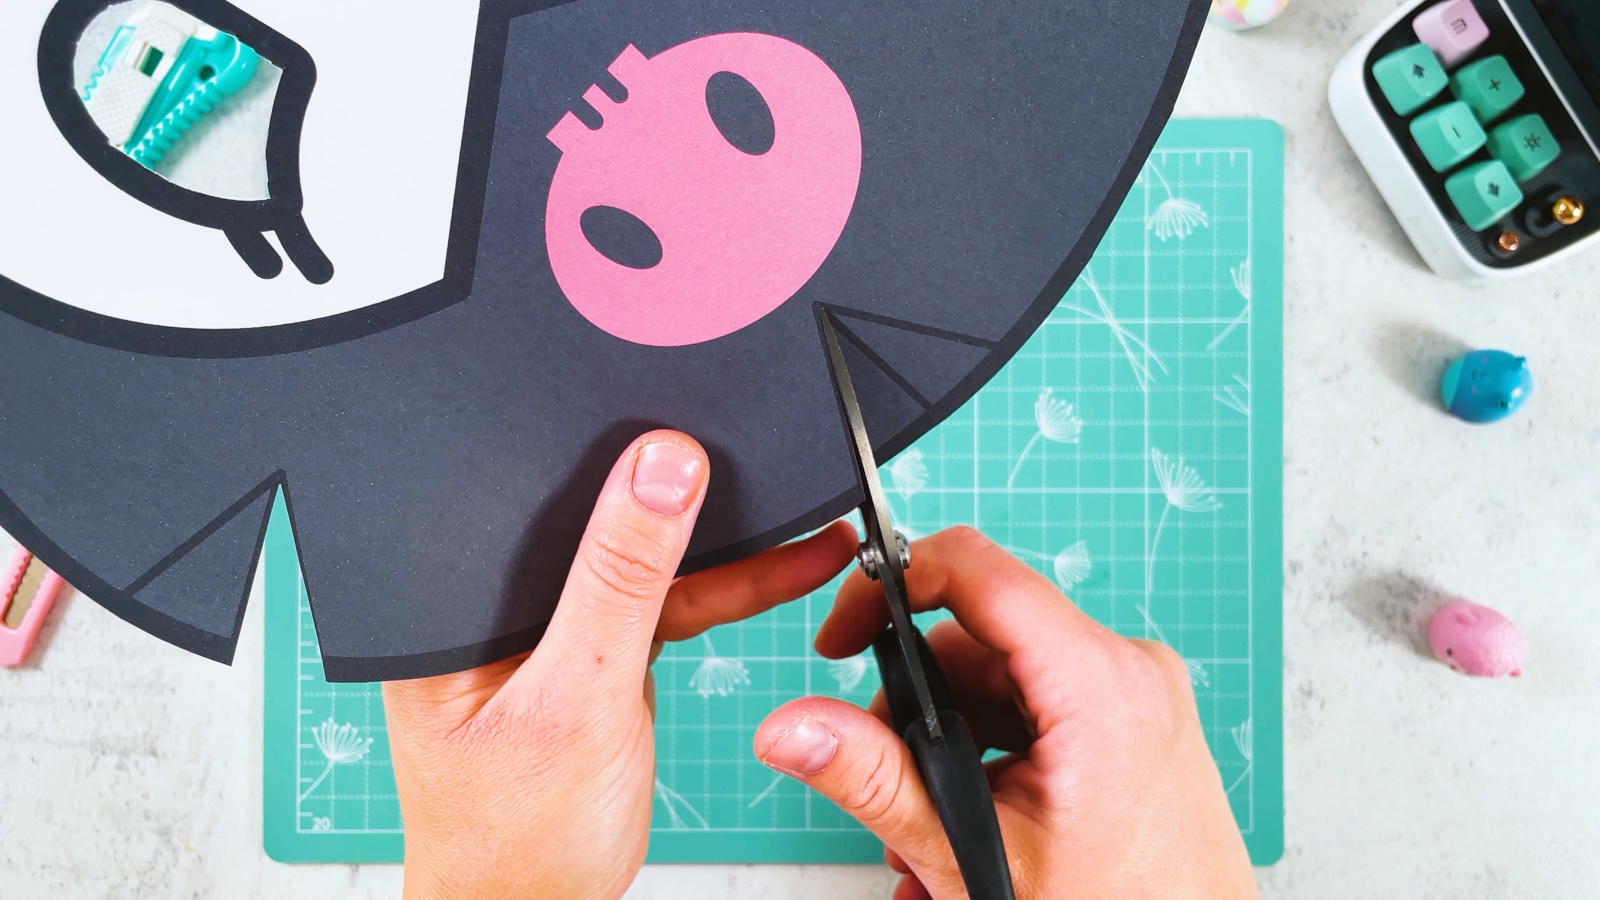
Snip the triangles
There are three triangles in the black hood: one at the top and one on each side. Each has a line in the middle. Cut along that middle line, up to the tip of the triangle.
- 5
Glue the triangles
Put glue on one half of a triangle. Slide the other half over it until the two outer lines meet, and press.
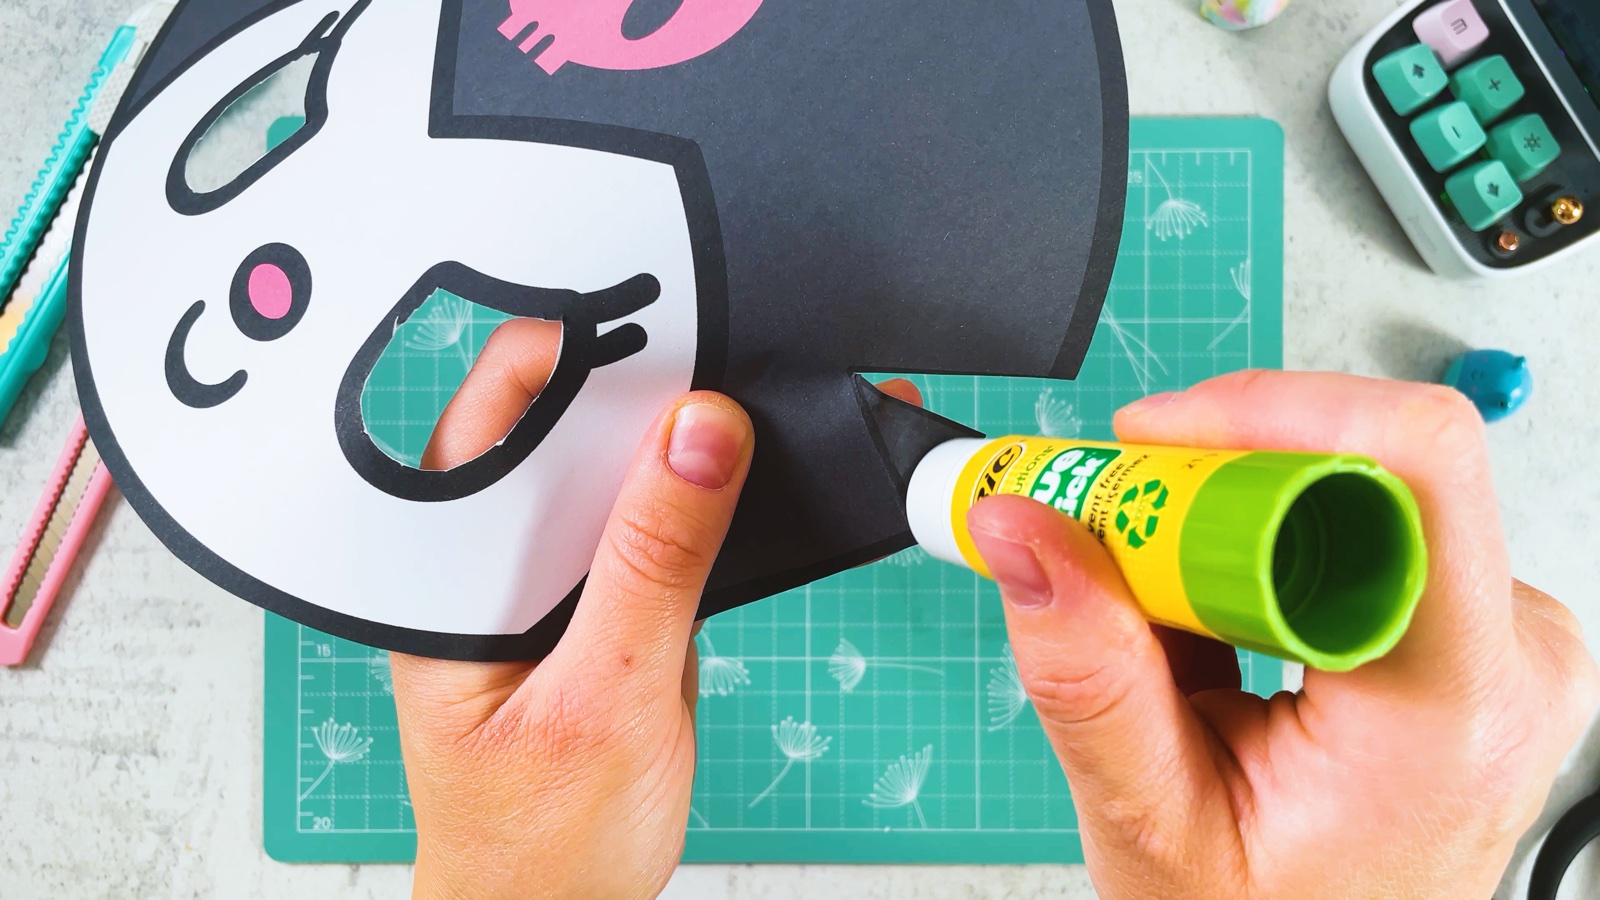
Do the same with all three. Now the mask is round, like a real head.
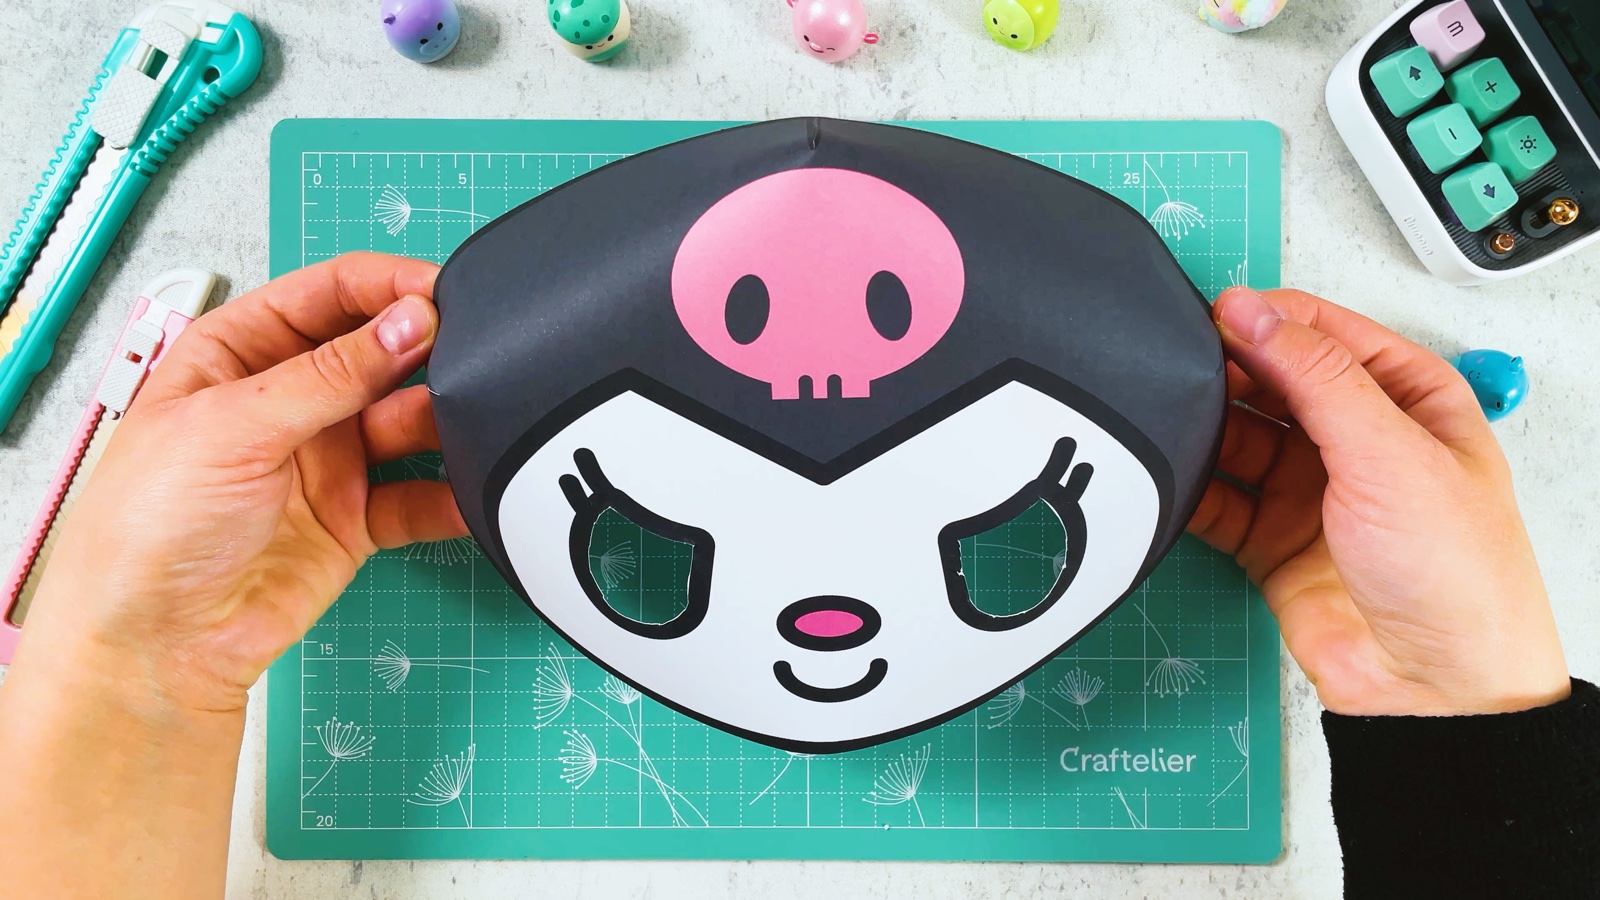
- 6
Cut out the ears
Cut out both ears along the black outline, together with the round tips.
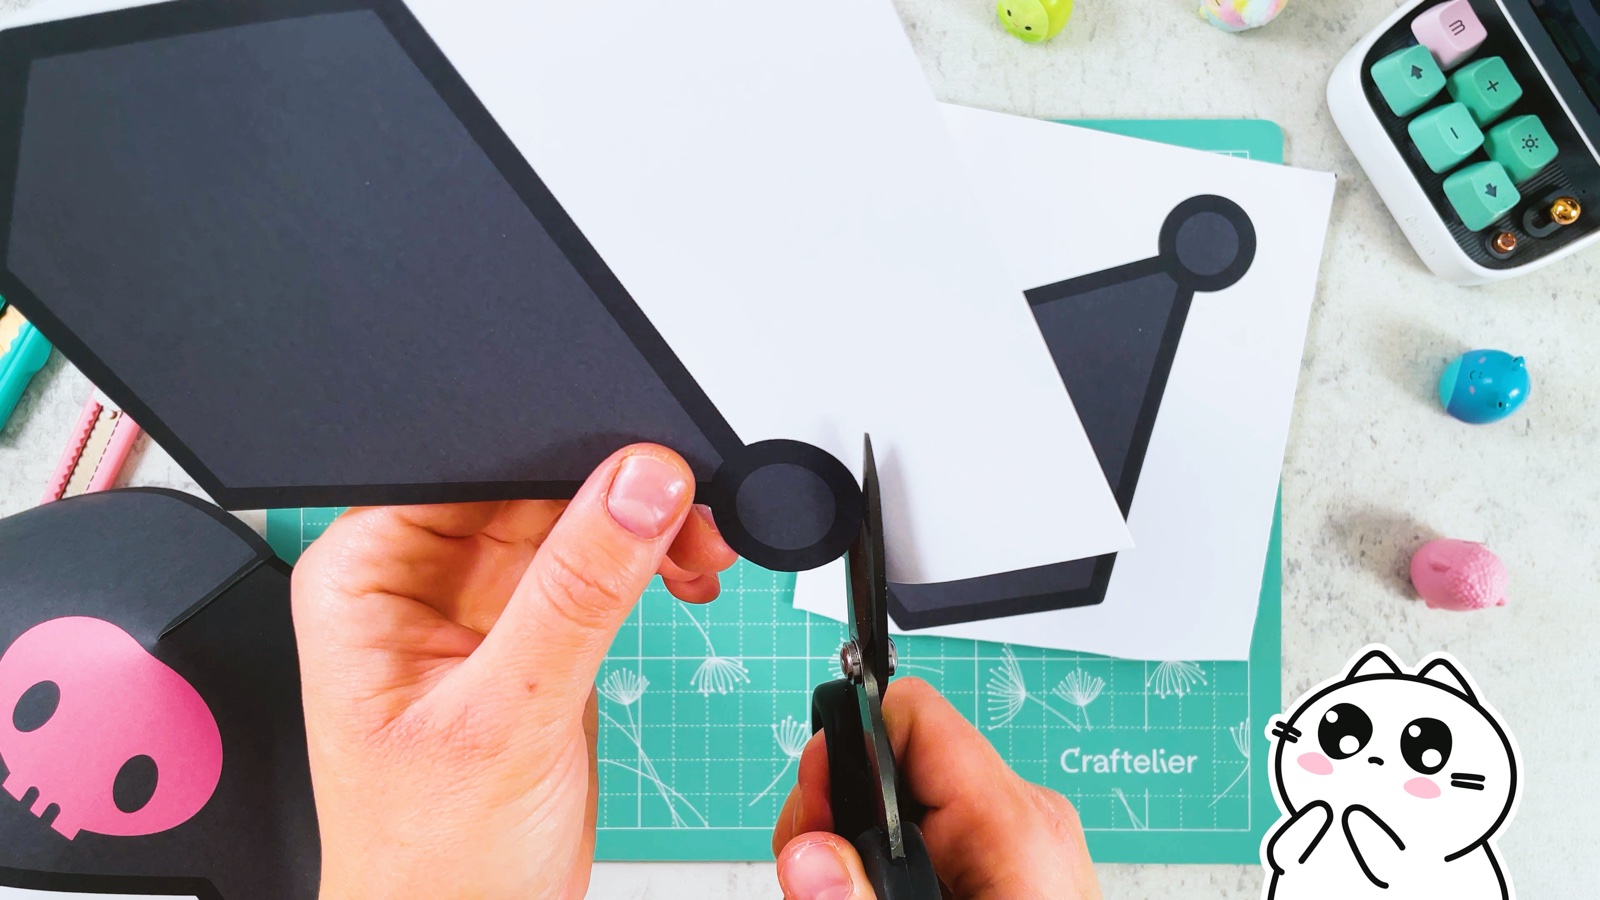
- 7
Fold the ears
Fold the bottom edge of each ear back a little. This flap is where the glue goes.
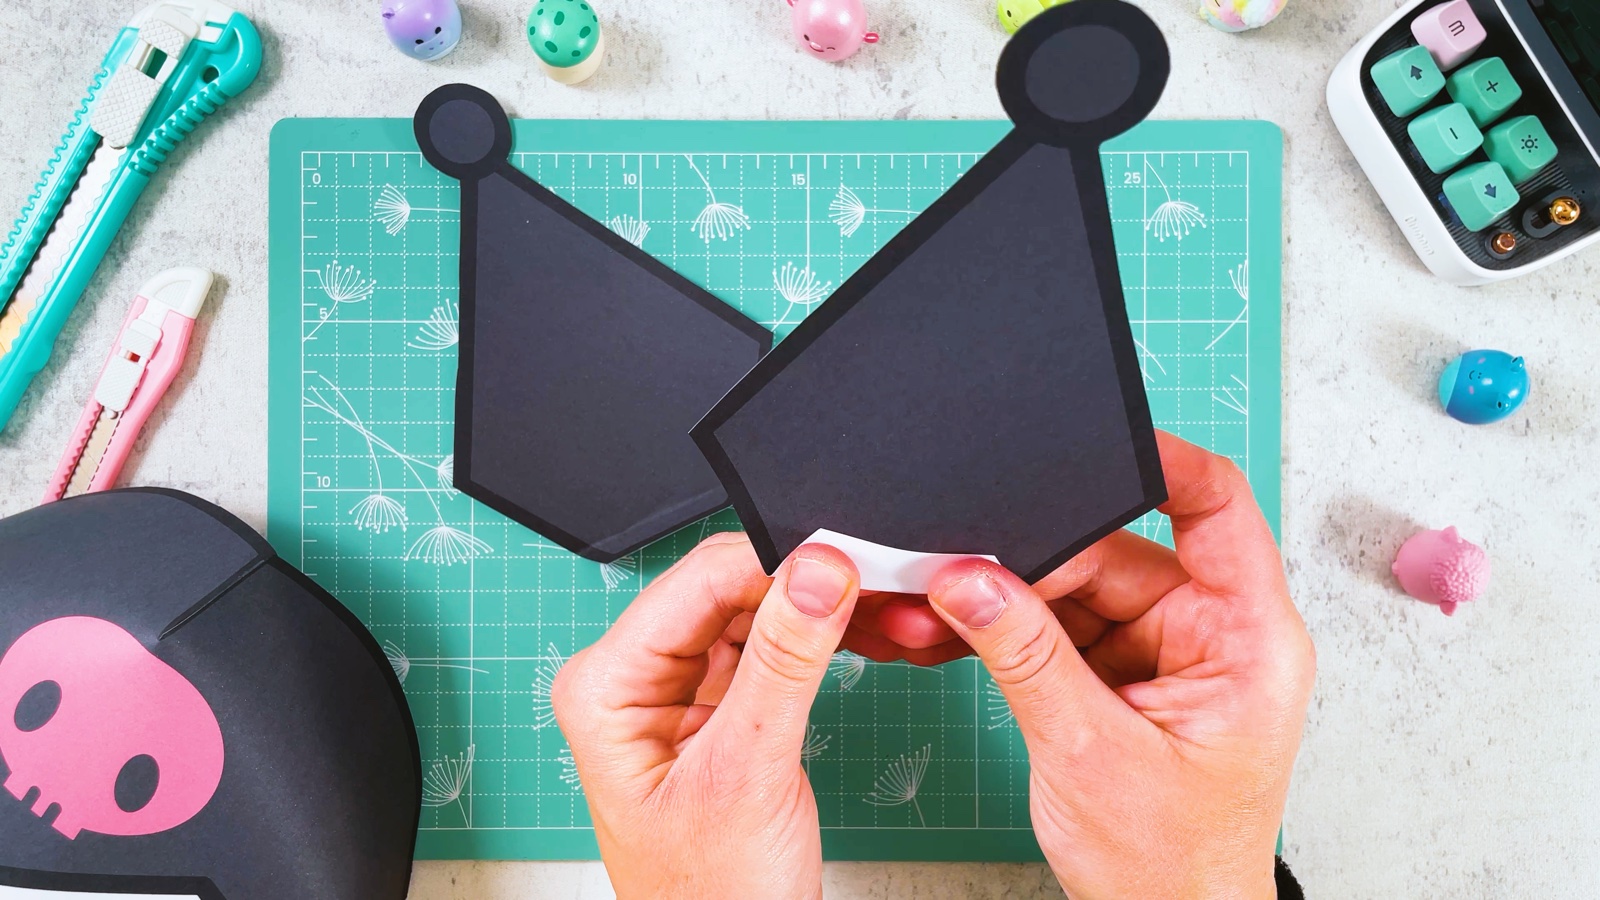
- 8
Glue on the ears
Put glue on the flap and press it to the back of the hood, near the top. Do the same with the other ear.
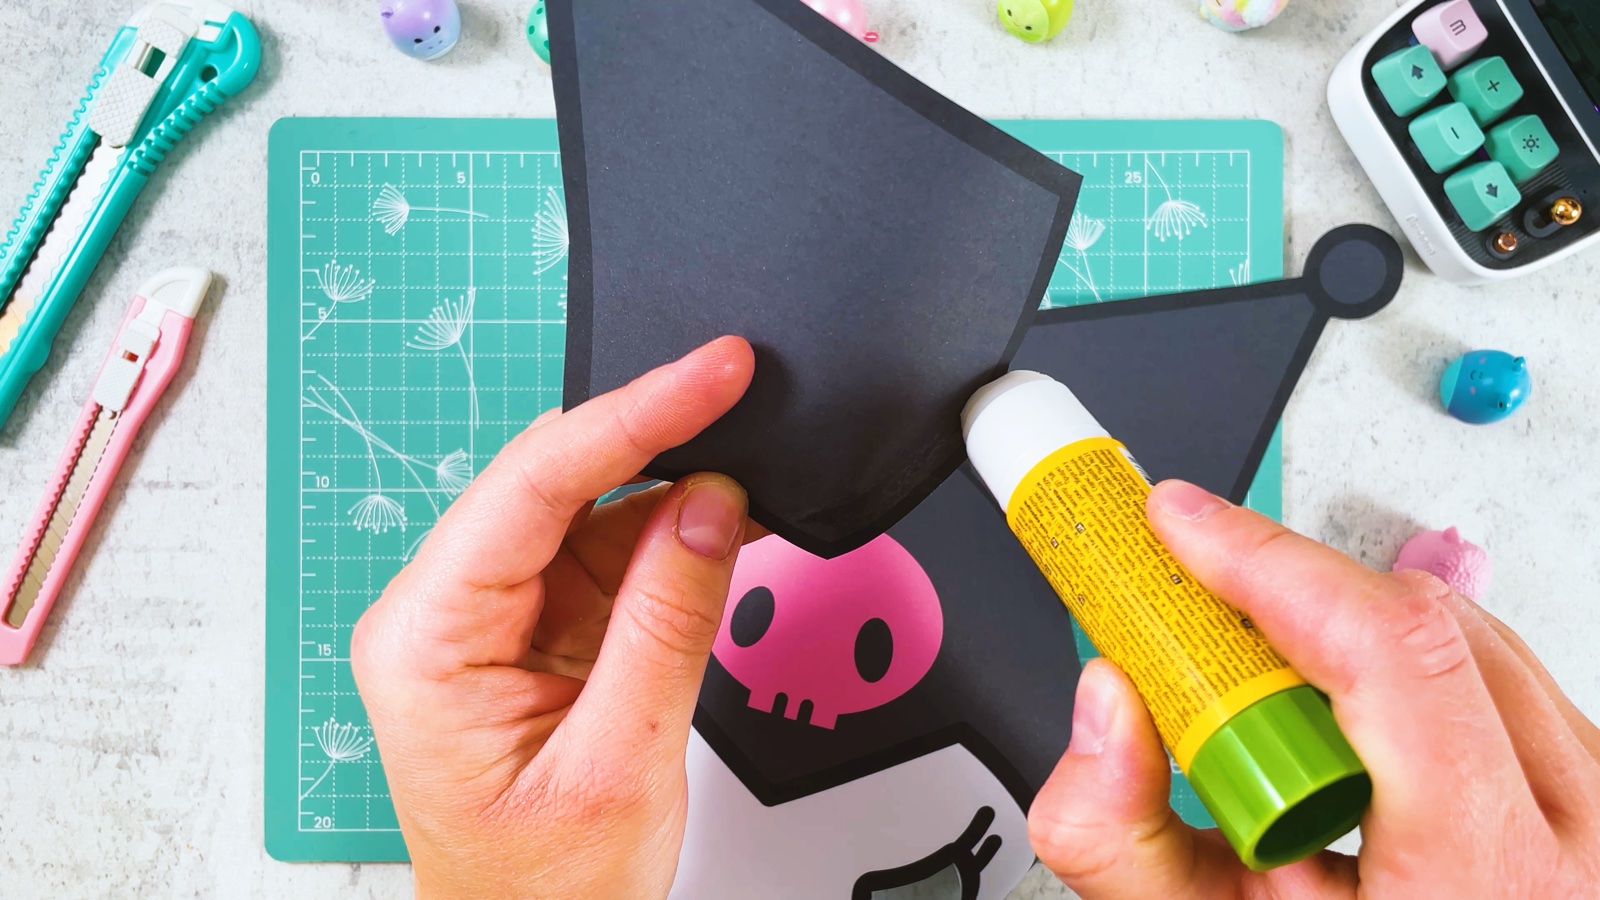
Now Kuromi has her pointy ears.
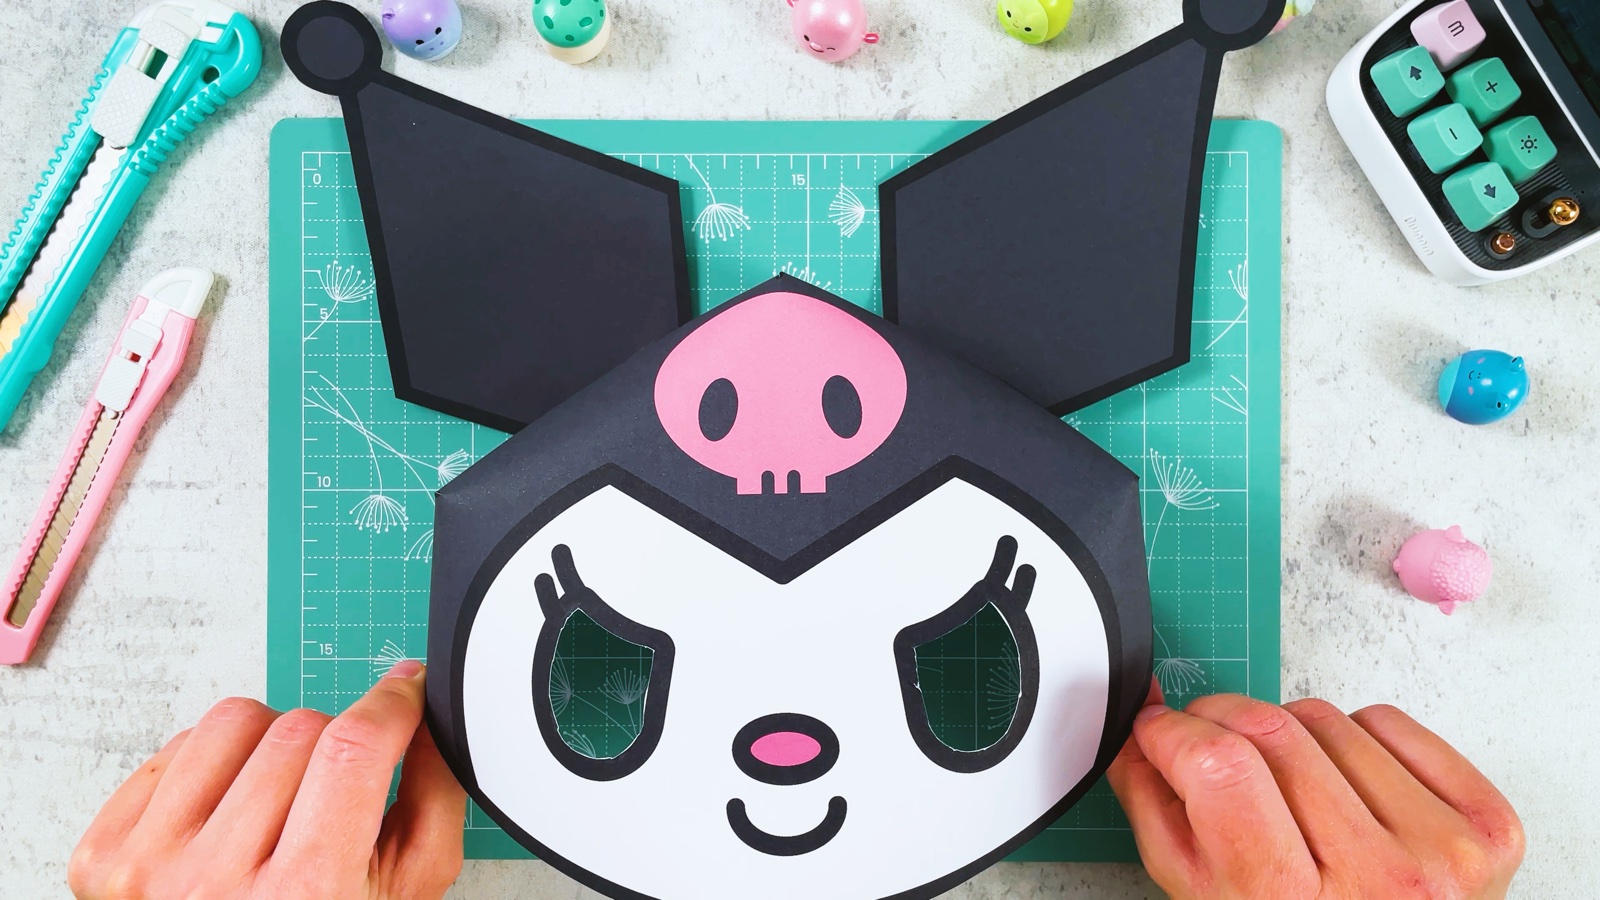
Kuromi’s mask is ready.
PART 2 OF 2
The costume
- 9
Cut out the collar
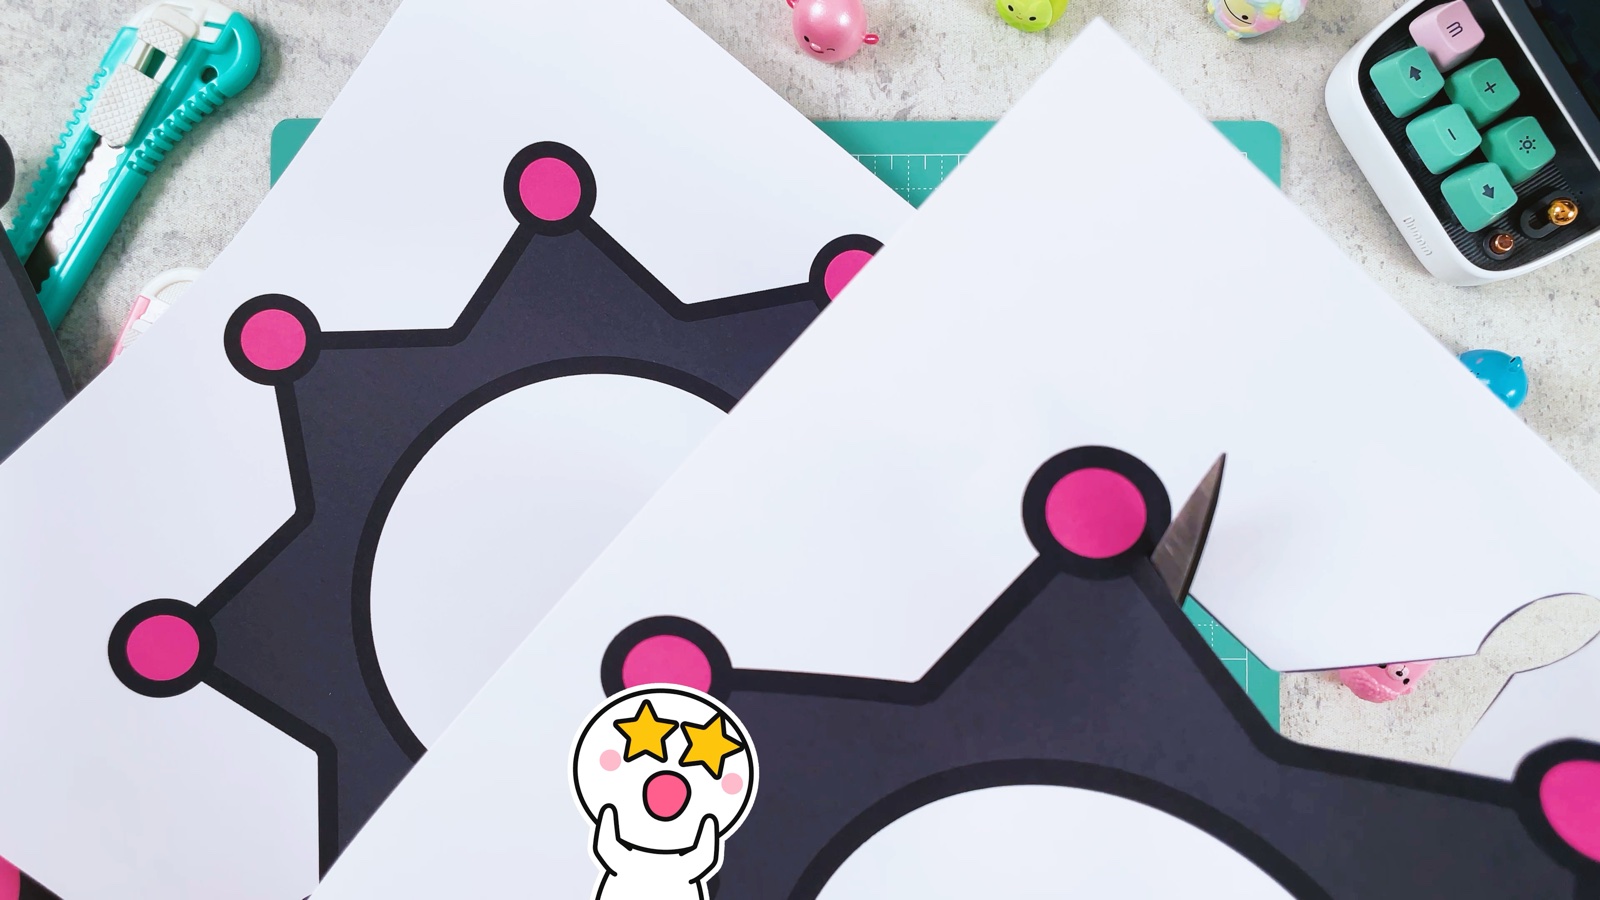
Cut out both collar halves along the outer black outline. Then cut out the white half circle in each one.
- 10
Join the collar
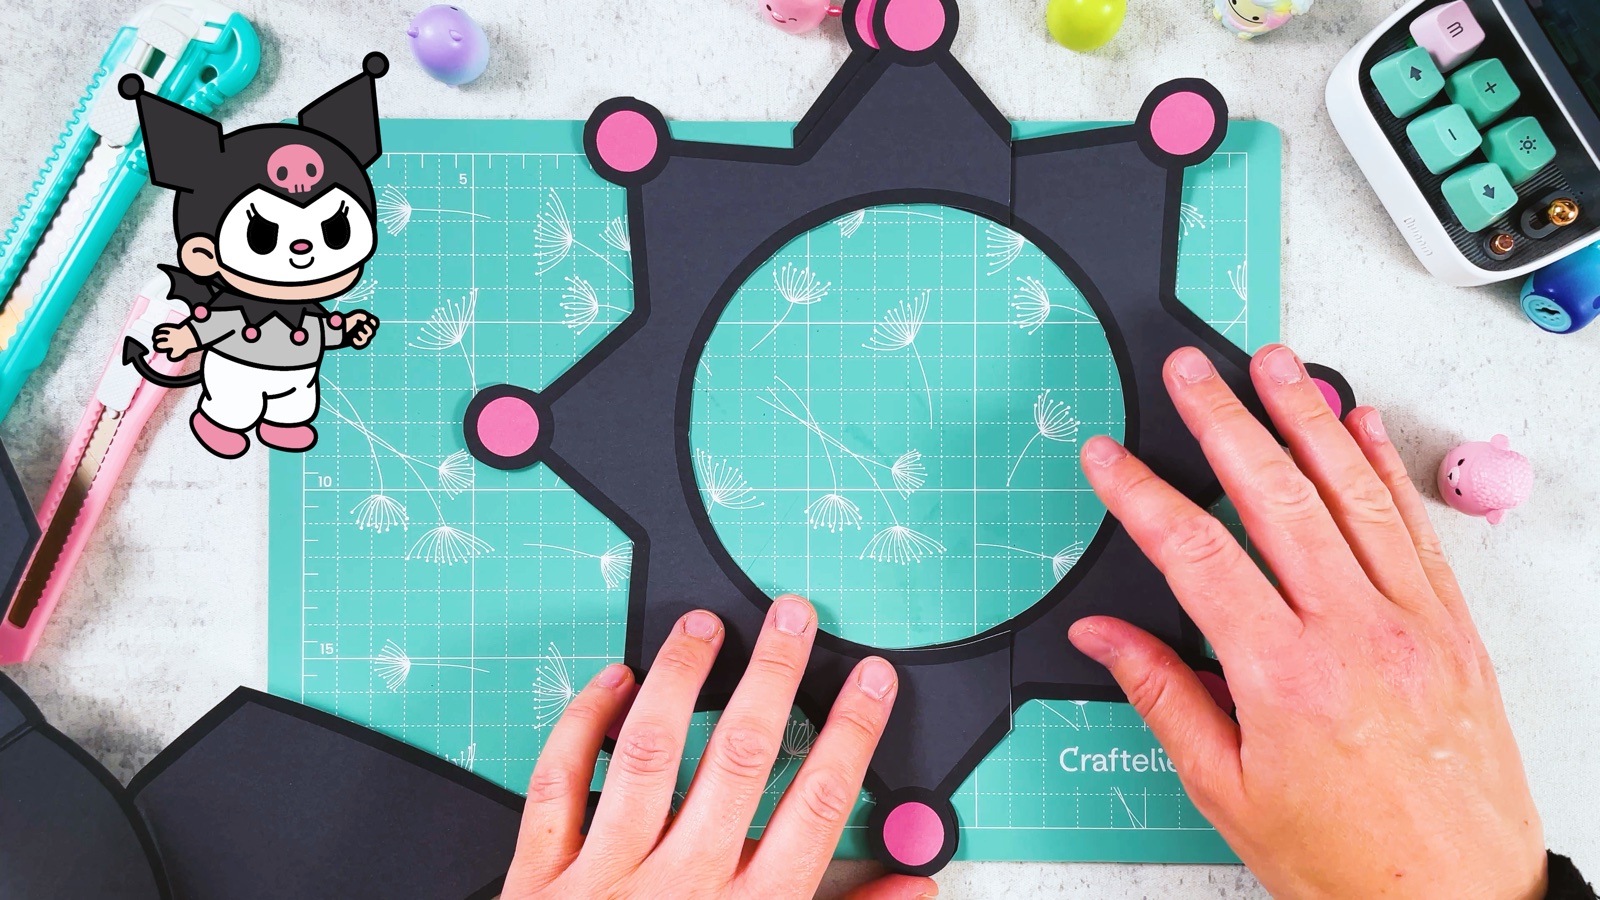
Lay the two halves next to each other so they make a ring. Glue them together at one end.
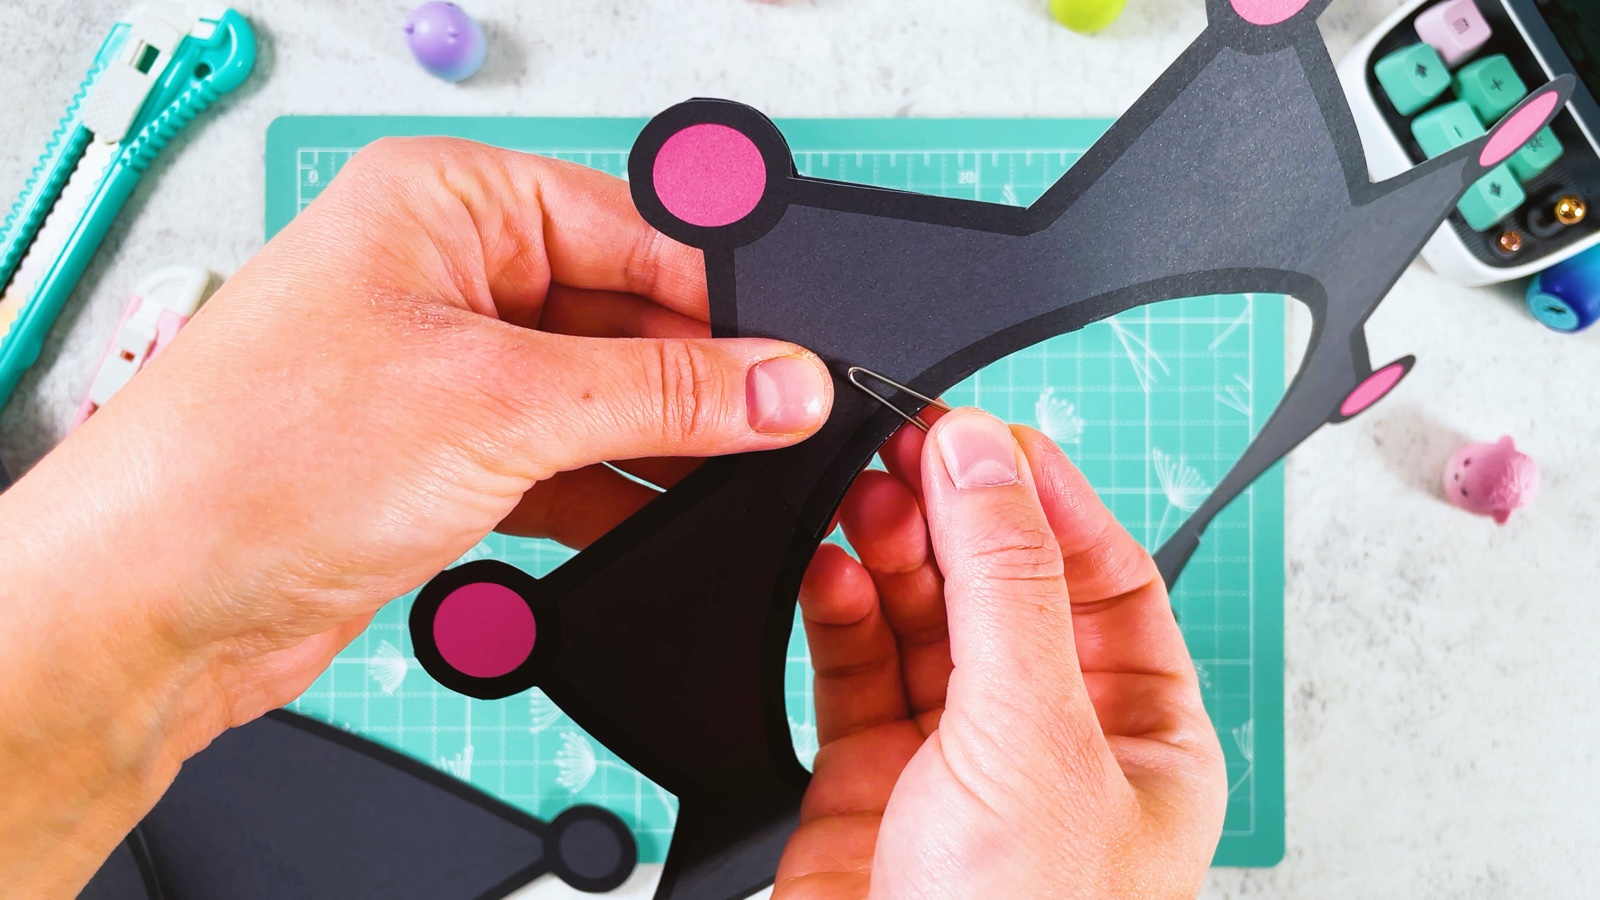
Hold the other end together with a paper clip. Now the collar opens there, so it goes around the neck.
- 11
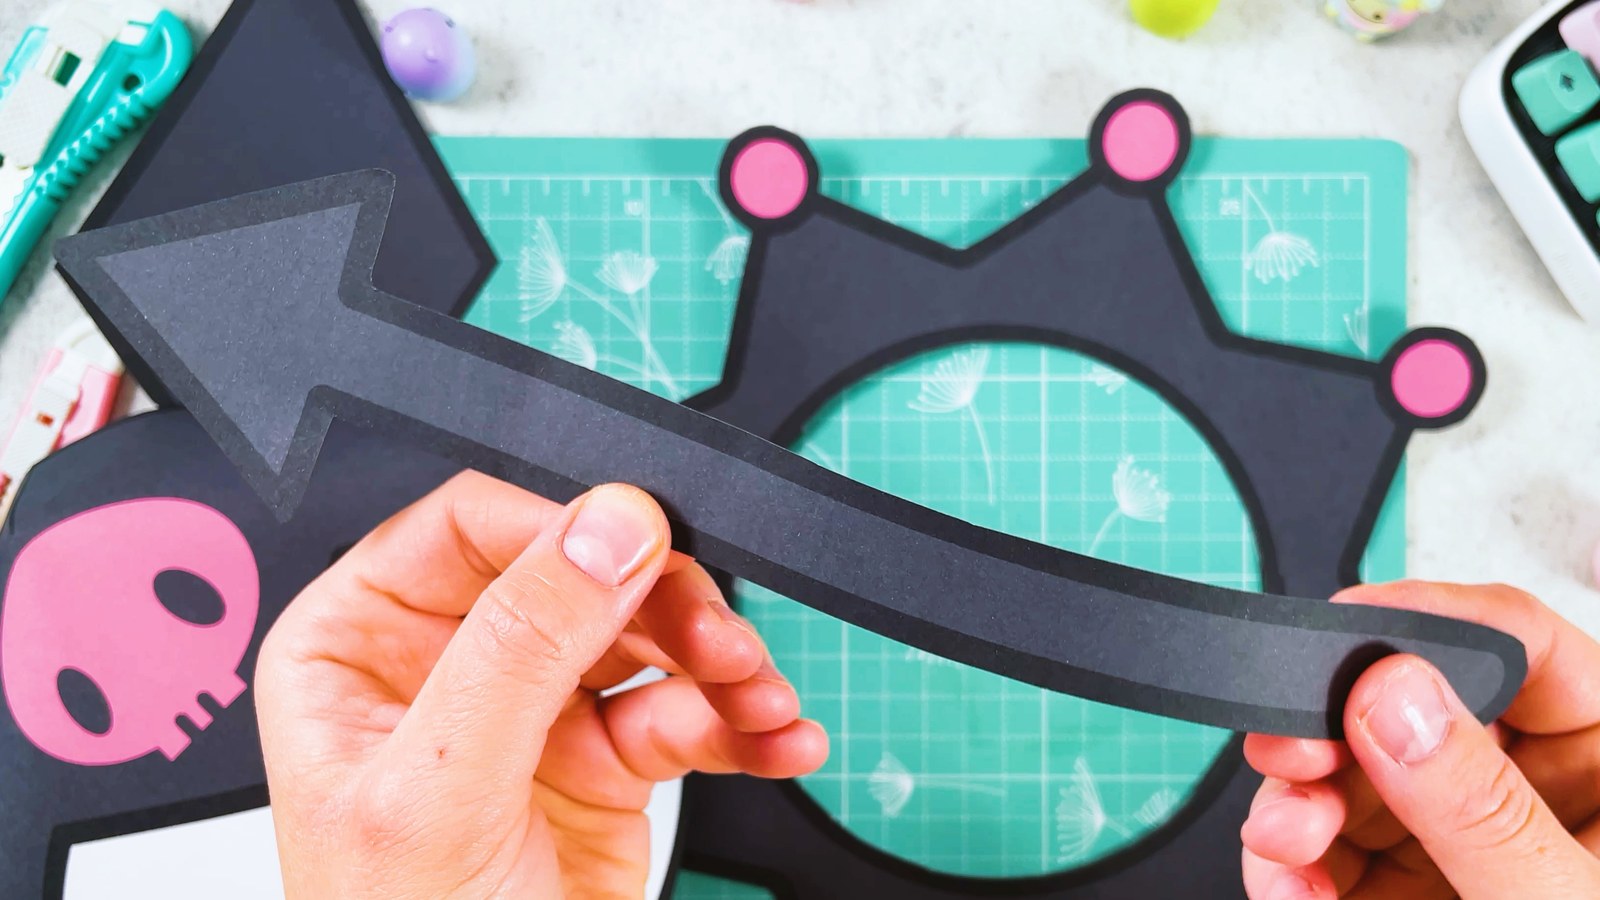
Cut out the tail
Cut out the long tail with the arrow tip.
- 12
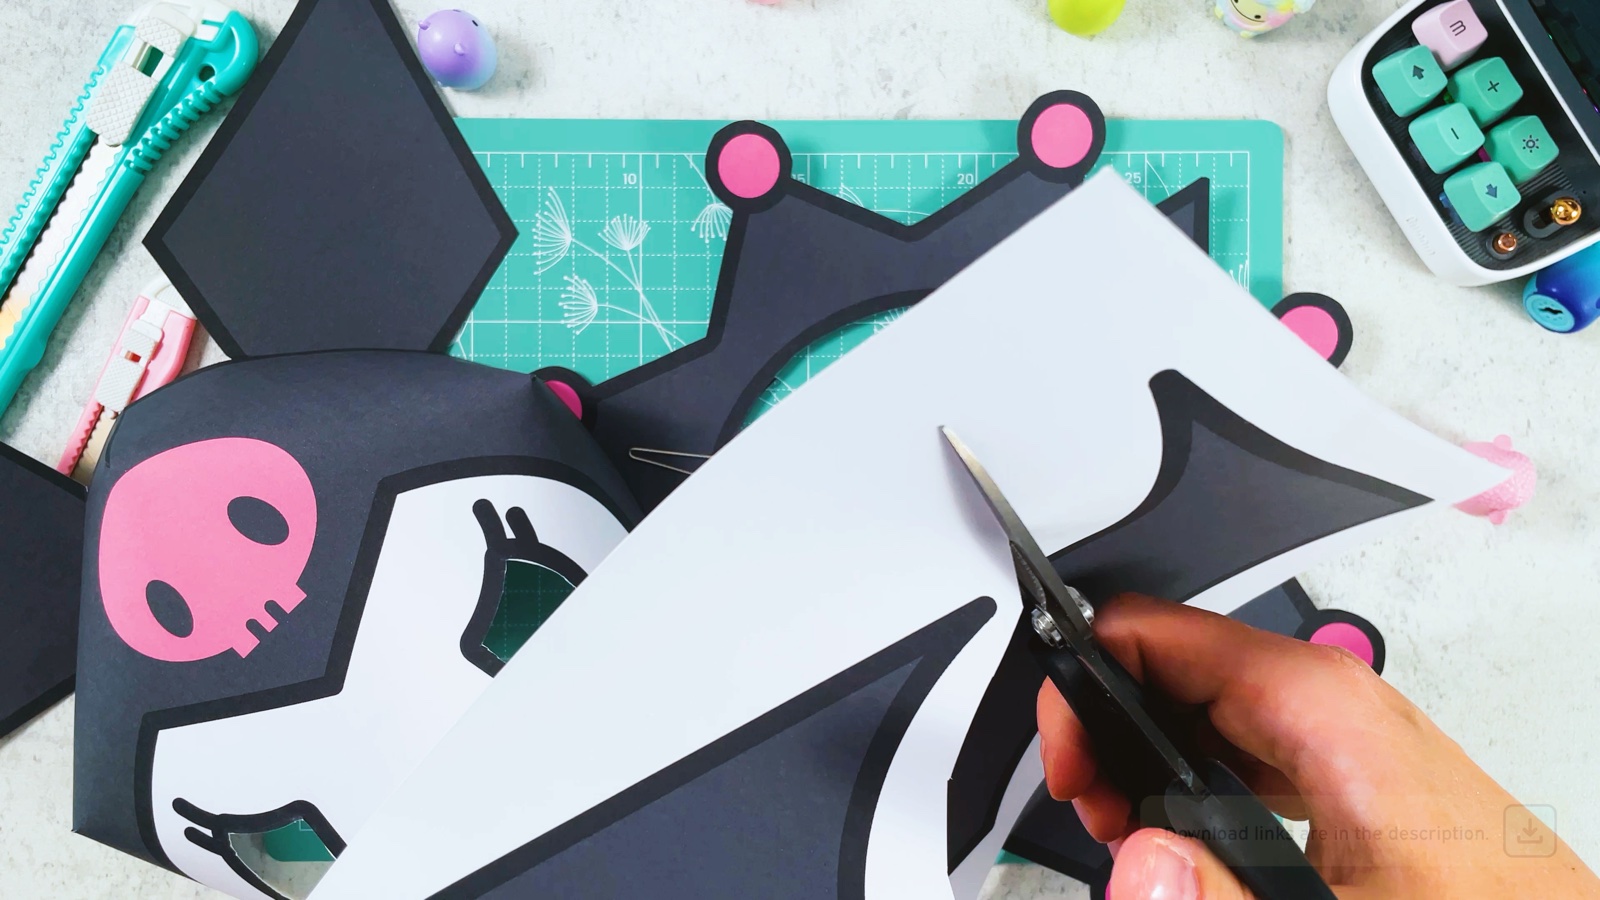
Cut out the wings
Cut out both bat wings along the black outline. Take your time on the round bumps.
- 13
Put it all together
Put the collar around the neck, add the wings and the tail, and hold the mask up to the face.
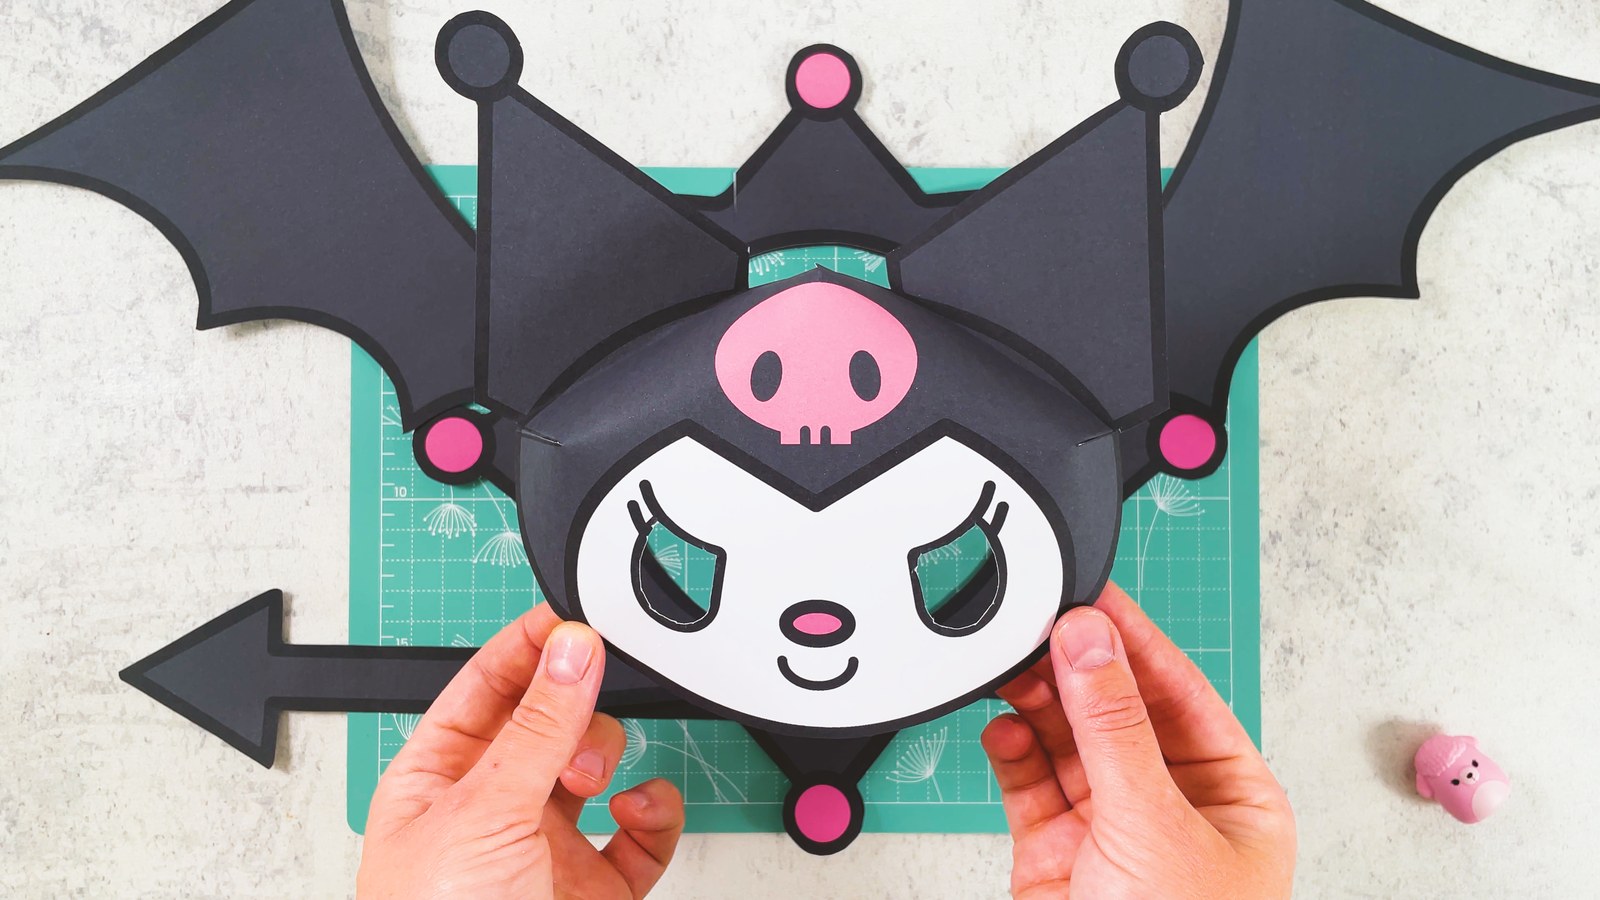
Kuromi’s costume is ready.
THREE LITTLE TIPS
Make it easier.
- Use a glue stick, not liquid glue. Liquid glue makes thin paper wavy.
- Hold each glued part for a few seconds. Especially the triangles, so the mask stays round.
- Need a smaller mask? Page 6 is a small, flat Kuromi mask with the ears already on. Cut it out and cut out the eyes, that’s all.

A CUBI MINI MOMENT
Who will be your Halloween best friend?
Cubi thinks Kuromi needs a friend for trick-or-treating, so Mini is making one too. Who will go with you?
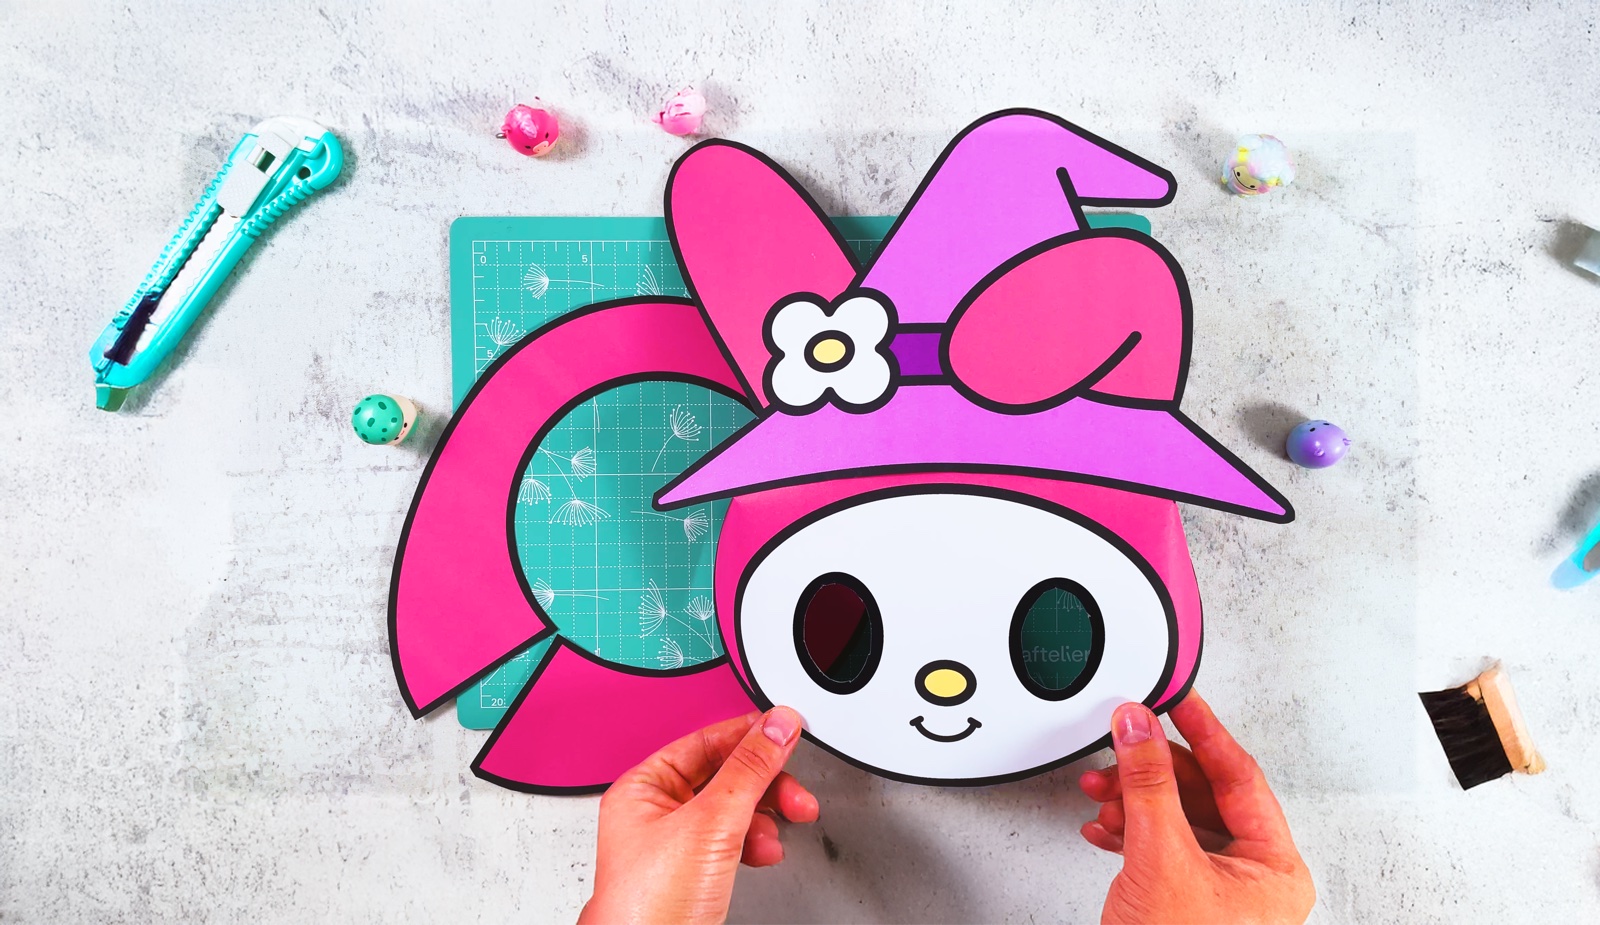
A matching My Melody mask, so the two best friends can walk side by side.
Loved making it?
Catch the next make first, or save this one for a rainy day.