Let’s make the cutest Halloween treat bags ever! Cubi shows us step by step how to make tiny paper candy bags, perfect for trick-or-treating or for giving sweets to friends.
There is a whole spooky-sweet gang to choose from: a pumpkin, a ghost, a spider, a vampire, a witch and Frankenstein. The template comes in two sizes: SMALL for a few candies and BIG if you want to fit more Halloween treats.
The bags are not only for candies. Put them on your Halloween table, use them as party favours, add them to your Halloween decorations or make a set for classroom treats.
BEFORE WE START
What you need.
Materials
- Printable template
- White printer paper
- Glue stick
- Candies
Tools
- Scissors
- Paper trimmer (optional)
- A printer
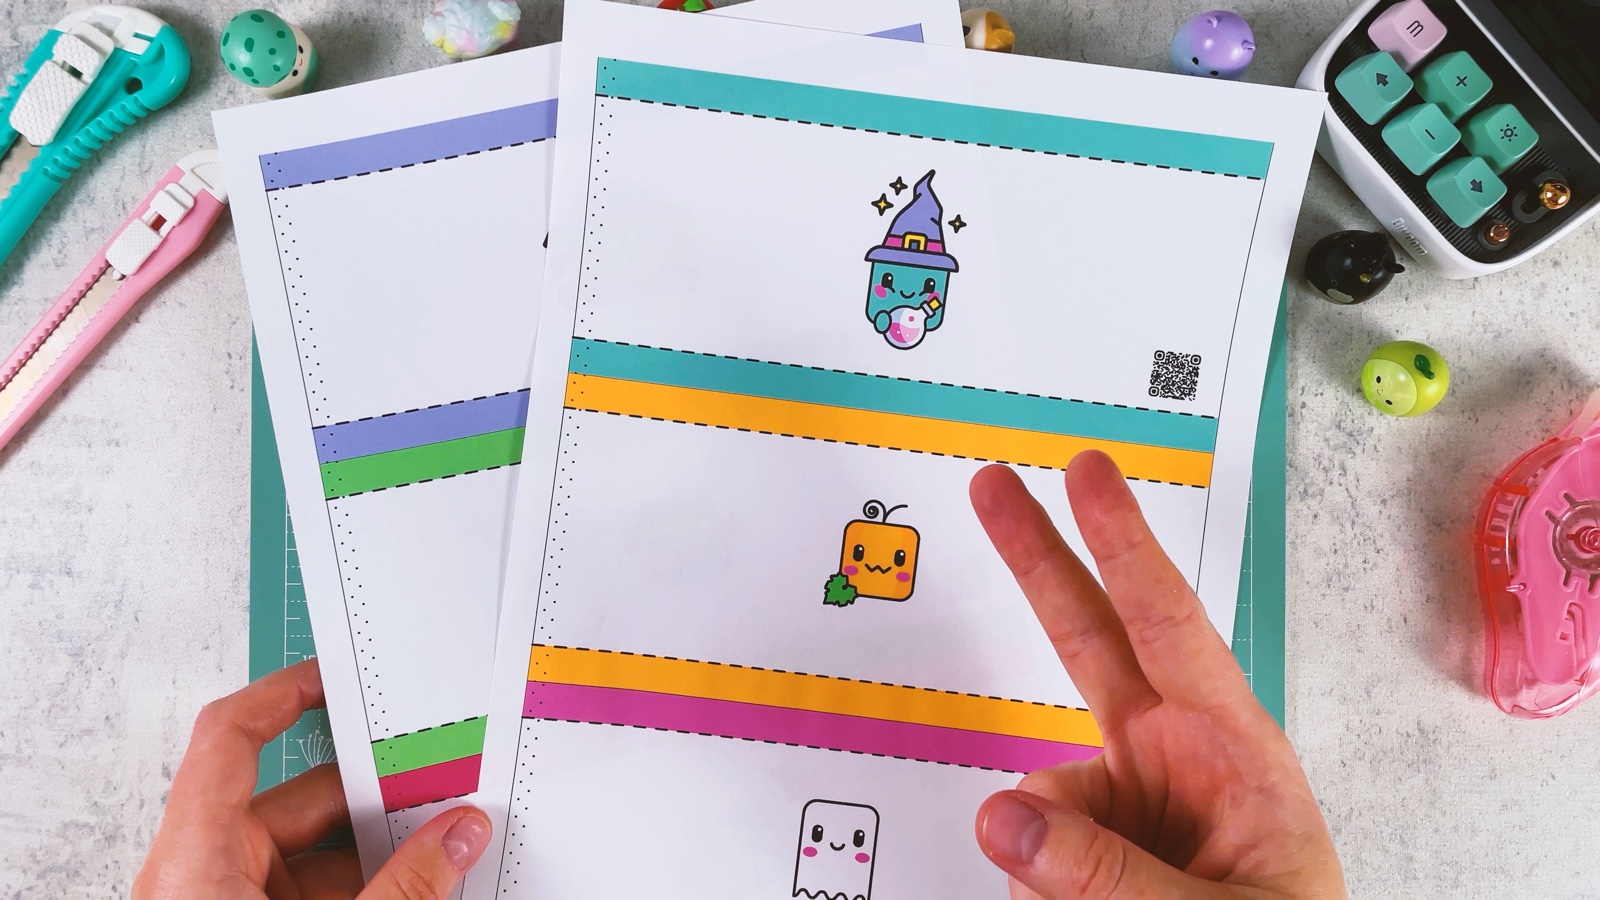
Pages 1–2 are the SMALL bags (three on a page), pages 3–5 are the BIG bags (two on a page). Print only the size you want.
Get the free template ↓STEP BY STEP
Let’s make it.
- 1
Print the template
Print the size you like on A4 paper (on US Letter, choose “Fit to page”). Each strip between two coloured bands is one bag.
- 2
Cut out the strips
Cut out each strip along the outer edges of the coloured bands. A paper trimmer makes long straight cuts quick, but scissors work too.
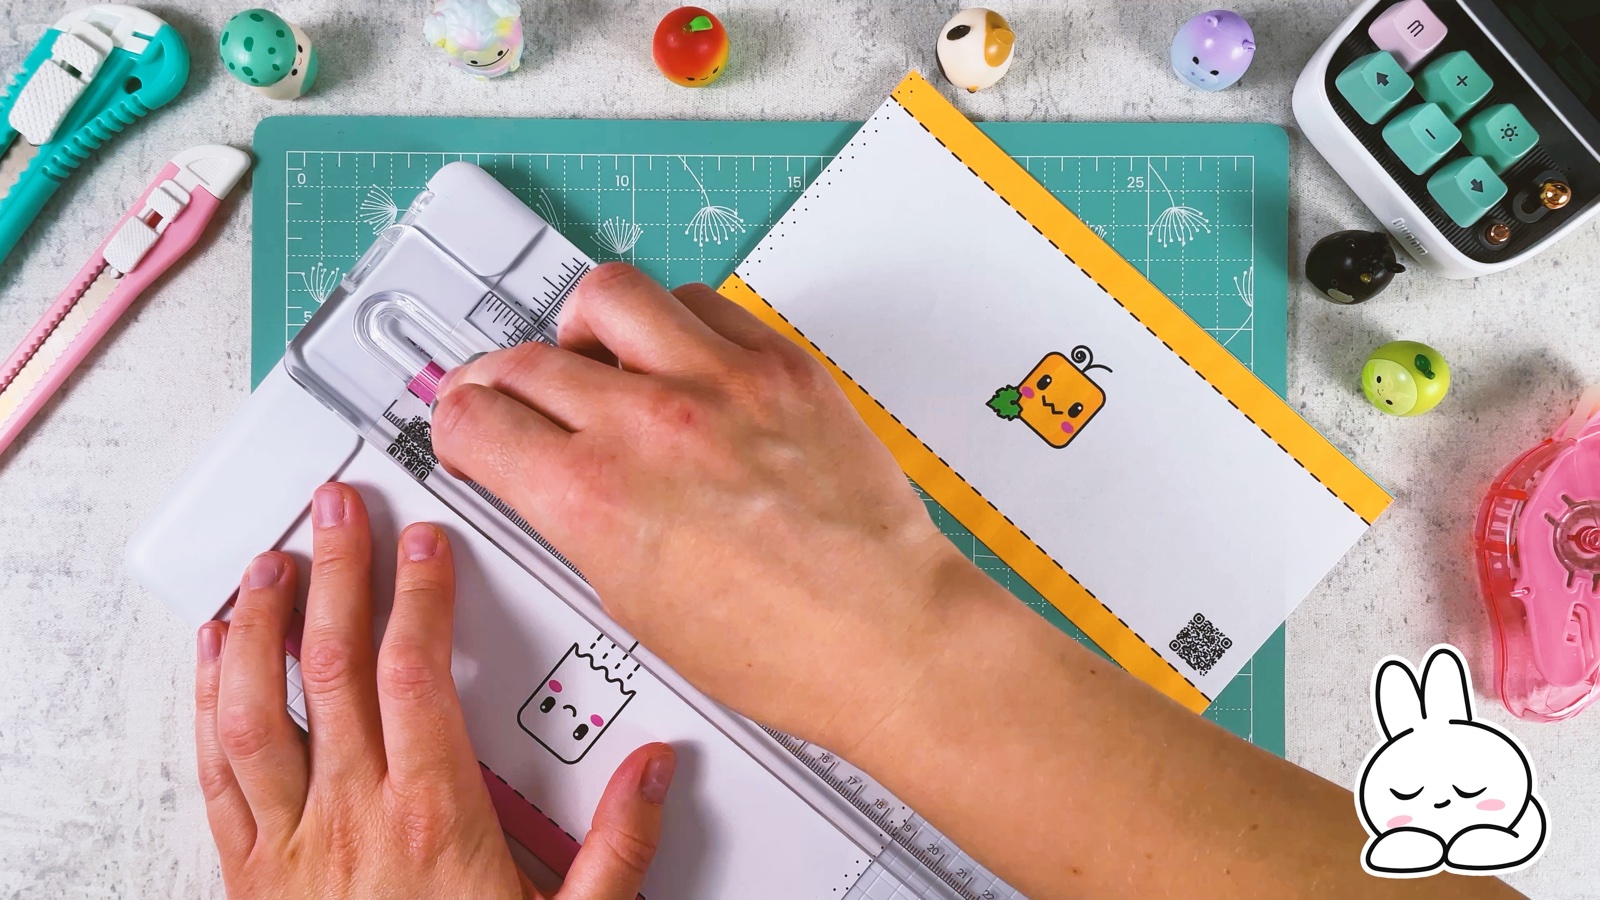
- 3
Glue it into a tube
Lay the strip face up. Put glue on the dotted strip at the short edge.
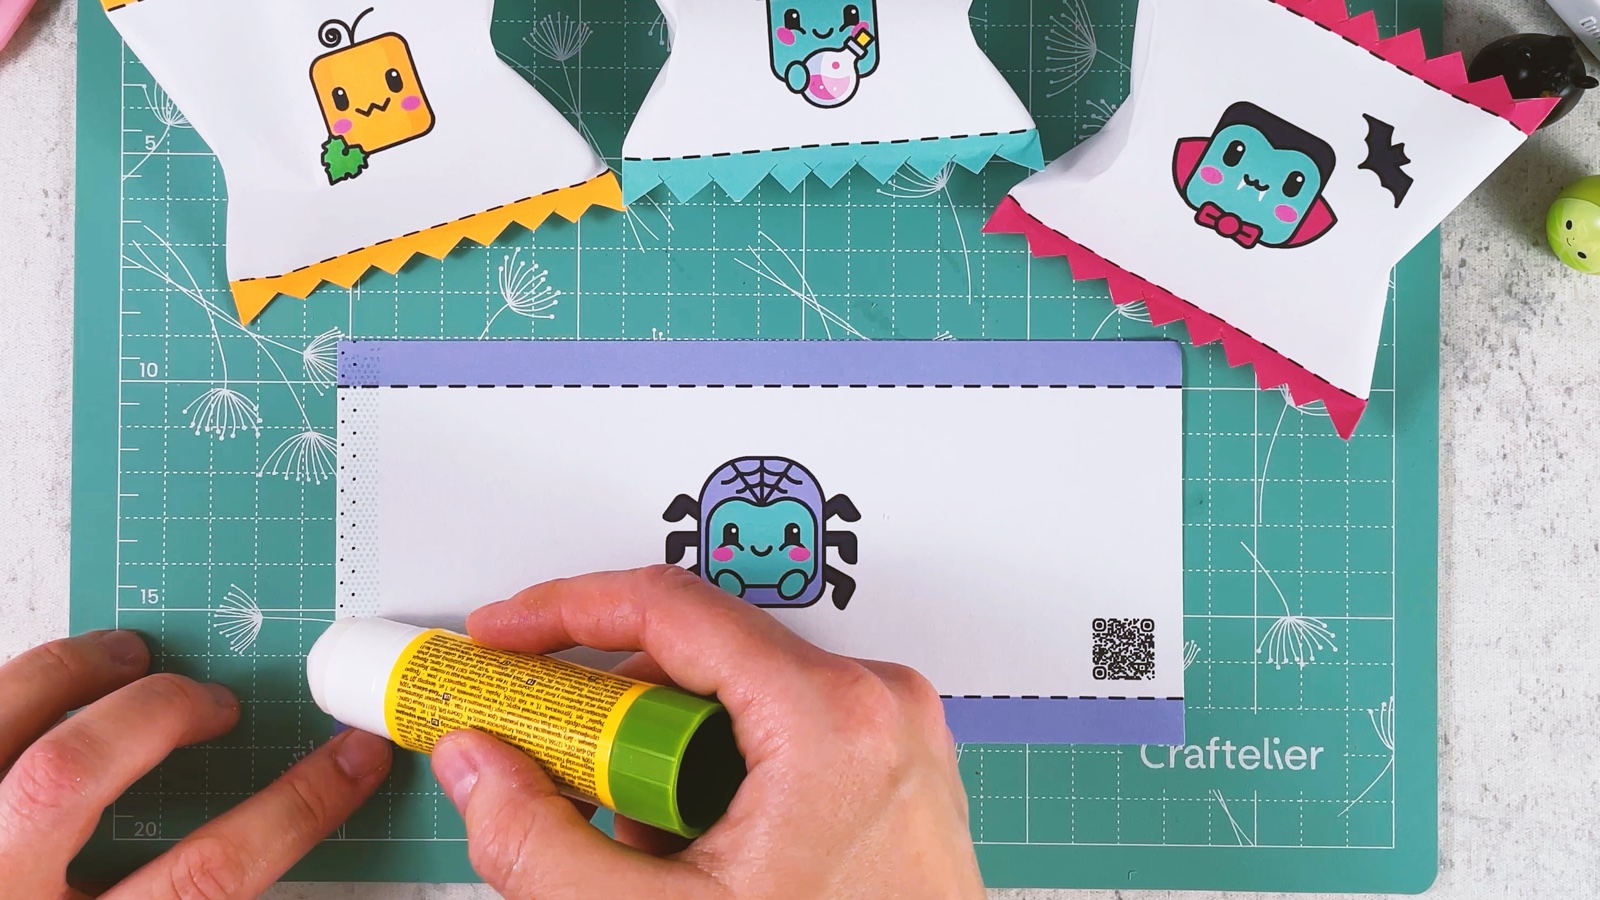
Turn the strip over and bring both short ends to the middle. Lay the other end over the glued strip and press. Now you have a flat tube.
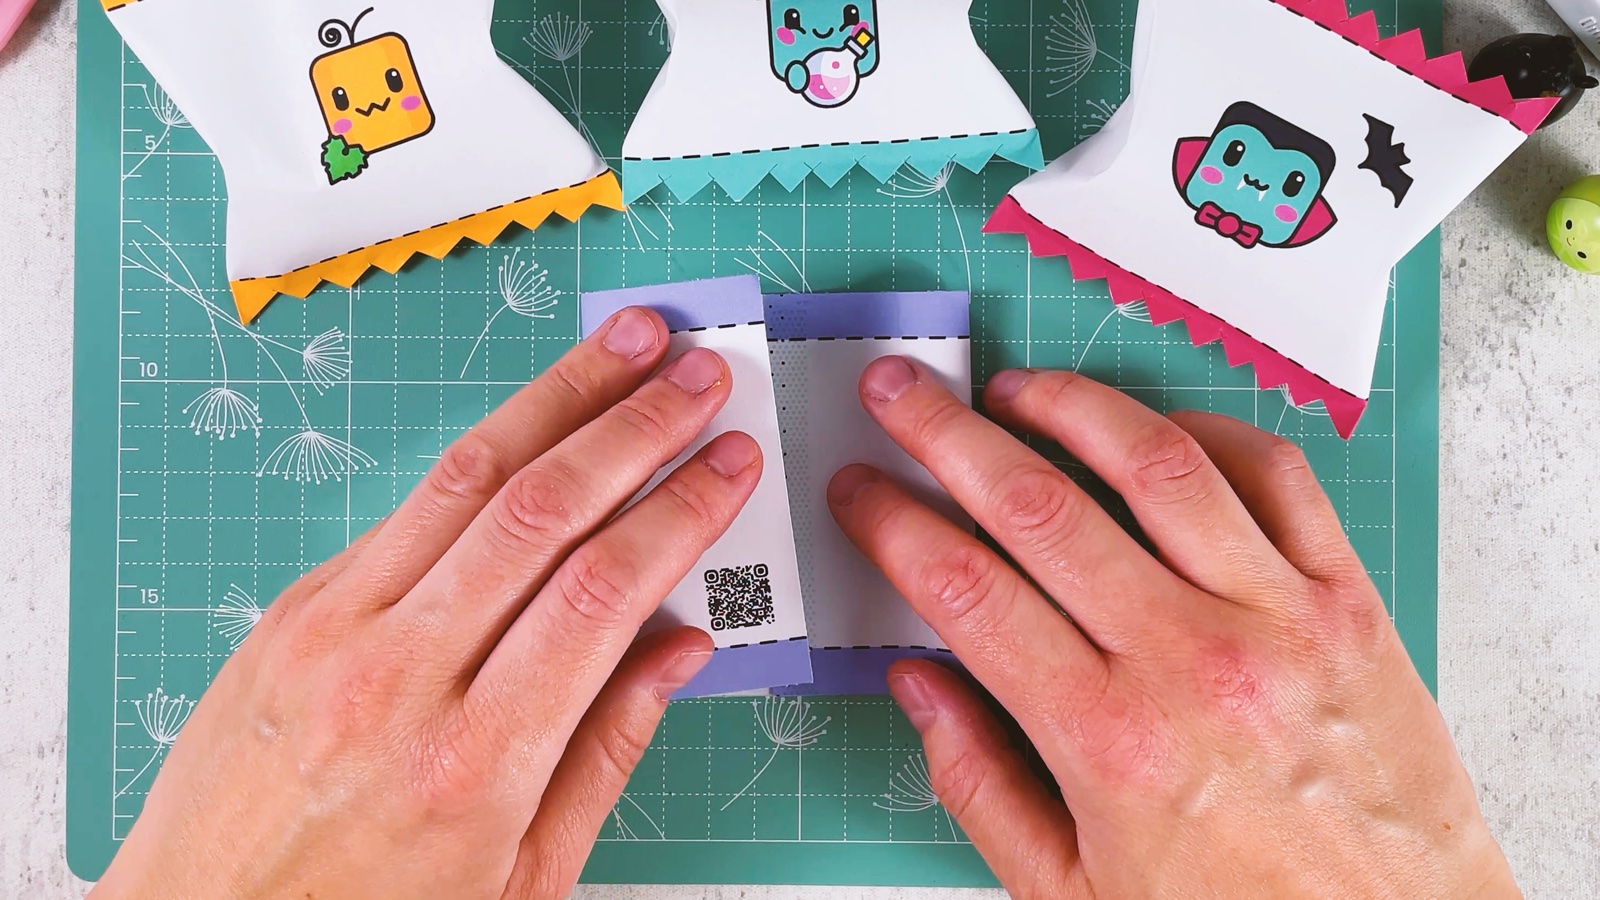
- 4
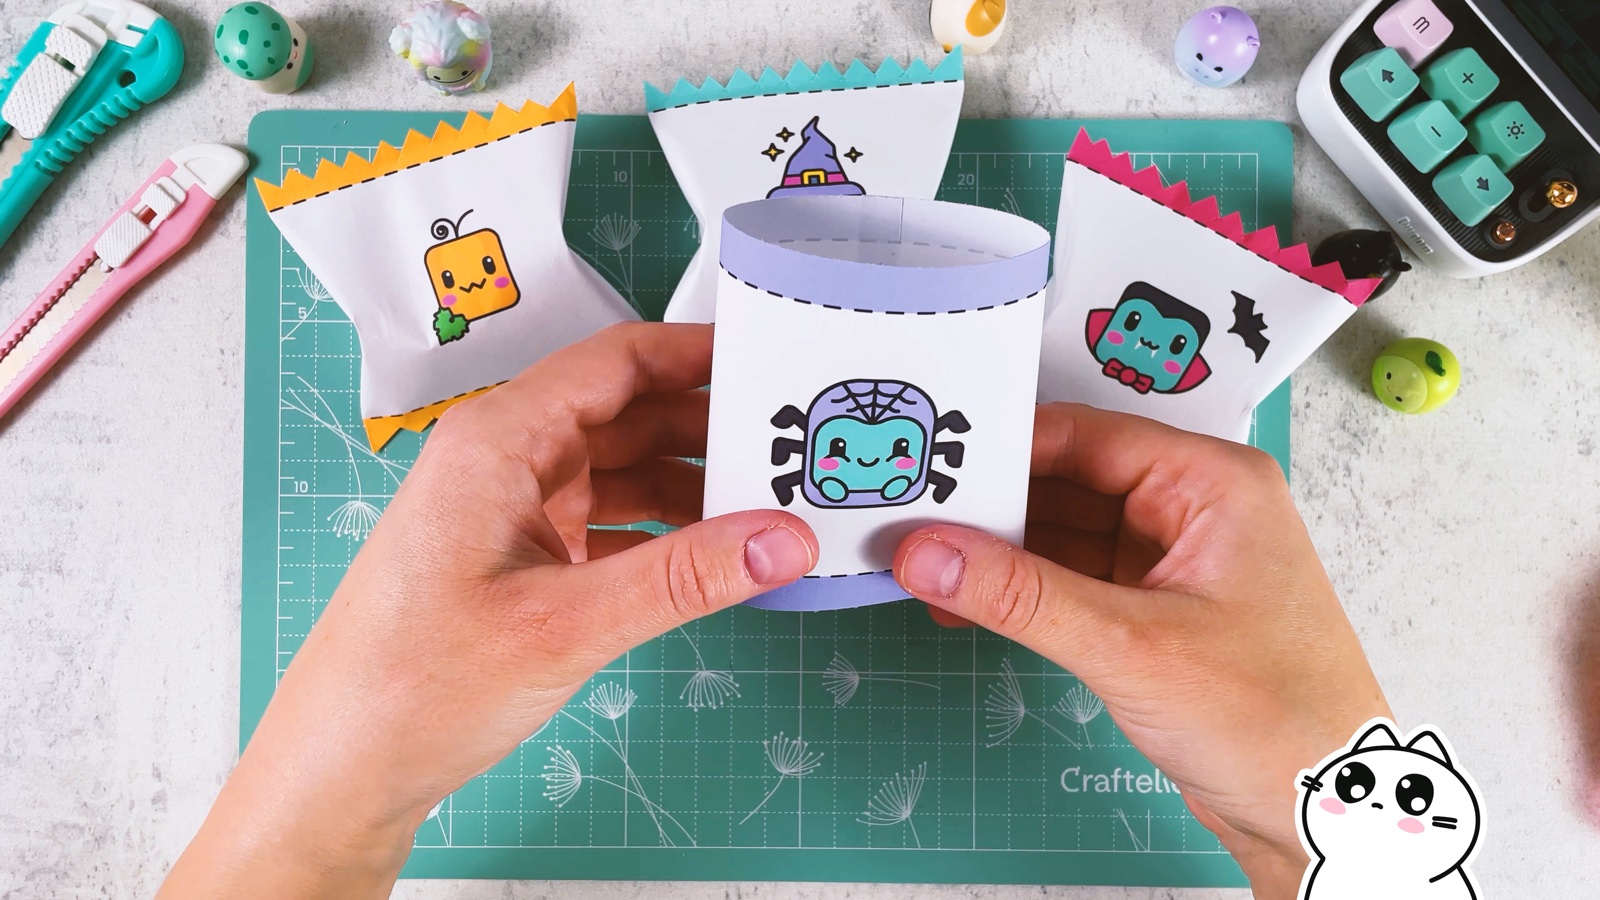
Close the bottom
Open the tube a little. Put glue inside, along the coloured band at one end.
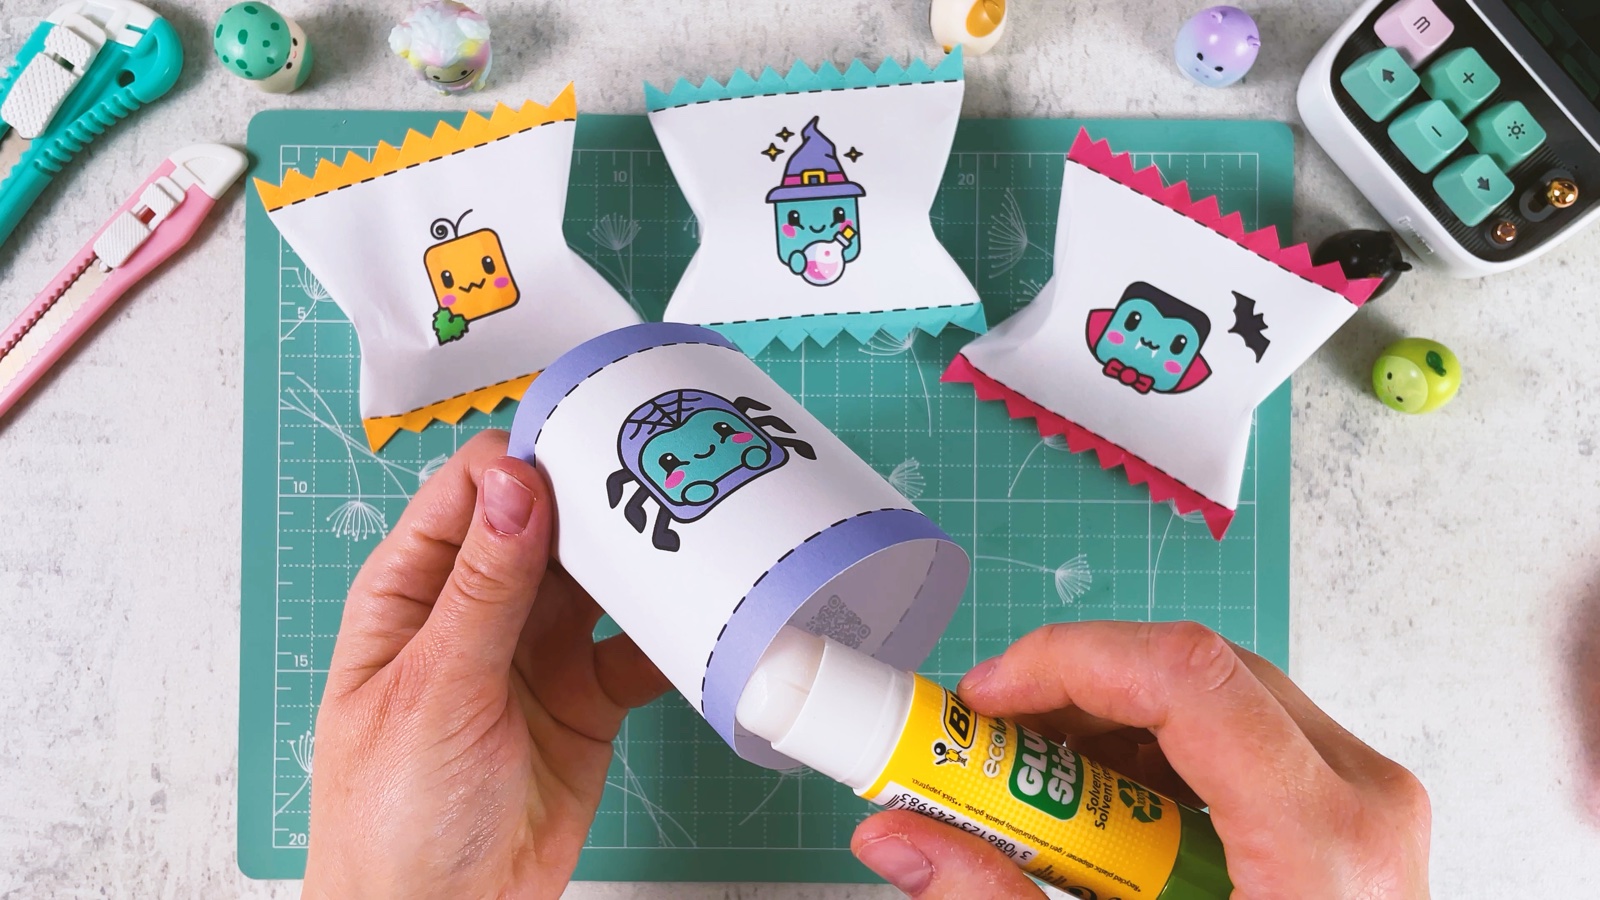
Press the band flat so the bottom of the bag is closed.
- 5
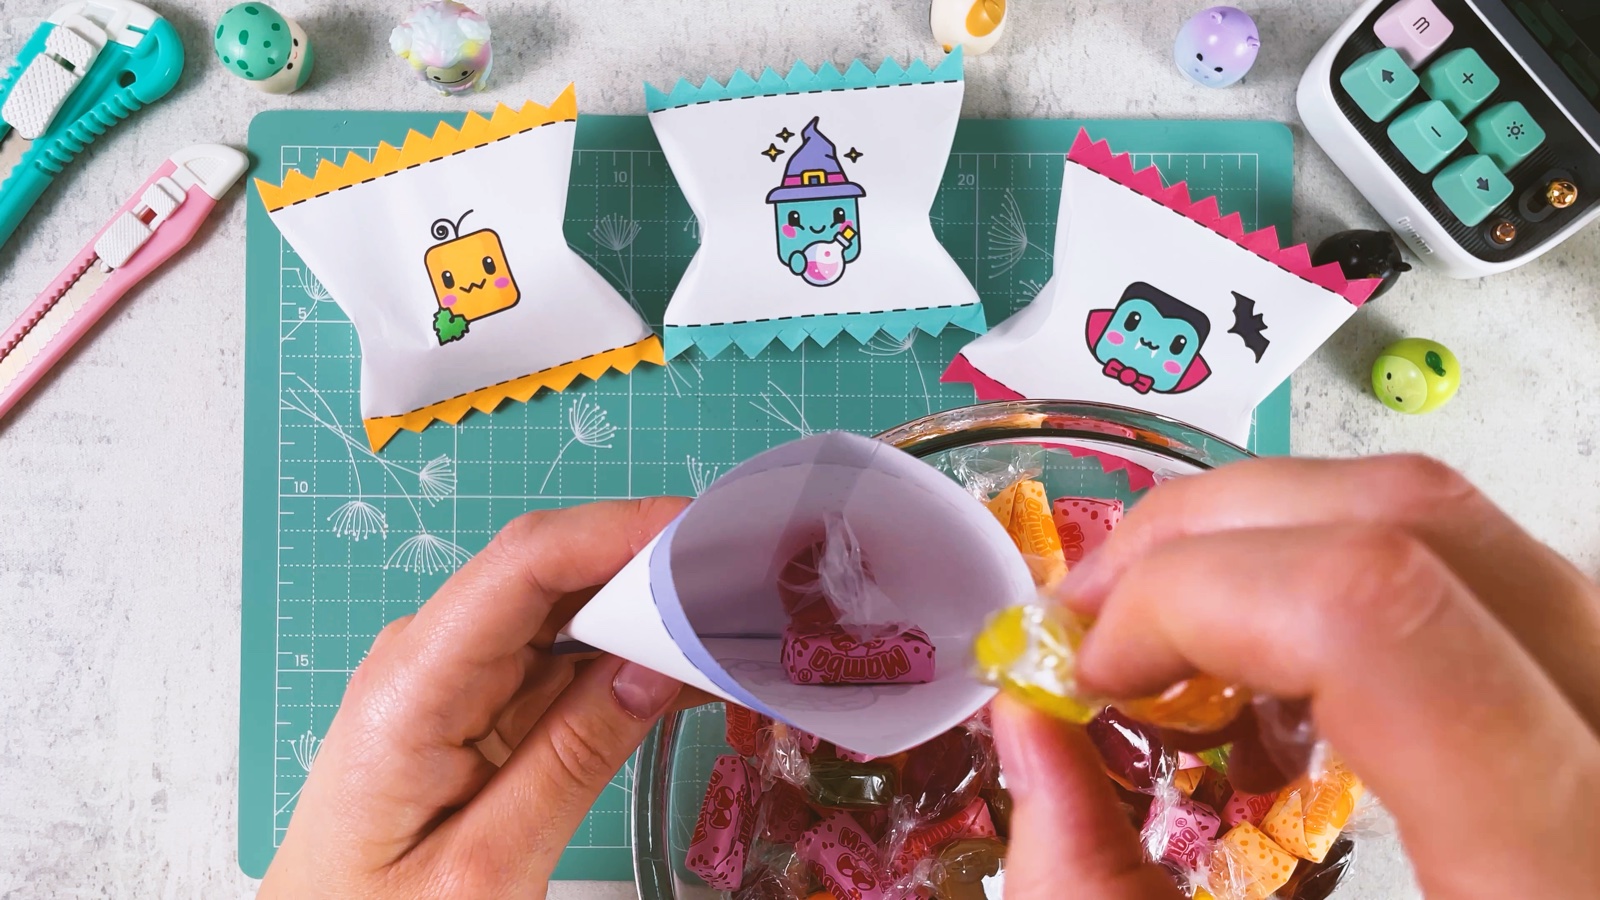
Fill it with candy
Open the bag and drop in a few candies. Leave room at the top so the bag can close.
- 6
Close the top
Put glue inside the coloured band at the open end.
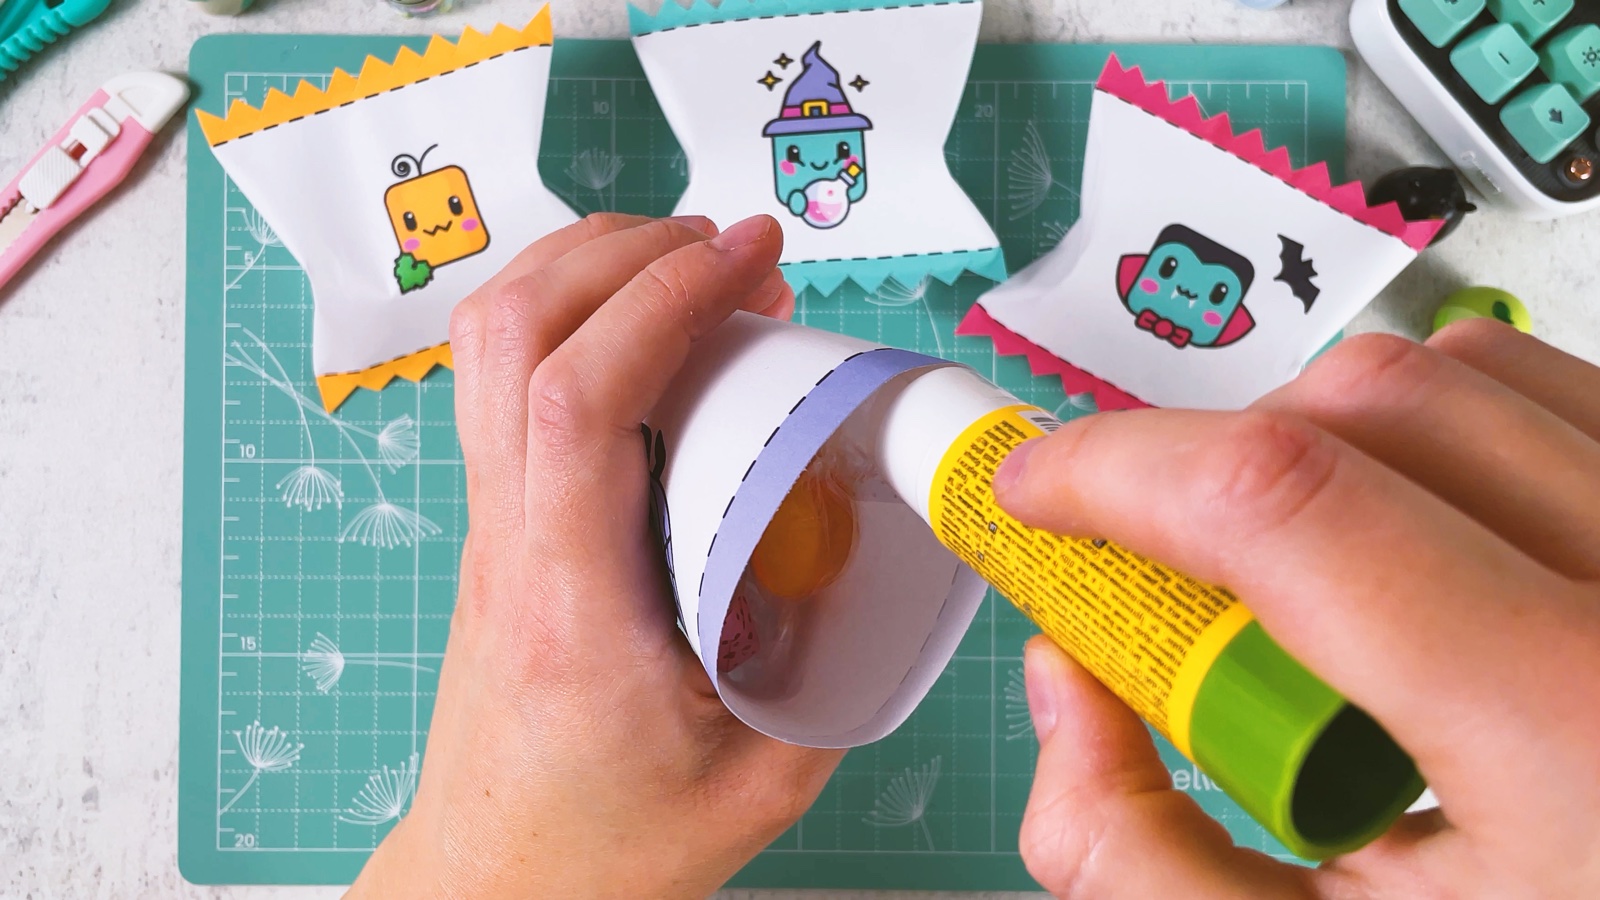
Press the two sides of the band together with your fingers, the same way as the bottom.
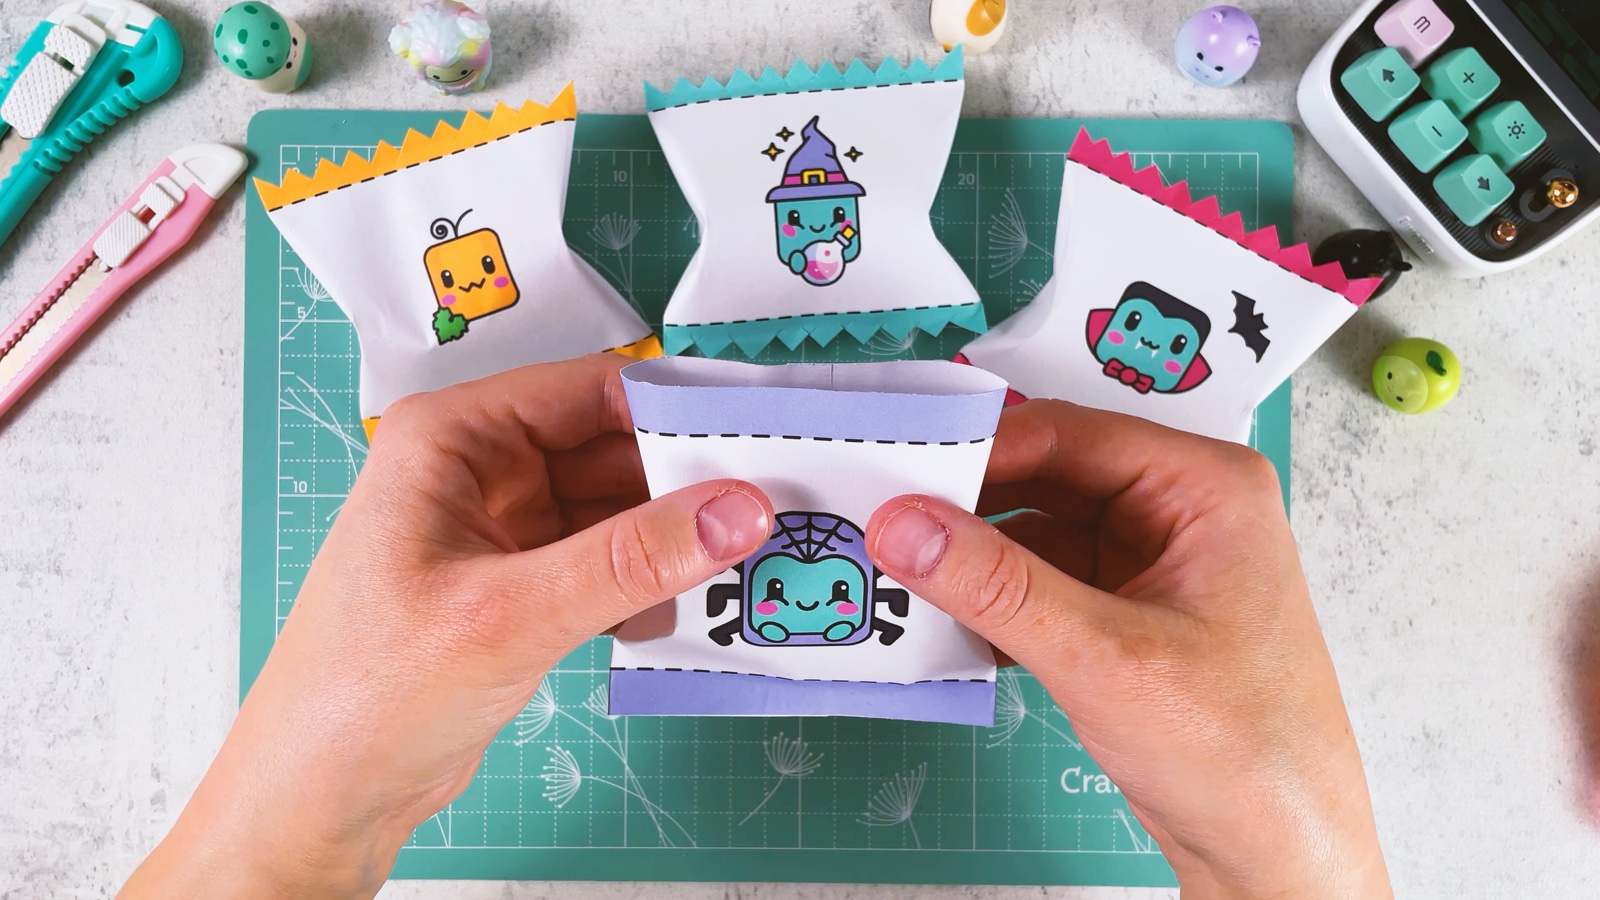
Now the bag is closed at both ends. It puffs out in the middle and looks like a big wrapped candy.
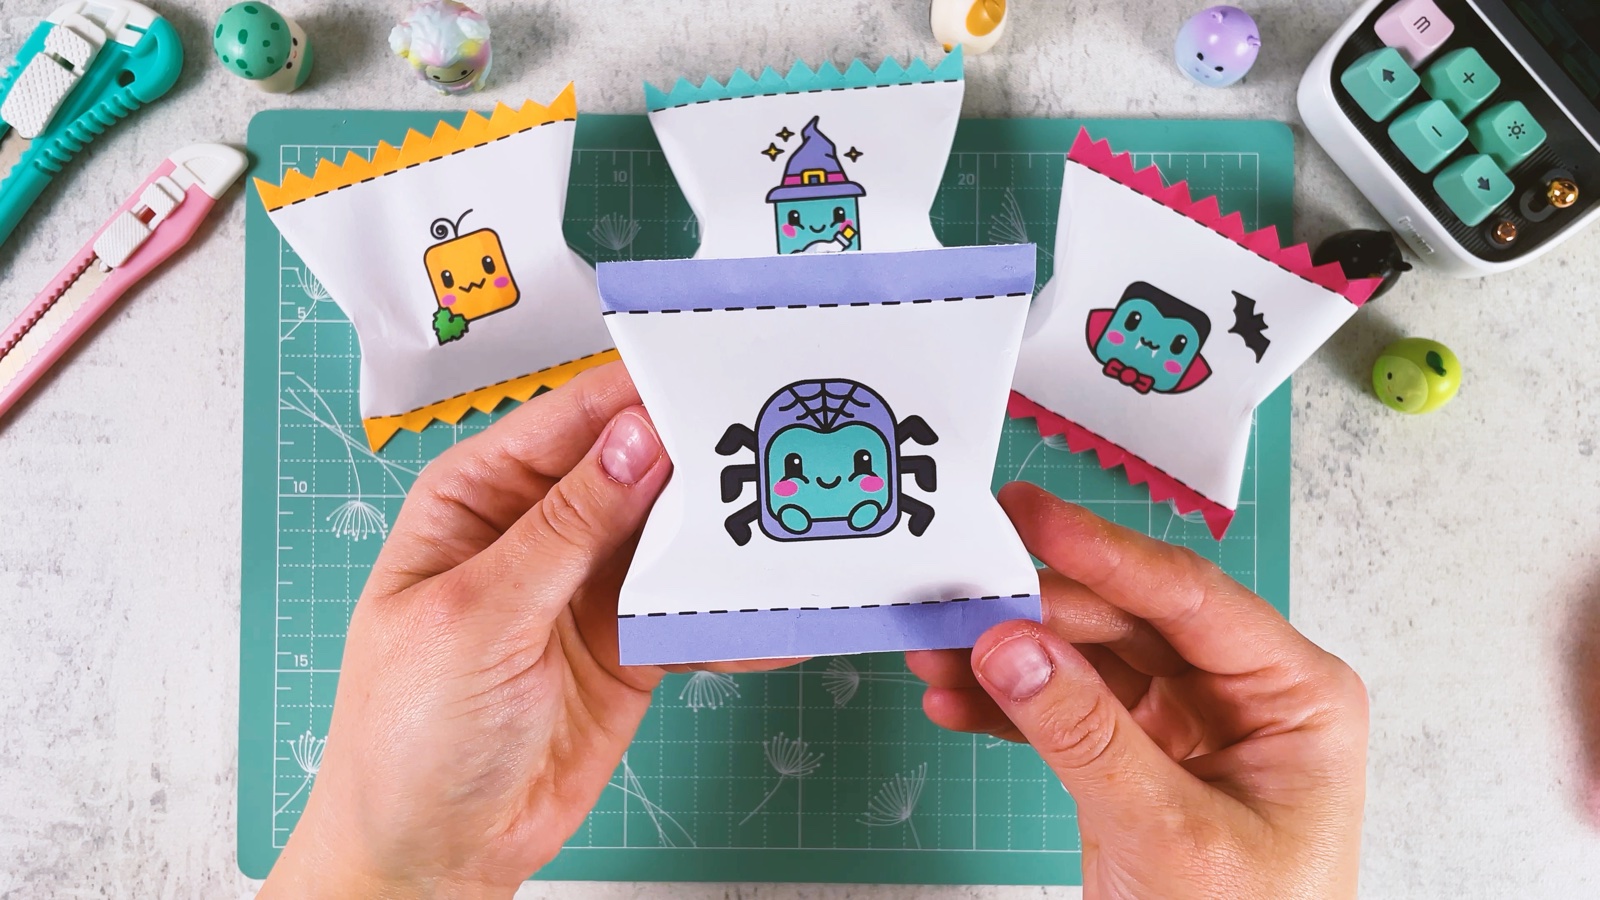
- 7
Cut the zigzag ends
Cut small zigzags into the coloured band at both ends. Stop at the dashed line, so the glued part stays closed.
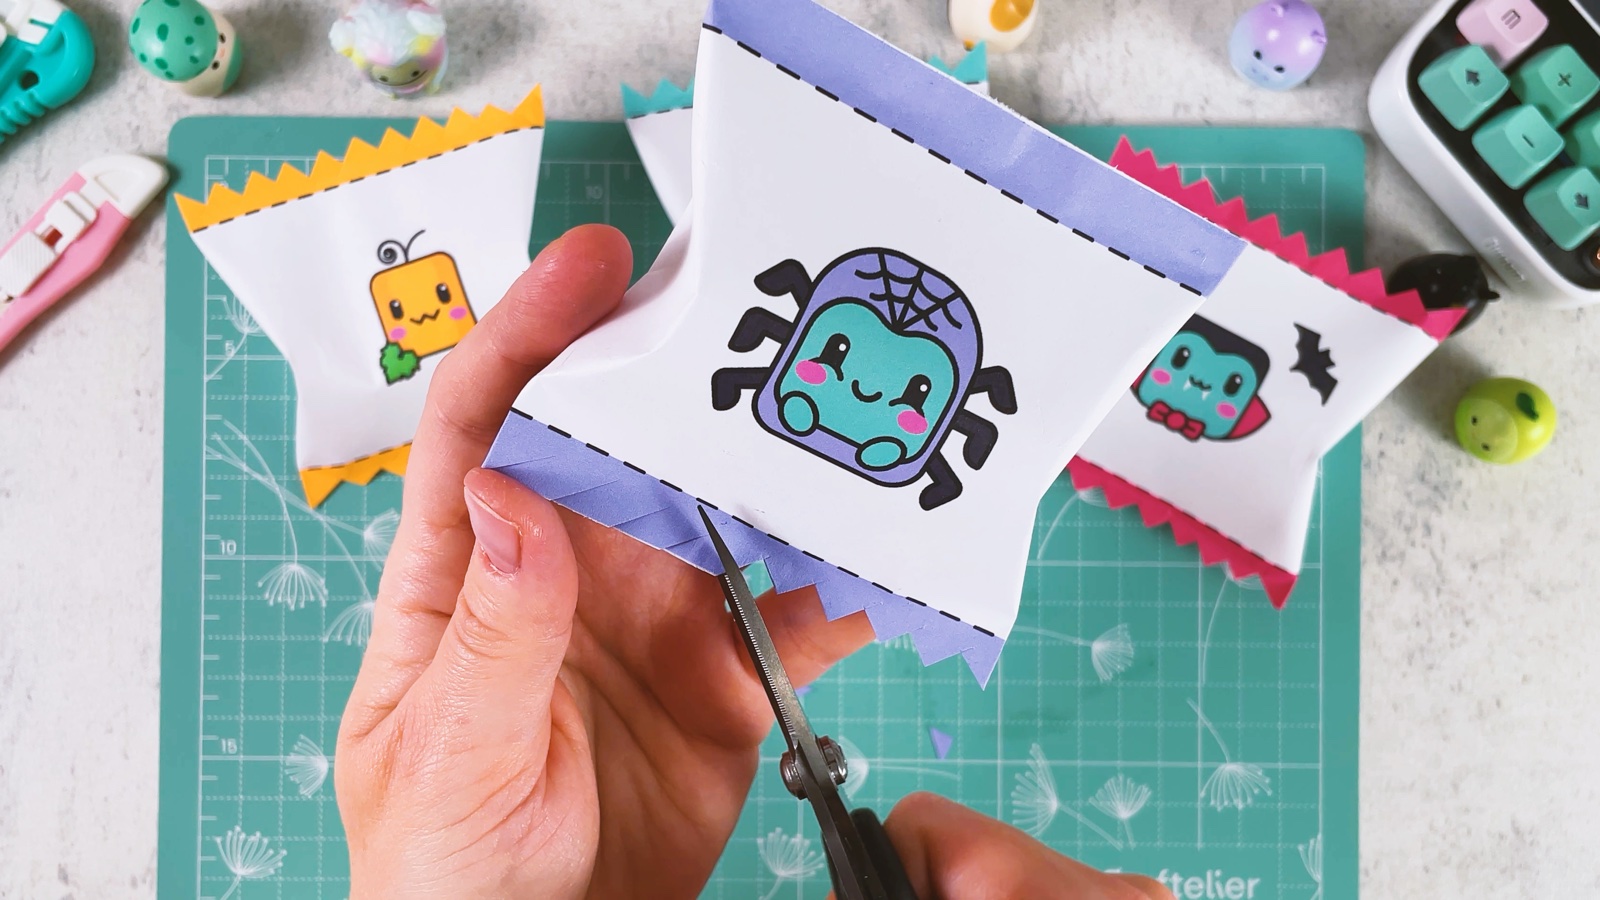
Your first candy bag is ready.
- 8
Make the whole gang
Here is the finished spider bag. Make the pumpkin, the ghost, the vampire, the witch and Frankenstein the same way.
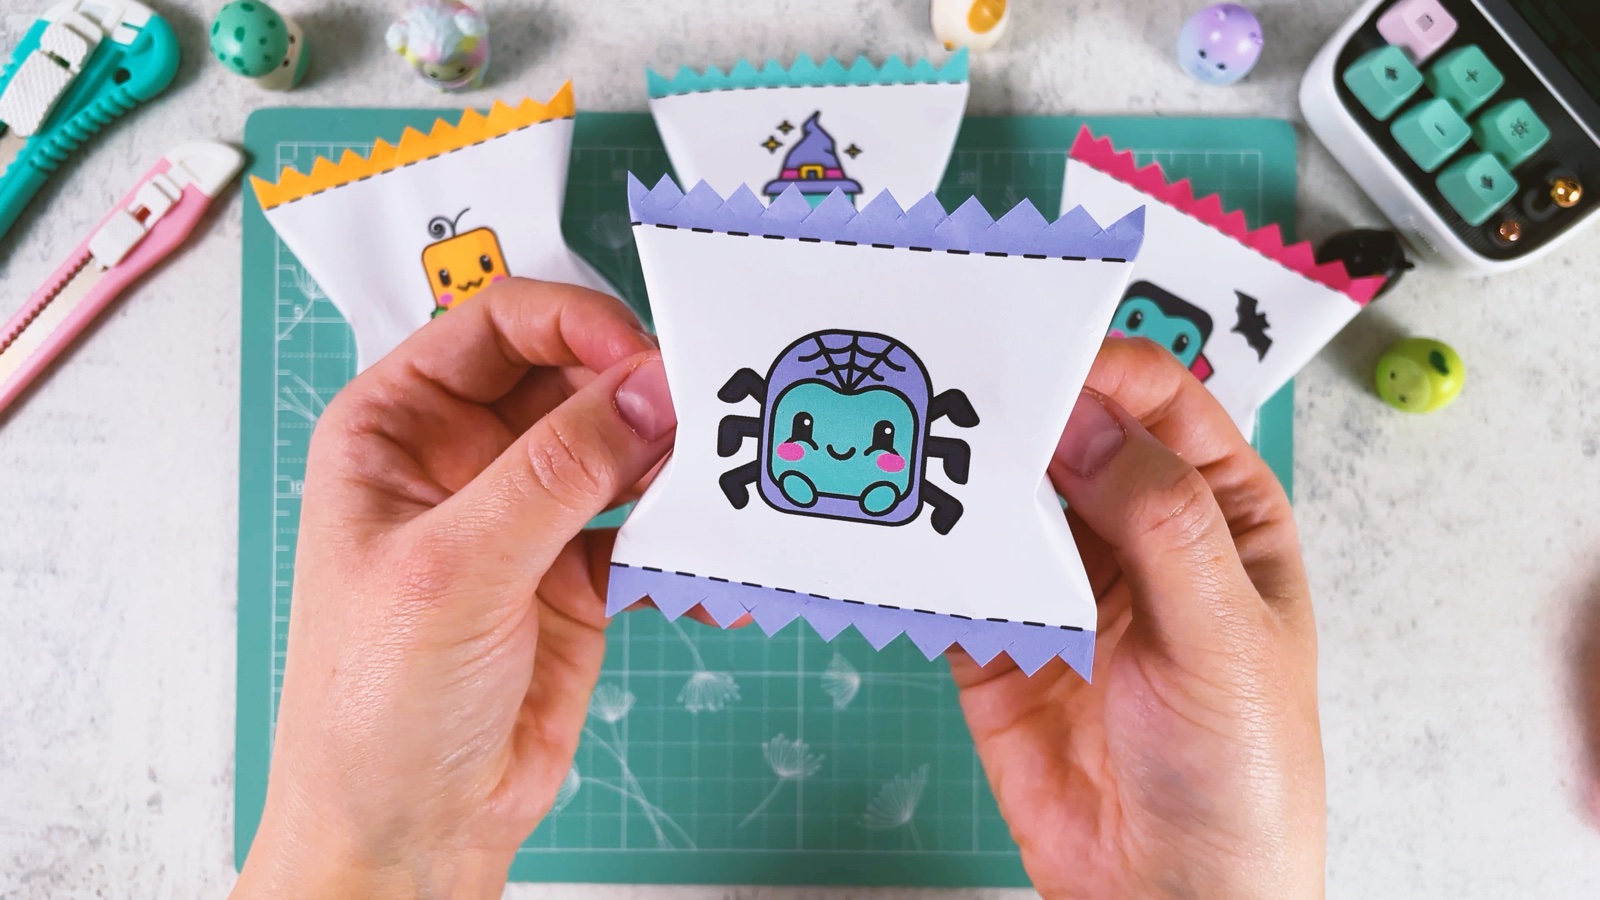
Fill them all and share them with friends, or put them on the Halloween table.
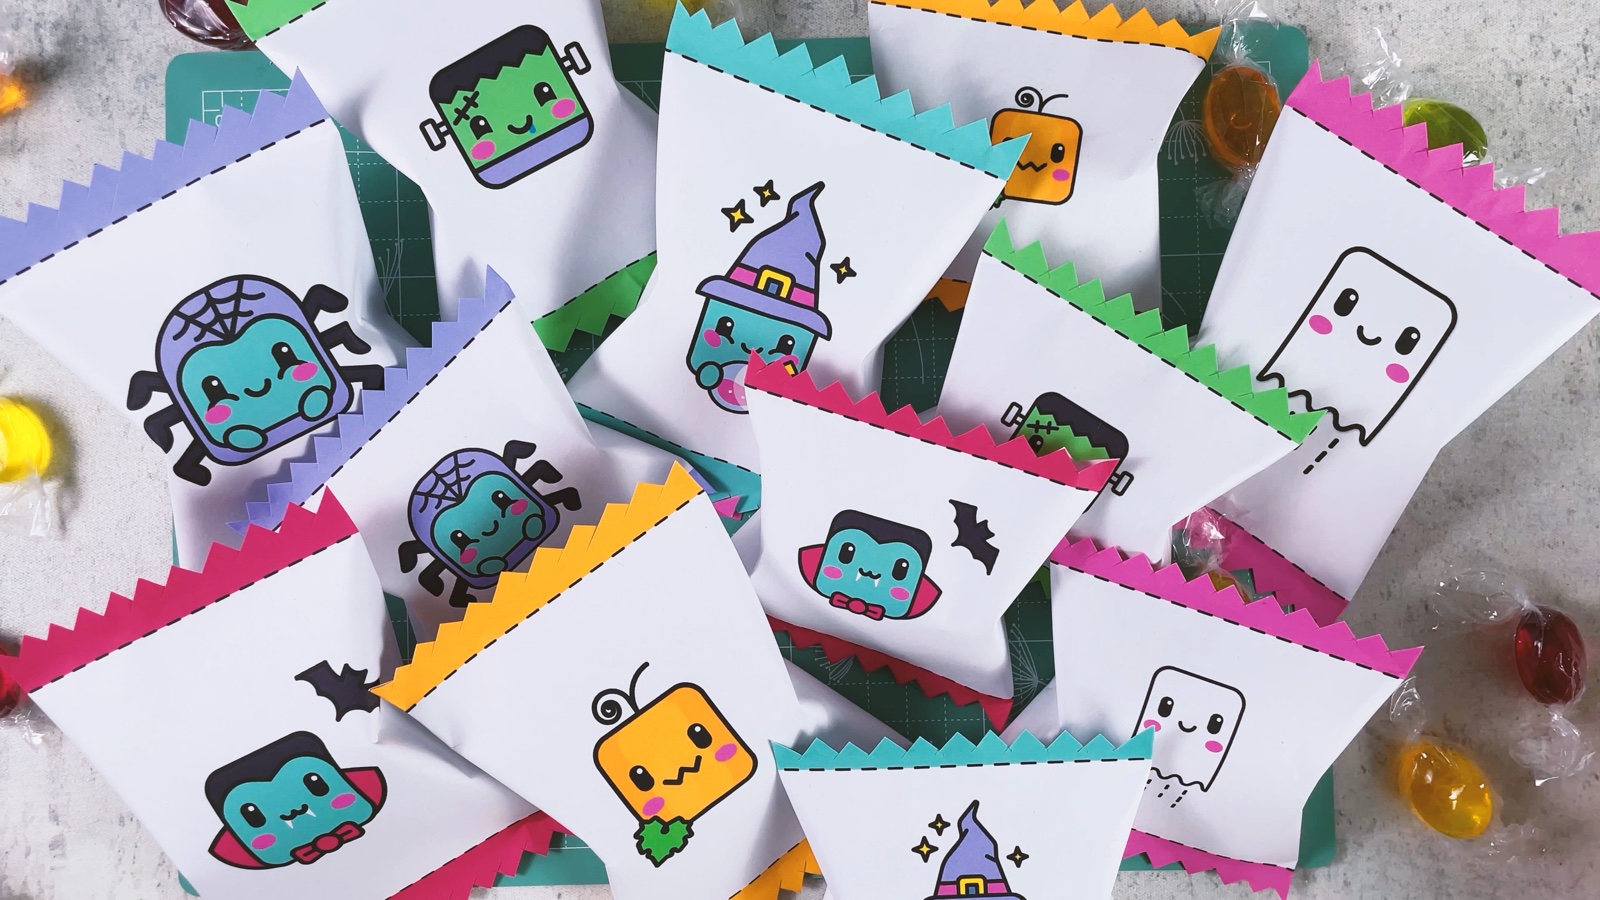
Your Halloween candy bag gang is ready.
THREE LITTLE TIPS
Make it easier.
- Glue first, candy second. Let the bottom set for a moment before you fill the bag, so it doesn’t open under the weight.
- Small candies fit best. Wrapped hard candies or jelly sweets work well. For chocolate bars, choose the BIG size.
- Use a glue stick, not liquid glue. Liquid glue makes thin paper wavy.

A CUBI MINI MOMENT
Who gets your candy bag?
Cubi is filling a little ghost bag for Mini, with only the yellow candies inside. Who will you make yours for?
A tiny note tucked in with the candies: “Boo! You’re my best friend.”
Loved making it?
Catch the next make first, or save this one for a rainy day.