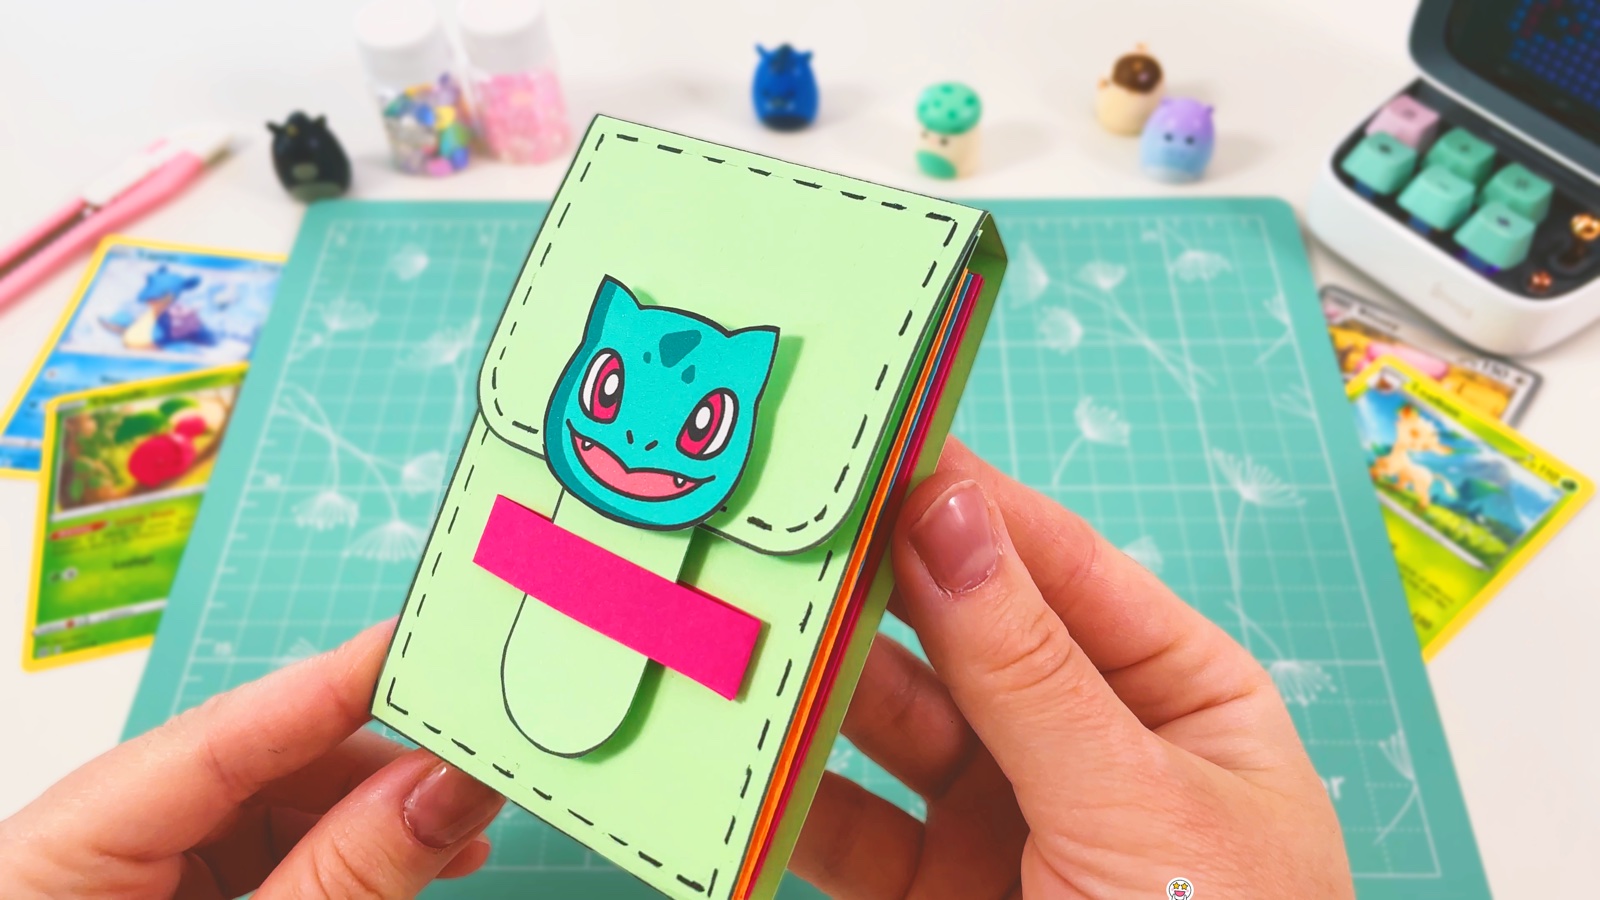
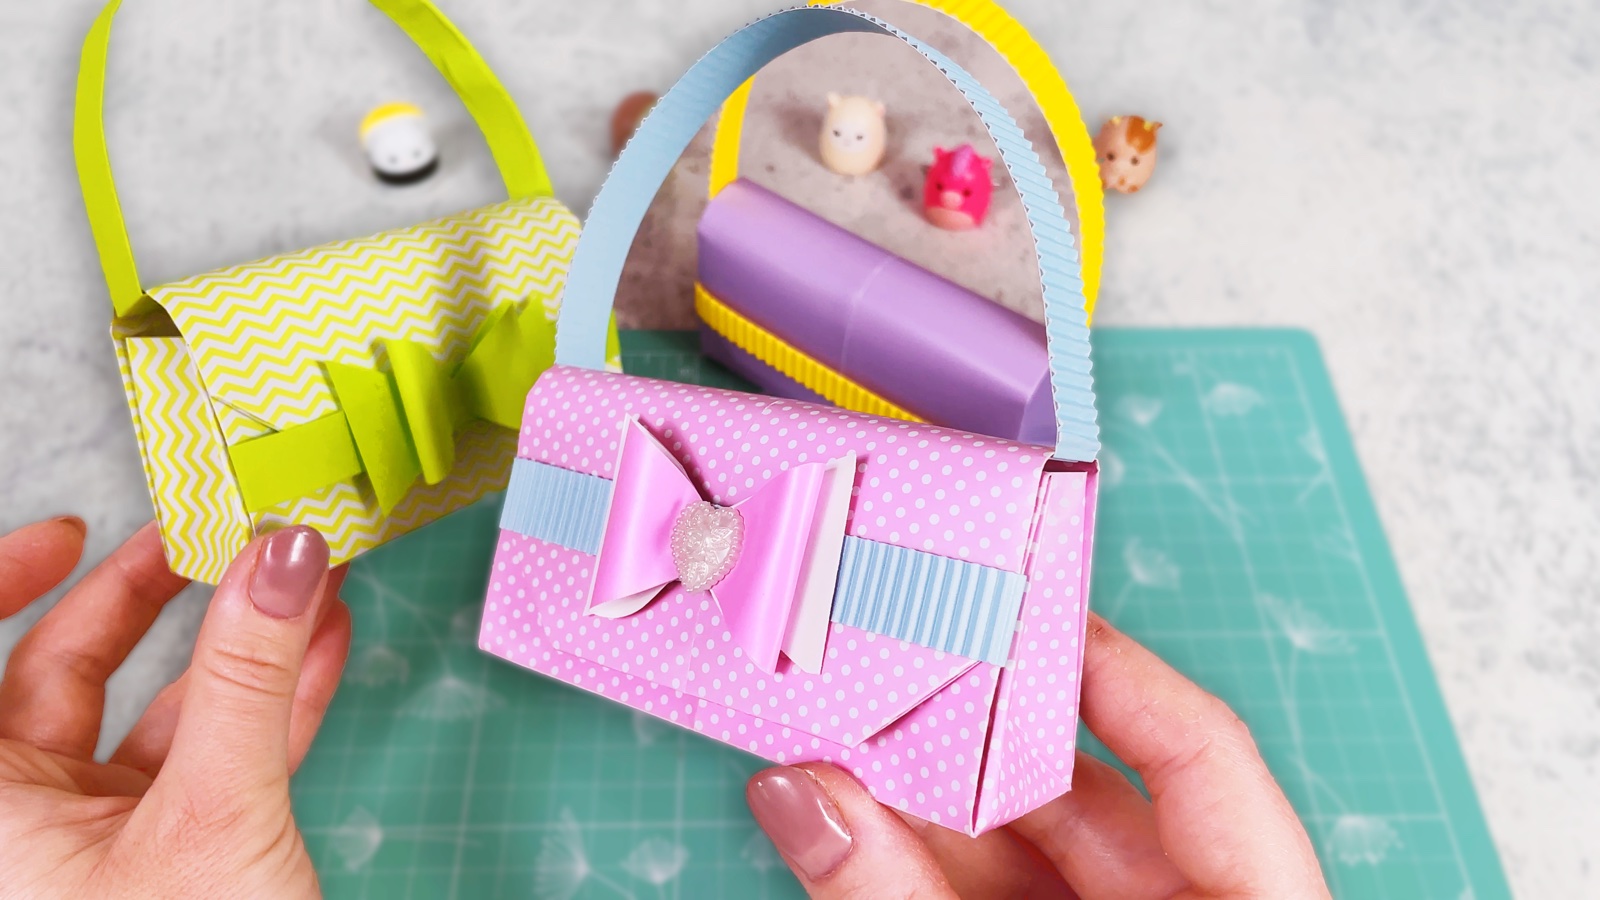
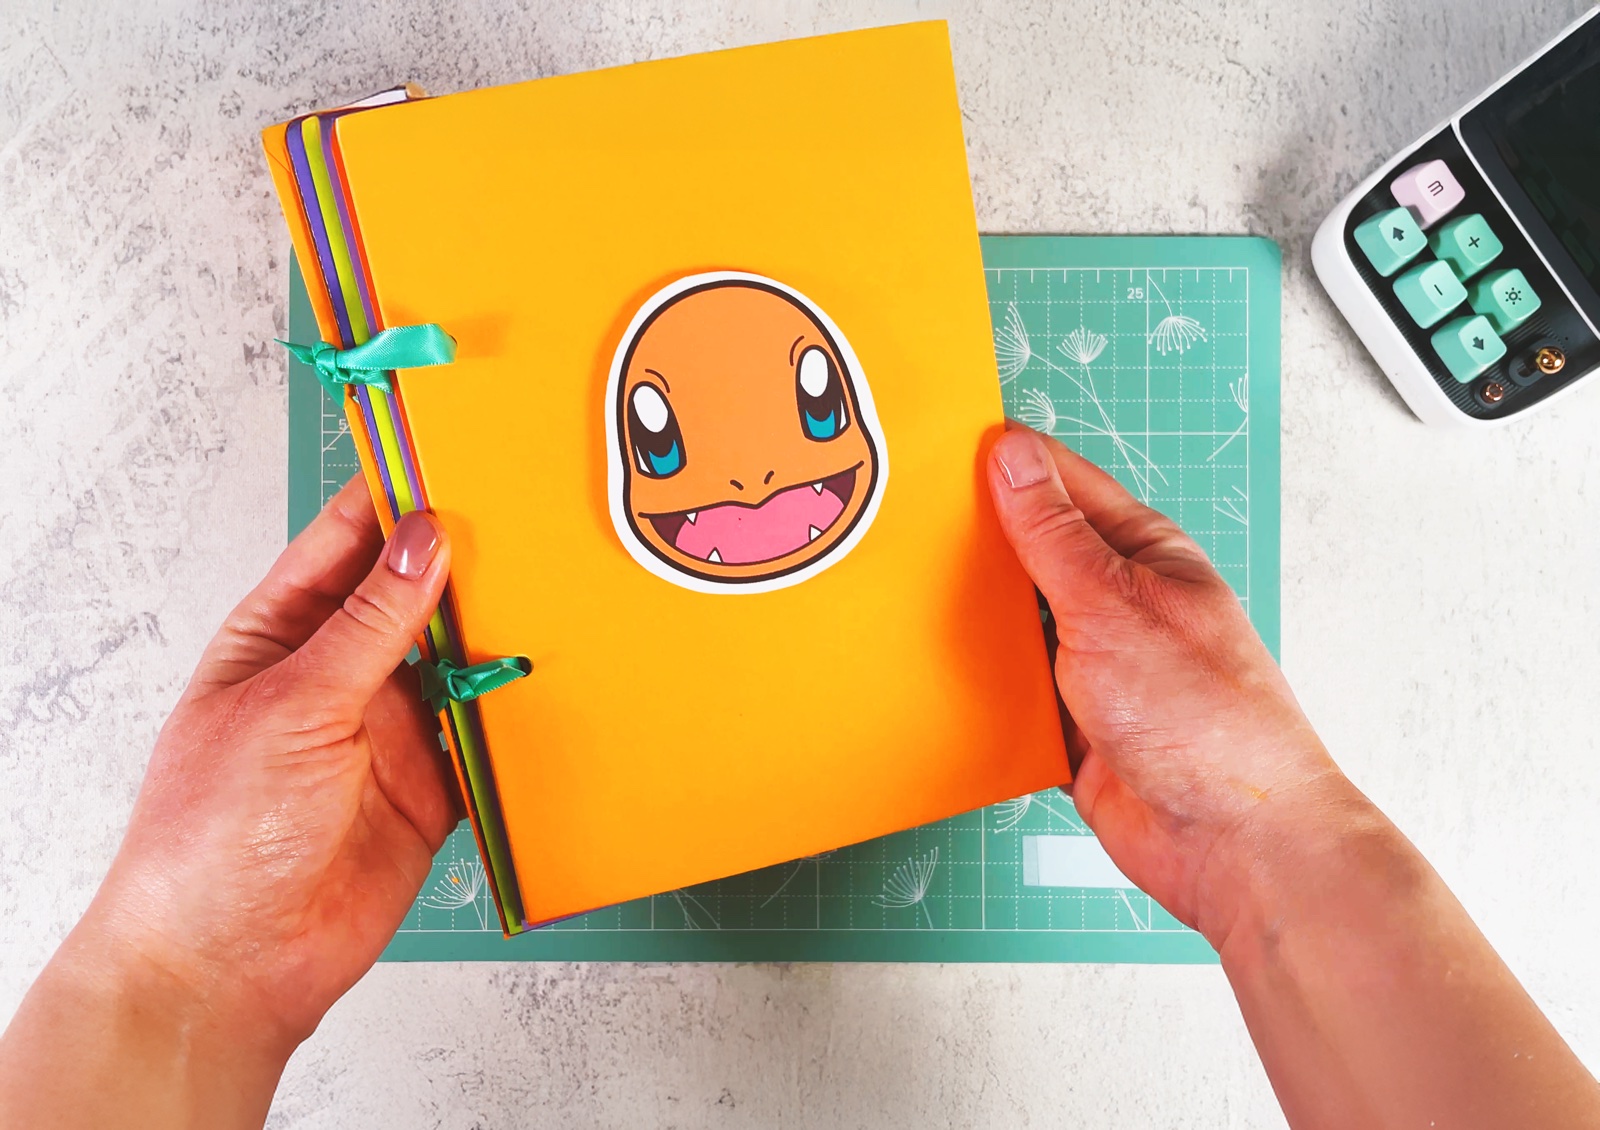
Let’s make a super fun paper wallet with Gengar from Pokémon! It is quick to make and full of character. We fold it from simple materials like paper, glue and scissors, and the free printable has the wallet template, Gengar and a stack of paper money.
Two yellow zigzag pockets open at the sides, so the wallet stretches when you fill it. Gengar sits on the flap, and his long tongue tucks under a paper band to keep the wallet closed. It is great for playing shop, for a Pokémon fan’s birthday, or as a little gift with a few paper notes inside.
BEFORE WE START
What you need.
Materials
- Printable template
- Light purple paper
- Yellow paper
- Glue tape or glue stick
- Foam tape squares
Tools
- Scissors
- Ruler or set square
- A printer
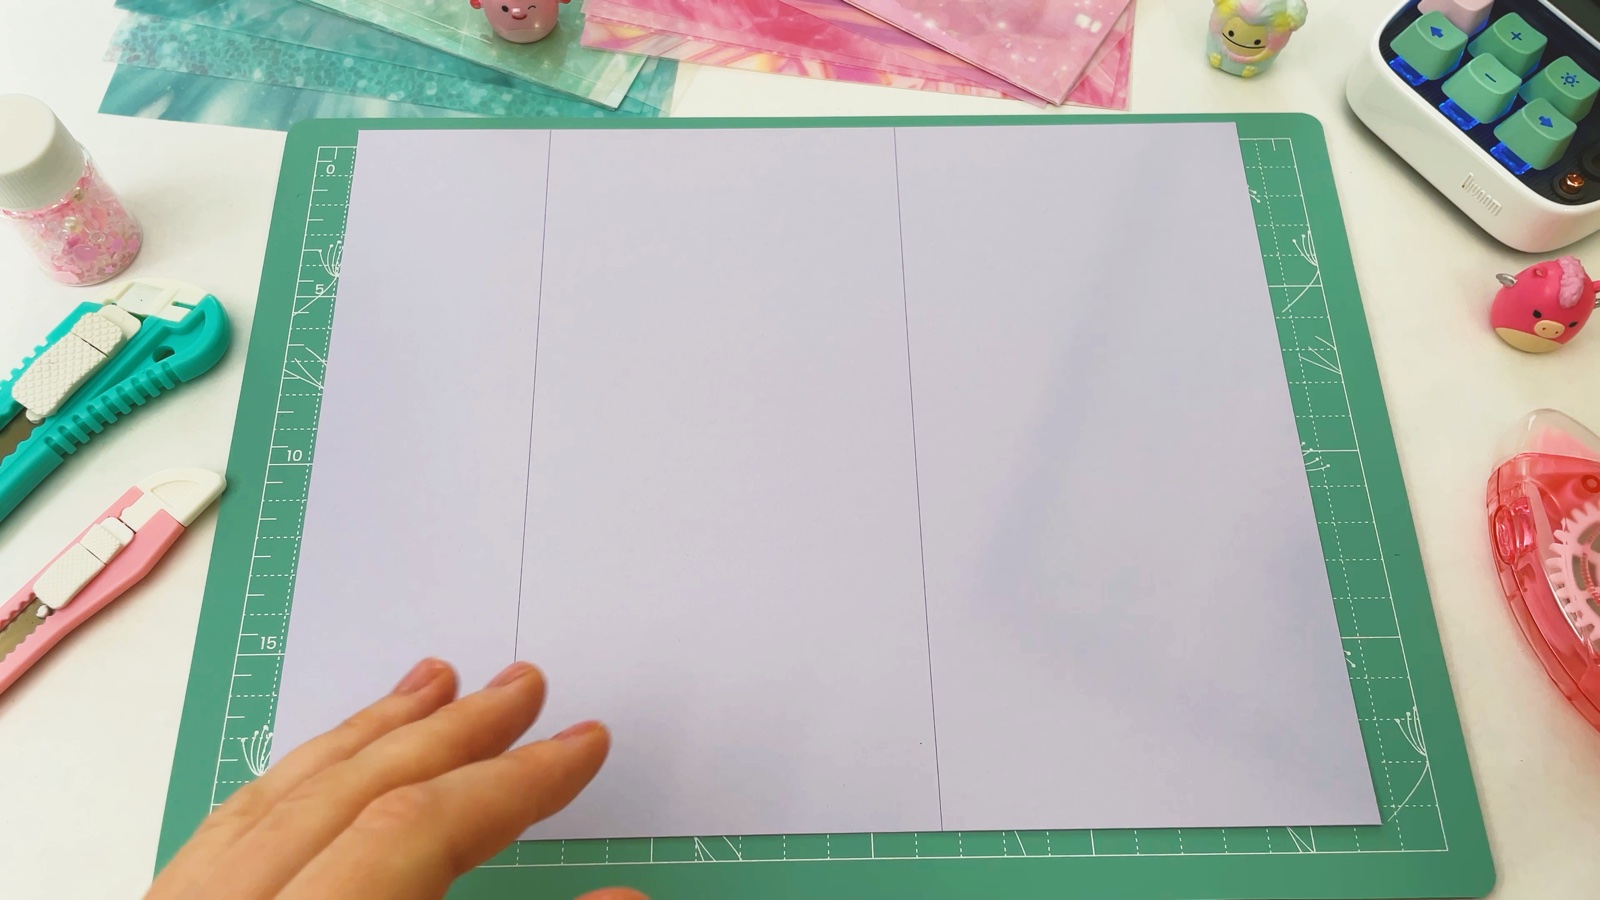
Page 1 is the wallet. Pages 2 and 3 have Gengar, three more Pokémon faces, Cubi and the paper money, so print those on white paper.
Get the free template ↓PART 1 OF 3
The wallet
- 1
Print and cut out the wallet
Print page 1 on light purple paper, A4 (on US Letter, choose “Fit to page”). Cut along the outer frame. Keep the blank strip from the top of the sheet: the band is cut from it later.
- 2
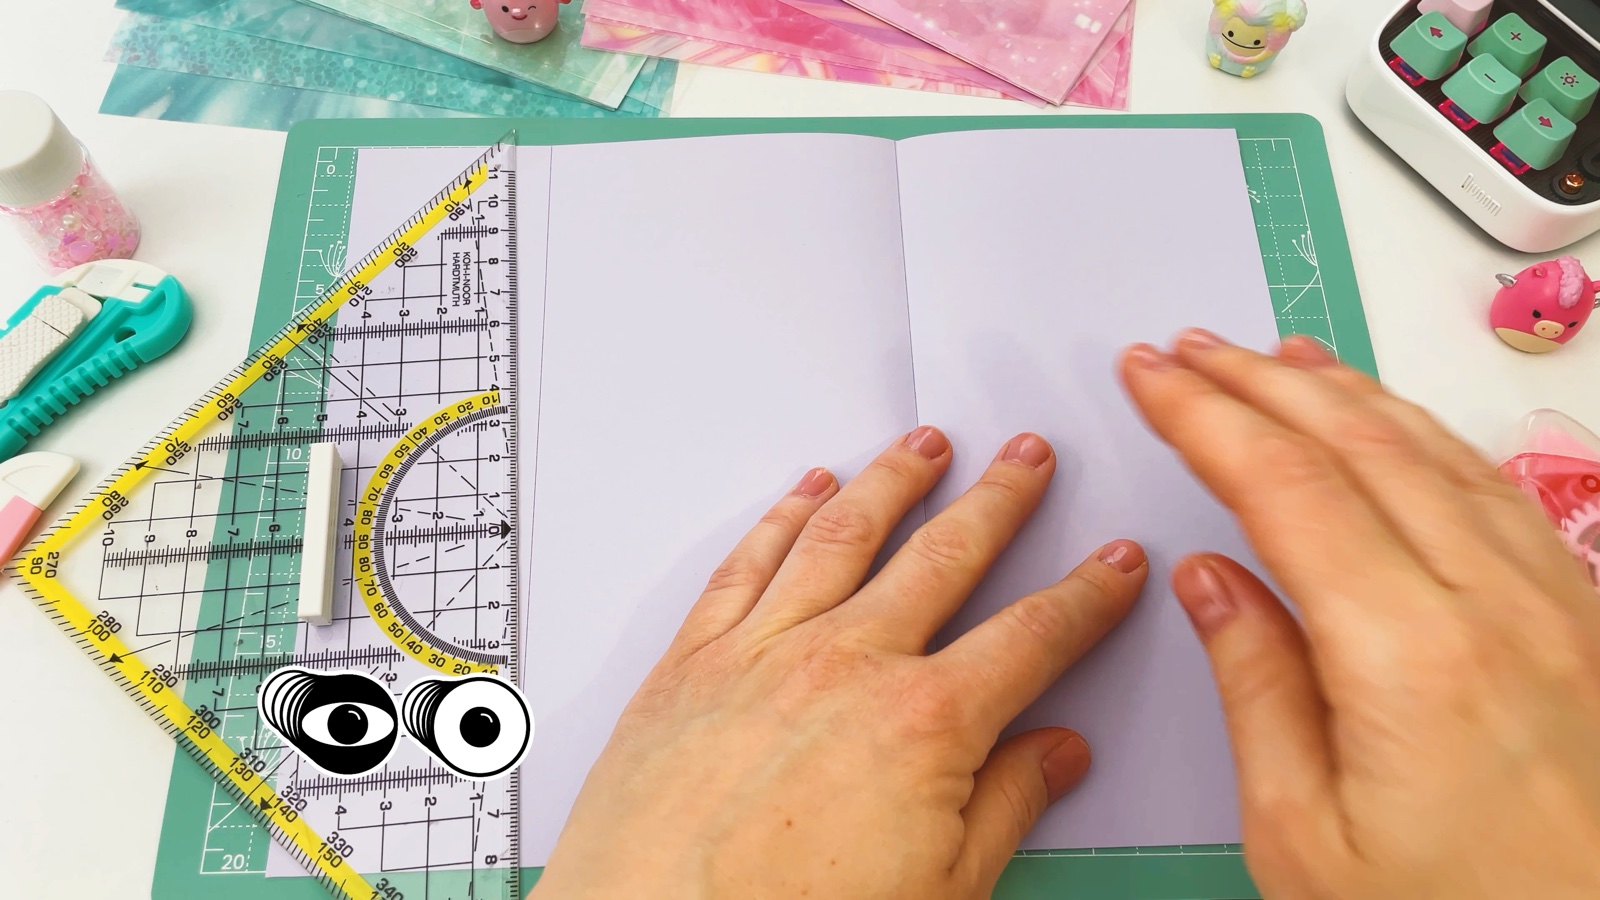
Fold along the lines
Lay a ruler or a set square on the first line and fold the paper up against it. Do the same on the second line. Press each fold flat, then open the sheet again.
- 3
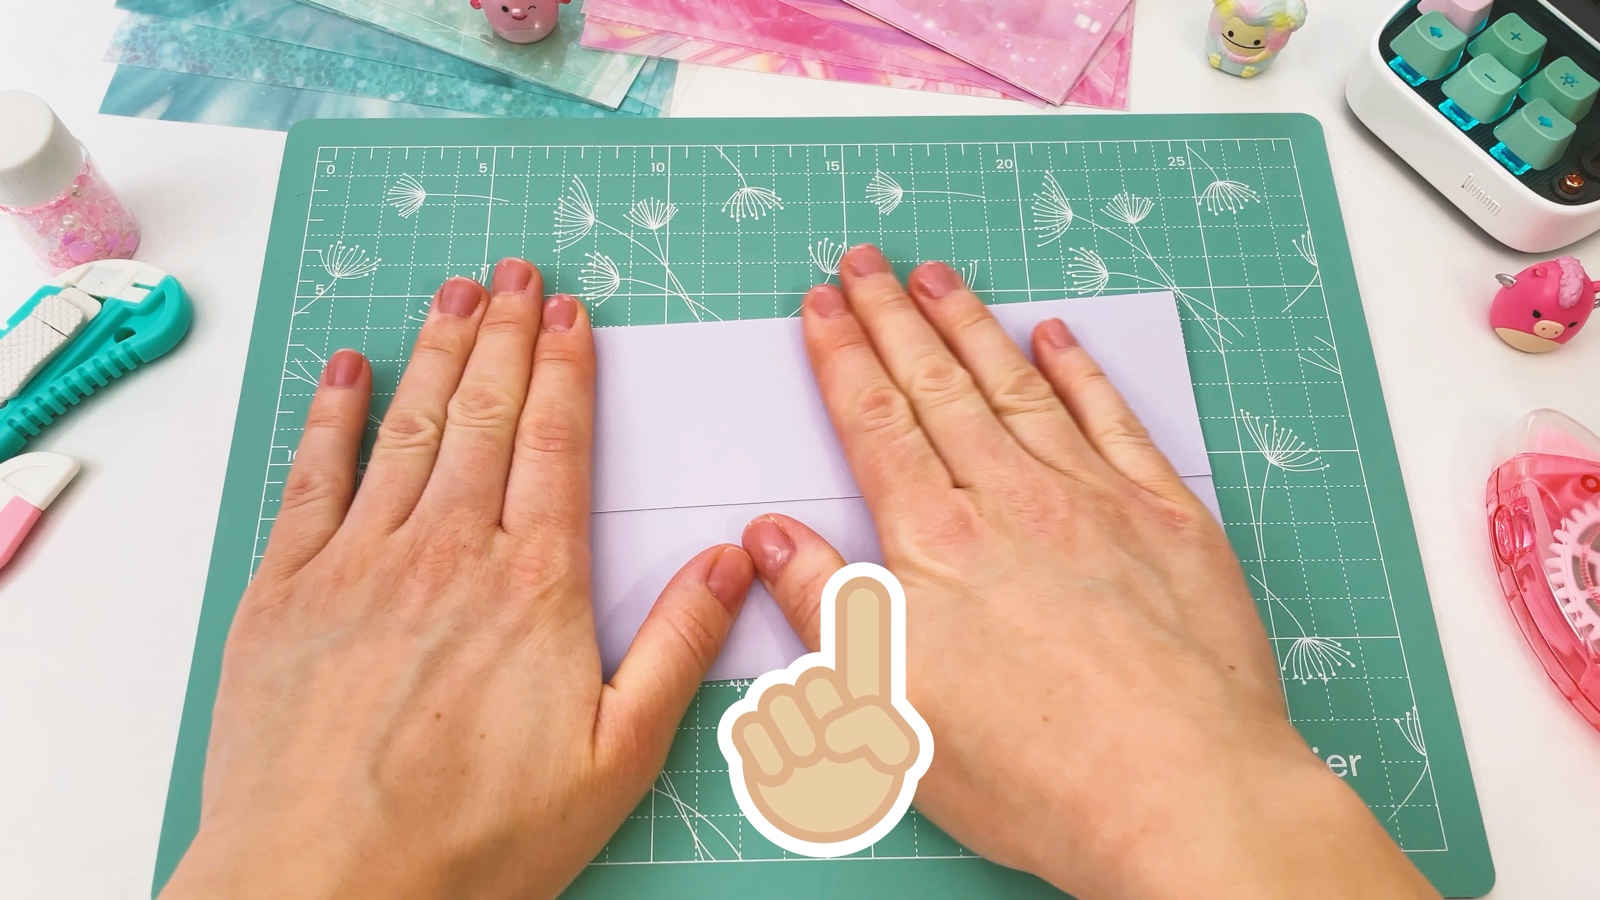
Fold the wallet shape
Turn the sheet so the narrow panel is at the top. Fold the narrow panel down: this is the flap. Then fold the bottom panel up along the other line. Now it looks like a long envelope.
PART 2 OF 3
The zigzag pockets
- 4
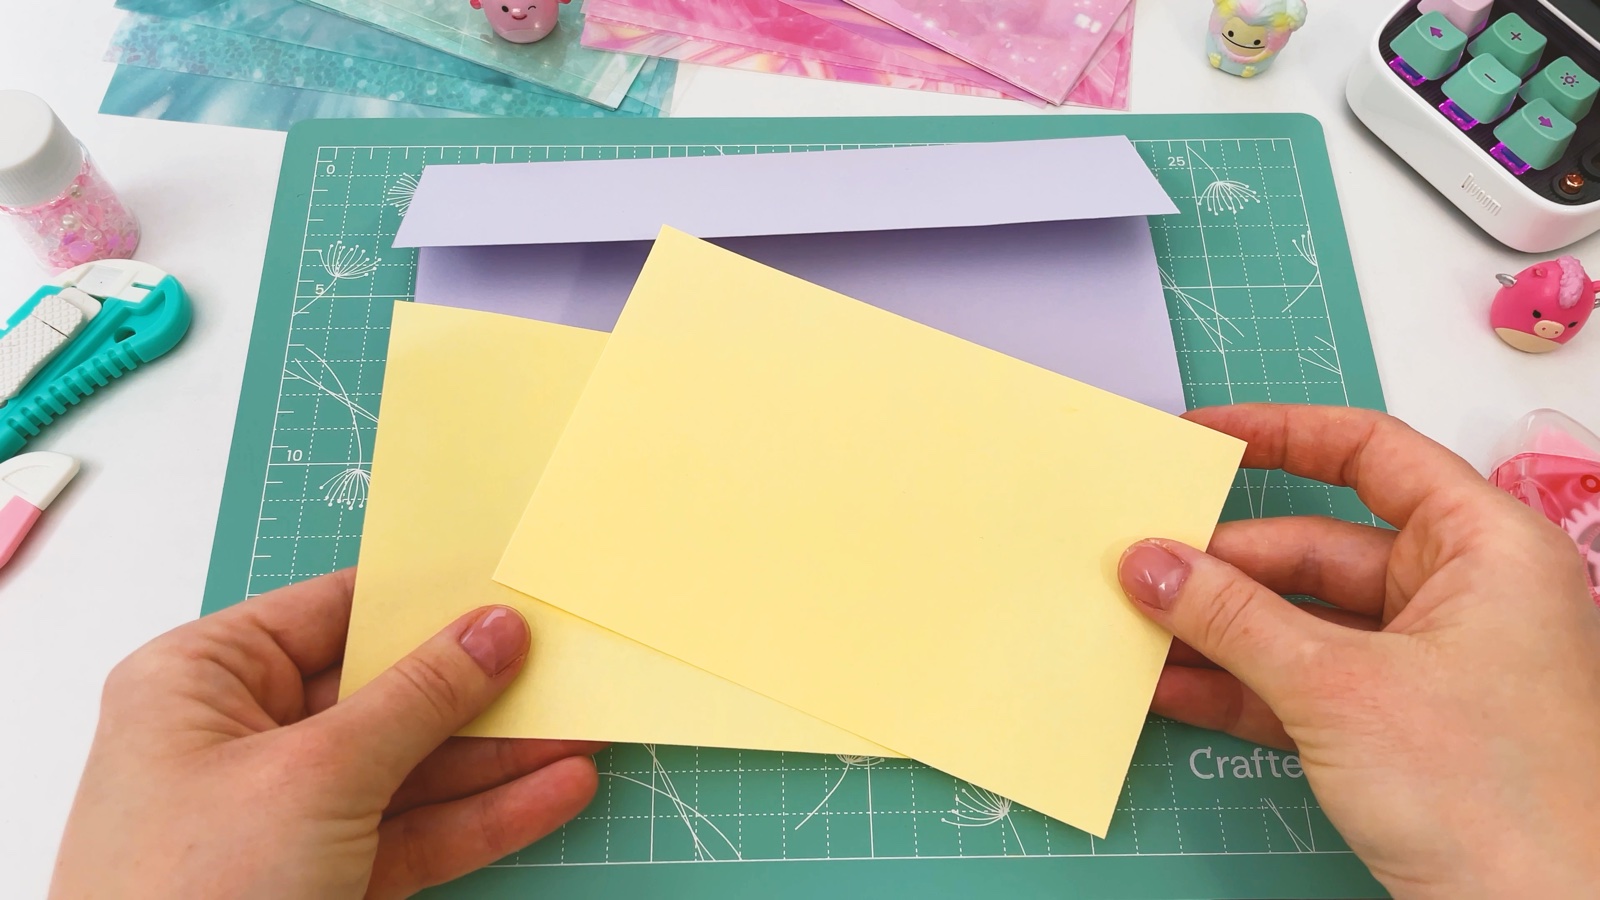
Cut the yellow paper in half
Cut a sheet of yellow paper, A4 or US Letter, in half. Each half becomes one side pocket.
- 5
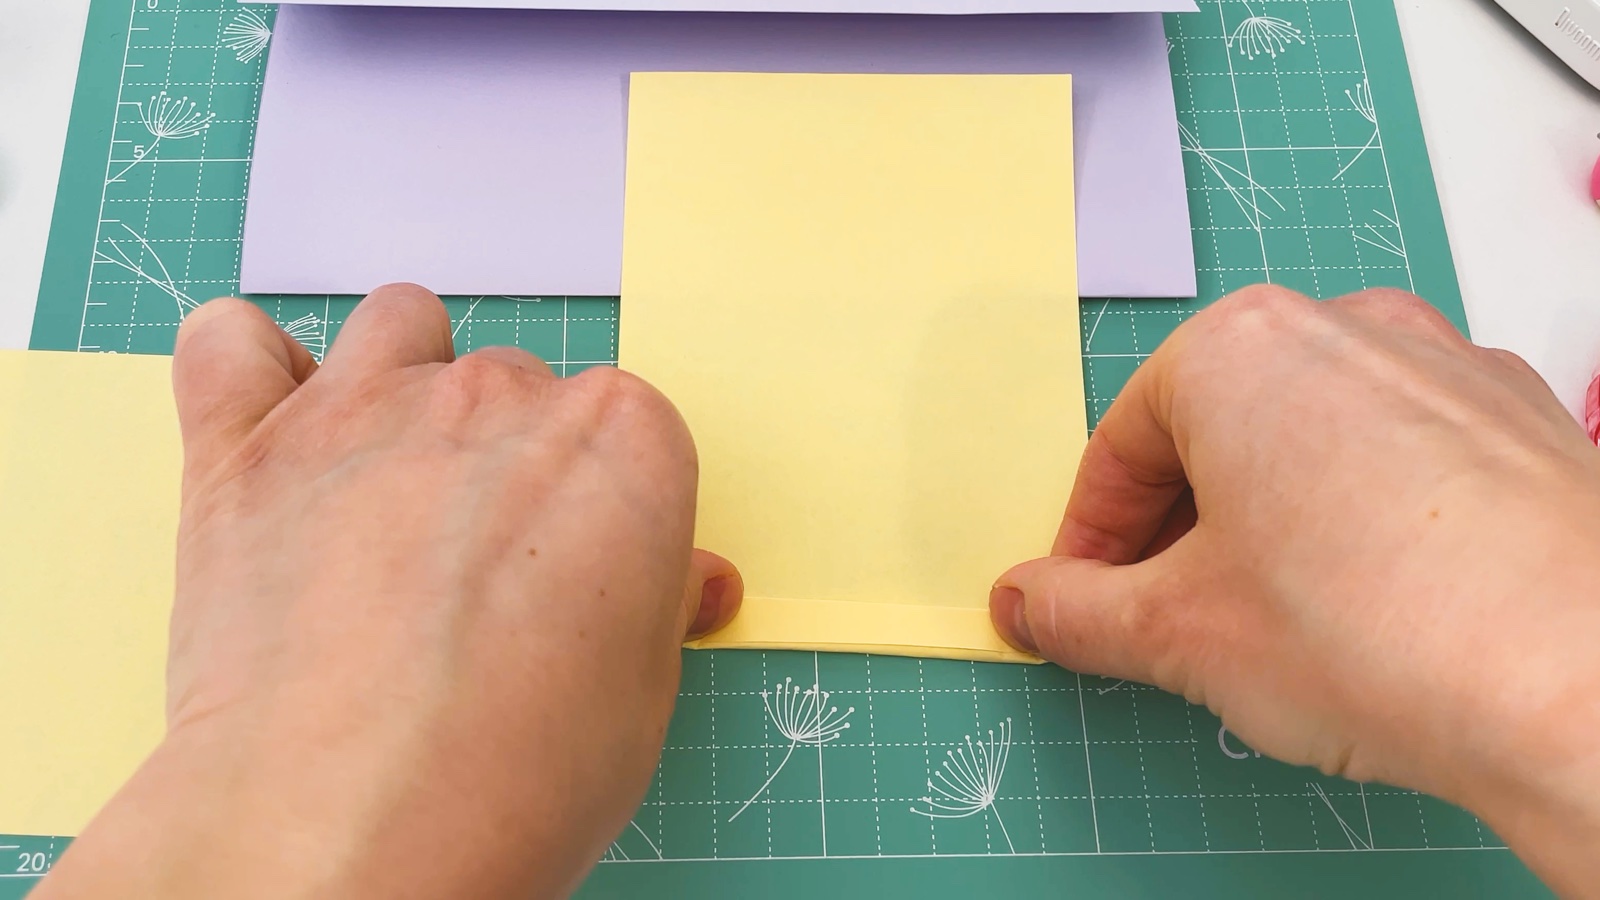
Fold a zigzag
Fold a narrow strip up along the bottom edge of one half. Turn the paper over and fold the next strip the same width. Keep folding forward and back until the whole sheet is a zigzag.
- 6
Make the second one
Fold the other half the same way. Now you have two yellow fans, one for each side of the wallet.
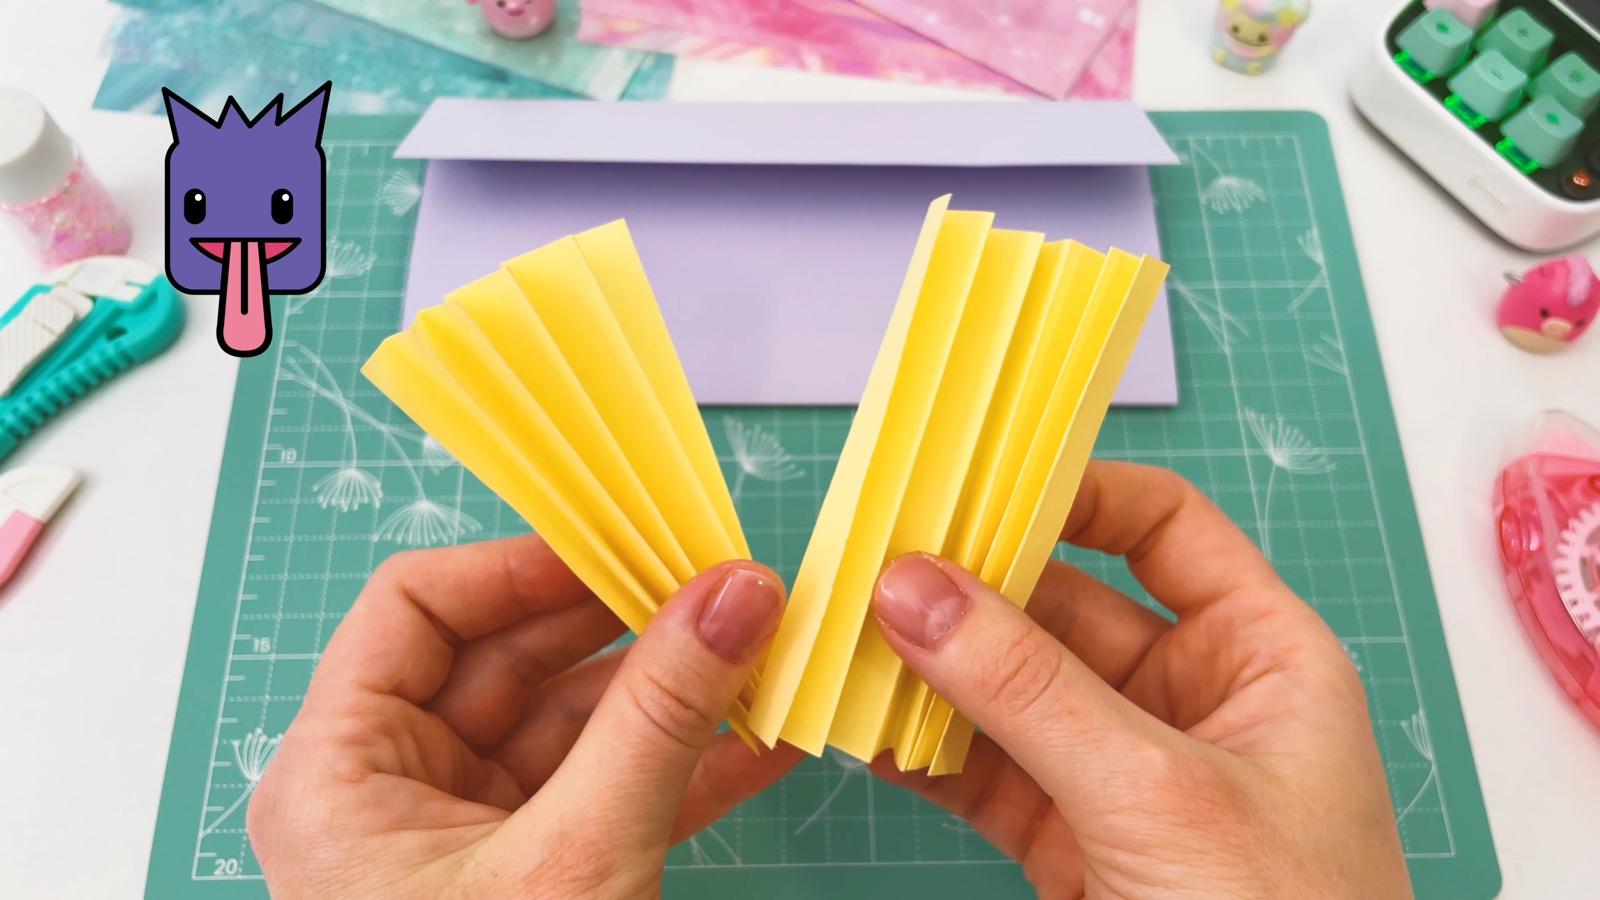
The zigzag pockets are ready.
PART 3 OF 3
Putting it together
- 7
Glue the pockets inside
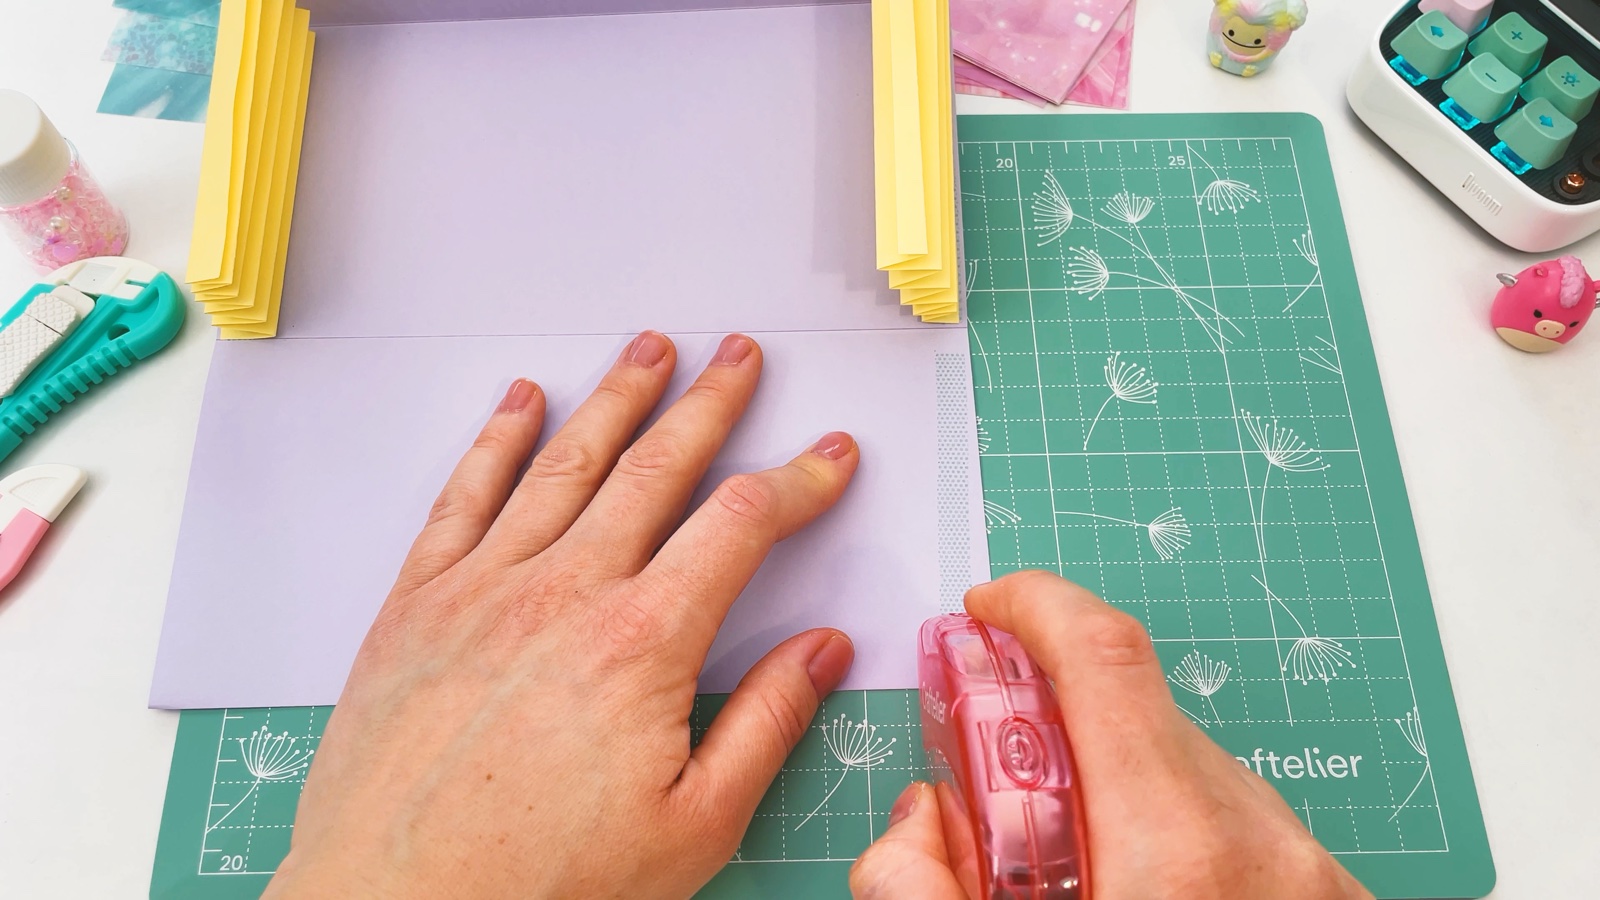
Open the wallet flat. Put glue tape along one side edge of the back panel. Press the last fold of a yellow fan onto it, so the fan stands at the edge. Do the same with the second fan on the other side.
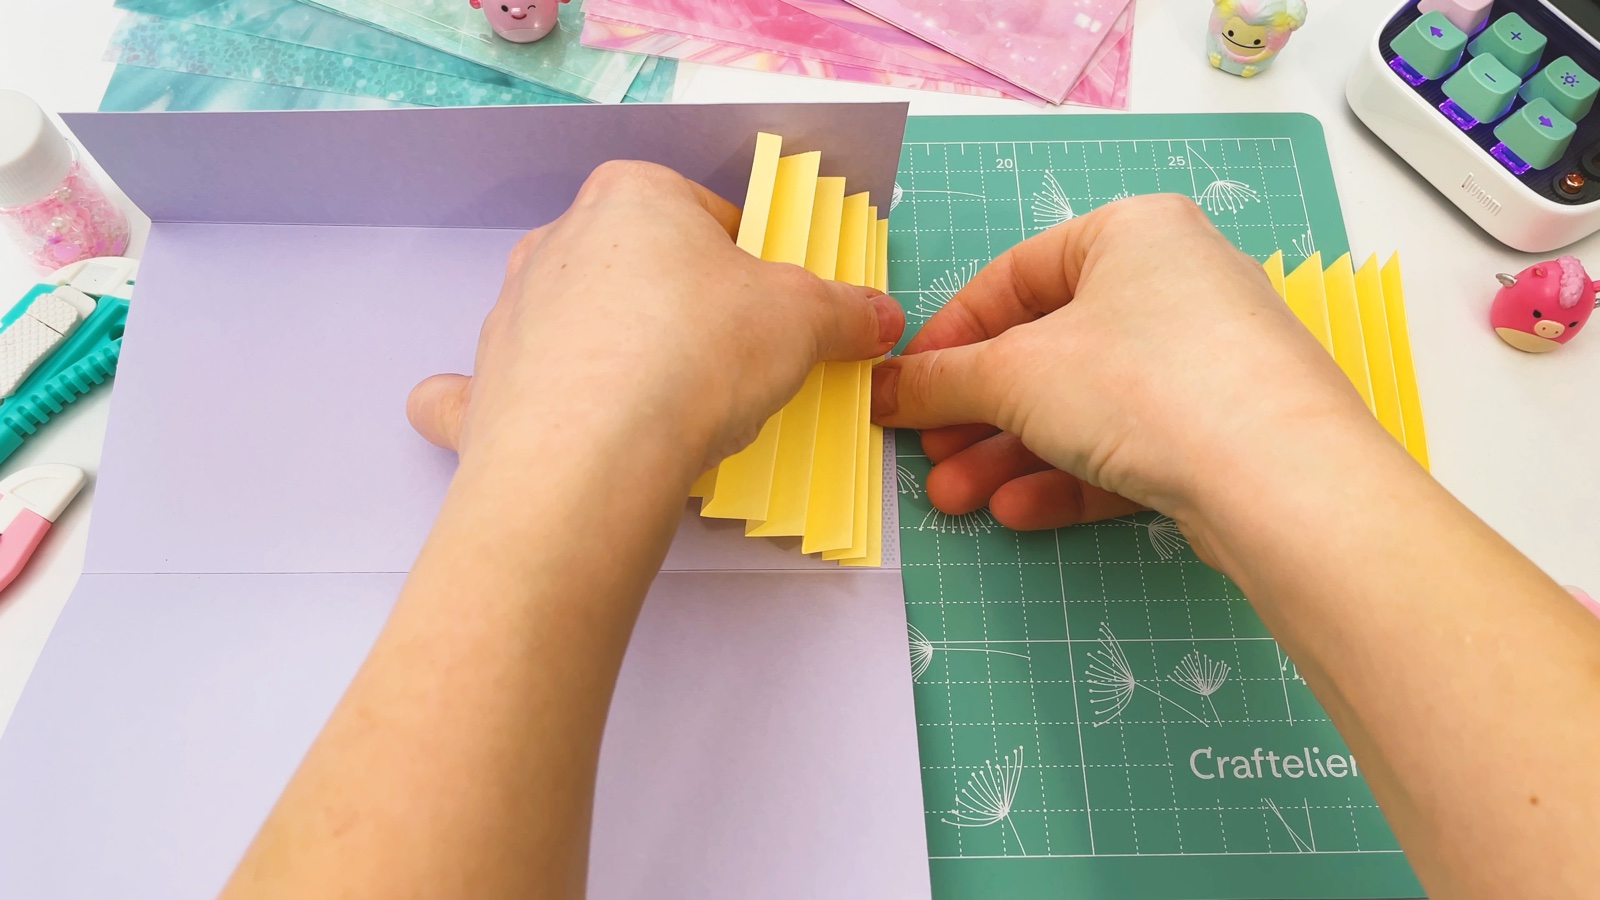
Now both fans stand at the sides of the back panel. Put glue tape along both side edges of the front panel. Fold the front panel up and press its edges onto the fans.
- 8
Close the wallet
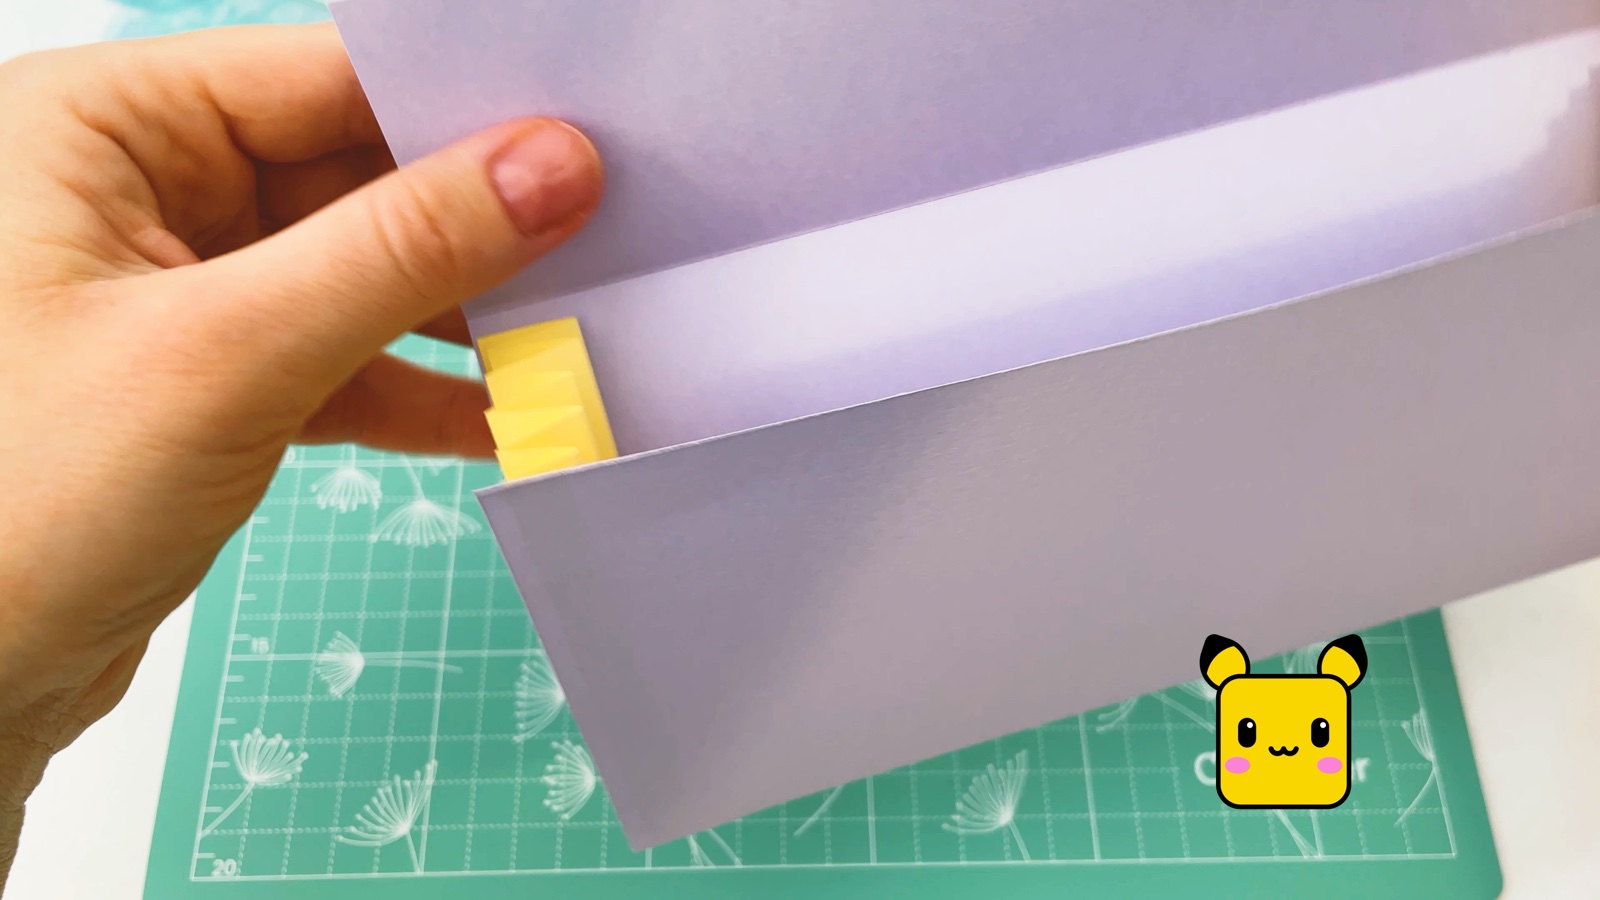
Open the wallet a little: the yellow fans stretch at both sides. Squeeze it shut again and fold the flap down over the front.
- 9
Add Gengar
Cut out Gengar from page 2. Stick foam tape squares on the back of his head, not on the tongue. You can pick Pikachu, Charmander, Bulbasaur or Cubi instead.
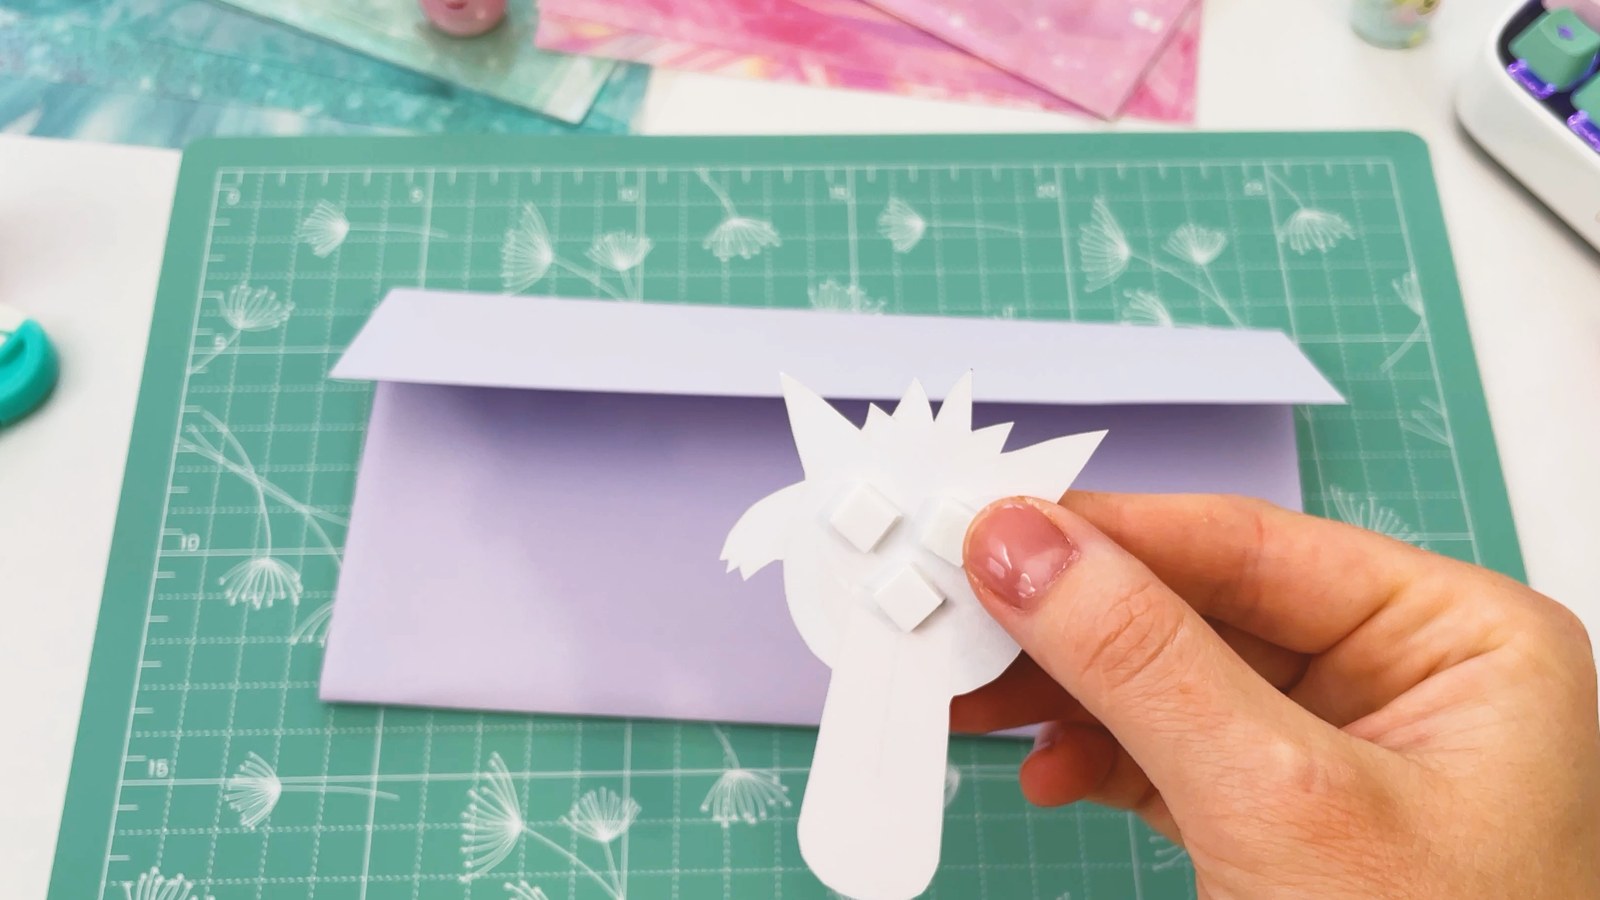
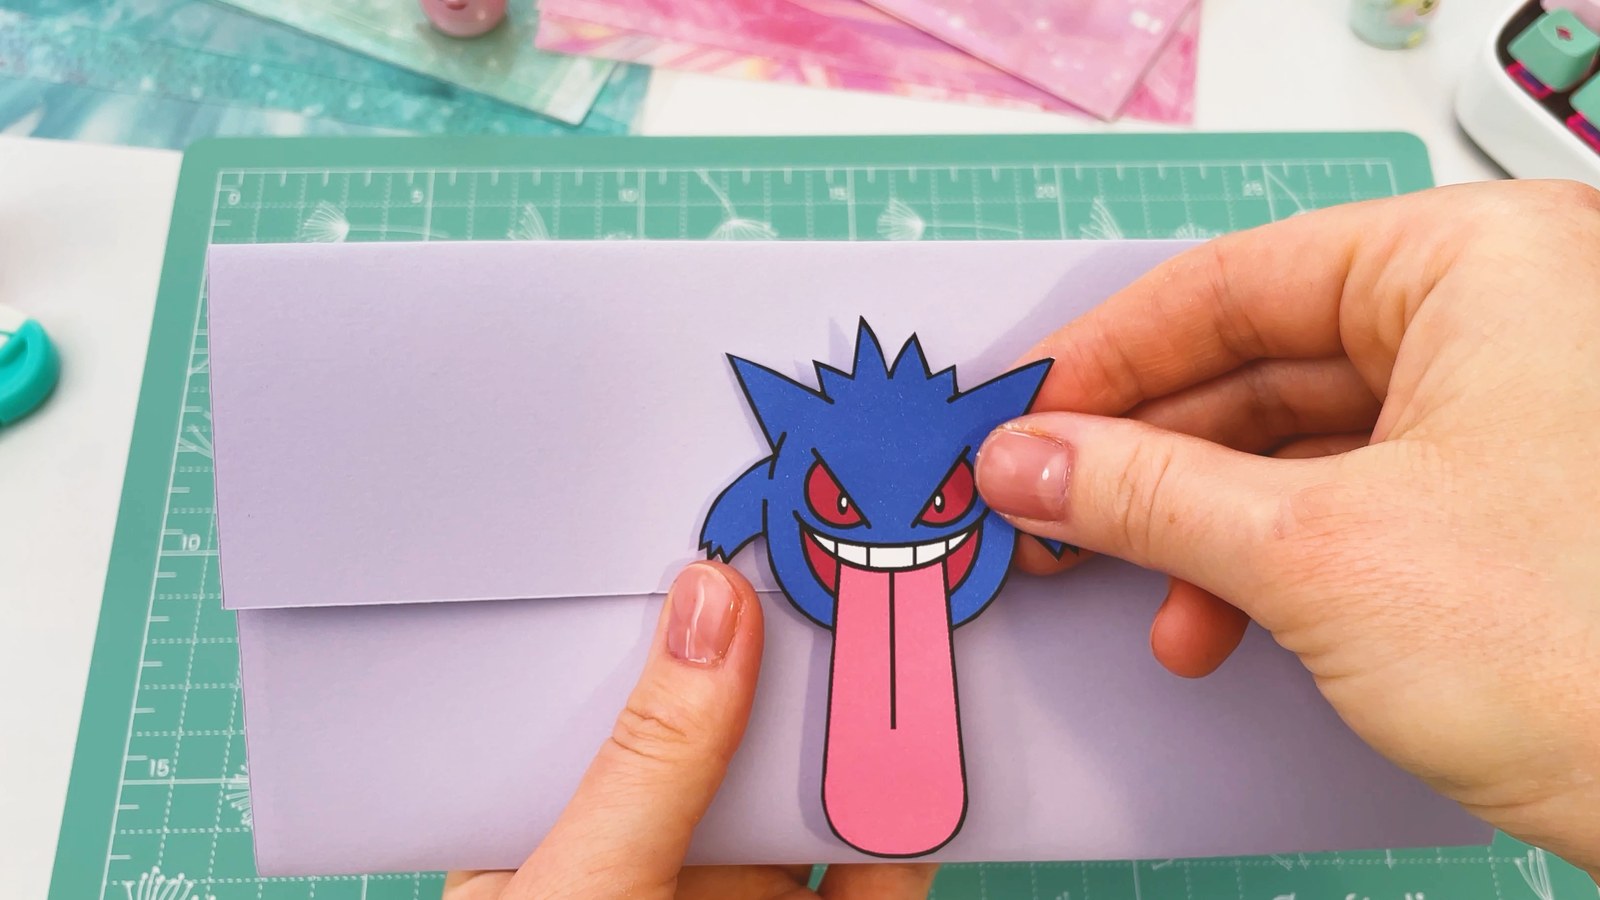
Press Gengar onto the middle of the flap. Let the tongue hang down over the front of the wallet.
- 10
Add the band
Cut a thin strip from the blank purple offcut. Fold both ends under, so the strip is a little wider than the tongue. Put glue tape on the folded ends.
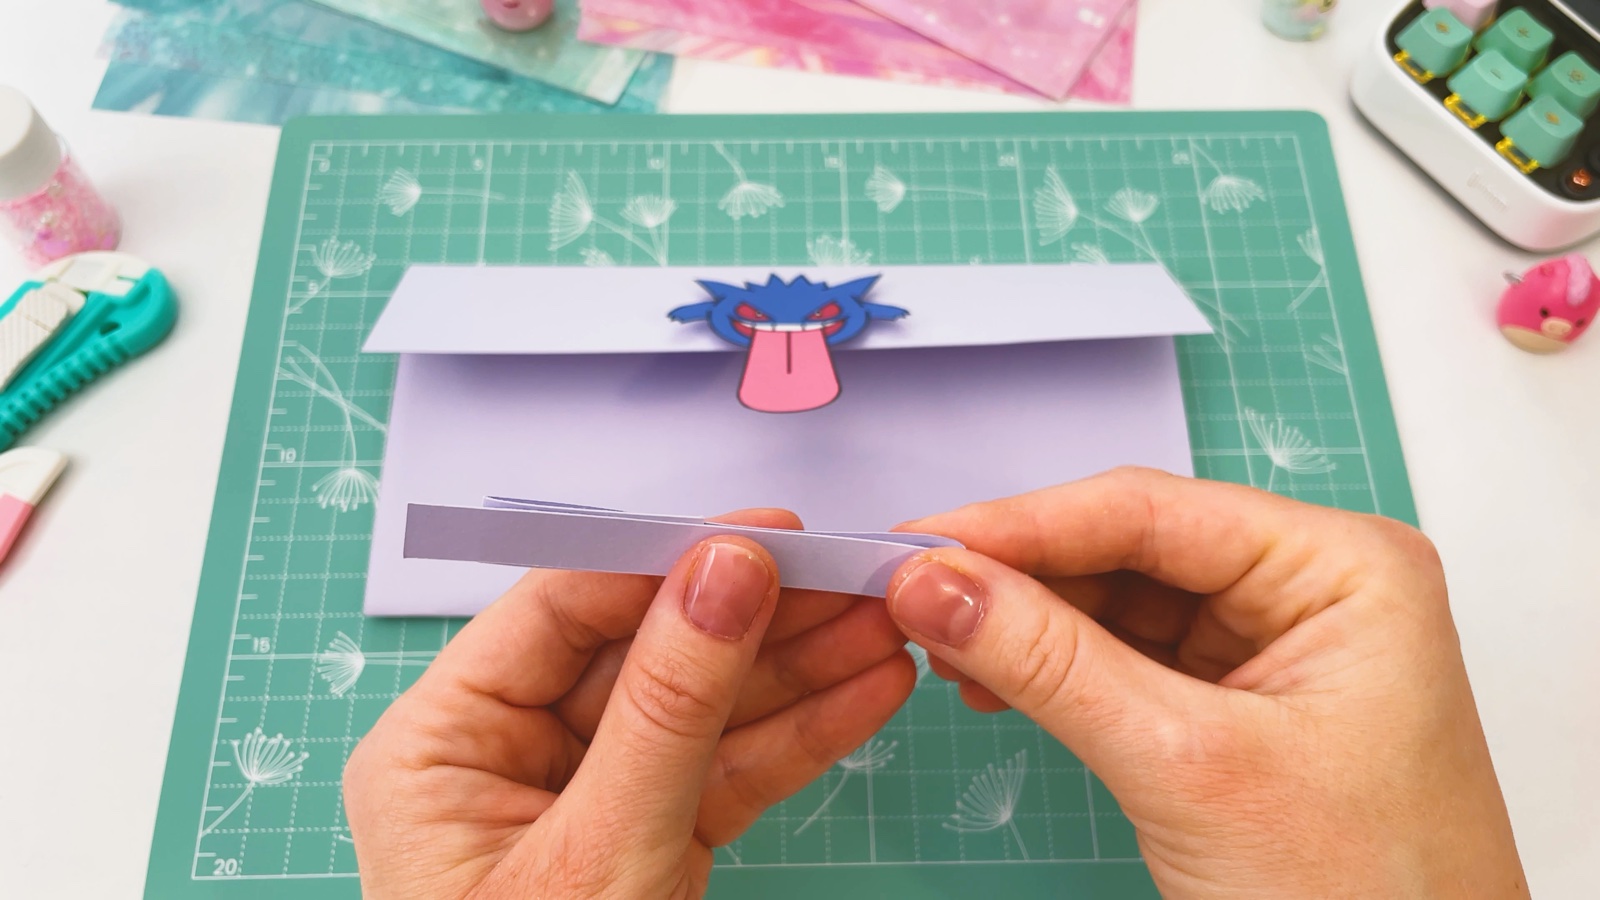
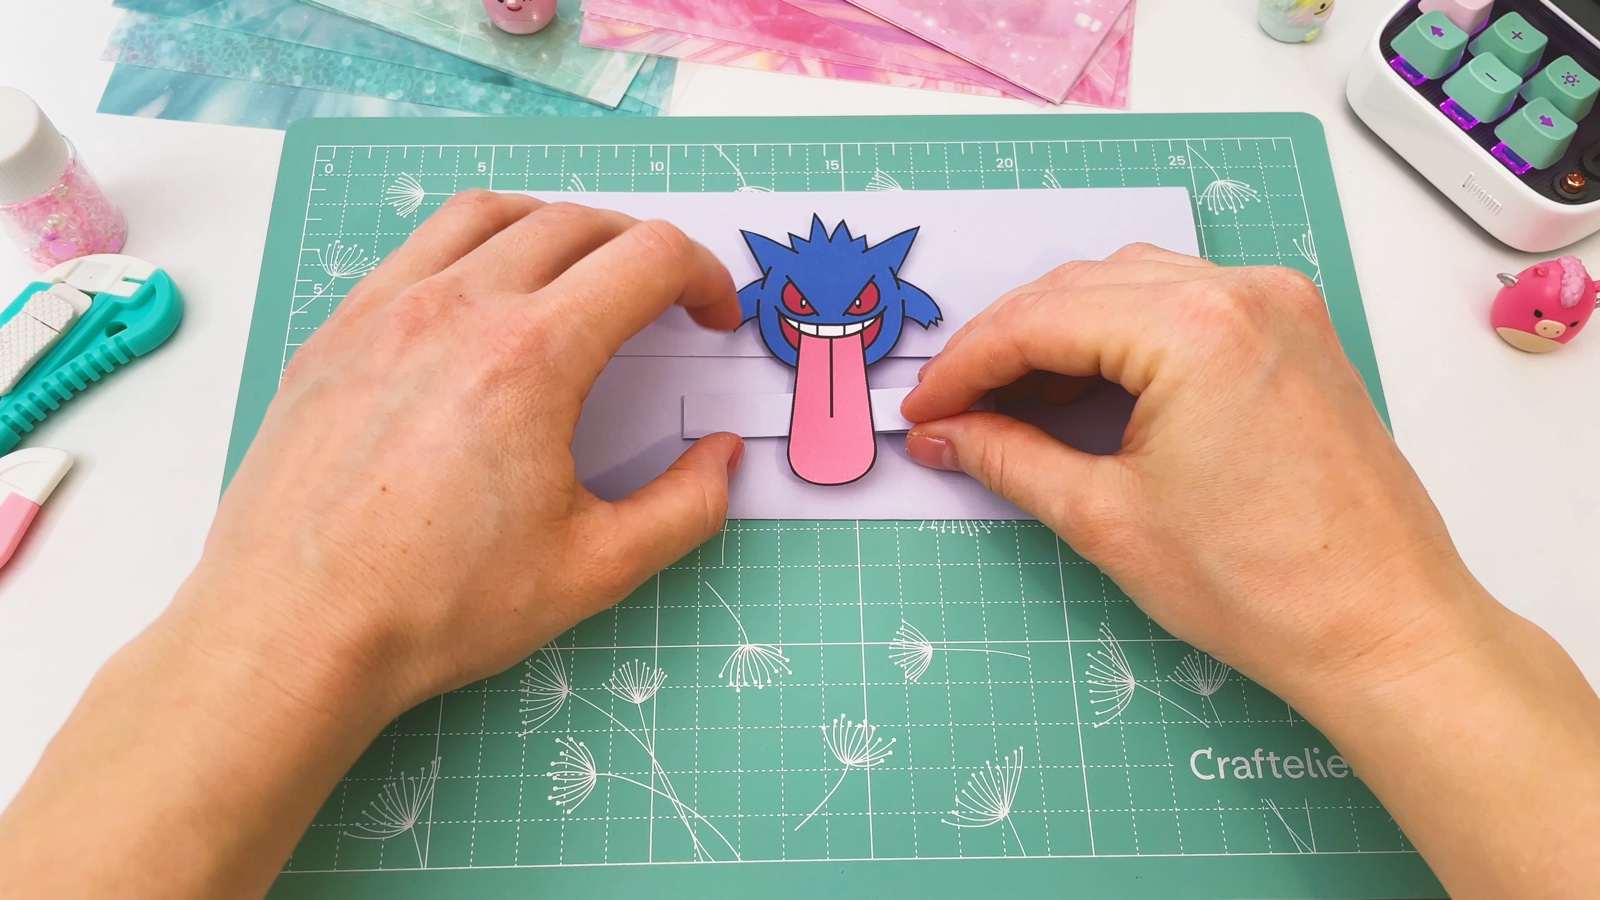
Glue the band across the front of the wallet, below the flap. Leave the middle loose, so the tongue slides under it and holds the flap shut.
- 11
Fill it with money
Print page 3 (and the notes on page 2) and cut out the paper money. Pull the tongue out of the band, open the flap and slide the notes inside.
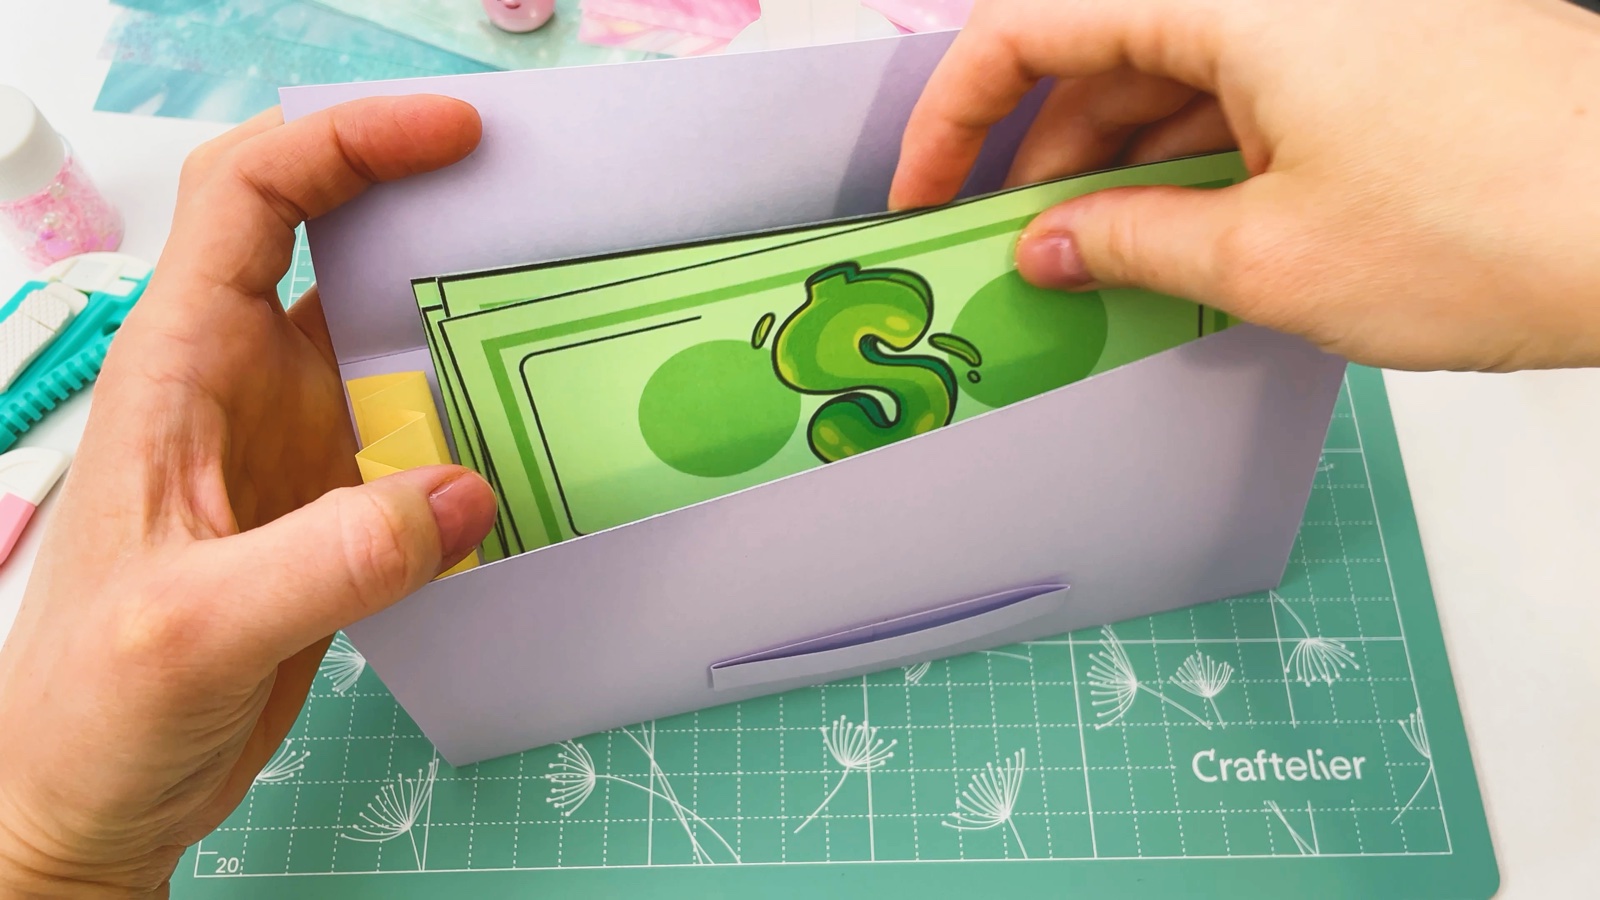
The zigzag pockets stretch at both sides, so there is room for lots of notes.
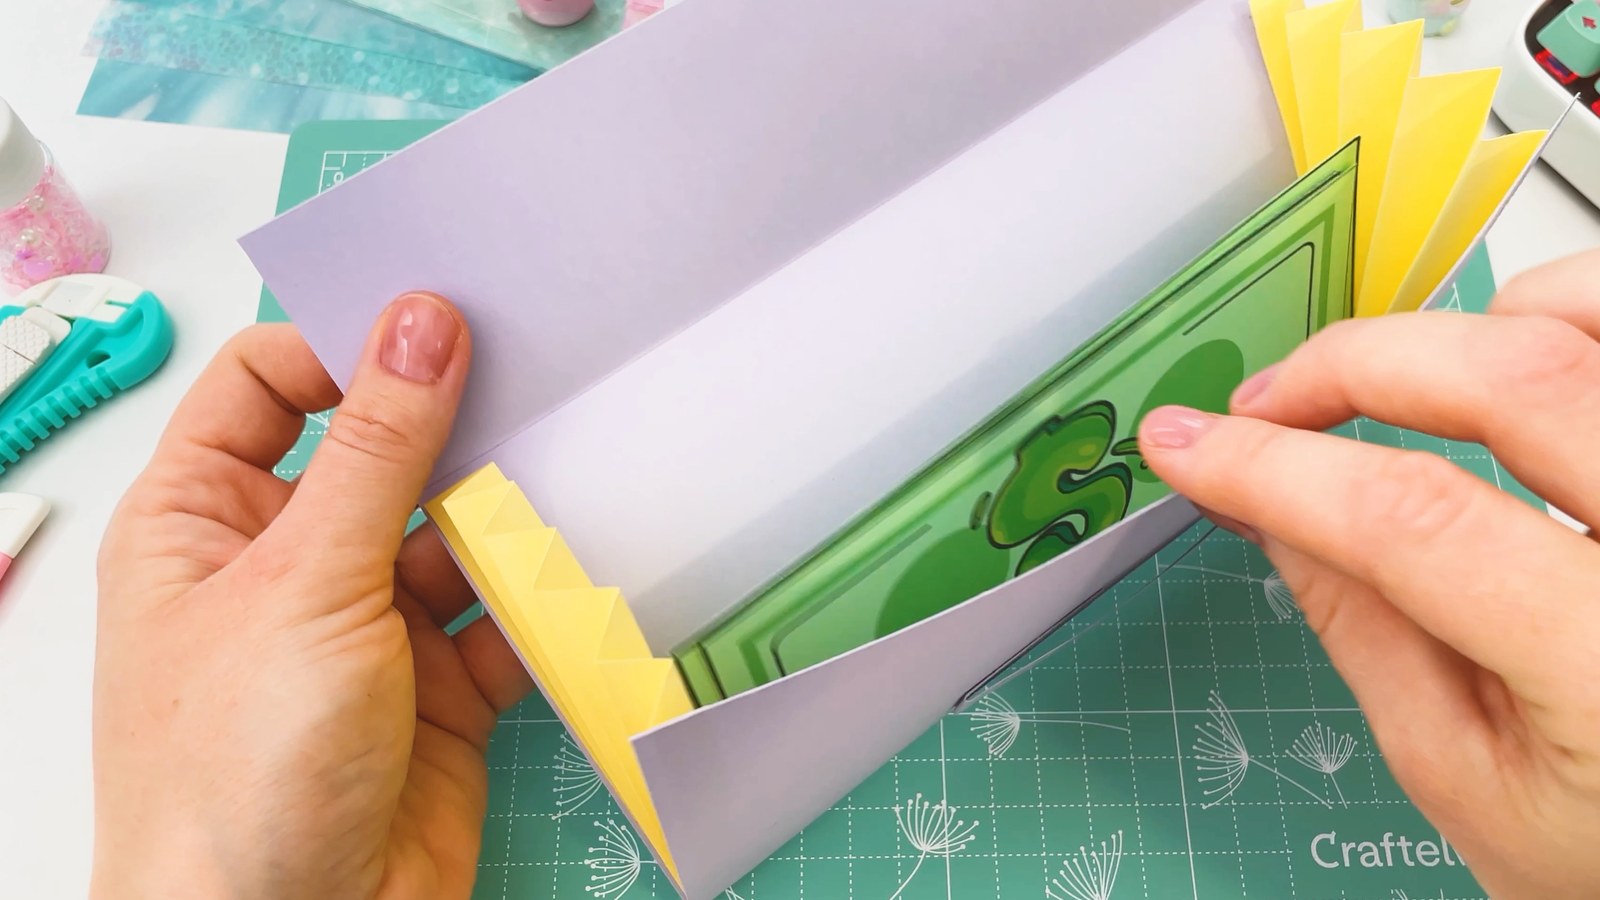
Close the flap and tuck Gengar’s tongue back under the band.
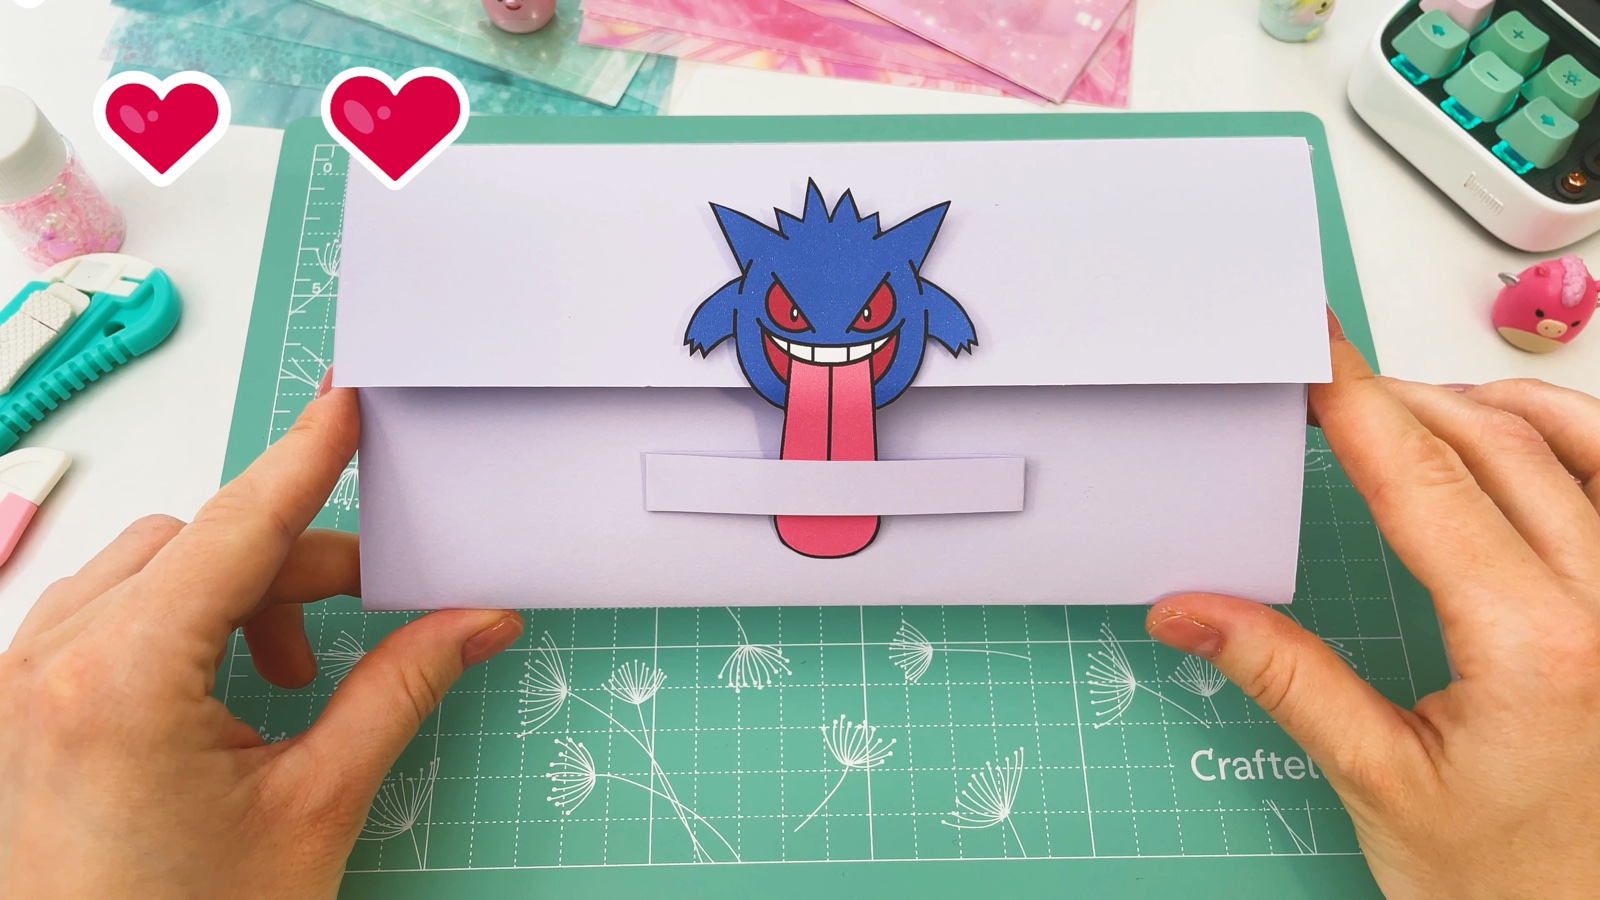
Your Gengar paper wallet is ready.
THREE LITTLE TIPS
Make it easier.
- Glue tape keeps it flat. Liquid glue makes thin paper wavy. Glue tape or a glue stick works best.
- Keep the zigzag folds even. Folds of the same width make the pockets open and close neatly.
- Foam tape only on the head. A free tongue slides under the band more easily.

A CUBI MINI MOMENT
What will you buy first?
Cubi is saving paper money in Gengar’s wallet for a surprise for Mini. What will you save yours for?
A tiny paper ice cream, with three scoops for Mini.
Loved making it?
Catch the next make first, or save this one for a rainy day.