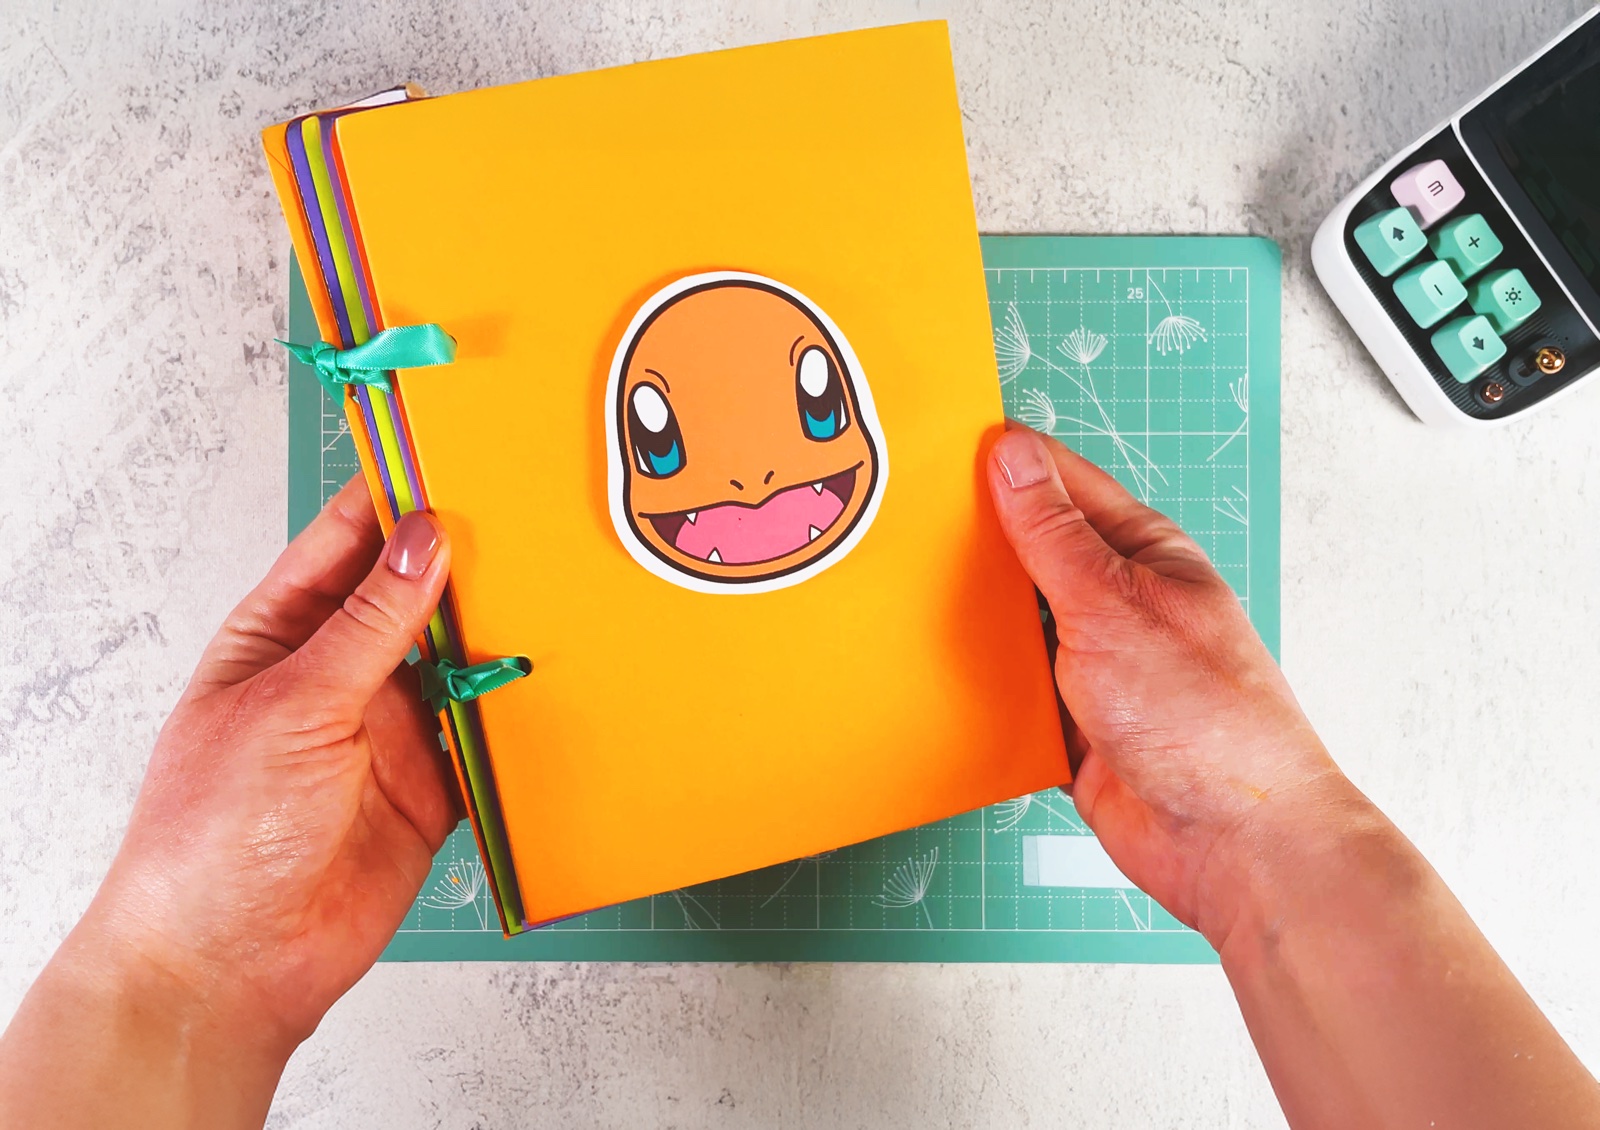
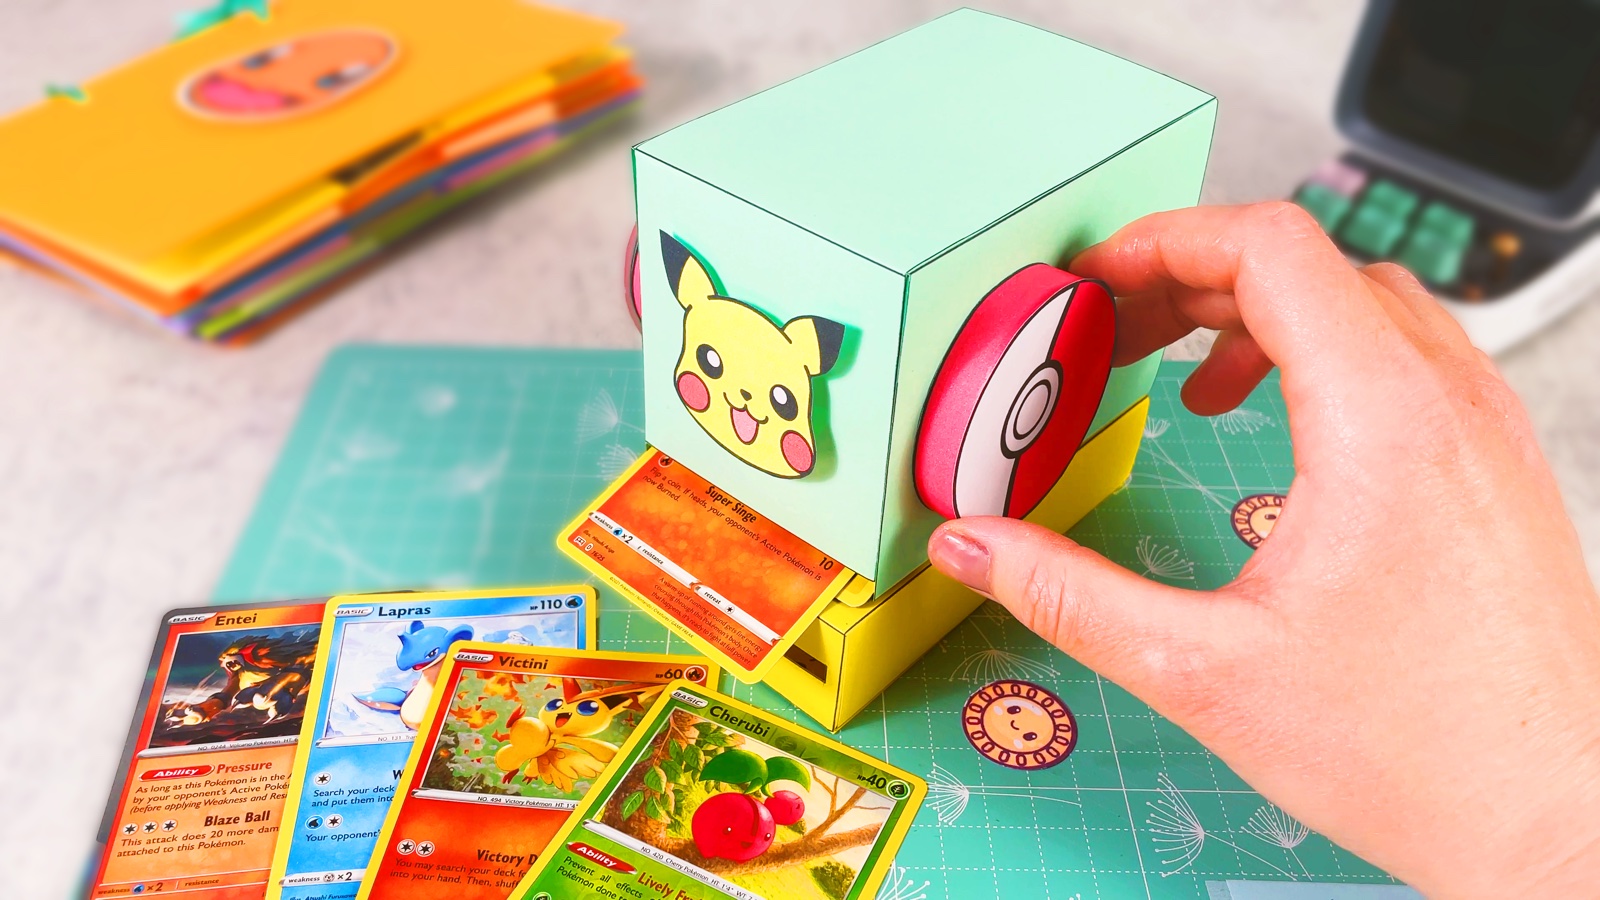
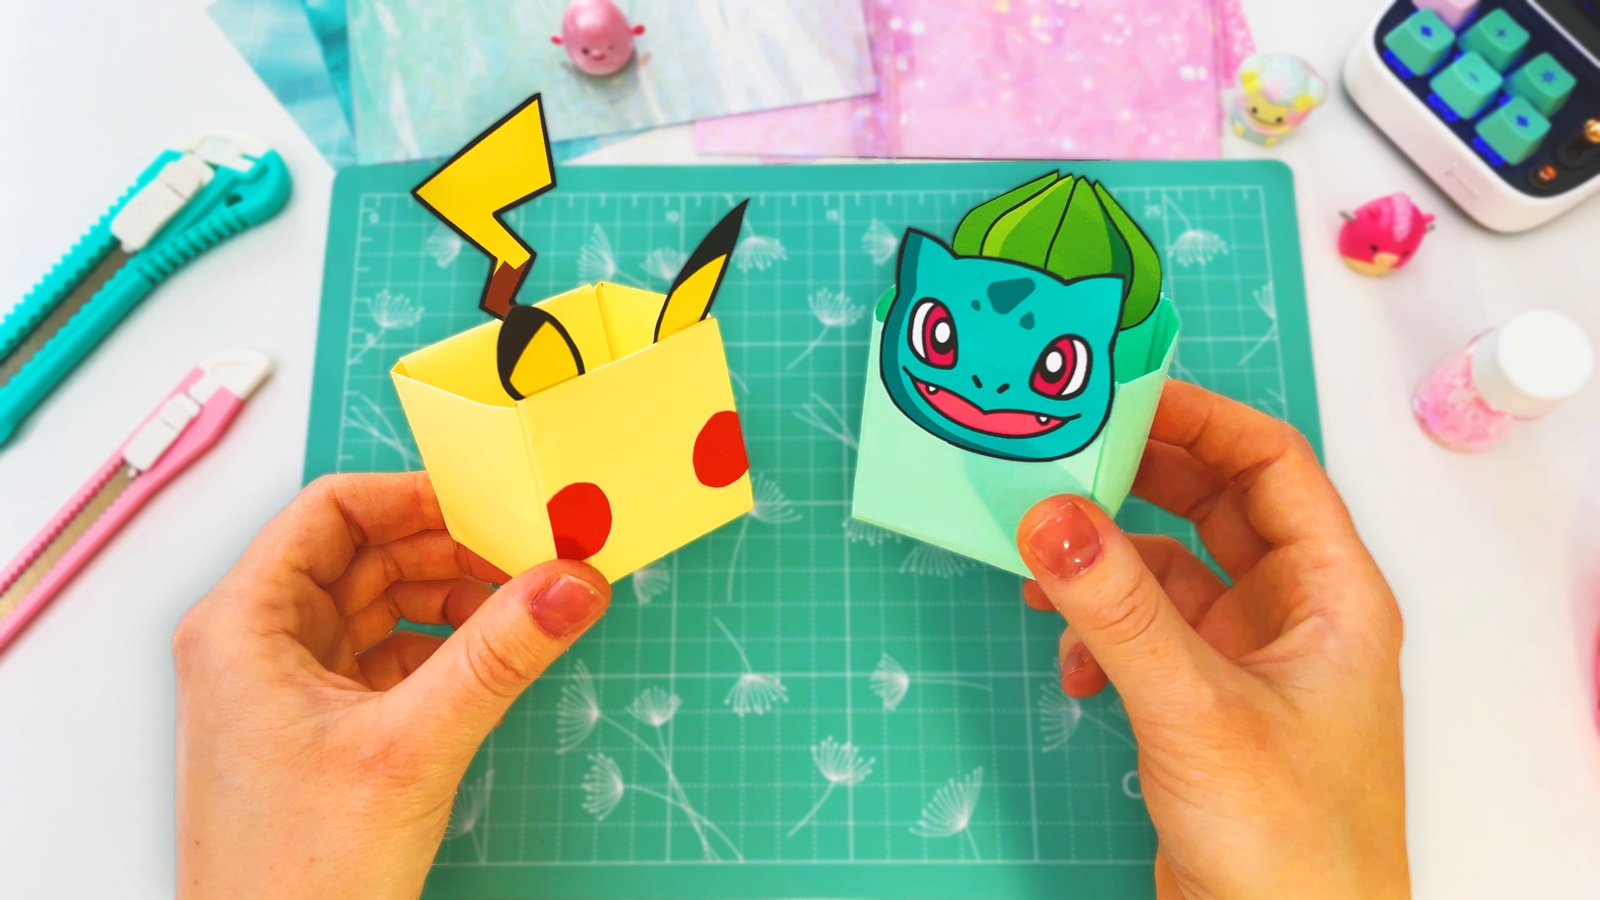
Let’s make a Bulbasaur-themed Pokémon card holder together! A fun and useful way to store your Pokémon cards. Using just paper, glue and scissors, we build a pocket-size card organizer with rainbow compartments for your favourite trading cards.
The pockets fold out like a fan, and a little tab with Bulbasaur keeps the flap closed. The template also has Pikachu, Charmander and Gengar, so every Pokémon fan can pick a face. It is a nice birthday gift, a class swap idea, or a home for the cards that come out on every playdate.
BEFORE WE START
What you need.
Materials
- Printable template
- Light green paper
- Coloured paper× 3
- Glue stick
- Foam tape squares
Tools
- Craft knife and ruler
- Scissors
- Black pen
- Paper trimmer (optional)
- A Pokémon card
- A printer
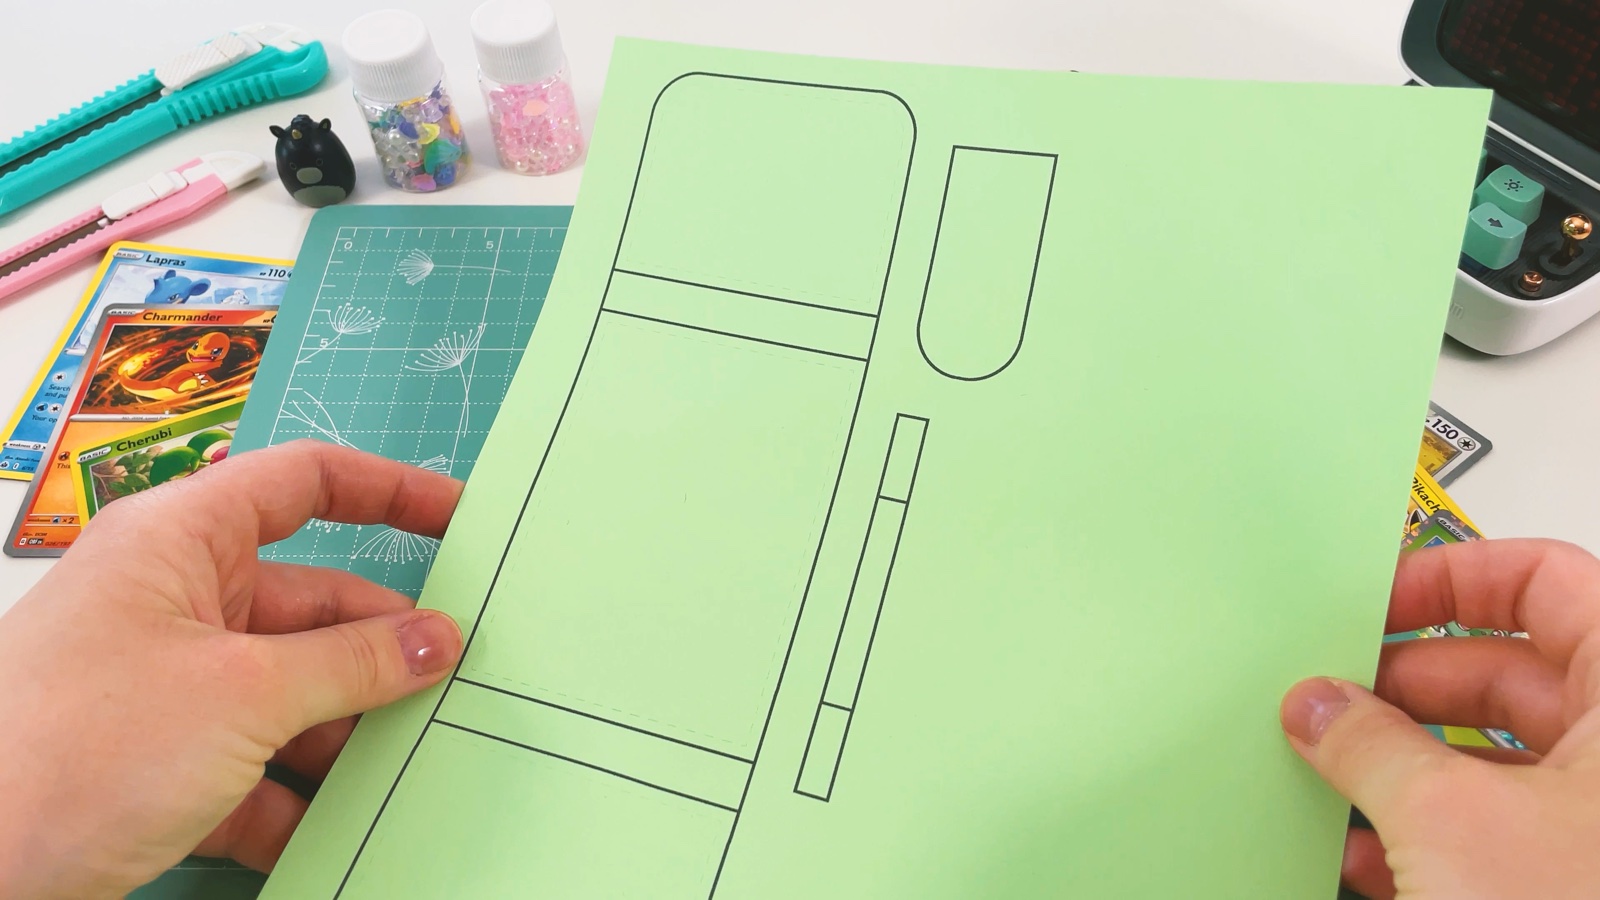
One A4 page has the cover, the tab, the band and four faces: Pikachu, Charmander, Bulbasaur and Gengar.
Get the free template ↓PART 1 OF 3
The cover
- 1
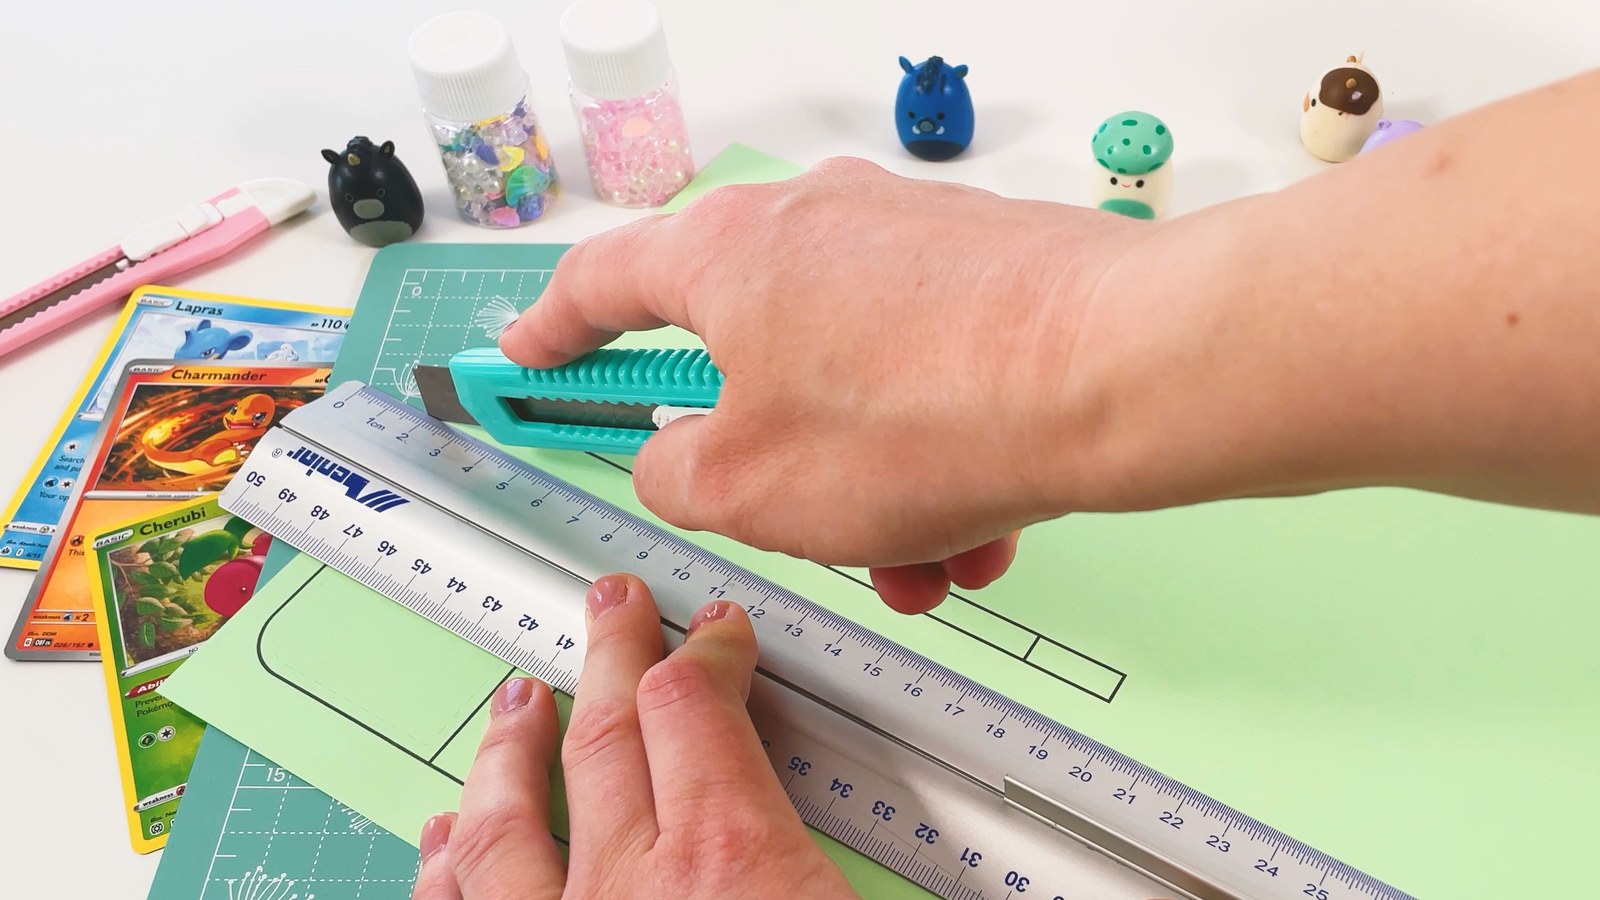
Cut out the cover
Print the template on light green paper, A4 (on US Letter, choose “Fit to page”). Thin card, about 160 g/m² (about 60 lb cardstock), makes the cover stronger. Cut along the straight lines with a craft knife and a ruler. Cut the round corners of the flap with scissors.
- 2
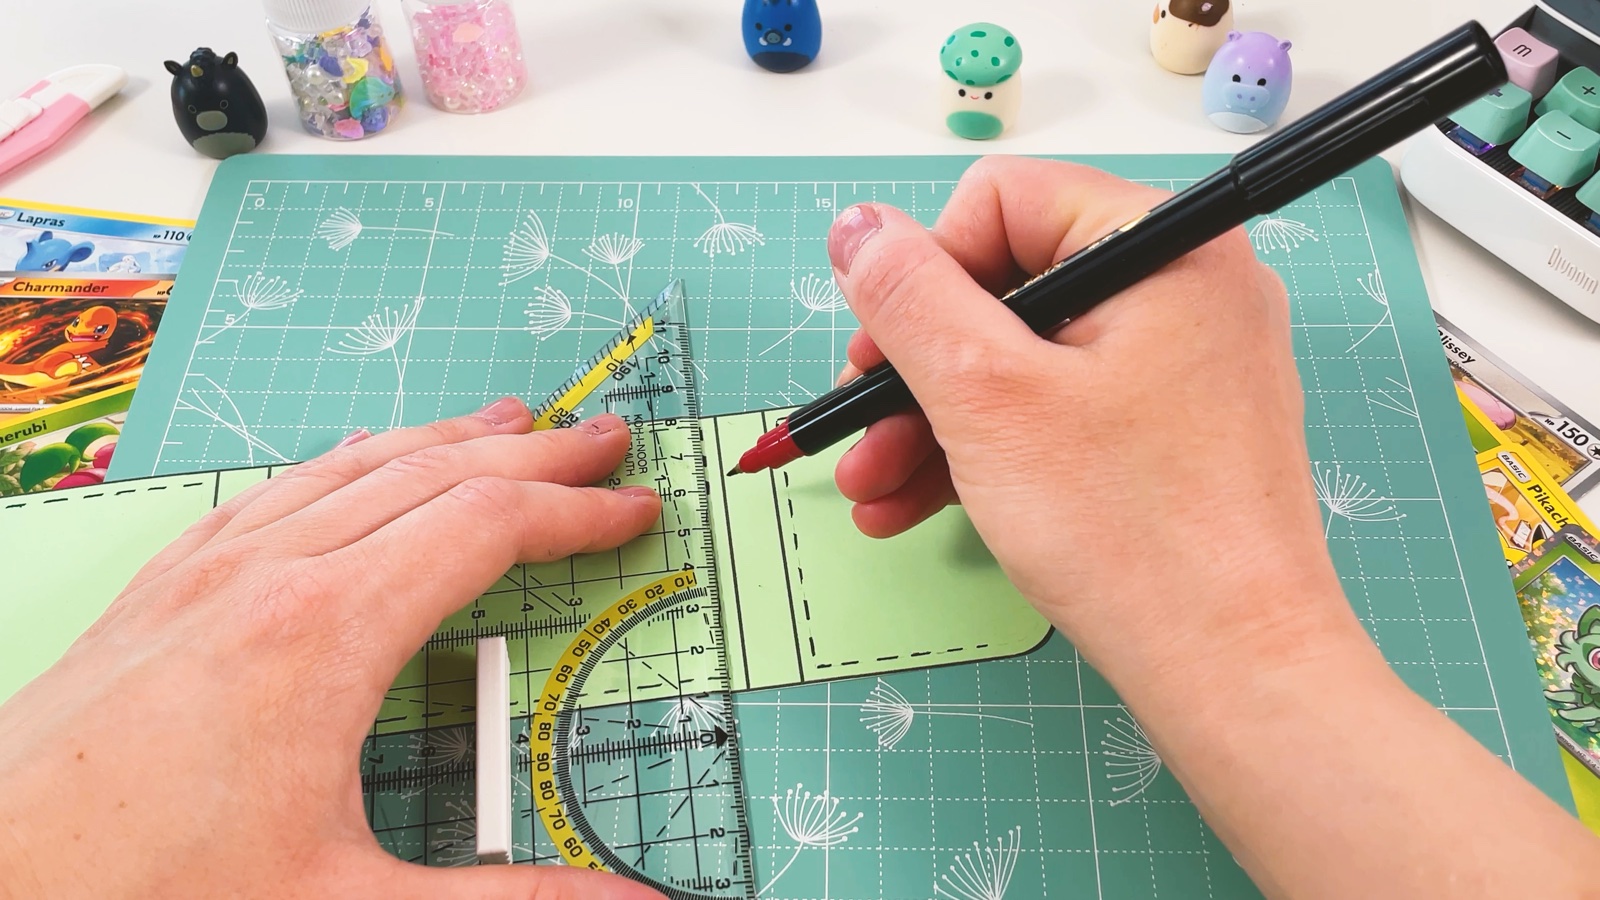
Draw the stitches
Inside each panel there is a light dashed line. Go over it with a black pen and a ruler. Now the cover looks stitched, like a real little wallet.
PART 2 OF 3
The rainbow pockets
- 3
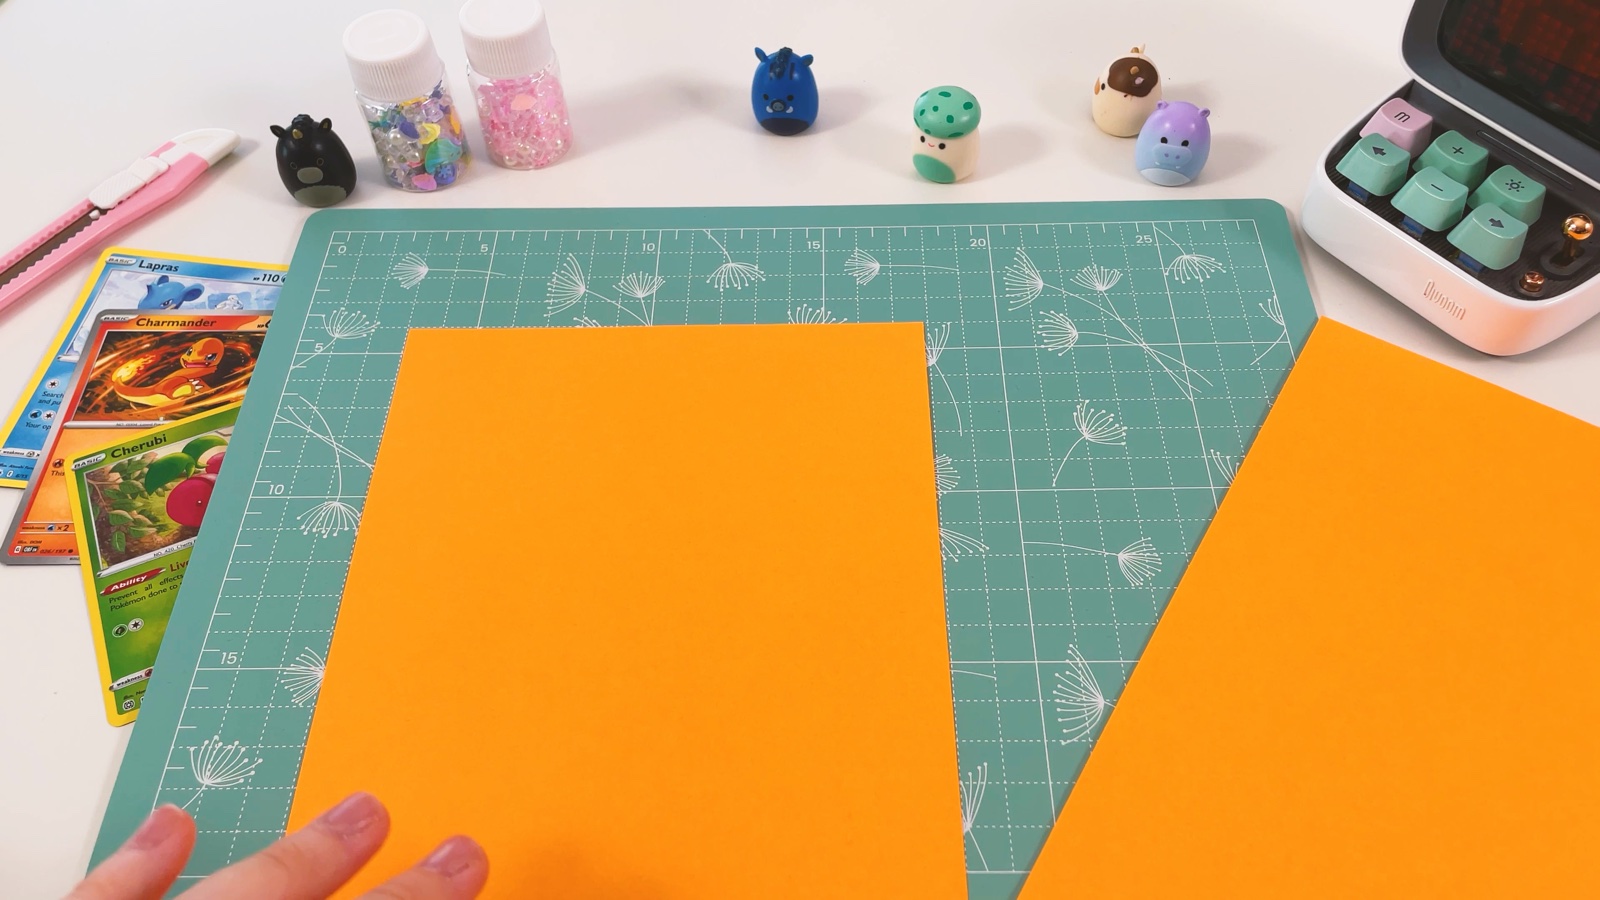
Cut a strip of coloured paper
Fold a sheet of coloured paper, A4 or US Letter, in half the long way. Cut along the fold. Each half is one long strip.
- 4
Fold the strip to card width
Lay a Pokémon card on the strip, near the bottom, in the middle.
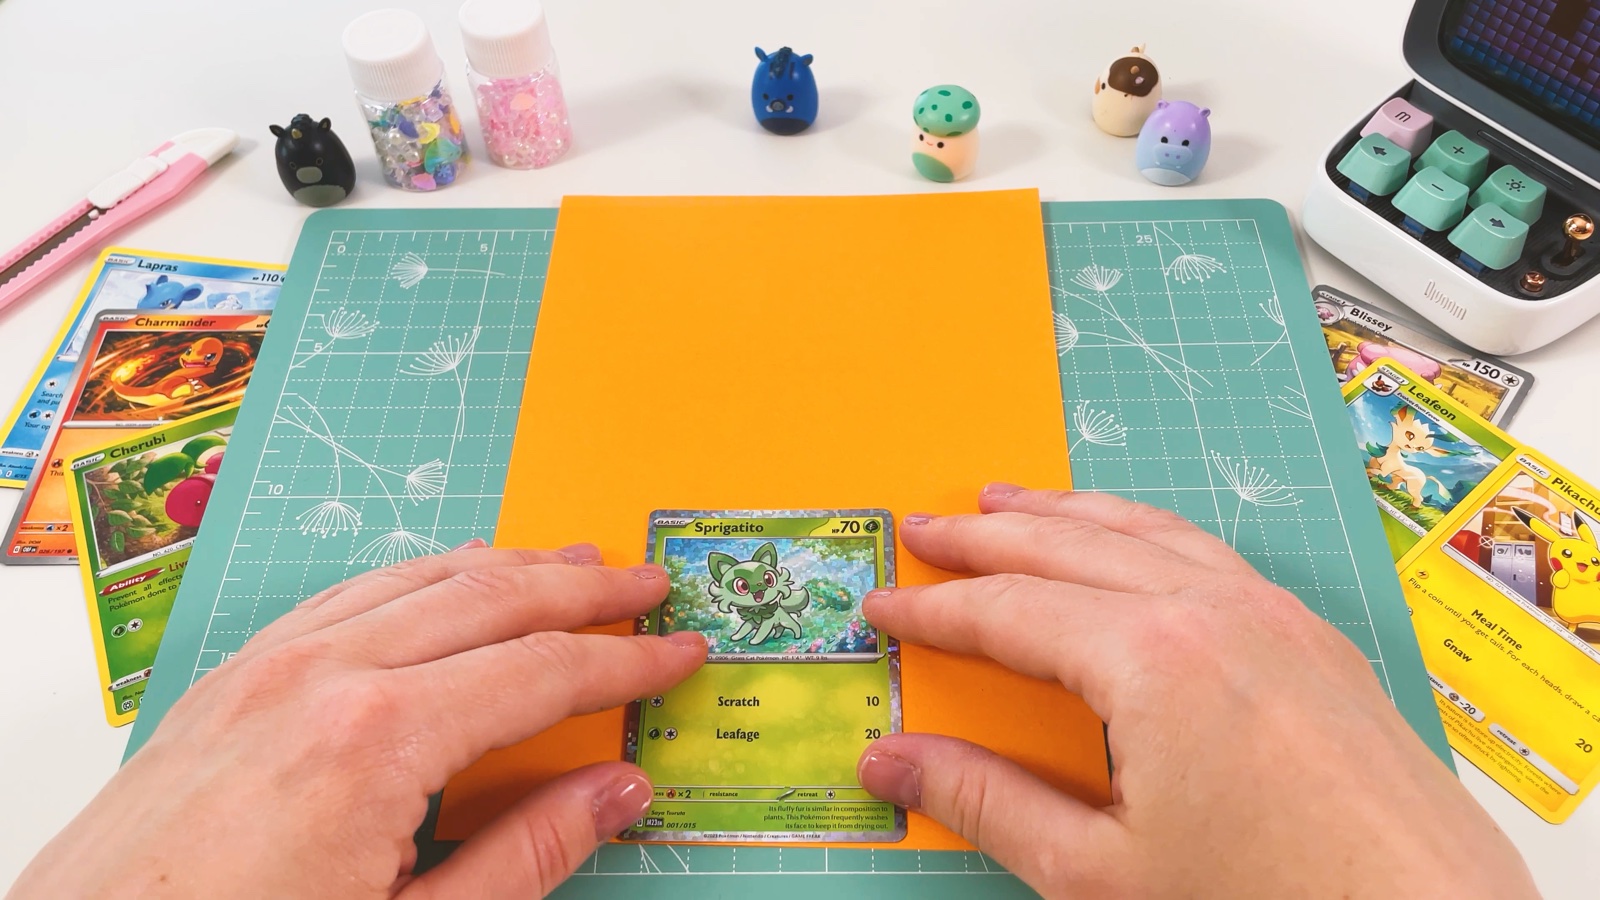
Fold the left side of the strip over the card and press the fold. Then fold the right side over it.
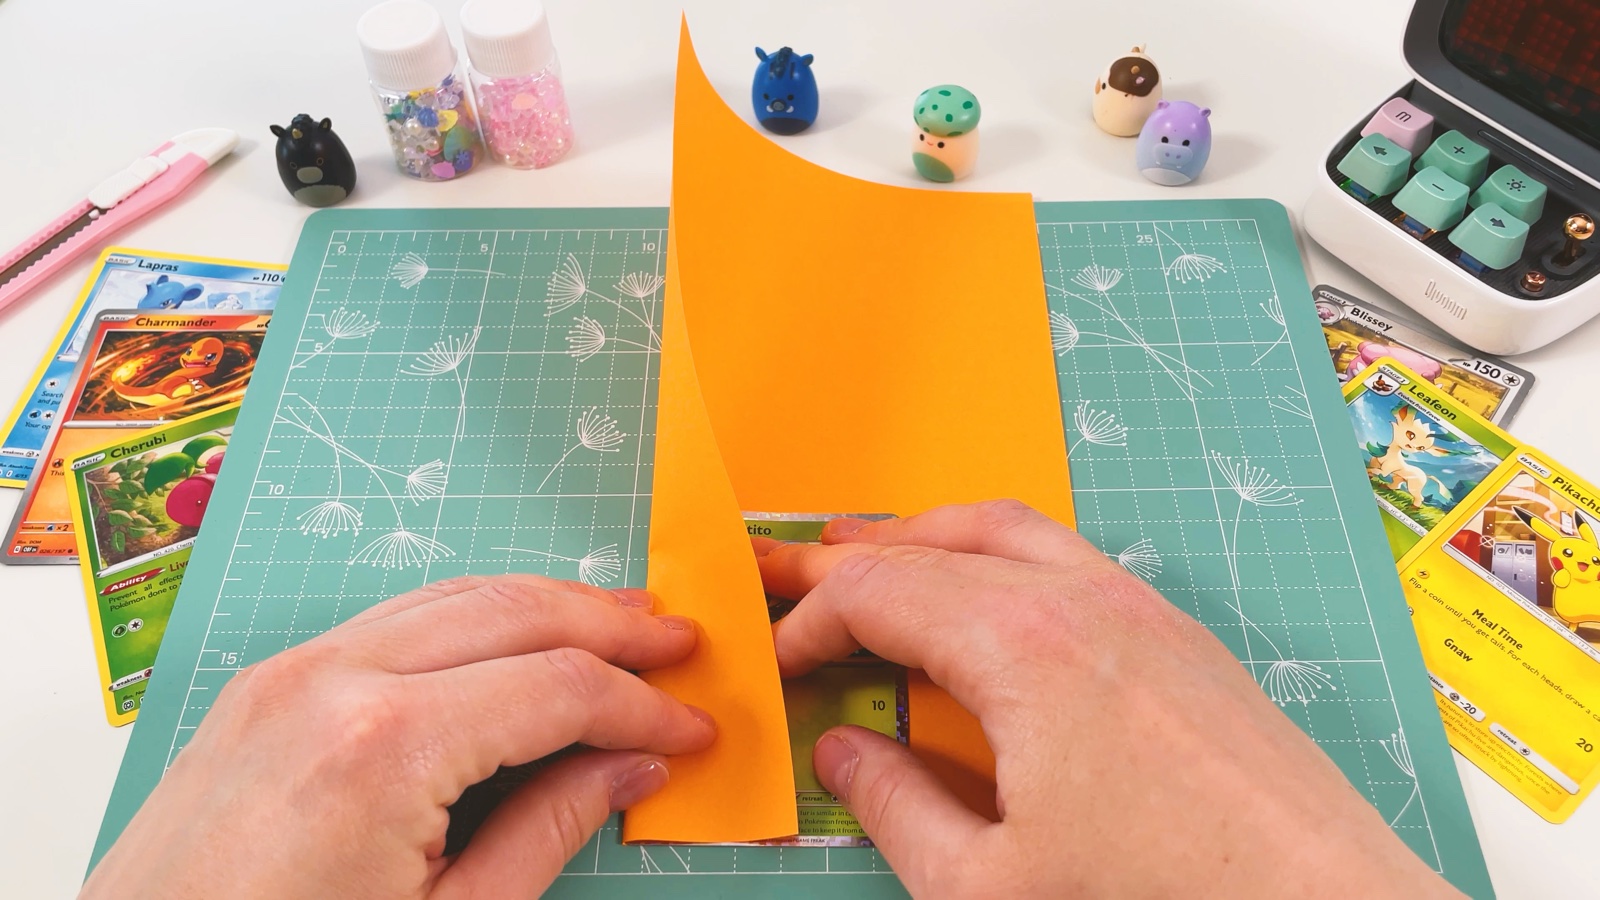
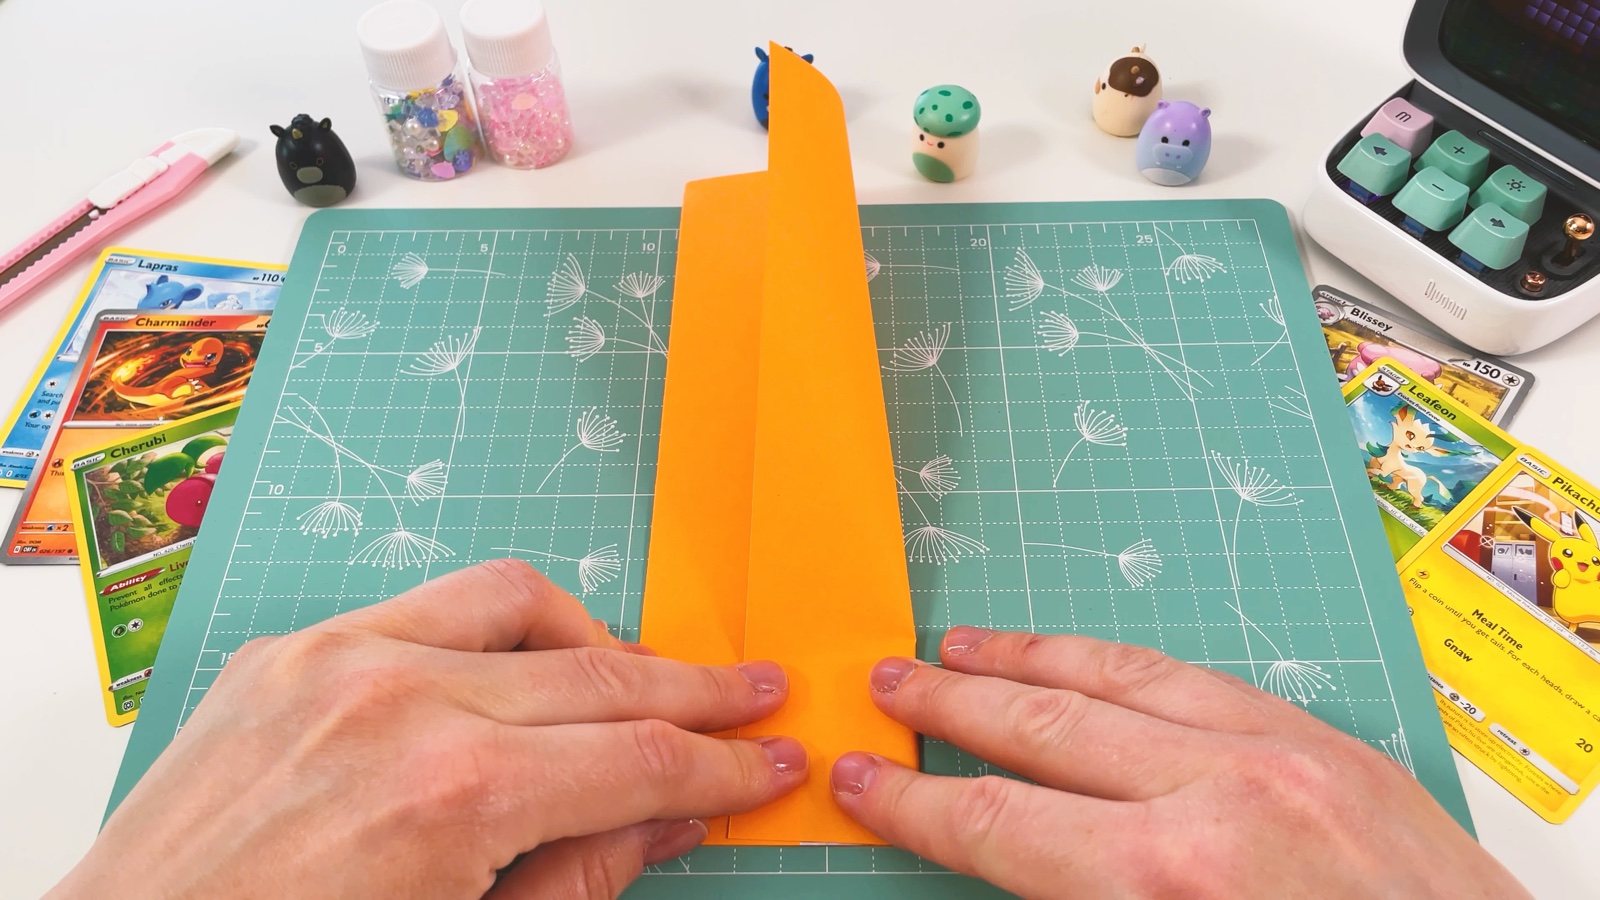
Press both folds flat along the whole strip. Open the bottom a little and slide the card out. Now the strip is exactly as wide as a card.
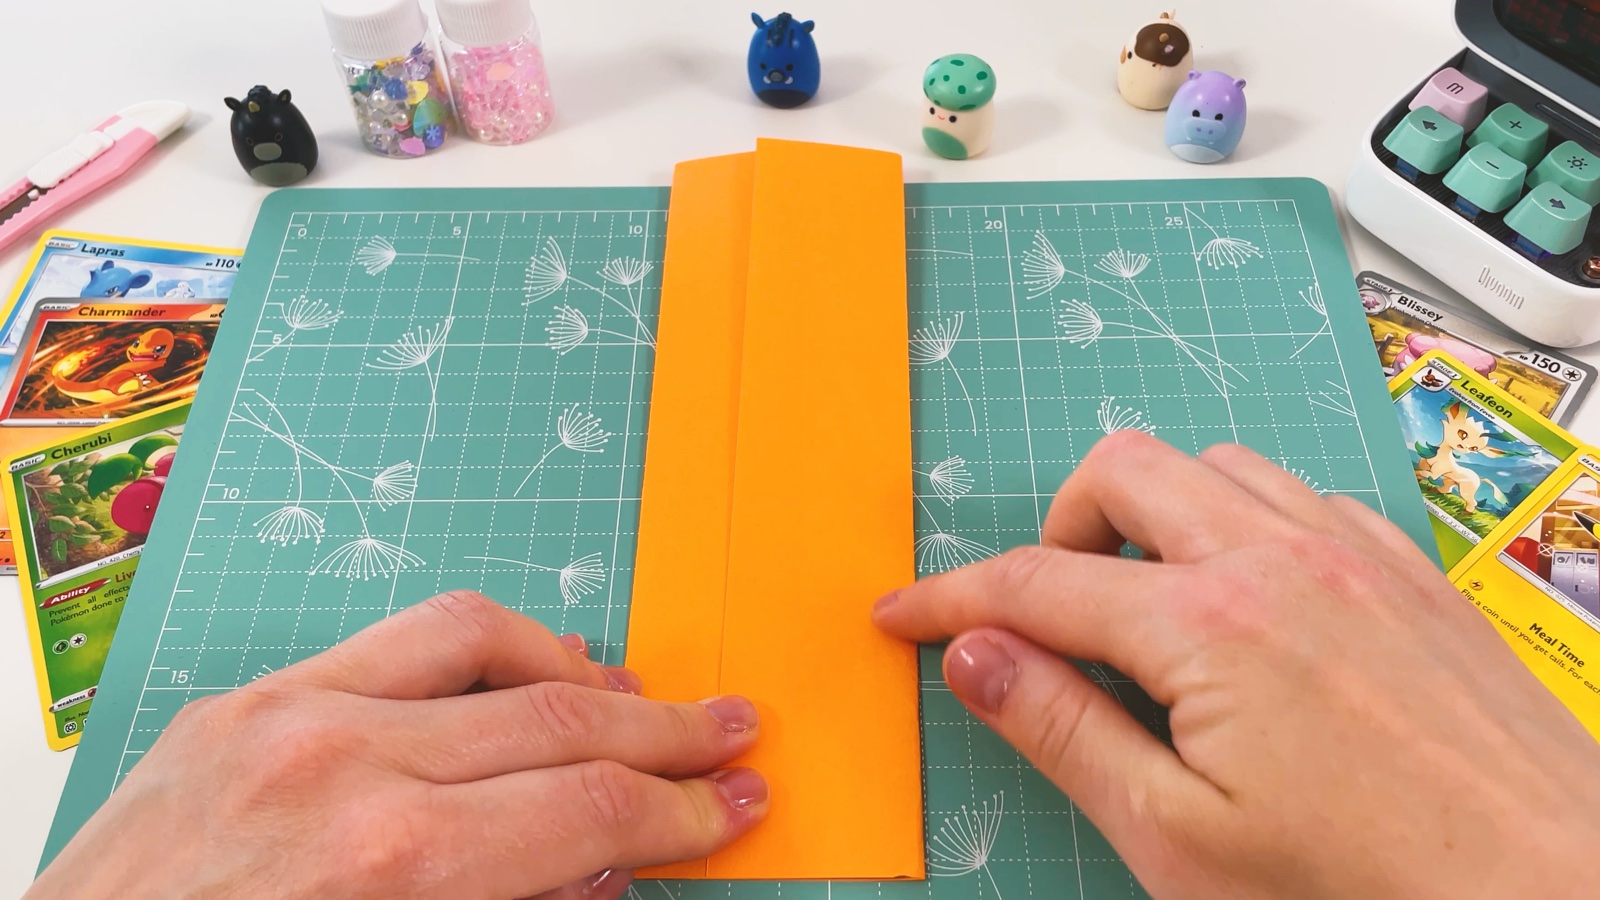
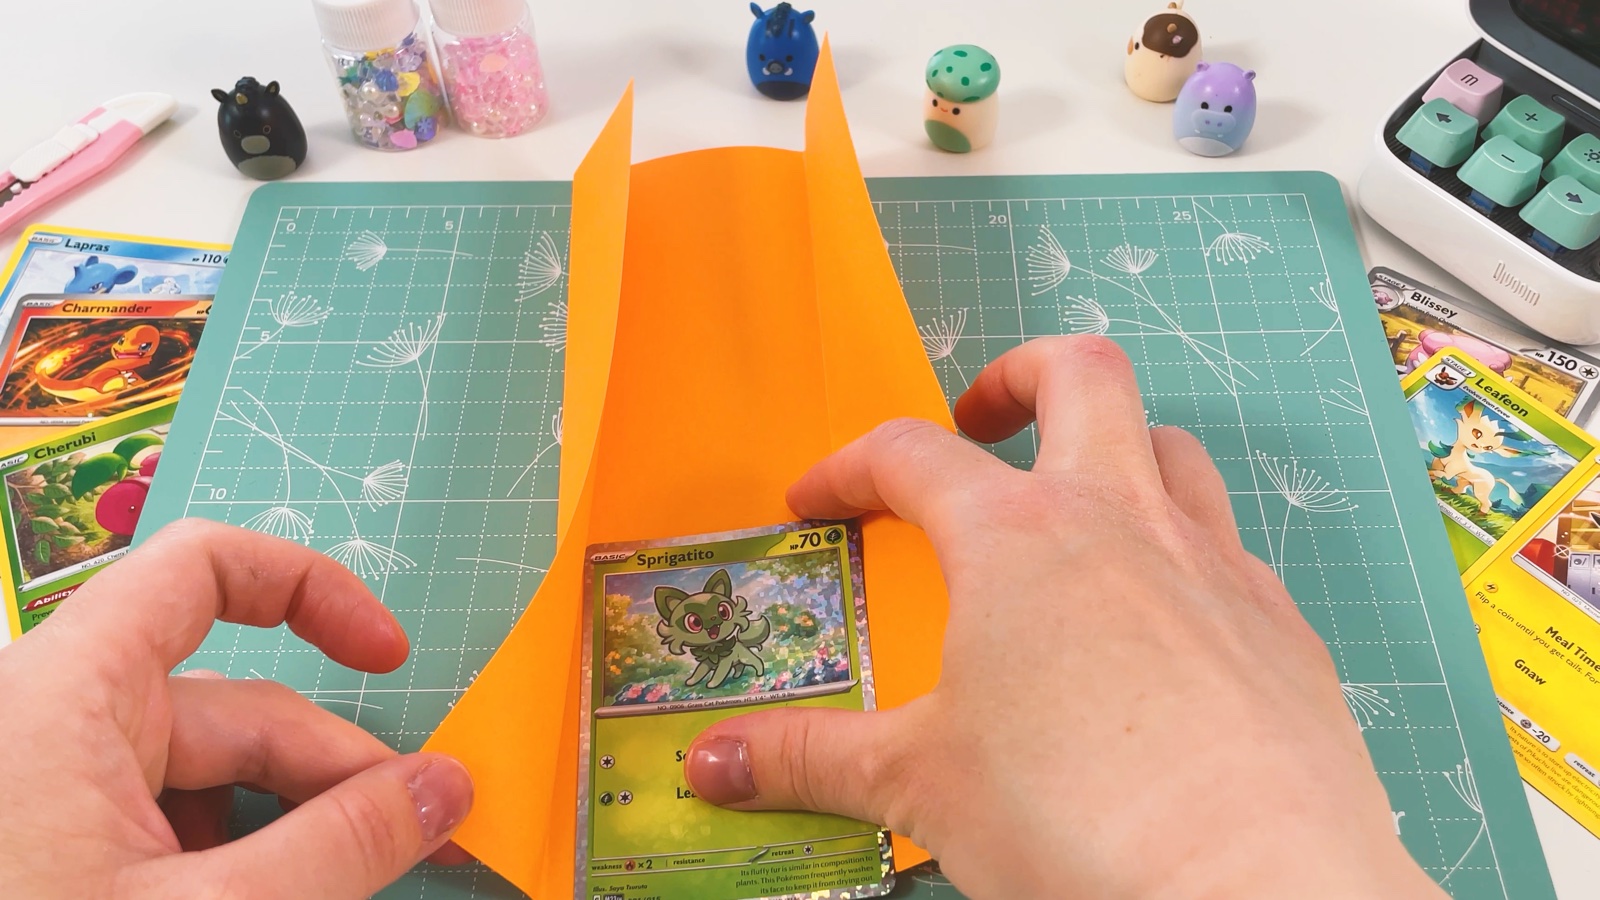
- 5
Fold a zigzag
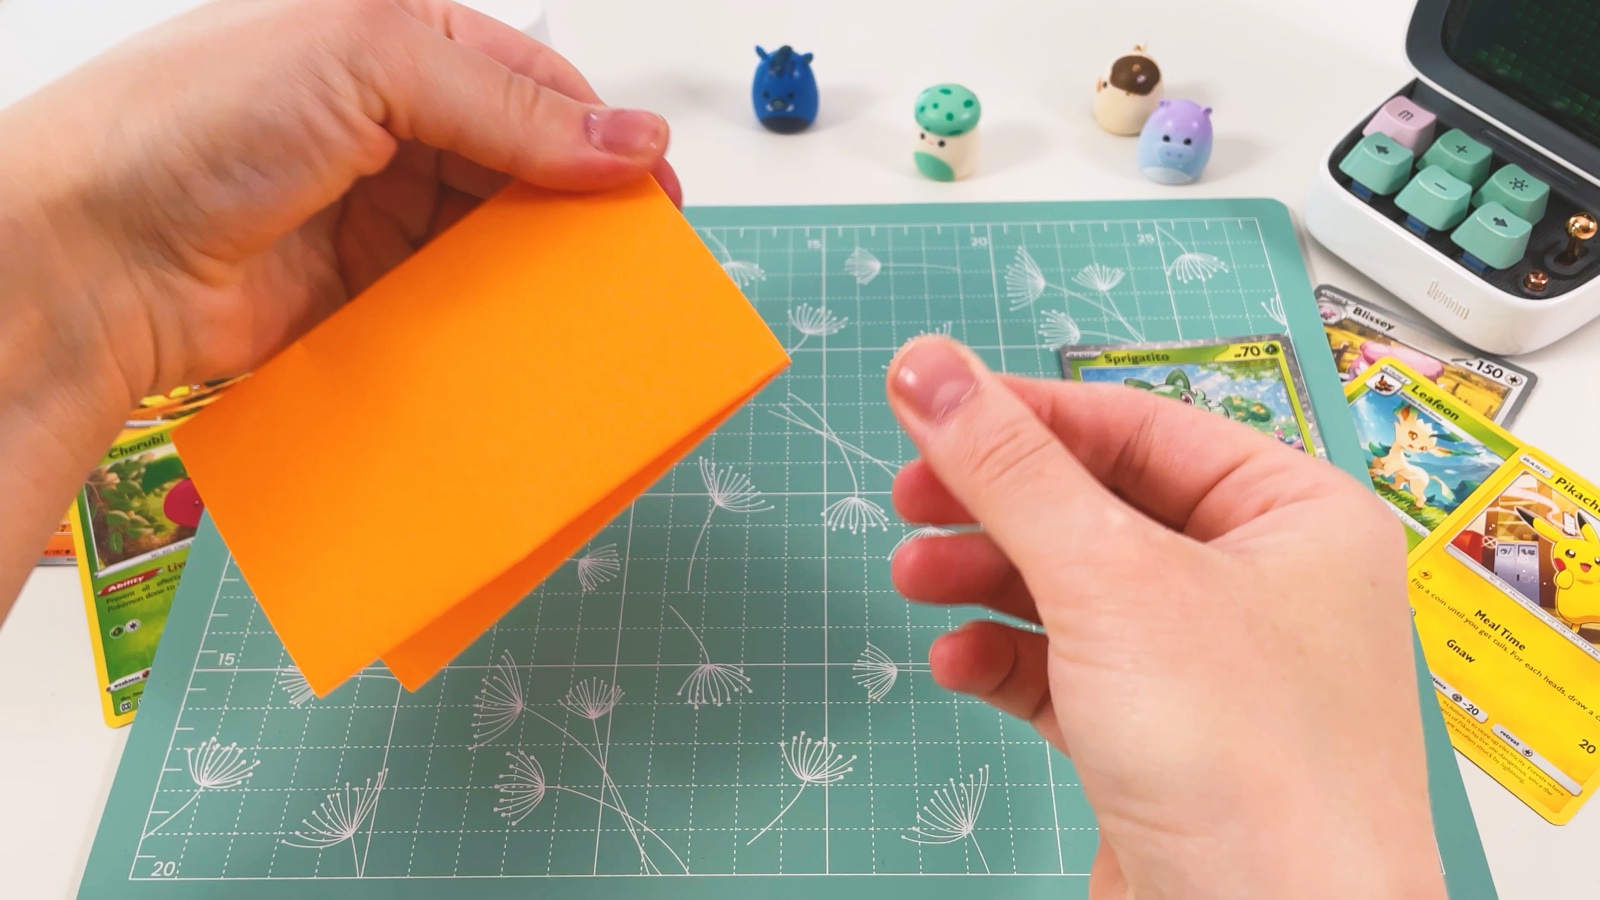
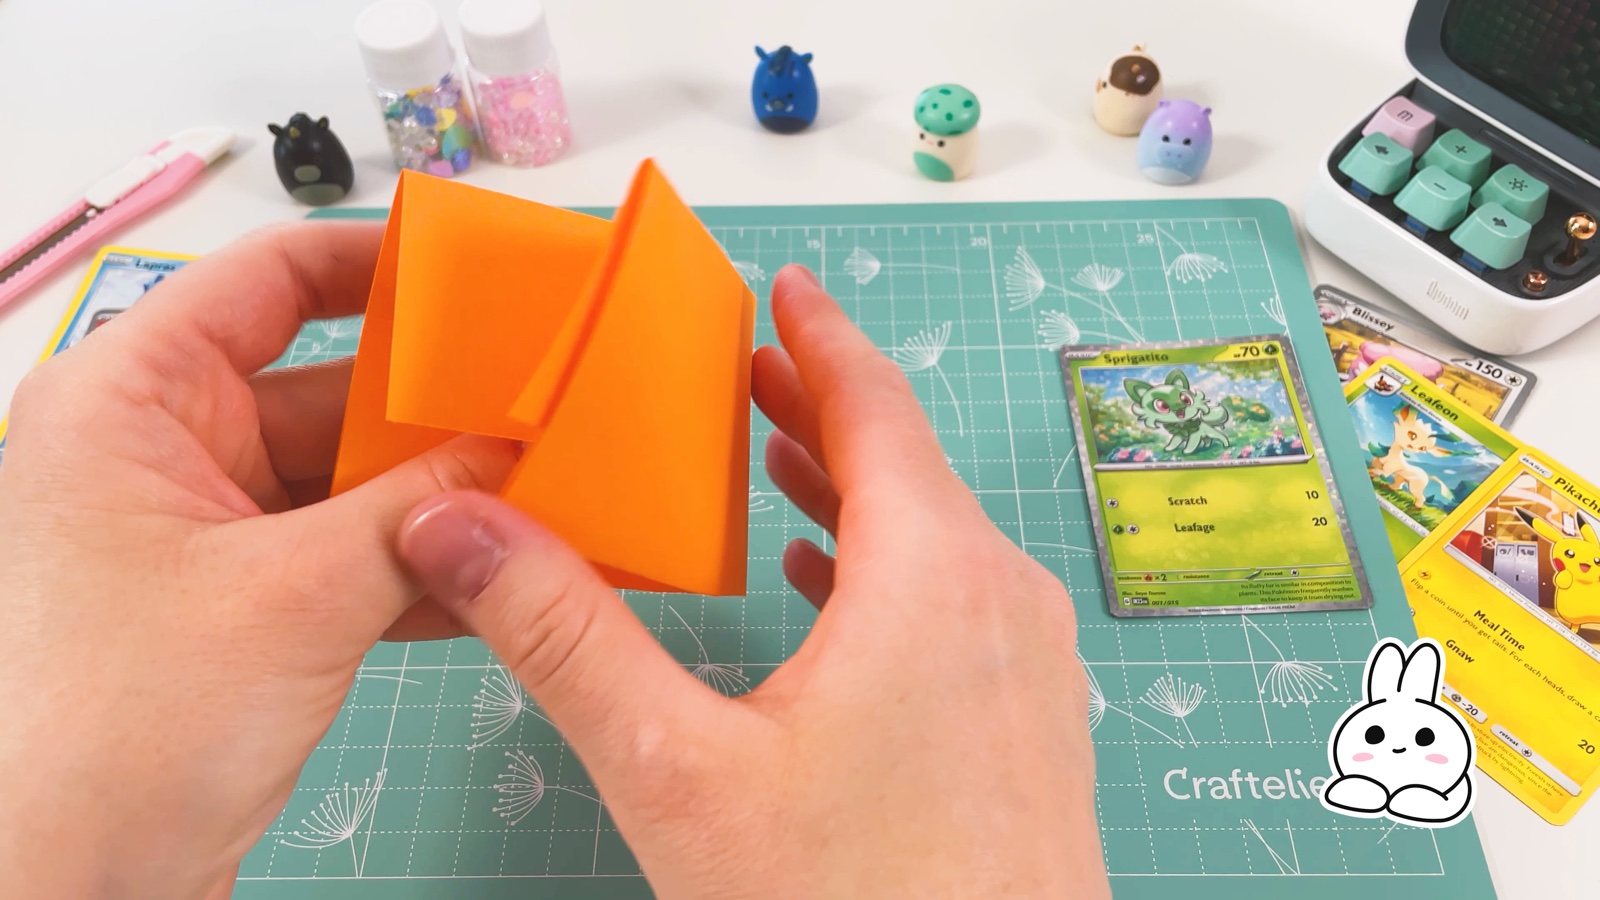
Fold the strip in half across, with the folded sides inside. Press the fold.
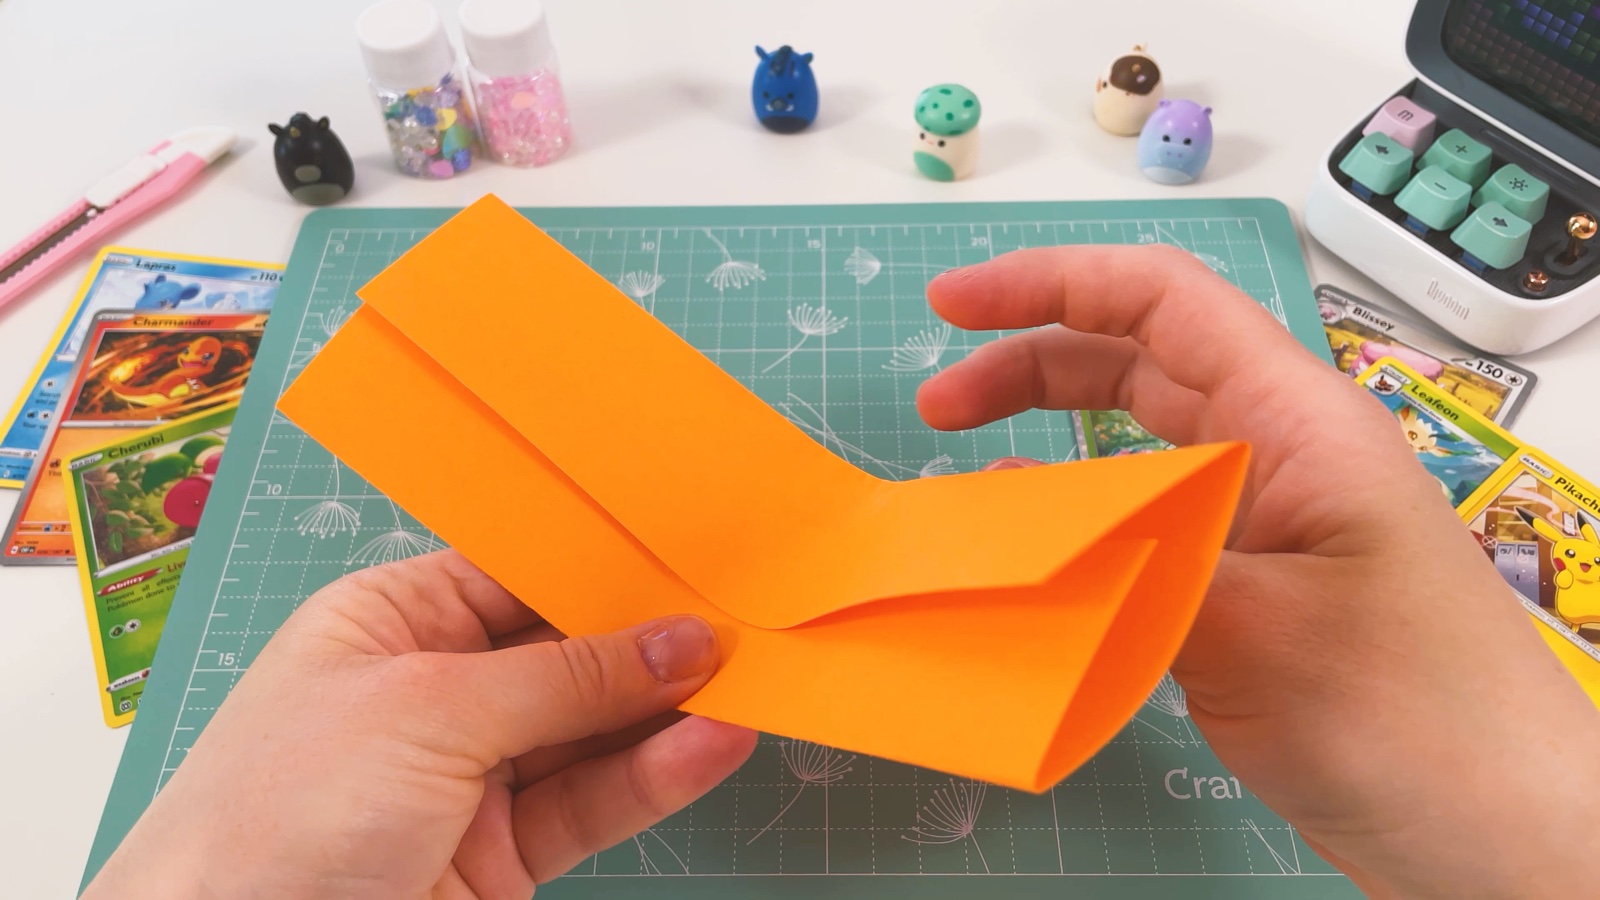
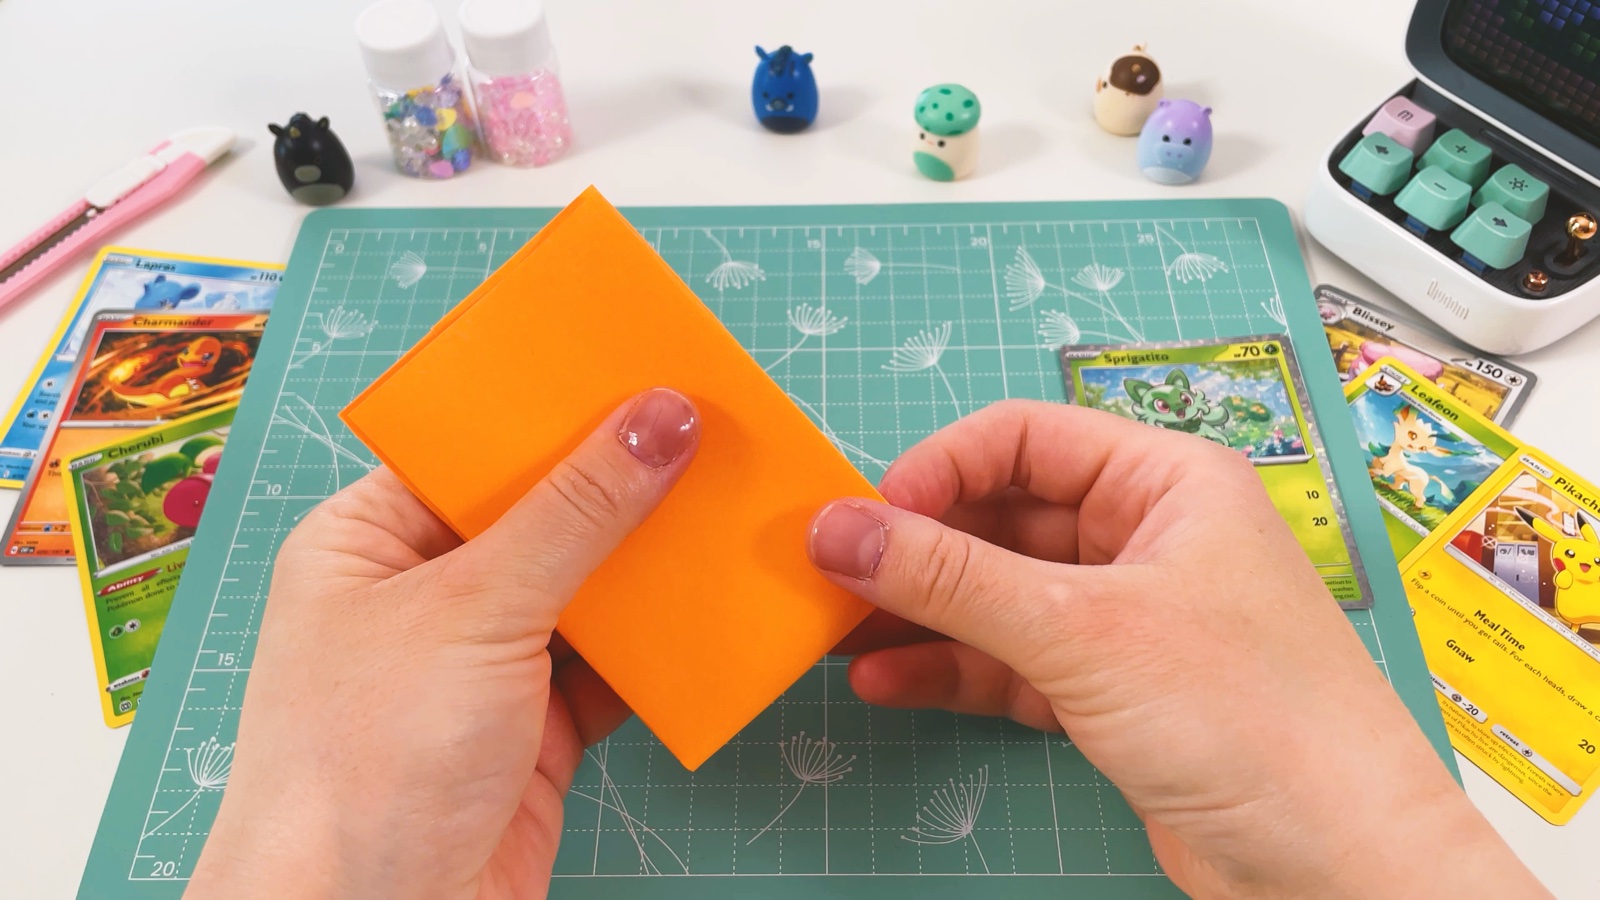
Now fold each end back to the middle fold, one on each side. From the side the strip looks like the letter M.
- 6
Glue it flat
Open the strip and put glue under the folded sides so they stay down. Fold the zigzag again and press it.
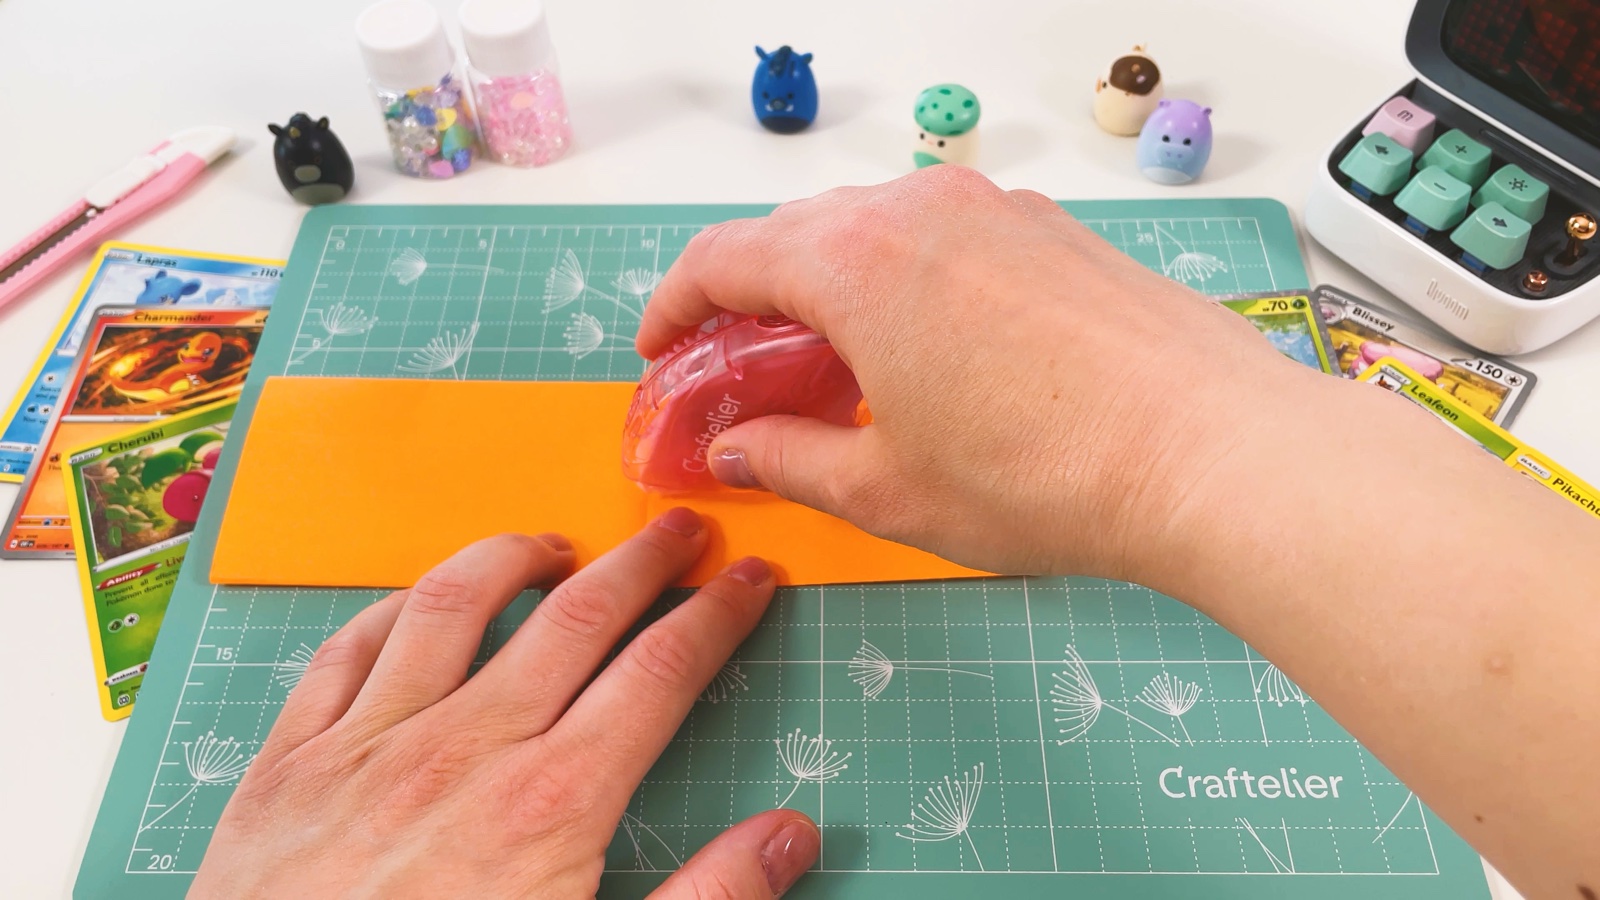
- 7
Cut it in two
Cut the folded strip in half across with a paper trimmer or scissors. Now you have two pocket pieces, each a little taller than a card.
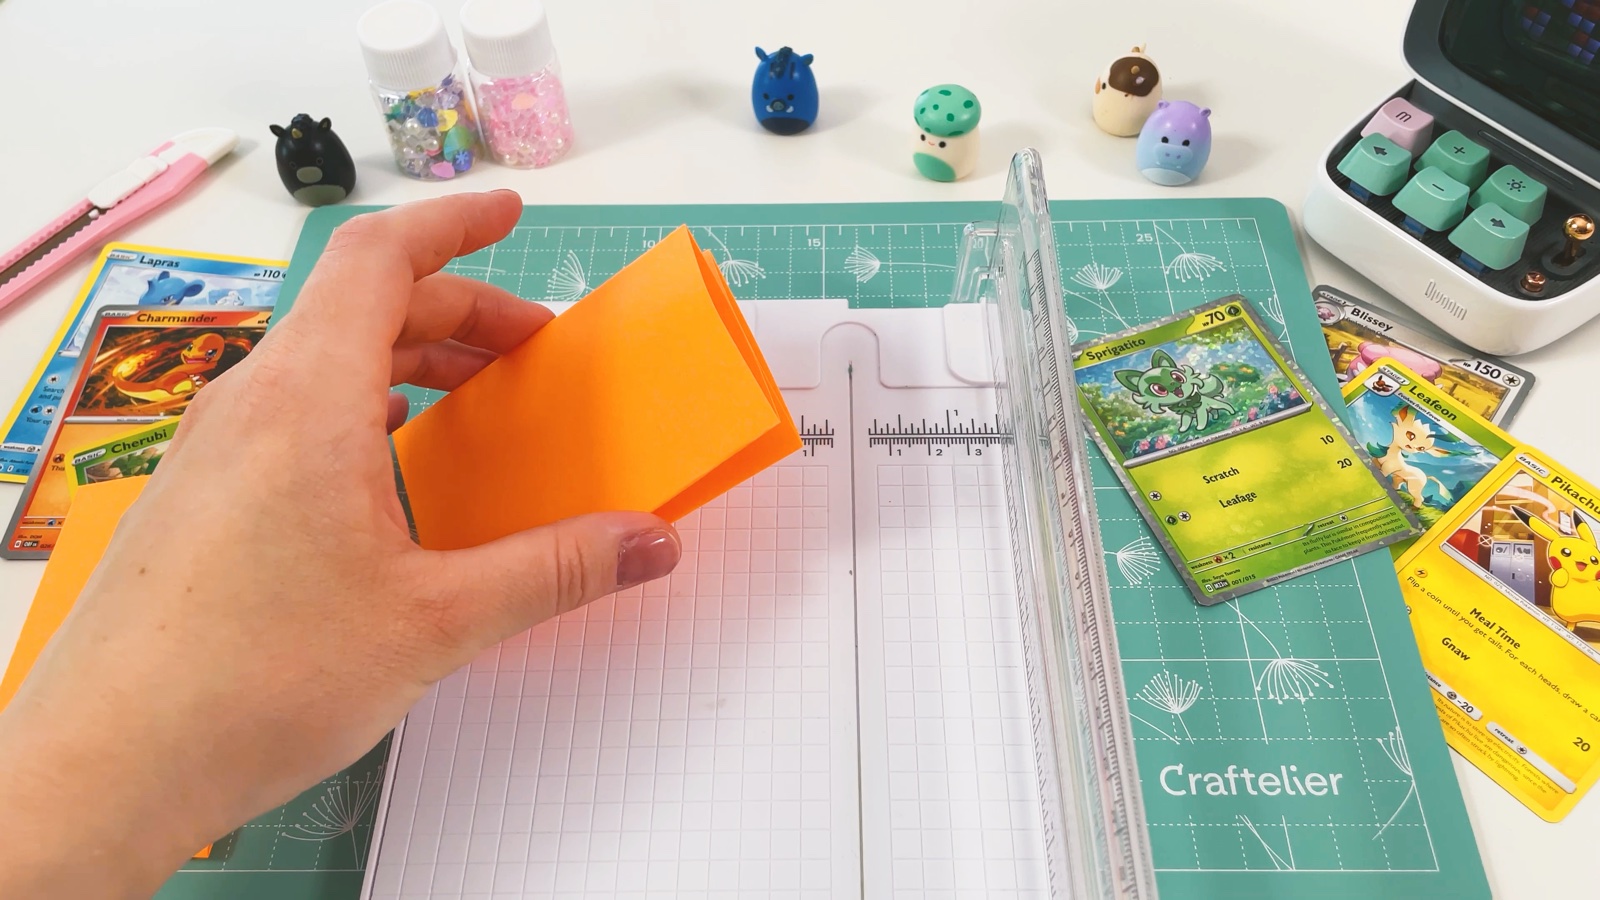
- 8
Make more in other colours
Repeat with pink and blue paper, or any colours you like. Each colour gives you two more pieces, and every piece holds a few more cards.
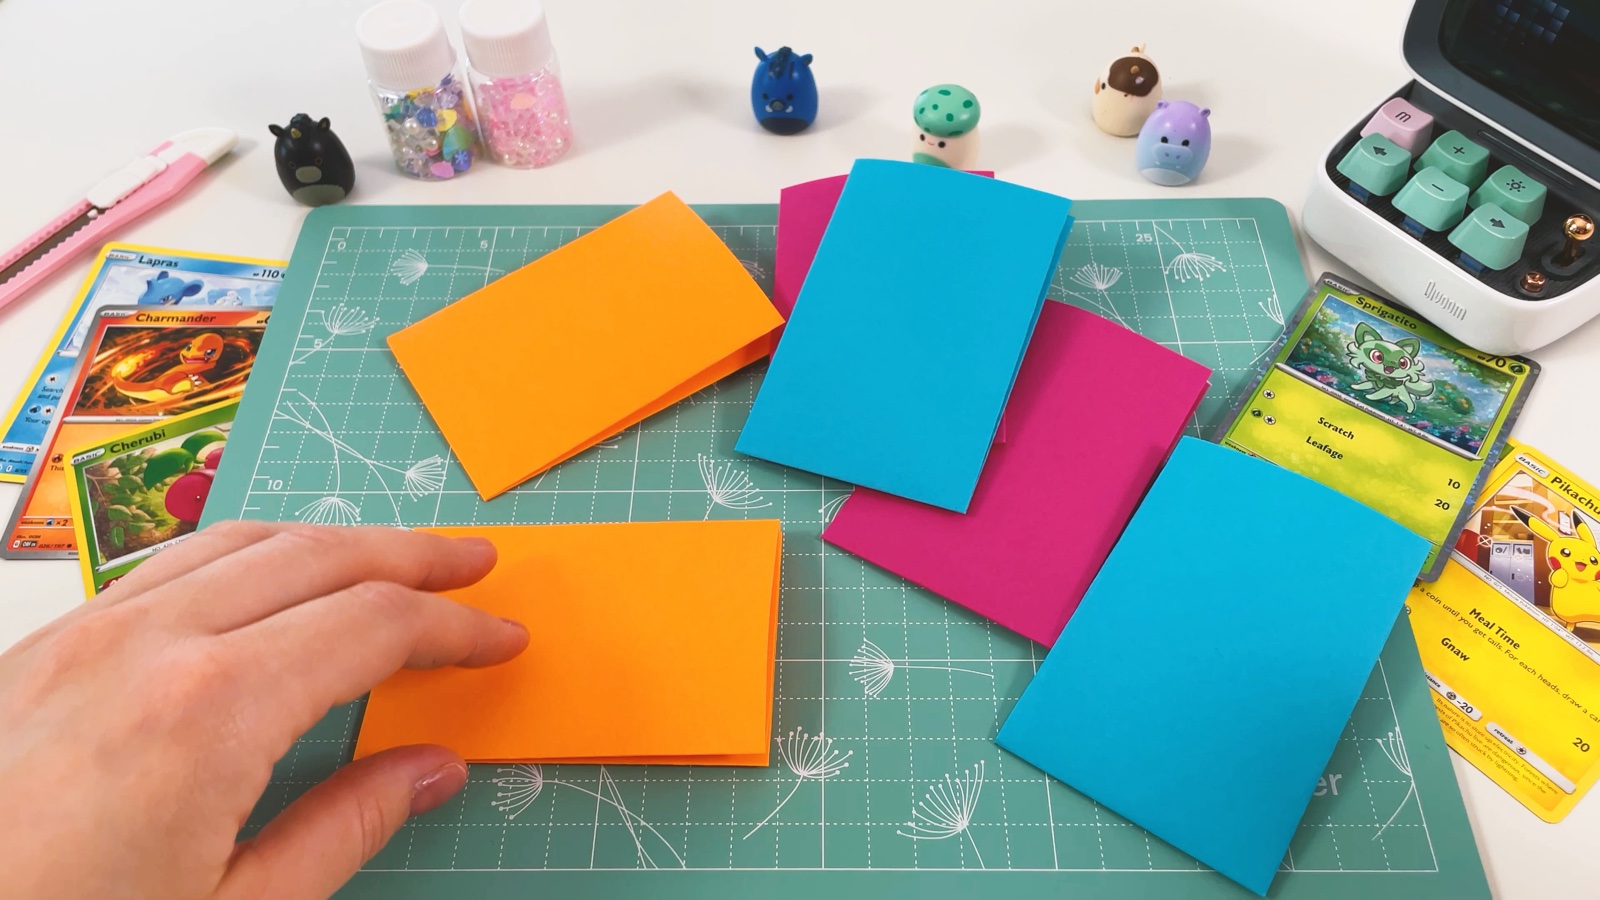
- 9
Glue the pockets together
Put glue on the last side of one piece and press the next piece onto it. Mix the colours as you go. Keep the edges in line, so the stack stays neat.
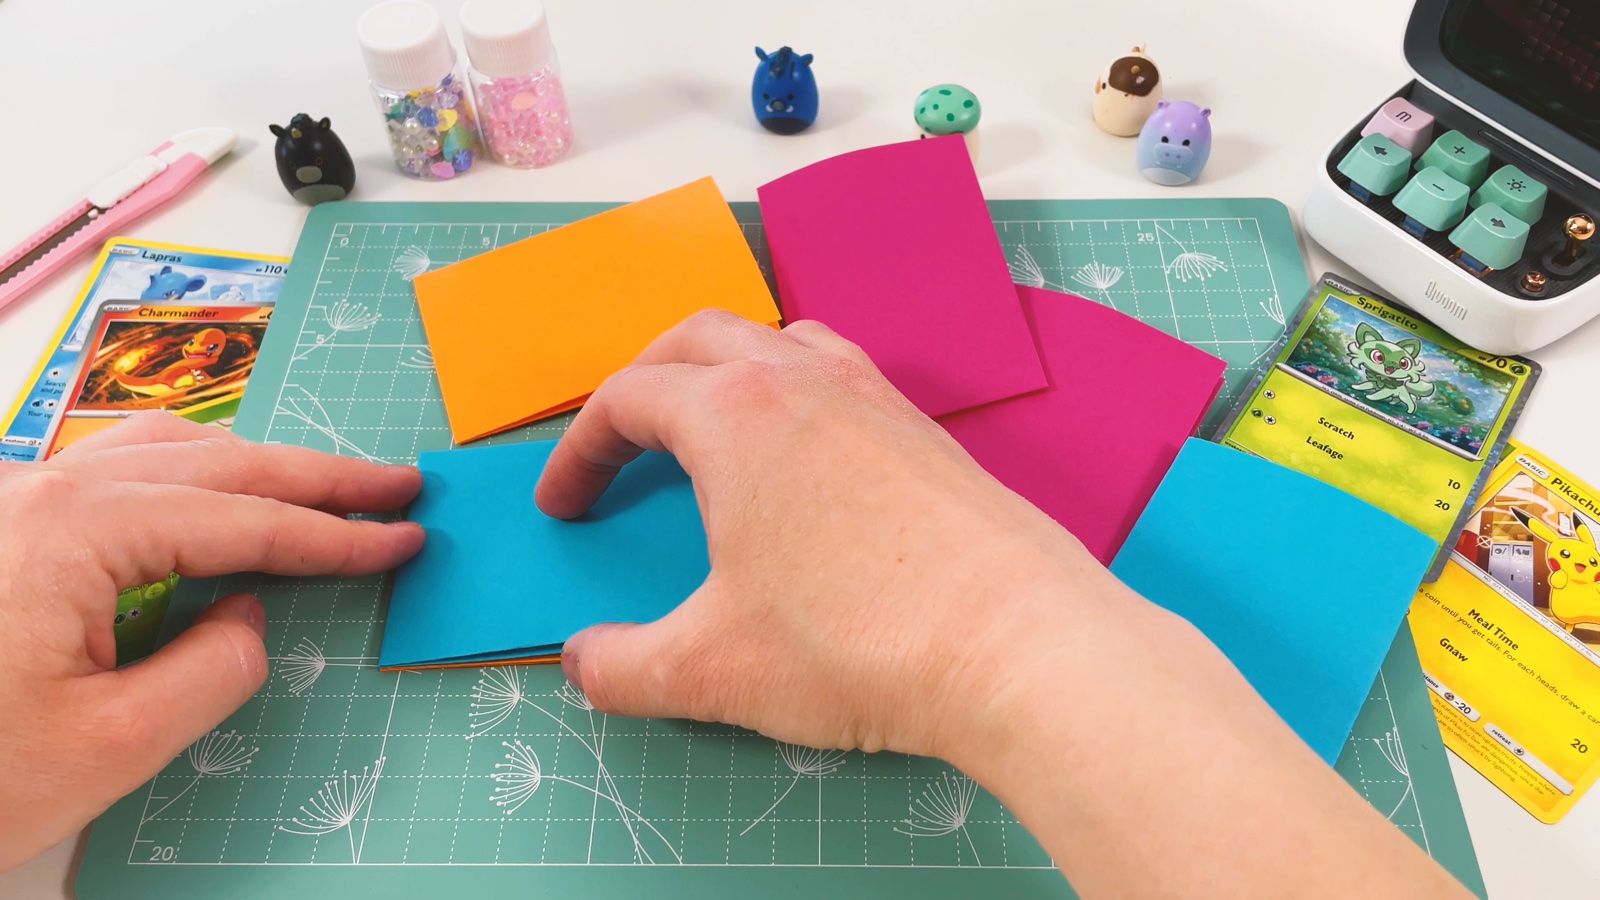
- 10
Open the fan
Open the stack. All the pockets fan out in a rainbow, and each one fits a card.
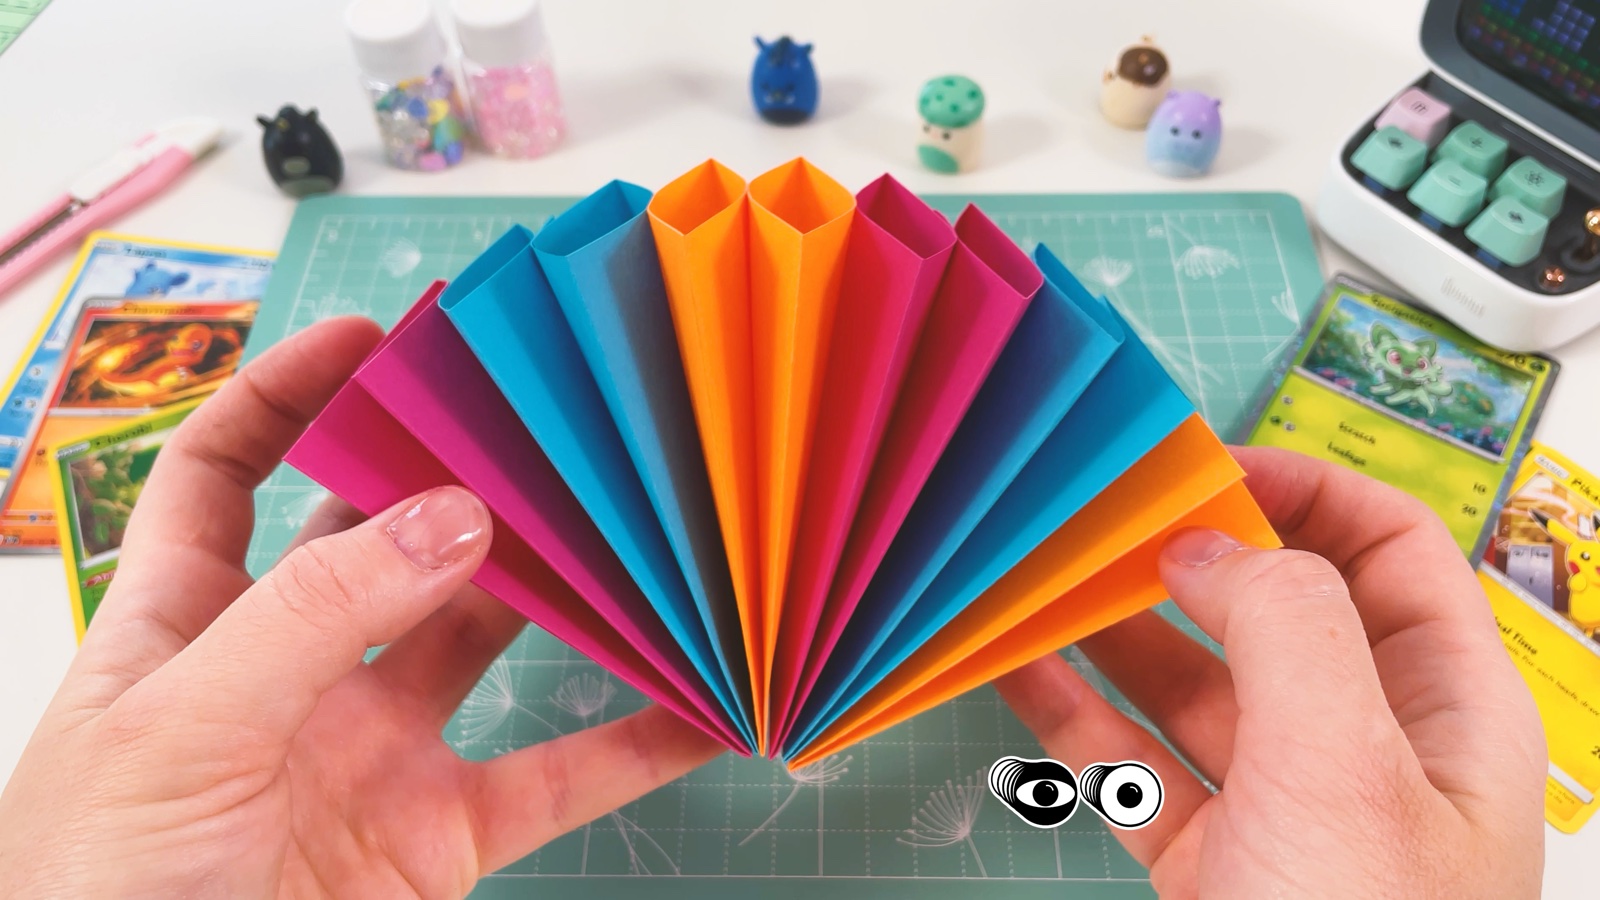
The rainbow pockets are ready.
PART 3 OF 3
Putting it together
- 11
Fold the cover
Fold the cover on each line between the panels. The two narrow bands become the sides of the holder.
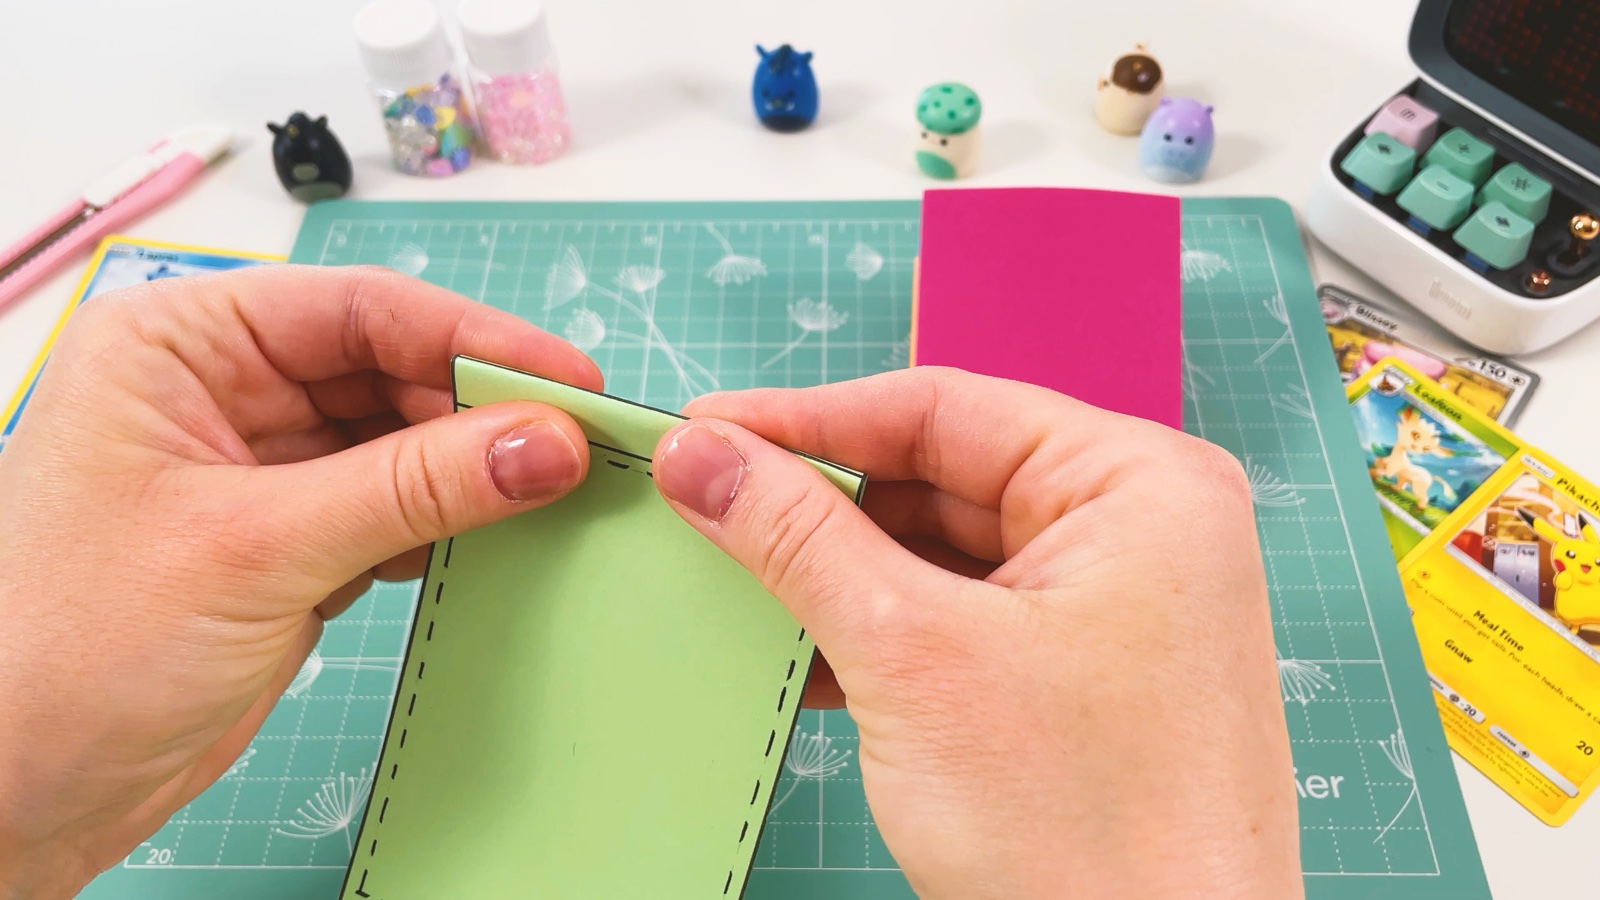
- 12
Glue the pockets inside
Put glue on the outside of the first pocket and press it onto the back panel of the cover. Then glue the last pocket to the front panel.
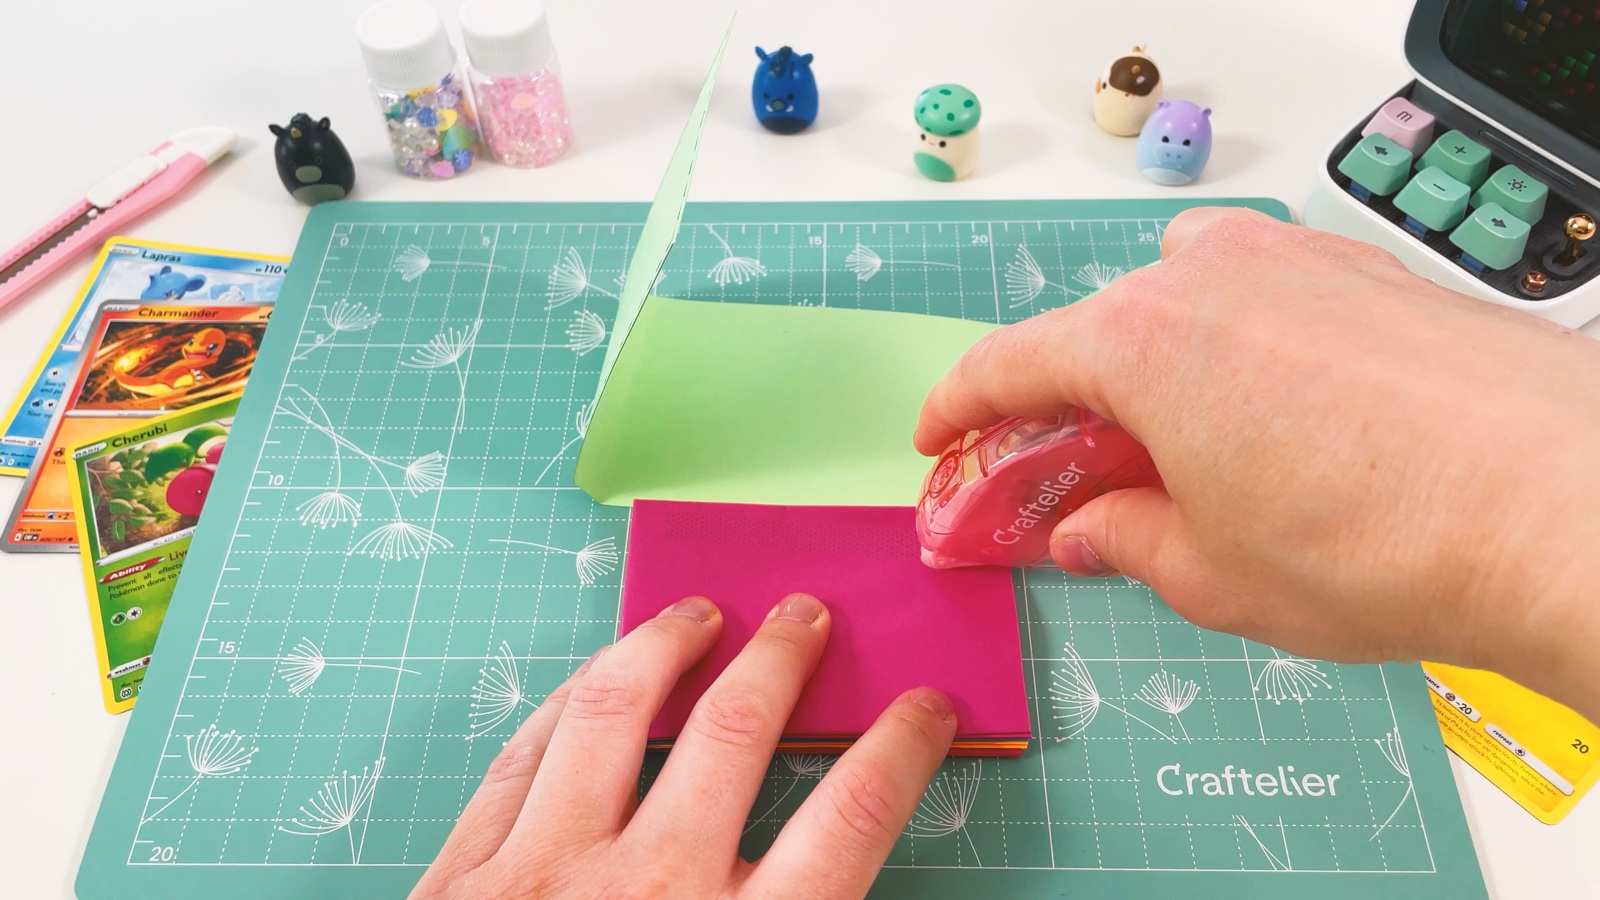
Close the cover and fold the rounded flap over the front.
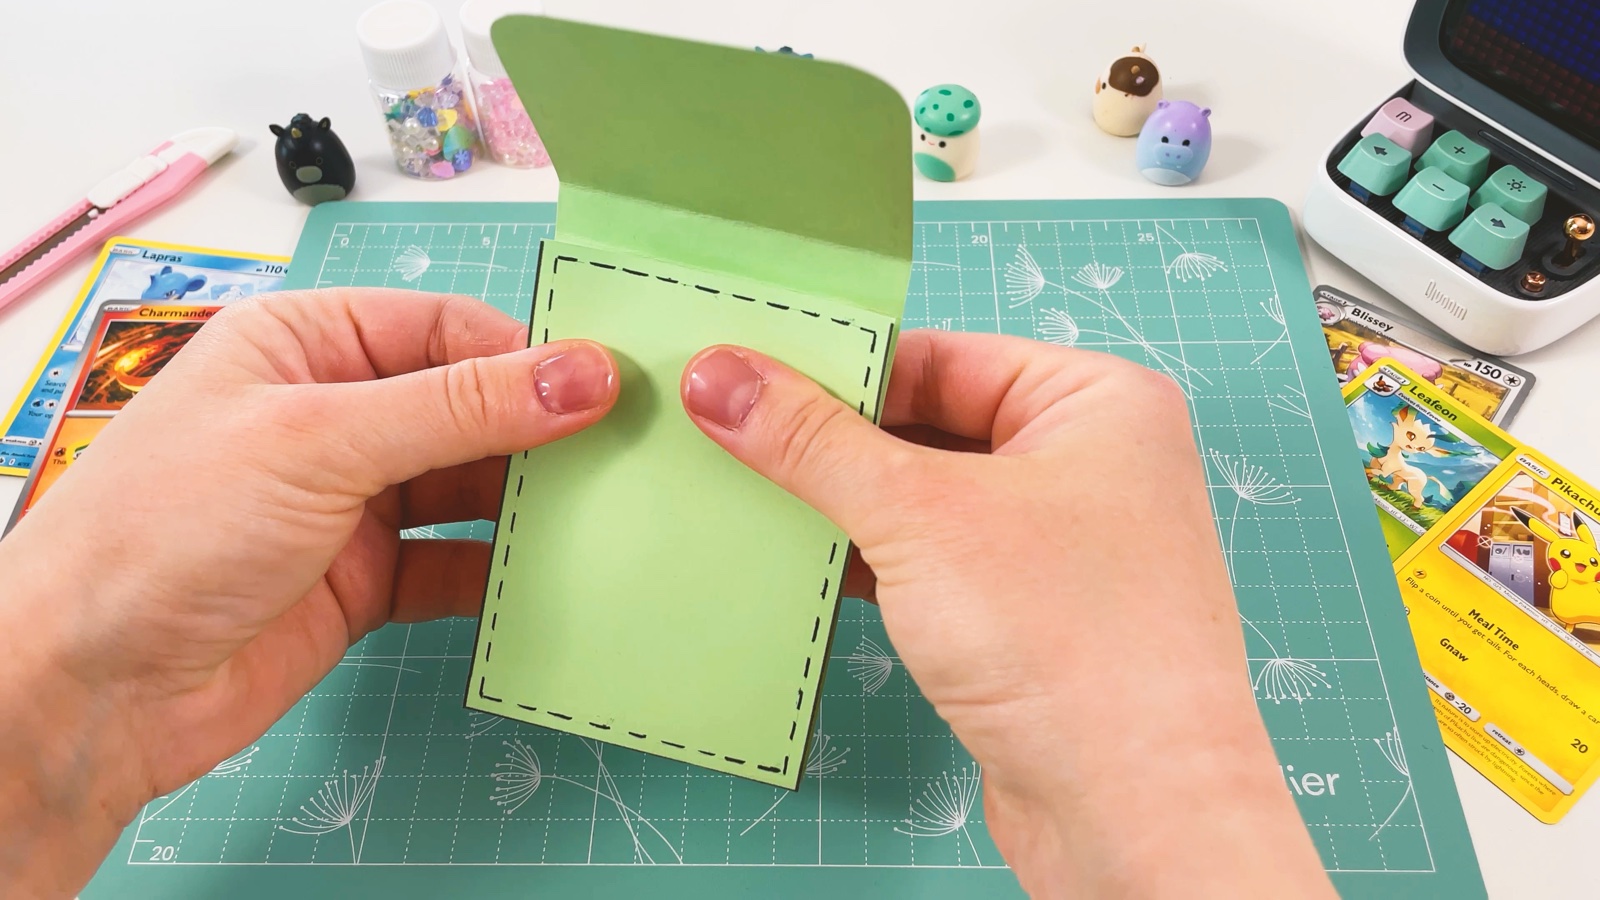
- 13
Add the tab
Cut out the rounded tab from the template.
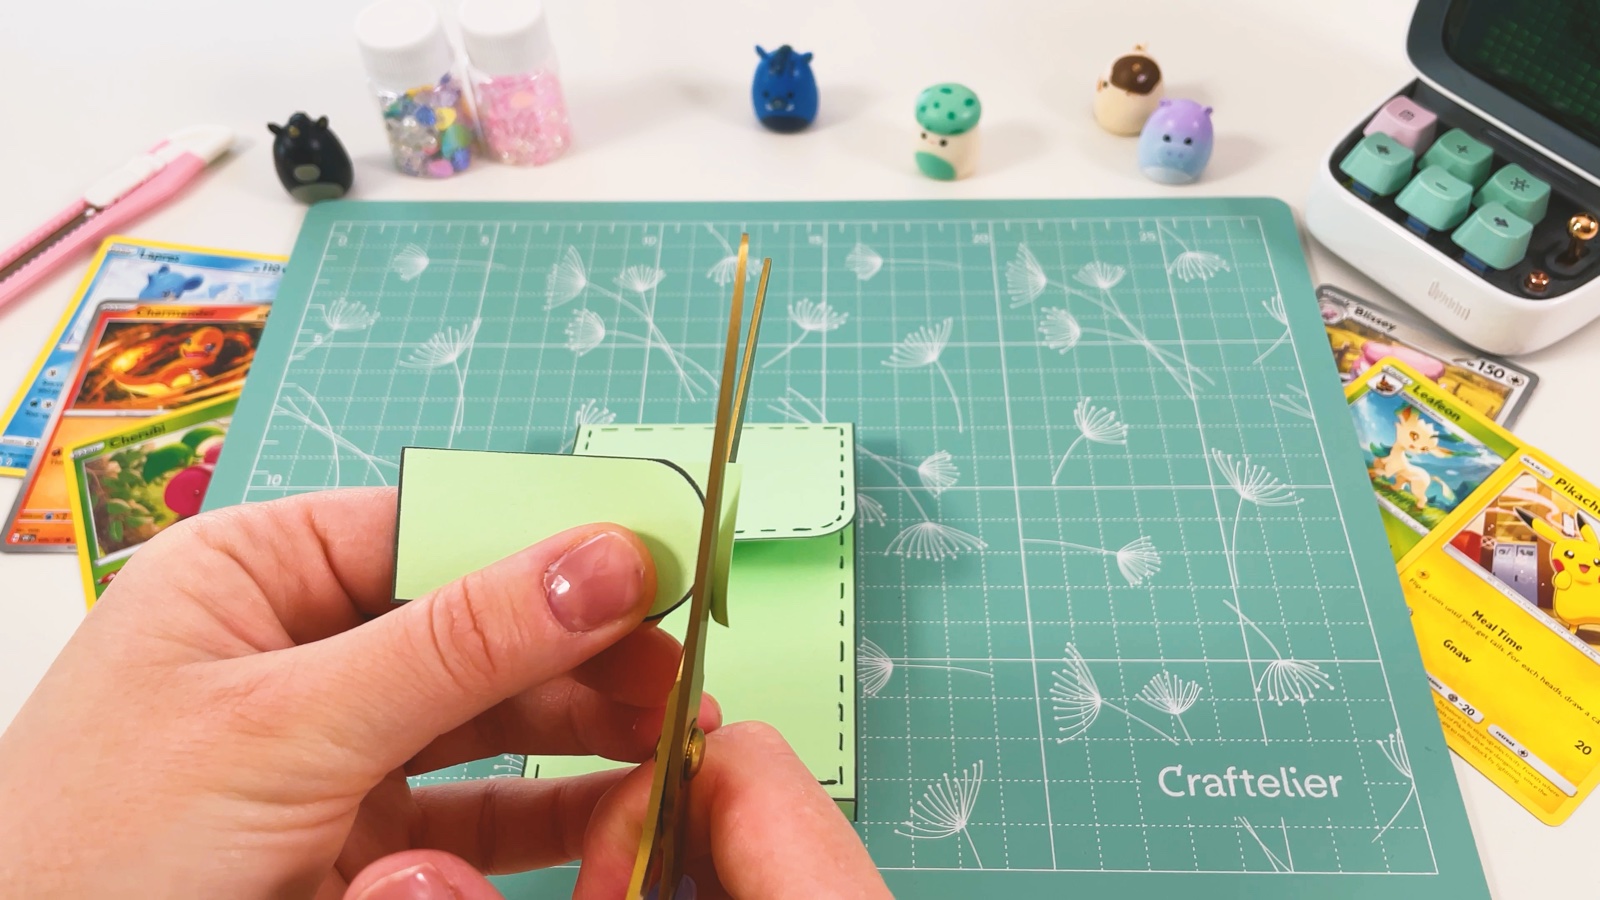
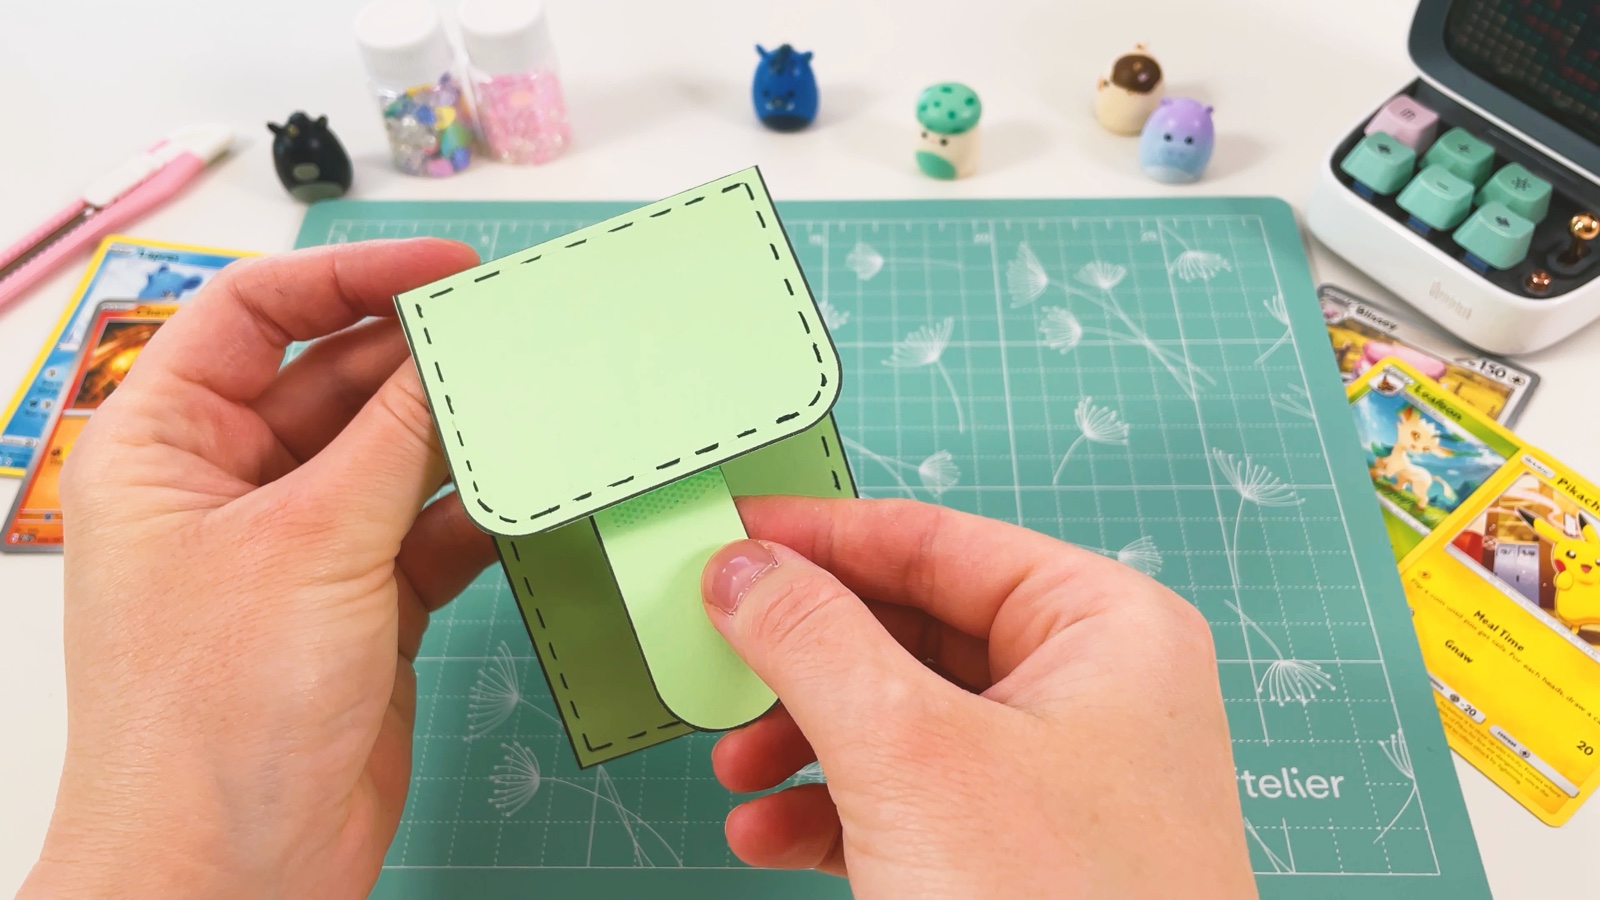
Glue the straight end under the middle of the flap, so the round end hangs down over the front.
- 14
Add the band
Cut the thin band from the template, or a strip of pink paper the same size. Fold it on the lines into a flat loop.
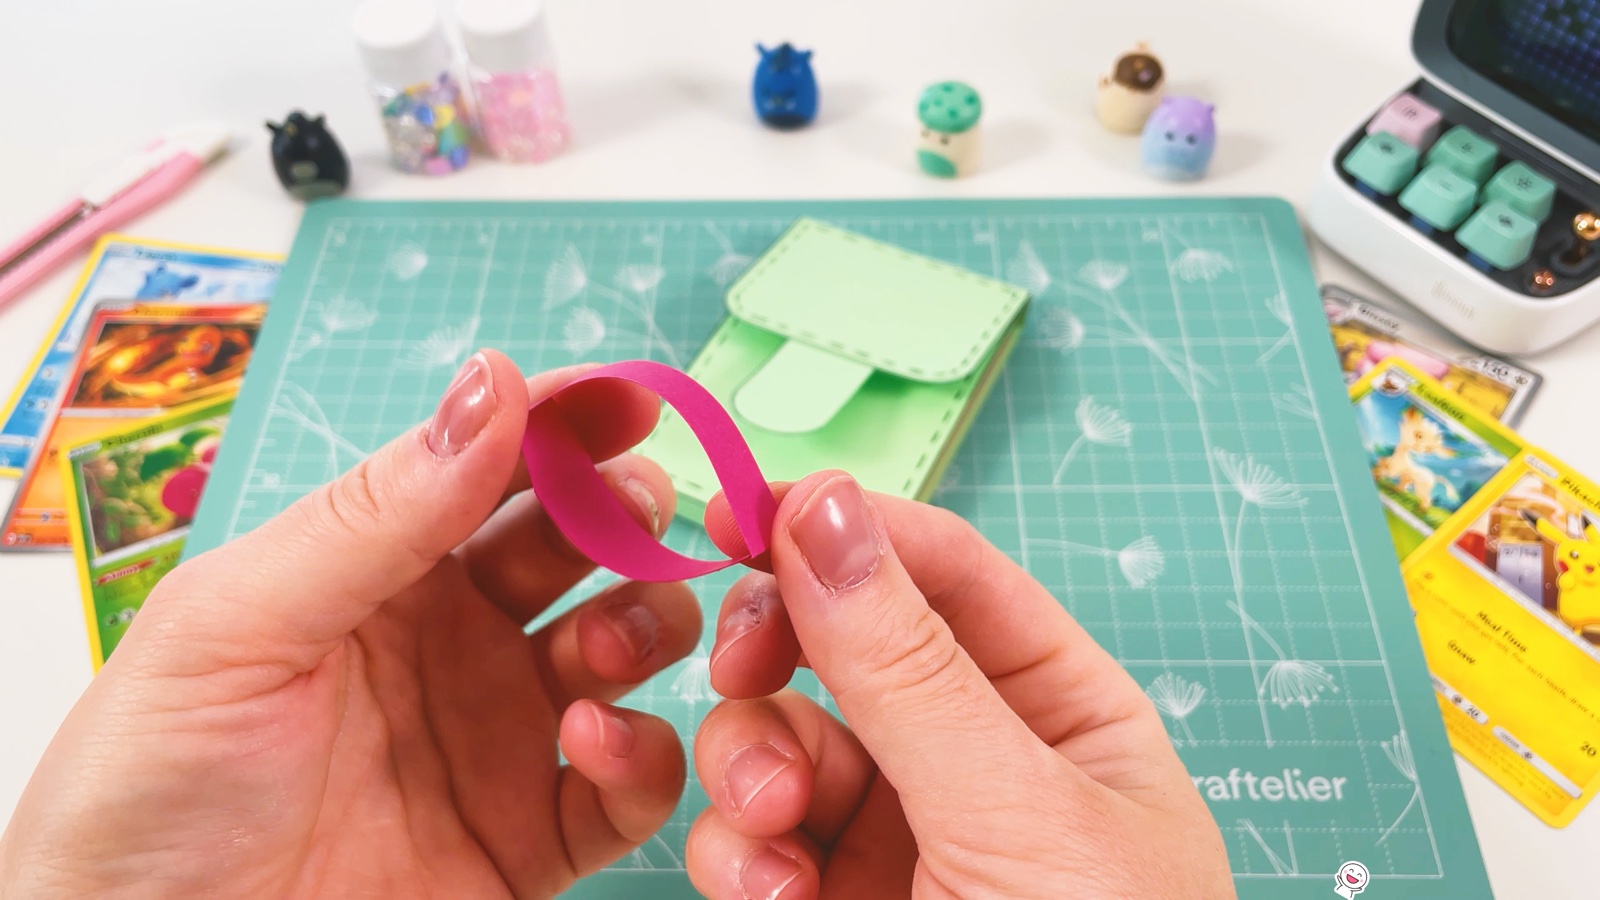
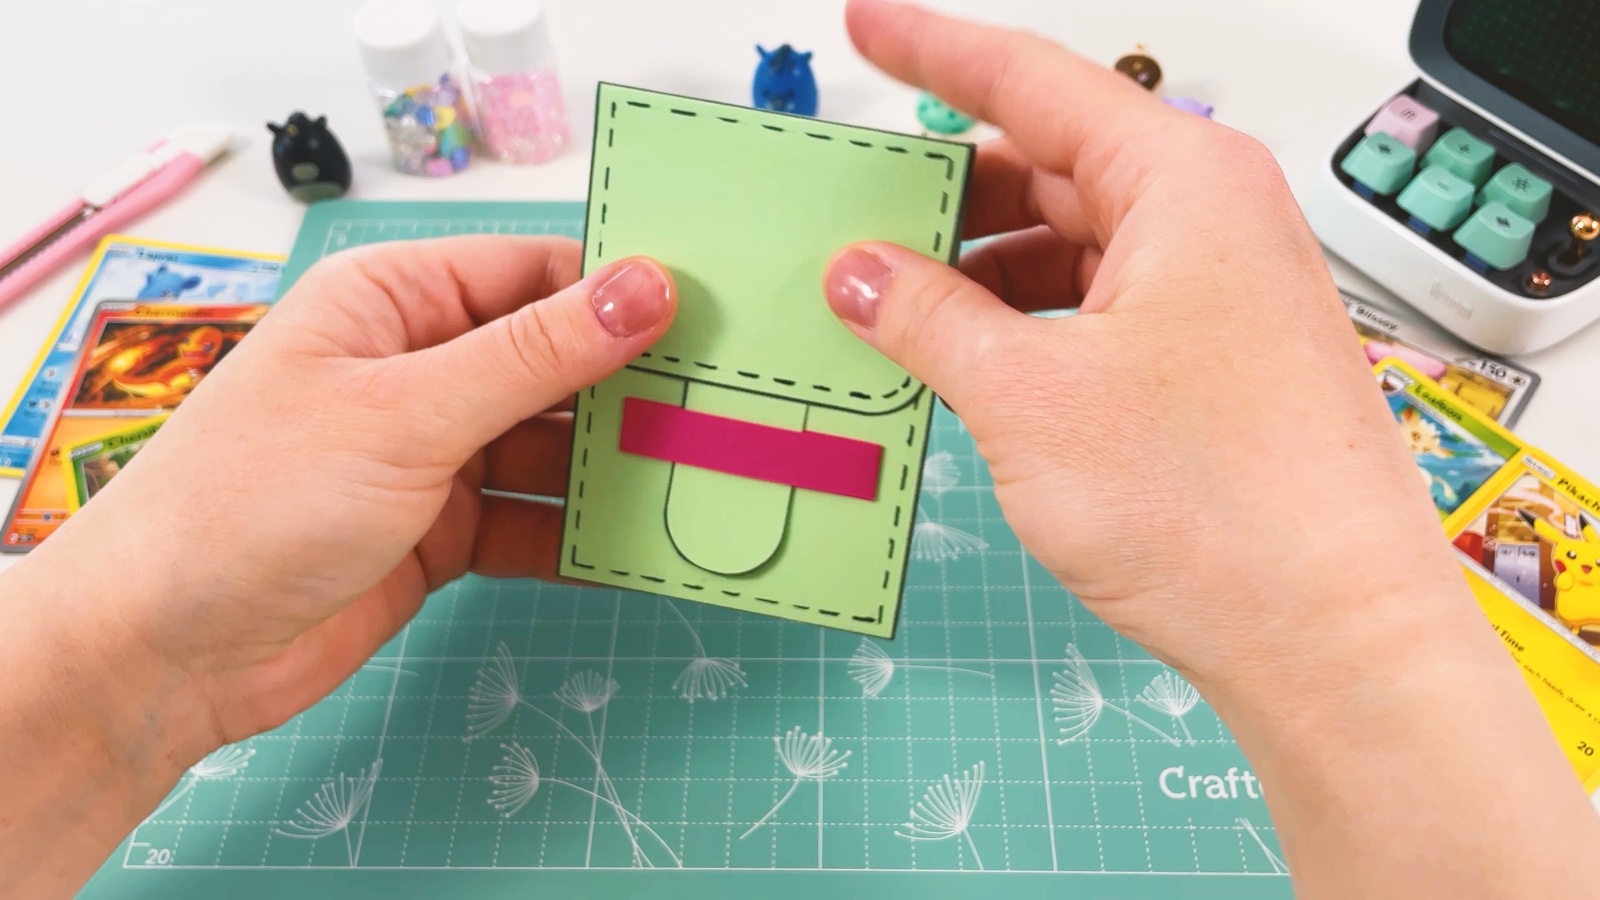
Glue the band across the front, below the flap. Leave the middle loose, so the tab slides under it and holds the flap shut.
- 15
Add Bulbasaur
Cut out the Bulbasaur face. Stick foam tape squares on the back. You can pick Pikachu, Charmander or Gengar instead.
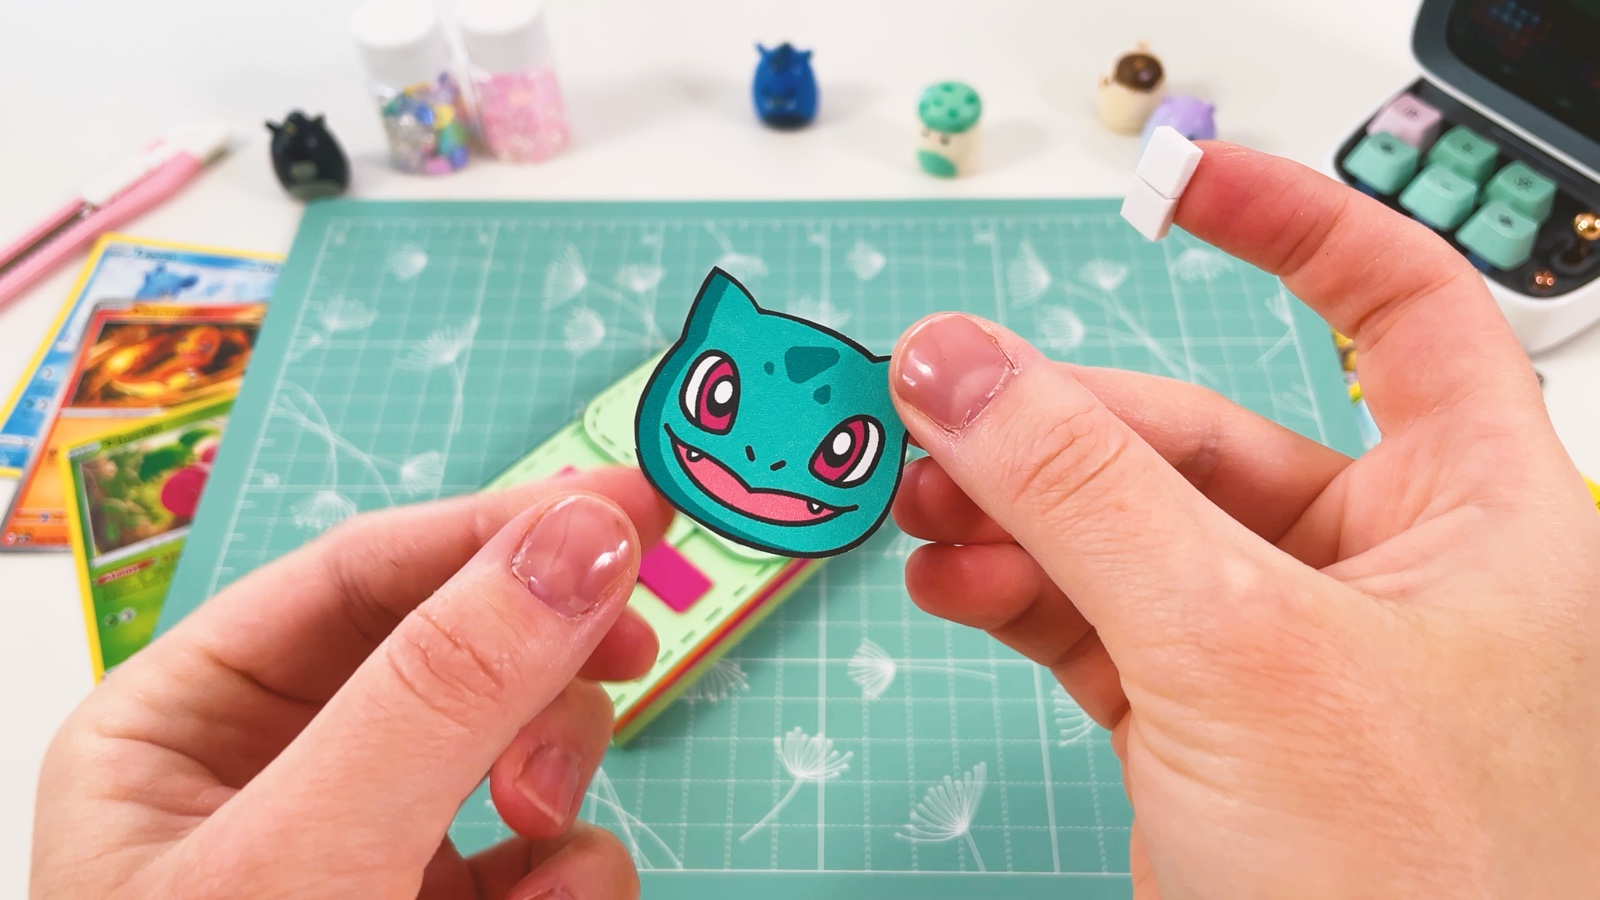
Press the face onto the flap, right above the tab. The foam makes it stand out a little.
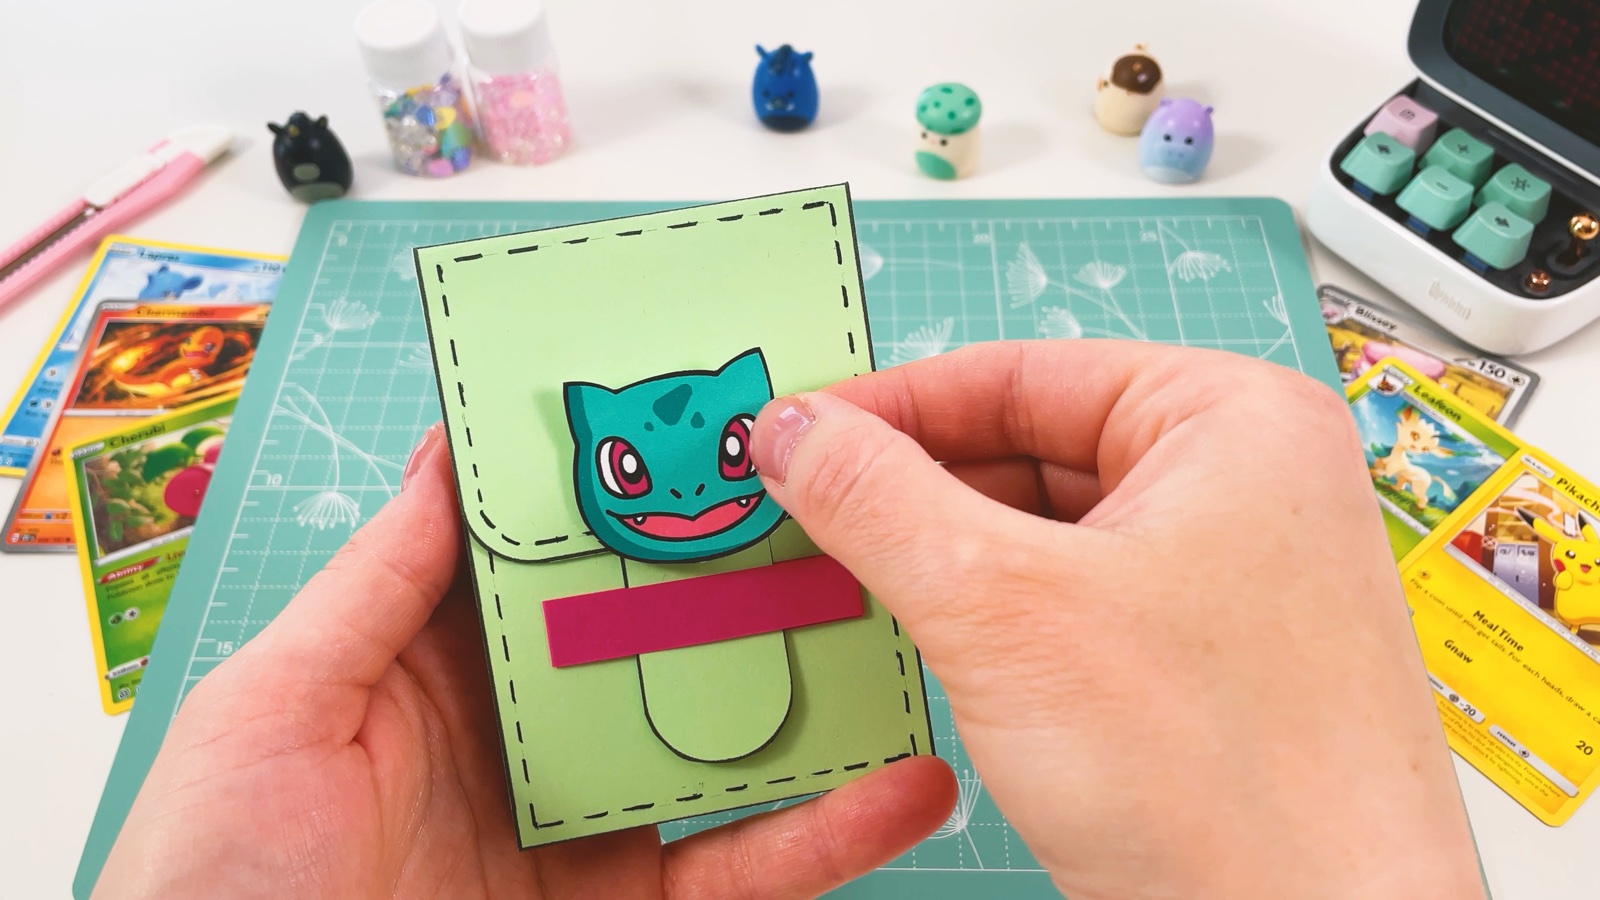
- 16
Fill it with cards
Pull the tab out from the band and open the flap. Slide one card into each pocket.
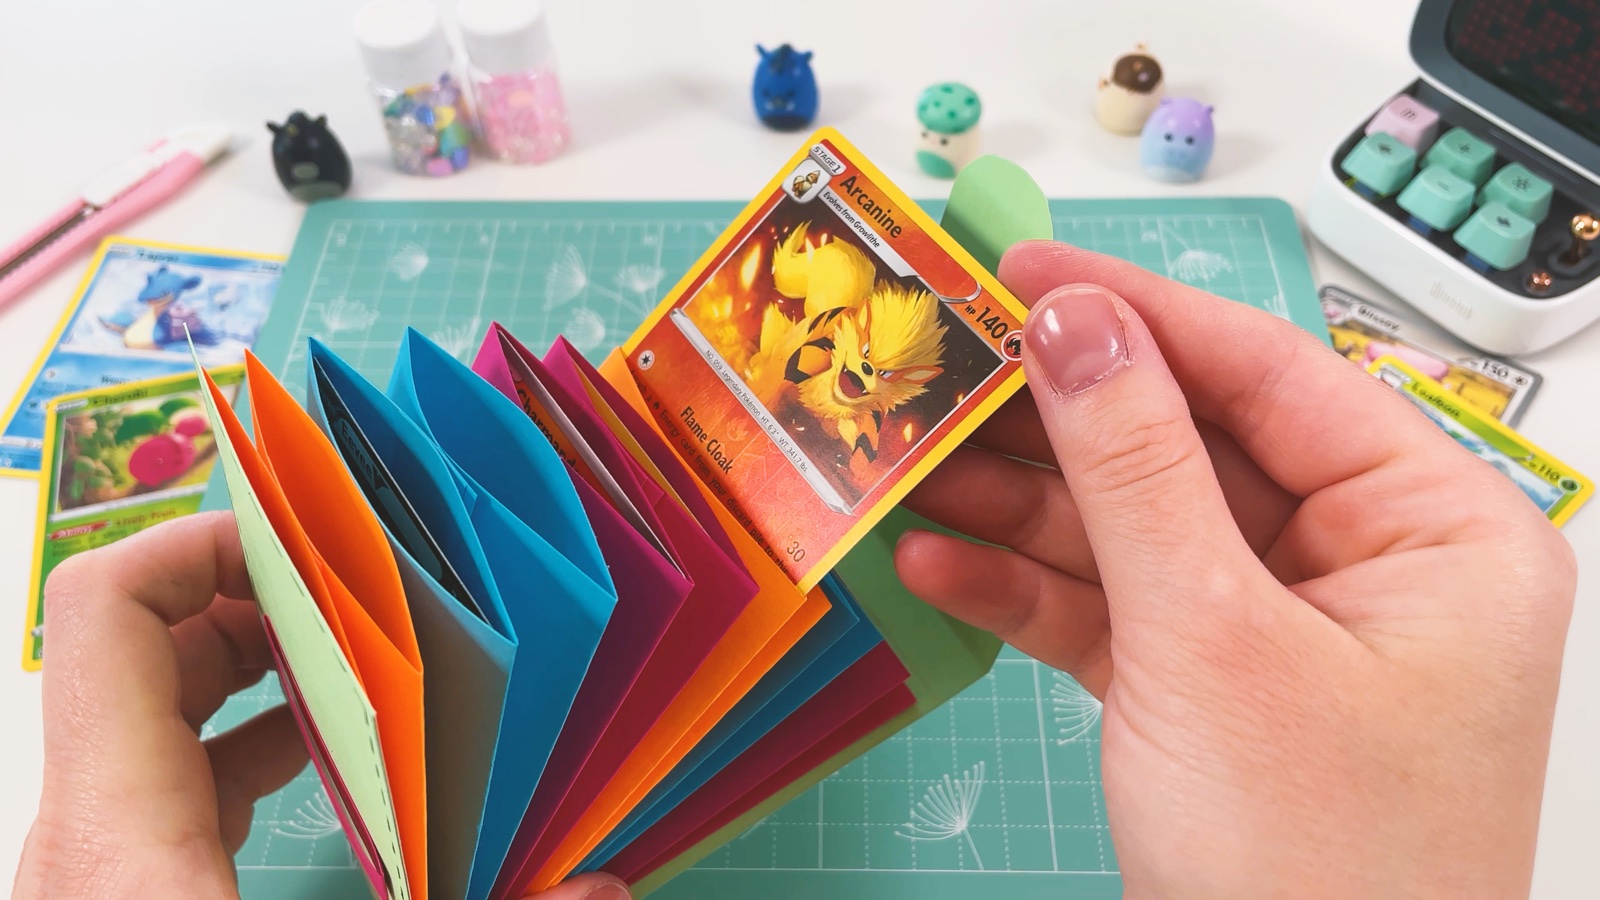
Close the flap and tuck the tab back under the band.
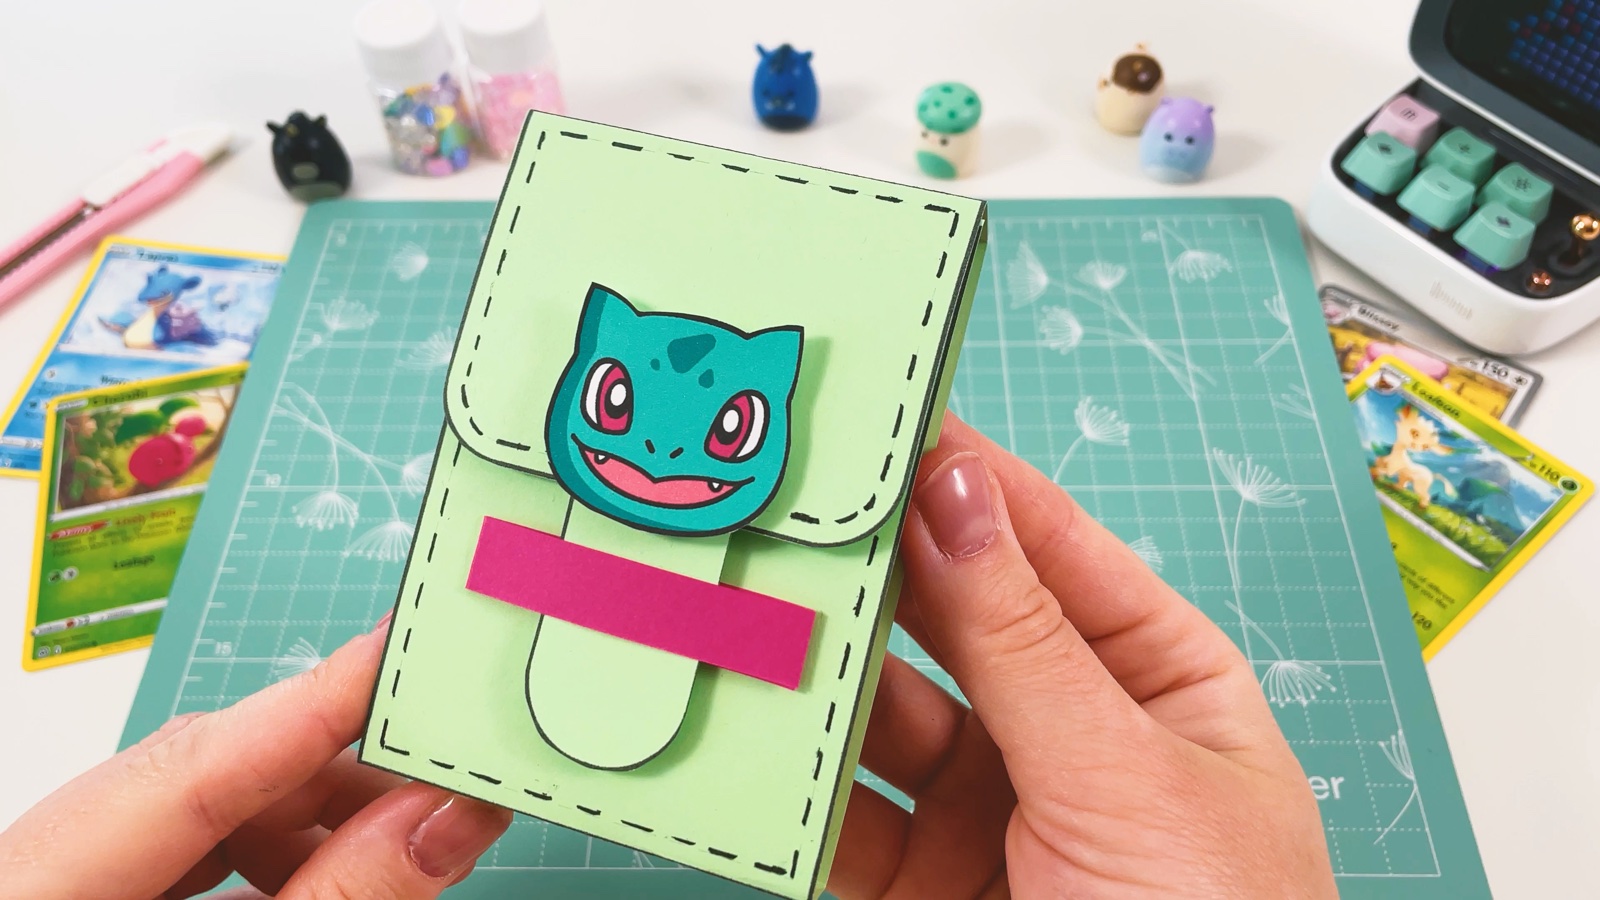
Turn it to the side: all the rainbow pockets peek out between the covers.
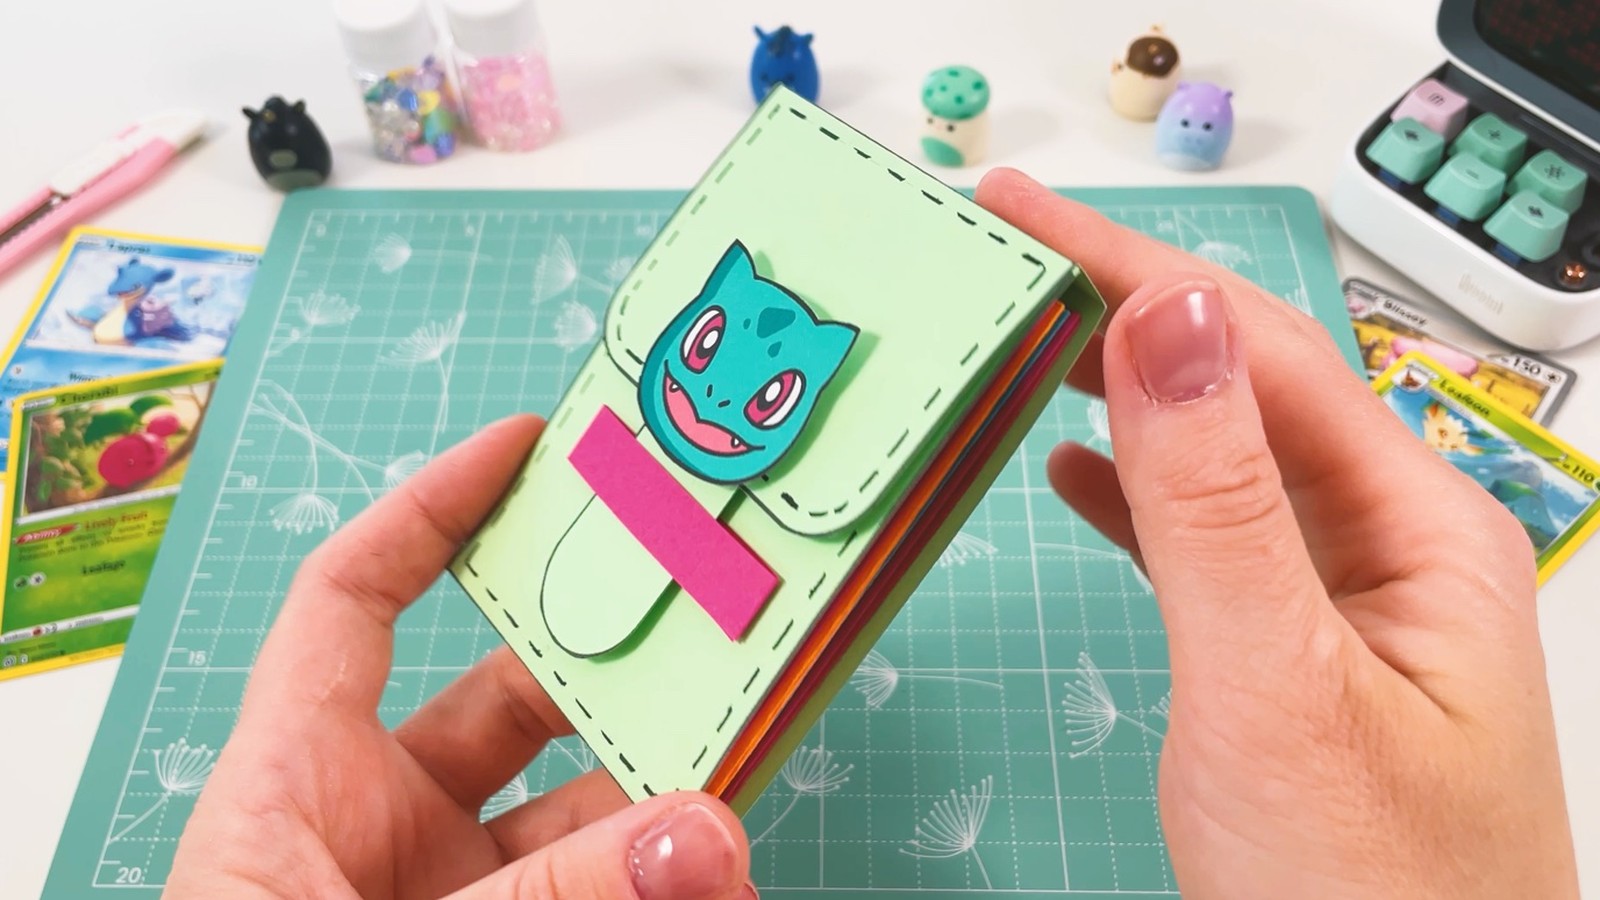
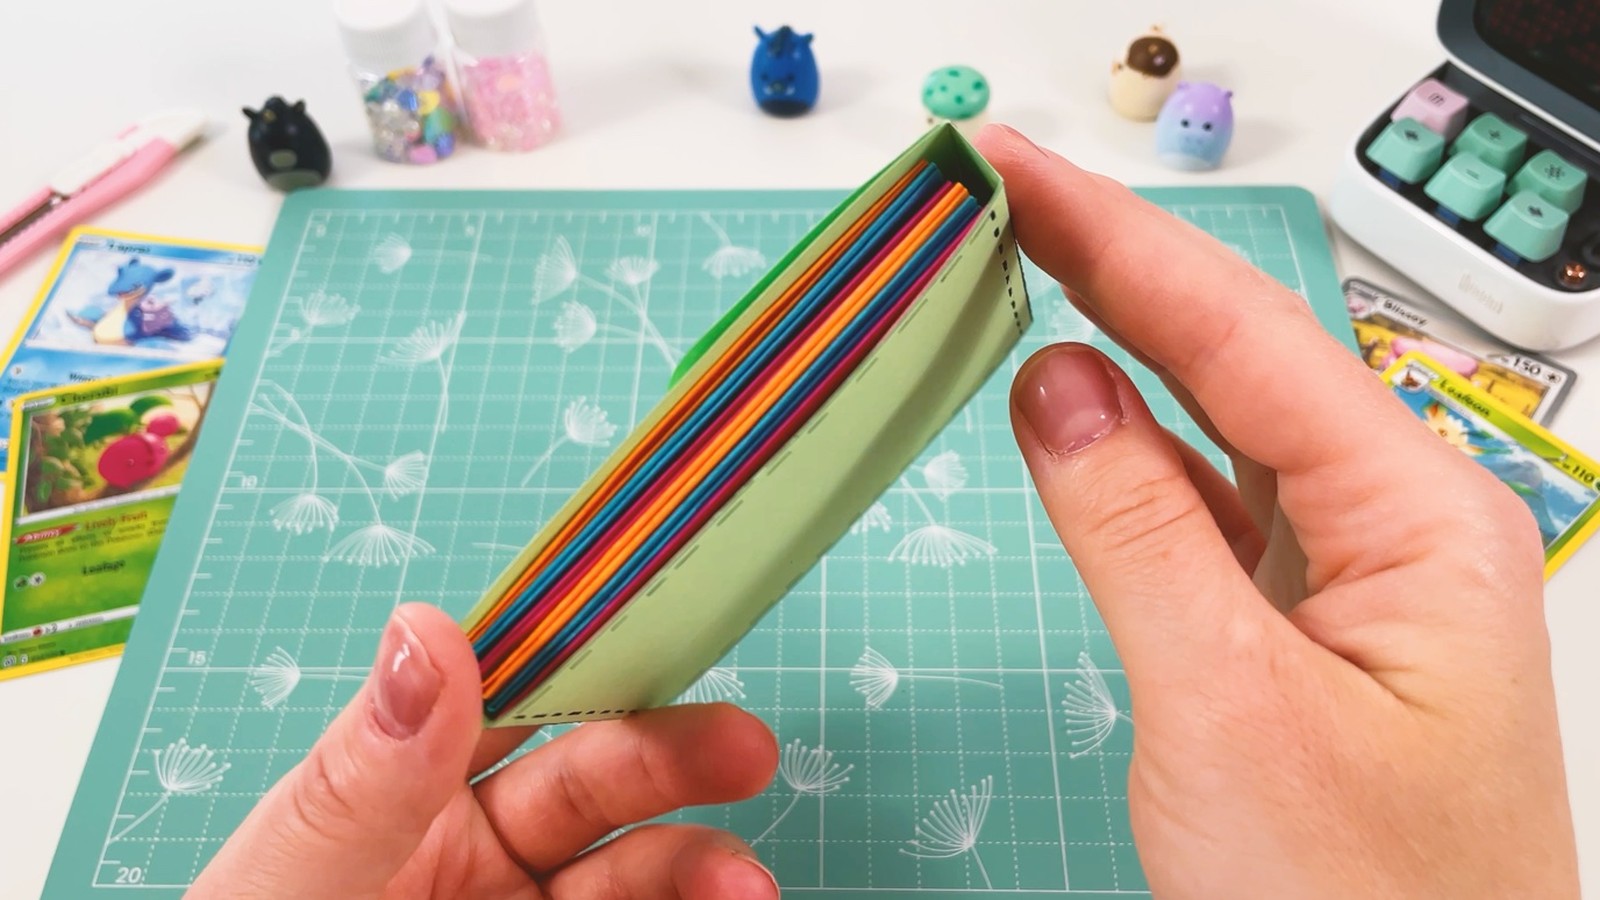
Your Bulbasaur card holder is ready.
THREE LITTLE TIPS
Make it easier.
- Use a real card as your ruler. Folding the strip around a card makes every pocket the right width, with no measuring.
- Thicker paper for the cover. Thin card keeps the holder in shape. Normal coloured paper is best for the pockets, because it folds easily.
- Press every fold. Sharp folds make the fan open and close neatly.

A CUBI MINI MOMENT
Which card gets the first pocket?
Cubi keeps the shiniest card in the very first pocket, so Mini sees it straight away. Which card will you put first?
One colour for each type: green for Grass, orange for Fire, blue for Water.
Loved making it?
Catch the next make first, or save this one for a rainy day.